Introduction
Welcome to the world of virtual meetings! With the ever-growing popularity of remote work, online collaboration tools have emerged as essential resources. Among them, Zoom has swiftly become the go-to platform for hosting virtual meetings, conferences, and webinars. One of the most valuable features of Zoom is its ability to record meetings, allowing participants to revisit and review important discussions, presentations, and shared content.
Recording a Zoom meeting on your laptop can be a game-changer, especially when you want to capture crucial information, keep a record for future reference, or share the meeting with absent colleagues. Whether you’re a professional hosting a team meeting, an educator conducting virtual classes, or an individual attending a webinar, knowing how to record a Zoom meeting on your laptop is a valuable skill.
In this article, we will guide you through the process of recording a Zoom meeting on your laptop, and explore different recording options available within the Zoom app as well as using third-party screen recording software. We will also provide some helpful tips to ensure successful recording and optimal playback of your Zoom meeting.
So, if you’re ready to harness the power of Zoom and enhance your virtual meetings, let’s dive in and discover the various methods for recording a Zoom meeting on your laptop!
Overview of Zoom Meetings
Before we delve into the specifics of recording a Zoom meeting on your laptop, let’s first take a closer look at the features and functionalities that make Zoom such a popular choice for virtual collaboration.
Zoom is a versatile video conferencing platform that allows users to connect and communicate remotely, bridging the gap between people separated by distance. It offers an array of features designed to facilitate seamless online meetings, making it an ideal choice for businesses, educational institutions, and individuals alike.
With Zoom, users can participate in video and audio meetings, conduct presentations, share screens, chat via text, and collaborate in real-time. The platform supports both one-on-one conversations and group meetings, accommodating small teams and large gatherings with ease.
Key features of Zoom include:
- Video and Audio Conferencing: Zoom enables participants to join meetings using their webcams and microphones, allowing for face-to-face interactions and clear audio communication.
- Screen Sharing and Content Sharing: Users can share their screens to showcase presentations, documents, or any other visual content, enhancing collaboration and knowledge sharing.
- Virtual Backgrounds: Zoom offers the option to change your background during a meeting, allowing you to maintain privacy or choose a professional or fun backdrop.
- Recording Meetings: One of Zoom’s standout features is the ability to record meetings, capturing audio, video, and screen sharing. This feature proves invaluable for archiving discussions, reviewing important details, or sharing content with absent participants.
- Chat and Messaging: Participants can send messages and engage in real-time text conversations during the meeting, facilitating quick exchanges and information sharing.
- Integrations: Zoom seamlessly integrates with other popular platforms and tools, such as calendar apps, project management software, and messaging apps, enhancing productivity and streamlining workflows.
With its user-friendly interface, robust features, and reliability, Zoom has revolutionized virtual meetings and has become the platform of choice for businesses, educators, and individuals seeking efficient and effective online collaboration.
Now that we have a solid understanding of Zoom’s capabilities, let’s explore the different methods for recording a Zoom meeting on your laptop.
Recording Options in Zoom
Zoom offers multiple options for recording meetings, providing flexibility and convenience for users. Before we dive into the step-by-step guide, let’s explore the different recording options available within the Zoom platform.
1. Local Recording: Zoom offers the ability to record meetings directly to your local device. When you choose this option, the meeting recording is saved on your computer’s hard drive or any other designated storage location. Local recording allows for quick and easy access to the recorded file, making it convenient for personal use or offline sharing.
2. Cloud Recording: With a Zoom subscription plan, you can take advantage of the cloud recording feature. When enabled, your meetings are recorded and stored in the Zoom cloud. Cloud recording offers several benefits, including easy sharing and accessibility from any device with internet access. Additionally, cloud recordings are automatically transcribed and can be searched using keywords, making it effortless to find specific sections within a recorded meeting.
3. Automatic Recording: Zoom allows users to set up automatic recording for their meetings. This option ensures that every meeting you host or join is automatically recorded without the need for manual initiation. It is especially useful for regularly scheduled meetings or webinars where you want to ensure that nothing is missed. With automatic recording, you can focus on the discussion at hand, knowing that the content is being captured in the background.
4. Record on This Computer (Host Only): This option restricts meeting recording capabilities to the host of the meeting only. Participants joining the meeting will not have the option to initiate or access the recording. It provides control and privacy for the host, ensuring that the meeting content is managed solely by the designated recording host.
5. Record on the Cloud (Host Only): Similar to the “Record on This Computer” option, this setting limits the recording privileges to the host of the meeting. The difference is that the meeting recordings are saved in the Zoom cloud rather than the local device. This helps streamline the management and sharing of recorded meetings, especially in large organizations and teams.
Now that we have explored the different recording options available in Zoom, let’s proceed to the step-by-step guide for recording a Zoom meeting on your laptop.
Step-by-Step Guide to Recording a Zoom Meeting on Your Laptop
Recording a Zoom meeting on your laptop is a straightforward process that can be done using the Zoom app or third-party screen recording software. In this step-by-step guide, we will walk you through both methods, allowing you to choose the one that suits your needs and preferences.
Method 1: Recording a Zoom Meeting Using the Zoom App
- Launch the Zoom app on your laptop.
- Sign in to your Zoom account or create a new one if you haven’t already.
- Host or join a meeting using the desired meeting ID.
- Once you are in the meeting, locate and click on the “Record” button at the bottom of the Zoom window. It usually appears in the toolbar, labeled as “Record” or with a red dot.
- A pop-up menu will appear with recording options. Choose whether you want to record the meeting locally or in the cloud, based on your preferences and available storage options.
- If you choose local recording, select the destination folder on your laptop where you want to save the recorded meeting file.
- Ensure that all participants are aware that the meeting is being recorded for transparency and legal purposes, as required.
- Throughout the meeting, Zoom will capture the audio, video, and any screen sharing that takes place.
- When you are ready to end the recording, click on the “Stop Recording” button in the Zoom toolbar.
- Wait for Zoom to process and convert the recording. This may take a few minutes depending on the duration of the meeting and your laptop’s processing power.
- Once the recording is processed, you can access it in the designated folder (if using local recording) or in the Zoom cloud (if using cloud recording).
- Review, edit, and share the recorded meeting as needed.
- Remember to delete or archive the recording files after they have served their purpose, keeping in mind any privacy or data retention policies in place.
Method 2: Recording a Zoom Meeting Using Third-Party Screen Recording Software
- If you prefer to use a third-party screen recording software, make sure it is compatible with your laptop’s operating system and meets your requirements.
- Install and set up the chosen screen recording software on your laptop.
- Open the software and configure the recording settings according to your preferences.
- Launch the Zoom app and join or host the meeting you wish to record.
- Start the screen recording software and select the appropriate recording mode (full screen, specific window, etc.).
- Position the screen recording software interface so that it captures the Zoom meeting window.
- Throughout the meeting, the third-party screen recording software will record the audio, video, and screen sharing of the Zoom meeting.
- When the meeting concludes, stop and save the screen recording in the desired location on your laptop.
- Edit and share the recorded meeting as necessary.
By following these step-by-step instructions, you can easily record your Zoom meetings on your laptop, ensuring that important conversations and presentations are captured for future reference and sharing.
Method 1: Recording a Zoom Meeting Using the Zoom App
Zoom provides built-in functionality for recording meetings directly within the Zoom app. This method is straightforward and convenient, allowing you to capture the audio, video, and screen sharing components of the Zoom meeting. Follow the steps below to record a Zoom meeting using the Zoom app:
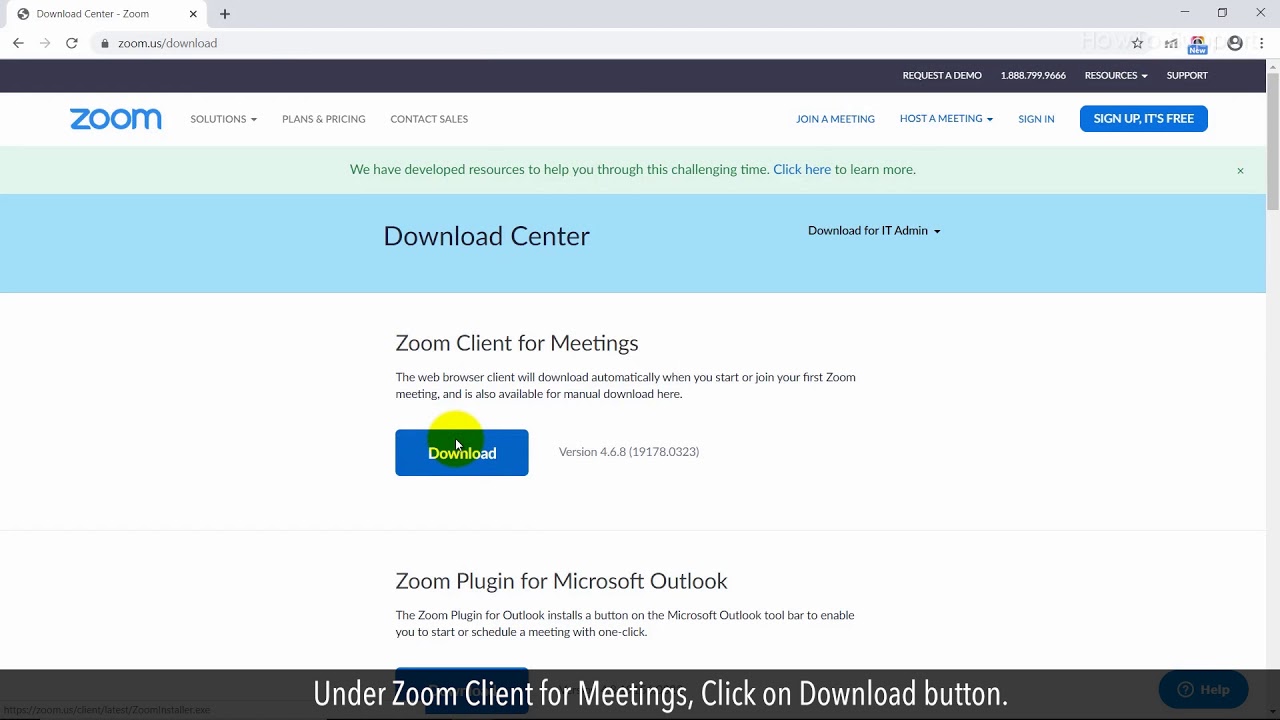
- Launch the Zoom app: Open the Zoom app on your laptop. If you don’t have it installed, download and install it from the official Zoom website.
- Sign in or create a Zoom account: Sign in using your existing Zoom account credentials. If you don’t have an account, click on “Sign Up” to create a new one.
- Host or join a meeting: Once signed in, host or join the meeting that you want to record. You can enter the meeting using the meeting ID provided by the host.
- Initiate the recording: Once you are in the meeting, locate the “Record” button at the bottom of the Zoom window. It is usually located in the toolbar and may be labeled “Record” or feature a red dot icon. Click on this button to start the recording.
- Select the recording option: A pop-up menu will appear, presenting you with recording options. Choose whether you want to record the meeting locally or in the cloud. If you choose local recording, specify the destination folder on your laptop where the recorded meeting file will be saved. If you opt for cloud recording, the recording will be stored in the Zoom cloud.
- Notify participants: It is important to inform all participants that the meeting is being recorded. This helps ensure transparency and compliance with privacy regulations as necessary.
- Proceed with the meeting: As the meeting progresses, Zoom will capture the audio, video, and any shared screens.
- End the recording: When you’re ready to stop the recording, click on the “Stop Recording” button within the Zoom app’s toolbar.
- Processing and accessing the recording: Zoom will process and convert the recorded meeting, which may take a few minutes depending on the meeting duration and your laptop’s processing speed. Once the processing is complete, you can access the recording in the designated folder on your laptop (if using local recording) or in the Zoom cloud (if using cloud recording).
- Review, edit, and share the recording: Take the time to review the recorded meeting, ensuring that everything was captured accurately. Edit the recording if necessary, removing any irrelevant or sensitive content. Share the recording with participants who attended the meeting or others who may benefit from it.
- Manage the recording files: After the recording has served its purpose, consider deleting or archiving the files to free up storage space. Remember to follow any privacy or data retention policies that apply to your organization.
By following this method and leveraging the recording capabilities within the Zoom app, you can easily record and preserve your important Zoom meetings for future reference and sharing.
Method 2: Recording a Zoom Meeting Using a Third-Party Screen Recording Software
If you prefer using a third-party screen recording software, you have the flexibility to choose a tool that meets your specific needs and preferences. This method allows you to have greater control over the recording settings and provides additional features beyond what the Zoom app offers. Follow the steps below to record a Zoom meeting using a third-party screen recording software:
- Choose a reliable screen recording software: Research and select a reputable third-party screen recording software that is compatible with your laptop’s operating system. Ensure that the software provides the necessary recording features and meets your requirements.
- Install and set up the software: Download and install the chosen screen recording software on your laptop. Follow the installation instructions provided by the software vendor. Once installed, configure the recording settings according to your preferences and requirements.
- Open the Zoom app and join/host the meeting: Launch the Zoom app on your laptop and join or host the meeting you wish to record. Enter the meeting using the meeting ID provided by the host.
- Start the screen recording software: Activate the third-party screen recording software on your laptop. Choose the appropriate recording mode, such as full screen, specific window, or custom region, depending on your preferences.
- Position the recording interface: Adjust the recording interface of the screen recording software, positioning it in a way that captures the Zoom meeting window. Ensure that the software is capturing both the audio and video components of the meeting.
- Commence the meeting recording: Start the screen recording software to begin capturing the audio, video, and screen sharing elements of the Zoom meeting. Verify that the software is functioning properly and that the recording is in progress.
- Proceed with the meeting: Continue with the Zoom meeting as usual, knowing that the third-party screen recording software is capturing the content in real-time.
- Stop and save the recording: Once the meeting concludes, stop the screen recording software and save the recorded meeting file in the desired location on your laptop.
- Edit and share the recording: Review the recorded meeting and make any necessary edits to remove irrelevant or sensitive content. Share the recording with relevant participants or others who may find it valuable, using appropriate sharing methods and platforms.
- Manage the recording files: As the recorded meeting file serves its purpose, consider deleting or archiving it to free up storage space on your laptop. Adhere to any data retention or privacy policies that apply to your organization or personal preferences.
By following this method and utilizing a trusted third-party screen recording software, you can tailor the recording settings to your liking and take advantage of additional features that enhance your Zoom meeting recording experience.
Tips for Successful Zoom Meeting Recording
Recording a Zoom meeting on your laptop can greatly benefit your productivity and collaboration efforts. To ensure a smooth and successful recording experience, consider implementing the following tips:
- Inform participants: Before initiating the recording, inform all participants that the meeting will be recorded. This helps establish transparency and compliance with privacy regulations.
- Test the recording settings: Prior to an important meeting, test the recording functionality within Zoom or your chosen screen recording software. Verify that the audio, video, and screen sharing components are being captured properly.
- Ensure sufficient storage space: Ensure that you have enough storage space on your laptop or within your chosen recording destination (local or cloud). Recording high-quality video and audio files can require significant storage space.
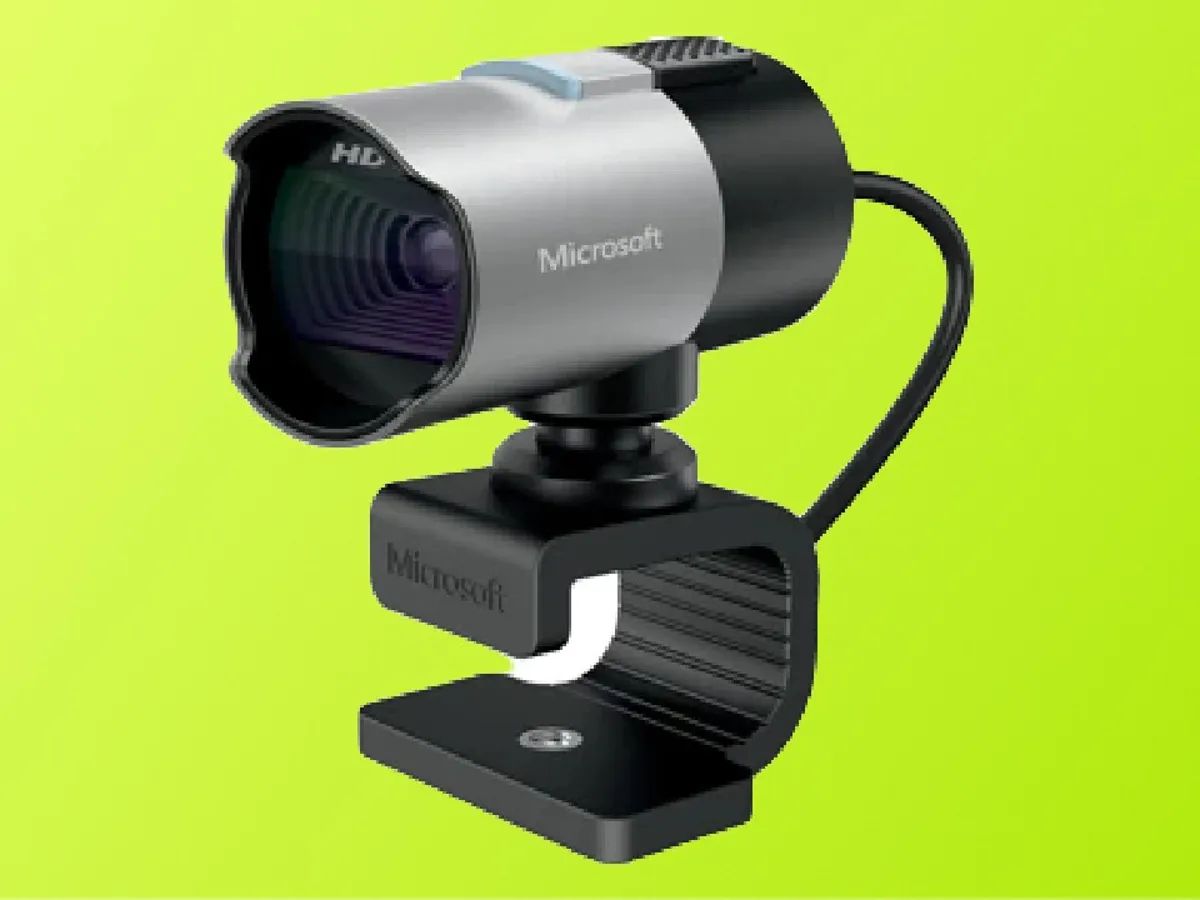
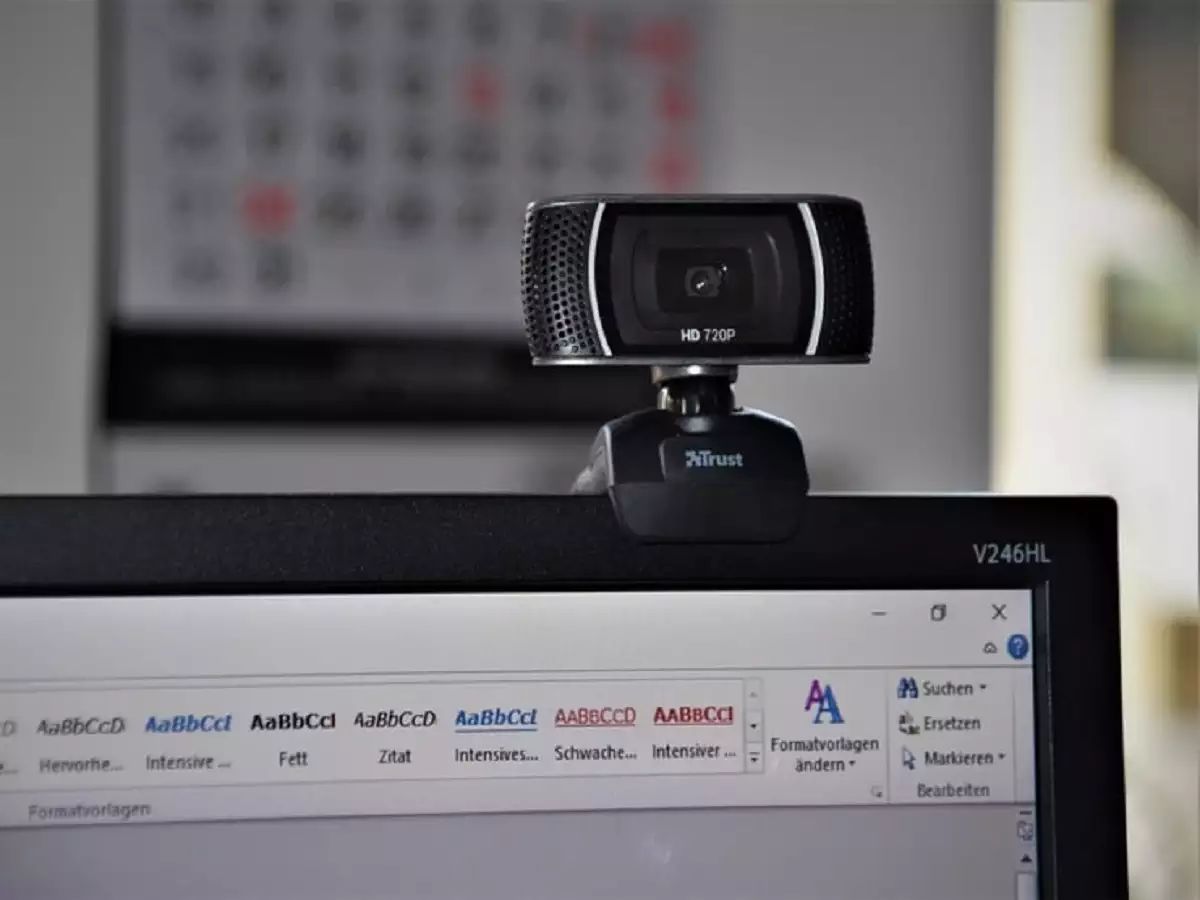
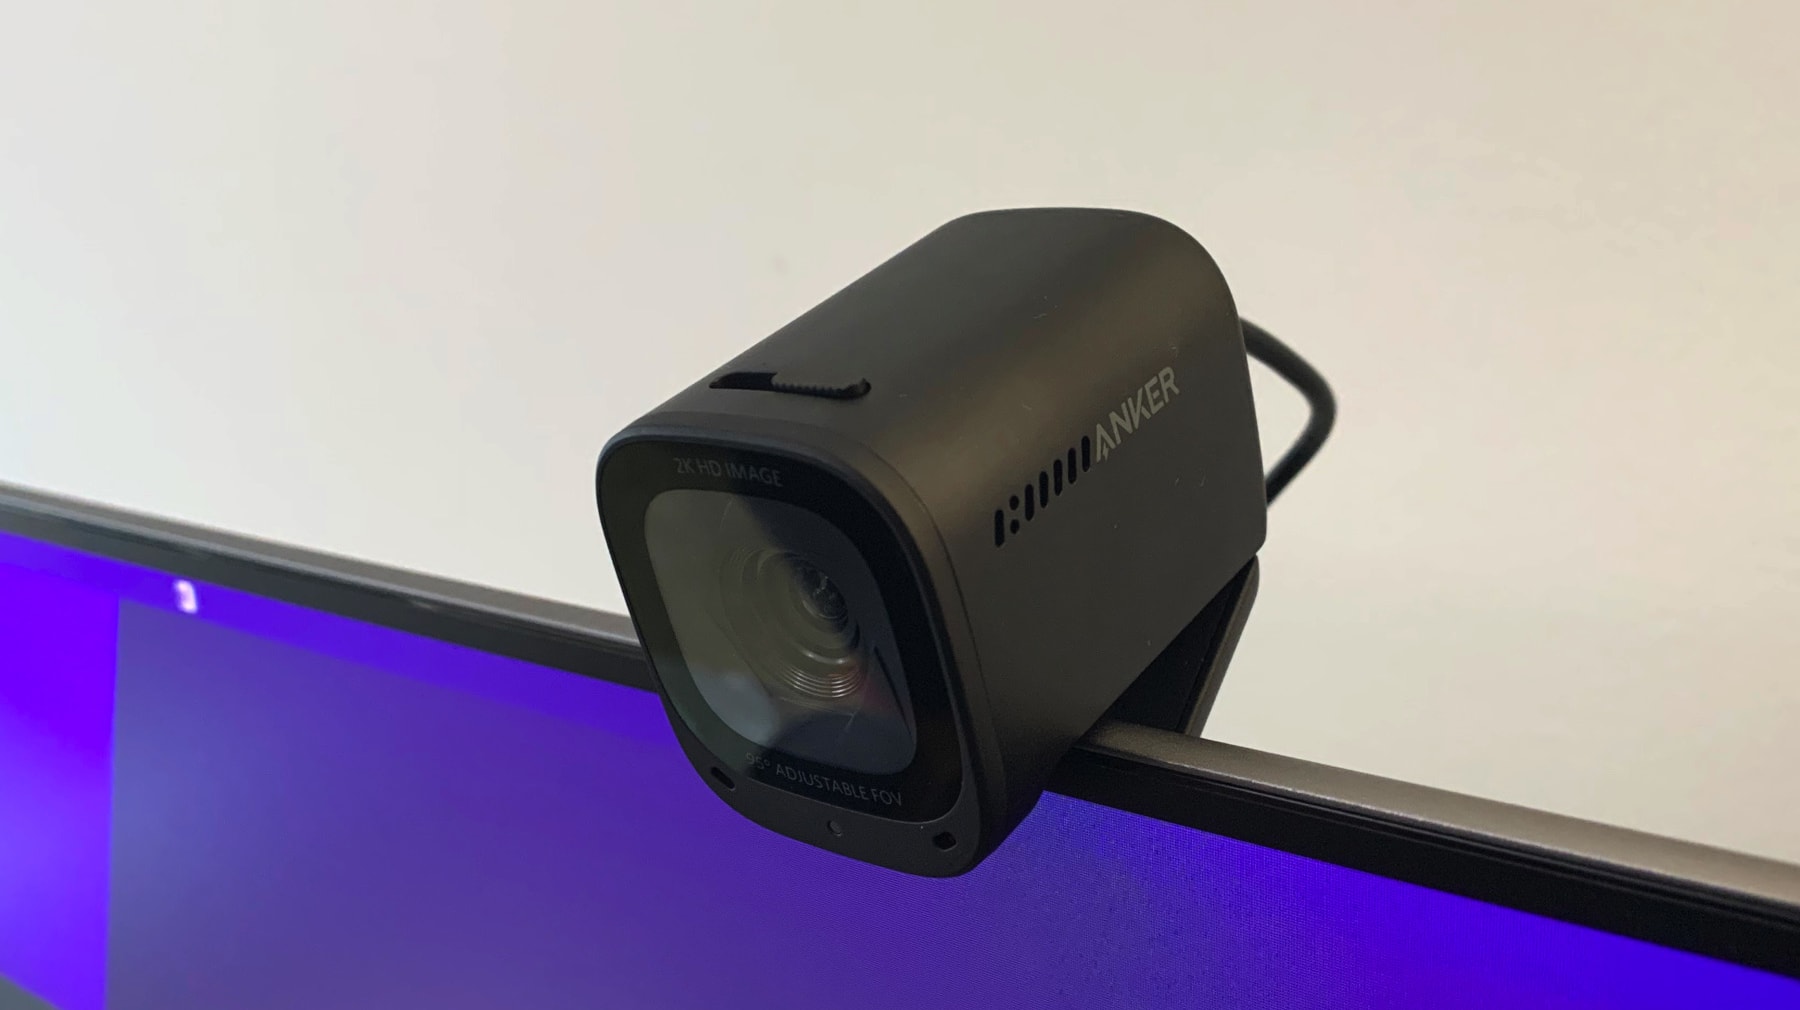
- Position your webcam strategically: If you are recording your video feed, position your webcam in a way that captures your face clearly and ensures good lighting. This helps improve the quality of the recorded video.
- Minimize distractions: Encourage meeting participants to minimize background noise and distractions. Close unnecessary applications and windows to maintain focus and optimize the recording quality.
- Capture important content explicitly: If you are sharing your screen during the meeting, make sure to explicitly state important information or visually highlight key content that you want to be captured in the recording.
- Check the recording status: Keep an eye on the recording status indicator within Zoom or your screen recording software. Ensure that the recording is active and functioning properly throughout the meeting.
- Record backups if necessary: If the meeting is of utmost importance, consider recording backups using multiple devices or applications. This provides an extra layer of security in case of technical issues with one recording.
- Review the recording: After the meeting, take the time to review the recorded content. Check for any audio or video issues, missing parts, or other anomalies. Make any necessary edits or adjustments as required.
- Consider transcribing the recording: If you have a lengthy or information-rich recording, transcribing the content can make it more accessible and searchable. There are various transcription services and software available to assist with this task.
- Respect privacy and permissions: When sharing the recorded meeting with others, ensure that you have obtained the necessary permissions and consider any privacy concerns. Be mindful of any confidential or sensitive information that may need to be redacted or protected.
- Follow data retention policies: If you are recording meetings for business or organizational purposes, familiarize yourself with any data retention policies that apply and adhere to them accordingly. This ensures compliance and data management best practices.
By implementing these tips, you can enhance the quality, efficiency, and usefulness of your Zoom meeting recordings. Whether for reference, sharing, or documentation purposes, successful recording can play a vital role in your virtual collaboration endeavors.
Conclusion
Recording a Zoom meeting on your laptop is a valuable skill that can enhance productivity, collaboration, and information retention. Whether you choose to utilize the built-in recording capabilities of the Zoom app or opt for third-party screen recording software, capturing your virtual meetings has never been easier.
Throughout this article, we explored the various methods for recording a Zoom meeting on your laptop. We discussed the recording options available within the Zoom platform, including local recording, cloud recording, and automatic recording. Additionally, we provided step-by-step instructions for recording a Zoom meeting using both the Zoom app and third-party screen recording software.
To ensure successful Zoom meeting recordings, we offered some valuable tips, such as informing participants, testing recording settings, optimizing webcam placement, minimizing distractions, and checking the recording status. We also emphasized the importance of respecting privacy, following data retention policies, and reviewing recorded content before sharing.
By applying these tips and techniques, you can confidently record your Zoom meetings on your laptop, capturing important discussions, presentations, and shared content. Whether for future reference, knowledge sharing, or archiving purposes, your recordings will serve as a valuable resource for you and your team.
Now that you have a comprehensive understanding of the recording options and methods available, it’s time to put your knowledge into practice. Start recording your Zoom meetings and experience the benefits of having accurate and accessible recordings at your fingertips.
So, fire up your Zoom app or select a reliable screen recording software, and embark on your journey of recording successful and impactful Zoom meetings on your laptop. Happy recording!


