Introduction
So, you have a new Ethernet cable and you need to put a connector on it. Don’t worry, it may seem like a daunting task, but with the right tools and a little guidance, you can easily do it yourself. Whether you want to create a custom length cable or replace a damaged connector, this step-by-step guide will walk you through the process of putting a connector on an Ethernet cable.
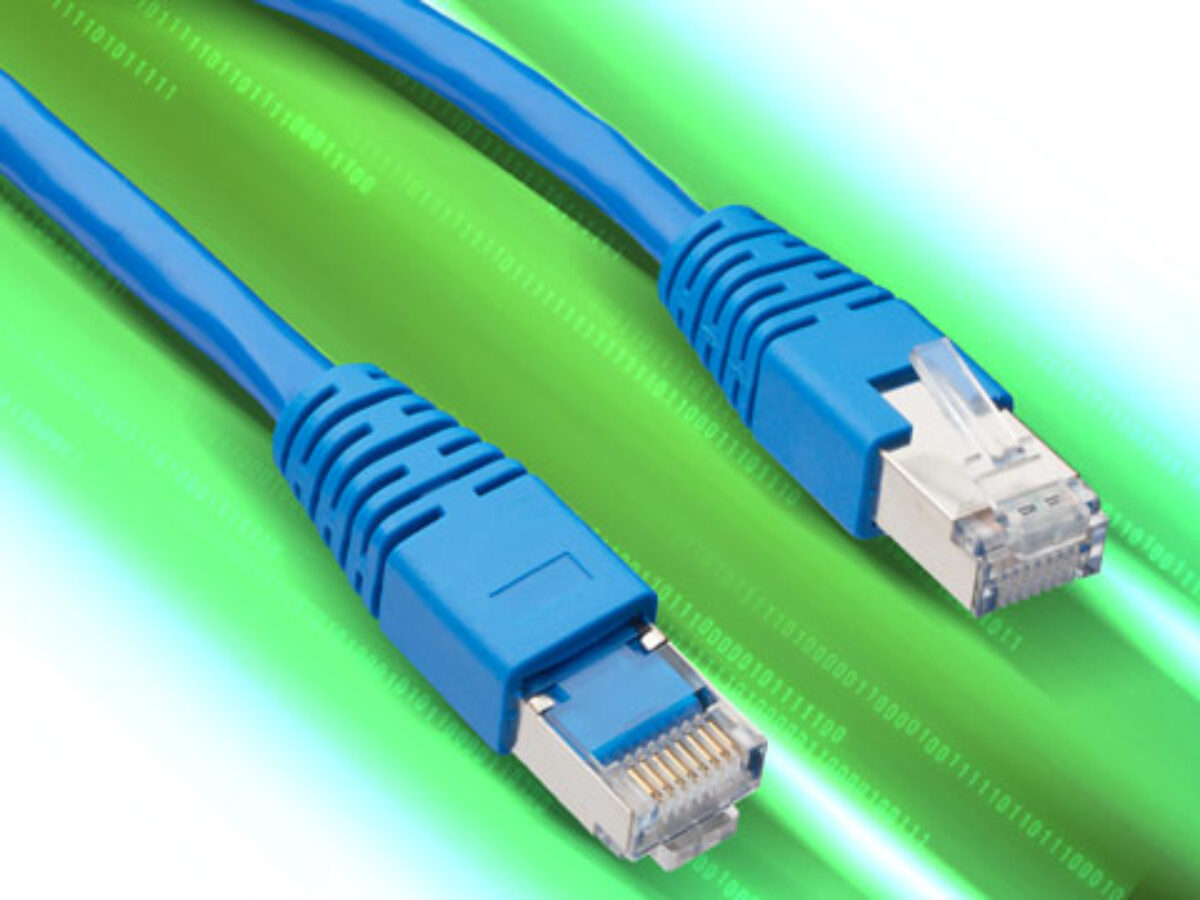
Ethernet cables are the backbone of network connections, allowing computers, routers, and other network devices to communicate with each other. The connector, also known as an RJ-45 connector, is what ensures a secure and reliable connection between the cable and the device.
By following the steps outlined in this guide, you will be able to confidently prepare and crimp Ethernet cables, saving you both time and money. Whether you’re a network technician, a tech-savvy enthusiast, or a DIYer looking to take on a new project, this article is here to help you master the art of putting a connector on an Ethernet cable.
Gathering the necessary tools and materials
Before you begin the process of putting a connector on an Ethernet cable, it’s important to gather all the necessary tools and materials. Having everything you need within reach will make the job much smoother and ensure a successful outcome. Here are the key items you’ll need:
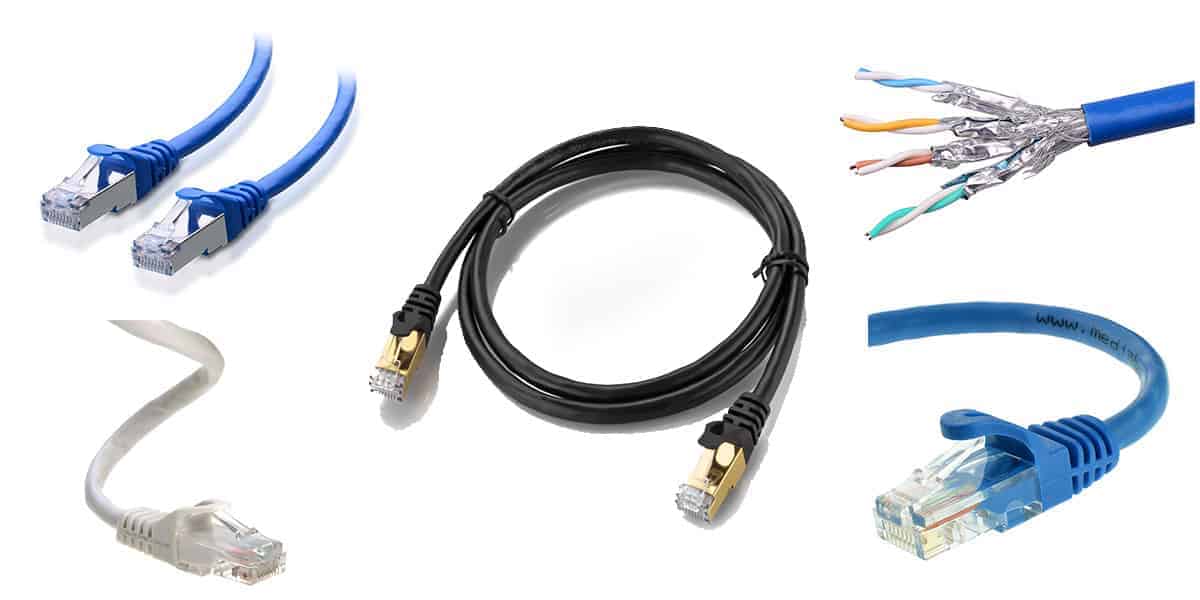
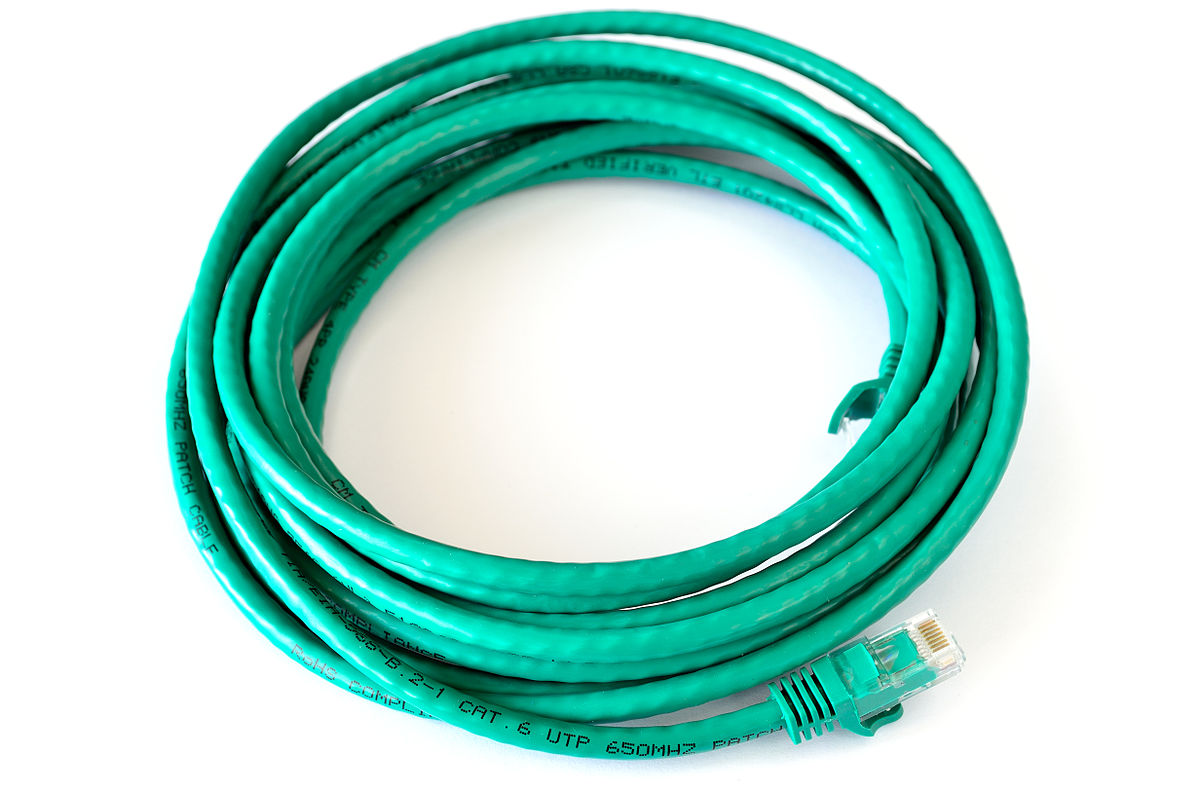
1. Ethernet cable: Select the appropriate type and length of Ethernet cable for your specific needs. It is recommended to use a Category 5e (Cat5e) or Category 6 (Cat6) cable for optimal performance.
2. RJ-45 connectors: These are the connectors specifically designed for Ethernet cables. You can find them at most hardware stores or online. Make sure to choose connectors that match the type of cable you’re using (e.g., Cat5e or Cat6).
3. Cable cutter or wire stripper: A tool specifically designed to cut or strip the outer sheath of the Ethernet cable. This will expose the inner wires that need to be properly arranged and inserted into the connector.
4. Crimping tool: This tool is used to secure the connector onto the cable by crimping it. It ensures a strong and reliable connection. Make sure to choose a crimping tool that is compatible with the type of connectors you have.
5. Cable tester: While not absolutely necessary, a cable tester can be a handy tool to have to ensure that the connection is successful and there are no wiring issues. It will help identify any miswired cables or connectivity problems.
By gathering all these tools and materials before you start, you’ll be well-equipped to tackle the task of putting a connector on an Ethernet cable. Having everything ready will save you time and frustration, allowing the process to go smoothly. Now that you have everything you need, it’s time to move on to the next step: preparing the Ethernet cable.
Preparing the Ethernet cable
To put a connector on an Ethernet cable, you first need to prepare the cable itself. This involves removing the outer sheath to expose the individual wires inside. Follow these steps to prepare the Ethernet cable:
1. Measure and cut the cable: Determine the desired length of the Ethernet cable and use the cable cutter or a sharp pair of scissors to cut it to the appropriate size. Make sure to leave some extra length for any mistakes or adjustments.
2. Remove the cable jacket: Use the cable cutter or wire stripper to carefully remove about 2 to 3 inches of the outer sheath from the cut end of the cable. Be cautious not to nick or cut the inner wires during this process.
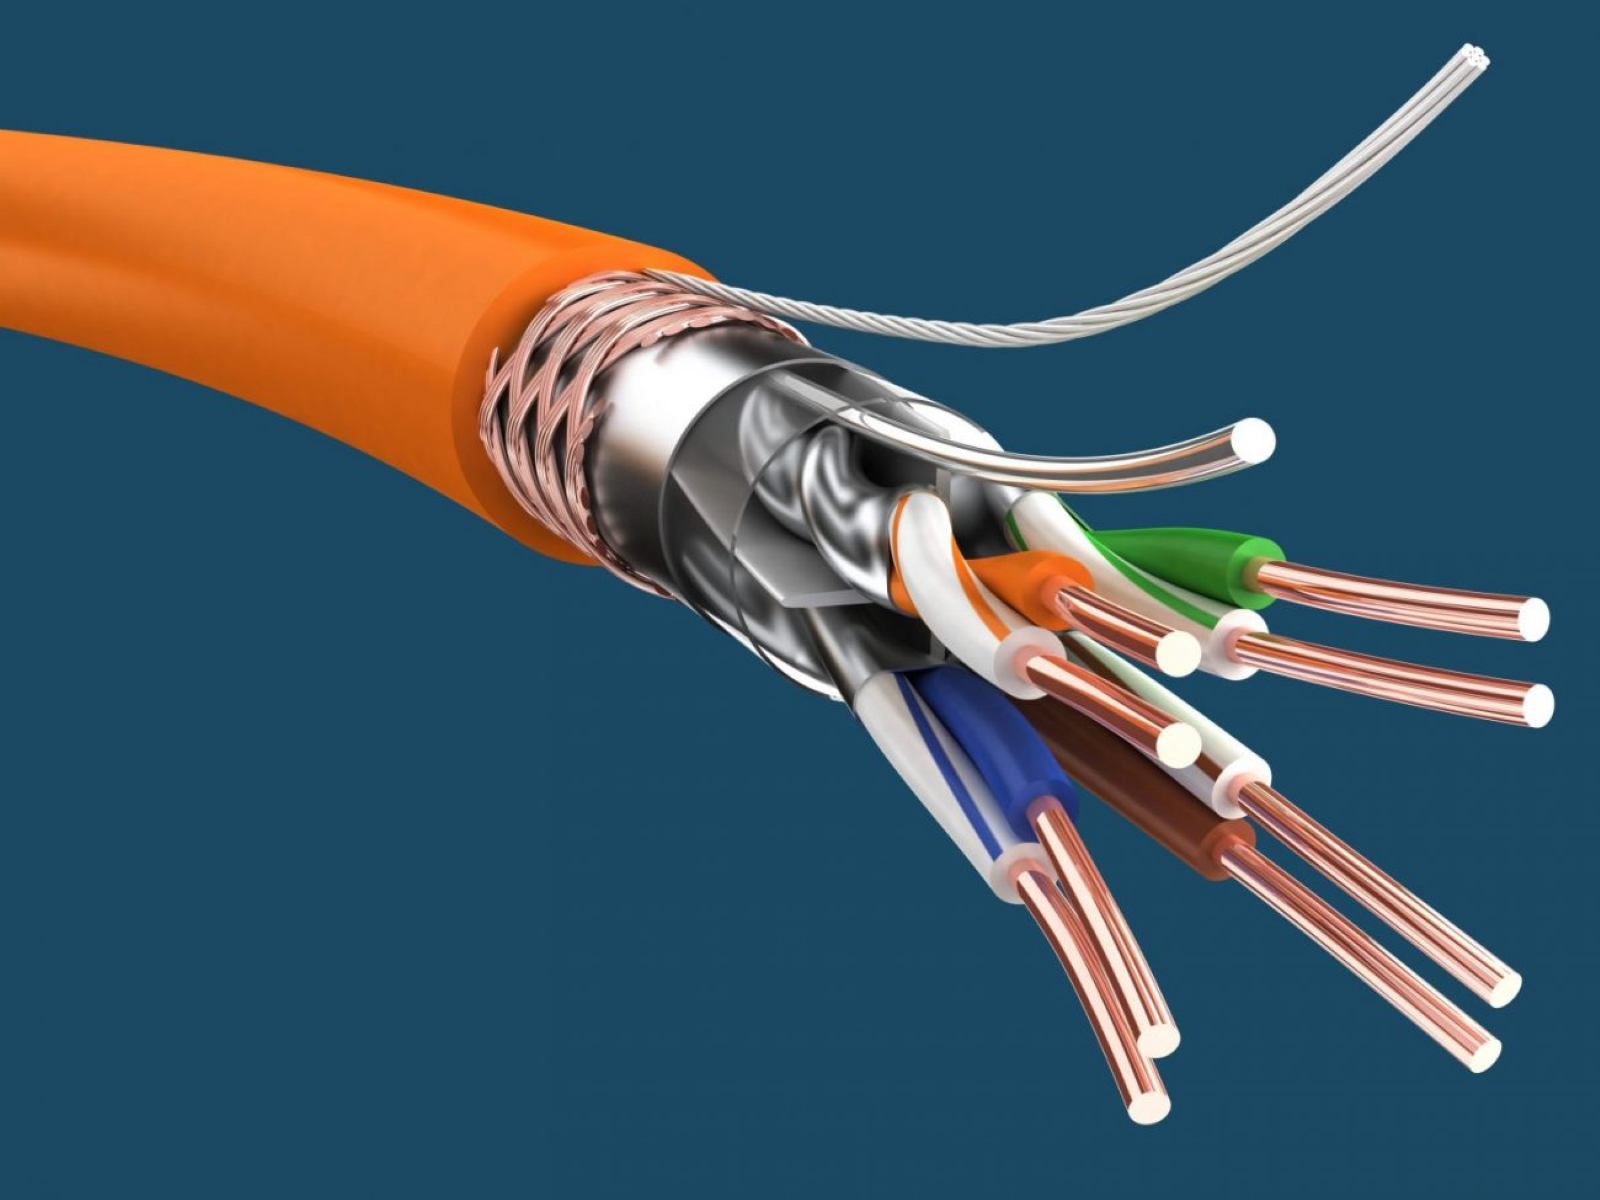
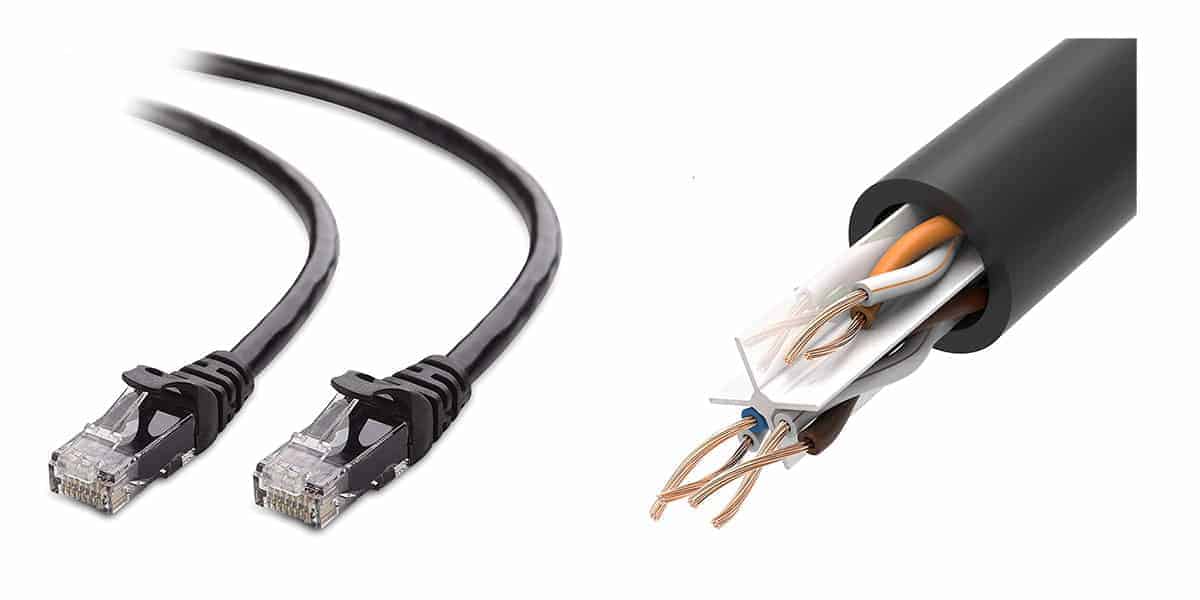
3. Untwist and separate the wire pairs: Once the jacket is removed, you will find four twisted pairs of wires inside. Gently untwist the pairs and separate them from each other.
4. Straighten the wires: With your fingers or a wire straightener tool, straighten each wire from the untwisted pairs. This will make it easier to arrange them in the correct order when inserting them into the connector.
By properly preparing the Ethernet cable, you ensure that the inner wires are ready to be arranged and inserted into the connector. Taking the time to carefully remove the outer sheath and straighten the wires will result in a high-quality and reliable connection. Once you’ve completed this step, you’re ready to move on to the next phase: stripping the pairs.
Stripping the outer sheath
After preparing the Ethernet cable, the next step is to strip the outer sheath of the cable. This process involves removing a small portion of the insulation from each individual wire pair, exposing the bare wires that will be inserted into the connector. Follow these steps to strip the outer sheath of the Ethernet cable:
1. Choose the appropriate slot: Look for the slot on your wire stripper that matches the gauge or size of the wires in your Ethernet cable. This will ensure that you remove just the right amount of insulation without damaging the wires.
2. Insert the cable: Slide the cut end of the Ethernet cable into the slot of the wire stripper until it reaches the point where you want to strip the outer sheath. It is recommended to strip about 0.5 to 1 inch of insulation from each wire pair.
3. Rotate and apply pressure: Once the cable is inserted, rotate the wire stripper around the cable while applying gentle pressure. This will score the outer sheath, making it easier to remove. Make sure not to press too hard, as this can damage the inner wires.
4. Pull and remove the sheath: After scoring the outer sheath, gently pull on the wire stripper to remove the strip of insulation. Be careful while doing this to avoid pulling on the inner wires. Repeat this step for each wire pair until all the outer sheath is removed.
By stripping the outer sheath of the Ethernet cable, you expose the individual wire pairs, allowing for proper arrangement and insertion into the connector. Take your time and be careful during this step to ensure that the wires remain intact and undamaged. Once you have stripped the outer sheath, you’re ready to move on to the next phase: untwisting the pairs.
Untwisting the pairs
After stripping the outer sheath of the Ethernet cable, the next step is to untwist the pairs of wires. Ethernet cables typically contain four twisted pairs of wires, and untwisting them is important to ensure proper arrangement and insertion into the connector. Follow these steps to untwist the wire pairs:
1. Hold the cable from the cut end: Take the Ethernet cable in one hand, near the cut end, and firmly grip it to prevent it from rotating while untwisting the pairs.
2. Separate and untwist the pairs: Using your other hand, carefully separate each pair of wires and untwist them. Start by untwisting the first pair and work your way through each of the remaining three pairs. Take care to keep the pairs separated and avoid tangling or mixing them up.
3. Straighten the wires: Once you have untwisted all the wire pairs, straighten each wire individually using your fingers or a wire straightener tool. This will make it easier to arrange them in the correct order when inserting them into the connector.
By untwisting the pairs of wires in the Ethernet cable, you ensure that each wire is easily accessible and can be arranged correctly in the connector. Taking the time to separate and straighten the wires will lead to a neat and organized final connection. With the wire pairs untwisted, you can now move on to the next step: trimming the wires.
Trimming the wires
After untwisting the pairs of wires in the Ethernet cable, the next step is to trim the wires to ensure they are all the same length. This step is important to create a clean and uniform connection in the connector. Follow these steps to trim the wires:
1. Inspect the wires: Take a close look at the untwisted wires and make sure they are all aligned and in the correct order. Check for any damaged or frayed wires and trim them if necessary.
2. Estimate the length: Determine the desired length for the exposed wires inside the connector. It is recommended to leave approximately 0.5 to 0.75 inches of wire exposed beyond the outer sheath of the connector.
3. Cut the wires: Using a sharp pair of wire cutters or scissors, carefully trim the wires to the estimated length. Be cautious not to cut them too short or leave them too long, as this can affect the quality of the connection.
4. Double-check the length: Once you have trimmed all the wires, take a moment to ensure that they are all the same length. This will help maintain consistency when inserting them into the connector.
By trimming the wires to the appropriate length, you create a clean and uniform appearance inside the connector, which is essential for a reliable connection. Taking the time to inspect and trim the wires properly will result in a professional-looking Ethernet cable. With the wires trimmed, you’re ready to move on to the next phase: arranging the wires in the correct order.
Arranging the wires in the correct order
Once the wires in the Ethernet cable have been trimmed to the appropriate length, the next step is to arrange them in the correct order. Properly arranging the wires is crucial for maintaining the integrity and functionality of the Ethernet connection. Follow these steps to arrange the wires in the correct order:
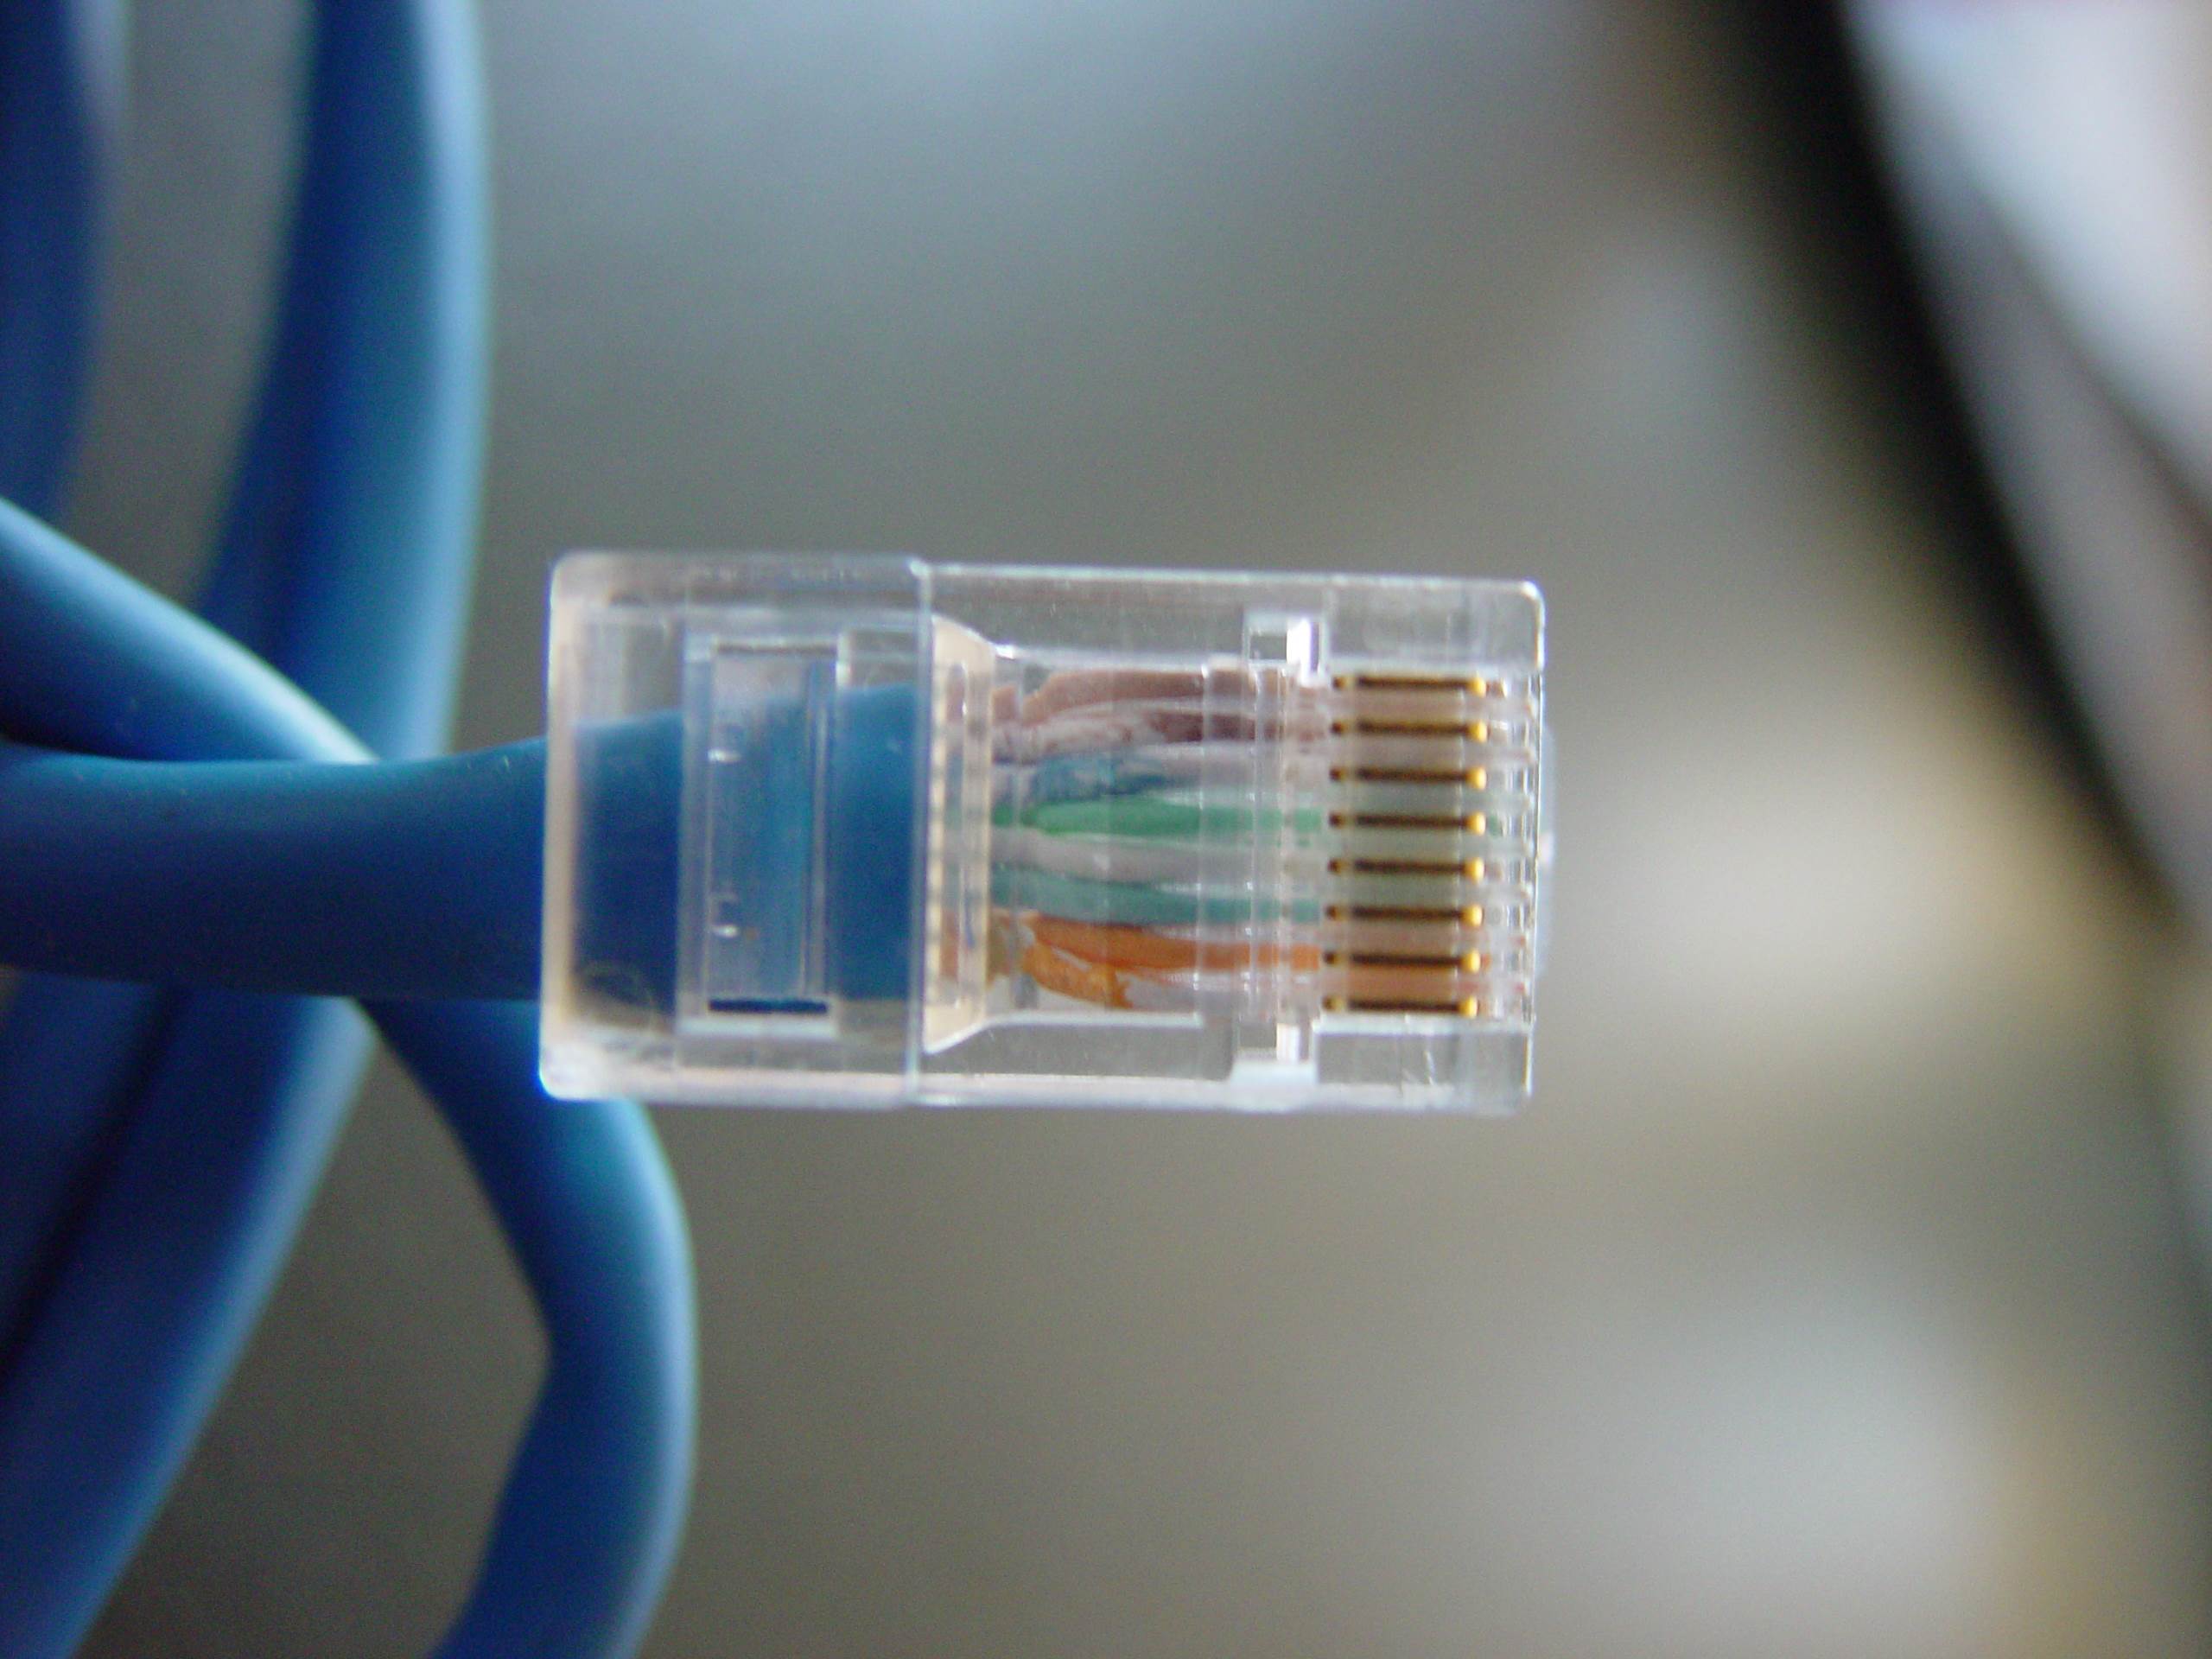
1. Understand the T568B standard: Ethernet cables typically follow the T568B standard for wire arrangement. This standard ensures compatibility and consistency among Ethernet devices. Familiarize yourself with the color-coding scheme associated with this standard to correctly arrange the wires.
2. Identify the wire positions: Look closely at the connector and identify the eight pin positions. These pins will correspond to the eight wires in the Ethernet cable. Make a mental note or refer to a reference guide to ensure you place the wires in the correct positions.
3. Arrange the wires: Following the T568B standard, arrange the wires in the following order, from left to right:
- Pin 1: Orange Stripe
- Pin 2: Orange
- Pin 3: Green Stripe
- Pin 4: Blue
- Pin 5: Blue Stripe
- Pin 6: Green
- Pin 7: Brown Stripe
- Pin 8: Brown
4. Straighten and align the wires: Once arranged, straighten and align the wires so that they sit neatly side by side. This will make it easier to insert them into the connector and ensure a solid connection.
By arranging the wires in the correct order, you establish the necessary connections for transmitting data over the Ethernet cable. Following the T568B standard ensures compatibility and consistency. With the wires correctly arranged, you’re ready to move on to the next step: inserting the wires into the connector.
Inserting the wires into the connector
Now that the wires in the Ethernet cable have been properly arranged, the next step is to insert them into the connector. This step requires precision and attention to detail to ensure a secure and reliable connection. Follow these steps to insert the wires into the connector:
1. Hold the connector: Take the RJ-45 connector in one hand, with the metal contacts facing up and the tab facing down. Ensure that the connector is oriented correctly before proceeding.
2. Insert the wires: Take the arranged wires and carefully insert them into the connector, one at a time. Make sure to insert each wire fully into its designated pin position in the connector. Use your other hand to hold the wires in place and prevent them from shifting or crossing over each other.
3. Verify the wire alignment: Double-check that the wires are aligned with the correct pin positions in the connector. Ensure that each wire is snugly inserted and that no wires are out of place or crossing over each other.
4. Push the wires down: Using your thumb or a gentle force, push the wires down into the connector until they are fully seated. Make sure that they are inserted all the way to the bottom of the connector to establish a solid and reliable connection.
By carefully inserting the wires into the connector, you ensure that each wire is properly aligned with its designated pin position. Taking the time to verify the alignment and push the wires down securely will help guarantee a strong and stable Ethernet connection. With the wires inserted, you’re ready to move on to the next step: crimping the connector.
Crimping the connector
After successfully inserting the wires into the connector, the next step is to crimp the connector. Crimping is the process of securing the connector onto the Ethernet cable, ensuring a tight and reliable connection. Follow these steps to properly crimp the connector:
1. Position the connector in the crimping tool: Take the connector with the wires inserted and position it in the appropriate slot of the crimping tool. Ensure that the connector is fully seated in the slot and aligned correctly.
2. Apply pressure and crimp: With the connector in position, apply firm and even pressure to the crimping tool handles. This will compress the connector and apply the necessary force to secure it onto the wires. Be careful not to apply too much pressure, as this can damage the connector or wires.
3. Release the crimping tool: After applying pressure, release the handles of the crimping tool to remove it from the connector. Make sure to do this gently and avoid any sudden movements that may disrupt the connection.
4. Inspect the crimped connector: Take a moment to inspect the crimped connector and ensure that it is firmly secured onto the wires. Check that all the metal contacts in the connector are properly aligned and fully engaged with the corresponding wires.
Crimping the connector is the final step in the process of putting a connector on an Ethernet cable. A properly crimped connector will provide a strong and reliable connection for data transmission. Take your time and ensure that the crimping is done correctly to avoid any future connectivity issues. With the connector crimped, you’re almost there – the final step is to test the connection.
Testing the connection
After crimping the connector onto the Ethernet cable, it’s essential to test the connection to ensure it is working properly. Testing the connection will help identify any wiring issues or connectivity problems that need to be addressed. Follow these steps to test the Ethernet connection:
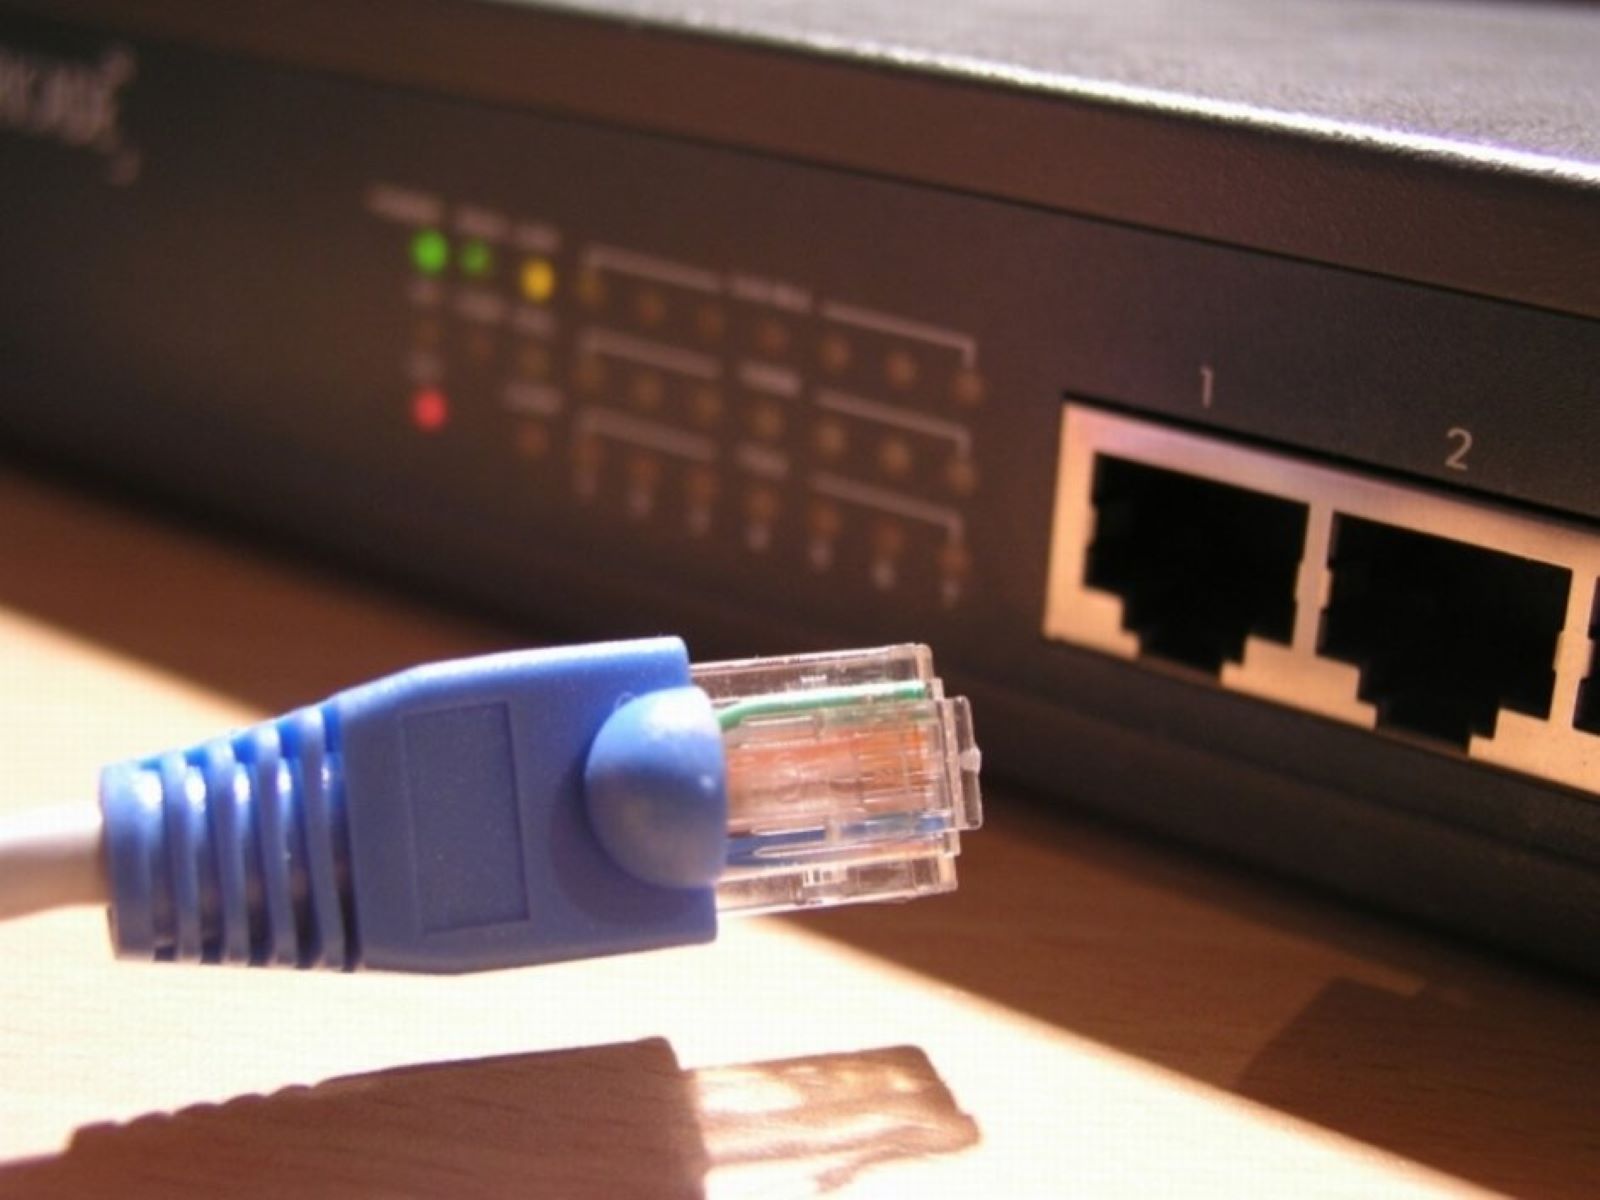
1. Connect the Ethernet cable: Plug one end of the Ethernet cable into a compatible device such as a computer, router, or switch. Ensure that the cable is securely inserted into the Ethernet port.
2. Check the link status: On the device you connected the cable to, look for the link status indicator. It may be a small LED light or a display on your device’s screen. The link status indicator should light up or display a signal if the connection is successful.
3. Verify network connectivity: Open a web browser or use any network-dependent application on the device. Attempt to access a website or communicate with other network devices. If the connection is successful, you should be able to access the internet or connect with other devices.
4. Perform a speed test: If you want to ensure the quality and speed of your connection, you can perform an internet speed test. Numerous online tools are available that can measure your upload and download speeds. Conducting a speed test will give you an idea of the performance of your Ethernet connection.
By testing the connection, you can confirm that all the wires are properly connected and that the Ethernet cable is functioning as intended. If you encounter any issues during the test, double-check the wiring, connector, and device settings. Make any necessary adjustments or seek professional assistance to troubleshoot and resolve the problem.
With the connection successfully tested and confirmed, you can now enjoy the benefits of a reliable Ethernet network. Whether you are using it for internet browsing, gaming, or file transfers, a properly crimped Ethernet cable will provide a stable and fast connection for all your networking needs.