Introduction
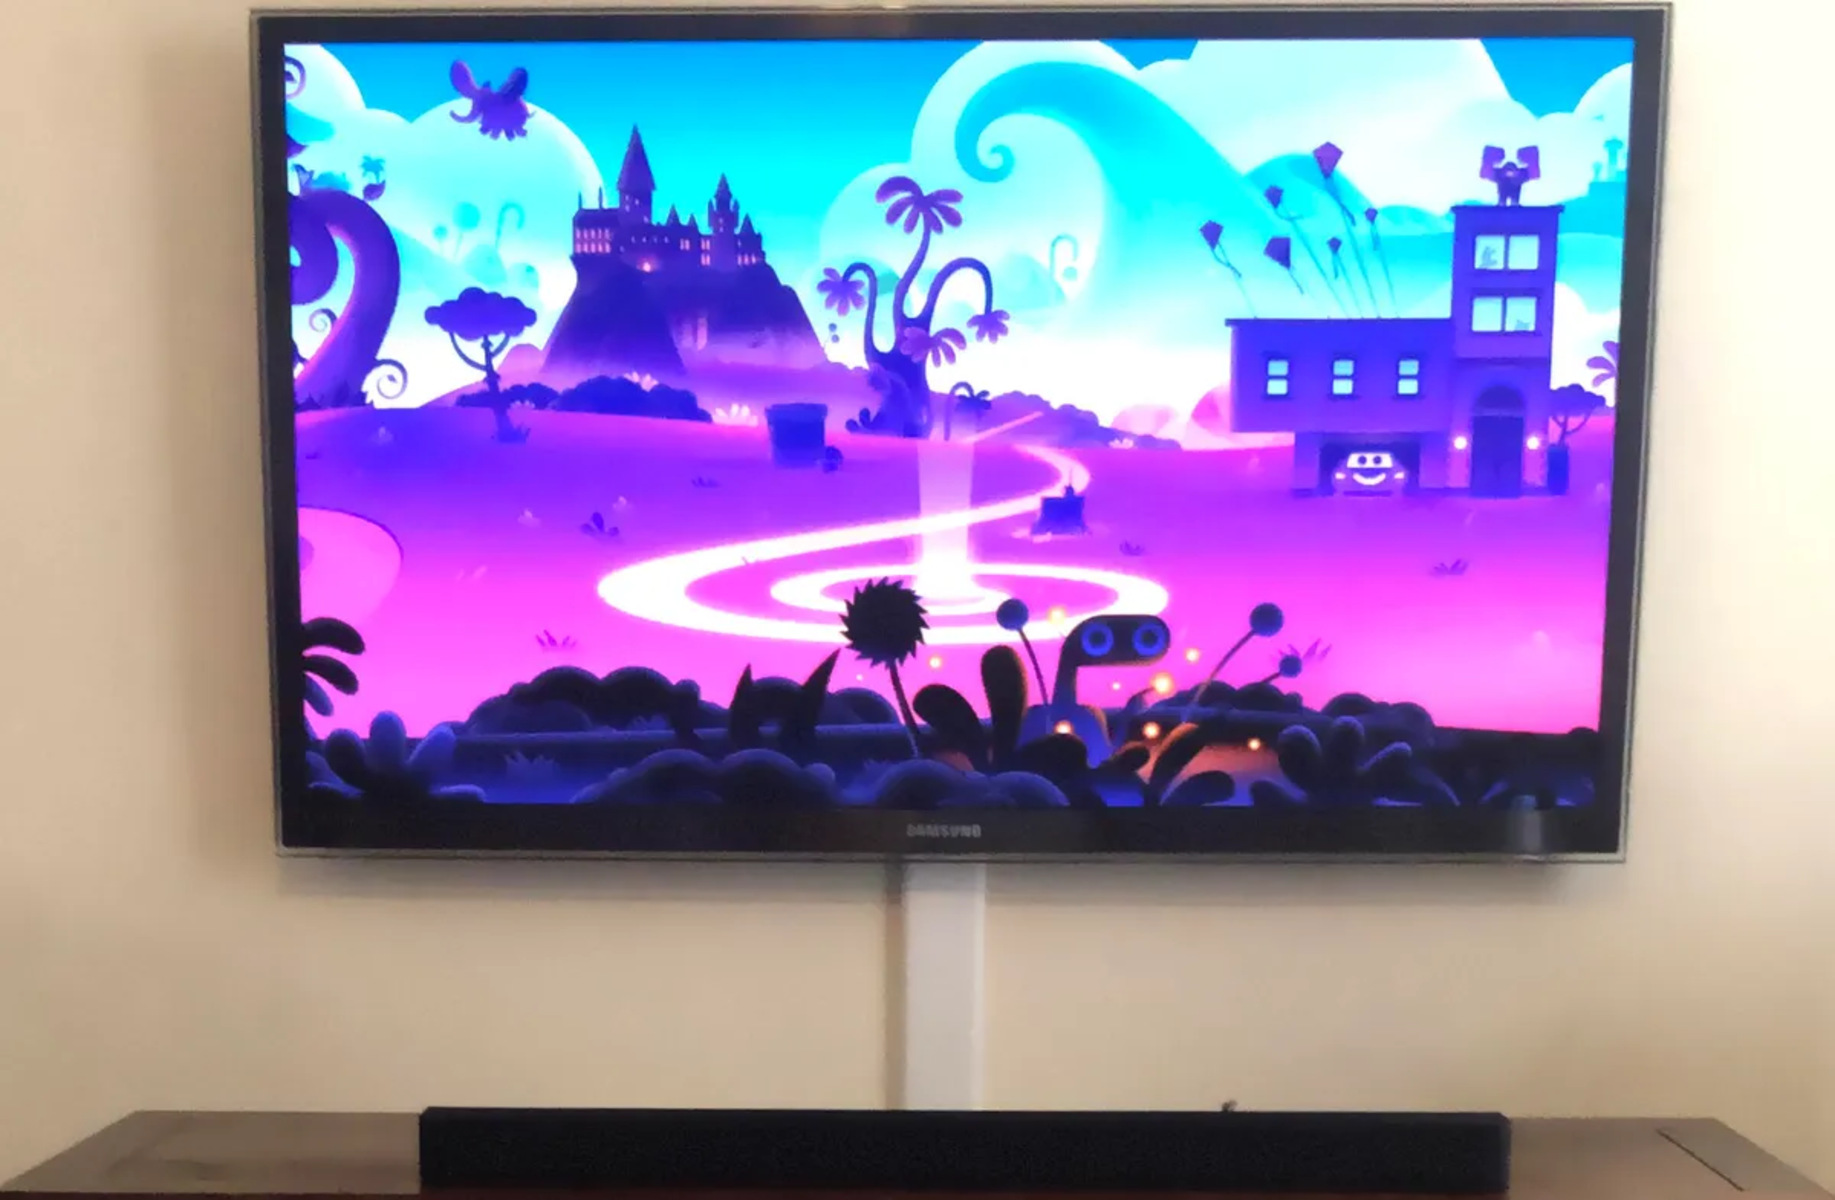
Are you tired of messy cables cluttering up your living space? Do you want to enjoy a clean and sleek entertainment setup? Pulling an HDMI cable through the wall is the solution you’ve been looking for. By concealing your HDMI cables behind the walls, you can create a seamless and organized look for your home theater or multimedia setup.
Whether you’re connecting your TV to a soundbar, setting up a gaming console, or creating a home theater system, pulling HDMI cables through the wall offers numerous benefits. Not only does it help to eliminate wire tangles and tripping hazards, but it also allows you to hide unsightly cables and optimize the functionality of your space. Plus, it’s easier than you might think!
In this step-by-step guide, we’ll walk you through the process of pulling an HDMI cable through the wall. We’ll cover everything from gathering the necessary tools to sealing the holes and tidying up the area. By following these instructions, you’ll be able to achieve a clean and professional-looking cable installation.
Before we dive into the steps, it’s important to note that you should always exercise caution and follow safety guidelines when working with cables and cutting into walls. If you’re not comfortable performing these tasks yourself, it’s best to consult a professional.
Now, let’s get started on transforming your entertainment setup into a cable-free haven!
Step 1: Gather the necessary tools and materials
Before you begin pulling an HDMI cable through the wall, it’s essential to gather all the tools and materials you’ll need for the installation. Having everything prepared in advance will help streamline the process and ensure a successful outcome.
Here are the tools and materials you’ll need:
- HDMI cable: Choose a high-quality HDMI cable that is long enough to reach from your source device to your display or audio system. Consider the length carefully and plan your cable route accordingly.
- Fish tape or wire fish: This tool will help you navigate the HDMI cable through the walls. A fish tape consists of a long, flexible metal strip that can be threaded through small openings and used to pull the cable through.
- Tape measure: Use a tape measure to determine the distance between your source device and display or audio system. This will help you choose the appropriate length for your HDMI cable.
- Fishing rods: Fishing rods are flexible rods that can be connected to one another, allowing you to reach deep into the walls. These are particularly useful when dealing with longer cable runs or obstacles.
- Drill and drill bits: You’ll need a drill to create holes in the walls for the cable to pass through. Make sure you have the appropriate size drill bits for the job.
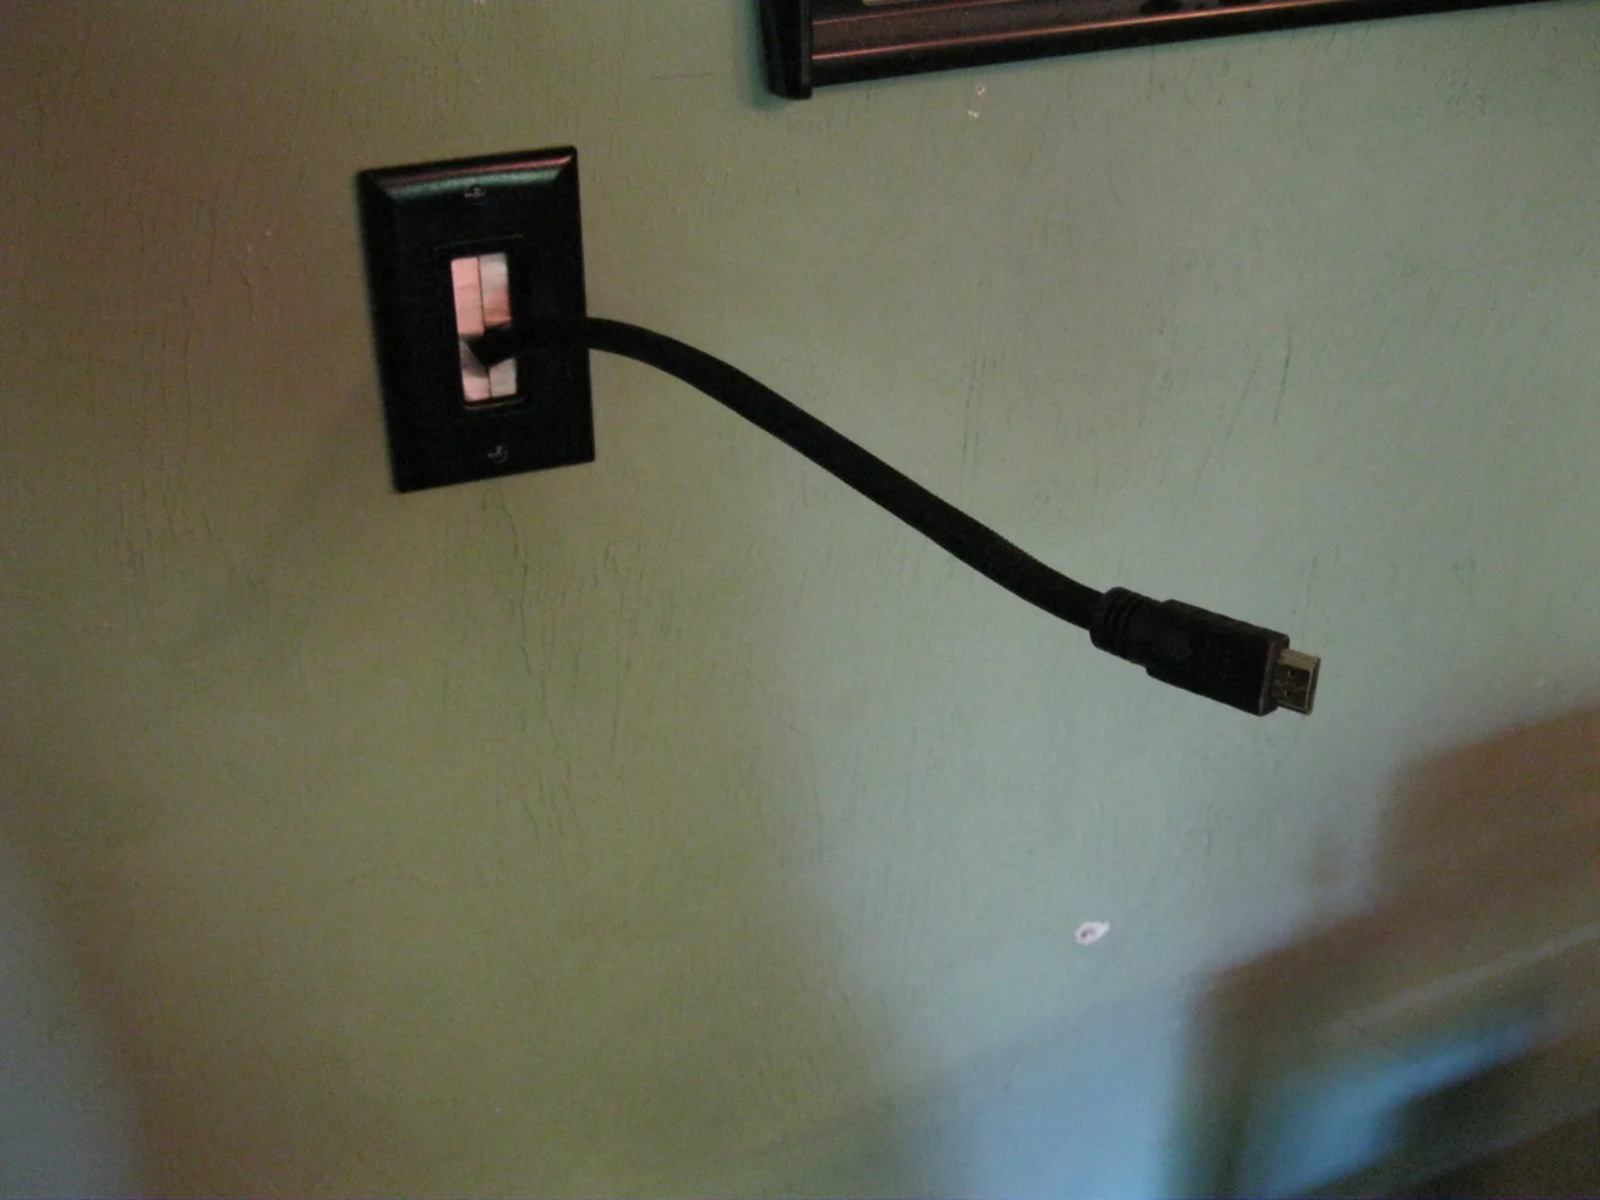
- Wallplates: Wallplates are used to create a finished look and provide access to the HDMI cable. Choose wallplates that match the style of your room and accommodate the number of HDMI cables you plan to install.
- Screwdriver: Depending on the type of wallplate you choose, you may need a screwdriver to secure it in place.
- Cable ties or cable management clips: These accessories will help keep your HDMI cable neatly organized and prevent it from getting tangled.
- Drywall saw or keyhole saw: In some cases, you may need a saw to cut holes in the drywall for the cable to pass through. Ensure you have the appropriate tools for your specific wall type.
- Protective eyewear and gloves: It’s always important to prioritize safety when working with tools. Use protective eyewear and gloves to protect yourself from potential hazards.
By gathering these tools and materials before starting the installation, you’ll be well-prepared to tackle the project and achieve professional-quality results. Once you have everything ready, it’s time to move on to the next step: identifying the best path for your HDMI cable.
Step 2: Identify the best path for your HDMI cable
Now that you have all the necessary tools and materials, it’s time to identify the best path for your HDMI cable through the wall. This step involves determining the most efficient and aesthetically pleasing route for your cable, taking into account factors such as distance, obstacles, and accessibility.
Here’s a step-by-step guide to help you identify the best path:
- Inspect the walls: Begin by examining the walls where you plan to route the HDMI cable. Look for existing openings, such as electrical outlets or cable management ports, that you can utilize. These can provide an easier and more discreet path for your cable.
- Consider the distance: Measure the distance between your source device and the display or audio system. This measurement will help you determine the length of the HDMI cable you need and assist in planning the cable route.
- Identify obstacles: Take note of any potential obstacles in the walls, such as studs, pipes, or electrical wiring. These obstacles may require you to adjust the cable route or use additional tools like fishing rods to navigate around them.
- Assess accessibility: Consider the accessibility of the walls. If you have access panels or unfinished areas, it may be easier to route the HDMI cable through those spaces rather than dealing with finished walls. Keep in mind that accessibility can affect both the ease of installation and the ability to make future adjustments if needed.
- Plan for future needs: Anticipate any potential future needs for additional cables or upgrades to your setup. Leaving extra space or installing conduit can make it easier to add or replace cables in the future without requiring extensive wall modifications.
By carefully assessing your walls, measuring distances, and considering obstacles and accessibility, you’ll be able to choose the best path for your HDMI cable installation. Remember to be flexible and open to adjusting the route if necessary to ensure a smooth and successful installation.
Once you have identified the best path, it’s time to move on to the next step: preparing the cable for installation.
Step 3: Prepare the cable for installation
Before you can start pulling the HDMI cable through the wall, it’s important to properly prepare the cable. This step involves ensuring the cable is in good condition, making any necessary adjustments, and adding any required connectors or adapters.
Follow these steps to prepare the HDMI cable for installation:
- Inspect the cable: Carefully examine the HDMI cable to ensure there are no visible damages or kinks that could affect the signal transmission. If you notice any issues, consider replacing the cable.
- Test the cable: If possible, test the HDMI cable to ensure it is fully functional. Connect it to your source device and display or audio system to verify that it supports the desired resolutions and features.
- Add connectors or adapters: Depending on your setup, you may need to add connectors or adapters to the ends of the HDMI cable. For example, if you are connecting to a wall-mounted TV, you may need a right-angle HDMI adapter to ensure a flush fit on the back of the TV.
- Label the ends: To make future troubleshooting or adjustments easier, consider labeling the ends of the HDMI cable. Use small adhesive labels or colored tape to differentiate between the source device and display end of the cable.
By taking the time to inspect and test the HDMI cable, as well as adding any necessary connectors or adapters, you can ensure a smooth installation process. Additionally, labeling the ends of the cable will save you time and frustration in the future when making adjustments or troubleshooting any connectivity issues.
Now that the HDMI cable is properly prepared, it’s time to move on to the next step: marking and cutting the holes for the cable.
Step 4: Mark and cut the holes for your HDMI cable
Now that you have your HDMI cable prepared, it’s time to mark and cut the holes in the walls where the cable will pass through. Properly marking and cutting the holes ensures a clean and professional-looking installation.
Follow these steps to mark and cut the holes for your HDMI cable:
- Plan the locations: Determine where you want the HDMI cable to enter and exit the walls. Consider factors such as the proximity to your source device and display, as well as the most convenient and aesthetic locations.
- Use a stud finder: If you plan to route the HDMI cable through stud bays, use a stud finder to locate the studs. This will help you avoid cutting into a stud and ensure a secure attachment for any wallplates you plan to install.
- Measure and mark the holes: Measure the diameter of the HDMI cable and mark the corresponding hole size on the wall. Use a pencil or a marker to make clear and precise markings.
- Cut the holes: Use a drywall saw or keyhole saw to carefully cut along the marked lines. Take your time and use gentle, controlled movements to prevent any damage to the surrounding wall.
- Check for obstructions: Once the holes are cut, check inside the wall for any obstructions such as insulation or electrical wiring. Clear away any obstacles that may hinder the cable from passing smoothly through the wall.
Remember to work cautiously and double-check your measurements before cutting the holes to avoid any mistakes. It’s always a good idea to start with smaller holes and gradually enlarge them if needed, ensuring a snug fit for the HDMI cable.
Once the holes are cut and any obstructions are cleared, you’re ready to move on to the next step: fishing the HDMI cable through the wall.
Step 5: Fish the HDMI cable through the wall
With the holes cut, it’s time to fish the HDMI cable through the wall. This step requires patience and precision to ensure the cable is properly guided through the designated route without any snags or complications.
Follow these steps to fish the HDMI cable through the wall:
- Attach the cable to the fish tape or wire fish: Securely fasten one end of the HDMI cable to the fish tape or wire fish. Ensure it is tightly wrapped or secured to prevent it from detaching during the installation process.
- Insert the fish tape or wire fish into the entry hole: Carefully guide the fish tape or wire fish with the attached HDMI cable into the entry hole. Use a gentle pushing and twisting motion to navigate through the wall. If you encounter any resistance, try using gentle rocking motions to ease the cable past any obstructions.
- Navigate through the wall: Gradually feed the fish tape or wire fish through the wall, following the planned route. Use fishing rods or additional tools as needed to help navigate through longer runs or around obstacles.
- Retrieve the cable at the exit hole: Once the fish tape or wire fish reaches the exit hole, carefully pull it through while keeping a firm grip on the HDMI cable. Ensure that the HDMI cable is not twisted or tangled as it is pulled through the wall.
- Secure the HDMI cable: Once the HDMI cable is successfully pulled through the wall, gently release it from the fish tape or wire fish. Ensure that it is properly positioned and not pulled tightly, leaving a bit of slack for any future adjustments.
Remember to work slowly and carefully to avoid damaging the HDMI cable or causing any undue stress on it during the fishing process. If you encounter any difficulties or obstructions, take your time and assess the situation to find the best solution for smooth cable installation.
With the HDMI cable successfully fished through the wall, you’re ready to move on to the next step: connecting the HDMI cable to your devices.
Step 6: Connect the HDMI cable to your devices
Now that the HDMI cable is successfully pulled through the wall, it’s time to connect it to your devices. This step involves making the necessary connections between your source device and display or audio system, ensuring a proper and seamless signal transmission.
Follow these steps to connect the HDMI cable:
- Locate the HDMI ports: Identify the HDMI ports on your source device, such as a Blu-ray player, gaming console, or set-top box. Similarly, locate the HDMI input ports on your display or audio system, including your TV, soundbar, or receiver.
- Connect the HDMI cable: Insert one end of the HDMI cable into the HDMI output port on your source device. Ensure a secure and snug connection. Then, insert the other end of the cable into the HDMI input port on your display or audio system.
- Switch on the devices: Power on both your source device and your display or audio system. Use the respective power buttons or remote controls to turn them on.
- Select the correct input/source: Use the input/source button on your display or audio system remote control to select the HDMI input that corresponds to the connected device. This will allow the device’s signal to be displayed or heard on your display or audio system.
- Configure settings (if necessary): Depending on the devices and your specific setup, you may need to adjust certain settings. This includes selecting the appropriate resolution, enabling audio output, or configuring any additional features or preferences.
- Test the connection: Once the HDMI cable is connected and the settings are configured, test the connection by playing a video, audio, or any other media from your source device. Check if the signal is properly transmitted and displayed or heard on your display or audio system.
Ensure that the connections are secure and that the HDMI cable is not bent or twisted sharply. This will help maintain the integrity of the signal and ensure a reliable and high-quality audiovisual experience.
With the HDMI cable successfully connected to your devices, you’re ready to move on to the final step: sealing the holes and tidying up the area.
Step 7: Seal the holes and tidy up the area
After successfully connecting your HDMI cable and ensuring a proper signal transmission, it’s time to seal the holes and tidy up the area. This final step will give your installation a clean and professional finish, making it blend seamlessly with the surrounding space.
Follow these steps to seal the holes and tidy up the area:
- Inspect the holes: Check the entry and exit holes for any rough edges or imperfections. Use a sanding block or sandpaper to smooth out the edges, ensuring a neater appearance.
- Insert wallplates (if applicable): If you chose to use wallplates, align them with the cut holes and secure them in place using screws or the provided mounting hardware.
- Seal the gaps: To prevent drafts or dust from entering through the holes, apply a bead of caulk or sealant around the edges of the wallplates or directly around the holes. Smooth out the caulk with your finger or a caulking tool for a seamless look.
- Clean up: Remove any dust or debris from the surrounding area, both on the walls and the floor. Use a vacuum cleaner or a damp cloth to ensure a tidy and presentable space.
- Organize cables: Use cable ties or cable management clips to neatly secure and organize any other cables in the vicinity. This will help minimize clutter and maintain a clean and organized appearance.
- Test the setup: Before fully wrapping up the installation, test the entire audiovisual setup once again to ensure everything is working as expected. Verify that the HDMI cable is securely connected and that the devices are functioning properly.
By sealing the holes, installing wallplates if desired, and tidying up the area, you can achieve a finished look that will blend seamlessly with your wall and create an organized and clutter-free space.
Congratulations! You have successfully pulled an HDMI cable through the wall, connected your devices, and created a clean and professional-looking setup. Whether you’re enjoying movie nights, gaming sessions, or simply watching your favorite shows, you can now do so without the hassle of visible cables.
Conclusion
Pulling an HDMI cable through the wall is a practical and aesthetically pleasing solution for organizing your entertainment setup. By concealing the cables behind the walls, you can enjoy a clean and clutter-free space while maintaining a seamless connection between your source devices and displays or audio systems.
In this step-by-step guide, we have covered everything you need to know to successfully pull an HDMI cable through the wall. From gathering the necessary tools and materials to identifying the best path, preparing the cable, marking and cutting the holes, fishing the cable through, connecting it to your devices, and sealing the holes, each step contributes to a smooth and professional installation process.
Remember to work carefully, follow safety guidelines, and consider consulting a professional if you are unsure about any aspect of the installation. With proper planning and execution, you can achieve a neat and organized entertainment setup that enhances both the functionality and aesthetics of your space.
Now that you know how to pull an HDMI cable through the wall, it’s time to put your newfound knowledge into action. Enjoy the benefits of a clean and clutter-free entertainment setup, where you can immerse yourself in your favorite movies, games, and shows without the distraction of tangled cables.


