Introduction
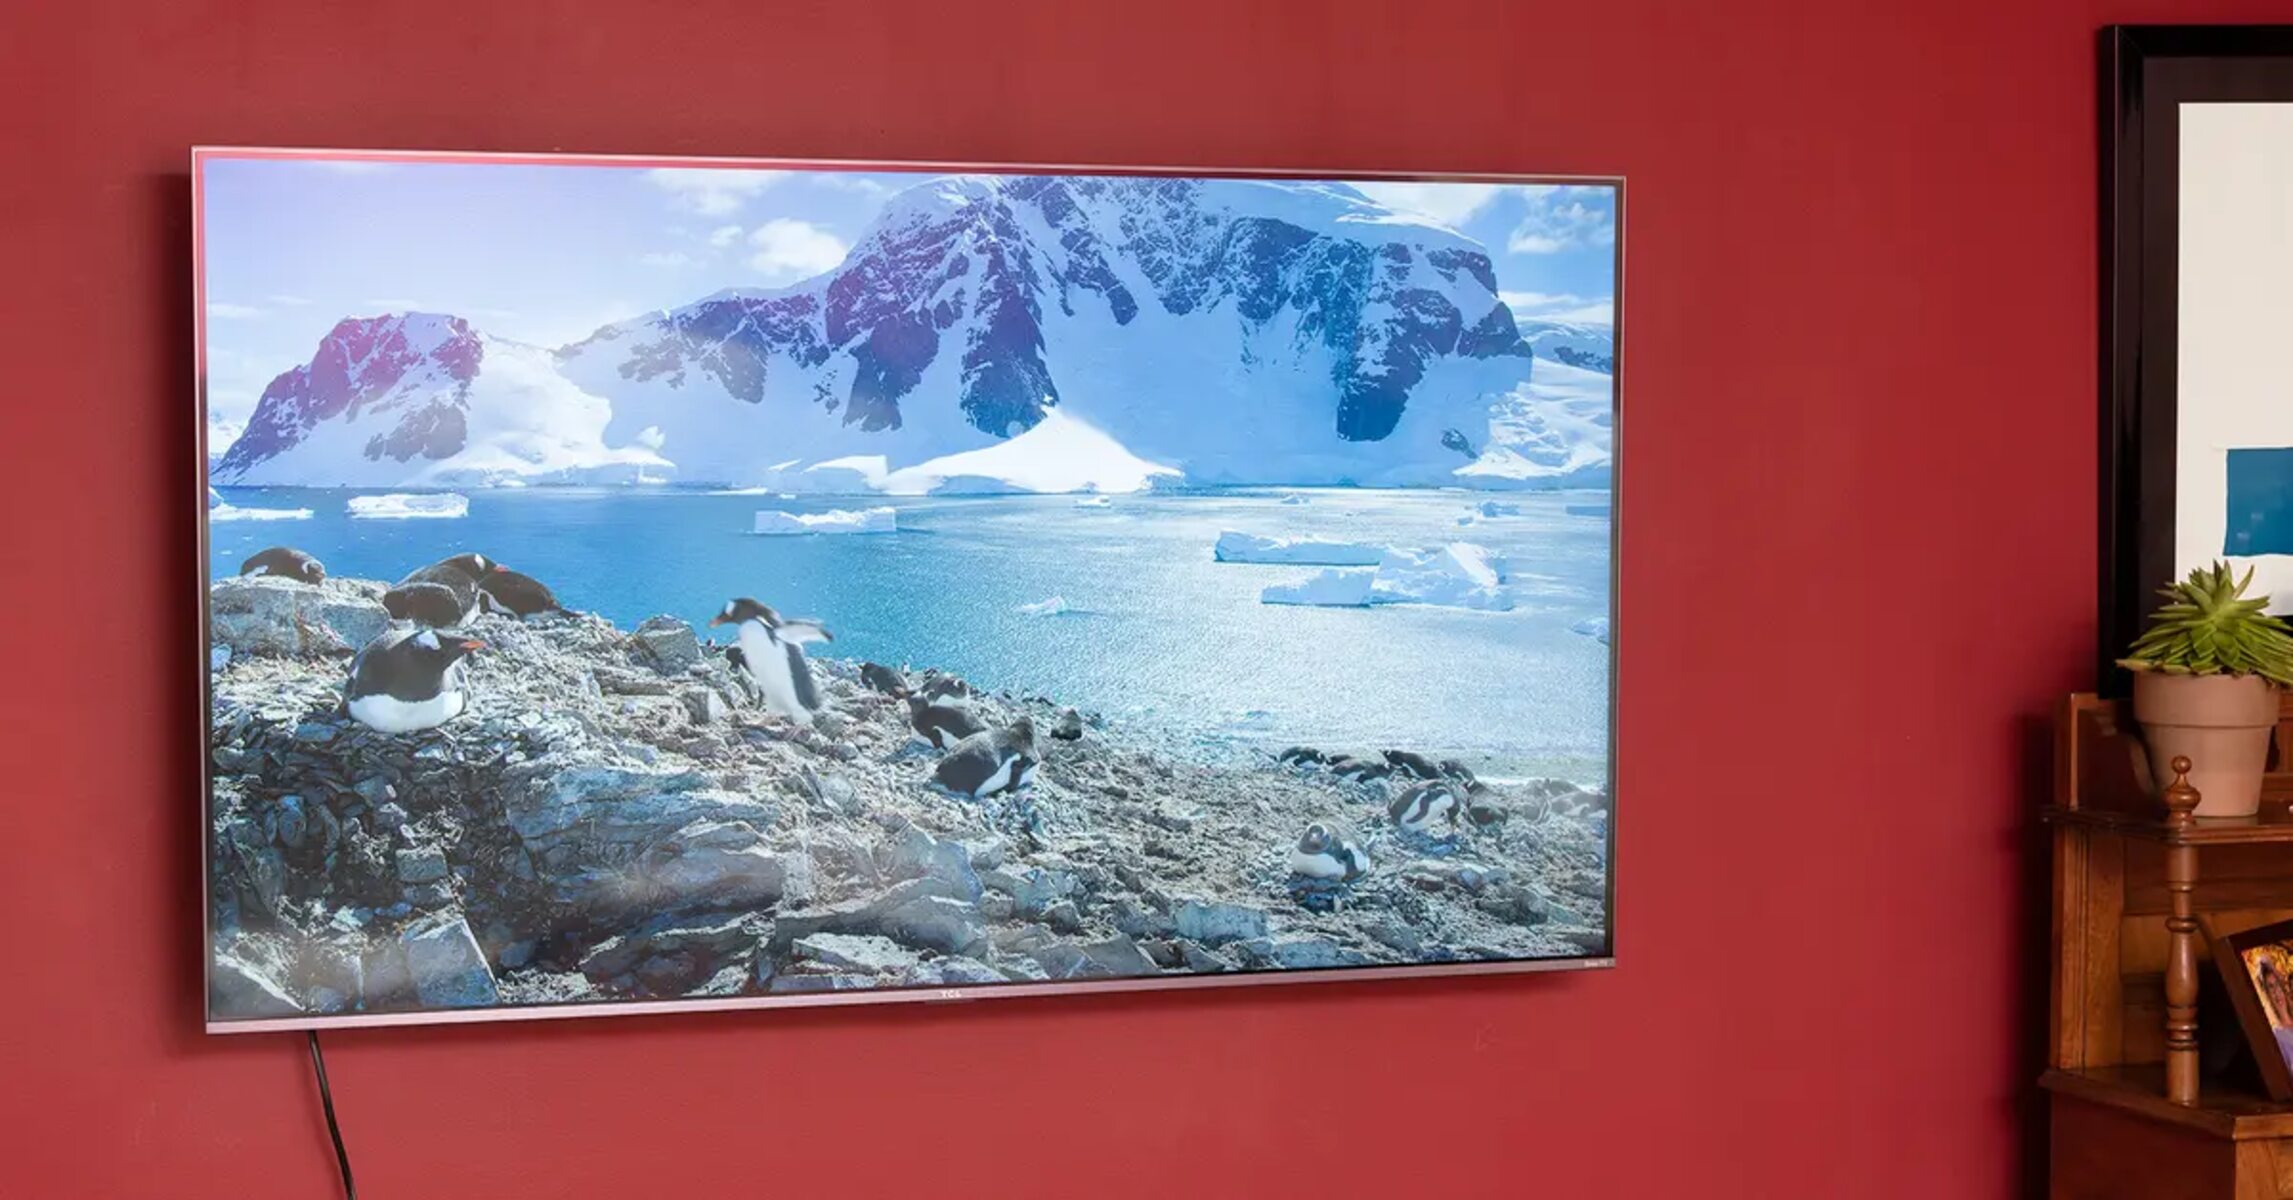
Welcome to this guide on how to mount a Samsung QLED TV on the wall. Mounting your TV not only saves space and creates a sleek, modern look, but it also allows for optimal viewing angles and enhances your overall home entertainment experience. Whether you are a DIY enthusiast or simply looking to spruce up your living space, this step-by-step guide will help you successfully mount your Samsung QLED TV.
Before you begin, it’s important to note that mounting a TV on the wall requires some basic tools and a bit of patience. But don’t worry! We’ll walk you through each step, ensuring that you can accomplish this task with ease.
In this guide, we will cover everything from choosing the ideal mounting location and finding the studs in your wall, to attaching the mounting bracket and connecting the necessary cables. We will also provide tips on adjusting and securing your TV, as well as hiding those unsightly cables for a clean and seamless look.
Whether you’re looking to impress your friends with a professional-looking TV setup or want to enjoy a more immersive viewing experience, this guide has got you covered. So, let’s get started with step one and choose the perfect location for your Samsung QLED TV!
Tools and Materials Needed
Before you begin mounting your Samsung QLED TV on the wall, it’s essential to gather the necessary tools and materials. Here’s a list of what you’ll need:
- Wall mount kit: Ensure that the kit is compatible with your Samsung QLED TV model. It should come with a mounting bracket, screws, and any necessary hardware.
- Stud finder: This tool will help you locate the studs in your wall, providing a secure anchor for your TV mount.
- Level: A level will ensure that your TV is straight and properly aligned.
- Power drill and drill bits: You’ll need a drill to create pilot holes and secure the mount to the wall.
- Screwdriver: A screwdriver will be necessary for tightening screws and making adjustments.
- Tape measure: Accurate measurements are crucial to ensure that your TV is mounted at the desired height and centered on the wall.
- Cable management tools: Consider cable clips, velcro straps, or a wire raceway to keep your cables organized and hidden.
- Masking tape or pencil: You’ll need this to mark the wall and make precise measurements.
- Additional hardware: Depending on your specific setup, you may require additional screws or anchors.
Ensure that you have all the necessary tools and materials on hand before starting the installation process. This will help streamline the process and prevent interruptions.
Now that you have gathered all the tools and materials, let’s move on to the first step – choosing the ideal mounting location for your Samsung QLED TV!
(Note: The tools and materials listed above are general recommendations. The specific requirements may vary depending on the TV model, wall type, and personal preference. Always refer to the manufacturer’s instructions for your specific TV and mounting kit.)
Step 1: Choose the Mounting Location
The first step in mounting your Samsung QLED TV is to select the ideal location on your wall. Consider the following factors when choosing the mounting location:
1. Viewing Angle: Determine the best spot in the room where the TV can be easily viewed without straining the neck or eyes. Take into account the seating arrangement and the typical viewing distance.
2. Wall Space: Assess the available wall space in the room. Ensure that the chosen location has enough room to accommodate the TV size and allows for airflow around the TV to prevent overheating.
3. Height: Consider the optimal height for the TV. A common rule of thumb is to mount the TV at eye level when seated. However, personal preference and room layout can also influence the height selection.
4. Wall Type: Take note of the wall type (such as drywall, concrete, or brick) as it will determine the type of mounting hardware needed.
5. Accessibility: Ensure that the location allows for easy access to the necessary ports and connectors on the back of the TV. This will make cable management and future adjustments more convenient.
Once you have considered these factors, use masking tape or a pencil to mark the desired mounting location on the wall. Stand back and assess if the spot aligns with your preferences and offers the best viewing experience.
Remember to check if there are any obstacles, such as light switches or electrical outlets, that may interfere with the TV placement. Adjust the marked location accordingly if needed.
Now that you have chosen the ideal mounting location for your Samsung QLED TV, it’s time to move on to the next step: measuring and marking the wall!
Step 2: Measure and Mark the Wall
After selecting the mounting location for your Samsung QLED TV, it’s crucial to measure and mark the wall accurately. This step ensures that your TV will be level and properly centered on the wall. Follow these steps:
1. Measure the TV: Take note of the width and height of your TV. This information will help you determine the exact placement and ensure proper alignment.
2. Find the center: Use a measuring tape to find the center of the wall and mark it with a pencil. This will act as a reference point for positioning your TV.
3. Determine the viewing height: Measure the desired height for the center of the TV based on your viewing preference. Typically, the center of the TV should be at eye level when seated.
4. Mark the top of the TV: Measure and mark the distance from the center mark to the top of the TV. This measurement will vary depending on the TV size and the desired height.
5. Find the bottom of the TV: Measure and mark the distance from the center mark to the bottom of the TV using the same calculations as above.
Once you have marked the top and bottom of the TV, connect the marks with a straight line using a level or a straight edge. This line will guide the placement of the TV mount.
Additionally, if your TV mount has multiple mounting holes, mark the position of the desired holes on the vertical line to ensure proper alignment.
It’s important to double-check your measurements and markings to ensure accuracy. Taking the time to do this step correctly will save you from potential issues later in the installation process.
Now that you have measured and marked the wall, you’re ready to move on to step three: finding the studs for secure mounting!
Step 3: Find the Studs
Before you start mounting your Samsung QLED TV, it’s essential to locate the studs in your wall. Studs provide a sturdy and secure anchor for the TV mount. Follow these steps to find the studs:
1. Use a stud finder: Start by using a stud finder to locate the studs in the wall. Move the stud finder horizontally along the wall until you hear a beep or see a light indicating the presence of a stud.
2. Confirm stud location: Once you’ve detected a stud, mark the location with a pencil or masking tape. Repeat this process to find additional studs if needed.
3. Measure stud spacing: Measure the distance between the marked studs to identify the appropriate location for mounting the TV.
4. Check for electrical wires or plumbing: Use caution and avoid drilling or mounting near electrical wires or plumbing within the wall. If in doubt, consult a professional.
Studs are typically spaced out at 16-inch or 24-inch intervals, although this can vary depending on your wall construction. To ensure a secure mount, it’s recommended to attach the TV mount to at least two studs.
If you’re unable to locate studs, or if they are not in the desired position for mounting your TV, you may need to utilize additional mounting techniques, such as using wall anchors or a mounting plate.
Locating and securing your TV mount to studs will provide maximum stability and support for your Samsung QLED TV. Once you have found the studs, you’re ready to move on to step four: attaching the mounting bracket.
Step 4: Attach the Mounting Bracket
Now that you have located the studs, it’s time to attach the mounting bracket to the wall. The mounting bracket serves as the interface between the TV and the wall mount. Follow these steps to securely attach the mounting bracket:
1. Position the bracket: Hold the mounting bracket against the wall at the desired height and alignment based on your previous measurements and markings. Ensure that it is centered and level.
2. Mark the hole positions: Using a pencil or a marker, mark the hole positions on the wall through the mounting bracket’s pre-drilled holes.
3. Drill pilot holes: With the appropriate drill bit size for your wall type, drill pilot holes on the marked positions. Be cautious to avoid drilling too deep or damaging any electrical wiring or plumbing within the wall.
4. Attach the mounting bracket: Align the mounting bracket’s holes with the pilot holes and secure it to the wall using screws or bolts provided with the wall mount kit. Use a screwdriver or a drill to tighten the screws, but be careful not to overtighten and damage the wall.
Ensure that the mounting bracket is firmly attached to the wall and does not wobble. Double-check its alignment and levelness with a spirit level. This step is crucial, as it establishes the foundation for hanging your Samsung QLED TV.
It’s important to refer to the manufacturer’s instructions that accompany your specific wall mount kit for any model-specific considerations or nuances.
Once the mounting bracket is securely attached, you’re ready to proceed to the next step: connecting the cables to your Samsung QLED TV.
Step 5: Connect the Cables
Now that the mounting bracket is securely attached to the wall, it’s time to connect the necessary cables to your Samsung QLED TV. Follow these steps to ensure proper cable connections:
1. Locate the cable inputs: Identify the cable inputs on the back of your Samsung QLED TV. Common inputs include HDMI, power, audio, and USB.
2. Measure and plan cable lengths: Determine the lengths necessary for each cable to reach their respective devices, such as sound systems, gaming consoles, or cable boxes. Take into account any cable management solutions you plan to use.
3. Connect the HDMI cables: Start by connecting HDMI cables to transfer audio and video signals. Connect one end of the HDMI cable to the HDMI output of your device (such as a cable box) and the other end to an available HDMI input on the TV.
4. Connect the power cable: Plug one end of the power cable into the TV’s power input and the other end into a power outlet. Ensure that the power cable is securely connected.
5. Connect the audio cables: If you have external speakers or audio devices, connect them to the TV using appropriate audio cables, such as RCA or optical cables.
6. Check cable connections: Double-check that all cables are securely connected to their respective inputs. Ensure that they are not tangled or pulled too tightly, as this can strain the connections.
Before turning on the TV, make sure all devices connected via cables are powered on and set to the correct input/output channels. Use the TV’s remote control or on-screen menu to switch to the corresponding input source where you connected your devices.
Properly connecting the cables ensures you can enjoy high-quality audio and video from your Samsung QLED TV. With the cables connected, you’re ready to move on to the next step: hanging the TV on the mounting bracket.
Step 6: Hang the TV on the Bracket
With the cables connected, it’s time to carefully hang your Samsung QLED TV on the mounting bracket. Follow these steps to ensure a secure and proper installation:
1. Enlist a helper: It’s recommended to have someone assist you in lifting and holding the TV as it can be quite heavy and fragile.
2. Lift the TV: Gently lift the Samsung QLED TV, aligning the mounting holes on the back of the TV with the protruding arms or hooks on the mounting bracket.
3. Secure the TV to the bracket: With your helper holding the TV, guide the mounting holes onto the arms or hooks of the mounting bracket. Carefully lower the TV onto the bracket until it locks into place.
4. Double-check alignment: Ensure that the TV is straight and level. Adjust the position if necessary.
5. Secure the safety locks (if applicable): Some TV mounts feature safety locks or mechanisms to prevent accidental dislodging of the TV. Follow the manufacturer’s instructions on how to engage these locks for added security.
Take extra caution while mounting the TV to avoid any damage or mishaps. Follow the specific instructions provided by the TV manufacturer for your model to ensure correct and safe installation.
Once the TV is securely hung on the mounting bracket, take a step back to admire your work. You’re almost done, but first, let’s move on to step seven: adjusting and securing the TV.
Step 7: Adjust and Secure the TV
Now that the TV is successfully hung on the mounting bracket, it’s time to adjust and secure it for optimal viewing. Follow these steps to ensure proper alignment and stability:
1. Level the TV: Use a spirit level to ensure that the TV is perfectly level. Adjust the TV’s position, if needed, by gently shifting it on the mounting bracket.
2. Tilt and swivel adjustments (if applicable): Some TV mounts have the ability to tilt or swivel. Adjust the angle of the TV according to your desired viewing position. Refer to the manufacturer’s instructions to make these adjustments.
3. Tighten the screws: Using a screwdriver or a provided Allen wrench, tighten the screws holding the TV in place on the mounting bracket. Ensure that they are secure but avoid over-tightening, as it could potentially damage the TV or the bracket.
4. Test the stability: Give the TV a gentle nudge to ensure it is securely attached to the bracket. Check for any wobbling or movement. If necessary, recheck the screws and make any adjustments to ensure a stable position.
5. Test the viewing angles: Sit in your desired viewing location and test the TV’s angles and visibility. Make any necessary adjustments to achieve the best viewing experience.
By properly adjusting and securing the TV, you’ll ensure that it remains stable and provides an optimal viewing experience. Take your time to carefully make these adjustments before moving on to the next step.
Now that the TV is adjusted and securely in place, it’s time to move on to step eight: hiding the cables for a clean and organized look.
Step 8: Hide the Cables
To achieve a clean and organized look, it’s important to properly hide the cables that connect to your Samsung QLED TV. Follow these steps to effectively manage and conceal the cables:
1. Use cable management solutions: There are various tools and products available specifically designed for cable management. Consider using cable clips, cable sleeves, velcro straps, or a wire raceway to route and bundle the cables neatly.
2. Route cables behind the wall: For a more professional and seamless appearance, you may choose to route the cables behind the wall. This option requires additional work, such as drilling holes and using in-wall cable concealment kits. Ensure that you follow electrical and safety codes when attempting this method.
3. Arrange cables behind the TV: If routing behind the wall is not possible, you can arrange the cables behind the TV itself. Use cable ties or velcro straps to secure the cables together and minimize visibility.
4. Use adhesive cable clips: Adhesive cable clips can be attached to the back of the TV or the wall to hold the cables in place. This helps prevent them from hanging loosely or tangling.
5. Disguise cables with wall décor: Another option to hide cables is to strategically place wall décor, such as paintings, shelves, or plants, to conceal the cables from view.
Remember to consider the length of your cables and the location of power outlets and other devices when planning your cable management strategy. Take your time to arrange the cables neatly to create a clean and clutter-free look.
By implementing effective cable management techniques, you can enhance the aesthetics of your TV setup and create a more enjoyable viewing environment.
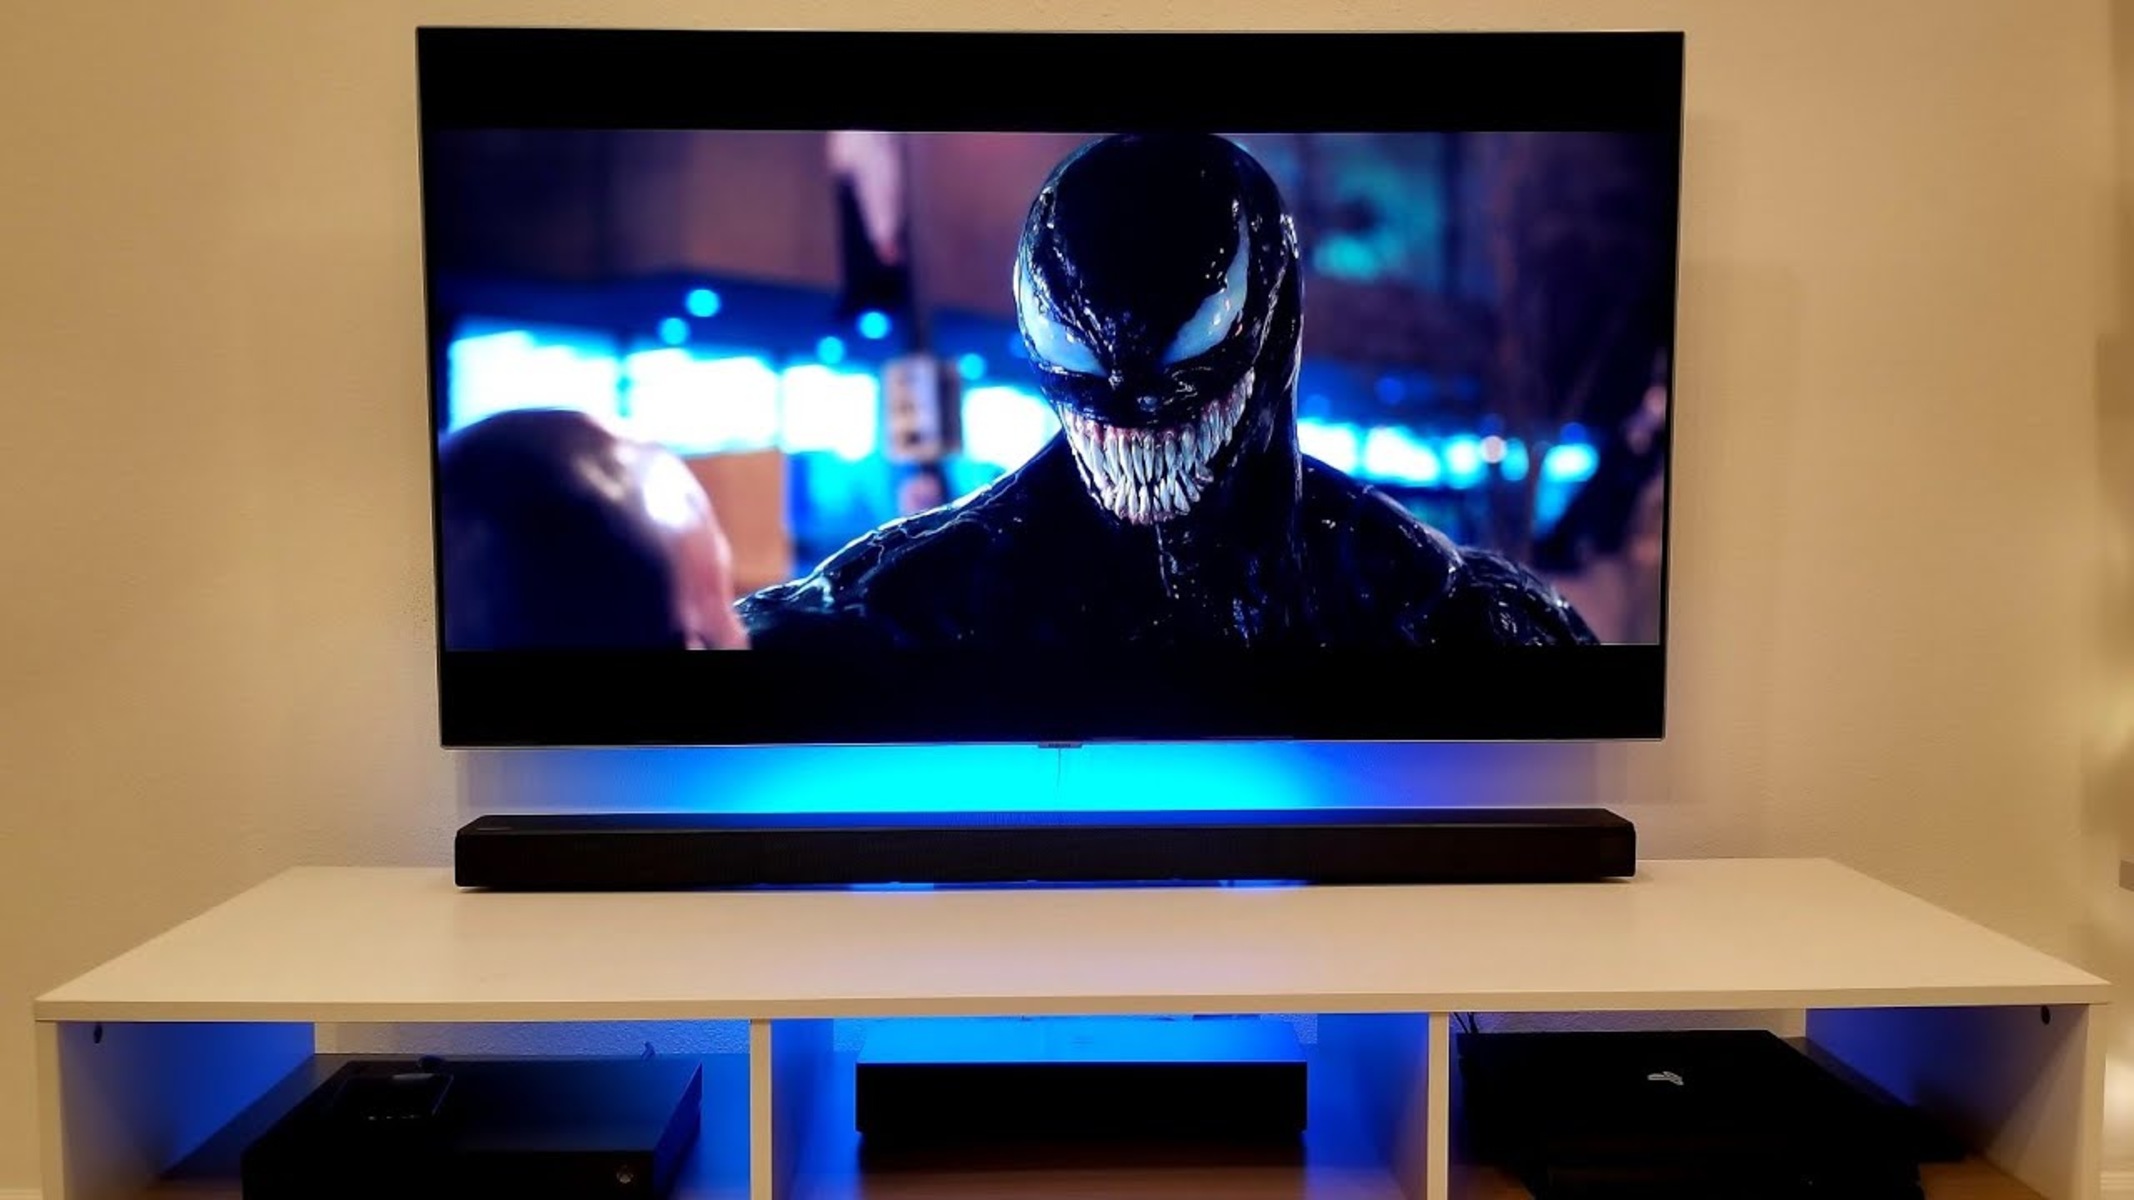
With the cables hidden and your TV setup complete, step back and admire your beautifully mounted Samsung QLED TV. You’ve successfully mounted your TV on the wall and transformed your living space into a stylish entertainment hub.
Conclusion
Mounting a Samsung QLED TV on the wall is a great way to save space, create a sleek look, and enhance your home entertainment experience. By following the step-by-step guide outlined above, you can successfully mount your TV with ease.
We started by choosing the ideal mounting location, considering factors such as viewing angle, wall space, height, wall type, and accessibility. Then, we measured and marked the wall to ensure proper alignment. Next, we found the studs for secure mounting and attached the mounting bracket. After connecting the necessary cables, we hung the TV on the bracket, adjusted and secured it, and finally, hid the cables for a clean and organized look.
Throughout the process, it’s important to refer to the manufacturer’s instructions for your TV model and the mounting kit to ensure correct installation and safety precautions.
Now that you’ve successfully mounted your Samsung QLED TV, sit back, grab some popcorn, and enjoy an immersive home theater experience. With a sleek and professional-looking setup, your TV will be the centerpiece of your living space.
Remember to periodically check the mounting brackets and cables to ensure they remain secure and in good condition. If you have any concerns or questions, don’t hesitate to consult a professional for assistance.
Thank you for following this guide, and we hope you enjoy your newly mounted Samsung QLED TV!