Introduction
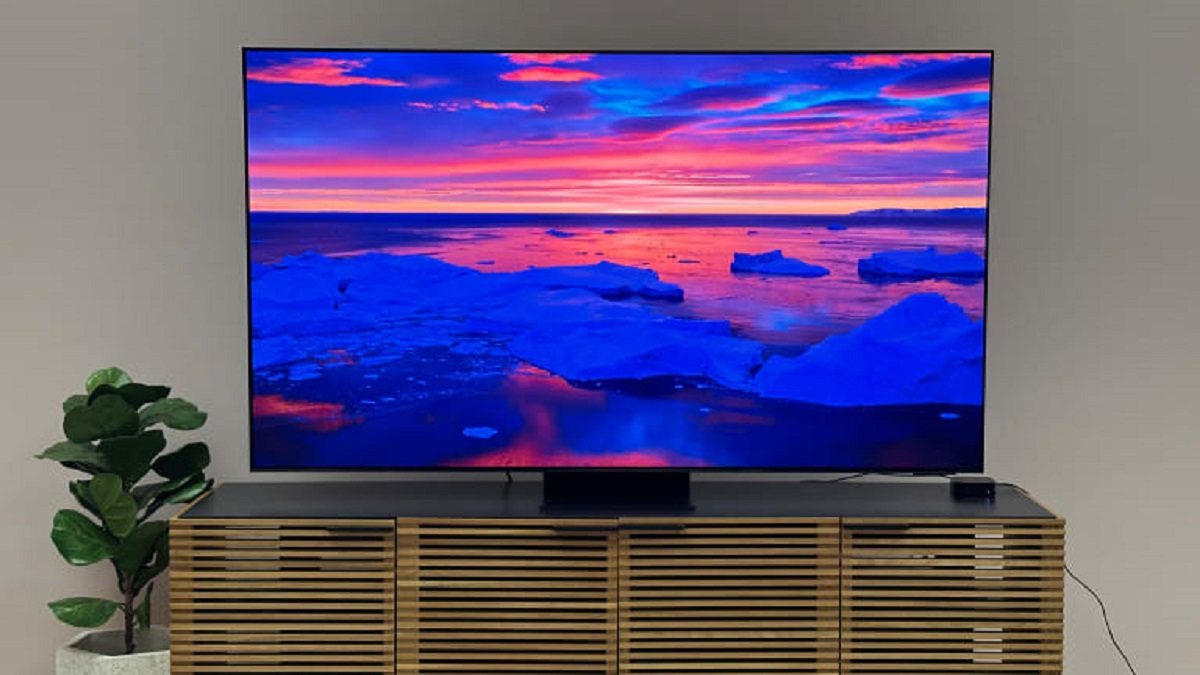
Welcome to our guide on how to remove the legs from a Samsung QLED TV. Whether you’re looking to mount your TV on the wall or simply want to change the setup of your entertainment area, knowing how to remove the legs of your TV is an essential skill. Samsung QLED TVs are known for their sleek design and stunning picture quality, and removing the legs can further enhance the aesthetic appeal of your TV setup.
This step-by-step guide will walk you through the process of safely removing the legs from your Samsung QLED TV. Before we begin, it’s important to note that each TV model may have slightly different instructions, so be sure to consult your user manual for specific details. Additionally, always exercise caution and follow safety precautions to avoid any mishaps or damage to your TV.
By following these instructions, you’ll be able to remove the legs from your Samsung QLED TV with ease and take your entertainment setup to the next level. So, let’s get started!
Safety Precautions
Before you begin removing the legs from your Samsung QLED TV, it’s crucial to prioritize safety. Taking the necessary precautions will ensure the process goes smoothly and minimize the risk of damage or injury. Here are some important safety measures to keep in mind:
- Always disconnect the power supply to your TV and unplug it from the wall outlet before attempting any maintenance or modifications.
- Use a clean and soft surface, such as a microfiber cloth or a soft towel, to place your TV on during the leg removal process. This will protect the screen from scratches or accidental damage.
- Handle the TV with care and avoid applying excessive force or pressure, as this can cause internal damage to the components.
- If you’re unsure about any steps or feel uncomfortable, consider seeking assistance from a professional or contacting Samsung customer support for guidance.
- Keep all tools and small parts organized and within reach to avoid misplacing or losing anything during the process.
- Take your time and be patient. Rushing through the process can lead to mistakes or accidents.
- Double-check that you have the correct tools and ensure they are in good working condition before starting the procedure.
By following these safety precautions, you can proceed with confidence knowing that you’re taking the necessary measures to protect yourself and your Samsung QLED TV.
Step 1: Gather the Necessary Tools
Before you begin removing the legs from your Samsung QLED TV, make sure you have all the necessary tools on hand. Having the right tools will make the process much easier and ensure that you can successfully remove the legs without any issues. Here are the tools you’ll need:
- A Philips screwdriver or an appropriate screwdriver bit for your TV’s leg screws. Check the size and type of screws used in your specific TV model.
- A soft cloth or towel to protect the TV screen and provide a clean workspace.
- A small container or tray to hold the screws and other small components, so they don’t get misplaced.
- If needed, a manual or user guide specific to your Samsung QLED TV model can be helpful for additional instructions or visual references.
Having these tools ready before you start will save you time and ensure a seamless leg removal process. Take a few minutes to gather the tools and arrange them in a convenient location near your workspace.
Once you have all the necessary tools, you’re ready to move on to the next step and prepare the workspace for removing the legs from your Samsung QLED TV.
Step 2: Prepare the Workspace
Creating a suitable workspace is crucial for a smooth and efficient leg removal process. Preparing the workspace ensures that you have enough room to work comfortably and minimizes the risk of accidentally damaging your TV or its components. Here’s what you need to do:
- Choose a clean and spacious area to work on. Make sure there’s enough room for your TV, tools, and any other accessories you may need.
- Cover the surface with a soft cloth or towel to prevent scratches on the TV or any other surfaces.
- If possible, find a well-lit area to ensure good visibility during the process.
- Ensure there are no distractions or obstacles that may hinder your movements or cause accidents.
- If you’re working on a raised surface, such as a table or countertop, consider placing a non-slip mat or towel underneath the TV to prevent it from sliding or falling.
Once you’ve prepared the workspace, place your Samsung QLED TV on the covered surface, making sure it is stable and level. Double-check that the TV is turned off and disconnected from the power source.
By creating a clean, well-lit, and organized workspace, you’ll be able to proceed with confidence and ensure a successful leg removal process. Now that your workspace is ready, it’s time to move on to the next step: locating the leg fasteners.
Step 3: Locate the Leg Fasteners
In this step, you’ll need to identify the location of the leg fasteners on your Samsung QLED TV. The leg fasteners are the screws or bolts that secure the legs to the TV’s chassis. Here’s what you need to do:
- Flip your TV so that the screen is facing downwards. Place it gently on a soft surface to avoid scratching the screen.
- Examine the bottom of your TV and look for the leg attachment points. These are usually located towards the edges or corners of the TV.
- You may find plastic covers or panels that conceal the leg fasteners. Carefully remove these covers using your fingers or a small tool like a flathead screwdriver. Be gentle to avoid damaging the covers.
- Once the leg attachment points are exposed, you should be able to see the screws or bolts that secure the legs to the TV. These are the leg fasteners that need to be removed.
Take note of the number of leg fasteners present. Most Samsung QLED TVs come with two legs, so you should have two leg fasteners to remove. However, depending on your specific TV model, there may be variations. Consult your user manual for more details if needed.
Now that you’ve located the leg fasteners, you’re ready to move on to the next step: removing the leg screws.
Step 4: Remove the Leg Screws
In this step, you will remove the leg screws from your Samsung QLED TV. These screws are what secure the legs to the TV’s chassis. Follow these instructions carefully:
- Using a Phillips screwdriver or the appropriate screwdriver bit, start by loosening the leg screws. Turn them counterclockwise to loosen them but avoid removing them completely just yet.
- Continue loosening the screws until they are loose enough to be removed by hand. If the screws are stubborn or difficult to turn, try using a bit of gentle force, but be careful not to apply too much pressure to avoid damaging the TV.
- Once the screws are loose, carefully unscrew them completely and set them aside in a small container or tray. Keep the screws separate from other tools or components to avoid mixing them up.
- Repeat the same process for the second leg, loosening and removing the screws until both legs are completely detached from the TV.
After removing the leg screws, you should now have the legs separated from your Samsung QLED TV. Take a moment to inspect the leg attachment points on the TV to ensure there are no loose parts or debris.
With the leg screws removed, you’re ready to proceed to the next step: detaching the legs from the TV.
Step 5: Detach the Legs
Now that the leg screws are removed, you can proceed to detach the legs from your Samsung QLED TV. Follow these steps to safely detach the legs:
- Hold the TV firmly with one hand to prevent it from tipping or sliding.
- With your other hand, gently lift and tilt one of the legs away from the TV in an upward motion. Apply a steady and controlled force to detach it from the leg attachment point.
- Repeat the same process for the second leg, gently lifting and tilting it away from the TV until it is completely detached.
Depending on your TV model, the legs may have a hook or latch mechanism that secures them to the TV. Make sure to observe how the legs are attached and detach them accordingly.
Once both legs are detached, place them aside in a safe and secure location. You can wrap them in a soft cloth or store them in a designated container to protect them from scratches or damage.
With the legs successfully detached, your Samsung QLED TV is now ready for a new setup or wall mounting. Congratulations!
Next, we’ll cover how to repeat the process for the second leg in Step 6.
Step 6: Repeat for the Second Leg
In this step, you’ll repeat the process you followed in Step 5 to detach the second leg from your Samsung QLED TV. Here’s what you need to do:
- Hold the TV securely, ensuring it doesn’t tip or slide.
- Using the same technique as before, gently lift and tilt the second leg away from the TV in an upward motion. Apply controlled force to detach it from the leg attachment point.
- If the leg has a hook or latch mechanism, make sure to release it properly to detach the leg completely.
With the second leg detached, set it aside with the first leg in a safe location. Make sure to keep them in a protected area to prevent any damage or misplacement.
Once both legs are removed, you can now proceed with your desired TV setup, whether it’s mounting the TV on the wall or exploring alternative stand options. Take the time to clean the TV’s bottom surface, ensuring it is free from any dirt, dust, or residue.
Now that you’ve successfully removed both legs, you can confidently move on to the next step, where we’ll discuss how to store the legs safely.
Step 7: Store the Legs Safely
After removing the legs from your Samsung QLED TV, it’s important to store them safely to prevent any damage or misplacement. Follow these steps to ensure the legs are stored properly:
- Clean the legs using a soft cloth or microfiber towel to remove any dust or debris. This will help maintain their condition and prevent scratches.
- If the legs have any detachable parts, such as rubber feet or brackets, remove them before storing. Keep these parts together with the legs to avoid misplacing them.
- Consider wrapping each leg in a soft cloth or bubble wrap to provide extra protection against scratches or accidental impact.
- Find a suitable storage container or bag that can accommodate the legs and any accompanying parts. Choose a container that is clean, dust-free, and sturdy enough to prevent any damage.
- Place the wrapped legs and any separate parts in the storage container. Make sure they are secure and will not move around during transportation or storage.
- Label the storage container or bag to easily identify the contents. This will help you locate the legs when you need them in the future.
- Store the container in a cool, dry place away from direct sunlight, extreme temperatures, or any potential hazards.
By following these steps, you can ensure that your Samsung QLED TV legs are safely stored and protected until you may need them again.
Once the legs are securely stored, you can proceed with your desired TV setup, whether it involves wall mounting or using an alternative stand. Remember to refer to the appropriate instructions or seek professional assistance for your specific setup needs.
With the legs safely stored, you’ve successfully completed the leg removal process for your Samsung QLED TV. Great job!
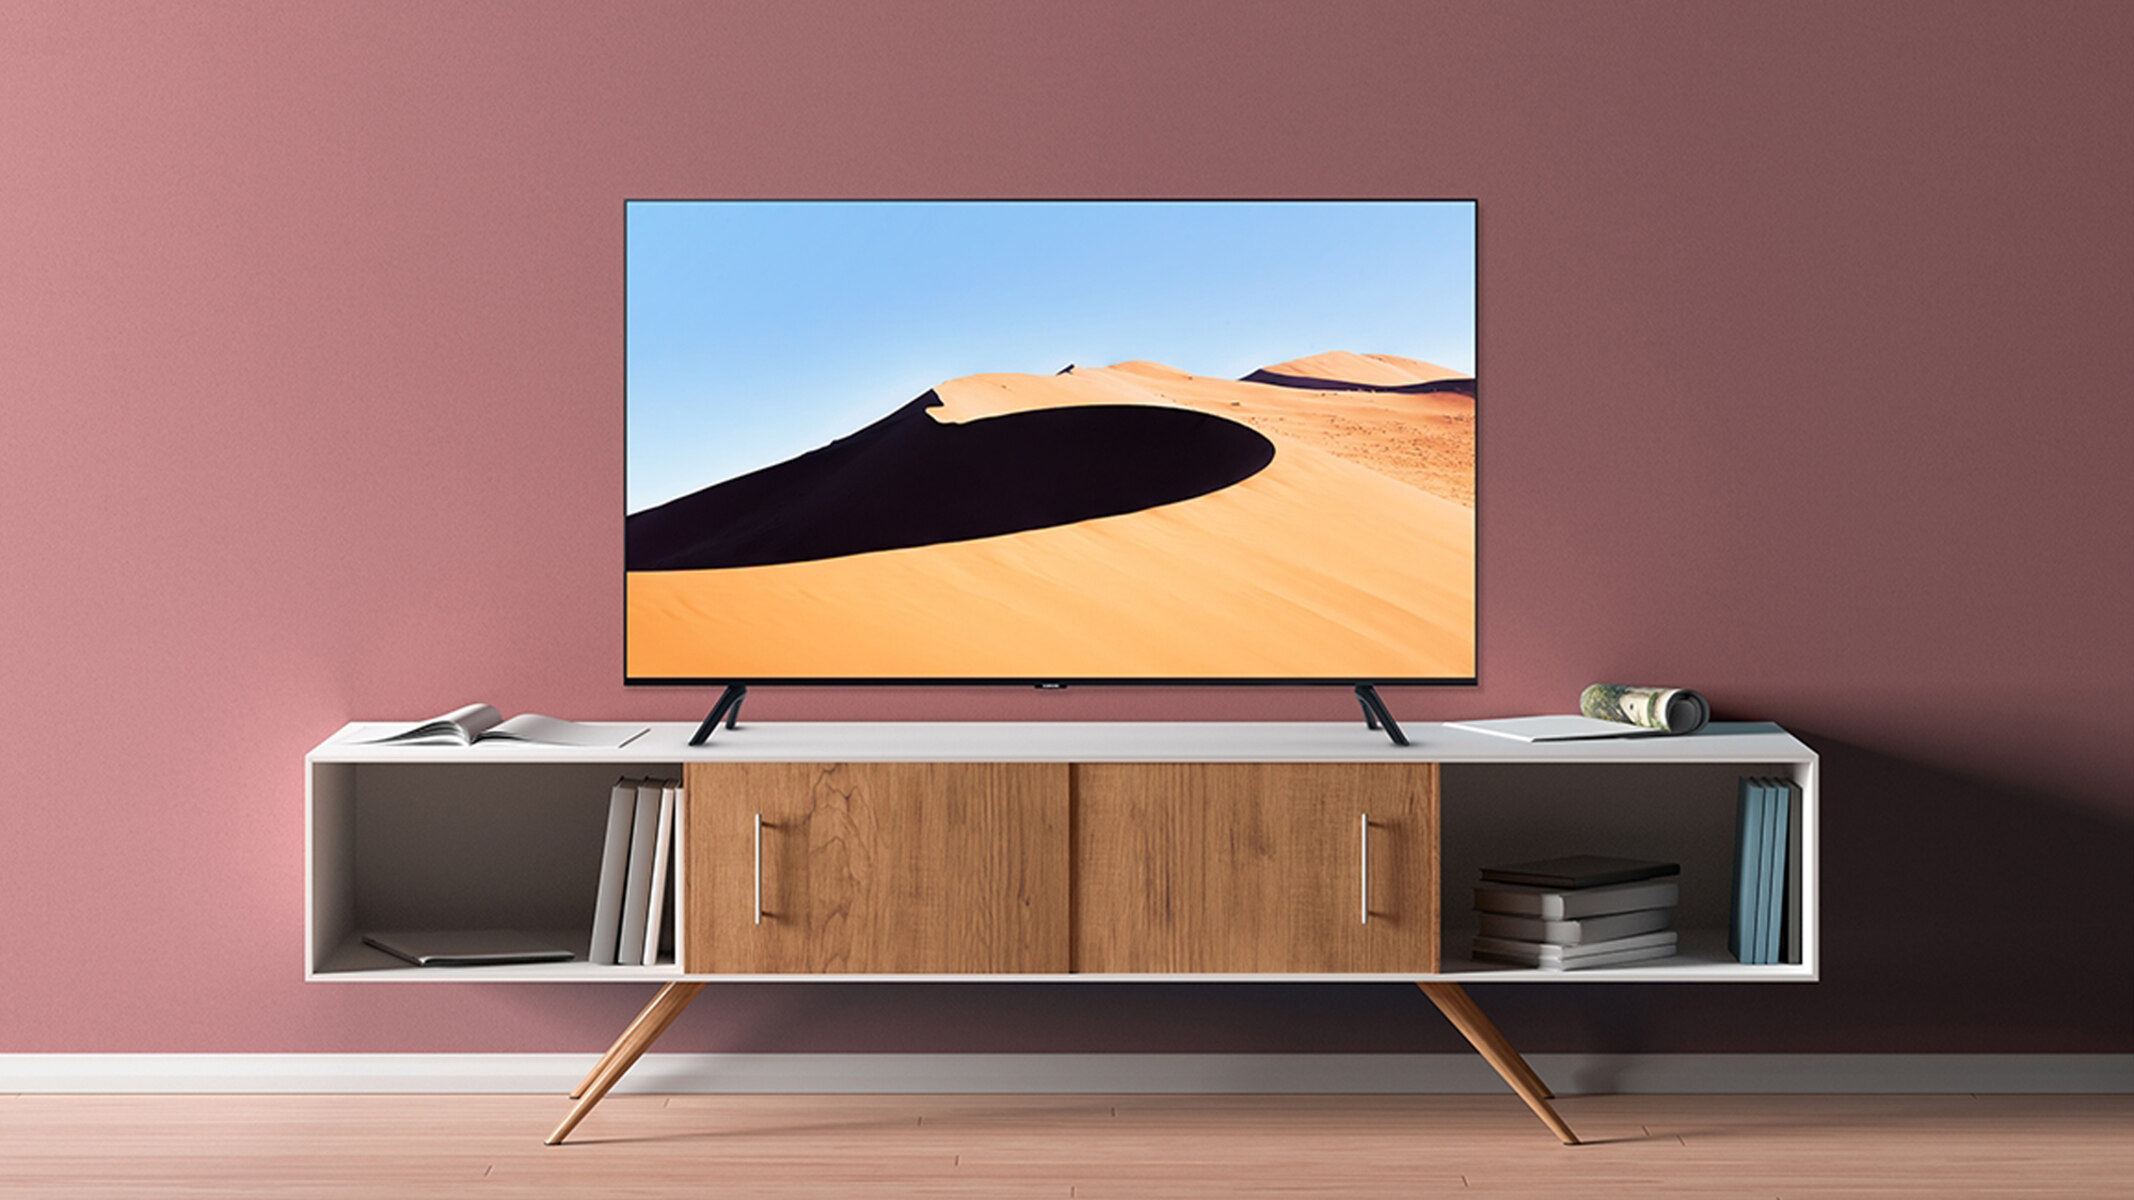
Step 8: Wall Mounting Options
Once you have successfully removed the legs from your Samsung QLED TV, you may be considering wall mounting as an alternative setup. Wall mounting not only saves space but also provides a sleek and modern look to your entertainment area. Here are some wall mounting options to consider:
- Standard Wall Mount: This is the most common type of wall mount, consisting of a bracket that securely attaches to the back of your TV and a corresponding mounting plate that gets affixed to the wall. Make sure to choose a wall mount that is compatible with the size and weight of your Samsung QLED TV.
- Tilting Wall Mount: If you want the flexibility to adjust the viewing angle of your TV, a tilting wall mount is an excellent option. This type of mount allows you to tilt the TV up or down, providing a better viewing experience from various seating positions.
- Full Motion Wall Mount: For the ultimate flexibility, a full motion wall mount is ideal. This type of mount allows you to swivel, tilt, and extend the TV, providing the ability to adjust the viewing angle and position to suit your needs. It’s perfect for larger rooms or spaces where the TV needs to be visible from multiple angles.
When selecting a wall mount, make sure to consider the weight and size specifications provided by the manufacturer. Follow the installation instructions carefully and ensure that the wall you choose can support the weight of your TV and the wall mount itself.
It’s also crucial to locate the wall studs or use wall anchors to ensure a secure and stable mounting. If you’re unsure about the installation process or have any concerns, consult a professional installer to help you with the wall mounting procedure.
By exploring different wall mount options and choosing the one that best suits your needs, you can elevate the visual appeal of your Samsung QLED TV and create a stunning centerpiece for your entertainment area.
With the wall mounting options considered, you’ve completed all the necessary steps to remove the legs and explore alternative TV setups. Now, you can enjoy your Samsung QLED TV in your preferred configuration!
Conclusion
Congratulations! You’ve successfully learned how to remove the legs from your Samsung QLED TV. By following the step-by-step process outlined in this guide, you can now change your TV setup to suit your preferences or explore alternative mounting options. Whether you choose to mount your TV on the wall or use a different stand, this knowledge will give you the freedom to create a personalized and visually appealing entertainment area.
Throughout this guide, we emphasized the importance of safety precautions to ensure that the leg removal process is carried out without any mishaps or damage. Always remember to disconnect the power supply, handle the TV with care, and follow the manufacturer’s instructions and guidelines.
Additionally, we highlighted the significance of gathering the necessary tools to make the leg removal process smoother. Having the right tools, such as a screwdriver and a soft cloth, can make a significant difference in the ease and efficiency of the task.
We also discussed the importance of preparing a suitable workspace, locating the leg fasteners, and properly removing the leg screws. By following these steps, you can detach the legs from your Samsung QLED TV safely and securely.
Lastly, we touched upon the options for safely storing the legs if you wish to use them again in the future. Proper storage ensures that the legs remain in good condition and readily accessible when needed.
Remember to refer to your user manual or consult professional assistance if you encounter any uncertainties or challenges during the process.
Now that you have the knowledge and skills to remove the legs from your Samsung QLED TV, go ahead and transform your TV setup to suit your style and needs. Enjoy your enhanced viewing experience and make the most of your entertainment area!