Introduction
Welcome to the wonderful world of wireless projection! Gone are the days of messy cables and limited mobility when it comes to connecting your laptop to a projector. With the advent of wireless projection technology, you can now seamlessly transmit your laptop’s display to a projector without the hassle of tangled wires. This breakthrough in technology allows for more flexibility and convenience in presenting slideshows, videos, and other multimedia content.
In this article, we will guide you through the process of wirelessly projecting your laptop screen to a projector. Whether you are a business professional giving a presentation, an educator delivering a lesson, or simply want to enjoy a movie on a big screen, wireless projection is a game-changer.
Before we delve into the step-by-step process of wireless projection, it is important to have a basic understanding of how this technology works. Essentially, wireless projection involves the transmission of audio and visual data from your laptop to a projector via a wireless connection. This connection can be established through various methods, such as Wi-Fi, Bluetooth, or a dedicated wireless projector system.
To successfully project wirelessly, you will need to ensure that both your laptop and projector are compatible with wireless projection. Additionally, you will need to set up the necessary software on your laptop and adjust the projection settings to achieve the desired display.
Throughout this article, we will provide you with valuable tips and insights to troubleshoot common issues that may arise during the wireless projection process. By the end of this guide, you will be well-equipped to confidently project wirelessly from your laptop to a projector.
Understanding the Wireless Projection Technology
In order to make the most out of wireless projection, it is important to have a clear understanding of the underlying technology. Wireless projection enables you to display your laptop screen onto a larger projection surface without the need for physical cables. This technology utilizes wireless connectivity methods such as Wi-Fi or Bluetooth to transmit audio and visual signals from your laptop to a compatible projector.
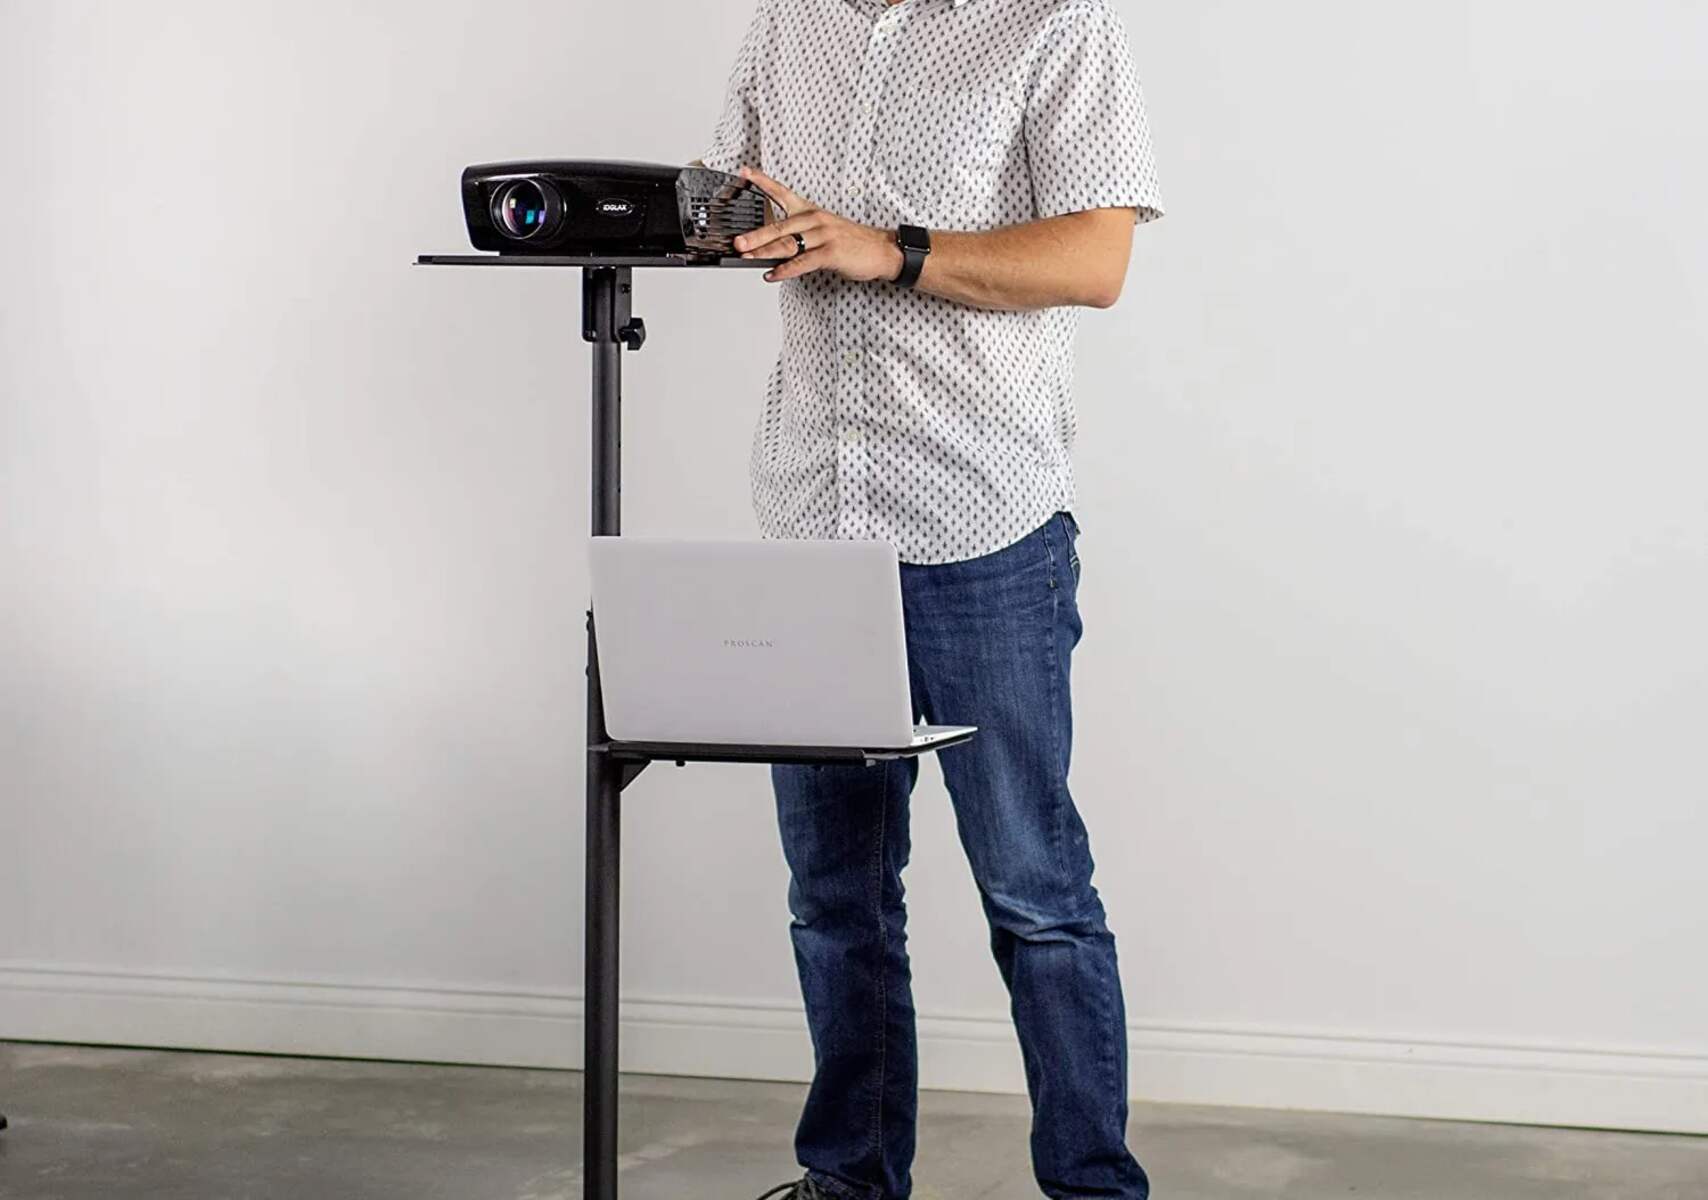
One of the main advantages of wireless projection is the freedom and flexibility it offers. You are no longer bound by the limitations of cable lengths or the need to be in close proximity to the projector. This means you can move around the room, interact with your audience, and maintain a dynamic presence while still projecting your content.
There are different wireless projection technologies available in the market, each with its own set of features and requirements. Wi-Fi Direct is one commonly used technology that allows direct wireless communication between devices without the need for a separate network connection. This means that you can connect your laptop and projector directly without relying on an existing Wi-Fi network.
Another popular wireless projection technology is Miracast, which is based on Wi-Fi Direct. Miracast enables you to transmit your laptop screen to a compatible projector or display device with ease. It is important to note that both your laptop and projector must support Miracast for it to work properly.
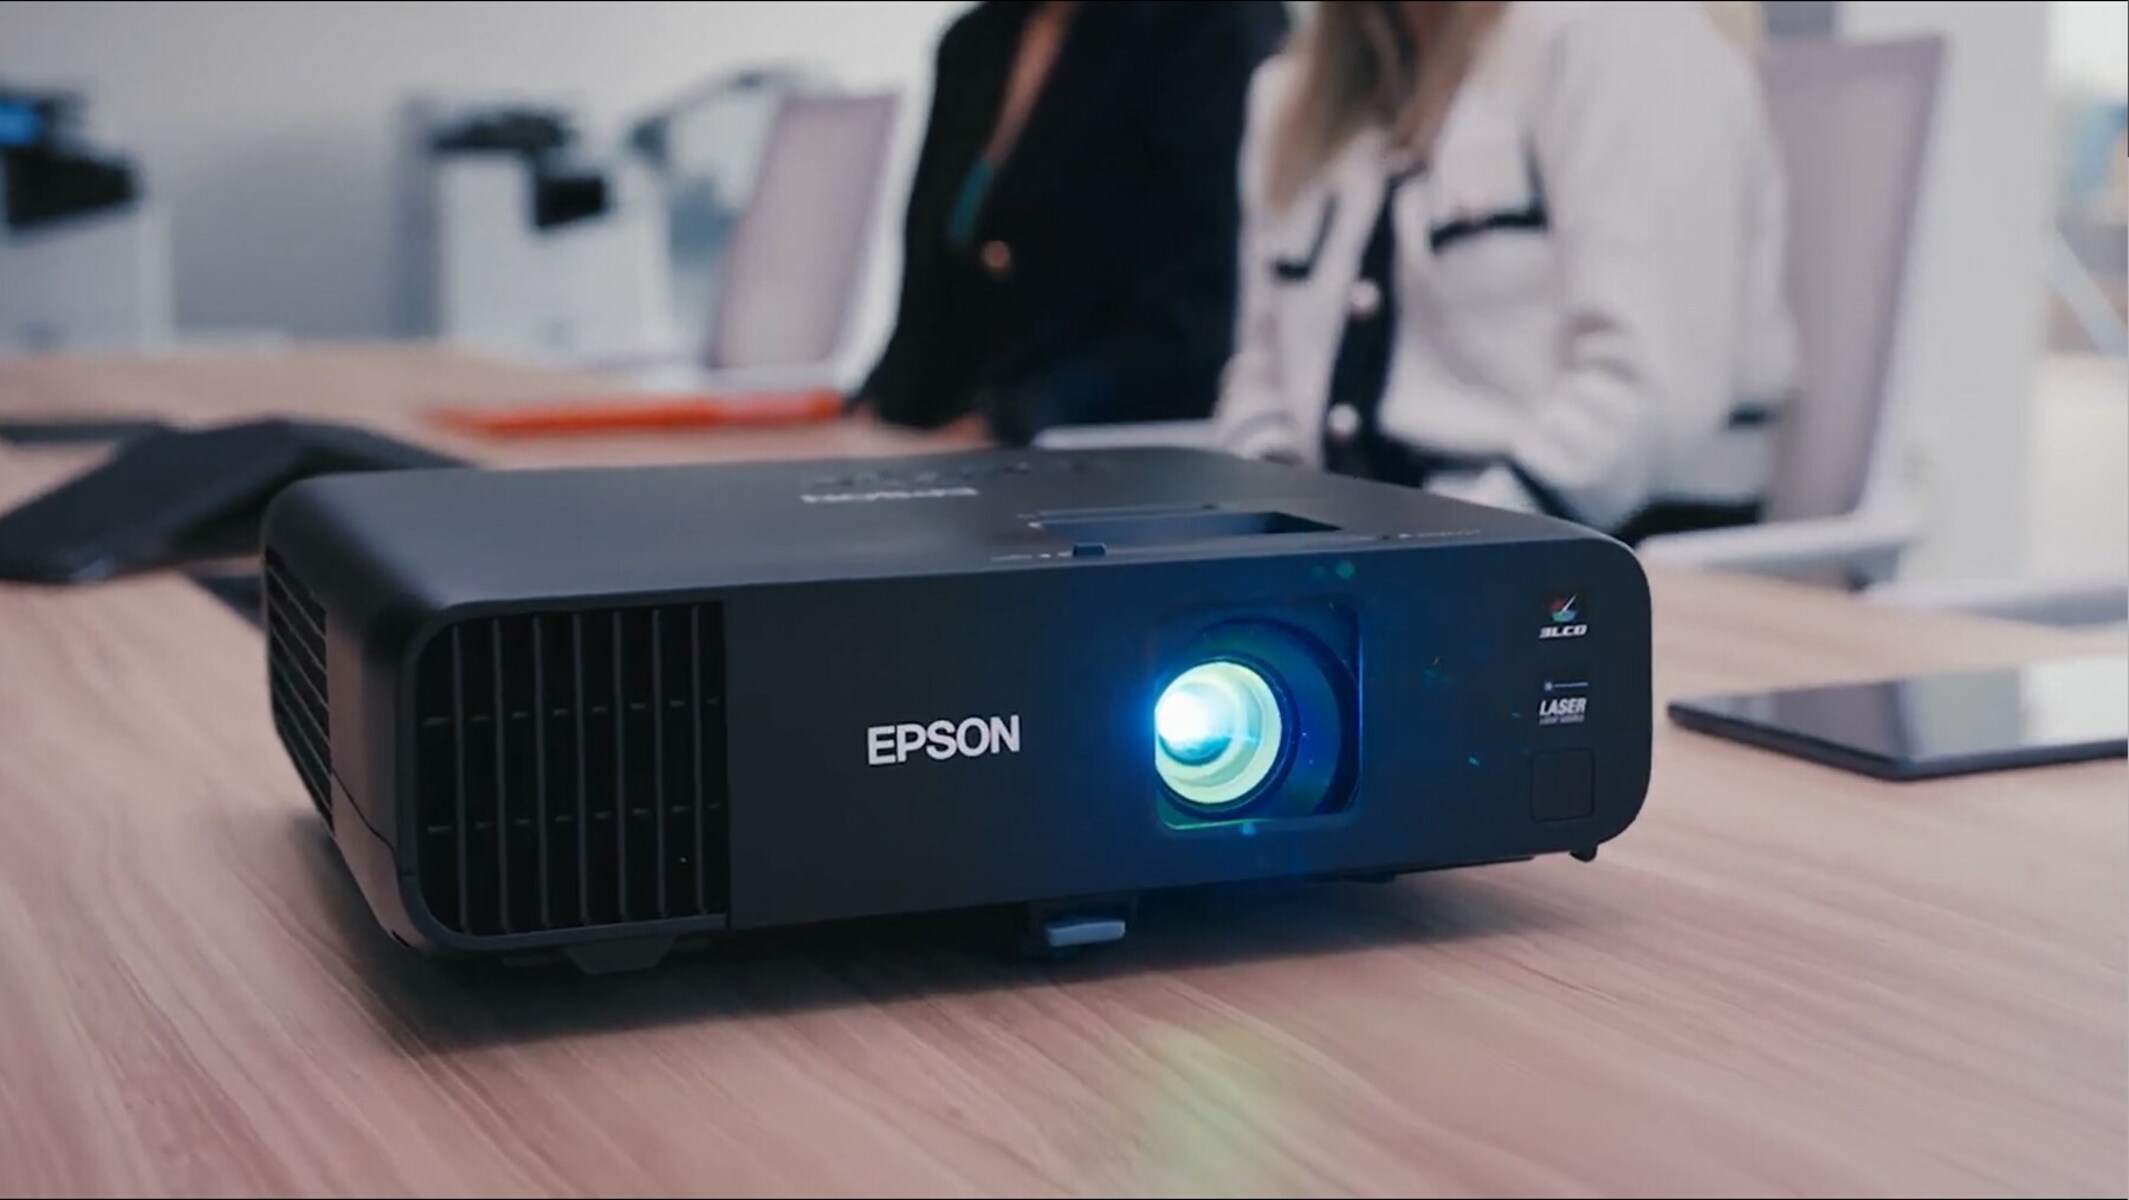
Some projectors come equipped with their own wireless projection capabilities, allowing you to connect your laptop directly to the projector without the need for additional adapters or software. These projectors usually have built-in Wi-Fi or Bluetooth functionality, making the setup process even more seamless.
Understanding the wireless projection technology will not only help you make informed decisions when selecting a laptop and projector, but it will also assist you in troubleshooting any connectivity issues that may arise. By familiarizing yourself with the capabilities and limitations of wireless projection technology, you can optimize your projection experience and ensure a smooth and reliable connection between your laptop and the projector.
Choosing the Right Projector and Laptop for Wireless Projection
When it comes to wireless projection, choosing the right projector and laptop is key to ensuring a seamless and hassle-free experience. Here are some considerations to keep in mind when making your selections:
- Compatibility: Ensure that both your laptop and projector are compatible with wireless projection technology. Look for projectors that support Wi-Fi or Bluetooth connectivity, as well as laptops that have the necessary wireless projection capabilities.
- Projection Resolution: Consider the resolution capabilities of both the projector and laptop. To ensure that your content is displayed clearly, it is important to choose a projector with a resolution that matches or exceeds the resolution of your laptop’s display.
- Connectivity Options: In addition to wireless projection, it is useful to have other connectivity options available. Look for projectors and laptops that offer multiple input ports such as HDMI, VGA, or USB, so you can connect via cable if needed.
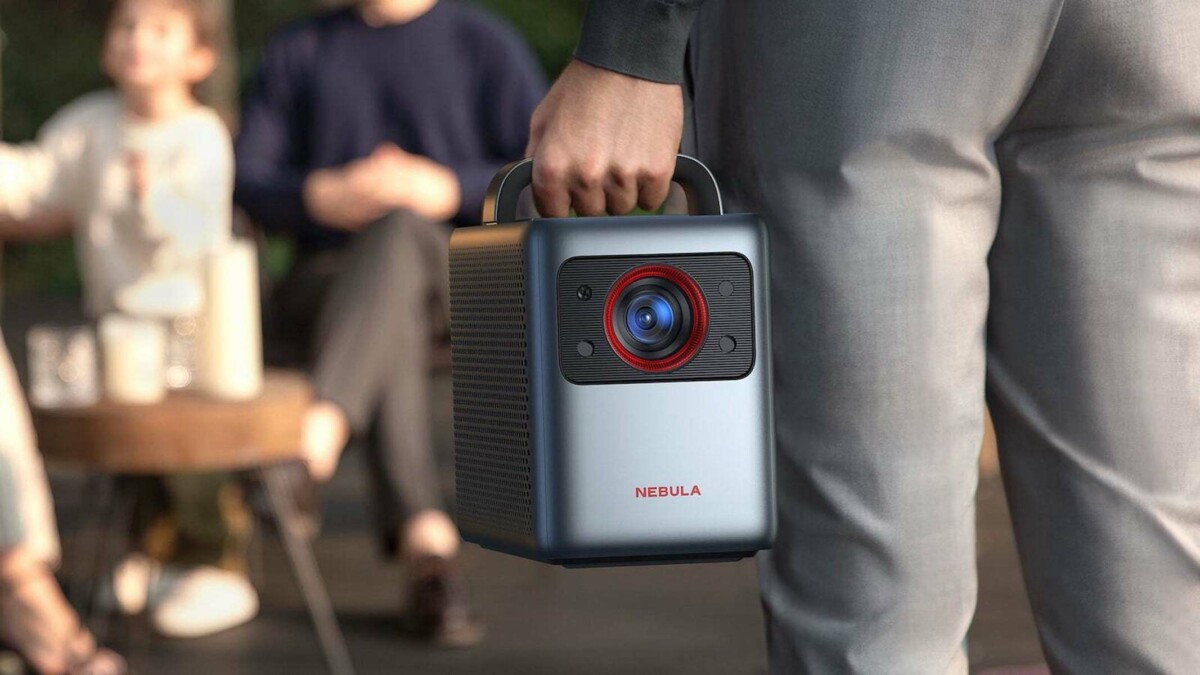
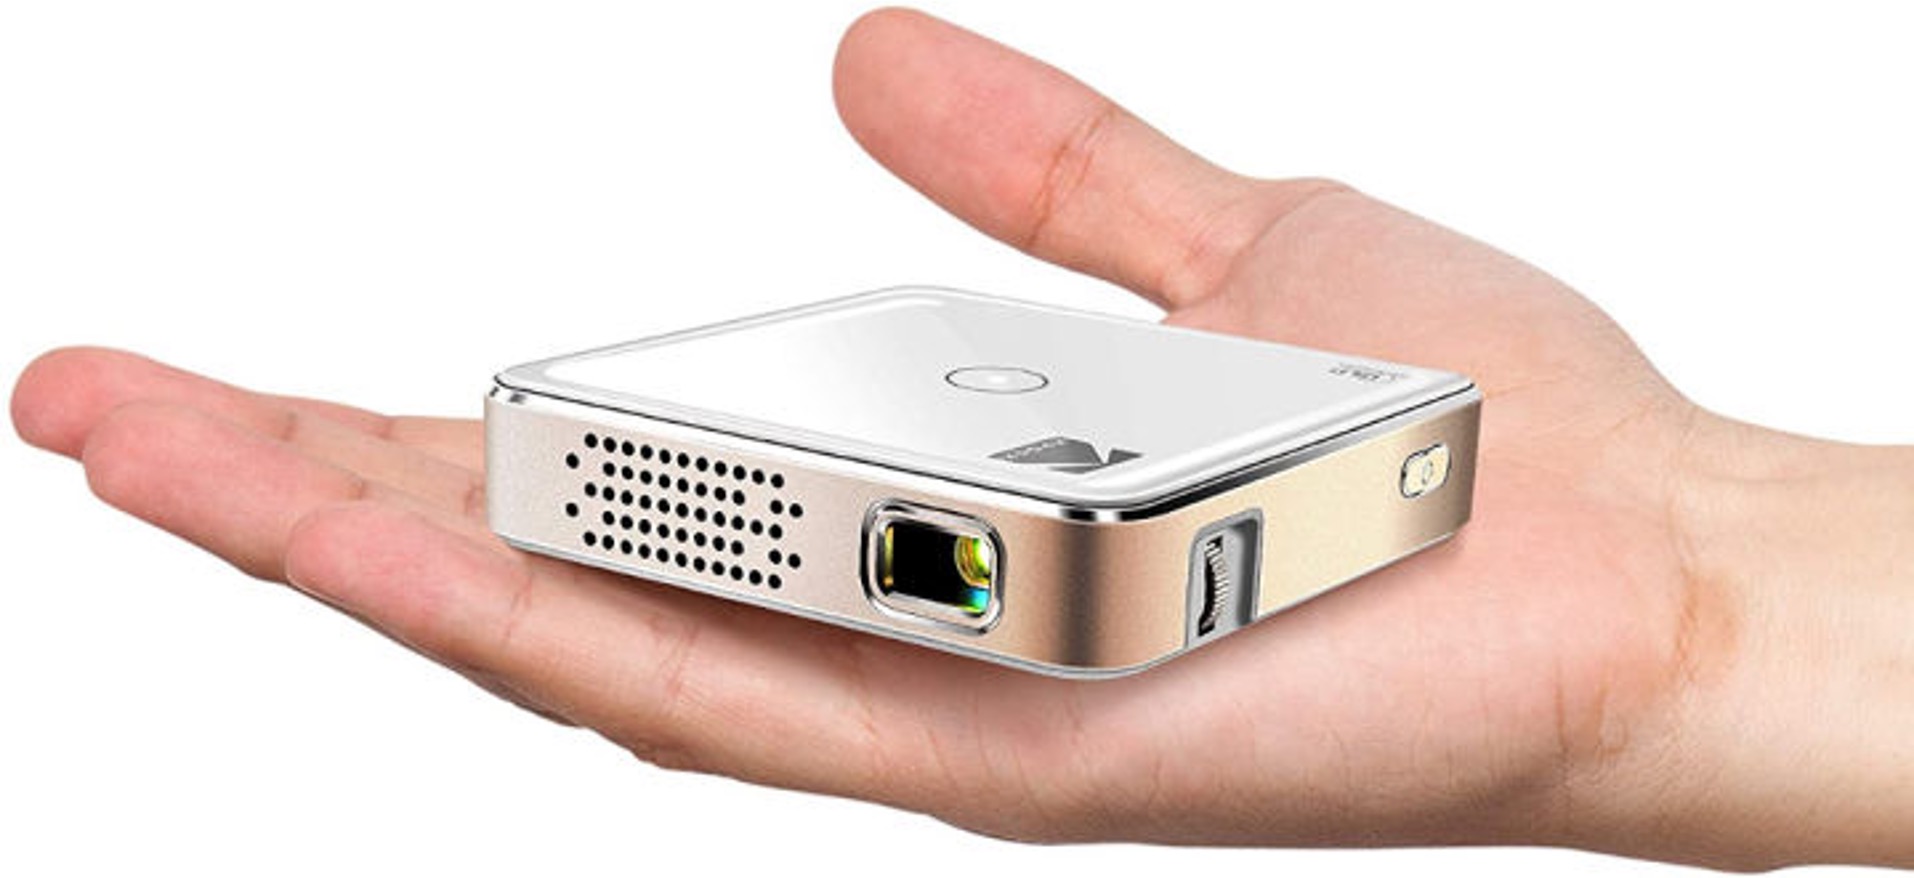
- Portability: If you plan on frequently moving your projector or using it in different locations, consider the portability of both the projector and laptop. Look for lightweight and compact options that are easy to transport.
- Battery Life: If you are using a wireless projector that runs on battery power, ensure that it has a sufficient battery life to last through your presentation or viewing session.
- Supported File Formats: Check if the projector and laptop support the file formats you commonly use for presentations or multimedia content. This will ensure that your files can be displayed without any compatibility issues.
In addition to these considerations, it is essential to do thorough research and read reviews from other users to gain insights into the reliability, performance, and overall user experience of both the projector and laptop you are considering.
Remember, choosing the right equipment will not only enhance your wireless projection experience but will also contribute to the overall success of your presentations or entertainment sessions. Taking the time to select the appropriate projector and laptop will result in crisp and clear visuals, smooth connectivity, and a stress-free projection process.
Connecting the Projector and Laptop Wirelessly
Now that you have chosen the right projector and laptop for wireless projection, it’s time to connect them wirelessly. Follow these steps to establish a seamless connection:
- Check Wi-Fi or Bluetooth Connectivity: Ensure that both your laptop and projector have Wi-Fi or Bluetooth capabilities. If not, you may need to use additional hardware, such as a wireless dongle or adapter, to establish the connection.
- Power On: Turn on both the laptop and projector.
- Activate Wireless Projection: On your laptop, navigate to the wireless projection settings. This may be found in the display or connectivity settings, depending on your operating system. Activate the wireless projection feature.
- Pair the Devices: Once the wireless projection feature is activated, your laptop will search for available projectors. On the projector, ensure that the wireless projection functionality is enabled and wait for the laptop to detect it. Once detected, select the projector from the list of available devices on your laptop.
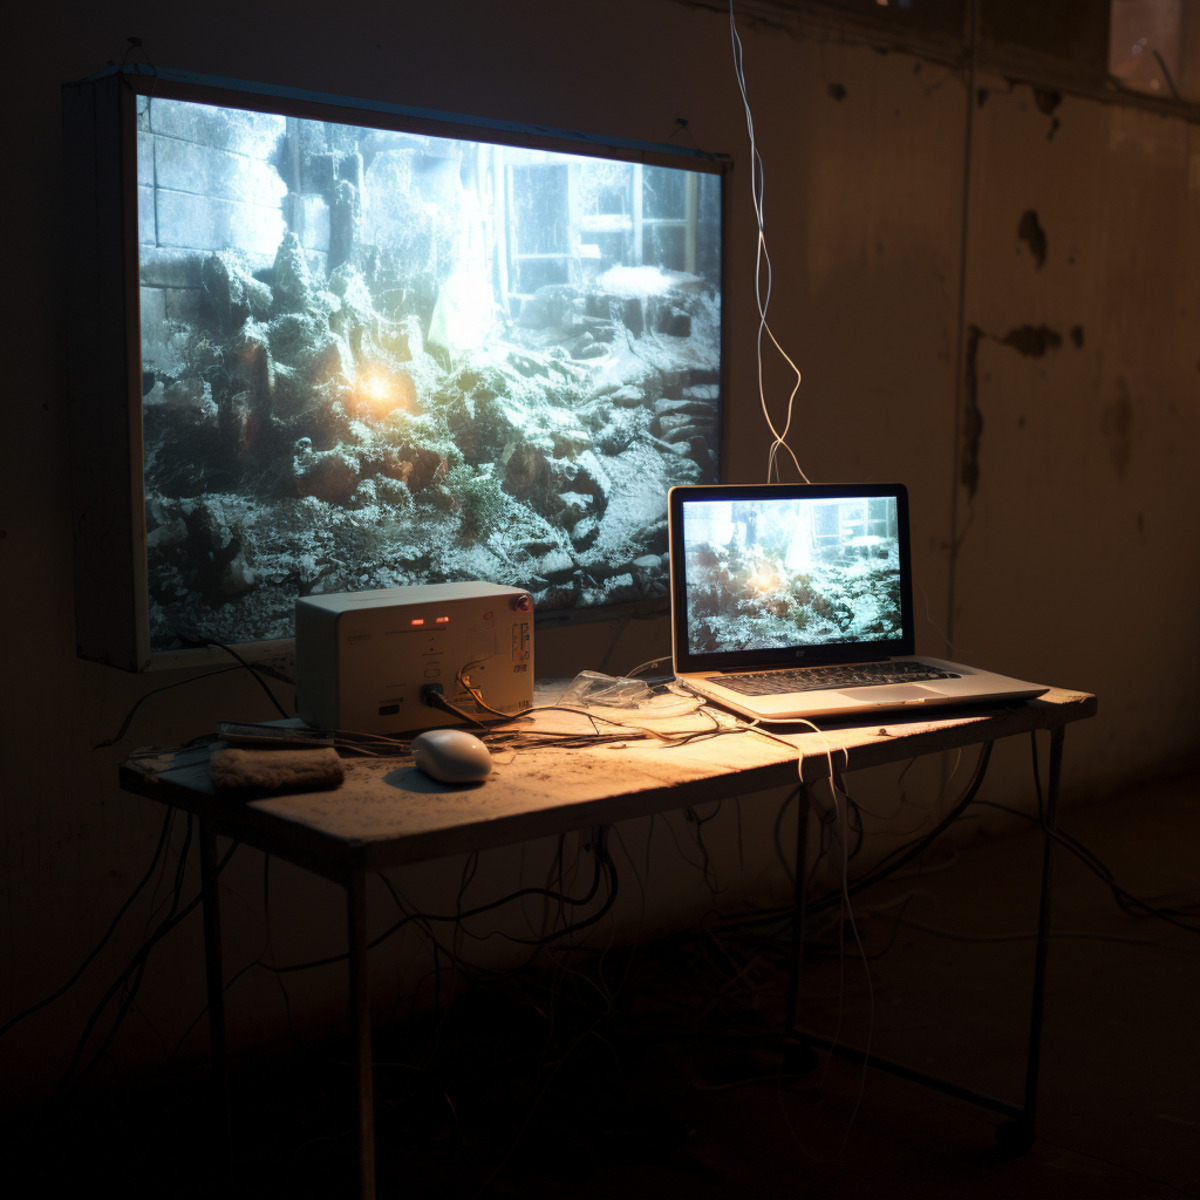
- Establish Connection: After selecting the projector, your laptop will establish a wireless connection with the projector. This process may take a few moments. Once the connection is established, your laptop screen will be mirrored on the projector.
It is worth noting that the exact steps for connecting wirelessly may vary depending on the specific projector and laptop models and the wireless projection technology being used. Therefore, it is always recommended to refer to the user manuals or online resources specific to your devices for detailed instructions.
Remember to ensure that both your laptop and projector are on the same wireless network or have a direct wireless connection, depending on the wireless projection technology being used. This will enable seamless communication between the two devices and prevent any connectivity issues.
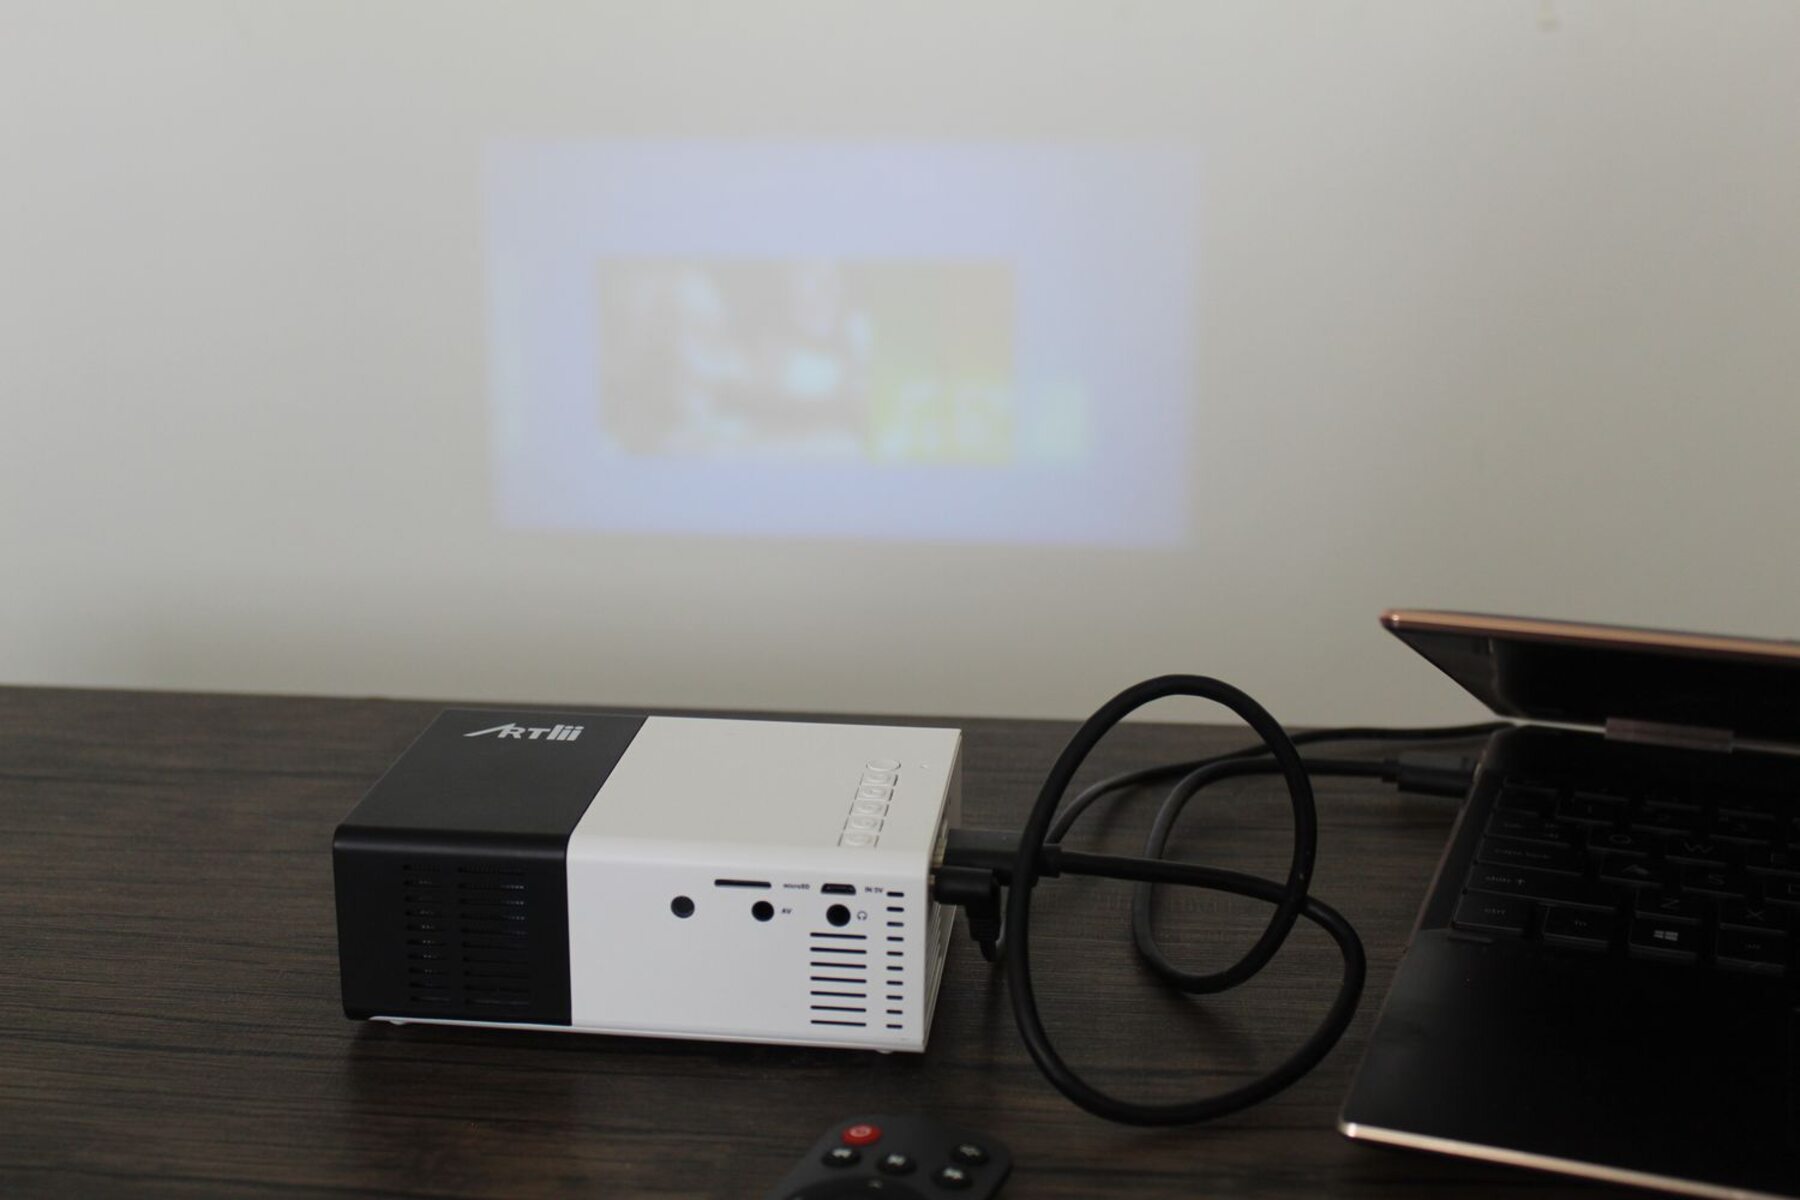
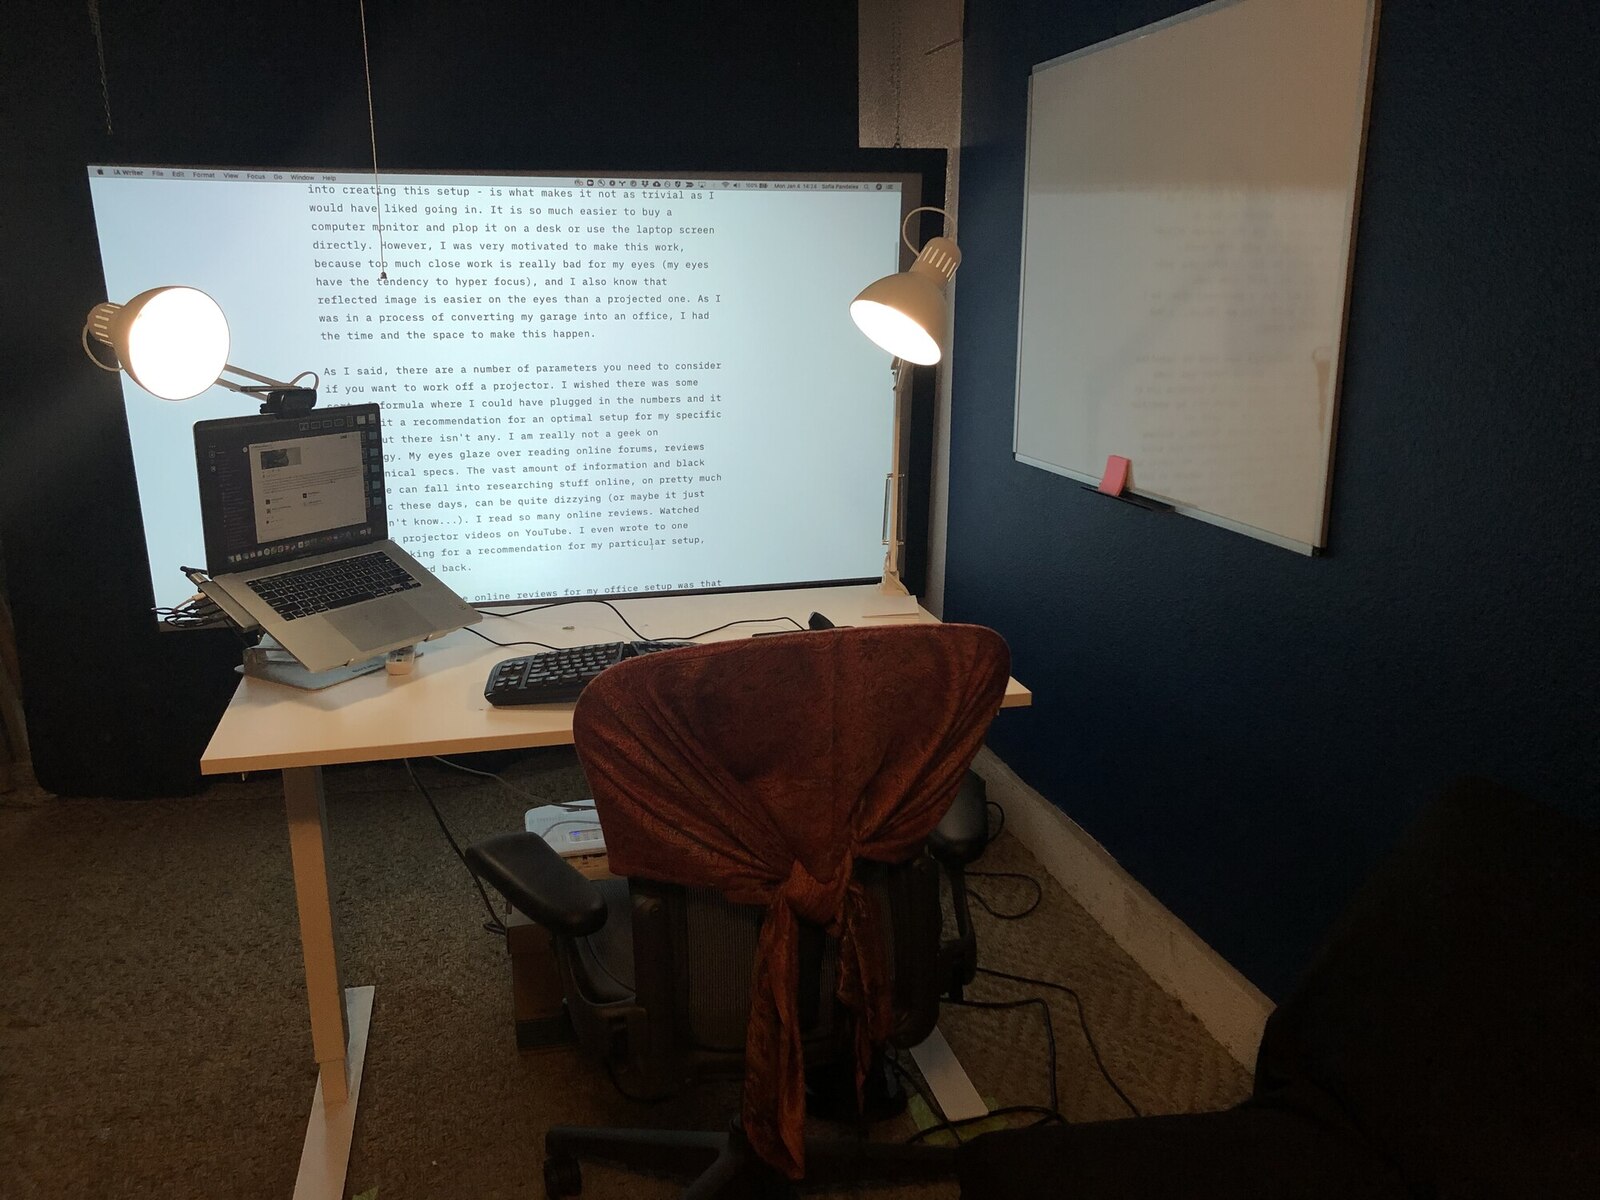
Once the wireless connection is established, you can now project your laptop screen onto the projector, allowing your audience to view your content on a larger display. Whether you are delivering a presentation, watching a movie, or sharing photos, wireless projection provides you with the flexibility and convenience to engage your audience in a more immersive way.
Setting Up the Wireless Projection Software
Before you can successfully project wirelessly from your laptop to a projector, it is essential to set up the necessary software to facilitate the wireless connection. Follow these steps to get the wireless projection software up and running:
- Identify Required Software: Determine whether your laptop and projector require specific wireless projection software or applications. Some projectors come with their own proprietary software, while others may require you to download a third-party software solution.
- Download and Install: If your projector or laptop requires specific software, visit the manufacturer’s website or app store to download the software or application. Follow the instructions provided to install the software on your laptop.
- Configure Software Settings: Once the software is installed, open the application and navigate to the settings menu. Adjust the settings according to your preferences and specific requirements. This may include selecting the wireless projection mode, adjusting display resolutions, or enabling specific features.
- Connect to the Projector: With the wireless projection software running on your laptop, refer back to the previous section on connecting the projector and laptop wirelessly. Follow the steps outlined to establish a wireless connection between your laptop and projector.
- Testing the Connection: Once the wireless connection is established, test the wireless projection by displaying a sample presentation or multimedia content. Ensure that the content is successfully projected onto the projector’s screen without any issues.
It is important to note that the specific steps and software interface may vary depending on the wireless projection solution being used. Consult the user manuals or online resources provided with the software to understand the software’s features and functionalities in detail.
Setting up the wireless projection software is crucial for seamless communication between your laptop and projector. By properly configuring the software and ensuring compatibility with your devices, you can optimize your wireless projection experience and enjoy hassle-free projections of your content.
Adjusting the Projection Settings
Once you have successfully connected your laptop wirelessly to the projector, it’s time to fine-tune the projection settings to ensure the best viewing experience. Here are some key settings to consider:
- Screen Resolution: Adjust the screen resolution on your laptop to match the native resolution supported by the projector. This will ensure that your content is displayed clearly and in the correct aspect ratio.
- Display Mode: Depending on the content you are projecting, you may need to adjust the display mode. Options usually include “Duplicate,” which mirrors the laptop screen on the projector, or “Extend,” which treats the projector as an additional display.
- Aspect Ratio: Set the aspect ratio on both your laptop and projector to match the content being projected. Common aspect ratios include 4:3 (standard) and 16:9 (widescreen).
- Brightness and Contrast: Adjust the brightness and contrast levels on the projector to optimize the image quality. Ensure that the projected image is neither too dim nor too bright.
- Keystone Correction: If the projector is not positioned perpendicular to the projection surface, use keystone correction to adjust the image and eliminate any distortion. Keystone correction is usually available in both vertical and horizontal directions.
- Color Calibration: Fine-tune the color settings on the projector to achieve accurate and vibrant colors. Some projectors offer preset color modes, such as “Cinema” or “Presentation,” which optimize the color settings based on different content types.
- Sound Settings: If the projector has built-in speakers, adjust the sound settings to ensure optimal audio quality. You may also consider connecting external speakers if higher quality sound is desired.
It is important to note that the specific options and settings available may vary depending on your projector model and the software being used. Consult the user manual or online resources specific to your devices for detailed instructions on adjusting the projection settings.
Take the time to experiment with different settings to find the optimal configuration for your specific projection needs. By adjusting the projection settings properly, you can enhance the visual quality, clarity, and overall viewing experience for your audience.
Troubleshooting Common Issues in Wireless Projection
While wireless projection offers incredible convenience, it is not uncommon to encounter a few hiccups along the way. Here are some common issues that may arise during wireless projection and how to troubleshoot them:
- Connection Drops: If the wireless connection between your laptop and projector is unreliable or keeps dropping, try moving closer to the projector or ensuring that there are no physical obstructions in the signal path. Additionally, check for interference from other wireless devices and try changing the Wi-Fi channel or frequency.
- Poor Image Quality: If the projected image appears pixelated or blurry, ensure that the projector is set to its native resolution and that the laptop screen resolution matches the projector’s requirements. Adjusting the focus on the projector and optimizing the brightness and contrast settings can also improve image quality.
- No Audio: If you are not getting any sound through the projector’s speakers, check the audio settings on both your laptop and the projector. Ensure that the volume is turned up and the correct audio output source is selected.
- Compatibility Issues: If your laptop and projector are not connecting or communicating properly, double-check that they both support the same wireless projection technology. If they do not, consider using a wireless adapter or dongle that supports the necessary technology.
- Software Incompatibility: If the wireless projection software is not functioning as expected, make sure you have the latest version installed on your laptop. Check for any software updates and install them if necessary. If the issue persists, try using an alternative wireless projection software solution.
- Device Not Recognized: If your laptop is not detecting the projector or vice versa, ensure that both devices are powered on and their wireless functionalities are enabled. Restarting both devices or reconnecting to the wireless network can also help establish the connection.
- Slow Response Time: If there is a noticeable delay between your laptop screen and the projected image, it could be due to network congestion or a slow Wi-Fi connection. Try reducing the distance between your laptop and the Wi-Fi router or consider using a dedicated wireless network for your projection setup.
If you encounter any of these issues or other problems during wireless projection, don’t panic. Patience and troubleshooting steps can often resolve the majority of issues. Refer to the user manuals, online forums, or contact the technical support for your specific projector and laptop models for further assistance.
By understanding and addressing these common issues, you can ensure a smoother and more reliable wireless projection experience, allowing you to deliver your presentations or enjoy multimedia content without interruptions.
Tips and Best Practices for Wireless Projection
To make the most out of your wireless projection experience, consider the following tips and best practices:
- Test the Setup: Before your actual presentation or event, thoroughly test the wireless projection setup to ensure everything is working properly. This will help you identify and address any connectivity or compatibility issues in advance.
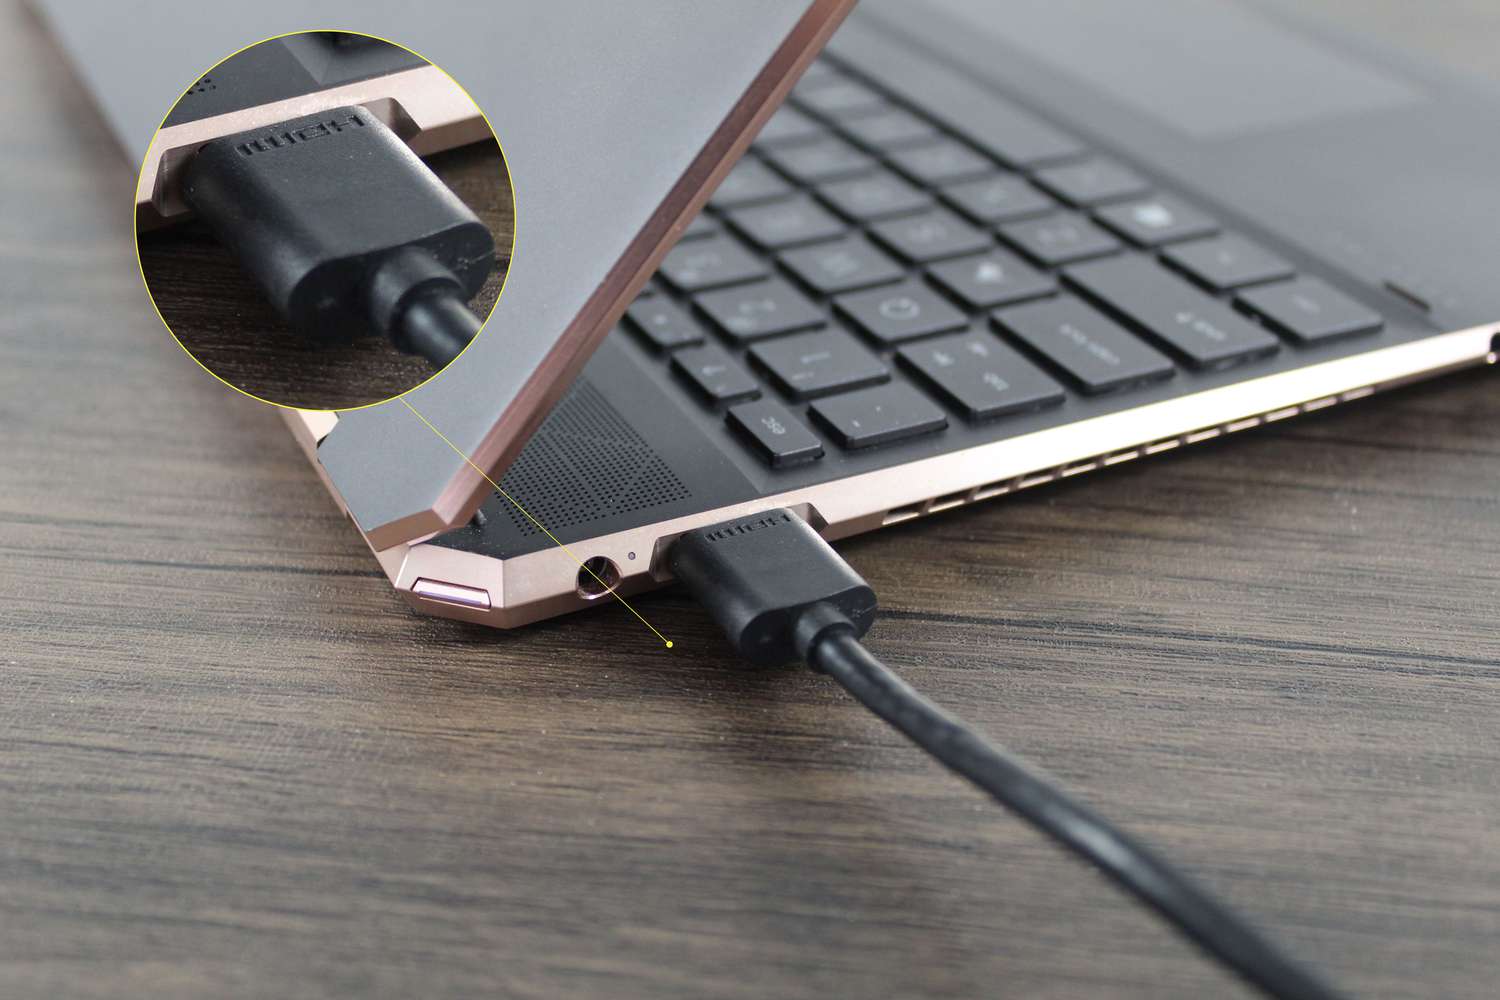
- Have a Backup Plan: While wireless projection is convenient, it’s always a good idea to have a backup plan in case of any technical difficulties. Bring along a HDMI or VGA cable to connect your laptop directly to the projector as a fallback option.
- Optimize Network Conditions: If you are using a Wi-Fi connection for wireless projection, ensure that you have a stable and reliable network. Reduce network congestion by disconnecting unnecessary devices and positioning your laptop and projector within close proximity to the Wi-Fi router.
- Minimize Distractions: Disable notifications, pop-up messages, and screen savers on your laptop during the presentation to avoid any interruptions or distractions. Additionally, mute your laptop’s sound to prevent unwanted audio interruptions.
- Ensure Sufficient Battery Life: If you are using a laptop that is not plugged into a power source, make sure you have enough battery life to last the entire duration of your wireless projection. Consider keeping your laptop connected to a power outlet if possible.
- Secure the Wireless Connection: If security is a concern, ensure that you are using secure wireless encryption protocols, such as WPA2, to protect your wireless projection setup from unauthorized access.
- Mind your Surroundings: Consider the lighting conditions and ambient noise in the room when setting up your wireless projection. Dim the lights if necessary to enhance the visibility of the projected image and minimize distractions.
- Clean and Maintain Equipment: Regularly clean and maintain both your laptop and projector to ensure optimal performance. Dust and debris can affect image quality and overall functionality.
- Stay Updated: Keep your laptop and projector software up to date with the latest firmware and driver releases. This ensures compatibility with wireless projection technology and may also enhance performance and address any known issues.
- Practice and Preparation: Familiarize yourself with the wireless projection software and features, as well as the projector’s remote control or interface. Practice navigating through your content and making adjustments to the projection settings prior to your presentation.
By following these tips and best practices, you can maximize the benefits of wireless projection and deliver seamless, engaging presentations or enjoy multimedia content on a bigger screen.
Conclusion
Wireless projection has revolutionized the way we connect our laptops to projectors, giving us more flexibility, convenience, and freedom in sharing our content. By understanding the technology behind wireless projection and following the step-by-step process outlined in this guide, you can effortlessly project your laptop screen onto a larger display without the need for messy cables or physical connections.
Remember to carefully choose the right projector and laptop for wireless projection, ensuring compatibility and considering factors such as resolution, connectivity options, portability, and supported file formats. Additionally, setting up the wireless projection software and adjusting the projection settings are key to optimizing the viewing experience and achieving the best possible image quality.
Although wireless projection offers many benefits, it’s important to be prepared for any technical difficulties that may arise. Familiarize yourself with troubleshooting techniques, have a backup plan in place, and always test your setup beforehand to avoid any potential setbacks during your presentation or viewing session.
By implementing the tips and best practices provided, such as optimizing network conditions, minimizing distractions, and maintaining your equipment, you can ensure a smooth and successful wireless projection experience.
Embrace the freedom of wireless projection and unlock new possibilities for presentations, education, and entertainment. Enjoy the convenience of wirelessly connecting your laptop to a projector and projecting your content onto a larger screen, captivating your audience and enhancing your multimedia experience.