Introduction
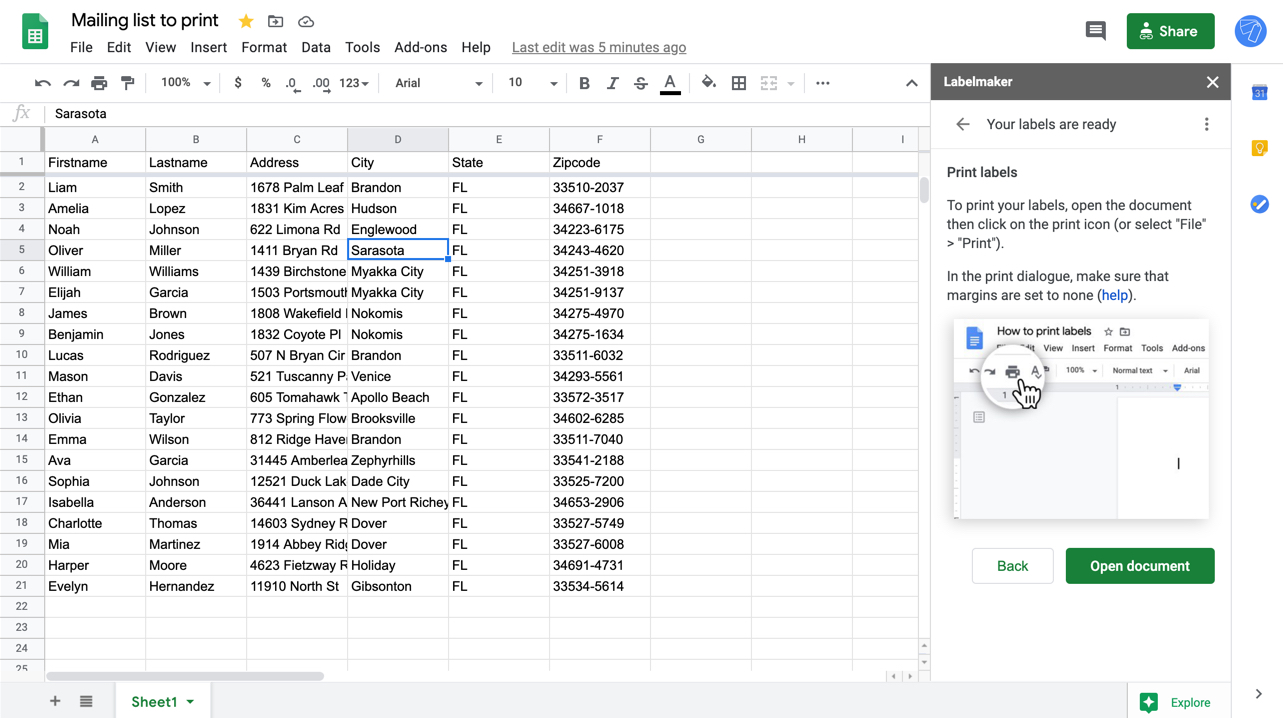
Welcome to this step-by-step guide on how to print Google Sheets. Google Sheets is a versatile tool that allows you to create, edit, and organize data in a spreadsheet format. Whether you are preparing a budget, tracking expenses, or working on a project, printing your Google Sheet can be helpful for various reasons, such as sharing information, creating hard copies, or making the data more accessible offline.
Printing your Google Sheets is a straightforward process, and with a few simple steps, you can customize the print layout and get a clean, professional result. In this guide, we will walk you through the process of printing your Google Sheets, from opening the sheet to adjusting the print settings and previewing the layout. We will also cover advanced options for customizing the print settings to suit your specific needs.
Whether you are a student, professional, or someone who works extensively with data, this guide will provide you with all the information you need to print your Google Sheets efficiently and effectively.
Now let’s dive into the steps involved in printing your Google Sheets. By the end of this guide, you will be able to print your Sheets confidently, saving time and effort in the process.
Step 1: Open Google Sheets
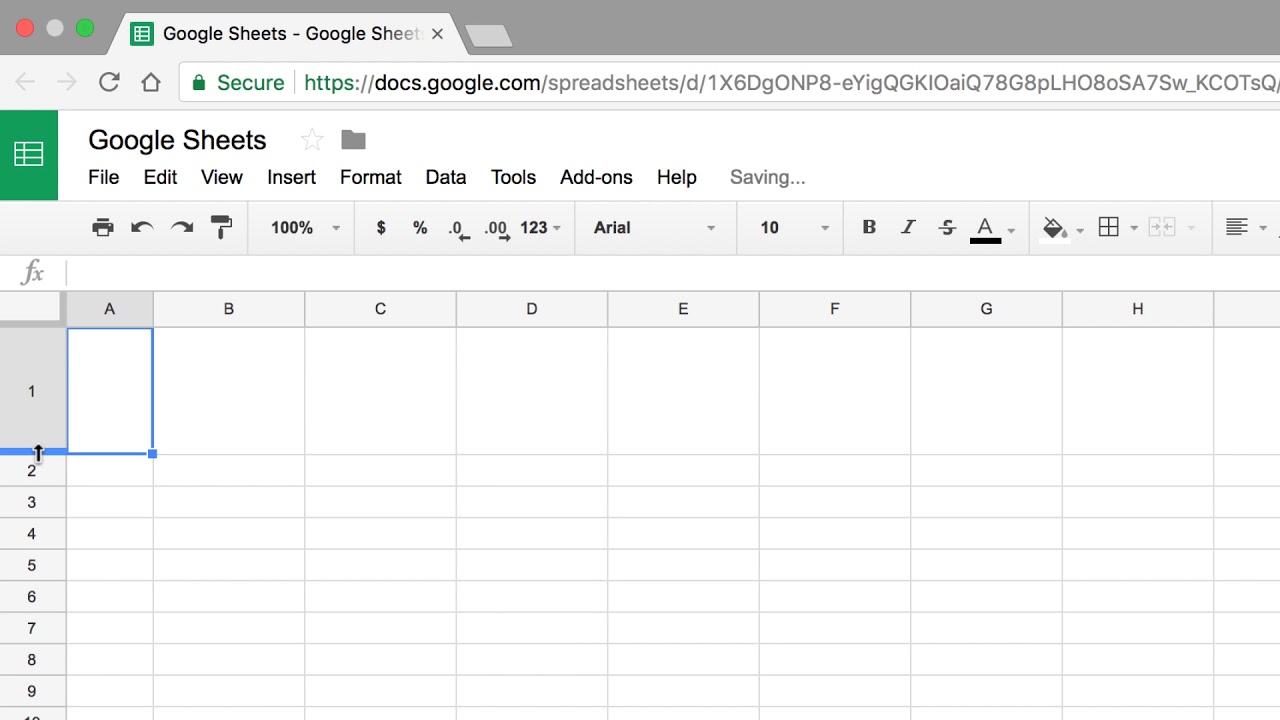
The first step in printing your Google Sheets is to open the Google Sheets application. Google Sheets is a web-based spreadsheet program that is part of the Google Workspace suite of productivity tools. You can access Google Sheets through your web browser or via the Google Sheets mobile app if you prefer to work on your mobile device.
To open Google Sheets on your computer, follow these steps:
- Launch your web browser (such as Chrome, Firefox, or Safari).
- Go to the Google Sheets website by entering the URL “sheets.google.com” in the address bar.
- If you are not already signed in to your Google account, enter your email address and password to sign in. If you don’t have a Google account, you can create one by clicking on the “Create account” button.
- Once you are signed in, you will see the Google Sheets homepage, which displays a list of your existing spreadsheet files and the option to create a new sheet.
- To open an existing sheet, click on the file name or thumbnail of the sheet you wish to print. The sheet will open in a new tab.
If you prefer to use the Google Sheets mobile app, follow these steps:
- Unlock your mobile device and locate the Google Sheets app icon. It is a green icon with a white sheet of paper and a bar graph.
- Tap on the Google Sheets app icon to launch the application.
- If you are not already signed in to your Google account, you will be prompted to do so. Enter your email address and password to sign in.
- Once you are signed in, you will see the Google Sheets homepage, which displays a list of your existing spreadsheet files and the option to create a new sheet.
- To open an existing sheet, tap on the file name or thumbnail of the sheet you wish to print. The sheet will open in the app.
By following these simple steps, you will be able to open Google Sheets and access the specific spreadsheet you want to print. With your sheet open and ready, you can proceed to the next step, which is selecting the sheet you wish to print.
Step 2: Select the Sheet you want to print
Once you have opened Google Sheets and accessed the desired spreadsheet, the next step is to select the sheet you want to print. Google Sheets allows you to have multiple sheets within a single spreadsheet, each containing different sets of data or information. By selecting the specific sheet you want to print, you can ensure that only the relevant content is included in the printout.
To select the sheet you want to print, follow these steps:
- Look at the bottom of the Google Sheets window to locate the sheet tabs. Each sheet will have its own tab, labeled with a name or default title.
- Click on the tab of the sheet you want to print to select it. The selected tab will be highlighted.
If you are using the Google Sheets mobile app, follow these steps to select the sheet:
- On the bottom of the app screen, swipe left or right to navigate between sheets. Each sheet will have its own tab, labeled with a name.
- Tap on the tab of the sheet you want to print to select it. The selected tab will be highlighted.
By selecting the specific sheet you want to print, you ensure that only the relevant data is included in the printed version. This is especially useful if you have multiple sheets within a single spreadsheet and want to print specific information without including unnecessary details.
Once you have selected the sheet, you can proceed to the next step, which is adjusting the print settings according to your preferences.
Step 3: Adjust the print settings
After selecting the specific sheet you want to print, it’s time to adjust the print settings to ensure that the printed version meets your requirements and preferences. Google Sheets provides various options to customize the way your data is printed, allowing you to control aspects such as paper size, orientation, margins, and more.
To adjust the print settings in Google Sheets, follow these steps:
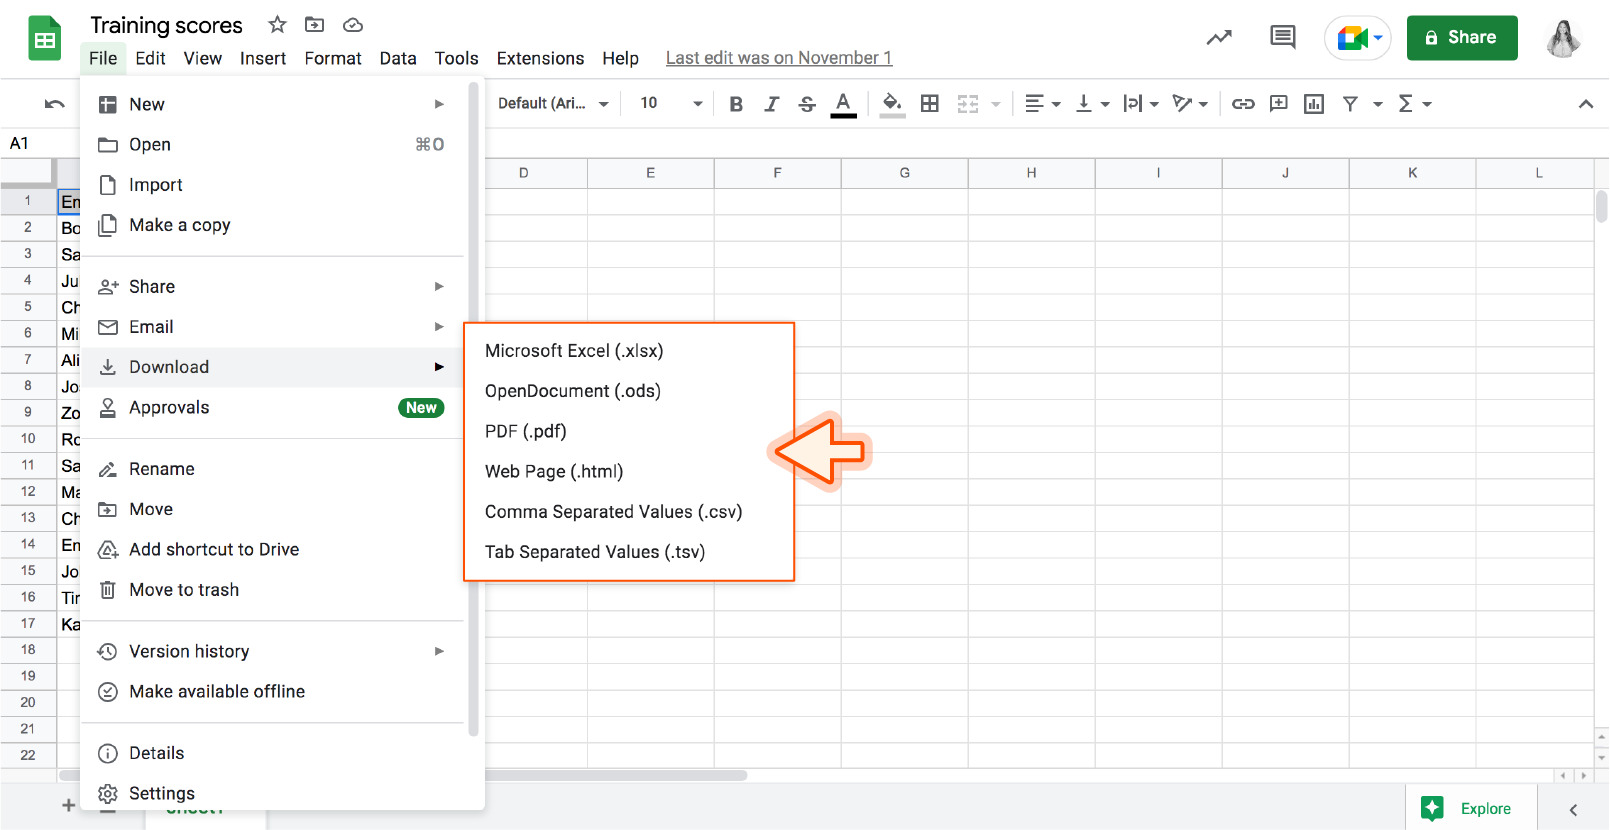
- Click on the “File” menu located at the top left corner of the Google Sheets window.
- In the dropdown menu, click on the “Print…” option. A print settings dialog box will appear.
- In the print settings dialog box, you can make adjustments such as:
- Selecting the printer you want to use.
- Choosing the number of copies.
- Specifying the page range to be printed (all pages, specific pages, or a custom range).
- Setting the paper size (letter, legal, A4, etc.).
- Choosing the orientation (portrait or landscape).
- Adjusting the margins (top, bottom, left, right).
- Selecting the scale of the printout (fit to page, actual size, custom).
- Once you have made the necessary adjustments, click on the “Print” button to start the printing process.
By adjusting the print settings, you have control over various aspects of the printout, allowing you to tailor it to your specific needs. Whether you want to print the sheet in color or black and white, fit the content on a single page, or adjust the margins for better presentation, Google Sheets gives you the flexibility to customize the print settings according to your preferences.
After adjusting the print settings, it’s a good idea to preview the print layout before printing to ensure that everything looks as expected. The next section will walk you through the process of previewing the print layout in Google Sheets.
Step 4: Preview the print layout
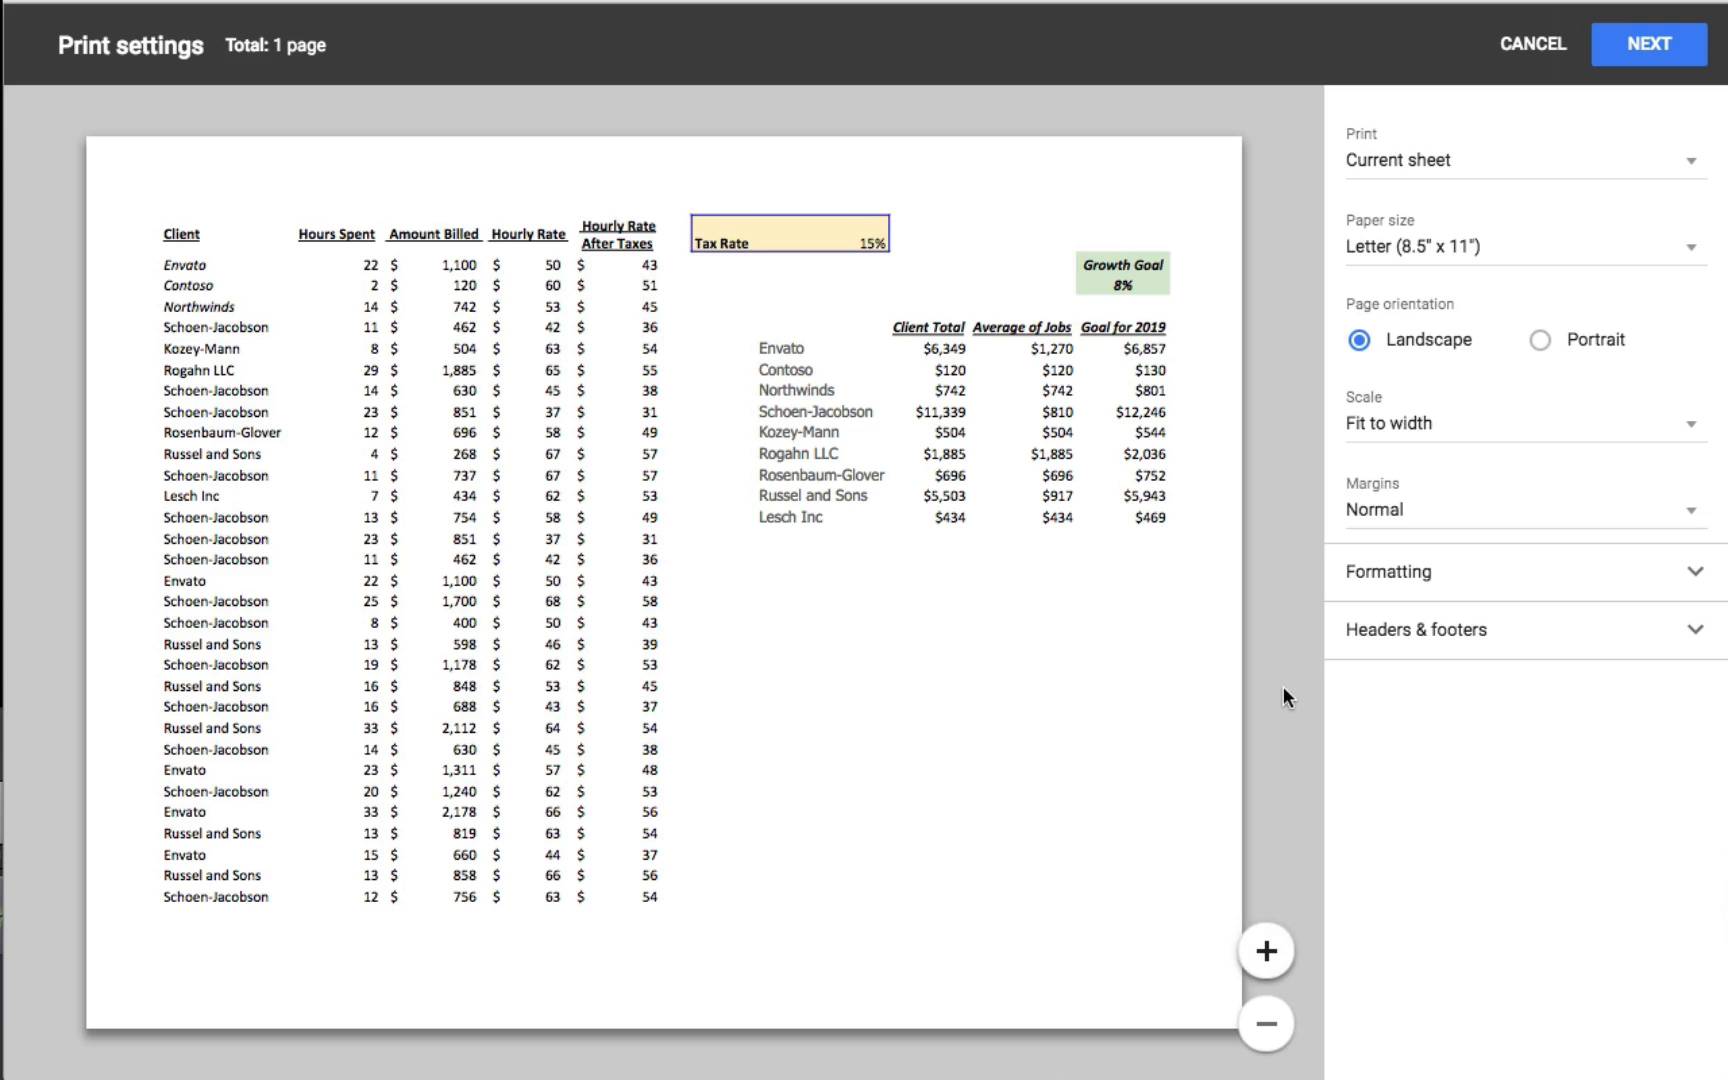
Before finalizing the printout, it’s important to preview the print layout in Google Sheets. This allows you to see how the sheet will appear on paper and make any necessary adjustments to ensure that the data is presented in the desired format. The print preview feature in Google Sheets gives you a visual representation of how the content will be arranged on each page.
To preview the print layout in Google Sheets, follow these steps:
- Click on the “File” menu located at the top left corner of the Google Sheets window.
- In the dropdown menu, click on the “Print…” option. The print settings dialog box will appear.
- In the print settings dialog box, click on the “Preview” button. This will open the print preview window.
- In the print preview window, you can navigate through the pages using the arrow buttons or the page number input field.
- Observe how the data is displayed on each page and verify if all the necessary information is included.
- If you notice any issues or need to make changes, close the print preview window and go back to the print settings dialog box to make adjustments.
- Once you are satisfied with the preview and confident that the print layout is as desired, you can proceed to the final step of printing the Google Sheet.
Previewing the print layout gives you an opportunity to catch any errors or formatting issues before wasting paper and ink. It ensures that the printed version of your Google Sheet will be accurate and presentable, saving you from potential mistakes or omissions.
Now that you have previewed the print layout and made any necessary adjustments, it’s time to move on to the next step, which is actually printing the Google Sheet.
Step 5: Print the Google Sheet
Once you have adjusted the print settings and previewed the print layout in Google Sheets, it’s time to print the Google Sheet. Printing your sheet allows you to have a physical copy of the data that can be easily shared, referenced, or used offline. Follow the steps below to print your Google Sheet:
- Ensure that your computer or printer is connected and properly set up.
- Click on the “File” menu located at the top left corner of the Google Sheets window.
- In the dropdown menu, click on the “Print…” option. The print settings dialog box will appear.
- Review the print settings and confirm that they are set according to your preferences.
- Click on the “Print” button to start the printing process.
- Wait for the printer to complete the printing job. Depending on the complexity and size of your Google Sheet, it may take a few moments to print.
- Once the printing is complete, retrieve the printed sheets from the printer tray.
It is worth noting that the actual steps to print will vary depending on your printer settings and the specific device you are using. Make sure to familiarize yourself with your printer’s capabilities and adjust the settings accordingly.
Printing your Google Sheet gives you a physical copy of your data to refer to offline or share with others. Keep in mind that you can always go back to your digital Google Sheet and make updates or changes as needed.
Now that you have successfully printed your Google Sheet, you may want to consider customizing the print settings further to meet any specific requirements. The next section will cover optional customization options you can explore.
Step 6: Customize the print settings (optional)
In addition to the standard print settings, Google Sheets offers several optional customization options that allow you to further tailor the printout to your specific needs. These additional settings provide more control over the appearance, layout, and organization of the printed Google Sheet. While these settings are optional, they can enhance the printout and make it more visually appealing and easier to understand.
Follow these steps to customize the print settings in Google Sheets:
- Click on the “File” menu at the top left corner of the Google Sheets window.
- In the dropdown menu, click on the “Print…” option to open the print settings dialog box.
- In the print settings dialog box, you can explore the following optional customization options:
- Headers and footers: You can choose to include headers and footers in your printout. Headers typically display information such as the sheet name, date, and page numbers.
- Gridlines and borders: You can specify whether to include or exclude gridlines and borders when printing. Gridlines help visually separate cells on the printout, while borders enhance the overall structure and readability.
- Scaling options: Google Sheets provides scaling options to adjust the size of the content on the printed page. You can select options such as “Fit to page” to ensure that the data fits within the printable area of the page without being cropped.
- Repeat row and column headers: If your Google Sheet has row or column headers that span multiple pages, you can choose to repeat them on each page for clarity and reference.
- Page order: You can specify the order in which the pages are printed. This is particularly useful if you want to print the sheets in a particular sequence.
- Custom paper size: If the standard paper sizes provided do not meet your requirements, you can create a custom paper size to accommodate your specific needs.
- Make the desired adjustments to the optional settings based on your preferences.
- Once you have customized the print settings to your satisfaction, click on the “Print” button to begin printing the Google Sheet.
Customizing the print settings in Google Sheets allows you to have more control over the appearance and organization of the printed version. By utilizing these optional settings, you can create printouts that are tailored to your specific requirements and make the data more visually appealing and user-friendly.
Congratulations! You have now successfully customized the print settings, and your Google Sheet is ready to be printed with your desired customizations.
Conclusion
Printing your Google Sheets can be a valuable way to share, reference, or work with your data offline. By following the step-by-step guide outlined in this article, you can effectively print your Google Sheets and customize the print settings to meet your specific needs.
We started by opening Google Sheets, whether through a web browser or the mobile app, and then proceeded to select the sheet we wanted to print. Adjusting the print settings allowed us to customize aspects such as paper size, orientation, and margins. Previewing the print layout ensured that everything appeared as expected, and any necessary changes could be made before printing.
Finally, we printed the Google Sheet, obtaining a physical copy of our data. It’s important to remember that Google Sheets is a dynamic tool, and you can always go back to the digital version to make updates or modifications as needed.
Additionally, we explored optional customization settings that allowed us to further enhance the appearance and organization of our printouts. Features like headers and footers, gridlines and borders, scaling options, and repeat row and column headers provided us with more flexibility in presenting our data in the desired format.
By following these steps and utilizing the customization options, you can create professional-looking printouts of your Google Sheets that are visually appealing and easy to understand.
So, whether you need hard copies for presentations, references for meetings, or simply prefer working with physical copies, printing your Google Sheets is a valuable skill. It allows you to stay organized, share information, and have a convenient offline version of your data at your fingertips.
Now, armed with this knowledge, go ahead and start printing your Google Sheets with confidence, tailor them to your specific needs, and enjoy the convenience and usability that comes with having physical copies of your data.