Introduction
Welcome to our guide on populating a motherboard with DIMM (Dual In-Line Memory Module) modules. When it comes to memory upgrades or building a new computer system, understanding how to properly populate DIMM slots is crucial for optimal performance. DIMM modules are the primary means of expanding a computer’s memory capacity, allowing for faster and more efficient processing tasks.
In this article, we will explore the different types of DIMM modules available in the market, provide considerations when populating DIMM slots, and offer guidelines on matching and configuring DIMM modules. Additionally, we will address common troubleshooting issues that may arise during the installation process.
Whether you’re a novice computer builder or a seasoned professional, this guide aims to provide you with the essential knowledge needed to make informed decisions when it comes to populating a motherboard with DIMM modules. By following the recommendations and guidelines laid out in this article, you can optimize your system’s memory performance and avoid potential compatibility issues.
Before we dive into the specifics, it’s important to mention that different motherboards may have varying support for DIMM modules. It’s always a good idea to consult your motherboard’s manual or specifications to ensure compatibility with the specific DIMM modules you plan to install. Additionally, if you’re unsure about any part of the installation process, it’s recommended to seek professional assistance or guidance.
Now, let’s explore the different types of DIMM modules you may encounter during your motherboard population journey.
Types of DIMM Modules
When it comes to selecting DIMM modules for your motherboard, it’s important to understand the different types available. Here are the main types you may come across:
- DDR3 DIMM: DDR3 (Double Data Rate 3) DIMM modules are a popular choice for older computer systems. They offer decent performance and are generally more affordable than newer versions. DDR3 DIMMs are characterized by their 240-pin configuration.
- DDR4 DIMM: DDR4 (Double Data Rate 4) DIMM modules are the current industry standard for most modern computer systems. They offer improved performance and higher memory frequencies compared to DDR3. DDR4 DIMMs feature a 288-pin configuration.
- DDR5 DIMM: DDR5 (Double Data Rate 5) DIMM modules are the upcoming generation of memory technology. Although not widely available at the time of writing, DDR5 DIMMs promise even higher performance and improved power efficiency. DDR5 DIMMs are expected to feature a 288-pin configuration, similar to DDR4.
When choosing a DIMM module, it’s important to ensure compatibility with your motherboard. Check the motherboard’s specifications to identify the supported DIMM type and module density (e.g., 8GB, 16GB, etc.). Mixing different types of DIMMs or using incompatible modules can lead to system instability or failure to boot.
Now that we understand the different types of DIMM modules available, let’s move on to the next section, where we will discuss important considerations when populating DIMM slots.
Considerations When Populating DIMM Slots
When it comes to populating DIMM slots on your motherboard, there are several important considerations to keep in mind. These considerations can help ensure optimal performance and compatibility. Let’s take a closer look:
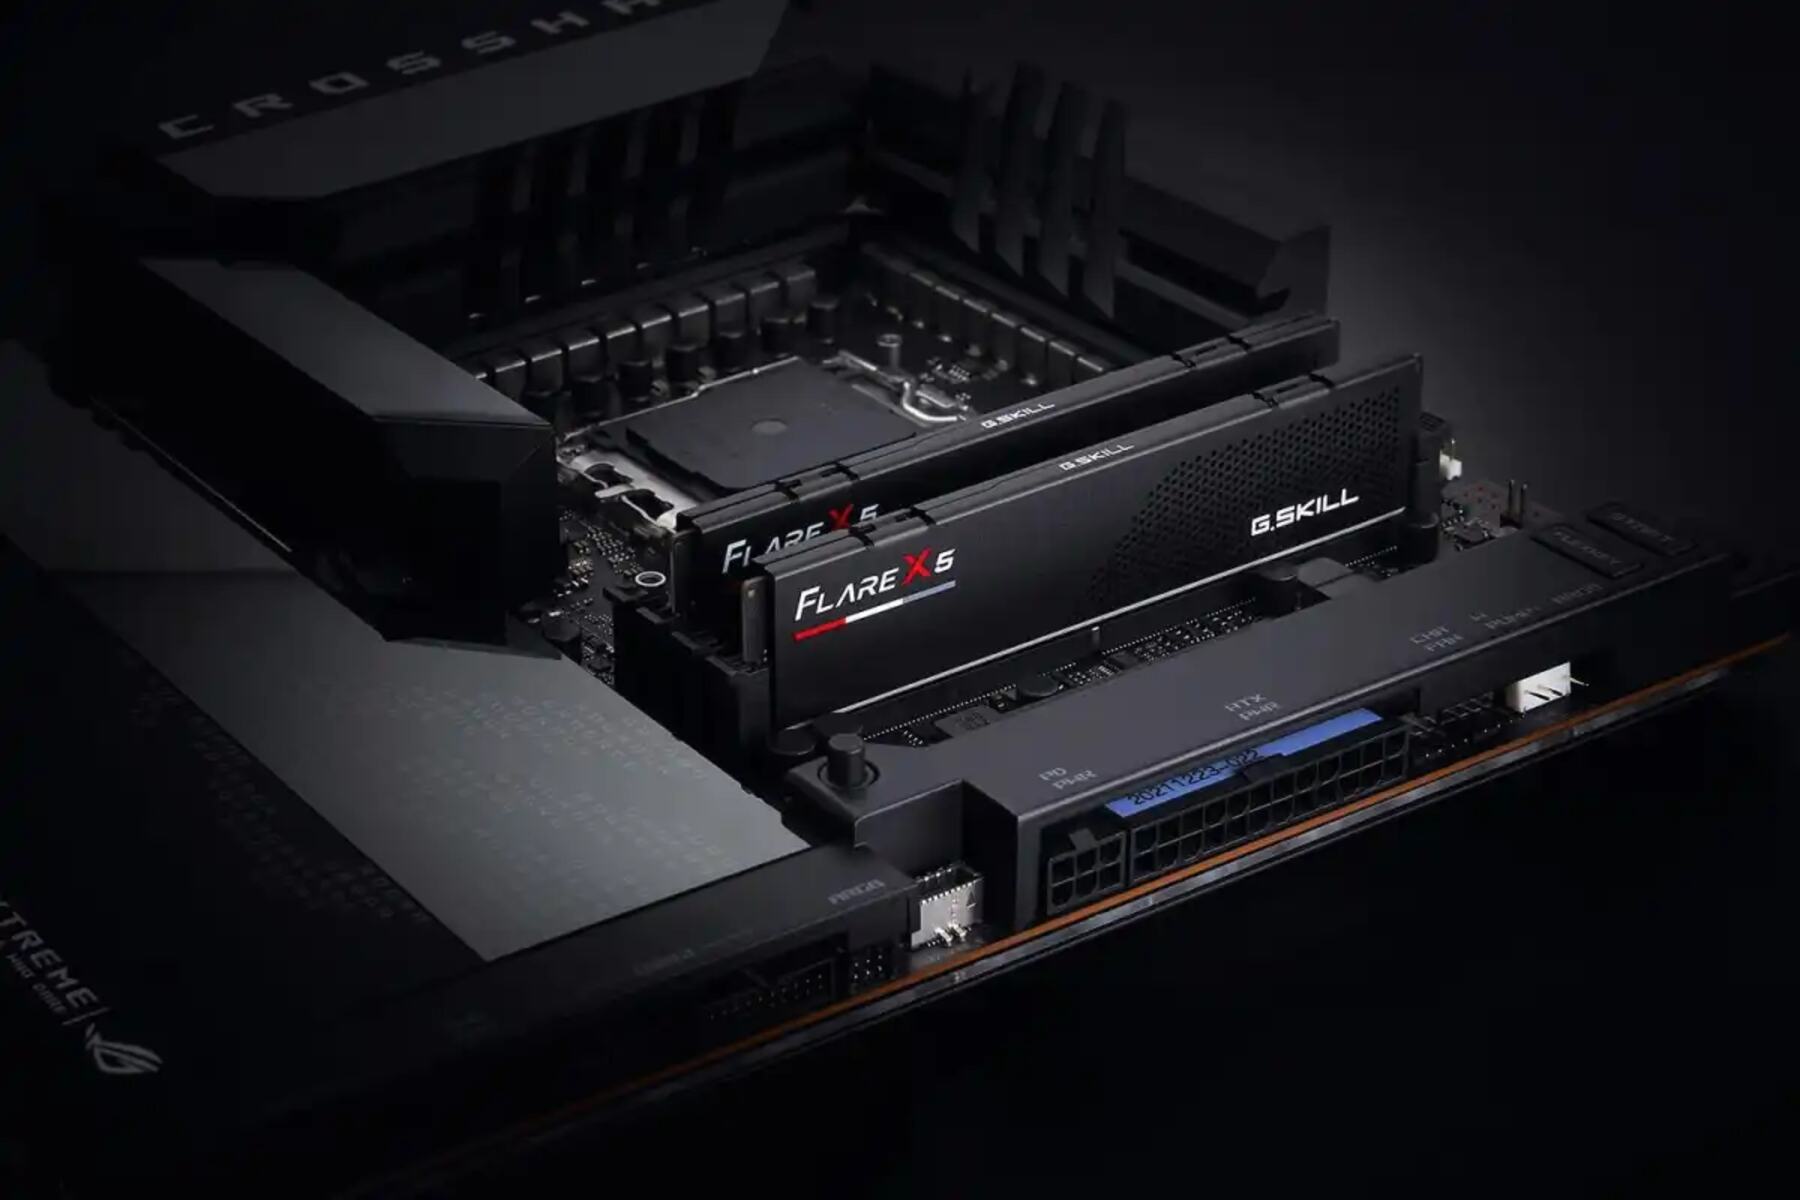
- Memory Channels: Most modern motherboards support dual-channel or quad-channel memory configurations. It’s recommended to populate DIMM slots in pairs or sets of four to take advantage of the memory channels and maximize memory bandwidth.
- Maximum Memory Capacity: Check your motherboard’s specifications to determine the maximum supported memory capacity. Some motherboards may have limitations on the total amount of memory that can be installed or limitations per DIMM slot.
- Memory Speed: Each DIMM module has a specific speed rating, often referred to as the memory’s frequency or clock speed, measured in MHz. It’s important to ensure that all DIMM modules installed have the same speed rating for optimal compatibility.
- Voltage Requirements: DIMM modules can have different voltage requirements. Make sure that the modules you choose are compatible with your motherboard’s voltage specifications. Installing modules with incompatible voltage can lead to system instability or damage.
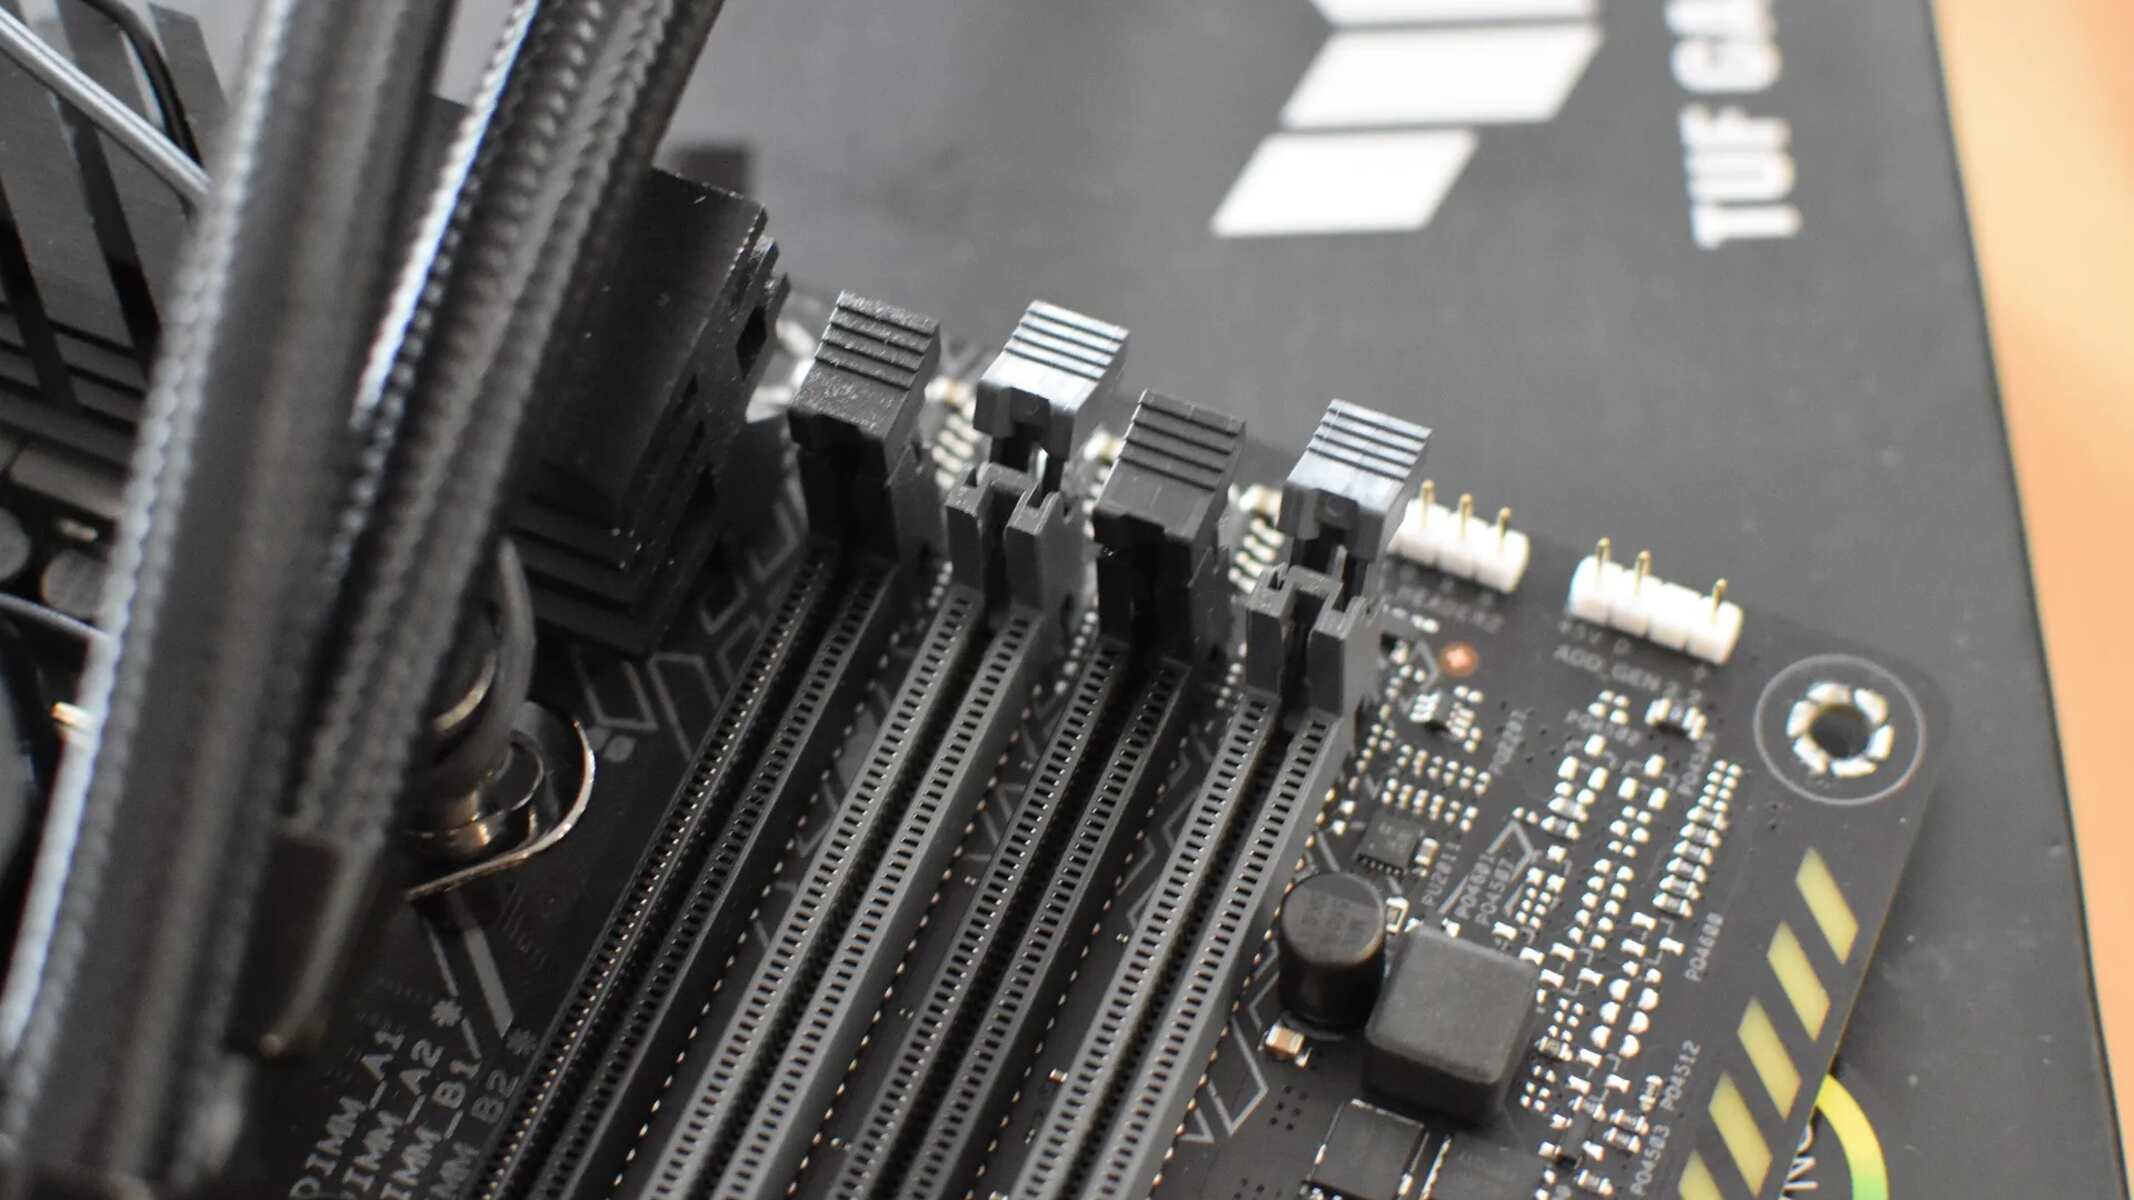
- Population Order: Some motherboards have specific guidelines on the order in which DIMM slots should be populated. Consult your motherboard’s manual for recommended slot configurations. Following the recommended population order can help optimize memory performance.
It’s worth noting that mixing different capacities or speeds of DIMM modules may result in the memory running at the speed of the slowest module or incompatibility issues. If possible, it’s recommended to use identical DIMM modules from the same manufacturer and the same model for optimal compatibility and performance.
By taking these considerations into account, you can ensure that you populate your DIMM slots in a way that maximizes memory performance and compatibility. In the next section, we will discuss guidelines for matching DIMM modules.
Matching DIMM Modules
In order to achieve optimal system performance, it’s important to properly match DIMM modules when populating the slots on your motherboard. Here are some guidelines to follow:
- Capacity: When populating DIMM slots, it’s recommended to use modules with the same capacity. For example, if you have two slots available, each with a capacity of 8GB, it’s best to install two 8GB DIMM modules rather than a combination of different capacities.
- Speed: Matching the speed (frequency) of DIMM modules is crucial for maintaining compatibility and optimal performance. Install DIMM modules that have the same speed rating to prevent any timing issues or performance discrepancies.
- Timing: When choosing DIMM modules, it’s important to ensure that they have similar or identical timings. Timings refer to the latency and speed at which the memory modules can access and retrieve data. Mismatched timings can lead to performance bottlenecks or system instability.
- Voltage: Verify that all DIMM modules have the same voltage requirements. Mixing modules with different voltage specifications can result in compatibility issues or potential damage to the memory modules or motherboard.
- Brand and Model: While not always necessary, using DIMM modules from the same brand and model can help ensure compatibility and optimal performance. Modules that are designed to work together are more likely to have consistent timings, voltage requirements, and overall compatibility.
Following these guidelines will help you avoid compatibility issues and ensure that your memory modules work harmoniously together. It’s important to note that not all motherboards support mixing different capacities or speeds of DIMM modules, so be sure to consult your motherboard’s manual or specifications for the specific recommendations and limitations.
Now that we’ve covered the considerations for matching DIMM modules, let’s move on to the next section, where we will provide slot configuration guidelines to maximize performance.
Slot Configuration Guidelines
Proper slot configuration is essential for optimizing memory performance and ensuring compatibility when populating DIMM modules on your motherboard. Consider the following guidelines:
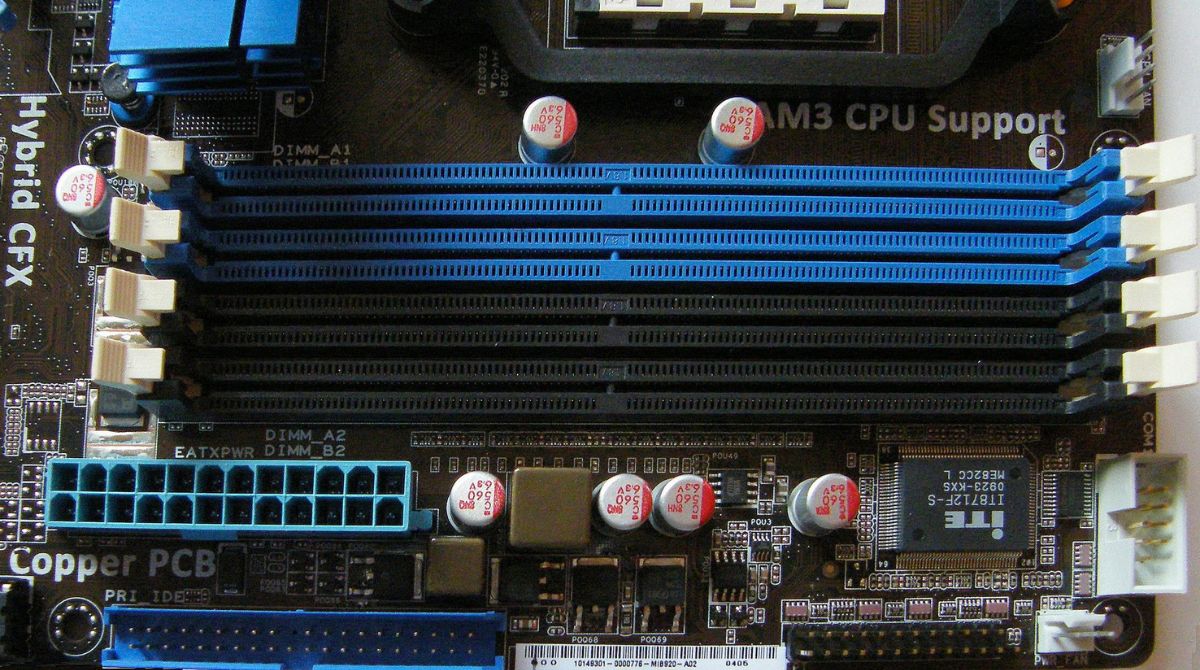
- Dual-Channel Configuration: Many motherboards support dual-channel memory configurations. For optimal performance, it’s recommended to install DIMM modules in pairs, using slots that are labeled as dual-channel. This allows the memory controller to access data simultaneously from two DIMMs, increasing memory bandwidth.
- Quad-Channel Configuration: If your motherboard supports quad-channel memory, install DIMM modules in sets of four. This configuration further enhances memory bandwidth and performance by utilizing four memory channels simultaneously.
- Population Order: Consult your motherboard’s manual for the recommended population order. Some motherboards require specific slot configurations, such as starting with a particular slot or filling the slots in a specific sequence. Adhering to the recommended population order can help prevent compatibility issues and ensure proper communication between the memory modules and the memory controller.
- Empty Slots: If you’re not populating all available DIMM slots, it’s generally recommended to populate slots that belong to the same memory channel first. For example, if you have four DIMM slots and are only installing two modules, place them in slots 1 and 3 (or 2 and 4) depending on the recommended population order. This ensures balanced memory access across the available memory channels.
- Memory Configuration Limitations: Be aware of any specific limitations or restrictions mentioned in your motherboard’s manual or specifications. Some motherboards may have limitations on the number of DIMM slots that can be populated depending on the configuration or memory capacity.
Following these slot configuration guidelines can help maximize memory performance and ensure compatibility between the DIMM modules and the motherboard. It’s important to note that not all motherboards support multiple memory channels or have the same slot configurations, so always consult your motherboard’s documentation for specific recommendations.
Now that we’ve discussed slot configuration guidelines, let’s move on to the next section, where we will provide some recommended DIMM configurations for different scenarios.
Recommended DIMM Configurations
Knowing the recommended DIMM configurations can help you make informed decisions when populating the DIMM slots on your motherboard. Here are some suggested configurations for different scenarios:
- Dual-Channel Configuration: For motherboards that support dual-channel memory, it’s recommended to install two identical DIMM modules in the corresponding dual-channel slots. This means using slots that are labeled as dual-channel, usually color-coded or numbered, such as slots 1 and 3 or slots 2 and 4. Make sure the DIMM modules are of the same capacity, speed, timings, and voltage for optimal performance.
- Quad-Channel Configuration: If your motherboard supports quad-channel memory, populate all four corresponding slots with identical DIMM modules. Again, use modules that have the same capacity, speed, timings, and voltage. Consult your motherboard’s manual for the recommended population order of the slots.
- Mixed Capacity Configuration: Some motherboards allow for mixing DIMM modules of different capacities. In this case, you can utilize the available slots to combine different capacities if needed. However, ensure that modules with the same capacity are installed in the same memory channel and follow the recommended population order. Mixing capacities may result in the memory running at the lowest capacity across all channels.
- Mixed Speed Configuration: Mixing DIMM modules with different speeds is generally not recommended, as it can lead to timing issues and potential performance bottlenecks. However, if you must mix speeds, the memory controller will typically default to the lowest common speed. Keep in mind that this may affect overall system performance.
- Single DIMM Configuration: In cases where you have a single DIMM module, it’s still possible to install it on your motherboard. However, keep in mind that most motherboards work best with dual-channel or quad-channel configurations. In single DIMM configurations, the memory will run in a single-channel mode, which may result in a slight decrease in performance compared to dual or quad-channel setups.
Remember to always consult your motherboard’s manual or specifications for specific recommendations and limitations regarding DIMM configurations. Following the recommended DIMM configurations ensures optimal performance, compatibility, and stability for your system.
Next, we will address common troubleshooting issues that you may encounter during the DIMM population process.
Troubleshooting Common Issues
While populating DIMM slots on your motherboard, you may encounter common issues that can hinder proper installation or system functionality. Here are some troubleshooting tips to help you overcome these challenges:
- Compatibility Issues: Ensure that the DIMM modules you are using are compatible with your motherboard. Consult the motherboard’s manual or specifications to verify the supported DIMM types, capacities, speeds, and voltage requirements.
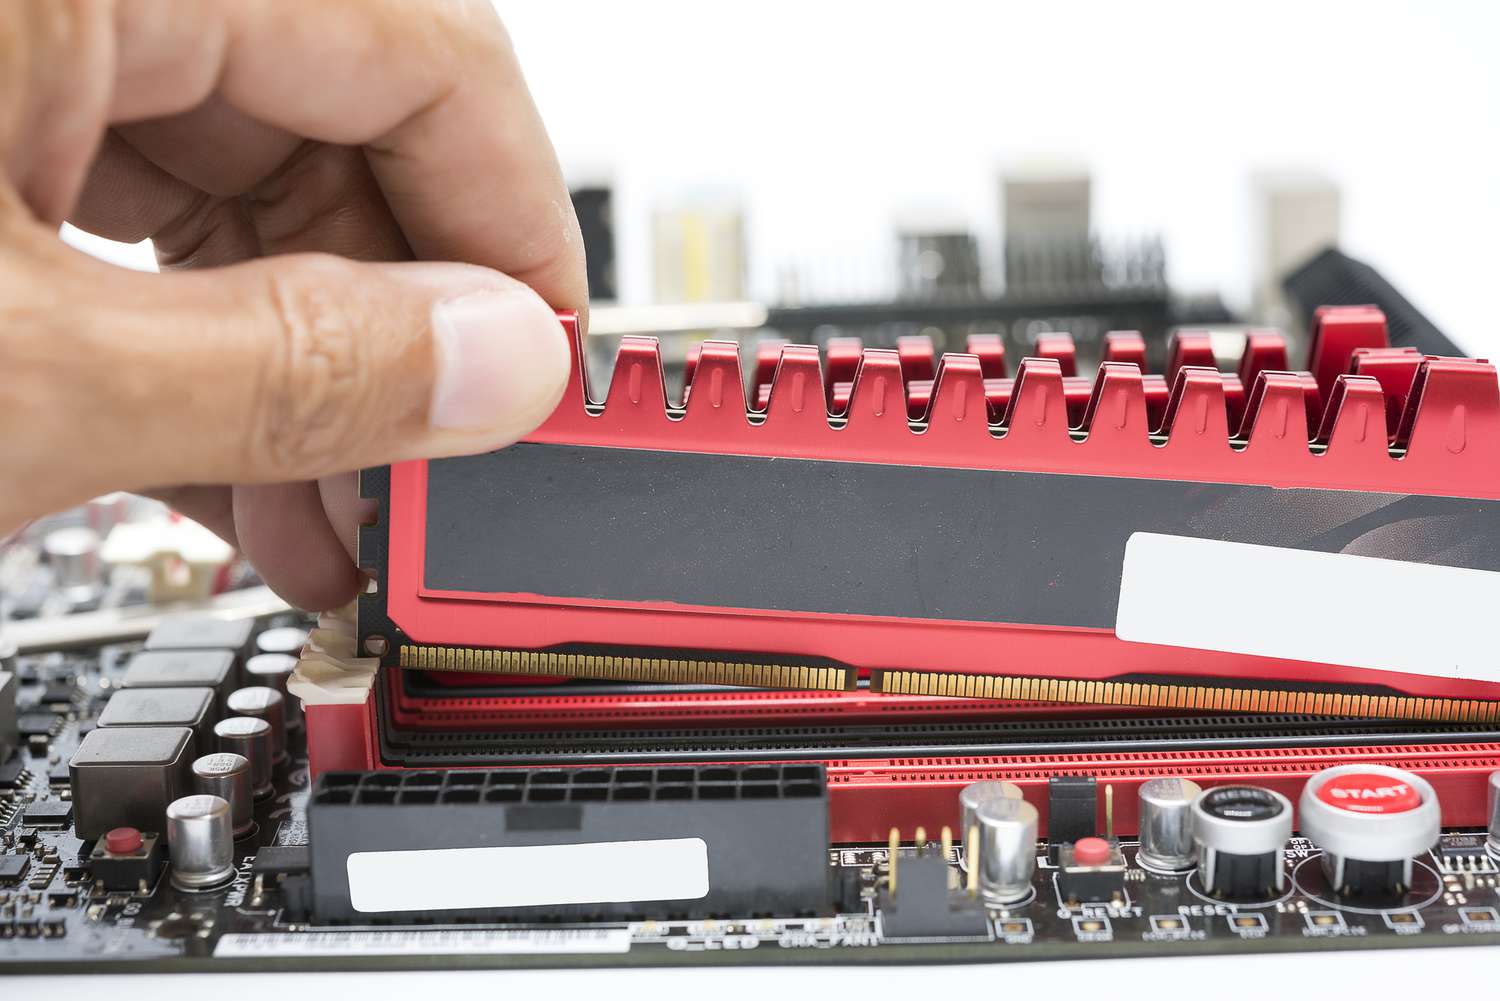
- Improper Installation: Double-check that the DIMM modules are securely seated in the slots. Sometimes improper installation can lead to unrecognized or unstable memory. Ensure that the modules are aligned correctly with the notches and firmly pressed into place until the retaining clips lock the modules in position.
- Memory Mismatch: Mixing different capacity, speed, or timing DIMM modules can cause stability issues. Make sure all installed modules match in terms of capacity, speed, timings, and voltage to avoid potential conflicts.
- Slot Configuration: Verify that you have populated the DIMM slots according to the recommended configuration guidelines provided by your motherboard. Ensure the modules are inserted into the correct slots for dual-channel or quad-channel setups and follow the recommended population order.
- Faulty DIMM Modules: If you are experiencing persistent issues, such as random crashes or system instability, it’s possible that one or more of your DIMM modules are faulty. Try testing each module individually in different slots to identify the problematic module. If identified, consider replacing the faulty module.
- BIOS Update: Updating your motherboard’s BIOS to the latest version can sometimes resolve compatibility or stability issues. Check the manufacturer’s website for any available BIOS updates specific to memory compatibility or stability improvements.
- Re-seating DIMM Modules: In some cases, re-seating the DIMM modules can help resolve minor connectivity issues. Carefully remove the modules, clean the gold contacts with an eraser or rubbing alcohol, and then re-insert them into the slots, ensuring proper alignment.
If you continue to experience issues even after troubleshooting, consult a professional technician or seek assistance from the motherboard or memory manufacturer’s support team. They can provide further guidance and help diagnose any potential hardware issues.
Now that we’ve covered common troubleshooting issues, let’s wrap up this guide.
Conclusion
Populating the DIMM slots on your motherboard with the right modules is crucial for optimizing memory performance and ensuring system stability. By following the guidelines and considerations outlined in this article, you can confidently choose and install DIMM modules that are compatible with your motherboard and meet your system’s requirements.
Understanding the different types of DIMM modules available, such as DDR3, DDR4, and DDR5, allows you to make informed decisions based on your specific needs and motherboard compatibility. Matching DIMM modules in terms of capacity, speed, timings, and voltage ensures optimal performance and avoids compatibility issues.
Configuring your DIMM slots properly, whether in a dual-channel or quad-channel setup, can greatly enhance memory bandwidth and overall performance. Be sure to follow the recommended population order and guidelines provided by your motherboard’s manual or specifications.
In the event of any troubleshooting issues, such as compatibility problems or faulty DIMM modules, refer to the troubleshooting tips provided in this guide. Proper installation, slot configuration, and potential BIOS updates can often resolve these issues.
Remember to consult your motherboard’s documentation and seek professional assistance or technical support if needed. They can offer specific recommendations based on your motherboard model and answer any questions you may have.
We hope that this guide has provided you with the necessary knowledge and guidance to confidently populate the DIMM slots on your motherboard and optimize your system’s memory performance. By understanding these key concepts, you can ensure a smooth installation process and enjoy a stable and efficient computing experience.