Introduction
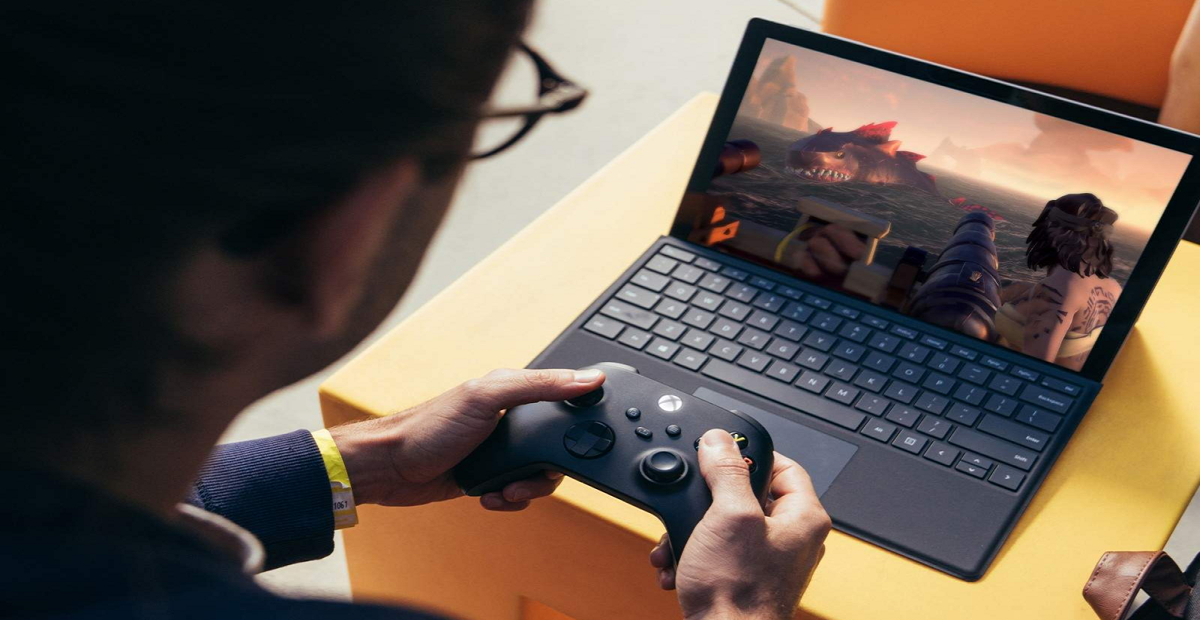
Xbox Cloud Gaming, previously known as Project xCloud, is a revolutionary service that allows you to play Xbox games on a variety of devices, including smartphones, tablets, and PCs. With the ever-increasing popularity of cloud gaming, Xbox Cloud Gaming offers a convenient and accessible way to enjoy your favorite Xbox titles on the go. While many gamers prefer using a game controller for console gaming, some may prefer the precision and familiarity of a keyboard and mouse setup. In this guide, we will explore how you can play Xbox Cloud Gaming with a keyboard and mouse, providing you with the flexibility to choose the input method that suits you best.
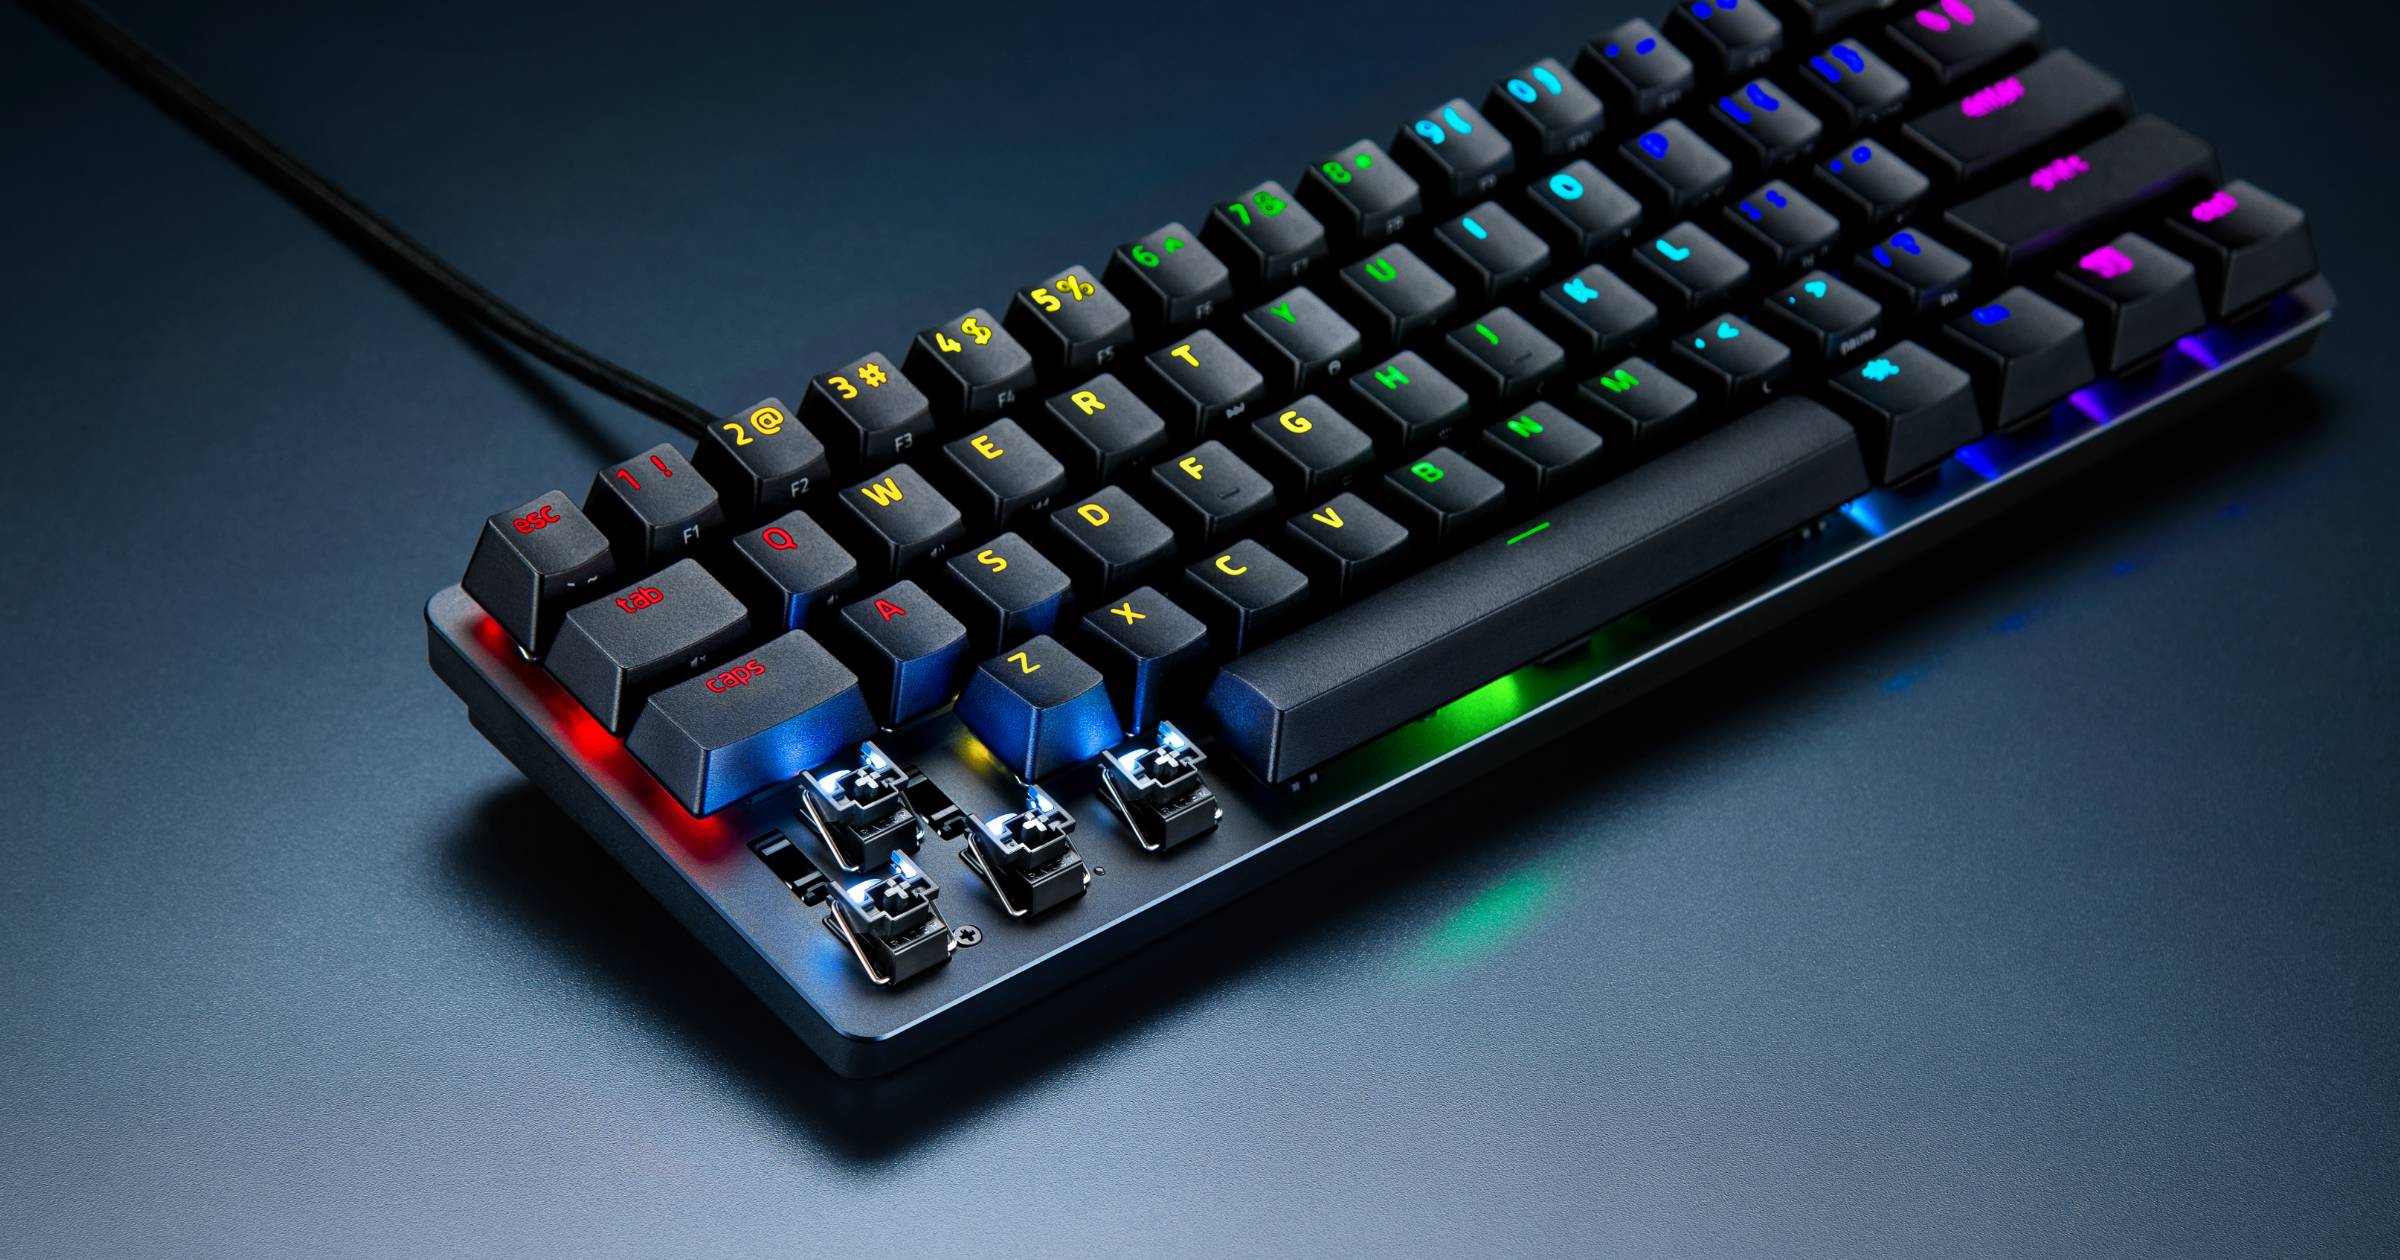
Using a keyboard and mouse with Xbox Cloud Gaming offers several benefits. First and foremost, it provides a more traditional PC gaming experience, allowing you to utilize the same controls and inputs that you are accustomed to. This can enhance your gameplay, particularly in first-person shooter games where precise aiming and quick reflexes are crucial. Additionally, using a keyboard and mouse can offer more customization options, allowing you to remap keys and create shortcuts to streamline your gaming experience.
Setting up Xbox Cloud Gaming with a keyboard and mouse is relatively straightforward. However, it’s important to note that not all games may be optimized for keyboard and mouse input, as they are primarily designed for game controllers. Nevertheless, many games have implemented support for keyboard and mouse controls, giving you the freedom to play without limitations.
What is Xbox Cloud Gaming?
Xbox Cloud Gaming, formerly known as Project xCloud, is a cloud gaming service provided by Microsoft. It allows players to stream and play a wide range of Xbox games on various devices, such as smartphones, tablets, and PCs, without the need for a physical console. With Xbox Cloud Gaming, you can access a vast library of games and enjoy high-quality gaming experiences anytime, anywhere, as long as you have a stable internet connection.
The service utilizes powerful cloud servers to run the games, eliminating the need for expensive gaming hardware. All the heavy processing is done remotely on Microsoft’s servers, and the game is streamed to your device in real-time. This means that you can play graphically intensive and demanding games on devices that would otherwise not be capable of running them.
Xbox Cloud Gaming offers a seamless and convenient gaming experience. Whether you are on a long commute, traveling, or simply prefer gaming on a smaller screen, you can easily connect to the service and dive into your favorite Xbox games. The service supports various input methods, including game controllers, touch controls, and, as we will discuss in this guide, keyboard and mouse.
One of the main advantages of Xbox Cloud Gaming is the ability to pick up where you left off. Your game progress and saves are synced across devices, allowing you to seamlessly transition between different platforms. For example, you can start playing a game on your Xbox console, then continue on your smartphone while you’re on the move, and later pick up from where you left off on your PC when you’re back home.
Overall, Xbox Cloud Gaming brings the full Xbox gaming experience to a wider audience, breaking down the barriers of hardware and location. It offers flexibility, accessibility, and a diverse library of games to cater to all types of gamers. Whether you’re a casual gamer looking for some quick entertainment or a dedicated player seeking immersive experiences, Xbox Cloud Gaming delivers the excitement and fun of console gaming to your fingertips.
Benefits of Using Keyboard and Mouse
While using a game controller is the standard input method for Xbox gaming, there are distinct advantages to using a keyboard and mouse setup when playing Xbox Cloud Gaming. Here are some of the benefits:
- Precision and Accuracy: Keyboard and mouse controls offer a higher level of precision and accuracy compared to a game controller. This is especially beneficial in games that require precise aiming or quick reactions, such as first-person shooters. With a mouse, you can make precise movements and accurately target enemies, giving you a competitive edge.
- Familiarity: If you’re already accustomed to playing games on a PC, using a keyboard and mouse for Xbox Cloud Gaming can provide a more natural and familiar experience. The layout and key bindings are similar to what you would find in PC gaming, making the transition seamless and enabling you to focus on the gameplay rather than adapting to a new control scheme.
- Customization: Keyboard and mouse controls offer greater customization options compared to a game controller. You can remap keys to suit your preferences, creating a personalized control layout that enhances your comfort and efficiency. This level of customization allows you to optimize your gameplay experience and tailor it to your individual playstyle.
- Shortcut Efficiency: With a keyboard, you have access to numerous keys that can be assigned specific functions or shortcuts. This can streamline your gaming experience by allowing you to perform actions or execute commands more quickly. From quick weapon switches to opening menus or activating special abilities, keyboard shortcuts can give you a significant advantage in terms of speed and efficiency.
- Accessibility: For some players, using a game controller may present physical challenges or limitations. In such cases, using a keyboard and mouse setup can offer a more accessible gaming experience. The layout and design of a keyboard and mouse allow for different hand and arm positions, accommodating a wider range of physical abilities.
While keyboard and mouse controls may not be suitable for every game or player, they offer a compelling alternative for those who prefer the precision, familiarity, and customization options that this input method provides. Xbox Cloud Gaming recognizes the demand for keyboard and mouse support and offers compatibility with various titles, giving players the freedom to choose the input style that best suits their preferences.
Setting Up Xbox Cloud Gaming with Keyboard and Mouse
Setting up Xbox Cloud Gaming with a keyboard and mouse is a straightforward process. Follow these steps to get started:
- Step 1: Check Compatibility: Before diving into Xbox Cloud Gaming with your keyboard and mouse, ensure that the game you wish to play supports this input method. While many games have integrated keyboard and mouse support, some may only be optimized for game controllers. Check the game’s specifications or consult the game developer’s website to confirm compatibility.
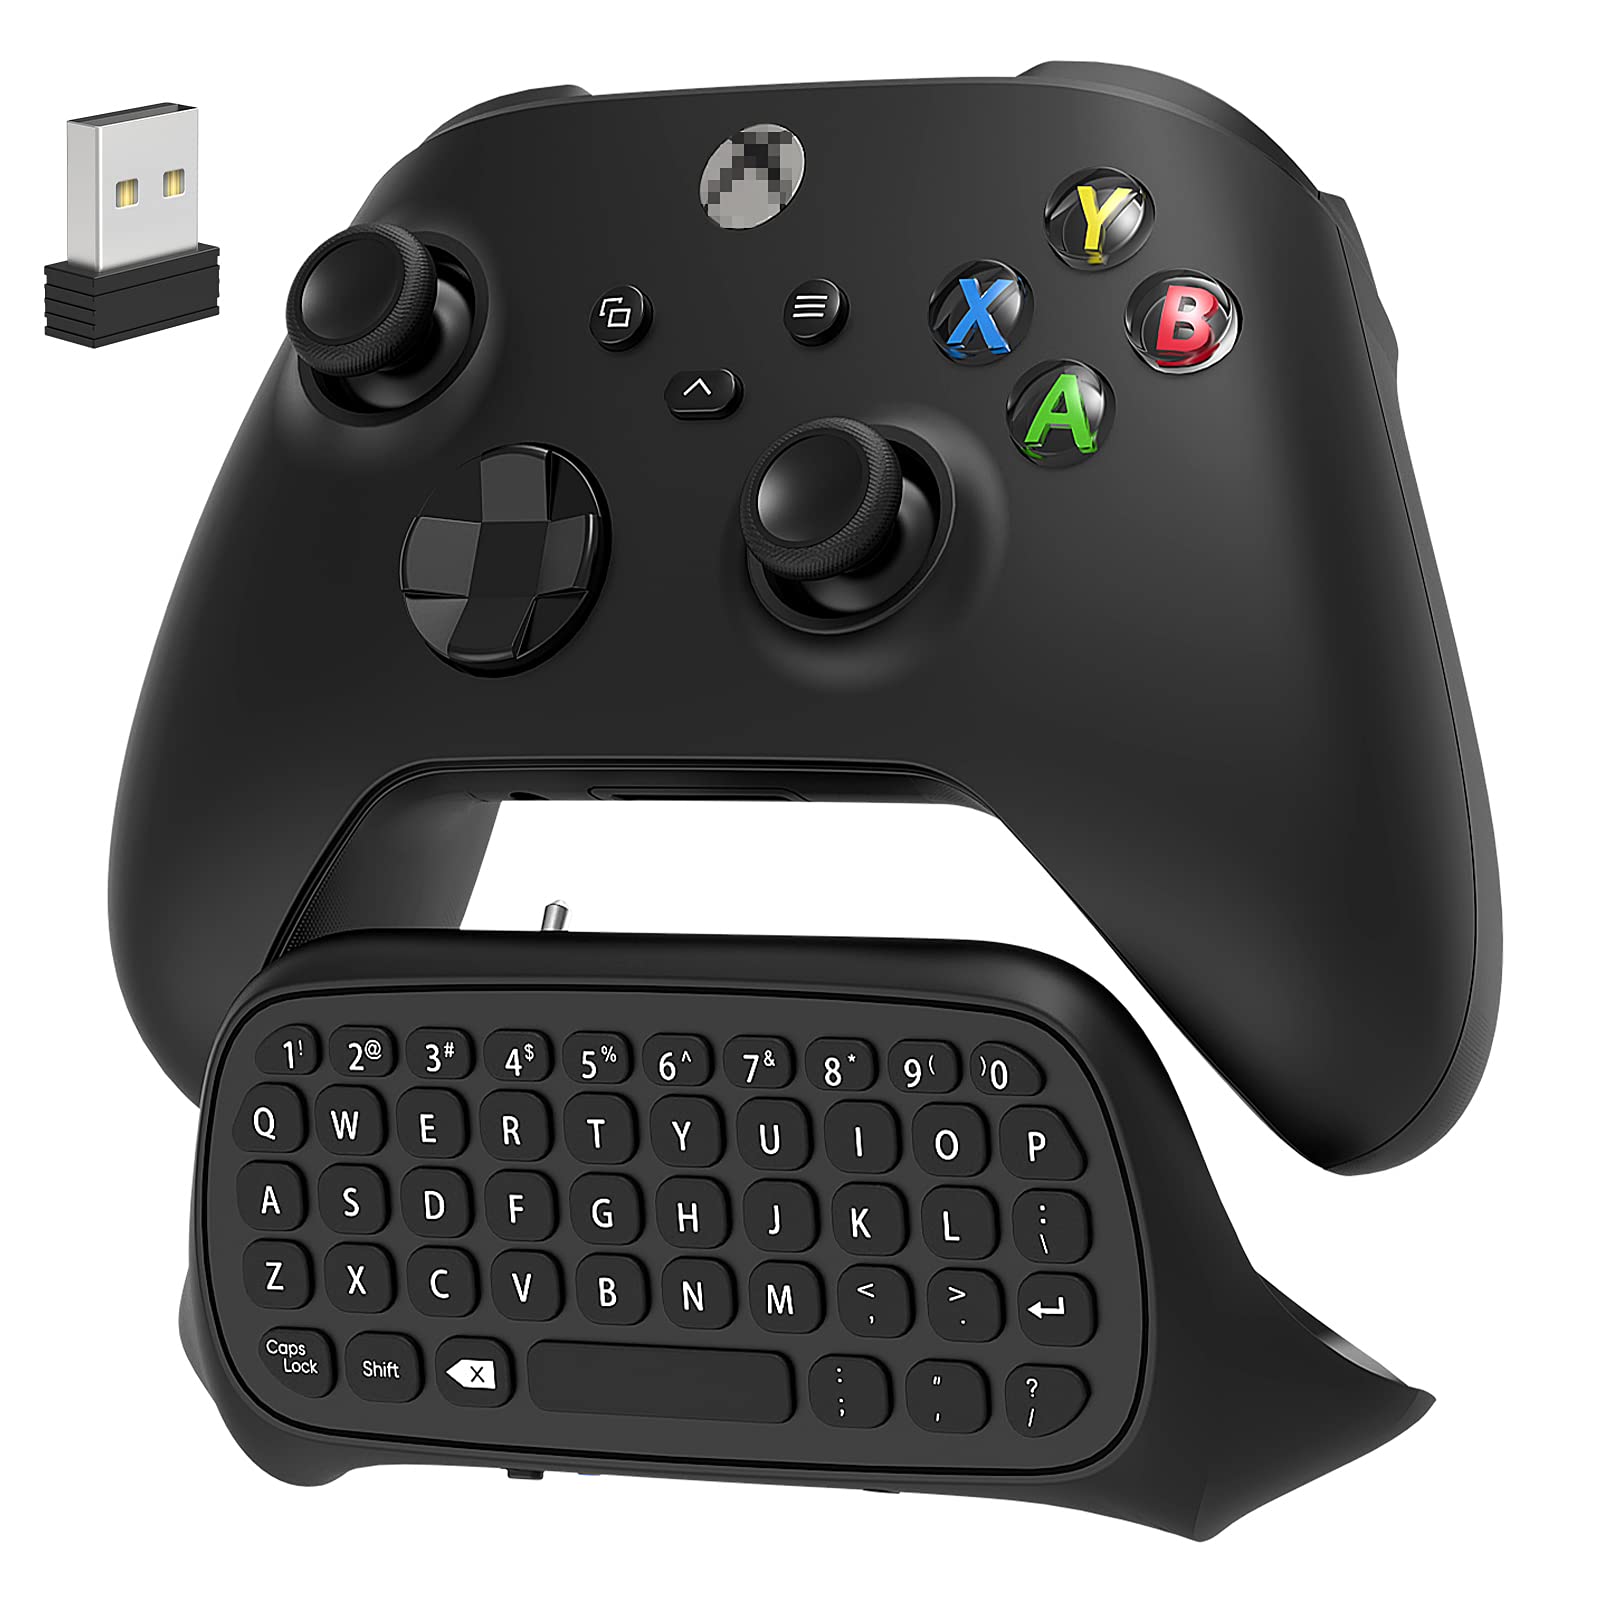
- Step 2: Connect Keyboard and Mouse to Device: Connect your keyboard and mouse to the device you will be using for Xbox Cloud Gaming. If you’re using a PC, simply plug in your peripherals into the USB ports. For mobile devices, use a compatible USB or Bluetooth connection.
- Step 3: Launch Xbox Cloud Gaming App: Install the Xbox Cloud Gaming app on your device. You can find the app in the Microsoft Store for Windows devices or download it from your device’s app store for mobile devices.
- Step 4: Login to Your Xbox Account: Open the Xbox Cloud Gaming app and log in using your Xbox account. If you don’t have an Xbox account, you can create one for free.
- Step 5: Select a Game to Play: Browse the available library of Xbox games and select the game you want to play. Ensure that the game supports keyboard and mouse controls. Once you’ve made your selection, start the game.
- Step 6: Customize Keyboard and Mouse Settings: Depending on the game, you may have the option to customize the keyboard and mouse settings. Open the game’s settings menu and explore the options available. Here, you can remap keys, adjust sensitivity, and tailor the controls to your liking.
- Step 7: Start Playing: Once you’ve customized the settings, you’re ready to start playing! Use the keyboard for movement and player actions, while the mouse provides precise aiming and camera control. Enjoy the Xbox Cloud Gaming experience with the familiar controls of a keyboard and mouse.
Keep in mind that specific instructions may vary depending on the device and operating system you’re using. Additionally, some games may require additional configurations or settings adjustments to optimize the keyboard and mouse experience. Refer to the game’s documentation or support resources for any specific instructions related to keyboard and mouse settings.
With Xbox Cloud Gaming and your trusty keyboard and mouse setup, you can enjoy the best of both worlds: the convenience of cloud gaming and the precision of keyboard and mouse controls. Whether you’re playing intense action games or immersing yourself in expansive RPGs, this setup offers a seamless gaming experience that caters to your preferences.
Step 1: Check Compatibility
Before diving into Xbox Cloud Gaming with a keyboard and mouse, it’s essential to check the compatibility of the game you want to play. While many games have integrated keyboard and mouse support, others may only be optimized for game controllers. Here’s how you can check the compatibility:
- Research the Game: Start by researching the game you wish to play. Visit the game’s official website or consult forums and community discussions to gather information about keyboard and mouse compatibility. Developers often provide details about supported input methods and any limitations or recommendations for specific games.
- Check Game Specifications: Look for the game’s minimum system requirements or specifications. These details usually indicate the supported input methods. If keyboard and mouse support is explicitly mentioned, you can proceed confidently.
- Review Game Updates: Games are regularly updated to introduce new features and improvements. Check the game’s update history to see if keyboard and mouse support has been added in recent updates. Developers often highlight such additions, ensuring you’re aware of the latest capabilities.
- Community Feedback: Engage with the gaming community to gather firsthand experiences. Online forums, social media groups, and gaming communities are excellent resources for connecting with players who have already tried using a keyboard and mouse with specific games. Through their recommendations and feedback, you can gain insights into how well the game supports this input method.
- Official Support Channels: If you’re uncertain about the game’s compatibility, reach out to the game developer’s official support channels for clarification. They can provide accurate information regarding keyboard and mouse support and any additional tips or instructions for setting up and optimizing this input method.
It’s worth noting that while most newer games support keyboard and mouse controls, some older or console-to-PC ports might not have native support. In such cases, you may need to rely on third-party software that emulates controller inputs using a keyboard and mouse. These tools can map keyboard and mouse movements to controller inputs, but keep in mind that they may not offer the same level of precision and customization as native support.
By performing due diligence and checking compatibility before starting Xbox Cloud Gaming with a keyboard and mouse, you can ensure a smooth experience. Confirming compatibility prevents frustrations and allows you to focus on enjoying your favorite games with the input method of your choice.
Step 2: Connect Keyboard and Mouse to Device
Once you have confirmed the compatibility of your game and are ready to play Xbox Cloud Gaming with a keyboard and mouse, the next step is to connect your peripherals to your device. Here’s how you can connect your keyboard and mouse:
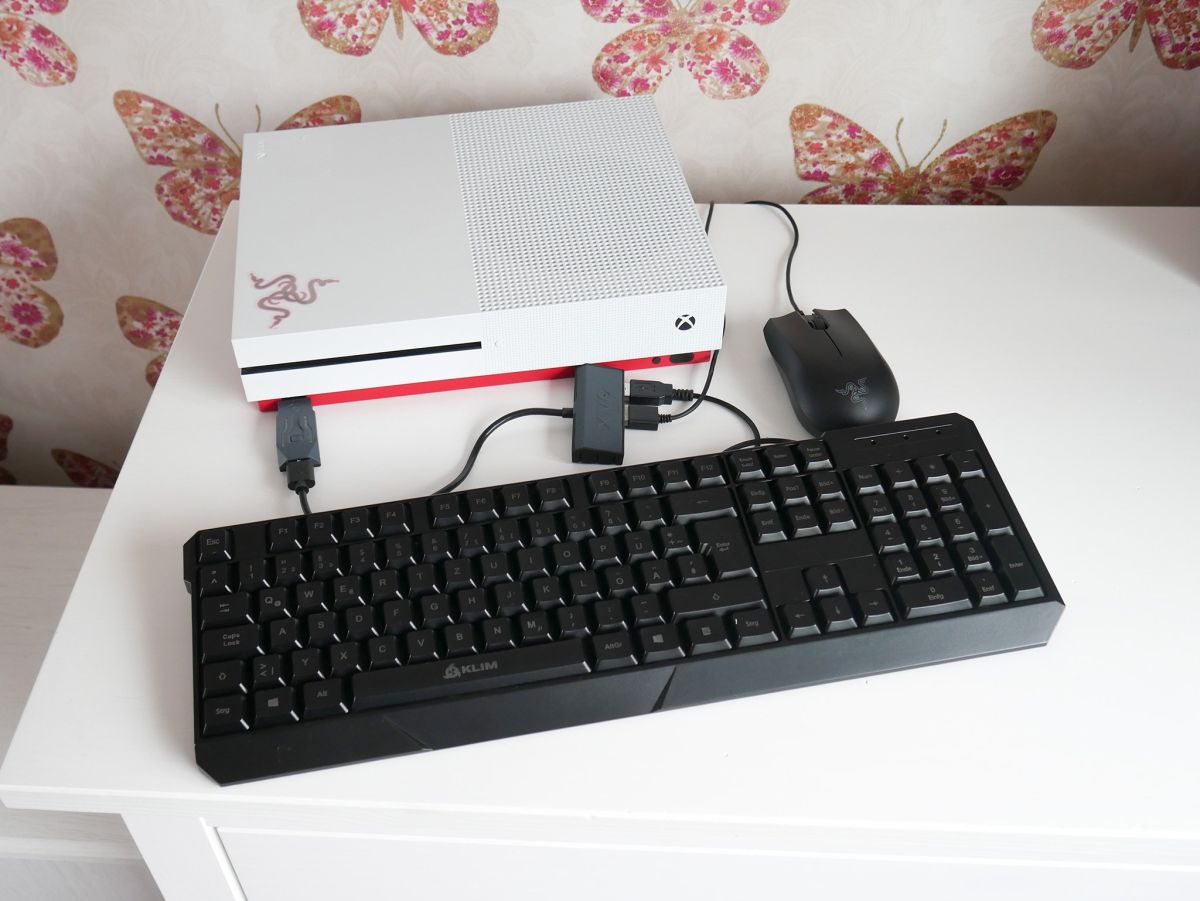
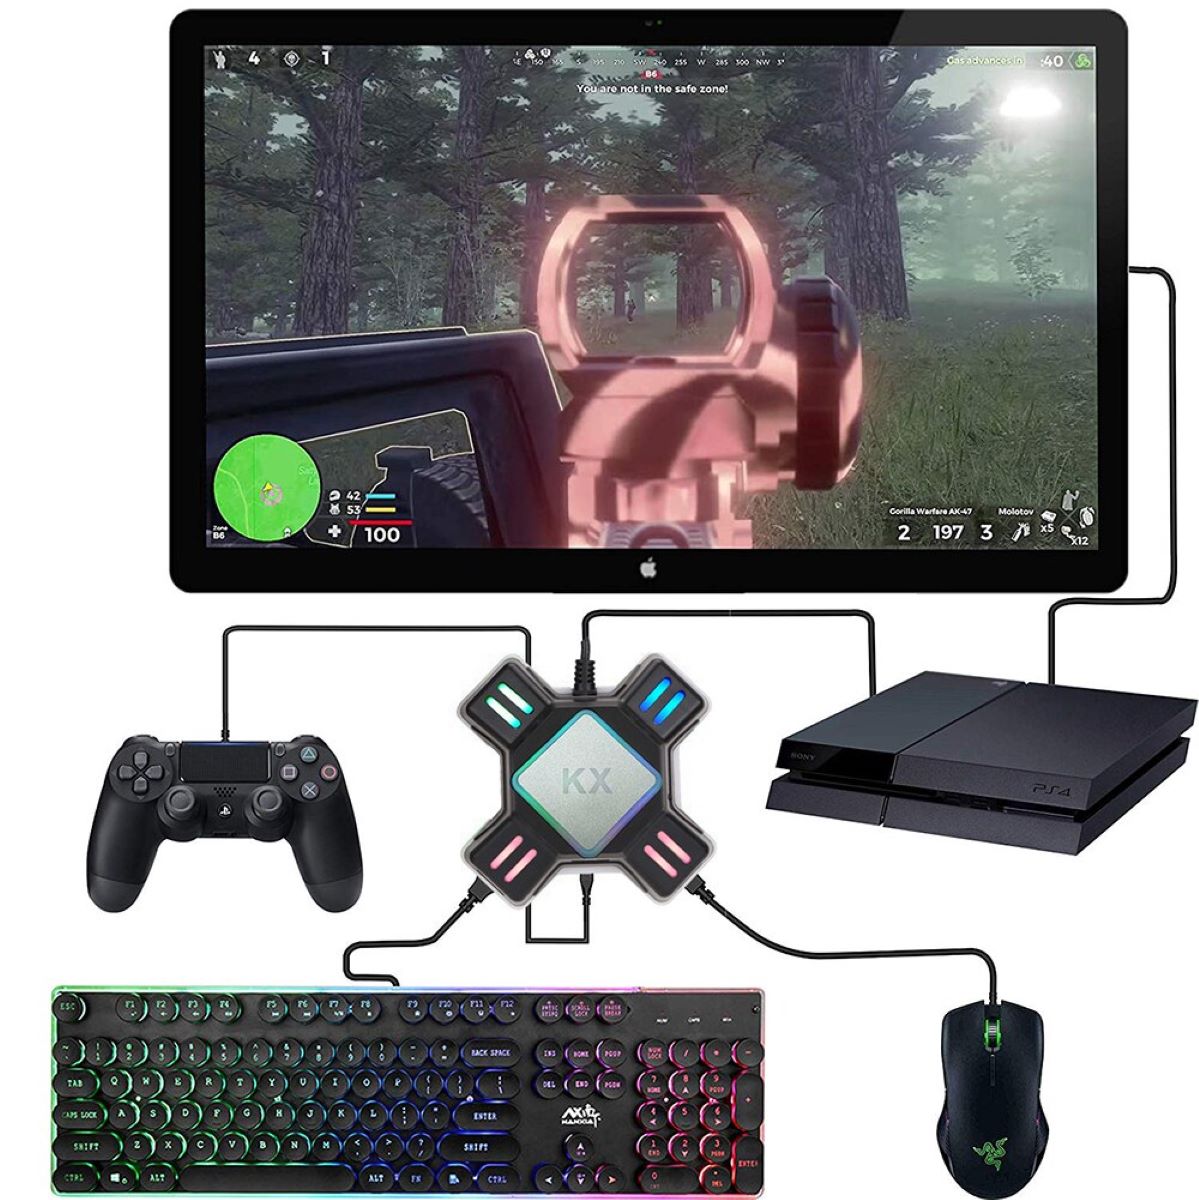
- Wired Connection: If you are using a desktop computer or a laptop with USB ports, the simplest way to connect your keyboard and mouse is through a wired connection. Plug the USB connectors of your keyboard and mouse into available USB ports on your device. An instant connection will be established, allowing you to use your peripherals right away.
- Wireless Connection: If you prefer a wireless setup, make sure your keyboard and mouse support Bluetooth connectivity. Check the manufacturer’s instructions or online documentation to determine how to put your peripherals in pairing mode. Then, on your device, enable Bluetooth and search for available devices. Once your keyboard and mouse appear in the list of available devices, select them to establish the wireless connection. Follow any additional on-screen prompts to complete the setup.
- Bluetooth Adapter: In case your computer or device does not have built-in Bluetooth functionality, you can use a USB Bluetooth adapter. Simply insert the Bluetooth adapter into a USB port on your device and follow the manufacturer’s instructions for pairing your keyboard and mouse. Once connected, you can enjoy the freedom of a wireless setup without the need for additional hardware.
After connecting your keyboard and mouse to your device, ensure that they are functioning correctly. Test the keys, buttons, and scroll wheel to verify that they register inputs accurately. Additionally, make sure that any extra features or customization options specific to your peripherals are functioning as intended.
Remember that some gaming keyboards and mice come with software or drivers that enable additional features, such as macros or customizable lighting. It’s a good idea to install the necessary software or drivers from the manufacturer’s website to unlock all the functionality of your peripherals.
By properly connecting your keyboard and mouse to your device, you can enjoy the enhanced precision and control that these input methods offer while playing Xbox Cloud Gaming. With a stable connection established, you’re now ready to launch the Xbox Cloud Gaming app and dive into the immersive world of gaming.
Step 3: Launch Xbox Cloud Gaming App
After connecting your keyboard and mouse to your device, the next step in playing Xbox Cloud Gaming is to launch the Xbox Cloud Gaming app. Follow these steps:
- Windows Devices: If you are using a Windows device, such as a PC or laptop, open the Microsoft Store. Search for “Xbox Cloud Gaming” in the store and click on the app when it appears in the search results. Click on the “Install” or “Get” button to download and install the app on your device. Once the installation is complete, find the Xbox Cloud Gaming app in your Start menu or on your desktop and click on it to launch.
- Mobile Devices: If you are using a mobile device, head to your device’s app store, such as the Google Play Store for Android or the App Store for iOS. Search for “Xbox Cloud Gaming” and look for the official app developed by Microsoft Corporation. Download and install the app on your device by following the prompts. Once installed, tap on the app’s icon to launch it.
Ensure that your device is connected to the internet and has a stable network connection to ensure a smooth experience while using Xbox Cloud Gaming.
Upon launching the Xbox Cloud Gaming app, you will be greeted with the app’s home screen, showcasing featured games and recommendations. Depending on your device, the interface and layout might vary slightly, but the core functions and options will remain the same across platforms.
The app provides a user-friendly interface that allows you to browse and explore the extensive library of Xbox games available for streaming. Use the search or navigation features to find the game you wish to play or browse through various categories, such as new releases, popular games, or genres, to discover new titles.
Once you have chosen a game, you will be ready to log in to your Xbox account and start playing. Proceed to the next step to learn how to log in to your Xbox account and access your games through the Xbox Cloud Gaming app.
With the Xbox Cloud Gaming app launched on your device, you’re one step closer to experiencing the thrill of playing Xbox games with your keyboard and mouse setup.
Step 4: Login to Your Xbox Account
Once you have launched the Xbox Cloud Gaming app, the next step is to log in to your Xbox account. Logging in allows you to access your game library and synchronize your progress and achievements across devices. Here’s how you can log in:
- Existing Xbox Account: If you already have an Xbox account, select the “Sign In” or “Log In” option on the app’s interface. Enter your email address or username associated with your Xbox account, followed by your password. After entering the correct credentials, click on the “Sign In” or “Log In” button to log in to your account.
- New Xbox Account: If you don’t have an Xbox account, you can create one directly from the Xbox Cloud Gaming app. Look for the “Create an account” or “Sign up” option on the login screen. Follow the on-screen prompts to provide the necessary information, such as your email address, creating a unique username and password, and agreeing to the terms and conditions. Once you have completed the registration process, you will be logged in automatically.
- Microsoft Account: In some cases, you may already have a Microsoft account that you can associate with Xbox Cloud Gaming. To log in using a Microsoft account, select the “Sign In with Microsoft Account” option. Enter your Microsoft account credentials, which could be an email address or username and password, and click on the “Sign In” button to proceed.
After successfully logging in to your Xbox account, the Xbox Cloud Gaming app will display your account information, including your gamertag and profile picture. This indicates that you have successfully accessed your account and are now ready to explore the gaming features and options available.
Keep in mind that you need an active Xbox Game Pass Ultimate subscription to play games on Xbox Cloud Gaming. If you don’t have a subscription, you will be prompted to subscribe or start a free trial when attempting to play a game.
Logging in to your Xbox account ensures a personalized gaming experience, allowing you to access your saved games, achievements, and interact with your friends and the Xbox community while enjoying Xbox Cloud Gaming with your keyboard and mouse.
Step 5: Select a Game to Play
After logging in to your Xbox account through the Xbox Cloud Gaming app, it’s time to select a game to play. With a vast library of Xbox games available for streaming, you have plenty of options to choose from. Here’s how you can select a game:
- Browsing the Game Library: Use the app’s interface to browse and explore the available games. You can navigate through different sections, such as genres, new releases, popular titles, or featured games. Alternatively, use the search function to find a specific game by typing its title or keywords.
- Game Details and Description: When you come across a game that interests you, click or tap on it to access its details and description. Here, you can read about the game, view screenshots or trailers, learn about its gameplay mechanics, and check user reviews or ratings. This information can help you make an informed decision about which game to choose.
- Check for Keyboard and Mouse Support: Before selecting a game, make sure to check its compatibility with keyboard and mouse controls. Look for information specific to the game’s input methods or controls in its description or specifications. Ensure that the game supports keyboard and mouse inputs for the optimal gaming experience.
- Selecting the Game: Once you have found a game that suits your preferences and has keyboard and mouse support, click or tap on the “Play” or “Start” button associated with the game. This will initiate the streaming of the game to your device and open up the game’s interface.
It’s important to note that the availability of games in the Xbox Cloud Gaming app may vary based on your location and Xbox Game Pass Ultimate subscription. Some games may have limited availability or may be added or removed from the library periodically. Regularly check for updates and new additions to the game library to explore new titles and experiences.
Furthermore, keep in mind that the quality of your gaming experience may depend on the capabilities of your device and the stability of your internet connection. Ensure that you have a stable and reliable internet connection to enjoy the smoothest gameplay possible.
Selecting a game to play is an exciting step that sets you on the path to immerse yourself in the world of Xbox Cloud Gaming with the familiar controls of your keyboard and mouse.
Step 6: Customize Keyboard and Mouse Settings
Once you have selected a game to play in Xbox Cloud Gaming and entered its interface, you may have the option to customize the keyboard and mouse settings according to your preferences. Customizing these settings allows you to tailor the controls to your liking and optimize your gaming experience. Here’s how you can customize the keyboard and mouse settings:
- Open the Game’s Settings Menu: Look for the settings or options menu within the game’s interface. This menu is typically accessible from the main menu or via a dedicated settings icon or button. Click or tap on it to open the settings menu.
- Keyboard Settings: Within the settings menu, navigate to the keyboard settings section. Here, you can remap keys, adjust the sensitivity of controls, and customize various keyboard-related options. Explore the available settings and make adjustments according to your preferences. Consider remapping keys to optimize your gameplay, assign quick shortcuts, or accommodate any specific needs you may have.
- Mouse Settings: Similarly, within the game’s settings menu, locate the mouse settings section. Customize parameters such as mouse sensitivity, acceleration, and other mouse-related options to suit your preferences. Adjust these settings to ensure smooth and accurate movements, which are essential for precision aiming and camera control.
- Other Customization Options: Depending on the game, you may find additional customization options related to keyboard and mouse controls. These can include tweaking the scroll wheel behavior, adjusting the mouse cursor sensitivity, or enabling mouse-specific features. Take the time to explore all available settings and tailor them to your liking.
It’s important to note that not all games may offer extensive customization options for keyboard and mouse settings. Some games may have limited options or may not allow remapping of keys. However, many modern games recognize the importance of customization and provide flexibility in adjusting controls to cater to a wide range of player preferences.
If you encounter any difficulties or have specific questions regarding the keyboard and mouse settings, refer to the game’s official documentation, forums, or community resources for assistance. Developers often provide resources and support for customization options in the game.
By customizing the keyboard and mouse settings, you can make your controls more comfortable, responsive, and personalized. This allows you to maximize your gaming performance and enjoy Xbox Cloud Gaming with an optimized setup that suits your playstyle.
Step 7: Start Playing!
After customizing the keyboard and mouse settings to your preference, it’s time to dive into your chosen game and start playing! With your optimized setup and the power of Xbox Cloud Gaming, you can now fully immerse yourself in the gaming experience. Here’s how you can get started:
- Apply Settings and Exit Menu: Once you have made the desired changes in the game’s settings menu, be sure to apply or save your settings before exiting the menu. This ensures that your customizations are applied and ready for use during gameplay.
- Return to the Main Game Screen: Navigate back to the main game screen, where you can access the game’s main menu, start a new game, or continue from your current save point. Ensure that you are ready to begin playing and that you have any necessary instructions or objectives in mind.
- Utilize Keyboard and Mouse Controls: Take advantage of the keyboard and mouse controls to navigate the game world, perform character actions, and interact with the environment. Use the keyboard for character movement, jumping, and executing various actions, while the mouse provides precise aiming, camera control, and interaction with in-game menus.
- Master the Controls: Spend some time familiarizing yourself with the keyboard and mouse controls specific to the game you’re playing. Experiment with different button combinations, mouse movements, and keyboard shortcuts to get a feel for the controls and maximize your gameplay capabilities.
- Enjoy the Gaming Experience: With your customized keyboard and mouse controls, immerse yourself in the game and enjoy the Xbox Cloud Gaming experience. Whether you’re embarking on an epic adventure, engaging in intense battles, or solving challenging puzzles, savor the thrill and excitement that comes with playing your favorite Xbox games.
Remember to take regular breaks, stay hydrated, and maintain good ergonomics while playing to ensure a comfortable and enjoyable gaming session. Pace yourself and adjust your gameplay time accordingly to avoid fatigue or discomfort.
If you encounter any issues or need assistance during gameplay, consult the game’s built-in help menu or refer to the game’s official documentation or support resources.
Now that you’re ready to start playing, let the adventures and excitement unfold as you embark on your Xbox Cloud Gaming journey with your keyboard and mouse setup!
Troubleshooting Tips
While playing Xbox Cloud Gaming with a keyboard and mouse setup, you may encounter various issues or challenges. Here are some troubleshooting tips to help you overcome common obstacles and ensure a smooth gaming experience:
- Check your Internet Connection: A stable and reliable internet connection is crucial for streaming games. Ensure that your internet connection is strong and uninterrupted to avoid lag or connectivity issues.
- Update Drivers: Ensure that your keyboard and mouse drivers are up to date. Visit the manufacturer’s website or use their software to check for any available updates and install them if necessary. Updated drivers can improve compatibility and performance.
- Restart Your Device: If you encounter any unexpected issues or performance problems, try restarting your device. This can resolve temporary glitches and clear system resources, optimizing performance.
- Adjust Mouse Sensitivity: If your mouse movements feel too fast or too slow, adjust the mouse sensitivity settings within the game. Fine-tuning the sensitivity can provide a more comfortable and accurate gaming experience.
- Remap Keys: If certain keys on your keyboard are not working as expected or are unresponsive, consider remapping them to different keys within the game’s settings. This can help resolve any conflicts or compatibility issues.
- Disable other Background Applications: To optimize system resources and minimize potential conflicts, close any unnecessary background applications or processes. This can free up resources and ensure that your device is dedicated to running the game smoothly.
- Check System Requirements: Verify that your device meets the minimum system requirements for the game you are playing. Inadequate hardware specifications can result in poor performance or even prevent the game from running properly.
- Clear Cache and Temporary Files: Over time, cached files and temporary data can accumulate and potentially impact game performance. Clearing your cache and temporary files can help resolve any performance-related issues.
If you continue to encounter difficulties or need further assistance, refer to the game’s official support channels, such as forums, community resources, or the developer’s website. These resources often contain valuable troubleshooting information or specific solutions for common issues.
Remember that each game may have its own unique troubleshooting steps, so it’s essential to consult the game-specific documentation or support resources for targeted assistance.
By following these troubleshooting tips and exploring the available resources, you can overcome common challenges and ensure a seamless and enjoyable gaming experience while playing Xbox Cloud Gaming with your keyboard and mouse setup.
Conclusion
Playing Xbox Cloud Gaming with a keyboard and mouse provides a familiar and customizable gaming experience, allowing you to enjoy your favorite Xbox titles with precision and control. By following the steps outlined in this guide, you can easily set up and optimize your keyboard and mouse setup for Xbox Cloud Gaming.
We discussed the benefits of using a keyboard and mouse, such as increased precision, customization options, and the familiarity of a PC gaming experience. Additionally, we covered the essential steps to check compatibility, connect your peripherals, launch the Xbox Cloud Gaming app, log in to your Xbox account, select a game to play, customize keyboard and mouse settings, and dive into the gaming experience.
Throughout the process, it’s crucial to explore the available resources and support channels provided by game developers and the Xbox community. Troubleshooting common issues, updating drivers, and adjusting settings can help ensure a smooth and enjoyable gaming session.
Keep in mind that not all games may support keyboard and mouse controls, so it’s essential to check compatibility before selecting a game. Additionally, your gaming experience may be impacted by the capabilities of your device and the stability of your internet connection.
Embrace the flexibility and convenience offered by Xbox Cloud Gaming with a keyboard and mouse setup. Whether you’re on the go or just prefer the precision of these input methods, Xbox Cloud Gaming allows you to take your gaming adventures with you wherever you are.
So, go ahead and unleash your gaming skills with the keyboard and mouse setup of your choice. Get ready to embark on thrilling quests, engage in epic battles, and immerse yourself in the incredible world of Xbox gaming, all at your fingertips.