Introduction
Managing invoices and payments is a crucial aspect of any business. It ensures that vendors are paid on time and helps maintain healthy financial records. If you use QuickBooks for your accounting needs, you have access to a powerful tool that streamlines invoice management and payment processing.
In this article, we will guide you through the steps to pay an invoice in QuickBooks. Whether you’re a small business owner, a freelancer, or someone responsible for managing finances, this guide will help you navigate the process efficiently and accurately.
QuickBooks is an industry-leading accounting software that simplifies financial management tasks. It allows you to create, send, and track invoices, manage expenses, and streamline payment processes. By following the steps outlined in this guide, you’ll have a clear understanding of how to pay an invoice in QuickBooks and ensure a smooth transaction with your vendors.
Let’s dive in and explore the steps required to pay an invoice in QuickBooks.
Step 1: Open the invoice in QuickBooks
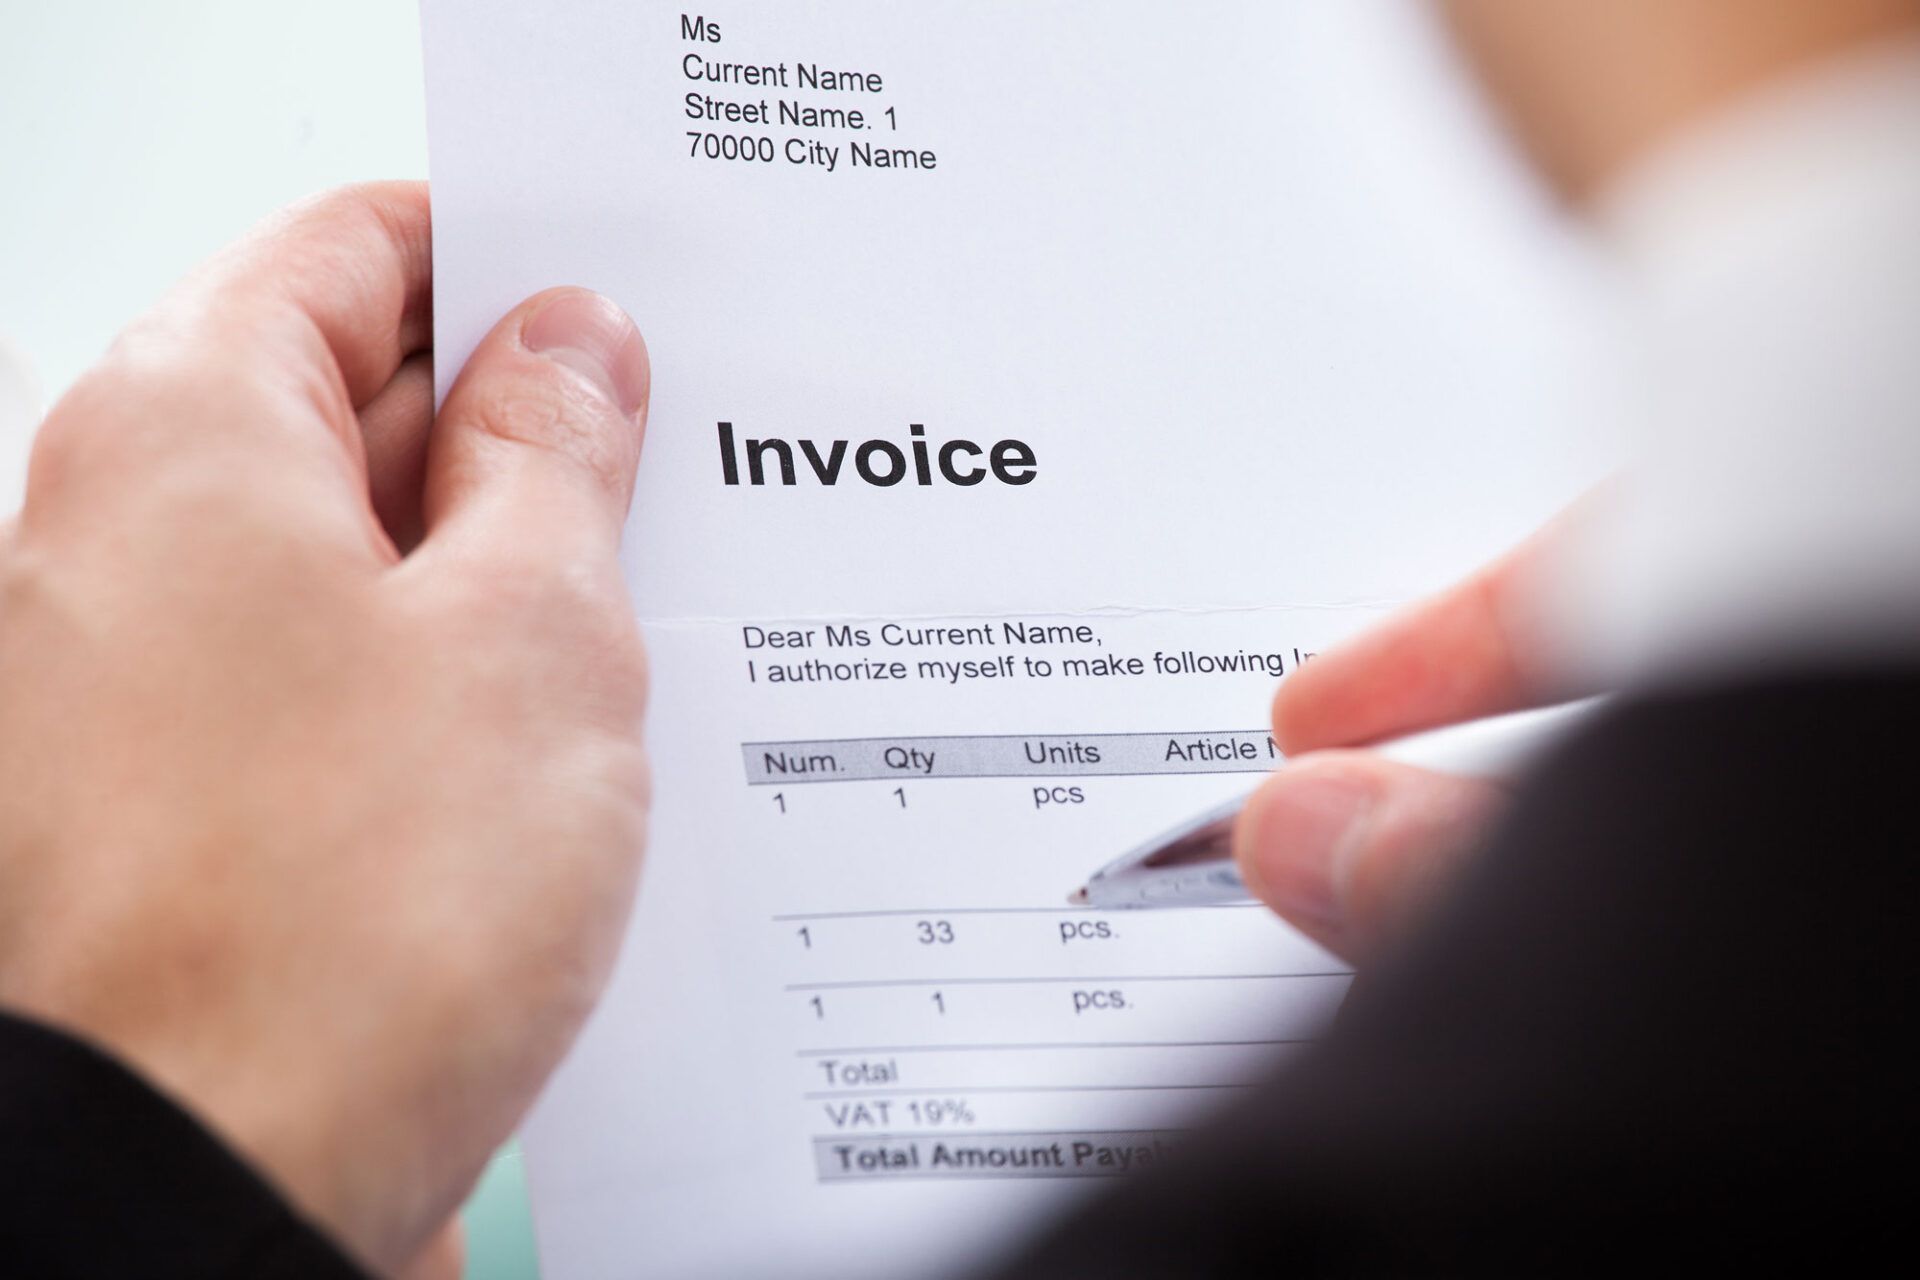
The first step to paying an invoice in QuickBooks is to open the software and locate the invoice you want to pay. Here’s how to do it:
- Launch the QuickBooks software on your computer.
- From the main dashboard, navigate to the “Invoices” or “Accounts Payable” section. The specific location may vary depending on the version of QuickBooks you’re using.
- Locate the invoice you want to pay from the list of outstanding invoices. You can search for the invoice by entering the vendor’s name, invoice number, or any other relevant details in the search box.
- Click on the invoice to open it and view the details.
Opening the invoice allows you to review the information and ensure it is accurate before proceeding with the payment process. Take a moment to verify the vendor’s name, invoice number, payment due date, and any associated line items. This step is crucial to avoid any payment discrepancies or errors down the line.
Once you have reviewed the invoice details and confirmed its accuracy, you’re ready to proceed to the next step: choosing a payment method.
Step 2: Review the invoice details
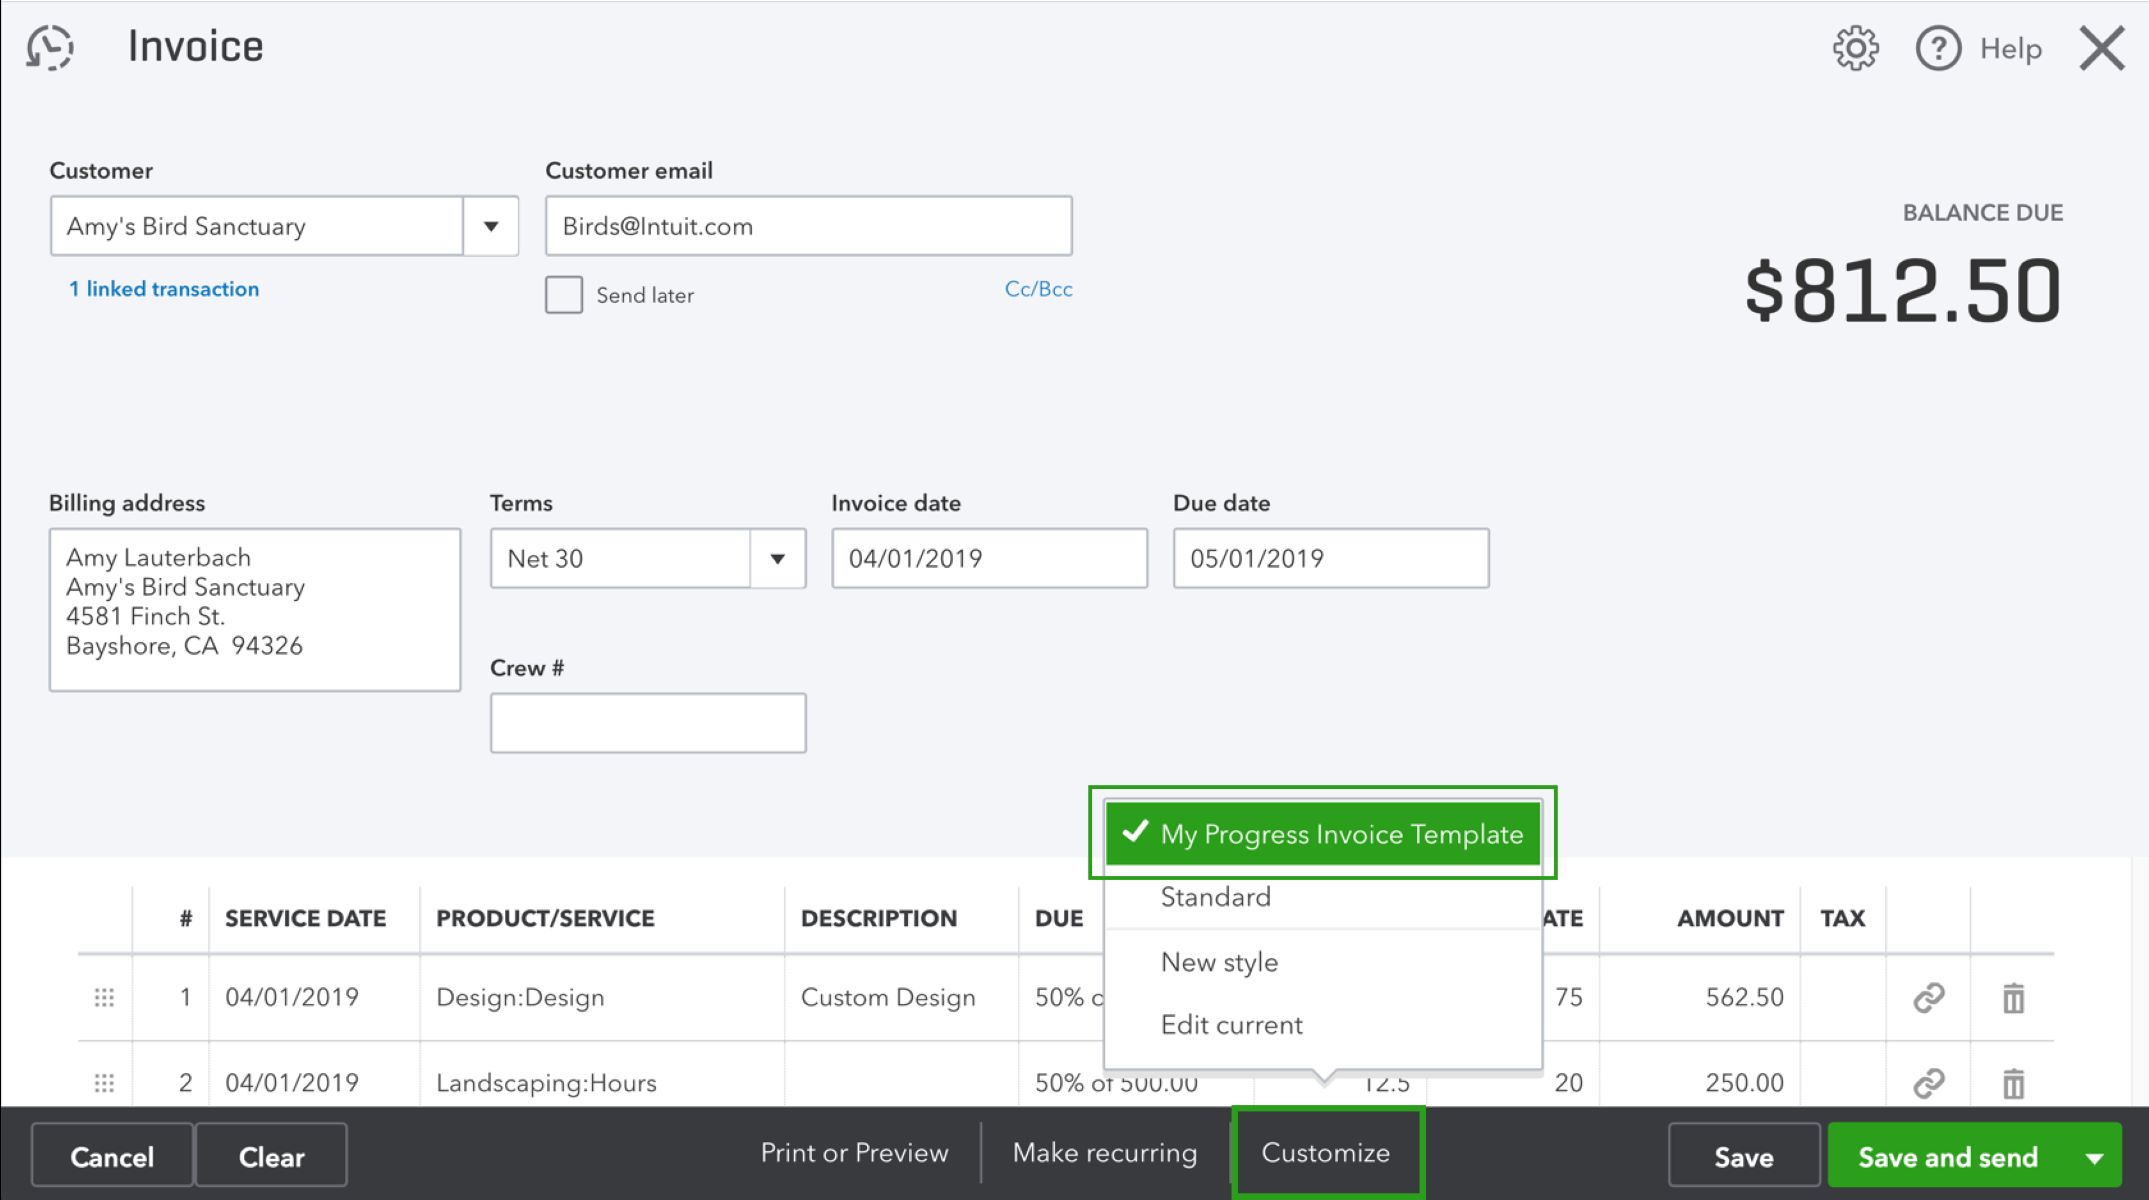
Before making a payment, it is essential to thoroughly review the invoice details to ensure accuracy and avoid any potential discrepancies. Here’s how to review the invoice details in QuickBooks:
- Once you have opened the invoice in QuickBooks, carefully go through the information provided on the invoice. Check the vendor’s name, address, and contact details to ensure they are correct.
- Verify the invoice number, payment due date, and terms of payment. QuickBooks generates invoice numbers automatically, but it’s essential to confirm that they are sequential and align with your records.
- Scrutinize the line items on the invoice, including the description, quantity, price, and any applicable taxes or discounts. Ensure that the products or services listed accurately reflect what was agreed upon with the vendor.
- If there are any discrepancies or errors in the invoice, use the editing tools provided in QuickBooks to make the necessary adjustments. You may need to consult with the vendor or refer to any supporting documentation to resolve any discrepancies.
It’s crucial to review the invoice details carefully to maintain accurate financial records and ensure a smooth payment process. By double-checking the information, you reduce the risk of making incorrect payments or experiencing issues with vendor relationships.
Once you have thoroughly reviewed the invoice details and made any necessary adjustments, you can proceed to the next step: choosing a payment method in QuickBooks.
Step 3: Choose a payment method
After reviewing the invoice details, the next step in paying an invoice in QuickBooks is to select a payment method. QuickBooks provides various options to make payments to your vendors conveniently. Here’s how to choose a payment method:
- In the invoice screen, locate the “Payment” or “Pay Now” button. Click on it to initiate the payment process.
- QuickBooks will display a list of available payment methods. This may include options such as check, credit card, bank transfer, or electronic payment services like PayPal or Stripe.
- Select the payment method that is most suitable for you and your vendor. Consider factors such as convenience, transaction fees, and the vendor’s preferred method of payment.
When choosing a payment method, it is essential to consider the fees associated with each option and the availability of funds in your business accounts. Some payment methods may have transaction fees, and it’s important to factor those into your decision-making process.
QuickBooks makes it convenient to manage and track payments by allowing you to automate the payment process through the software. You can link your banking or credit card accounts to QuickBooks, enabling seamless payment transactions. Moreover, QuickBooks also allows you to email payment links to vendors, providing them with the flexibility to choose their preferred payment method.
Once you have selected the payment method, you’re ready to proceed to the next step: entering the payment details in QuickBooks.
Step 4: Enter the payment details
After choosing a payment method, the next step in paying an invoice in QuickBooks is to enter the payment details. This ensures that the payment is accurately recorded and helps maintain transparent financial records. Here’s how to enter the payment details:
- In the payment screen, you will see a form to enter the payment details. Fill in the required fields, such as the payment amount, payment date, and payment reference or check number.
- Select the account from which the payment will be made. This can be your business checking account, credit card account, or any other appropriate account in QuickBooks.
- If you are paying by check, enter the check number in the designated field. This helps track the payment and ensures accurate record-keeping.
- Review the payment details for accuracy. Verify the payment amount, payment date, and any other relevant information before proceeding.
Entering the payment details accurately is crucial for maintaining accurate financial records. It provides a clear audit trail and helps reconcile your accounts effectively. Take a moment to double-check the payment details to avoid any errors or discrepancies.
QuickBooks also allows you to attach any supporting documentation to the payment, such as receipts or invoices. This can be helpful for record-keeping purposes and makes it easier to track and reference payments in the future.
Once you have entered the payment details and verified their accuracy, you’re ready to proceed to the next step: saving and recording the payment in QuickBooks.
Step 5: Save and record the payment
After entering the payment details, the next step in paying an invoice in QuickBooks is to save and record the payment. This finalizes the transaction and updates your financial records accordingly. Follow these steps to save and record the payment:
- Once you have reviewed the payment details and ensured their accuracy, click on the “Save” or “Record Payment” button in the payment screen. QuickBooks will save the payment and update the invoice status accordingly.
- If you have enabled automatic syncing with your banking or credit card accounts, QuickBooks will record the payment transaction in the respective account automatically. This simplifies the reconciliation process and ensures your records are up to date.
- QuickBooks will generate a payment receipt or confirmation for your records. You can save or print this receipt, providing you with a paper trail of the payment.
- Review the payment in QuickBooks after saving it to ensure that it reflects accurately in your financial reports and transaction history.
By saving and recording the payment in QuickBooks, you maintain accurate financial records and improve visibility into your business’s financial health. QuickBooks provides comprehensive reporting features that allow you to track expenses, monitor cash flow, and generate financial statements with ease.
Additionally, QuickBooks also enables you to set up recurring payments for vendors, streamlining your payment process for regular expenses. By automating payments, you save time and ensure payments are consistently made on time.
Once you have saved and recorded the payment, you have successfully completed the payment process in QuickBooks. The next and final step is to send a confirmation to the vendor.
Step 6: Send a confirmation to the vendor
After saving and recording the payment in QuickBooks, it is essential to send a confirmation to the vendor. This not only serves as a professional gesture but also ensures transparency and maintains a good working relationship with your vendors. Here’s how to send a payment confirmation in QuickBooks:
- Locate the option to send a payment confirmation or receipt in QuickBooks. This can typically be found in the payment screen, where you recorded the payment.
- Click on the “Send” or “Email” button to initiate the sending process.
- QuickBooks will generate an email template that includes the payment details and a customized message area. You can personalize the message as needed, expressing your gratitude for their services or products.
- Ensure that the recipient’s email address is correct and verify any additional attachments, such as the payment receipt, that you may want to include in the email.
- Review the email content for accuracy and professionalism before clicking the “Send” button.
Sending a payment confirmation to the vendor acts as a confirmation of payment and provides them with a record of the transaction. It helps foster trust and open communication between you and your vendors.
QuickBooks allows you to save email templates for future use, making it even more convenient to send payment confirmations consistently. You can customize these templates to reflect your company’s branding and adhere to your preferred communication style.
By sending a payment confirmation to the vendor, you complete the final step in the payment process in QuickBooks. This ensures all parties involved are aware of the successful payment and have the necessary documentation for their records.
Conclusion
Paying invoices in QuickBooks is a streamlined and efficient process that helps businesses manage their financial transactions effectively. By following the steps outlined in this guide, you can confidently navigate the invoice payment process and maintain accurate records of your transactions.
We started by emphasizing the importance of opening the invoice and reviewing the details to ensure accuracy. Then, we discussed the process of choosing a payment method that aligns with your business needs and the vendor’s preferences. Next, we explored how to enter the payment details accurately to maintain transparent financial records.
After entering the payment details, we highlighted the significance of saving and recording the payment in QuickBooks. By doing so, you update your financial records and have a clear overview of your business’s cash flow. Lastly, we emphasized the importance of sending a payment confirmation to the vendor as a professional gesture and to maintain open communication.
QuickBooks simplifies the invoice payment process, providing a range of features and options to make payments convenient and efficient. With its ability to automate recurring payments and generate comprehensive financial reports, QuickBooks becomes an invaluable tool for managing your business’s finances.
By following the steps outlined in this guide, you can navigate the invoice payment process in QuickBooks with ease, ensuring accurate and timely payments to your vendors. Taking the time to review invoice details, choose the right payment method, and enter payment details accurately helps maintain transparency and professionalism in your financial transactions.
Incorporate these steps into your invoice payment routine in QuickBooks, and you’ll have a streamlined and efficient process that benefits both your business and your vendor relationships. Happy invoicing!