Introduction
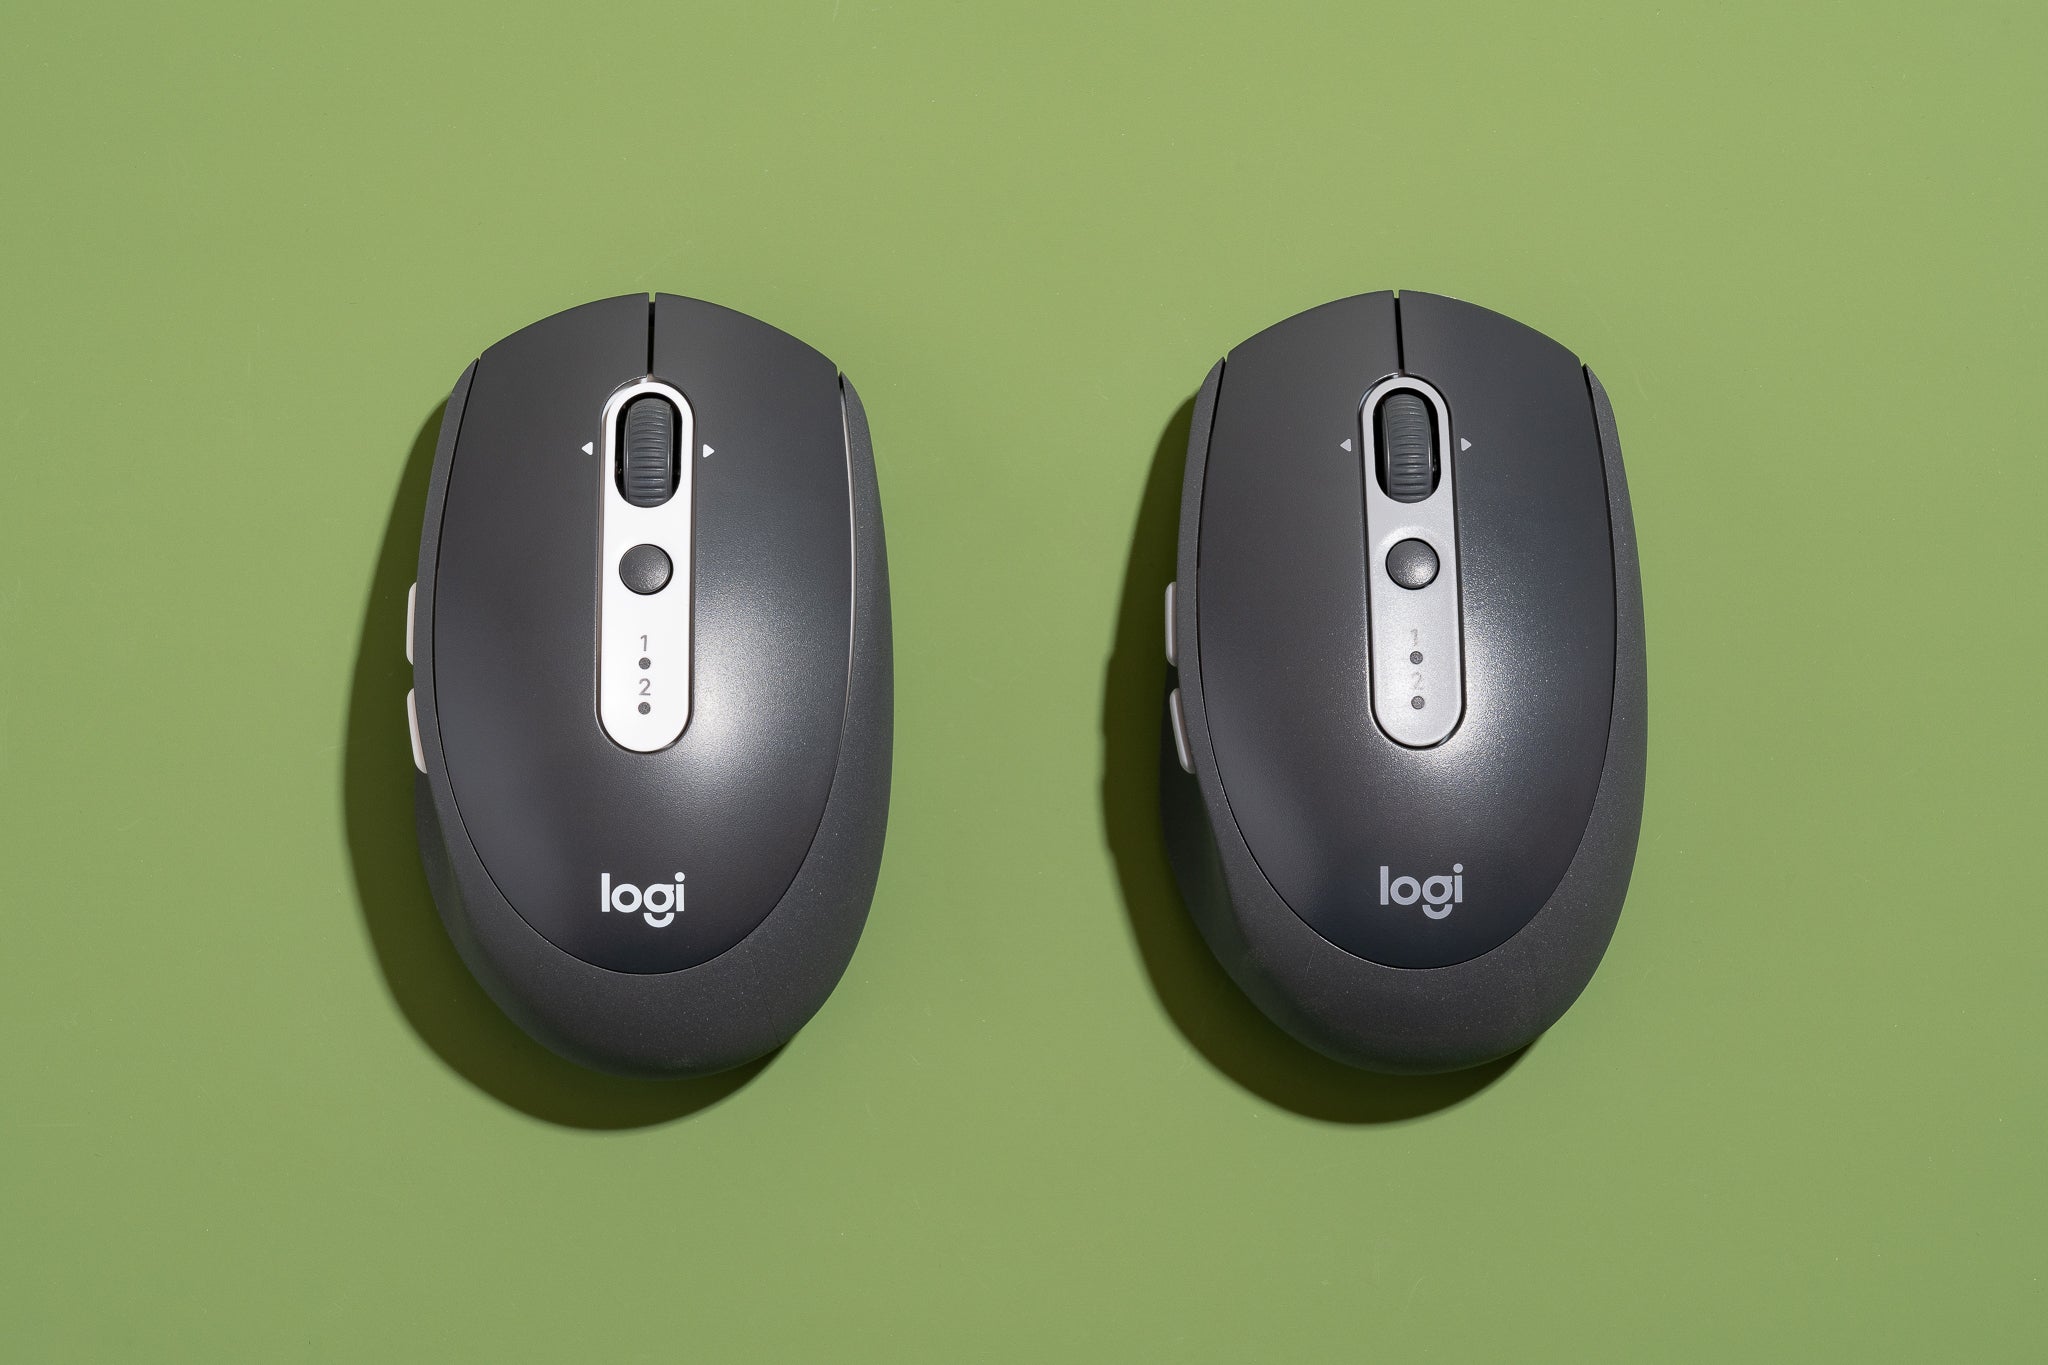
Are you ready to supercharge your productivity? The Logitech M585 Mouse is a versatile and feature-packed device that can take your computer experience to the next level. Whether you’re a student, professional, or casual computer user, this mouse is designed to provide comfort, precision, and convenience.
In this article, we will guide you through the process of pairing the Logitech M585 Mouse with your computer. By following these simple steps, you’ll be able to enjoy the seamless connectivity and advanced features of this incredible device.
The Logitech M585 Mouse offers a wireless connection for a clutter-free workspace and efficient navigation. With its ergonomic design and customizable buttons, you can tailor it to your specific needs and optimize your workflow. Whether you’re browsing the internet, working on documents, or editing photos, the Logitech M585 Mouse provides a smooth and responsive experience.
So, let’s dive into the step-by-step instructions on how to pair the Logitech M585 Mouse and make the most out of this exceptional peripheral.
Step 1: Prepare the mouse
Before you can start pairing your Logitech M585 Mouse, it’s crucial to ensure that it’s ready for the process. Here’s what you need to do:
- Check the batteries: Open the battery compartment on the underside of the mouse and verify that the batteries are inserted correctly. If needed, replace them with fresh batteries.
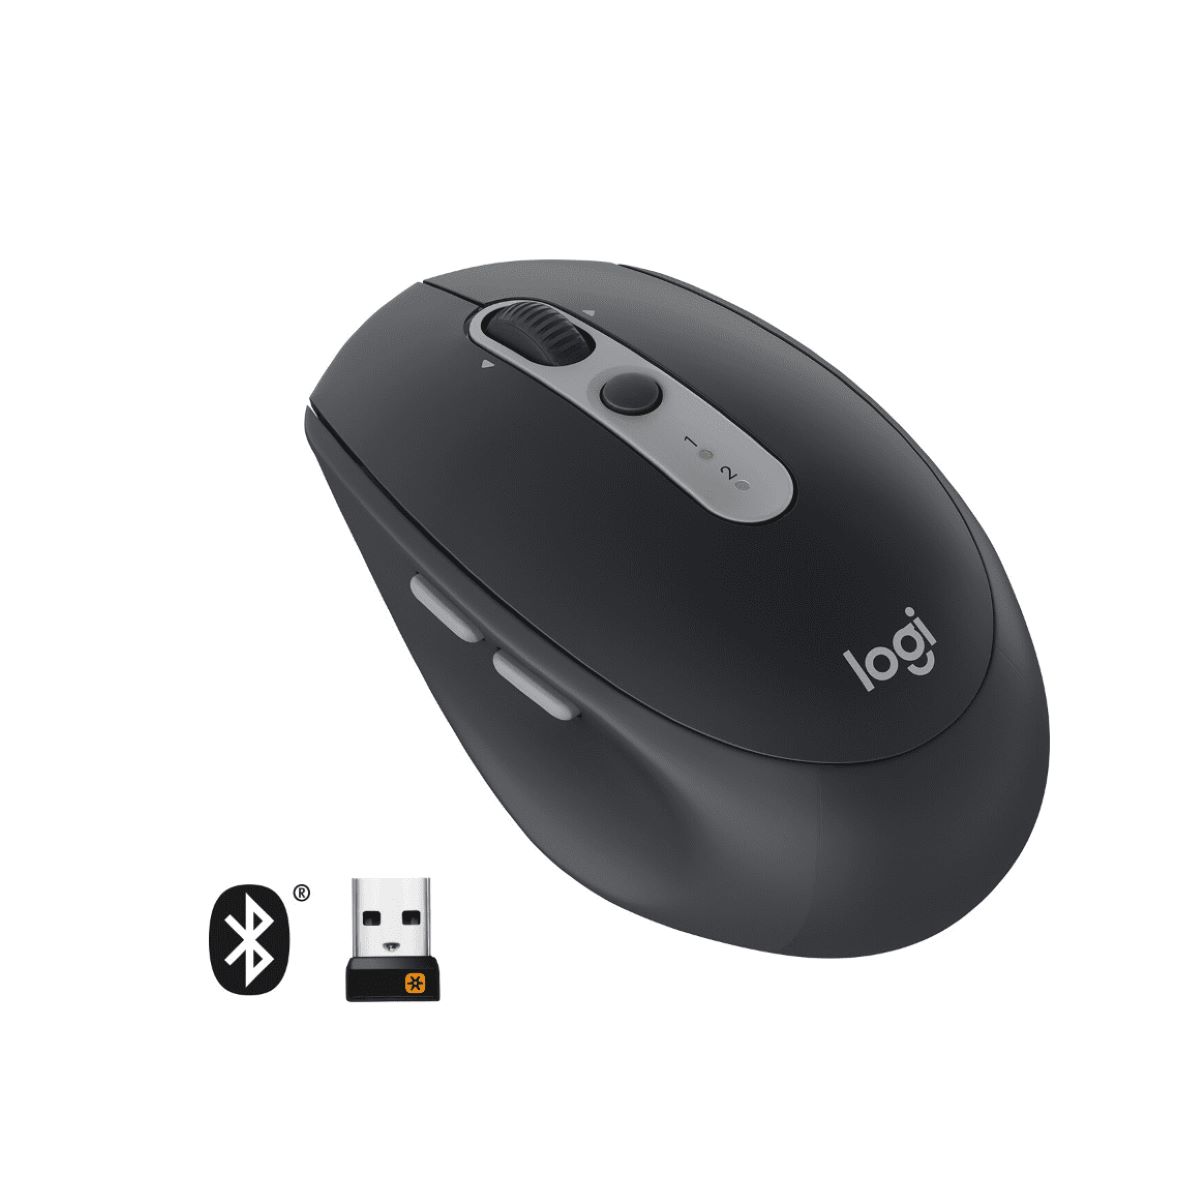
- Remove the receiver compartment cover: The Logitech M585 Mouse comes with a USB receiver that facilitates the wireless connection. On the bottom of the mouse, find the compartment cover and slide it open to reveal the USB receiver slot.
- Find a USB port: Locate an available USB port on your computer where you will insert the USB receiver. It’s essential to choose a port that is easily accessible and not obstructed by other devices.
- Keep clear of interference: To ensure a stable and uninterrupted connection, position your computer and mouse away from potential sources of interference, such as other wireless devices and metal objects.
By following these preparatory steps, you’ll ensure that your Logitech M585 Mouse is fully functional and ready to be paired with your computer. Now that you’ve prepared the mouse, it’s time to move on to the next step: activating the pairing mode.
Step 2: Activate pairing mode
To connect your Logitech M585 Mouse to your computer, you need to activate the pairing mode. Follow these steps to do so:
- Make sure your computer is turned on: Ensure that your computer is powered on and running.
- Locate the pairing button: On the underside of the Logitech M585 Mouse, you’ll find a small button labeled “pair.” It may be located near the USB receiver slot or on the side of the mouse.
- Press and hold the pairing button: Press and hold the pairing button for a few seconds until the LED indicator on the mouse starts blinking. This indicates that the mouse is now in pairing mode.
- Release the button: Once the LED starts blinking, release the pairing button. The mouse is now ready to be paired with your computer.
Activating the pairing mode allows your Logitech M585 Mouse to enter a discovery state where it can connect to your computer. Once you’ve successfully activated the pairing mode, it’s time to move on to the next step: connecting the mouse to your computer.
Step 3: Connect the mouse to your computer
Now that your Logitech M585 Mouse is in pairing mode, it’s time to establish a connection with your computer. Follow these simple steps to connect the mouse:
- Insert the USB receiver: Take the USB receiver that came with your Logitech M585 Mouse and insert it into an available USB port on your computer. Make sure the receiver is securely inserted.
- Wait for the driver installation: Once the USB receiver is inserted, your computer will automatically start installing the necessary drivers for the mouse. This process may take a few moments, so be patient.
- Verify the connection: After the driver installation is complete, the LED indicator on the mouse will stop blinking and remain steady, indicating a successful connection. You’re now ready to start using the Logitech M585 Mouse.
Once the mouse is connected, you can start enjoying its precise tracking, comfortable grip, and customizable buttons. The Logitech M585 Mouse is designed to enhance your productivity and make your computing experience effortless.
If you encounter any issues during the connection process, ensure that the USB receiver is properly inserted and that your computer’s USB ports are functioning correctly. It’s also worth checking if there are any conflicting software or drivers that might interfere with the connection.
Now that you have successfully connected the Logitech M585 Mouse to your computer, you can proceed to the optional step of installing the Logitech Options software to unlock additional features and customization options.
Step 4: Install Logitech Options software (optional)
While not necessary for basic functionality, installing the Logitech Options software allows you to unlock a range of advanced features and customize the behavior of your Logitech M585 Mouse. Follow these steps to install the Logitech Options software:
- Go to the Logitech website: Visit the official Logitech website and navigate to the “Support” or “Downloads” section. Look for the page dedicated to the Logitech M585 Mouse.
- Select your operating system: Choose the operating system running on your computer, such as Windows or macOS. Ensure that you select the correct version to avoid compatibility issues.
- Download the Logitech Options software: Locate the download link for the Logitech Options software and click on it to start the download. Save the file to a location on your computer where you can easily access it.
- Run the installer: Once the download is complete, locate the downloaded file and double-click on it to run the installer. Follow the on-screen prompts to install the Logitech Options software on your computer.
- Restart your computer: After the installation is complete, it’s recommended to restart your computer to ensure that the software is properly integrated.
- Launch Logitech Options: Once your computer has restarted, locate the Logitech Options software in your applications or system tray and launch it. Connect your Logitech M585 Mouse to your computer if it’s not already connected.
- Customize your mouse: With the Logitech Options software open, you can now explore the various customization options available. Customize button assignments, pointer speed, scrolling behavior, and more to tailor your Logitech M585 Mouse to your specific needs.
Installing the Logitech Options software offers an enhanced user experience and allows you to optimize the functionality of your Logitech M585 Mouse. Take advantage of the customization options to maximize your productivity and efficiency.
Keep in mind that the Logitech Options software is regularly updated, so it’s a good idea to check for updates periodically to ensure that you have the latest features and bug fixes.
Now that you have the Logitech Options software installed and configured, you’re ready to enjoy the full potential of your Logitech M585 Mouse!
Step 5: Customize mouse settings
Now that you have the Logitech Options software installed, it’s time to take advantage of its advanced customization features to tailor your Logitech M585 Mouse to your preferences. Here’s how:
- Open Logitech Options: Launch the Logitech Options software on your computer. You can typically find it in your applications folder or system tray. Ensure that your Logitech M585 Mouse is connected to your computer.
- Explore the customization options: Once the Logitech Options software is open, you will be presented with a variety of customization options for your Logitech M585 Mouse. These options include button assignments, pointer speed, scrolling behavior, and more.
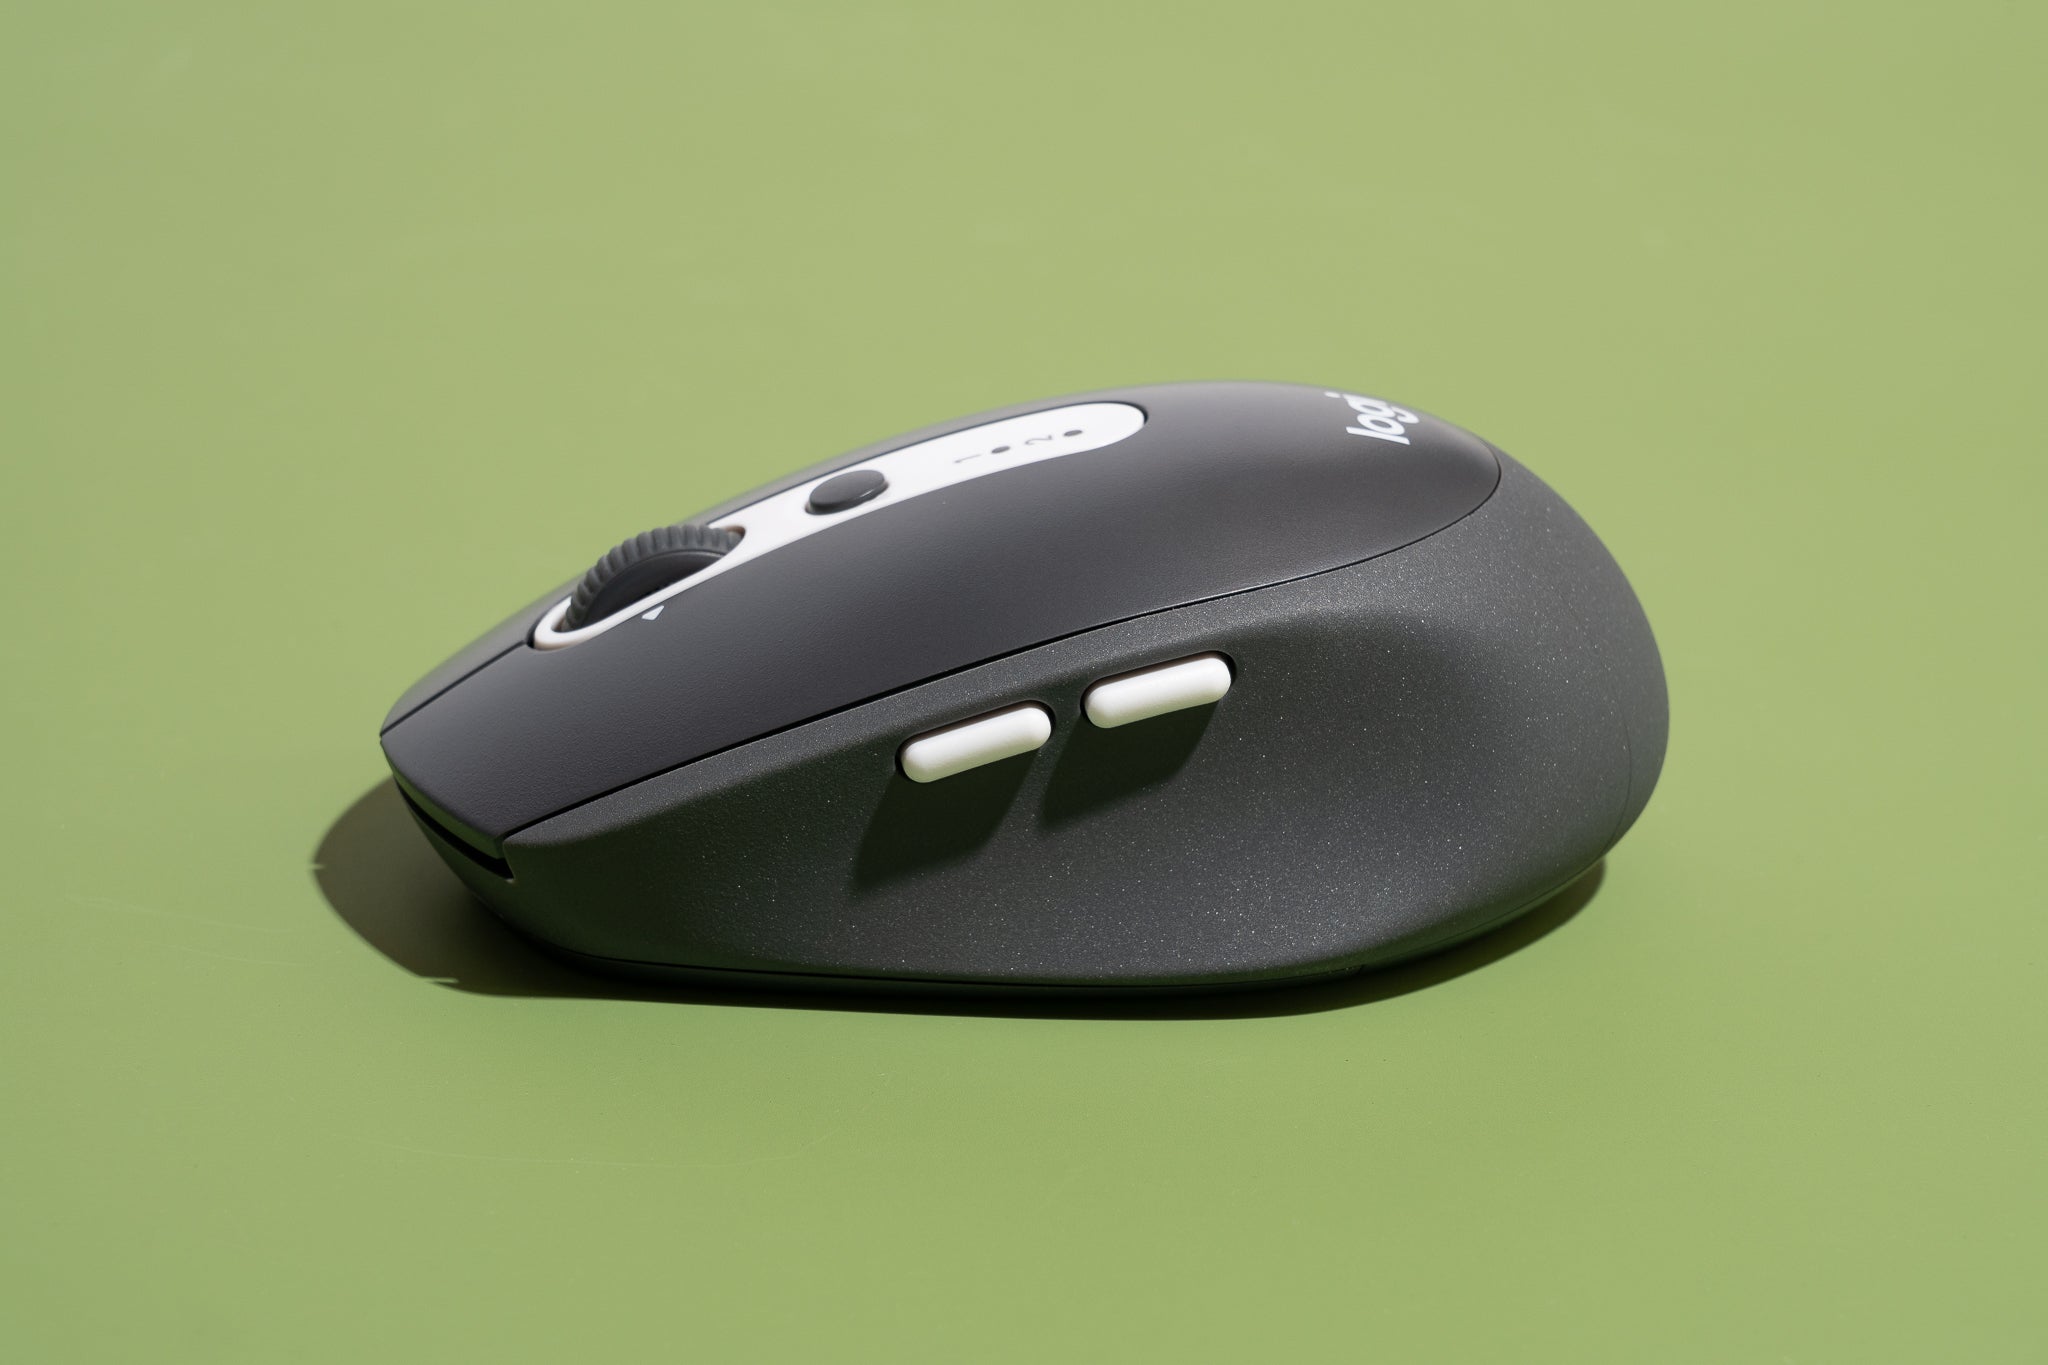
- Customize button assignments: One of the key features of the Logitech M585 Mouse is its customizable buttons. Click on the “Button Customization” or similar option in the Logitech Options software to assign specific functions to different buttons on your mouse. For example, you can set the thumb buttons to navigate forward and backward in your web browser or assign a particular function to the middle button.
- Adjust pointer speed: If you find that the pointer movement is too slow or too fast, you can adjust the pointer speed settings in the Logitech Options software. Fine-tune it to your liking and find the perfect balance between precision and speed.
- Configure scrolling behavior: The Logitech M585 Mouse features a scroll wheel that allows for smooth vertical and horizontal scrolling. In the Logitech Options software, you can customize the scrolling behavior, such as enabling or disabling smooth scrolling or adjusting the scroll speed.
- Save your custom settings: Once you have personalized your Logitech M585 Mouse settings to your satisfaction, make sure to save your changes in the Logitech Options software. This way, your custom settings will be preserved even if you connect your mouse to a different computer.
By customizing the settings of your Logitech M585 Mouse, you can optimize its performance and tailor it to your specific needs and preferences. Experiment with different configurations until you find the perfect setup that enhances your productivity and workflow.
Remember to periodically check for updates to the Logitech Options software to ensure that you have access to the latest features and improvements that Logitech offers for your Logitech M585 Mouse.
With your Logitech M585 Mouse now customized to your liking, you’re all set to enjoy a personalized and efficient computing experience!
Conclusion
Congratulations! You have successfully learned how to pair and customize your Logitech M585 Mouse. By following the steps outlined in this article, you can unlock the full potential of this versatile and feature-packed mouse.
The Logitech M585 Mouse offers a seamless and comfortable computing experience with its ergonomic design, customizable buttons, and precise tracking. Whether you’re a student, professional, or casual computer user, this mouse can enhance your productivity and efficiency.
Remember to prepare your Logitech M585 Mouse by checking the batteries and removing the receiver compartment cover. Activate pairing mode by pressing and holding the pairing button, then connect the mouse to your computer by inserting the USB receiver. Optionally, install the Logitech Options software to access advanced customization options.
With the Logitech Options software, you can customize button assignments, adjust pointer speed, and configure scrolling behavior, allowing you to tailor the Logitech M585 Mouse to your specific needs and preferences.
Keep in mind that Logitech periodically releases software updates, so it’s a good practice to check for updates to ensure that you have access to the latest features and enhancements.
Now that you’ve successfully paired and customized your Logitech M585 Mouse, it’s time to enjoy a more efficient and personalized computing experience. Explore the diverse functionality and features of the Logitech M585 Mouse, and make the most out of its ergonomic design and precision.
Start utilizing your Logitech M585 Mouse today and witness the difference it makes in your everyday computing tasks!


