Introduction
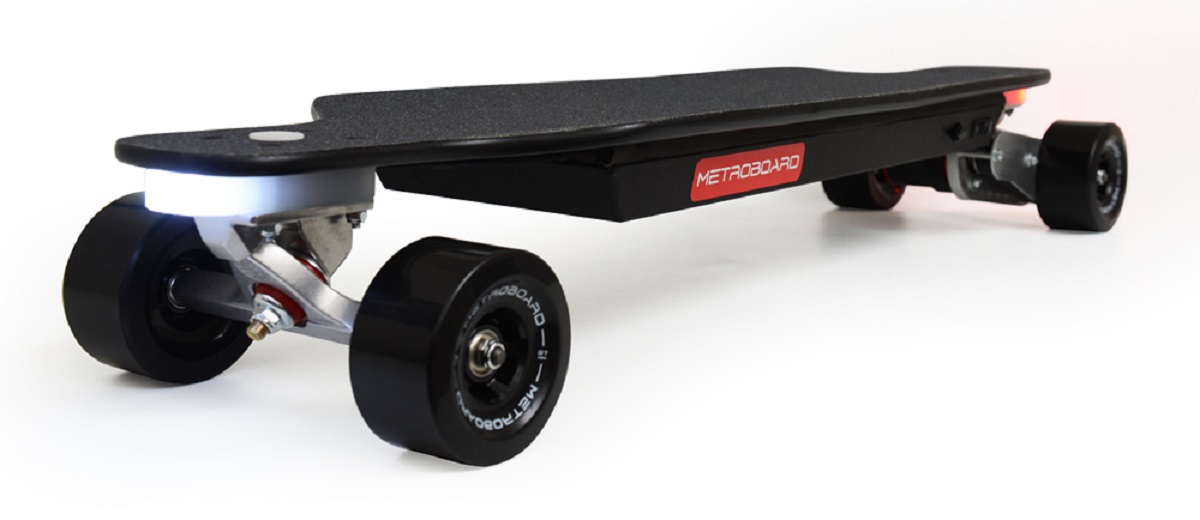
Welcome to the exciting world of Metroboard electric skateboards! Whether you’re a seasoned rider or a newbie looking for a thrilling new way to get around, having a reliable and responsive remote control is essential to your skateboarding experience. In this guide, we’ll walk you through the step-by-step process of pairing a new remote with your Metroboard electric skateboard.
Why do you need to pair a new remote, you may wonder? Well, just like any other electronic device, your electric skateboard and its remote control need to establish a connection in order to communicate with each other. This pairing process allows the remote to send commands to your skateboard, controlling its speed and direction. So, if you’ve recently purchased a new remote or are experiencing issues with your current one, it’s important to know how to pair it with your Metroboard electric skateboard.
Don’t worry if you’re not tech-savvy – the pairing process is straightforward and requires no special technical skills. Just follow the steps we outline in this guide, and you’ll be up and riding in no time!
Before we proceed, it’s worth noting that different models of Metroboard electric skateboards may have slight variations in their pairing procedures. However, the basic principles remain the same. Consult your skateboard’s user manual for specific instructions if needed. Now, let’s get started by turning on your skateboard and remote control!
Why do you need to pair a new remote?
Before we dive into the step-by-step process of pairing a new remote with your Metroboard electric skateboard, let’s understand why this is necessary in the first place.
The remote control is a vital component of your electric skateboard. It serves as your command center, allowing you to control the speed, acceleration, and braking of the board. Without a properly paired remote, your skateboard won’t respond to your commands, making it impossible to enjoy the thrilling ride you desire.
There are a few reasons why you might need to pair a new remote with your Metroboard electric skateboard:
- Replacement: Perhaps your old remote control is damaged or no longer functioning properly. In that case, getting a new remote is the solution. However, the new remote needs to be paired with your skateboard to establish the necessary connection.
- Upgrade: Some riders choose to upgrade to a more advanced or feature-rich remote control. This could be because they want improved responsiveness, additional control options, or enhanced safety features. Pairing the new remote ensures that it works seamlessly with your specific skateboard model.
- Multiple Remotes: If you own multiple Metroboard electric skateboards, you may want to pair each skateboard with a dedicated remote. This way, you can effortlessly switch between boards without the hassle of re-pairing the remote each time.
Now that you understand the importance of pairing a new remote with your Metroboard electric skateboard, let’s move on to the step-by-step process that will guide you through the pairing procedure.
Step 1: Turn on the skateboard and remote
Before you can begin the pairing process, make sure both your Metroboard electric skateboard and the new remote control are powered on.
Let’s start with the skateboard:
- Locate the power switch on your Metroboard electric skateboard. It is typically located near the battery pack or on the underside of the board.
- Flip the power switch to the “On” position. You may see some indicator lights or hear a beep, confirming that the skateboard is now powered on.
- Allow a few seconds for the skateboard to fully initialize.
Now that the skateboard is on, let’s move on to the remote control:
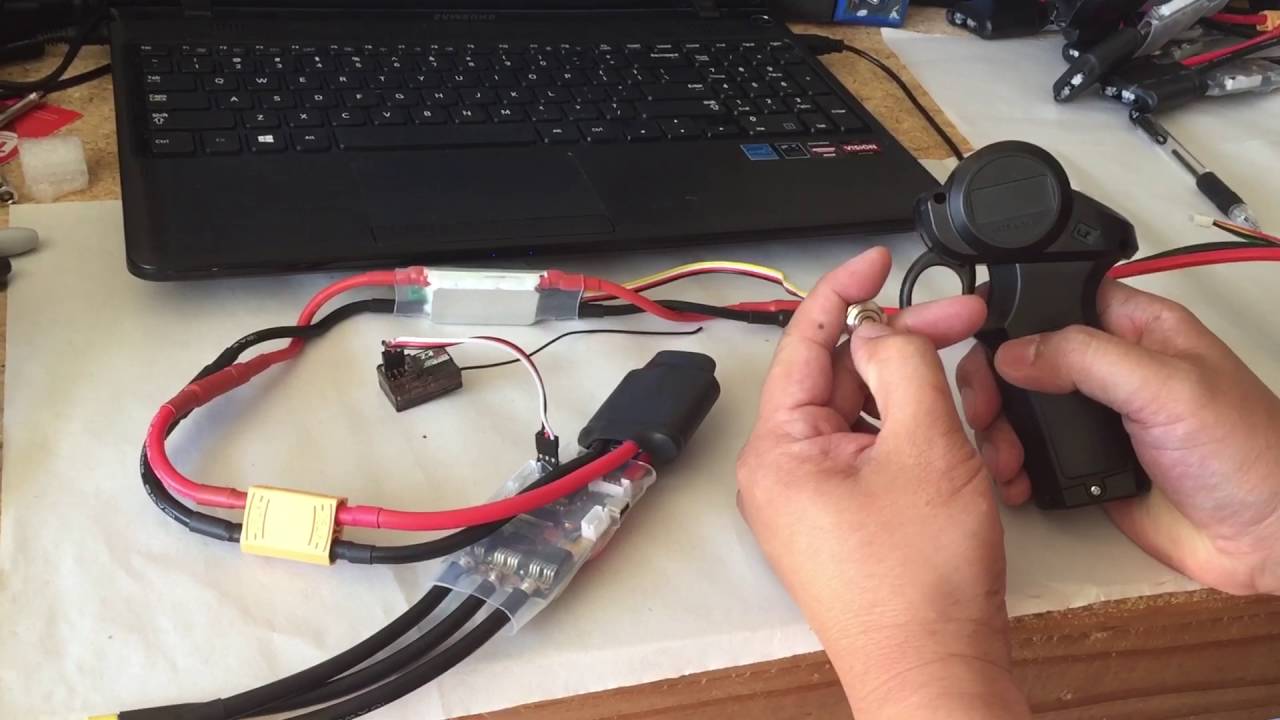
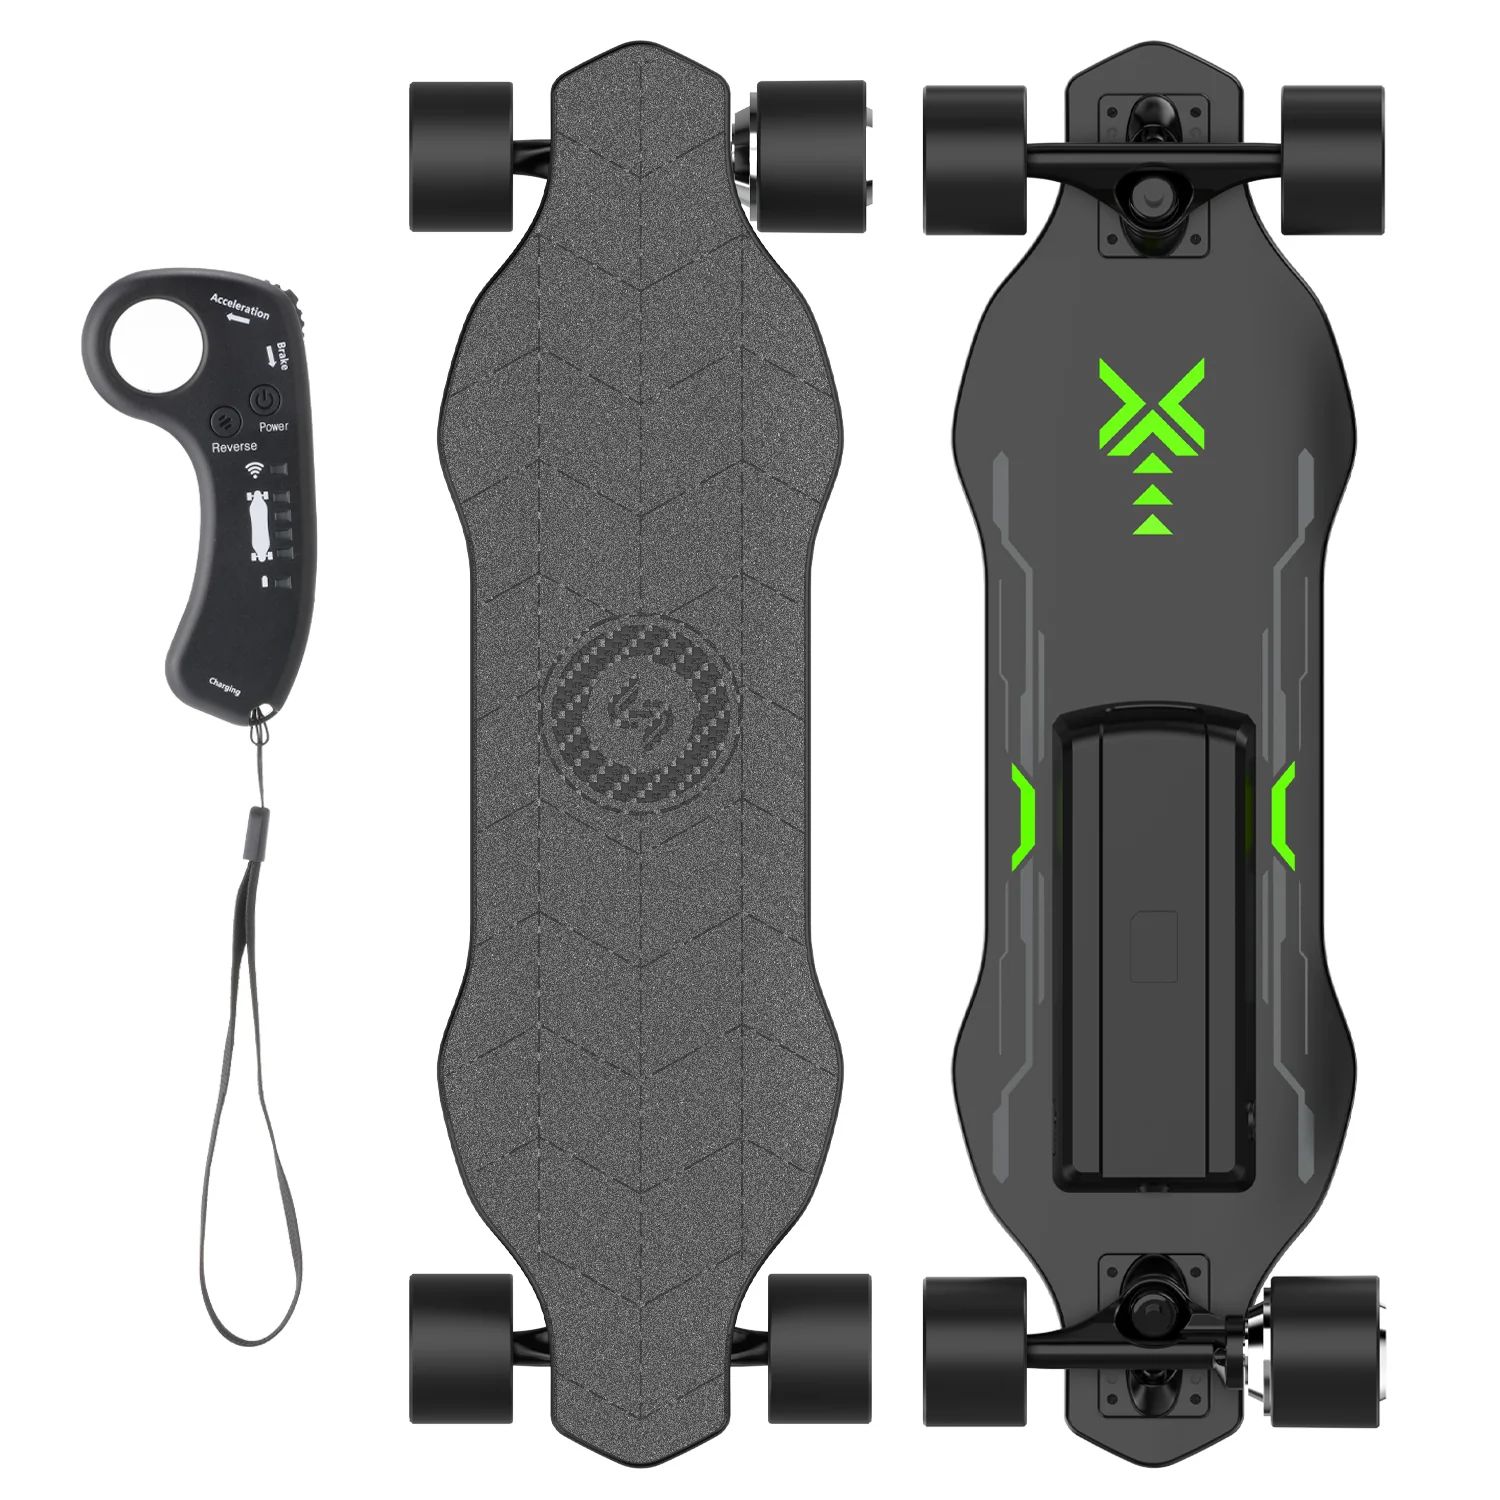
- Locate the power button on your new remote control. It is usually located on the top or front of the remote.
- Press and hold the power button until you see the remote’s display or indicator lights turn on. This indicates that the remote is now powered on.
- Wait a few seconds for the remote to initialize and establish a connection with your skateboard.
Once both the skateboard and the remote are powered on, you’re ready to move on to the next step in the pairing process.
Step 2: Enter the pairing mode on the remote
In order to pair your new remote control with your Metroboard electric skateboard, you need to put the remote into pairing mode. This allows the remote to search for and establish a connection with your skateboard.
Follow these steps to enter pairing mode:
- Make sure the remote is powered on and in standby mode.
- Look for a small “Pairing” or “Connect” button on the remote control. This button is typically located on the side or bottom of the remote.
- Press and hold the pairing button for a few seconds until you see a visual indication that the remote has entered pairing mode. This may be represented by a flashing light or an icon on the remote’s display.
- Keep the remote in pairing mode and proceed to the next step to put your skateboard into pairing mode as well.
Entering pairing mode on the remote allows it to actively search for the skateboard and establish a connection. Once the remote is in pairing mode, it is ready to initiate the pairing process with your Metroboard electric skateboard.
Now that the remote is in pairing mode, let’s move on to the next step and put your skateboard into pairing mode as well.
Step 3: Enter the pairing mode on the skateboard
Now that your remote control is in pairing mode, it’s time to put your Metroboard electric skateboard into pairing mode as well. This will allow the skateboard to search for and establish a connection with the remote control.
Follow these steps to enter pairing mode on your skateboard:
- Ensure that the skateboard is powered on and in standby mode.
- Locate the pairing button or switch on your Metroboard electric skateboard. This can vary depending on the model, but it is usually located near the power switch, battery pack, or on the underside of the board.
- Press and hold the pairing button or switch for a few seconds until you see an indication that the skateboard has entered pairing mode. This may be a flashing light, a sound notification, or a specific sequence of LED lights.
- Keep the skateboard in pairing mode and move on to the next step to start the pairing process with the remote control.
Entering pairing mode on the skateboard allows it to actively search for the remote control and establish a connection. Once the skateboard is in pairing mode, it is ready to be paired with your new remote control.
Now that both your remote control and skateboard are in pairing mode, let’s move on to the next step and initiate the pairing process.
Step 4: Pair the remote with the skateboard
With both your Metroboard electric skateboard and the remote control in pairing mode, it’s time to establish the connection between the two devices. Follow these steps to pair the remote with your skateboard:
- On the remote control, look for a “Pair” or “Connect” button. Press and hold this button until you see a visual indication that the remote is actively searching for the skateboard. This may be a flashing light or an icon on the display.
- On the skateboard, press the “Pairing” or “Connect” button once. This will initiate the pairing process on the skateboard’s side and allow it to search for the remote control.
- Wait for a few seconds as the skateboard and remote search and establish a connection. You may see the remote’s display or indicator lights change to indicate a successful pairing.
- Once the pairing is complete, the remote control and skateboard should be connected and ready to use.
It’s important to note that the pairing process may vary slightly depending on the model of your Metroboard electric skateboard. Consult your skateboard’s user manual for any specific instructions.
Congratulations! You have successfully paired your new remote control with your Metroboard electric skateboard. Now, let’s move on to the final step to ensure that the remote is functioning properly.
Step 5: Test the remote functionality
Now that you have paired the new remote control with your Metroboard electric skateboard, it’s time to test the functionality of the remote to ensure everything is working properly before you hit the road.
Follow these steps to test the remote functionality:
- Ensure that both the skateboard and the remote control are still powered on and connected.
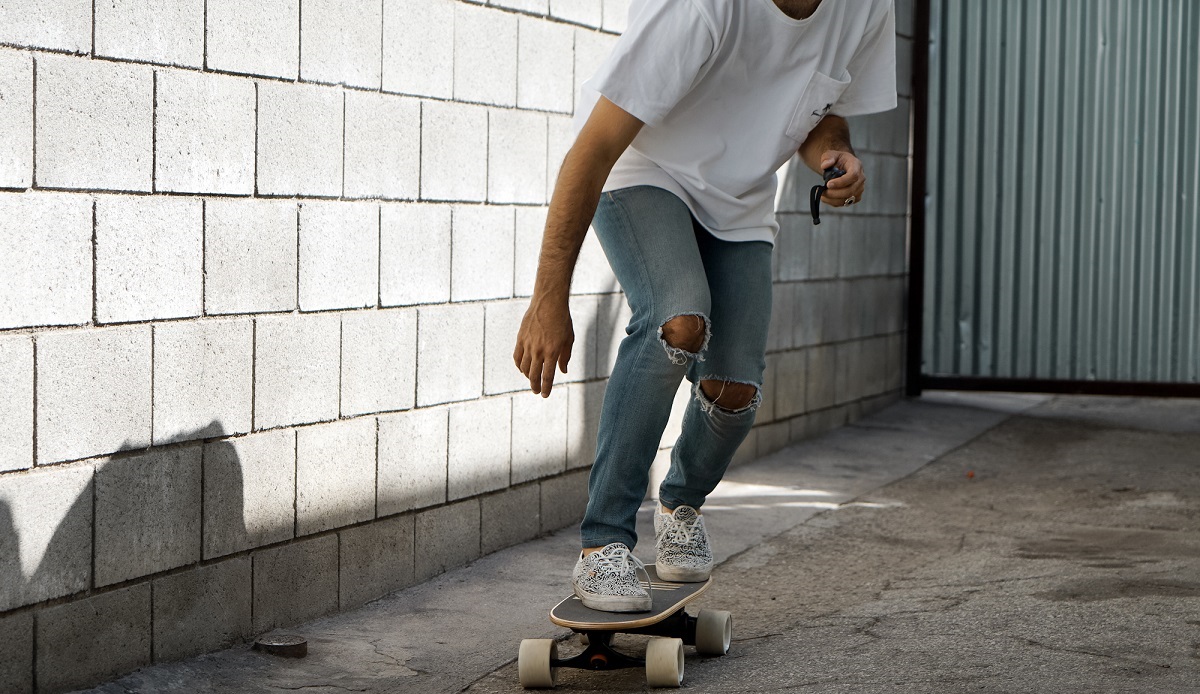
- Hold the remote control securely in your hand and grip the throttle or control lever.
- Gradually press the throttle forward to accelerate the skateboard. Observe if the skateboard responds and starts moving smoothly. If the skateboard doesn’t respond or there are any issues with acceleration, check the connection and repeat the pairing process if necessary.
- Similarly, test the brake functionality by gradually pulling the control lever backward. Ensure that the skateboard slows down and comes to a stop smoothly.
- Check if any other control features, such as different speed modes or additional functions, are working according to the instructions provided with your specific remote control model.
- If you encounter any issues or notice any irregularities in the remote control’s functionality, consult the troubleshooting section in your skateboard’s user manual or reach out to Metroboard’s customer support for assistance.
By testing the remote functionality, you can ensure that the connection between the remote control and the skateboard is strong and responsive. This will provide you with a safe and enjoyable ride.
Now that you have successfully paired and tested the remote functionality, you are ready to hit the streets and enjoy the thrilling experience of riding your Metroboard electric skateboard!
Conclusion
Pairing a new remote with your Metroboard electric skateboard is a simple process that allows you to control your board effectively and enjoy an exhilarating ride. By following the step-by-step instructions outlined in this guide, you can easily pair your new remote and ensure that it is functioning properly.
Remember, the initial setup may vary slightly depending on the model of your Metroboard electric skateboard. Always consult the user manual for specific instructions related to your skateboard.
By turning on both the skateboard and the remote, entering pairing mode on the remote, entering pairing mode on the skateboard, and initiating the pairing process, you can establish a strong connection between the remote and the skateboard. After pairing, it is important to test the remote’s functionality to ensure a smooth and safe ride.
If you encounter any issues during the pairing process or notice any irregularities in the remote control’s functionality, refer to the troubleshooting section in your skateboard’s user manual or contact Metroboard’s customer support for assistance.
Now that you’ve successfully paired your new remote with your Metroboard electric skateboard, it’s time to hit the streets and embrace the freedom and excitement of electric skateboarding! Enjoy your ride and remember to always prioritize safety!


