Introduction
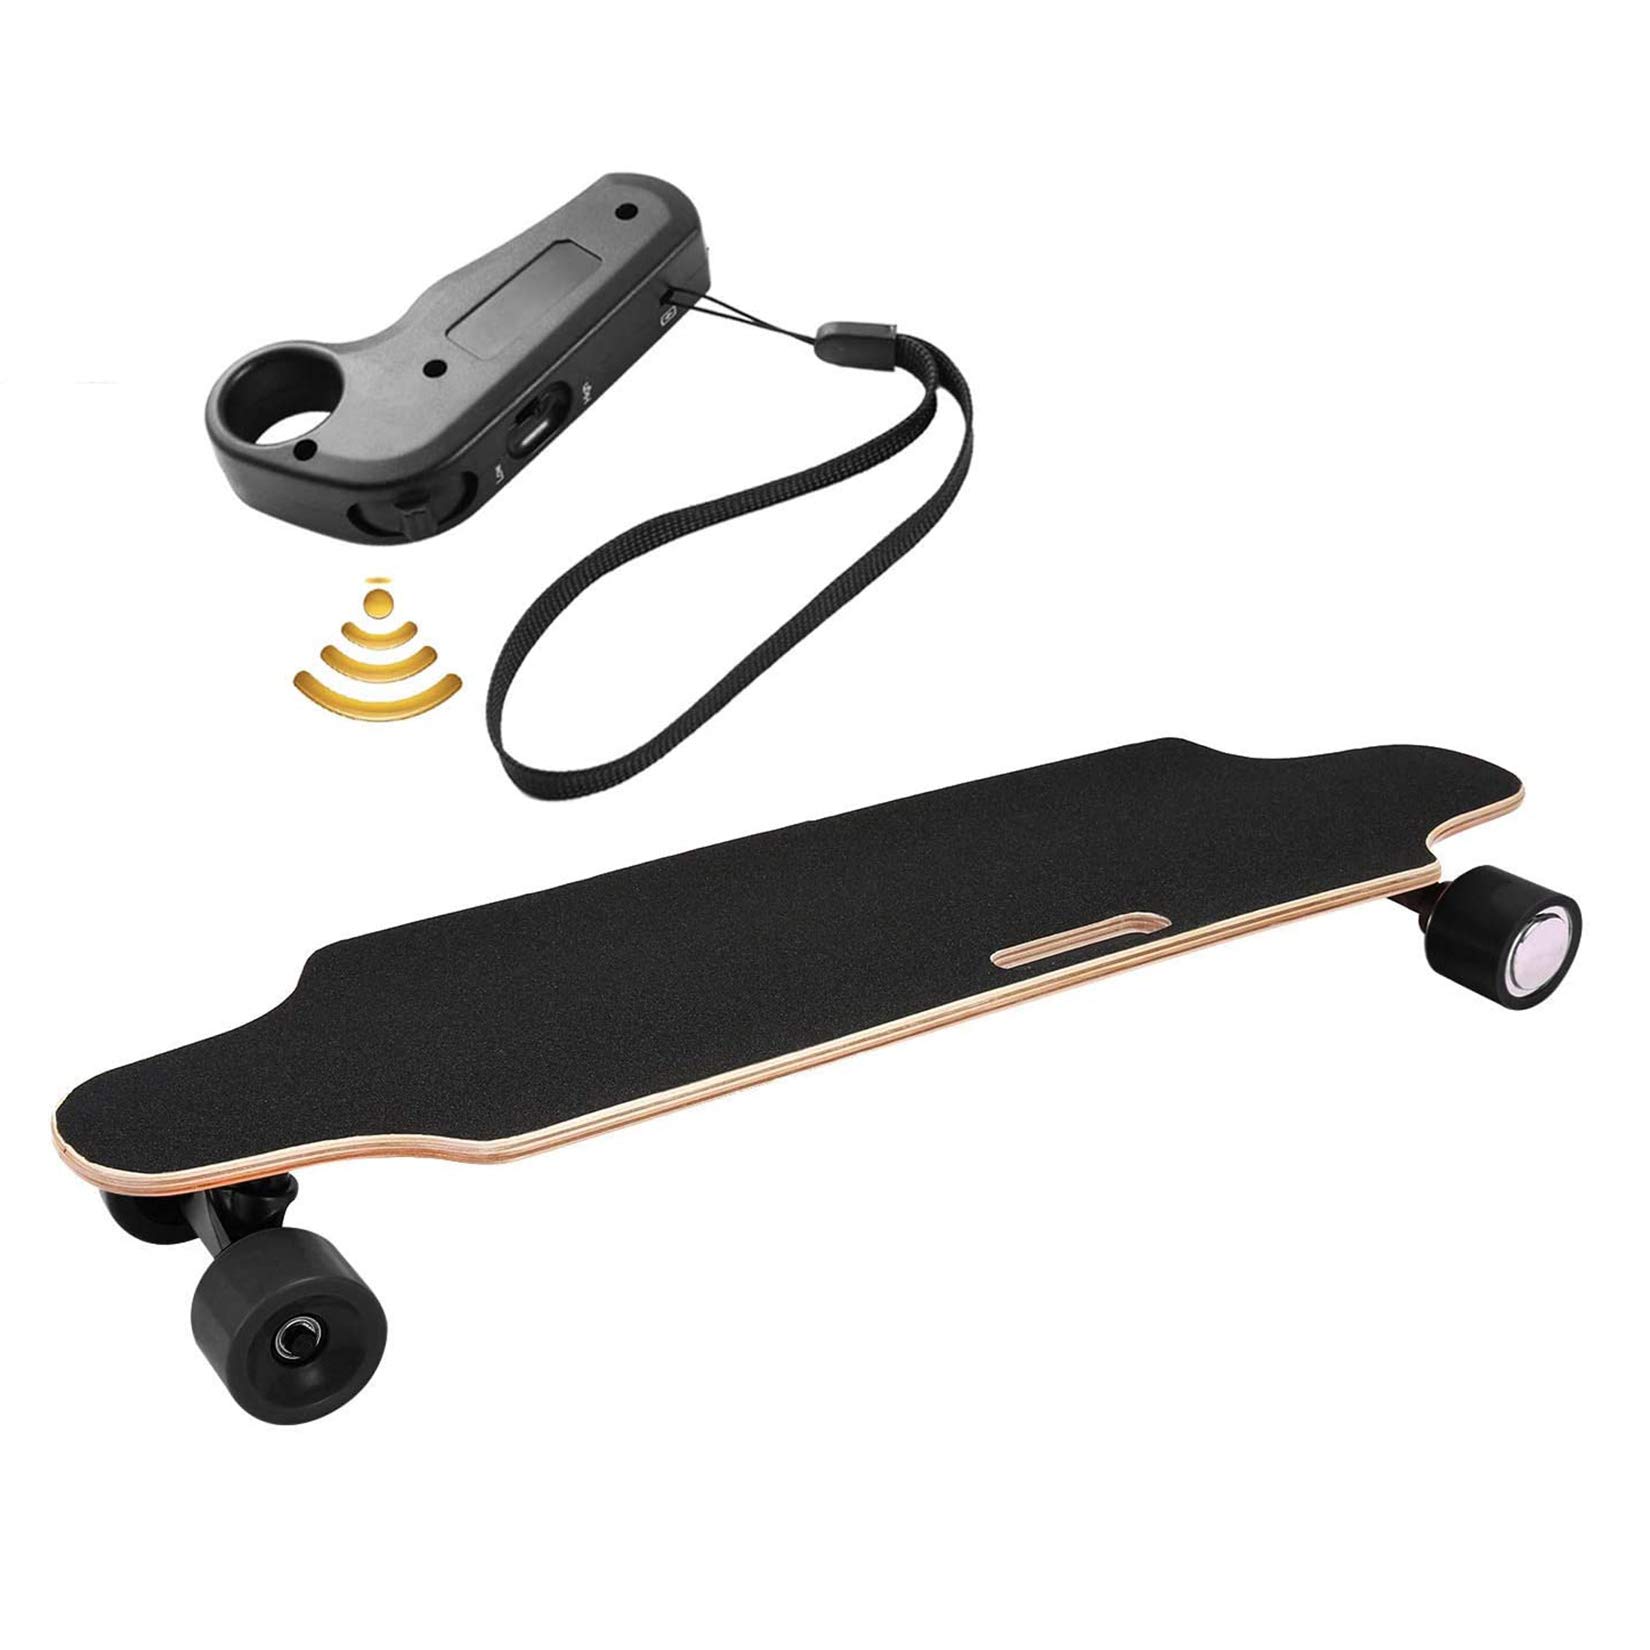
Welcome to the world of electric skateboarding, where you can experience the thrill of cruising on a board powered by electricity. Electric skateboards have gained popularity due to their convenience, speed, and eco-friendly nature. One of the key components of an electric skateboard is the remote control, which allows you to control the speed and direction of your ride.
Connecting a remote to an electric skateboard might seem like a daunting task, especially if you’re new to this exciting hobby. However, fear not! In this article, we will guide you through the step-by-step process of connecting a remote to an electric skateboard, ensuring that you are ready to hit the streets in no time.
Before we dive into the details, it’s important to note that different electric skateboards may have slightly different pairing processes. However, the general principles remain the same. We will provide you with a comprehensive overview of the steps involved, giving you the knowledge and confidence to connect your remote to your specific electric skateboard model.
So, if you’re ready to embark on this electric adventure, let’s get started with the first step of the process: turning on the remote control.
Step 1: Turn on the remote
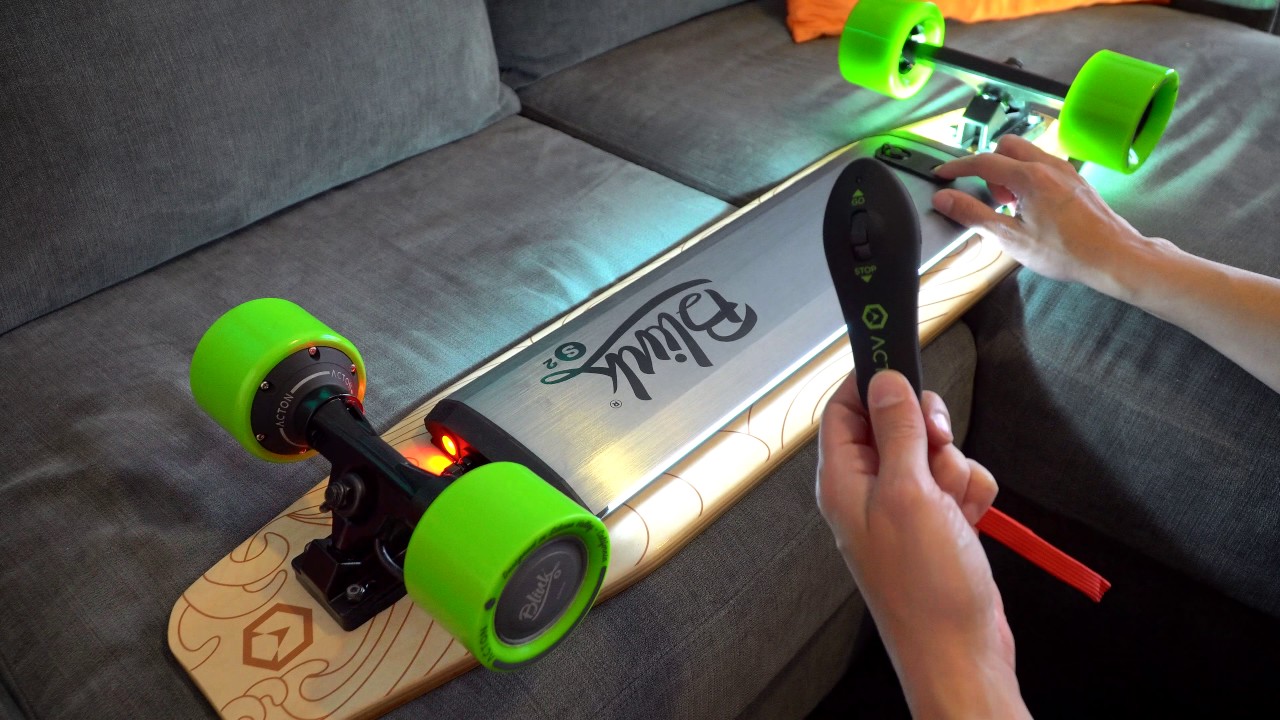
Before we can connect the remote to the electric skateboard, we need to ensure that the remote control is turned on and ready for pairing. The exact method of turning on the remote may vary depending on the brand and model you have, so be sure to consult the user manual if you encounter any difficulties.
Typically, turning on the remote involves locating the power button. It is usually positioned on the side or top of the remote. Press the power button firmly for a few seconds until you see the remote’s display light up or hear a beep indicating that it’s powered on.
Some remotes may also have an additional toggle switch for turning on the remote. In this case, locate the switch and slide it to the ON position.
Once the remote is turned on, it is usually in standby mode, waiting to be paired with the skateboard. The next step is to activate the skateboard and prepare it for connection.
Now that the remote is powered on, we can move on to Step 2: activating the electric skateboard.
Step 2: Activate the skateboard
After powering on the remote control, the next step in connecting it to the electric skateboard is to activate the skateboard itself. This involves ensuring that the skateboard is in pairing mode and ready to establish a connection with the remote.
The activation process may vary depending on the specific electric skateboard model you have. Some skateboards require a power button to be pressed, while others may automatically enter pairing mode when turned on.
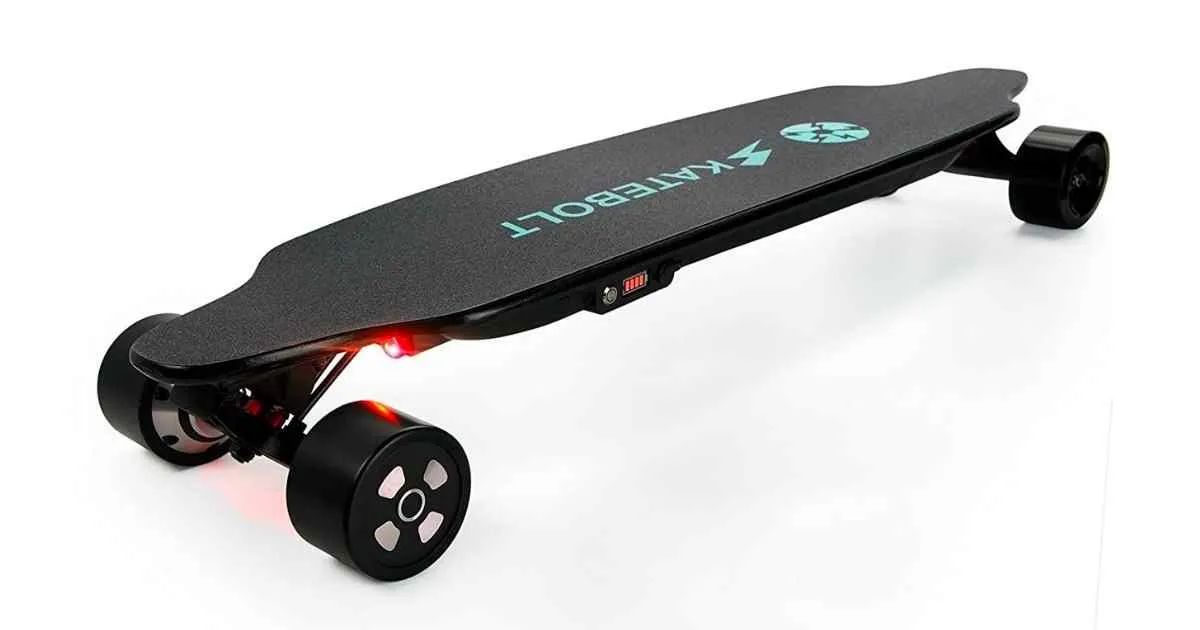
Start by locating the power button on your electric skateboard. This button is usually positioned near the battery or motor compartment. Press and hold the power button for a few seconds until you see the skateboard’s indicator lights flashing or hear a sound indicating that it’s in pairing mode.
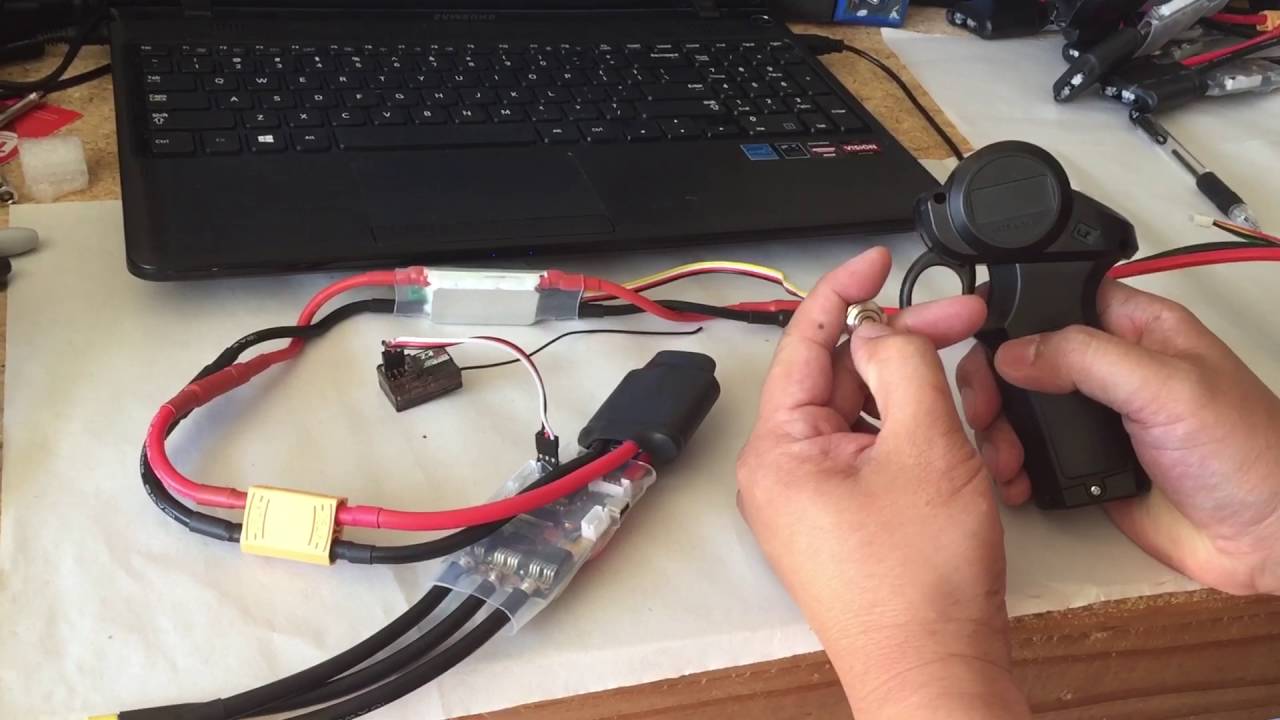
If your skateboard has a remote control receiver that needs to be plugged in, ensure that it is securely connected to the skateboard’s main unit. This receiver is usually a small device that plugs into a designated port on the skateboard.
Once the skateboard is activated and in pairing mode, it’s ready to establish a connection with the remote control. The next step in the process is to pair the remote with the skateboard, which we’ll cover in detail in the next section.
Now that the skateboard is activated, let’s proceed to Step 3: pairing the remote with the electric skateboard.
Step 3: Pairing the remote with the skateboard
Now that both the remote control and the electric skateboard are powered on and ready, it’s time to pair them together. Pairing allows the remote control to communicate and control the skateboard’s speed and direction effectively.
The pairing process may differ depending on the brand and model of your electric skateboard. However, the general steps are relatively similar:
- On your remote control, locate the pairing or sync button. This button is usually small and labeled accordingly.
- Press and hold the pairing button on the remote control. While holding the button, observe the remote control’s display or LED lights for any changes.
- On the skateboard, find the pairing button or a similar mechanism for initiating the pairing process. It’s often located near the power button or on the receiver.
- Press and hold the pairing button on the skateboard. The skateboard’s lights or indicators may start flashing or change colors, indicating that it’s ready to establish a connection.
- Release the pairing button on both the remote control and the skateboard.
After completing these steps, the remote and skateboard should begin the pairing process. It may take a few seconds for the devices to recognize and establish a connection. During this time, be patient and keep the devices within close proximity to ensure a successful pairing.
Once the pairing process is complete, the remote control should display a confirmation message or the skateboard’s indicator lights may change to indicate a successful connection. This indicates that the remote is now properly paired with the electric skateboard.
With the remote control and the skateboard successfully paired, you’re now ready to test the connection before taking your electric skateboard for a spin!
Proceed to Step 4 to learn how to test the connection and ensure that everything is working as expected.
Step 4: Testing the connection
Once you have successfully paired the remote control with the electric skateboard, it’s important to test the connection before going for a ride. Testing the connection ensures that the remote is communicating effectively with the skateboard and that all functions are working as expected.
To test the connection, follow these steps:
- Ensure that both the remote control and the skateboard are turned on and within range of each other.
- Hold the remote control in your hand and check the display or LED lights for any relevant indicators.
- Press the acceleration button on the remote control gently. Observe the skateboard’s response. It should begin to move forward slowly.
- Press the brake button on the remote control. The skateboard should come to a smooth stop.
- Test the responsiveness of the remote control by adjusting the speed. Increase and decrease the speed using the appropriate buttons and ensure that the skateboard responds accordingly.
- Try out any additional features or modes that your electric skateboard may have, such as a reverse function or different riding modes. Make sure they are working correctly.
If at any point during the testing process, you notice a lack of response or any issues with the connection, revisit the pairing process and ensure that both devices are properly synchronized. If problems persist, consult the user manual of your specific skateboard model or reach out to the manufacturer’s customer support for further assistance.
Once you are satisfied with the performance and responsiveness of the remote and skateboard connection, you’re ready to embark on your electric skateboarding adventure!
Congratulations! You have successfully connected your remote control to the electric skateboard and tested the connection, ensuring a safe and enjoyable ride. Remember to always follow safety guidelines and local regulations while riding your electric skateboard.
Now that you’re fully equipped with the knowledge of connecting and using the remote control, it’s time to hit the streets and experience the thrill of electric skateboarding like never before!
Conclusion
Connecting a remote control to an electric skateboard may seem like a complex task, but with the right knowledge and guidance, it can be a straightforward process. In this article, we have provided you with a step-by-step guide on how to connect a remote to an electric skateboard.
Starting with turning on the remote control and activating the skateboard, we then moved on to pairing the two devices together. Finally, we emphasized the importance of testing the connection to ensure a smooth and safe riding experience.
Remember that the specific steps and procedures may vary depending on the brand and model of the electric skateboard you own. It’s always a good idea to consult the user manual for your skateboard and remote control to ensure you’re following the correct instructions.
By following the steps outlined in this article and testing the connection, you can ride with confidence, knowing that your remote control is effectively communicating with your electric skateboard. Always prioritize safety while riding and adhere to local regulations and guidelines.
Now that you have successfully connected the remote control to your electric skateboard and tested the connection, it’s time to enjoy the exhilaration of electric skateboarding. So, grab your helmet, hop on your board, and let the fun begin!