Introduction
Welcome to the exciting world of electric skateboards! If you’re a skateboard enthusiast looking to up your game or a tech-savvy individual wanting to explore a new hobby, building your own electric skateboard can be a thrilling and rewarding experience. Not only does it give you the freedom to customize your ride, but it also provides a unique way to commute or simply have fun.
In this guide, we will take you through the step-by-step process of making your very own electric skateboard. Whether you’re a beginner or an experienced DIYer, we’ve got you covered. We’ll go over the essential parts and materials you’ll need, as well as the detailed instructions to ensure a successful build.
Building an electric skateboard requires some technical know-how, but don’t worry – you don’t need to be an expert in electronics or engineering to tackle this project. With a little bit of patience, determination, and the right guidance, you’ll be cruising on your very own electric skateboard in no time.
Before we dive into the nitty-gritty of constructing your electric skateboard, it’s important to note that safety should always be a priority. Riding an electric skateboard can be exhilarating, but it also comes with risks. Always wear appropriate safety gear, including a helmet, elbow and knee pads, and gloves. Additionally, ensure that you’re familiar with local laws and regulations regarding the use of electric skateboards in your area.
Are you ready to embark on this electrifying journey? Let’s get started by exploring the parts and materials you’ll need for your DIY electric skateboard!
Parts and Materials Needed
Before you start your electric skateboard build, it’s essential to gather all the necessary parts and materials. Here’s a list of what you’ll need:
- Skateboard Deck: Choose a sturdy and durable deck that suits your riding style and preferences. Look for one with the right length and width to accommodate the components.
- Trucks and Wheels: Select high-quality trucks and wheels that are compatible with your deck. Trucks provide stability and control, while wheels determine your ride’s smoothness and grip.
- Electric Motors and Motor Mounts: You’ll need quality electric motors and motor mounts to give your skateboard the power it needs. Opt for brushless motors for efficiency and longevity.
- Battery and Electronic Speed Controller (ESC): The battery and ESC are crucial components for powering and controlling your electric skateboard. Choose a reliable lithium-ion battery and an ESC that matches your motor and voltage requirements.
- Wiring and Connectors: Ensure you have the necessary wiring, connectors, and heat shrink tubing to properly connect and protect your electrical components.
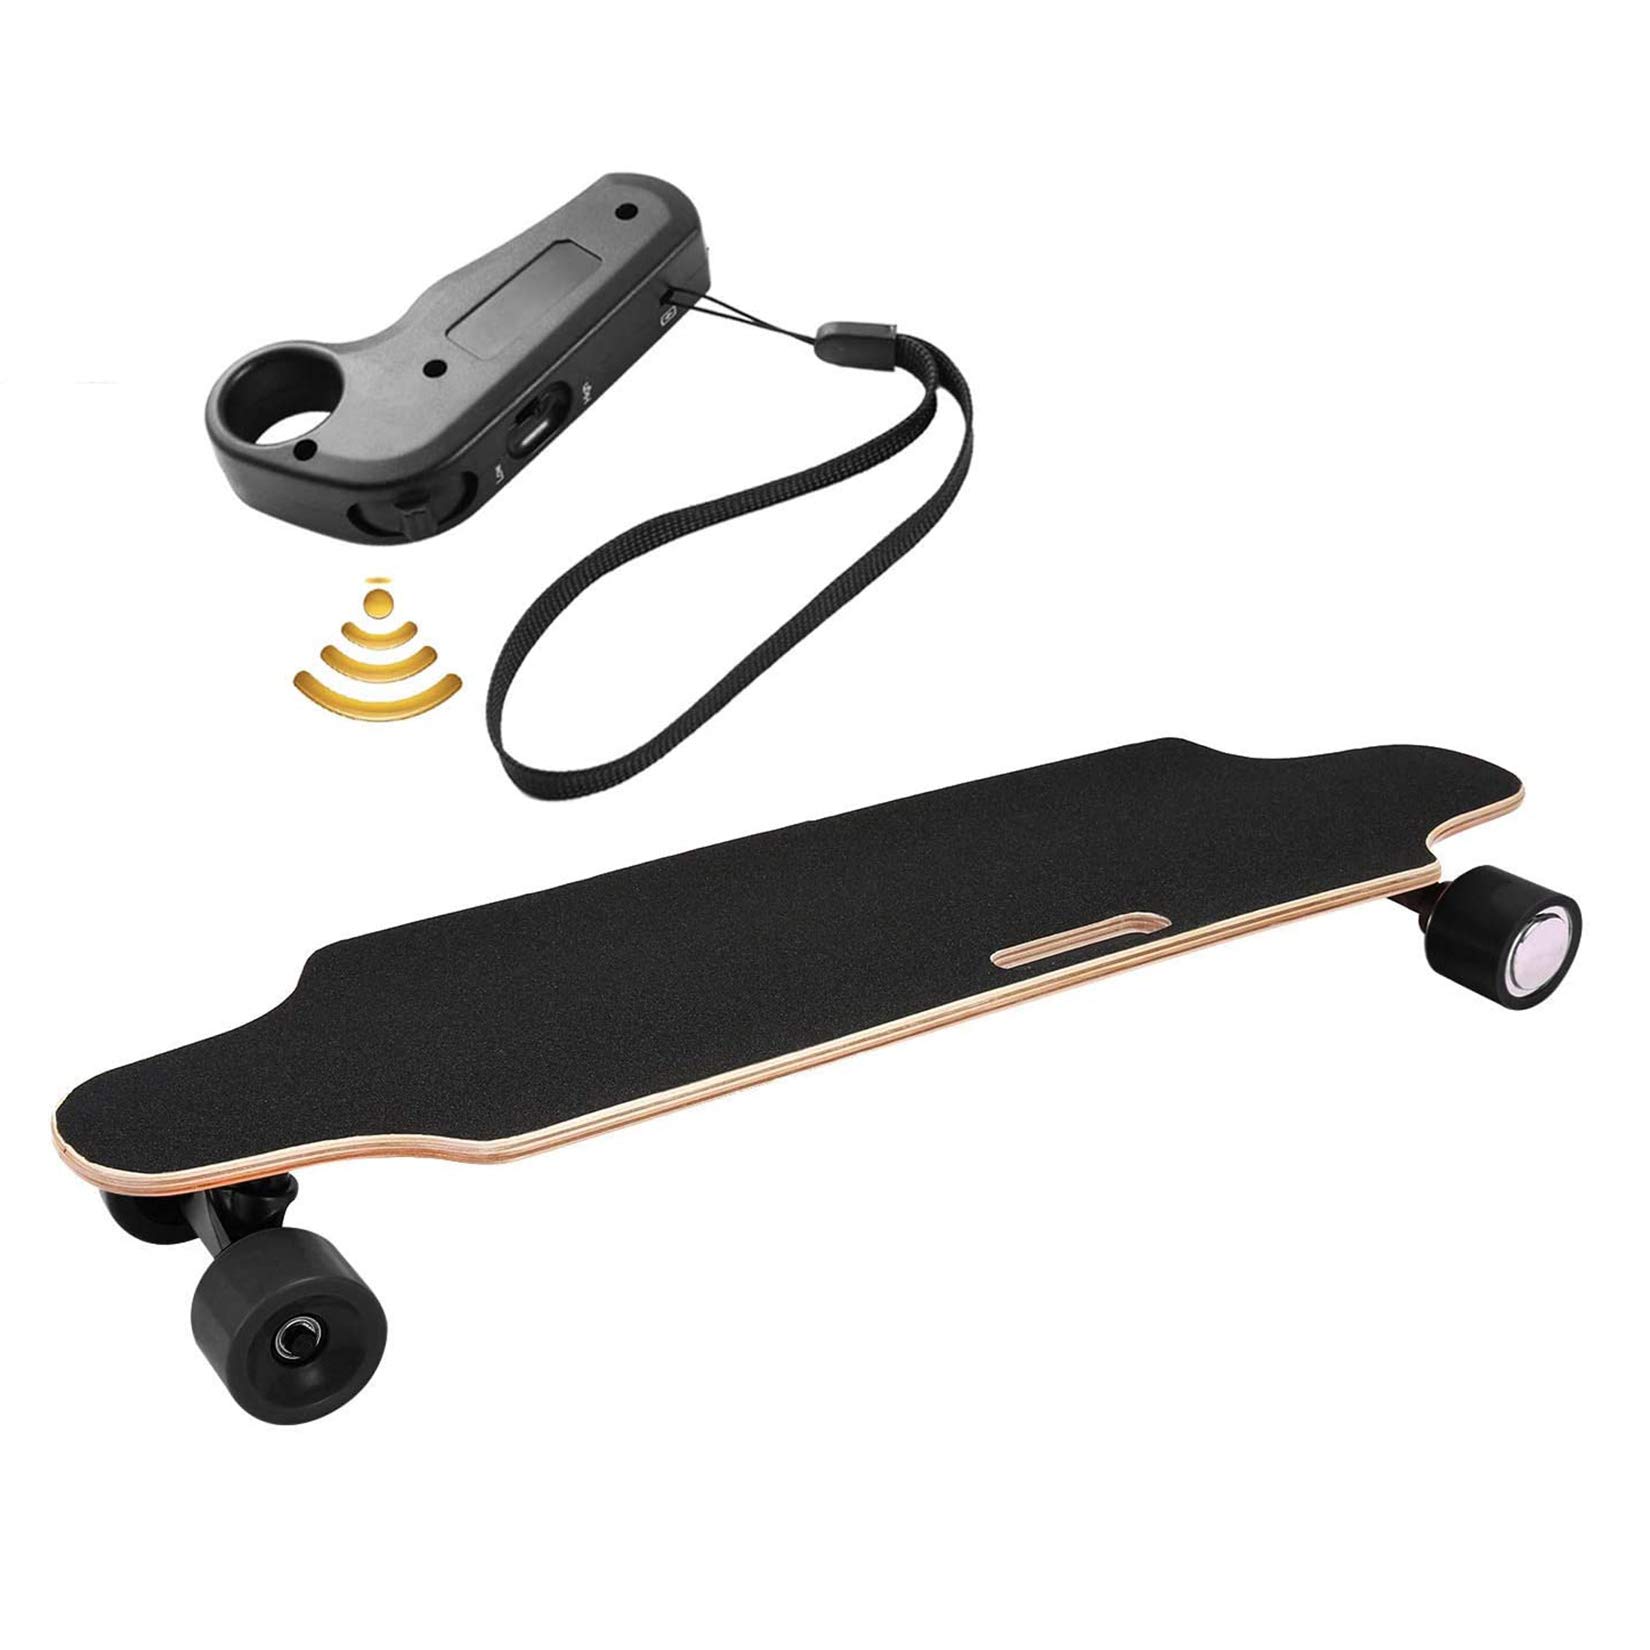
- Remote Control System: Invest in a reliable remote control system to control the speed and braking of your electric skateboard wirelessly.
- Mounting Hardware: Gather bolts, nuts, and other mounting hardware to securely attach the components to your deck.
- Tools: Have a set of basic tools on hand, including a screwdriver, wrenches, Allen keys, and a soldering iron for any necessary modifications or adjustments.
- Safety Gear: Don’t forget to prioritize your safety by having a helmet, elbow and knee pads, and gloves to protect yourself while riding.
It’s important to note that the specific parts and materials you’ll need can vary depending on your desired performance, budget, and personal preferences. Do thorough research and choose reliable and reputable brands to ensure the longevity and performance of your electric skateboard.
Now that you have an idea of what you’ll need let’s proceed to the next step: choosing the right skateboard deck for your build.
Step 1: Choose a Skateboard Deck
The skateboard deck is the foundation of your electric skateboard build, so it’s essential to choose one that suits your riding style and preferences. Here are the key factors to consider when selecting a skateboard deck:
Size: Skateboard decks come in various sizes, typically measured by width. The width of the deck determines the stability and control you’ll have while riding. It’s important to choose a size that aligns with your body size and riding style. Narrower decks (7.5″ – 8″) are suitable for street skateboarding and tricks, while wider decks (8.25″ – 8.5″) offer more stability and are ideal for cruising or downhill riding.
Construction: Skateboard decks are usually made of seven to nine layers of maple wood pressed together. The number of layers affects the deck’s stiffness and durability. Seven-ply decks are standard and offer a good balance of flexibility and strength. However, if you prefer more stiffness, you can opt for decks with eight or nine layers.
Shape: Skateboard decks come in various shapes, including Popsicle, cruiser, or old school shapes. Popsicle-shaped decks are the most common and versatile, suitable for all types of skateboarding. Cruiser shapes have a wider, more classic outline, perfect for carving and cruising. Old school shapes feature a wider nose and tail, reminiscent of the first skateboards, and are great for pool or park riding.
Brand and Quality: Choose decks from reputable brands that prioritize quality and durability. Well-known skateboard companies, such as Powell Peralta, Santa Cruz, and Element, offer a range of high-quality decks to choose from.
Once you have determined your desired deck size, construction, shape, and brand, take the time to do some research and read reviews. This will help you make an informed decision and ensure you select a deck that will provide a solid foundation for your electric skateboard.
Remember, the skateboard deck is a personal preference, so choose one that you feel comfortable with and suits your riding style. With your deck selected, it’s time to move on to step 2: selecting the right trucks and wheels for your electric skateboard build.
Step 2: Select the Right Trucks and Wheels
Choosing the right trucks and wheels for your electric skateboard is crucial for achieving stability, maneuverability, and a smooth ride. Here’s what you need to consider when selecting these components:
Trucks: Skateboard trucks are metal T-shaped components that attach to the underside of the deck and hold the wheels. When choosing trucks, you’ll need to consider the width, height, and type.
The width of the trucks should match the width of your skateboard deck. It’s important to select trucks that are neither too narrow nor too wide for your deck, as this can affect stability and maneuverability.
The height of the trucks can vary, with low, medium, and high options available. Low trucks provide a lower center of gravity, great for stability and tricks. High trucks offer more clearance between the deck and the ground and are ideal for larger wheel sizes.
Truck types also come in two variations: standard kingpin (SKP) and reverse kingpin (RKP). Standard kingpin trucks are more common in regular skateboards, while reverse kingpin trucks offer more stability and responsiveness, making them preferred for electric skateboards.
Wheels: Skateboard wheels, usually made of polyurethane, come in different sizes, hardness levels, and shapes. When choosing wheels, consider the diameter, durometer (hardness), and shape.
The diameter of the wheels affects the ride quality and speed. Smaller wheels (50-54mm) are commonly used for technical tricks and street skateboarding, while larger wheels (55-60mm+) offer more stability and are ideal for cruising or downhill riding.
The durometer rating indicates the hardness of the wheels. Softer wheels (78A-87A) provide more grip and a smoother ride on rough surfaces, while harder wheels (88A-101A) offer less grip but are faster on smooth pavement.
Wheel shape also plays a role in performance. Skateboard wheels can come in various shapes, including conical, square-edged, and round-edged. Each shape affects how the wheels interact with the ground, influencing control and slide characteristics.
Consider your riding style, terrain, and personal preferences when choosing the right trucks and wheels for your electric skateboard. Remember to ensure compatibility between the trucks, wheels, and the deck size you have chosen.
With your trucks and wheels selected, you’re one step closer to completing your electric skateboard build. In the next step, we’ll guide you through mounting the motors and motor mounts. Let’s dive in!
Step 3: Mounting the Motors and Motor Mounts
Mounting the motors and motor mounts is a crucial step in building your electric skateboard. These components are responsible for propelling your ride, so it’s important to ensure proper installation. Follow these steps to mount the motors and motor mounts:
- Align the Motor Mounts: Start by aligning the motor mounts on the rear underside of the skateboard deck. Make sure they are centered and evenly spaced. Use a measuring tape or ruler to ensure accuracy.
- Mark the Mounting Holes: Once the motor mounts are in the desired position, mark the location of the mounting holes with a pencil or marker. It’s important to have accurate markings for secure attachment.
- Drill the Mounting Holes: Using an appropriate sized drill bit, carefully drill the marked holes for the motor mounts. Ensure that the holes are straight and clean, allowing for easy installation.
- Attach the Motor Mounts: Place the motor mounts over the drilled holes and secure them to the deck using the provided bolts, nuts, and washers. Tighten them securely, ensuring that the mounts are flush with the deck surface.
- Mount the Motors: Attach the electric motors to the motor mounts using the provided bolts and washers. Make sure the motors are aligned with the wheels and positioned correctly to ensure proper functioning.
- Check Stability and Balance: After mounting the motors, double-check the stability and balance of the skateboard. Ensure that both motors are securely mounted and aligned parallel to each other. Make any necessary adjustments to achieve optimal performance.
When mounting the motors and motor mounts, it’s important to refer to the manufacturer’s instructions and guidelines specific to your chosen components. Different motors and mounts may have slight variations in installation methods.
Always test the stability of the motors and mounts before moving forward. Gently spin the wheels by hand to ensure they rotate smoothly, and check for any wobbling or uneven movement. If you notice any issues, readjust and tighten the mounts accordingly.
Now that you have successfully mounted the motors and motor mounts, you’re ready to move on to the next step: installing the battery and electronic speed controller (ESC) for your electric skateboard. Let’s keep the momentum going!
Step 4: Install the Battery and Electronic Speed Controller (ESC)
Installing the battery and electronic speed controller (ESC) is a crucial step in building your electric skateboard. These components provide the power and control for your ride. Follow these steps to install the battery and ESC:
- Choose the Right Battery: Select a lithium-ion battery that meets the voltage and capacity requirements of your electric skateboard. Consider factors such as size, weight, and range to ensure compatibility with your build.
- Position the Battery: Determine the best placement for the battery on your skateboard deck. Typically, it is positioned on top of the deck, either under the grip tape or in a custom enclosure. Ensure that the weight distribution remains balanced.
- Secure the Battery: Depending on the chosen placement, use adhesive, Velcro straps, or screws to secure the battery in place. Ensure that the battery is tightly secured to prevent any movement during rides.
- Connect the ESC: Locate the ESC, which controls the motor’s speed and direction. Connect the ESC to the battery using the appropriate connectors or wiring provided. Ensure the connections are secure and properly insulated.
- Route the Wiring: Organize and route the wiring from the battery and ESC along the skateboard deck. Use cable ties or other securing methods to prevent loose wires that could interfere with the ride or become damaged.
- Waterproofing (Optional): Consider waterproofing the battery and ESC connections if you plan to ride in wet conditions. Use waterproof tape or protective coverings to shield these components from moisture.
While installing the battery and ESC, refer to the manufacturer’s instructions and guidelines specific to your components. Different batteries and ESCs may have slight variations in connection methods.
Once all connections are made, double-check the wiring to ensure there are no loose or exposed wires that could lead to shorts or malfunctions. Test the functionality of the ESC by turning on the remote control and verifying the motor response.
Always prioritize safety when dealing with batteries and electronics. Ensure that the battery is properly charged and maintained, and follow all safety guidelines provided by the manufacturer.
Congratulations! You have successfully installed the battery and ESC for your electric skateboard. Now, it’s time to move on to the next step: wiring the electronics. Stay tuned!
Step 5: Wiring the Electronics
Wiring the electronics is a crucial step in the construction of your electric skateboard. Properly connecting the various components ensures the smooth and reliable functioning of your ride. Follow these steps to effectively wire the electronics:
- Plan the Wiring Layout: Before making any connections, plan the layout of your wiring. Consider the position of the battery, ESC, remote receiver, and any additional components you may have. Aim for a clean and organized wiring setup.
- Connect the ESC and Motor: Start by connecting each motor to its corresponding ESC. Follow the manufacturer’s instructions for proper wire connections. Typically, color-coded wires or labels indicate the motor and ESC connections. Ensure that the connections are secure and insulated.
- Connect the ESC to the Battery: Connect the ESC to the battery using the appropriate wiring or connectors. Ensure that the positive and negative terminals are correctly matched to prevent short circuits. Double-check all connections to ensure a secure fit.
- Connect the Remote Receiver: Connect the remote receiver to the ESC following the provided instructions. Ensure that the receiver is securely connected and positioned to receive signals from the remote control.
- Organize and Secure the Wiring: Once all connections are made, organize and secure the wiring along the skateboard deck. Use zip ties, cable clips, or adhesive mounts to keep the wiring in place and prevent any interference with the ride.
- Test the Electronics: Before closing up any enclosures or fully assembling your electric skateboard, test the electronics. Turn on the remote control and ensure that it successfully communicates with the ESC. Verify that the motors respond properly to the remote control inputs.
Take your time during the wiring process to avoid any mistakes or haphazard connections. Carefully route and manage your wiring to avoid tangled or exposed wires that could lead to malfunctions or accidents.
If you encounter any issues during the testing phase, double-check your connections and consult the manufacturer’s instructions. It’s important to address any problems or inconsistencies before proceeding to the next steps of the build.
With the electronics beautifully wired and tested, you’re ready to move on to the next step: adding a remote control system to your electric skateboard. Keep the energy up and let’s continue!
Step 6: Adding a Remote Control System
Adding a remote control system is an essential step in completing your electric skateboard build. The remote control allows you to wirelessly control the speed and braking of your skateboard. Follow these steps to add a remote control system to your electric skateboard:
- Select a Remote Control: Choose a reliable remote control system specifically designed for electric skateboards. Look for features such as adjustable speed settings, a comfortable grip, and a responsive connection.
- Pair the Remote and Receiver: Follow the manufacturer’s instructions to pair the remote control with the receiver. This typically involves turning on the remote and receiver and initiating the pairing process. Ensure a successful connection before proceeding.
- Test the Functionality: Once paired, test the functionality of the remote control. Gradually increase and decrease the speed to ensure smooth acceleration and braking responses. Take the time to familiarize yourself with the remote’s controls and settings.
- Secure the Remote Receiver: Determine the optimal position for the remote receiver on your skateboard. It’s important to position it in a way that allows for a reliable signal reception. Secure the receiver using adhesive mounts, zip ties, or similar methods.
- Route and Secure the Remote Control Wires: Route the remote control wires along the skateboard deck, ensuring they are secure and free from any obstructions. Use cable ties or adhesive mounts to prevent loose wires or interference during rides.
- Consider Safety Measures: Pay attention to safety considerations when using the remote control. Ensure that the remote control is always securely kept in your hand while riding and avoid any distractions that may hinder your control over the skateboard.
Take your time to become familiar with the remote control system before taking your electric skateboard out for a ride. Practice controlling the speed and braking in a safe and controlled environment to build your confidence and comfort level.
Remember to keep the remote control and its batteries properly maintained. Regularly check the battery life and replace batteries as needed to ensure uninterrupted operation of the remote control system.
Congratulations! You have successfully added a remote control system to your electric skateboard. The wireless control is a game-changer, and you’re now ready to go for a test ride. But before you do, let’s dive into step 7: testing and troubleshooting your electric skateboard. Stay with us!
Step 7: Testing and Troubleshooting
Testing and troubleshooting your electric skateboard is crucial to ensure its proper functioning and address any potential issues. Follow these steps to effectively test and troubleshoot your electric skateboard:
- Functional Testing: Take your electric skateboard for a short test ride in a safe and open area. Gradually increase the speed to ensure smooth acceleration and assess the overall ride quality. Pay attention to any unusual sounds, vibrations, or irregularities.
- Battery Life Testing: Monitor and record the battery life during the test ride. Check if it aligns with the manufacturer’s specifications and if it provides the desired range for your needs. Consider factors such as terrain, rider weight, and riding style that may affect battery performance.
- Braking Performance Testing: Test the braking performance of your electric skateboard, making sure it responds promptly and smoothly. Ensure that the brakes are not excessively sensitive or sluggish, and that they provide the necessary control and safety while riding.
- System Check: Inspect all the components of the electric skateboard, including the motors, battery connections, wiring, and remote control system. Ensure that everything is properly secured, tightened, and free from any damage or loose connections.
- Troubleshooting: If you encounter any issues or abnormalities during the testing phase, refer to the manufacturer’s instructions and troubleshooting guides. Check for loose connections, damaged components, or potential software issues. Address any problems promptly and seek professional help if needed.
- Adjustments and Fine-Tuning: Make any necessary adjustments to improve the ride quality or address specific preferences. This might include adjusting the trucks for better stability, changing wheel hardness for desired grip, or fine-tuning the acceleration and braking responsiveness of the electric skateboard.
Continue to test and ride your electric skateboard in different terrains and conditions to ensure its reliability and performance. Regular maintenance, such as checking and tightening bolts, cleaning the bearings, and monitoring the battery’s health, will help keep your electric skateboard in optimal condition.
Remember to always prioritize safety while riding your electric skateboard. Wear appropriate protective gear, follow traffic rules and regulations, and ride responsibly to reduce the risk of accidents or injuries.
By thoroughly testing and troubleshooting your electric skateboard, you can enjoy a safe and exhilarating ride every time. Let’s move on to the next step: fine-tuning and customizing your electric skateboard. Stay tuned!
Step 8: Fine-tuning and Customizing
After testing and troubleshooting your electric skateboard, it’s time to fine-tune and customize it to suit your preferences and riding style. This step allows you to optimize the performance and add personal touches to your electric skateboard. Here’s what you can do:
- Truck Adjustment: Experiment with different truck tightness and bushing hardness to find the right balance of stability and maneuverability. Adjusting the trucks can significantly affect the ride and responsiveness of your electric skateboard.
- Wheel Customization: Customize your wheels by choosing different sizes and hardness levels based on the terrain and your riding preferences. Softer wheels provide more grip and a smoother ride on rough surfaces, while harder wheels offer faster speeds on smooth pavement.
- Ride Comfort: Consider adding shock pads or riser pads between the deck and the trucks to improve ride comfort and reduce vibrations. These additions can help absorb impact and provide a smoother overall ride experience.
- Deck Customization: Personalize your skateboard deck with decals, grip tape designs, or custom graphics to express your style and make your electric skateboard stand out. Ensure that any modifications or additions do not compromise the deck’s structural integrity.
- Lights and Accessories: Enhance the aesthetics and functionality of your electric skateboard by adding LED lights for improved visibility during night rides or attaching accessories such as fenders, handlebars, or carrying bags to suit your needs.
- Additional Enhancements: Explore other possible enhancements, such as installing shock absorbers, foot straps, or even upgrading your motor and battery components for increased performance. Ensure that any modifications align with your technical abilities and safety requirements.
Take the time to experiment and fine-tune your electric skateboard to achieve the perfect riding experience. Keep track of the changes you make and how they affect the performance and feel of your skateboard. This helps you understand what adjustments work best for you.
Remember to periodically inspect and maintain your electric skateboard to ensure its longevity and performance. Regularly check for any loose bolts, worn-out components, or signs of wear and tear. Address any issues promptly to avoid further damage.
Lastly, enjoy the process of customizing your electric skateboard. It’s an opportunity to make your ride truly unique and tailored to your preferences. Now that you’ve fine-tuned and customized your electric skateboard, it’s time to hit the streets and embrace the thrill of riding! Have fun and ride safely!
Conclusion
Congratulations on successfully completing your DIY electric skateboard! By following the steps outlined in this guide, you have built a customized ride that fits your unique style and preferences. Building your electric skateboard not only allows you to have a one-of-a-kind board but also gives you a deeper understanding of the components and mechanics involved.
Throughout the process, you have learned how to choose the right skateboard deck, select appropriate trucks and wheels, mount the motors and motor mounts, install the battery and electronic speed controller (ESC), wire the electronics, add a remote control system, test and troubleshoot any issues, and finally fine-tune and customize your electric skateboard.
As you enjoy riding your newly built electric skateboard, always prioritize safety. Remember to wear your protective gear, follow local laws and regulations, and ride responsibly. Regularly check and maintain your board to ensure its longevity and optimal performance.
Don’t forget to keep expanding your knowledge and skills in the world of electric skateboarding. Join online communities, participate in group rides, and continue exploring new ways to enhance your riding experience. With practice, you’ll become more confident and skilled in maneuvering your electric skateboard.
Building an electric skateboard is not only a fun and rewarding project but also a gateway to an electrifying and eco-friendly mode of transportation. Enjoy the thrill, freedom, and convenience of cruising on your custom-built electric skateboard. Whether for commuting or simply having fun, your electric skateboard is ready to take you on unforgettable rides. So, grab your remote, hop on your board, and let the adventures begin!