Introduction
Welcome to the world of overclocking DDR3 RAM! If you’re eager to squeeze every drop of performance out of your computer’s memory, then this guide is for you. Overclocking RAM can help improve your system’s overall speed and responsiveness, making it a popular choice for enthusiasts and gamers alike. In this article, we will explore the process of overclocking DDR3 RAM and provide you with step-by-step instructions to get started.
Before we dive into the overclocking process, it’s essential to have a good understanding of what overclocking actually means. Put simply, overclocking involves pushing the limits of your hardware beyond its stock frequencies and timings to achieve higher performance. However, it’s important to note that overclocking can also lead to instability and potential damage if not done correctly, so proceed with caution and follow the steps outlined in this guide.
Overclocking DDR3 RAM can deliver significant performance gains, especially in memory-intensive tasks. By increasing the speed and timings of your RAM, you can reduce latency, improve data transfer rates, and enhance overall system performance. Whether you’re a gamer looking for smoother gameplay or a content creator seeking faster rendering times, overclocking your DDR3 RAM can provide a noticeable boost.
Keep in mind that not all DDR3 RAM modules are capable of being overclocked, and the potential gains may vary depending on the specific hardware you have. It’s essential to identify your RAM model and do some research to determine its overclocking potential before proceeding. Additionally, overclocking may void any warranties on your hardware, so proceed at your own risk.
In the following sections, we will guide you through the steps necessary to overclock your DDR3 RAM safely and effectively. From identifying your RAM modules to adjusting timings and voltages, we will cover everything you need to know to maximize your RAM’s performance. So, let’s get started on this exciting journey of unlocking the full potential of your DDR3 RAM!
Understanding Overclocking
Before we delve into the technical aspects of overclocking DDR3 RAM, let’s take a moment to understand the basic principles behind it. Overclocking involves increasing the clock speed, also known as the frequency, of your RAM modules beyond their rated specifications. This results in faster data transfer rates and improved performance.
DDR3 RAM, which stands for Double Data Rate 3 Random Access Memory, is a widely used type of memory for desktop computers. It operates at different speeds, indicated by the DDR3-XXX labels, such as DDR3-1600 or DDR3-1866. These labels represent the maximum clock speed at which the RAM is designed to run.
Overclocking DDR3 RAM can yield noticeable performance improvements, but it’s important to understand the limitations. The potential gains will vary depending on factors such as the quality of your RAM modules, your motherboard’s capabilities, and the cooling solution you have in place.
Overclocking your DDR3 RAM requires careful consideration of both the clock speed and the timings. The clock speed is measured in megahertz (MHz) and represents the number of cycles per second at which the RAM operates. Higher clock speeds result in faster data transfer rates but also increase the chances of instability.
RAM timings, on the other hand, refer to the various delays and latency settings that determine how quickly the RAM can respond to requests. Tighter timings can lead to better performance by reducing latency, but they may also increase the chances of instability if pushed too far.
It’s crucial to find a balance between clock speed and timings to achieve optimal performance without compromising stability. This requires thorough testing and tweaking of the settings to ensure the system remains stable under heavy workloads.
Another important factor to consider is the voltage. Increasing the voltage can help achieve higher clock speeds and tighter timings, but it also generates more heat and increases the risk of damaging the RAM modules. It’s crucial to monitor the temperatures and ensure that your cooling solution can handle the increased heat under overclocked conditions.
Now that you have a better understanding of the basic concepts behind overclocking DDR3 RAM, we can move on to the practical steps involved in the process. In the following sections, we will guide you through the necessary steps to safely and effectively overclock your DDR3 RAM, unleashing its full potential.
Step 1: Identify Your RAM
Before you start overclocking your DDR3 RAM, it’s crucial to identify the specific RAM modules you have installed in your system. This information is essential for determining the manufacturer, model, and rated specifications of your RAM, which will help you make informed decisions during the overclocking process.
To identify your RAM, you can follow these steps:
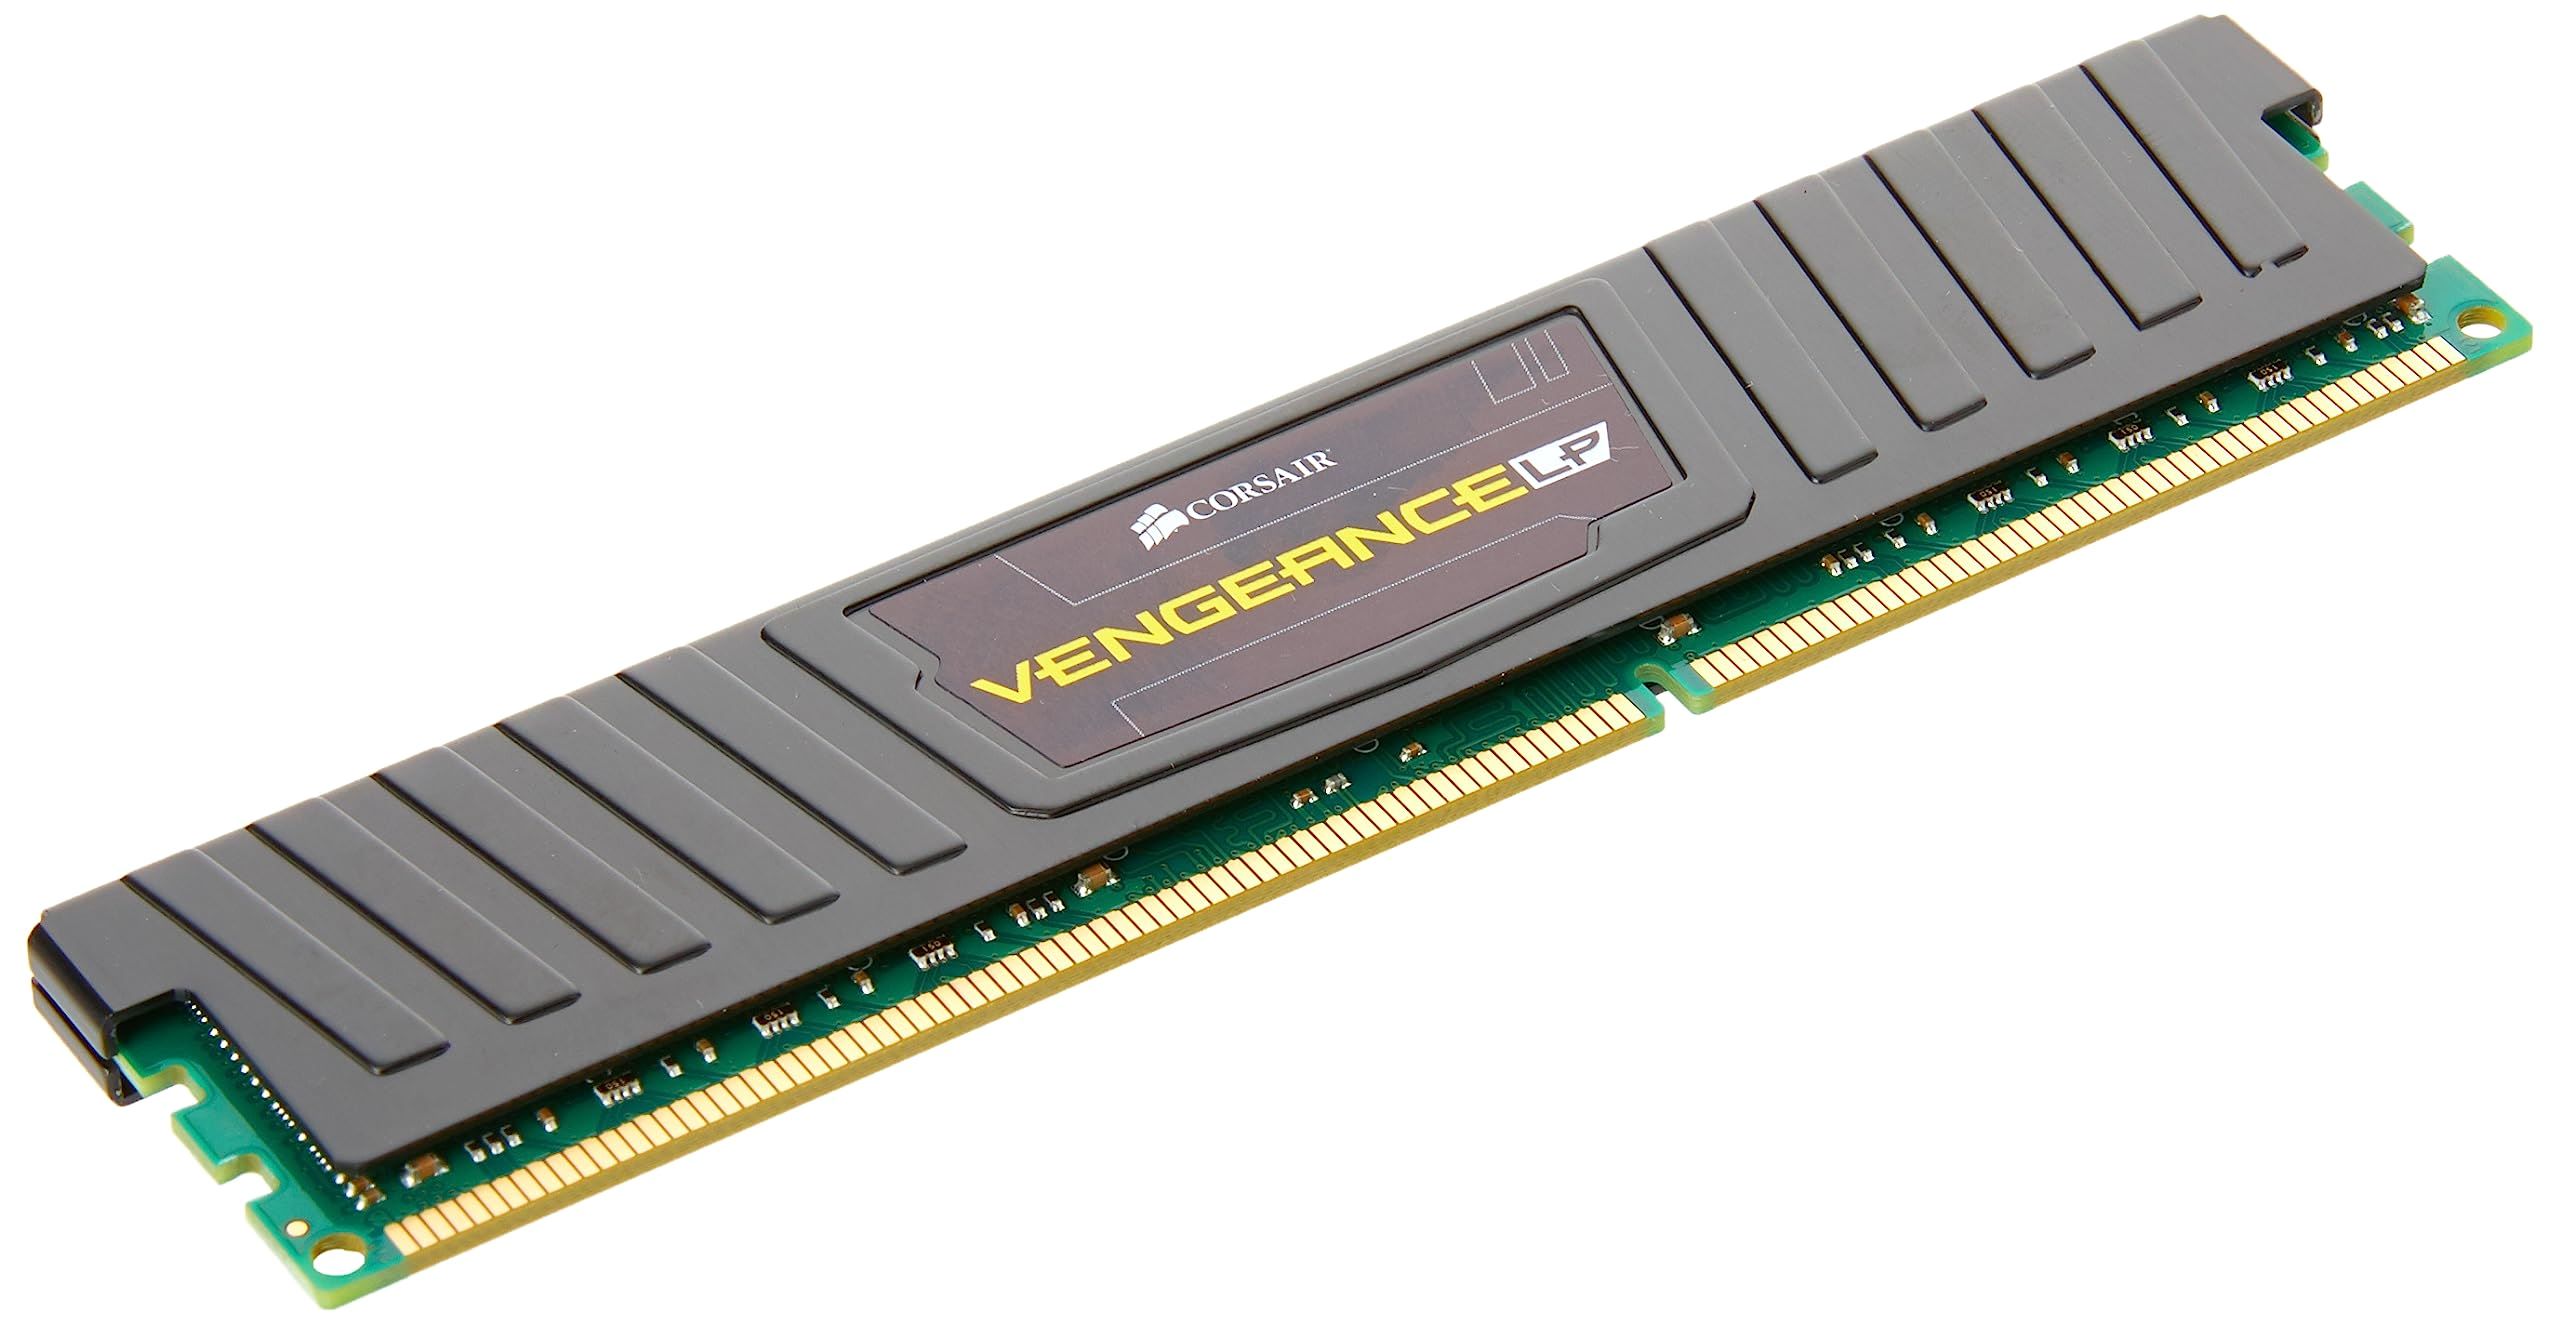
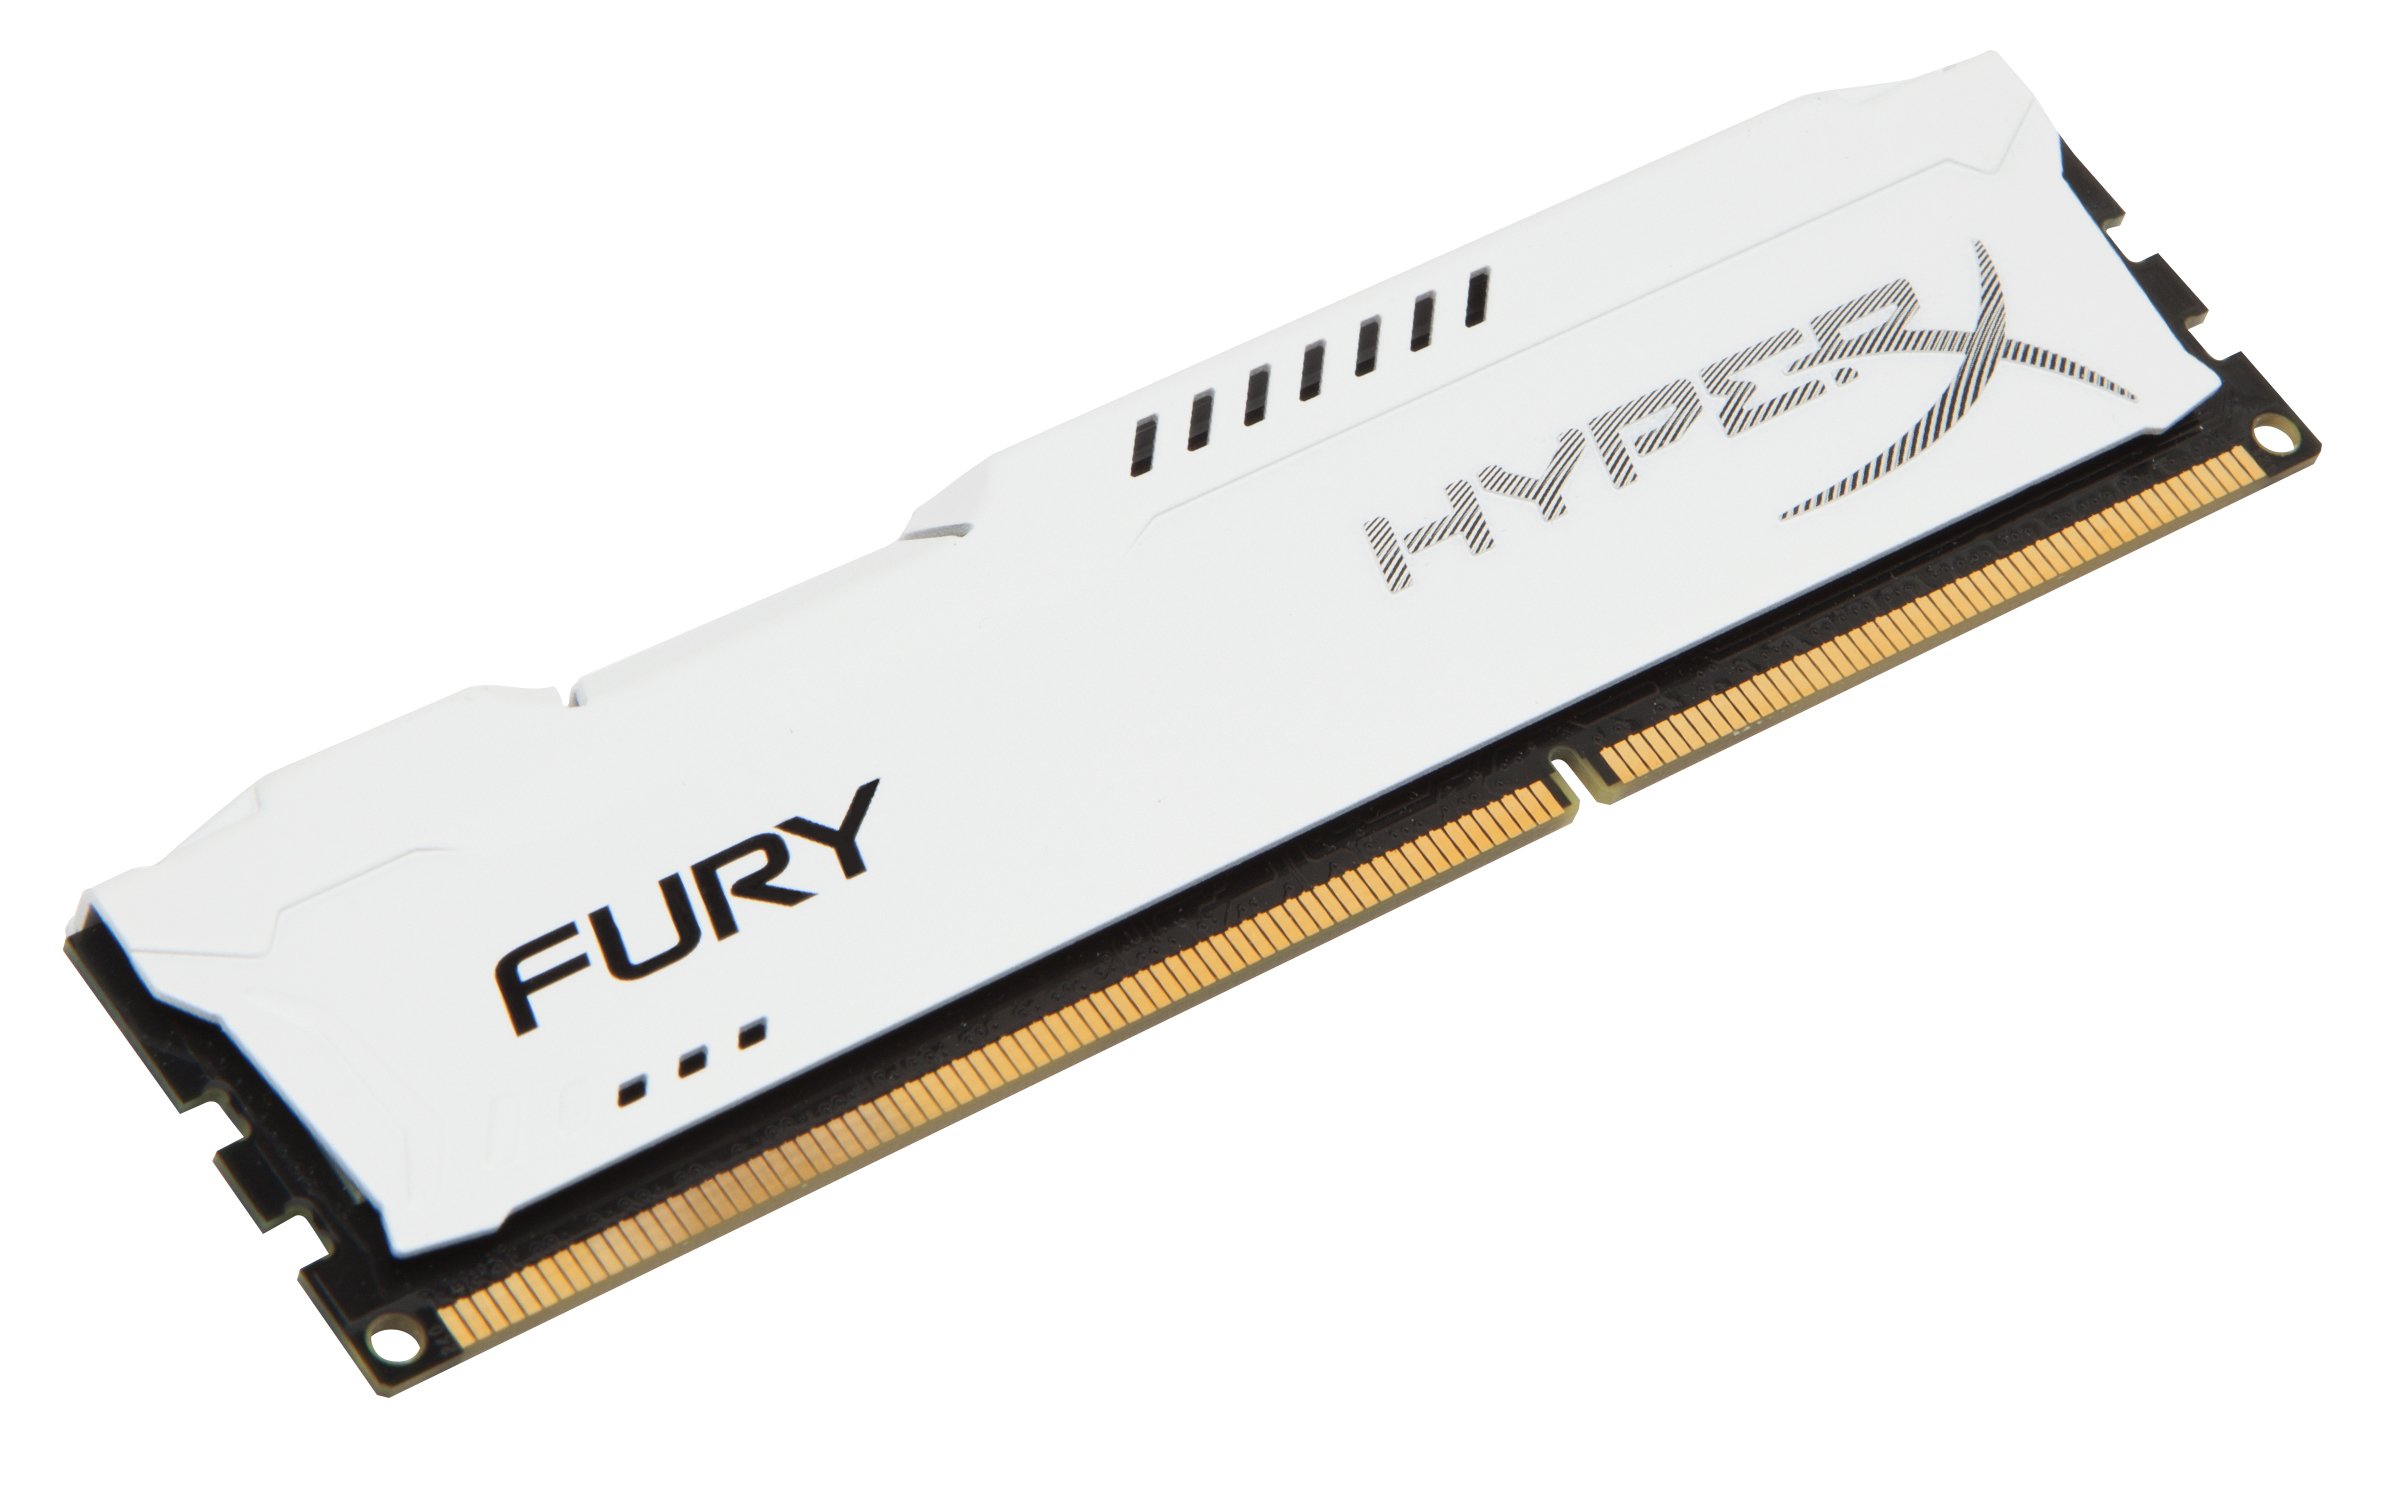
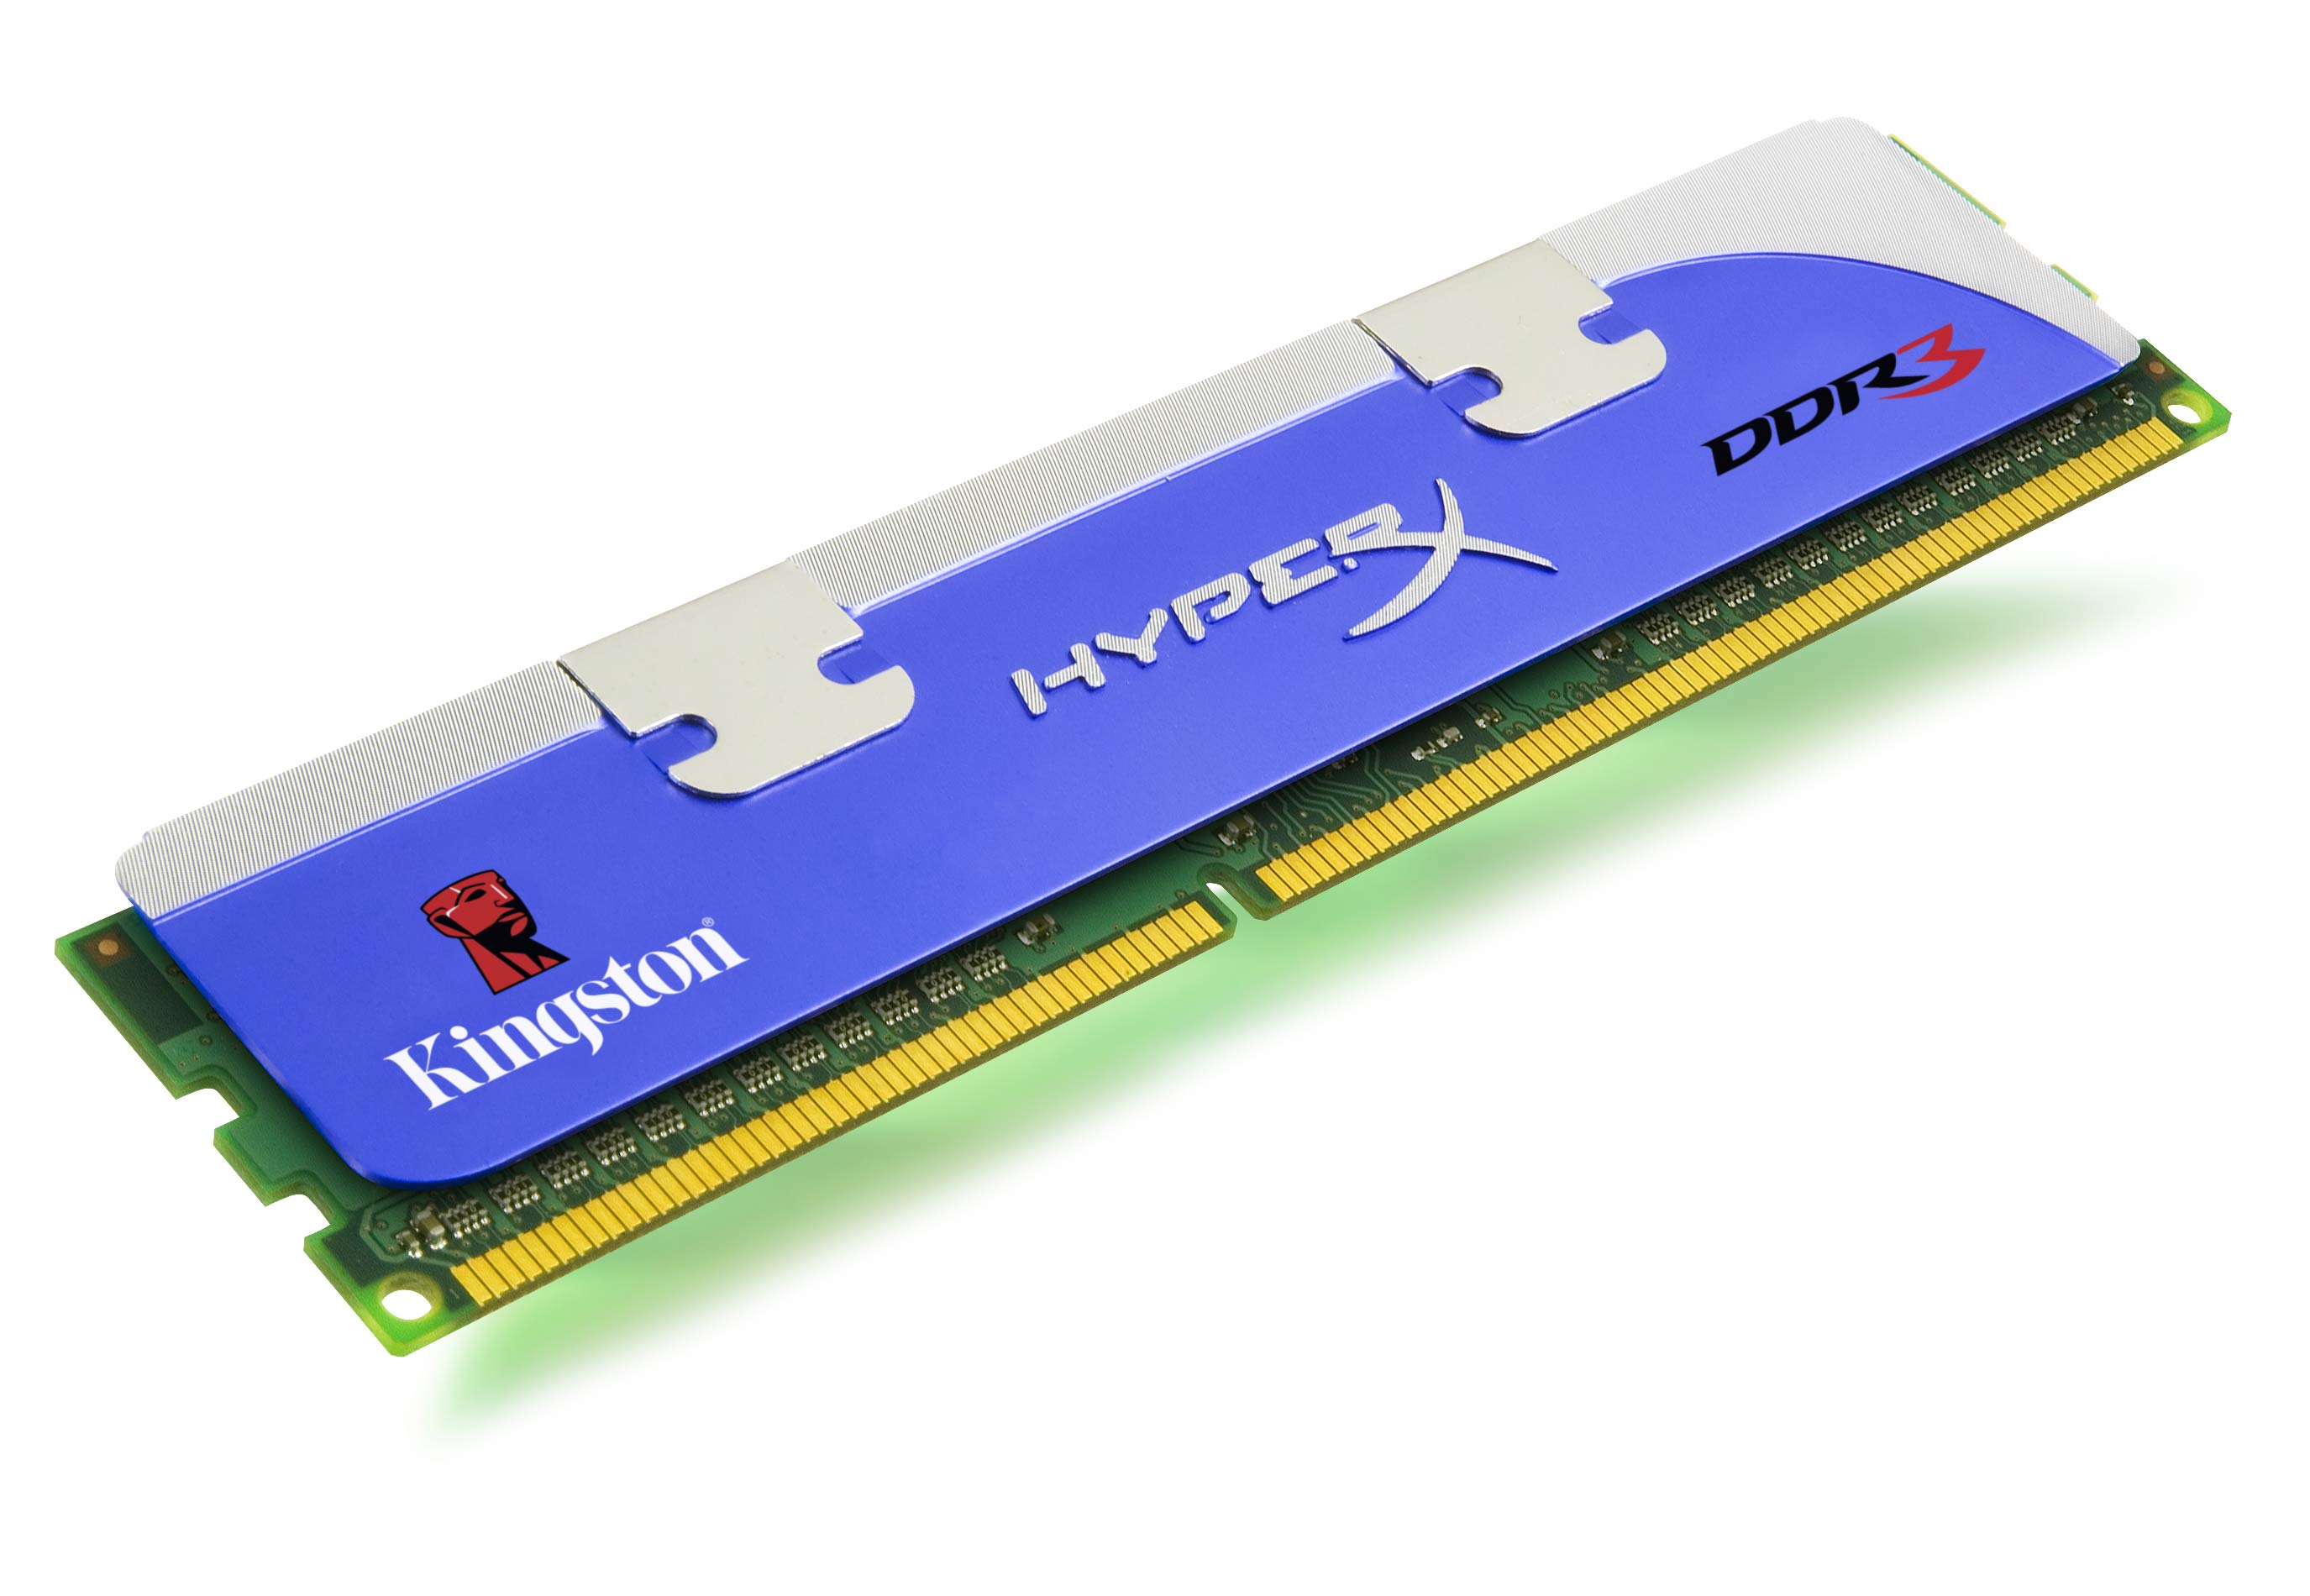
- Open your computer’s case and locate the RAM modules. They are typically long rectangular sticks inserted into slots on the motherboard.
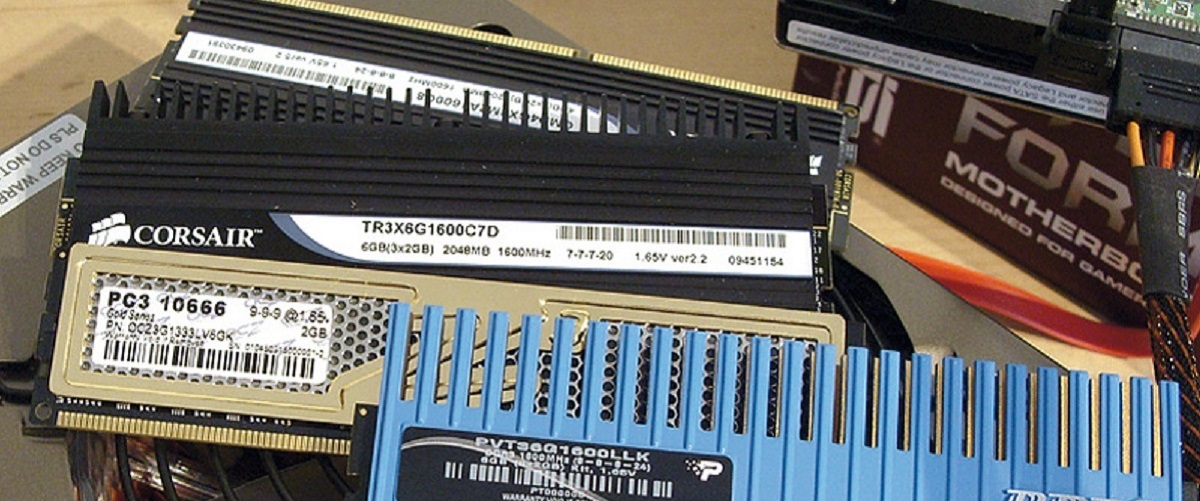
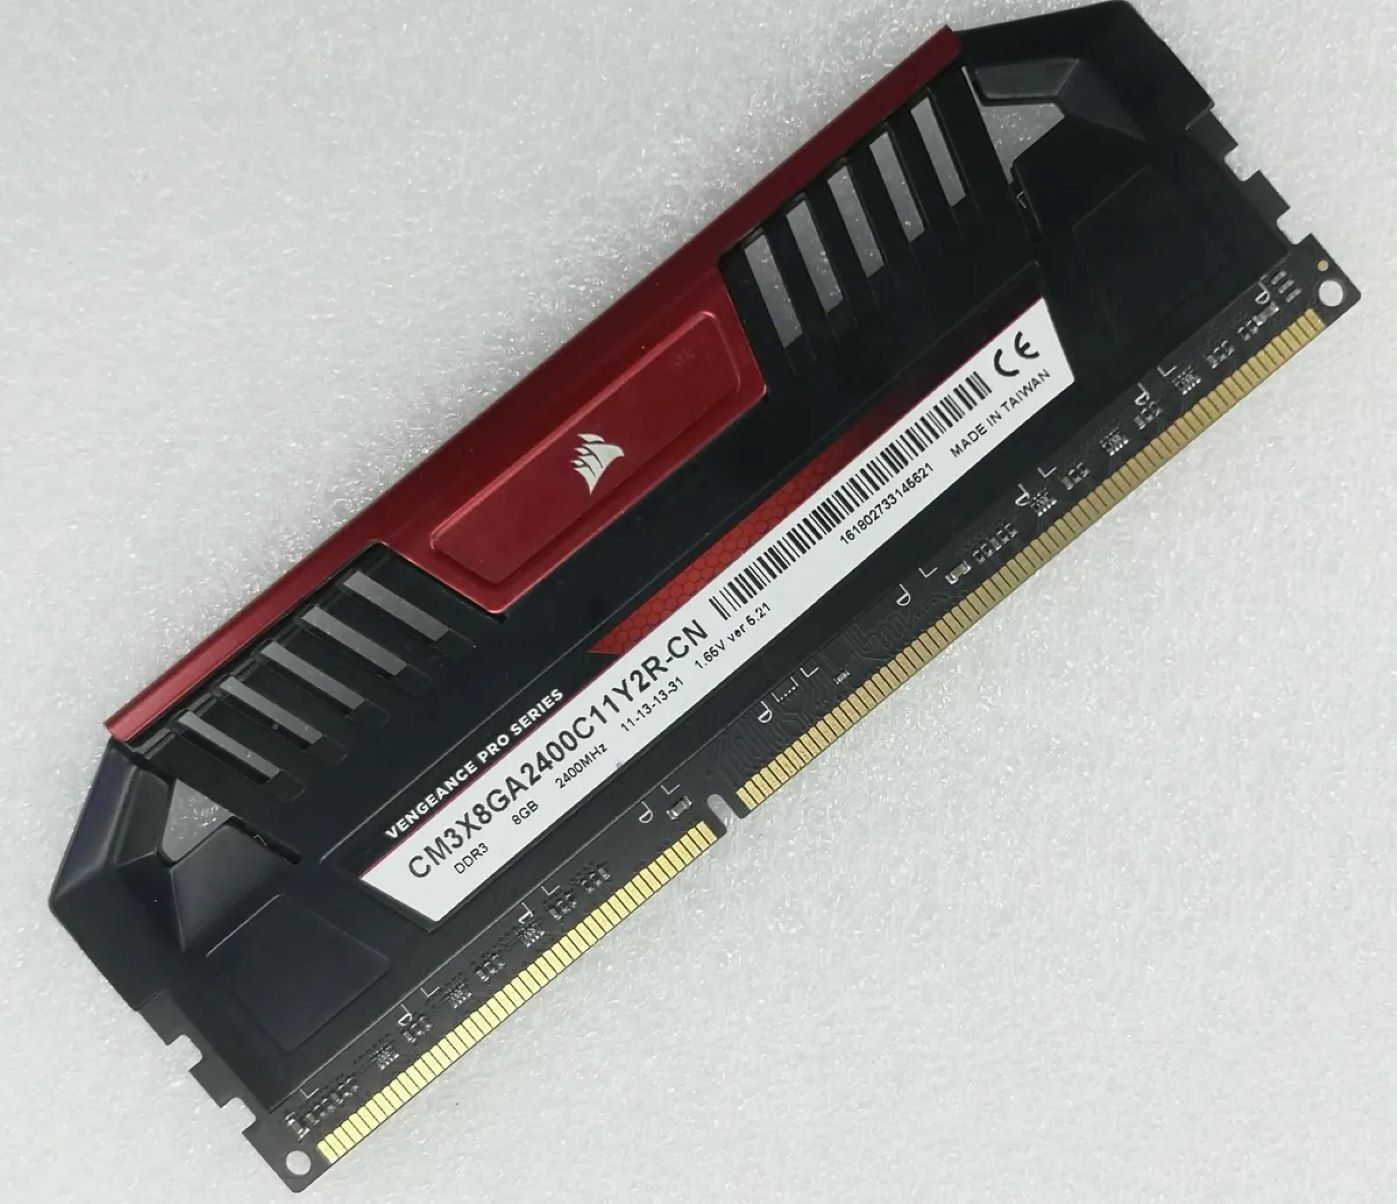
- Take note of the labels or stickers on the RAM modules. These labels usually provide information about the manufacturer, model number, and rated specifications.
- If the labels are not easily visible, you can gently remove the RAM modules and check for printed information on the chips themselves.
- Once you have gathered the necessary information, you can search online for the exact specifications of your RAM model. This information will include the rated speed, timings, and voltage of the RAM.
Identifying your RAM is important because overclocking success often depends on matching the capabilities and limitations of your specific modules. Knowing the rated specifications of your RAM will help you determine the potential headroom for overclocking and ensure that you don’t push the modules beyond their safe limits.
Beyond basic identification, it can also be helpful to gather additional information about your RAM, such as the specific memory chips used. This information can often be found on the manufacturer’s website or through third-party software utilities like CPU-Z or Speccy. Knowing the memory chips can provide insight into their overclocking potential and compatibility with certain timings and voltage settings.
By identifying your RAM and gathering all the necessary information, you lay the foundation for a successful and safe overclocking process. Armed with this knowledge, you can move on to the next steps, which involve ensuring compatibility and preparing your system for overclocking.
Step 2: Ensure Compatibility
Before you proceed with overclocking your DDR3 RAM, it’s important to ensure compatibility between your RAM modules, motherboard, and other system components. Incompatible hardware can result in instability, system crashes, or even permanent damage.
Here are some factors to consider for ensuring compatibility:
- Motherboard Compatibility: Check your motherboard’s specifications to ensure that it supports overclocking and is compatible with DDR3 RAM. Look for features such as XMP (Extreme Memory Profile) support, which allows for easy and automatic overclocking settings.
- CPU Compatibility: Verify that your CPU is compatible with overclocked RAM frequencies. Some older CPUs have limitations on the maximum clock speeds they can handle, so it’s important to check the specifications before proceeding.
- Power Supply: Make sure your power supply can handle the increased power demands that may come with overclocking. Overclocking can increase the power draw of your components, so having a reliable and sufficient power supply is crucial.
- Cooling Solution: Overclocking generates more heat, so ensure that your cooling solution, whether it’s air or liquid, is adequate to keep your components within safe temperature ranges. Consider upgrading your cooling solution if necessary.
- Other Components: Consider the compatibility of other components that may be affected by overclocking, such as the graphics card or storage drives. Some components may have their own limitations when operating at higher frequencies.
It’s essential to research and verify compatibility to avoid any potential issues. Consult your motherboard’s manual, check the manufacturer’s websites, and seek advice from online communities or forums to ensure that your chosen hardware can handle the overclocking process effectively and safely.
By ensuring compatibility, you minimize the risk of encountering stability issues, crashes, or damage to your system. Once you’re confident that all your hardware is compatible, you can proceed to the next steps, which involve updating the BIOS and making adjustments to RAM timings.
Step 3: Update BIOS
Updating your computer’s BIOS (Basic Input/Output System) is an important step when overclocking your DDR3 RAM. The BIOS is responsible for managing the hardware settings of your system, and a BIOS update can provide enhanced compatibility, stability, and additional features that may be necessary for successful overclocking.
Here’s how to update your BIOS:
- Research: Visit your motherboard manufacturer’s website and search for the latest BIOS version available for your specific model. Read the release notes and any documentation to ensure compatibility with your hardware and to check if any specific instructions or precautions are provided.
- Download: Download the BIOS update file from the manufacturer’s website. Make sure to choose the appropriate file for your motherboard model.
- Backup: Before proceeding with the update, it’s crucial to back up any important data on your computer. While rare, there is a slight risk of data loss during the update process. Creating a backup ensures that you have a copy of your important files in case anything goes wrong.
- Preparation: Close all unnecessary applications and disable any antivirus software or system utilities that could interfere with the BIOS update process.
- Flash the BIOS: Follow the manufacturer’s instructions to flash the downloaded BIOS update onto your motherboard. This process typically involves copying the BIOS update file onto a USB drive and using the motherboard’s built-in BIOS update utility to apply the update.
- Restart: Once the update is complete, restart your computer to finalize the BIOS update. During the restart, the new BIOS settings will be applied, and your system will be ready for overclocking.
Updating the BIOS is a crucial step as it ensures that your motherboard has the latest firmware with the necessary optimizations and features for successful overclocking. It also resolves any known issues or bugs that may affect stability or performance.
Remember, the BIOS update process can vary depending on your specific motherboard model, so carefully follow the instructions provided by the manufacturer. If you’re unsure or uncomfortable performing the update yourself, it’s always a good idea to seek assistance from a knowledgeable technician or consult the manufacturer’s support channels.
With the BIOS updated, you’re now ready to move on to the next step, which involves adjusting the RAM timings to optimize performance.
Step 4: Adjust RAM Timings
Fine-tuning the timings of your DDR3 RAM is an essential step in the overclocking process. RAM timings refer to the various delays and latency settings that determine how quickly the RAM can respond to requests. Adjusting these timings can significantly impact performance and stability.
Here’s how you can adjust the RAM timings:
- Access BIOS Settings: Restart your computer and enter the BIOS settings by pressing the designated key during the boot process. This key is usually displayed on the screen during startup and commonly includes keys like Del, F2, or F10.
- Locate RAM Settings: Navigate through the BIOS menus to find the RAM settings. The exact location and labeling may vary depending on your motherboard manufacturer. Look for sections like “DRAM Configuration” or “Memory Settings.”
- Primary Timings: Locate the primary timings, often referred to as CAS latency (CL), tRCD, tRP, and tRAS. These timings determine the response time of the RAM and have a significant impact on performance. Lower values usually result in faster response times.
- Adjust Timings: Experiment with adjusting the primary timings by lowering one value at a time. For example, you can start by reducing the CAS latency by one notch. Save the changes and exit the BIOS settings.
- Test Stability: After adjusting the timings, it’s crucial to test the stability of your system. Use stress-testing tools like Memtest86 or Prime95 to put your RAM through rigorous testing. If you encounter errors or instability, revert to the default settings or adjust the timings to more conservative values.
- Iterate and Optimize: Repeat the process of adjusting timings, testing stability, and optimizing until you find a balance between performance and stability that satisfies your needs. Remember that not all RAM modules can achieve aggressive timings, so be prepared to settle for slightly looser timings if necessary.
When adjusting the RAM timings, it’s important to proceed gradually and carefully monitor system stability. Aggressive timings can lead to instability and system crashes, so finding the right balance is crucial.
Keep in mind that the optimal timings for your DDR3 RAM will depend on various factors, including the specific modules, their quality, and the overclocking capabilities of your system. Experimentation, testing, and patience are key to achieving the best results.
Once you’ve found stable timings that provide a good balance between performance and stability, you can move on to the next step, which involves increasing the RAM voltage to further optimize overclocking.
Step 5: Increase RAM Voltage
Increasing the voltage of your DDR3 RAM can provide additional headroom for overclocking and help stabilize the system at higher frequencies and tighter timings. However, it’s important to approach this step with caution as excessive voltage can lead to increased heat and potential damage to your RAM modules.
Here’s how you can increase the RAM voltage:
- Access BIOS Settings: Restart your computer and enter the BIOS settings by pressing the designated key during the boot process.
- Locate RAM Voltage Settings: Navigate through the BIOS menus to find the RAM voltage settings. The exact location and labeling may vary depending on your motherboard manufacturer. Look for sections like “Voltage Configuration,” “DRAM Voltage,” or “Memory Voltage.”
- Gradually Increase Voltage: Increase the RAM voltage in small increments. It’s generally recommended to increase the voltage in increments of 0.05V or less. Monitor the stability of your system after each increase.
- Test Stability: After increasing the voltage, stress-test your system using tools like Memtest86 or Prime95 to ensure stability and check for any errors or crashes. Keep an eye on the temperatures of your RAM modules and ensure they remain within safe limits.
- Continue Fine-tuning: If your system remains stable, you can continue fine-tuning other aspects, such as tightening the timings or increasing the RAM frequency. Remember to test for stability after each change and be prepared to revert back to previous settings if instability occurs.
Increasing the RAM voltage can help stabilize your system at higher overclocked frequencies and tighter timings. However, it’s important to note that higher voltages also generate more heat, so ensuring proper cooling is crucial.
Keep in mind that not all RAM modules will be able to handle significant voltage increases. Some modules may have limitations on the maximum safe voltage or may not respond well to higher voltages. It’s essential to monitor your RAM temperatures closely and revert to lower voltage settings if you experience excessive heat or instability.
As always, be cautious when increasing the voltage and proceed with small increments. Patience and thorough testing are key to finding the optimal balance between performance and stability for your DDR3 RAM.
Once you have found a stable configuration with increased voltage, you can move on to the next step, which involves testing the stability of your overclocked RAM settings.
Step 6: Test Stability
After performing the necessary adjustments to your DDR3 RAM, it’s crucial to thoroughly test the stability of your overclocked settings. Stability testing is essential to ensure that your system can handle the increased frequencies, tighter timings, and voltage settings without encountering crashes or errors.
Here are some steps to follow when testing the stability of your overclocked DDR3 RAM:
- Choose a Testing Tool: Use reliable stress-testing software such as Memtest86, Prime95, or AIDA64 to put your RAM under a heavy workload and assess its stability.
- Test Duration: Run the stability tests for an extended period, typically several hours or even overnight, to thoroughly evaluate the RAM’s performance under stress.
- Monitor System Temperature: Keep an eye on the temperature readings of your CPU, RAM, and other critical components to ensure they are within safe operating limits. Excessive temperatures can cause instability and potential damage to the hardware.
- Check for Errors: Monitor the test results for any errors reported by the stress-testing software. Errors indicate that your RAM settings are not stable, and you may need to make adjustments, such as loosening timings or increasing voltage.
- Repeat and Fine-tune: If your system encounters errors or instability during stress testing, it’s essential to go back and fine-tune your settings. You may need to make incremental adjustments to timings, voltage, or even lower your overclocked frequencies to ensure stability.
- Acceptable Error Margin: It’s important to note that achieving 100% error-free testing is highly challenging and sometimes unrealistic. Instead, focus on achieving relative stability by minimizing errors and ensuring your system remains stable during normal usage.
Stability testing is a crucial step in the overclocking process, as it ensures that your system can handle the increased performance demands without encountering crashes, errors, or other stability issues. Thorough testing helps identify any weak points in your overclocked settings, allowing you to make appropriate adjustments for optimal performance and stability.
Be prepared to spend time on stability testing and fine-tuning your settings. Patience and attention to detail will help you achieve the best results for your overclocked DDR3 RAM.
Once you have successfully tested and stabilized your overclocked settings, you can proceed to the final step, which involves monitoring RAM usage and temperatures to maintain optimal performance.
Step 7: Monitor RAM Usage and Temperatures
Once you have successfully overclocked your DDR3 RAM, it’s important to continually monitor its usage and temperatures to ensure optimal performance and prevent any potential issues related to heat and stability.
Here are a few steps to help you effectively monitor RAM usage and temperatures:
- Use Monitoring Software: Install monitoring software like CPU-Z, HWMonitor, or MSI Afterburner to keep track of your RAM’s usage, clock speeds, and temperatures.
- Monitor RAM Usage: Keep an eye on the RAM usage during normal usage, particularly when running memory-intensive tasks. High RAM usage could indicate potential bottlenecks or the need for additional memory.
- Monitor RAM Temperatures: Monitor the temperatures of your overclocked RAM using the monitoring software. Ensure that the temperatures remain within safe operating limits specified by the RAM manufacturer. Excessive heat can lead to instability or even permanent damage.
- Check for Errors: Continuously monitor your system for any signs of errors, crashes, or instability that may indicate that your overclocked RAM settings need adjustment.
- Regularly Clean Your System: Dust accumulation can hinder proper cooling and increase temperatures. Regularly clean your computer’s internals, including RAM modules and cooling components, to maintain optimal cooling efficiency.
- Consider Additional Cooling: If you notice high RAM temperatures or signs of instability during monitoring, consider upgrading your cooling solution. This could include adding additional fans, improving airflow, or even opting for liquid cooling options.
Monitoring RAM usage and temperatures is vital to ensure that your overclocked settings are performing optimally and remain stable over time. By being proactive in monitoring and addressing any issues that arise, you can maintain the performance gains achieved through overclocking and protect the longevity of your hardware.
Keep in mind that every system is unique, and the optimal settings for one system may not be ideal for another. It’s important to adjust your overclocked RAM settings based on your specific system’s needs, limitations, and environmental factors.
By regularly monitoring RAM usage, temperatures, and system stability, you can fine-tune your overclocked DDR3 RAM to achieve the best balance between performance and reliability.
Conclusion
Congratulations! You have successfully overclocked your DDR3 RAM and unlocked its full potential. Through the steps outlined in this guide, you have learned how to identify your RAM, ensure compatibility, update the BIOS, adjust timings, increase voltage, test stability, and monitor performance. By carefully following these steps, you have optimized your system’s memory performance, improving overall speed, responsiveness, and efficiency.
Remember, overclocking DDR3 RAM requires caution and attention to detail. Always prioritize stability over extreme performance gains to avoid potential damage to your hardware. Regularly monitor RAM usage and temperatures, and be prepared to make adjustments if necessary to maintain stability and ensure the longevity of your system.
It’s important to note that every system is unique, and the overclocking potential of DDR3 RAM may vary depending on hardware quality, manufacturer specifications, and cooling capabilities. Experimentation and fine-tuning will help you find the optimal balance between performance and stability for your specific setup.
We hope this guide has provided you with the knowledge and confidence to overclock your DDR3 RAM effectively. By pushing the boundaries of your RAM’s capabilities, you can experience enhanced performance in tasks ranging from gaming to content creation.
Always stay informed about the risks and make sure to understand the warranty terms of your hardware. If you are unsure or uncomfortable with the overclocking process, it is advisable to consult with an experienced technician or seek assistance from the manufacturer’s support channels.
Enjoy the improved performance of your overclocked DDR3 RAM and happy computing!


