Introduction
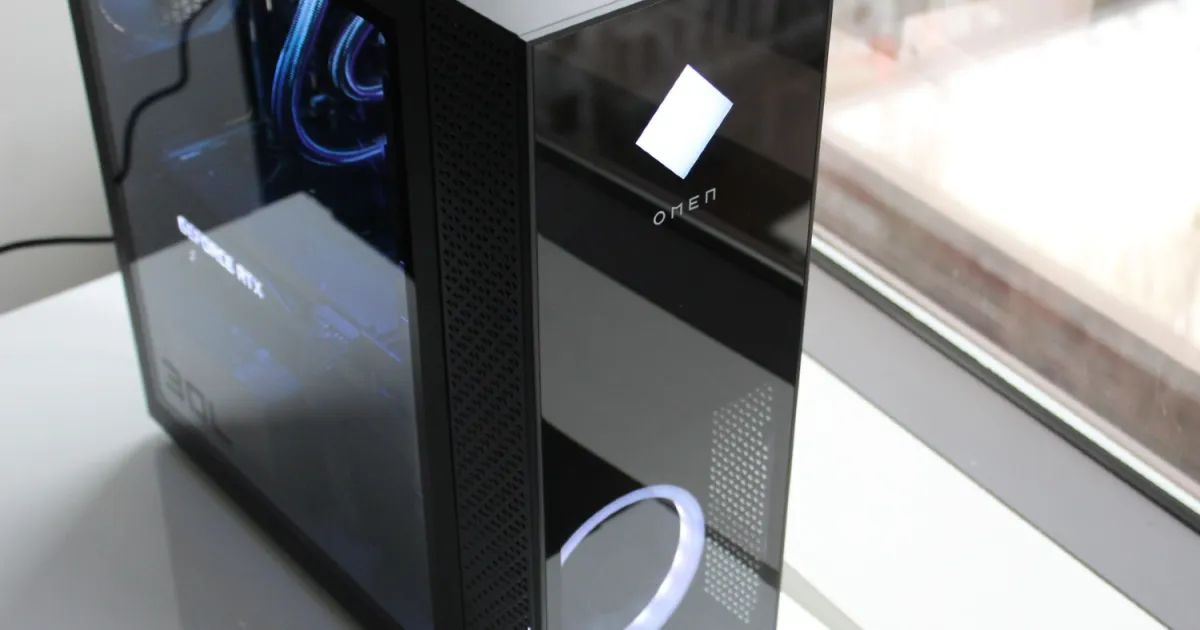
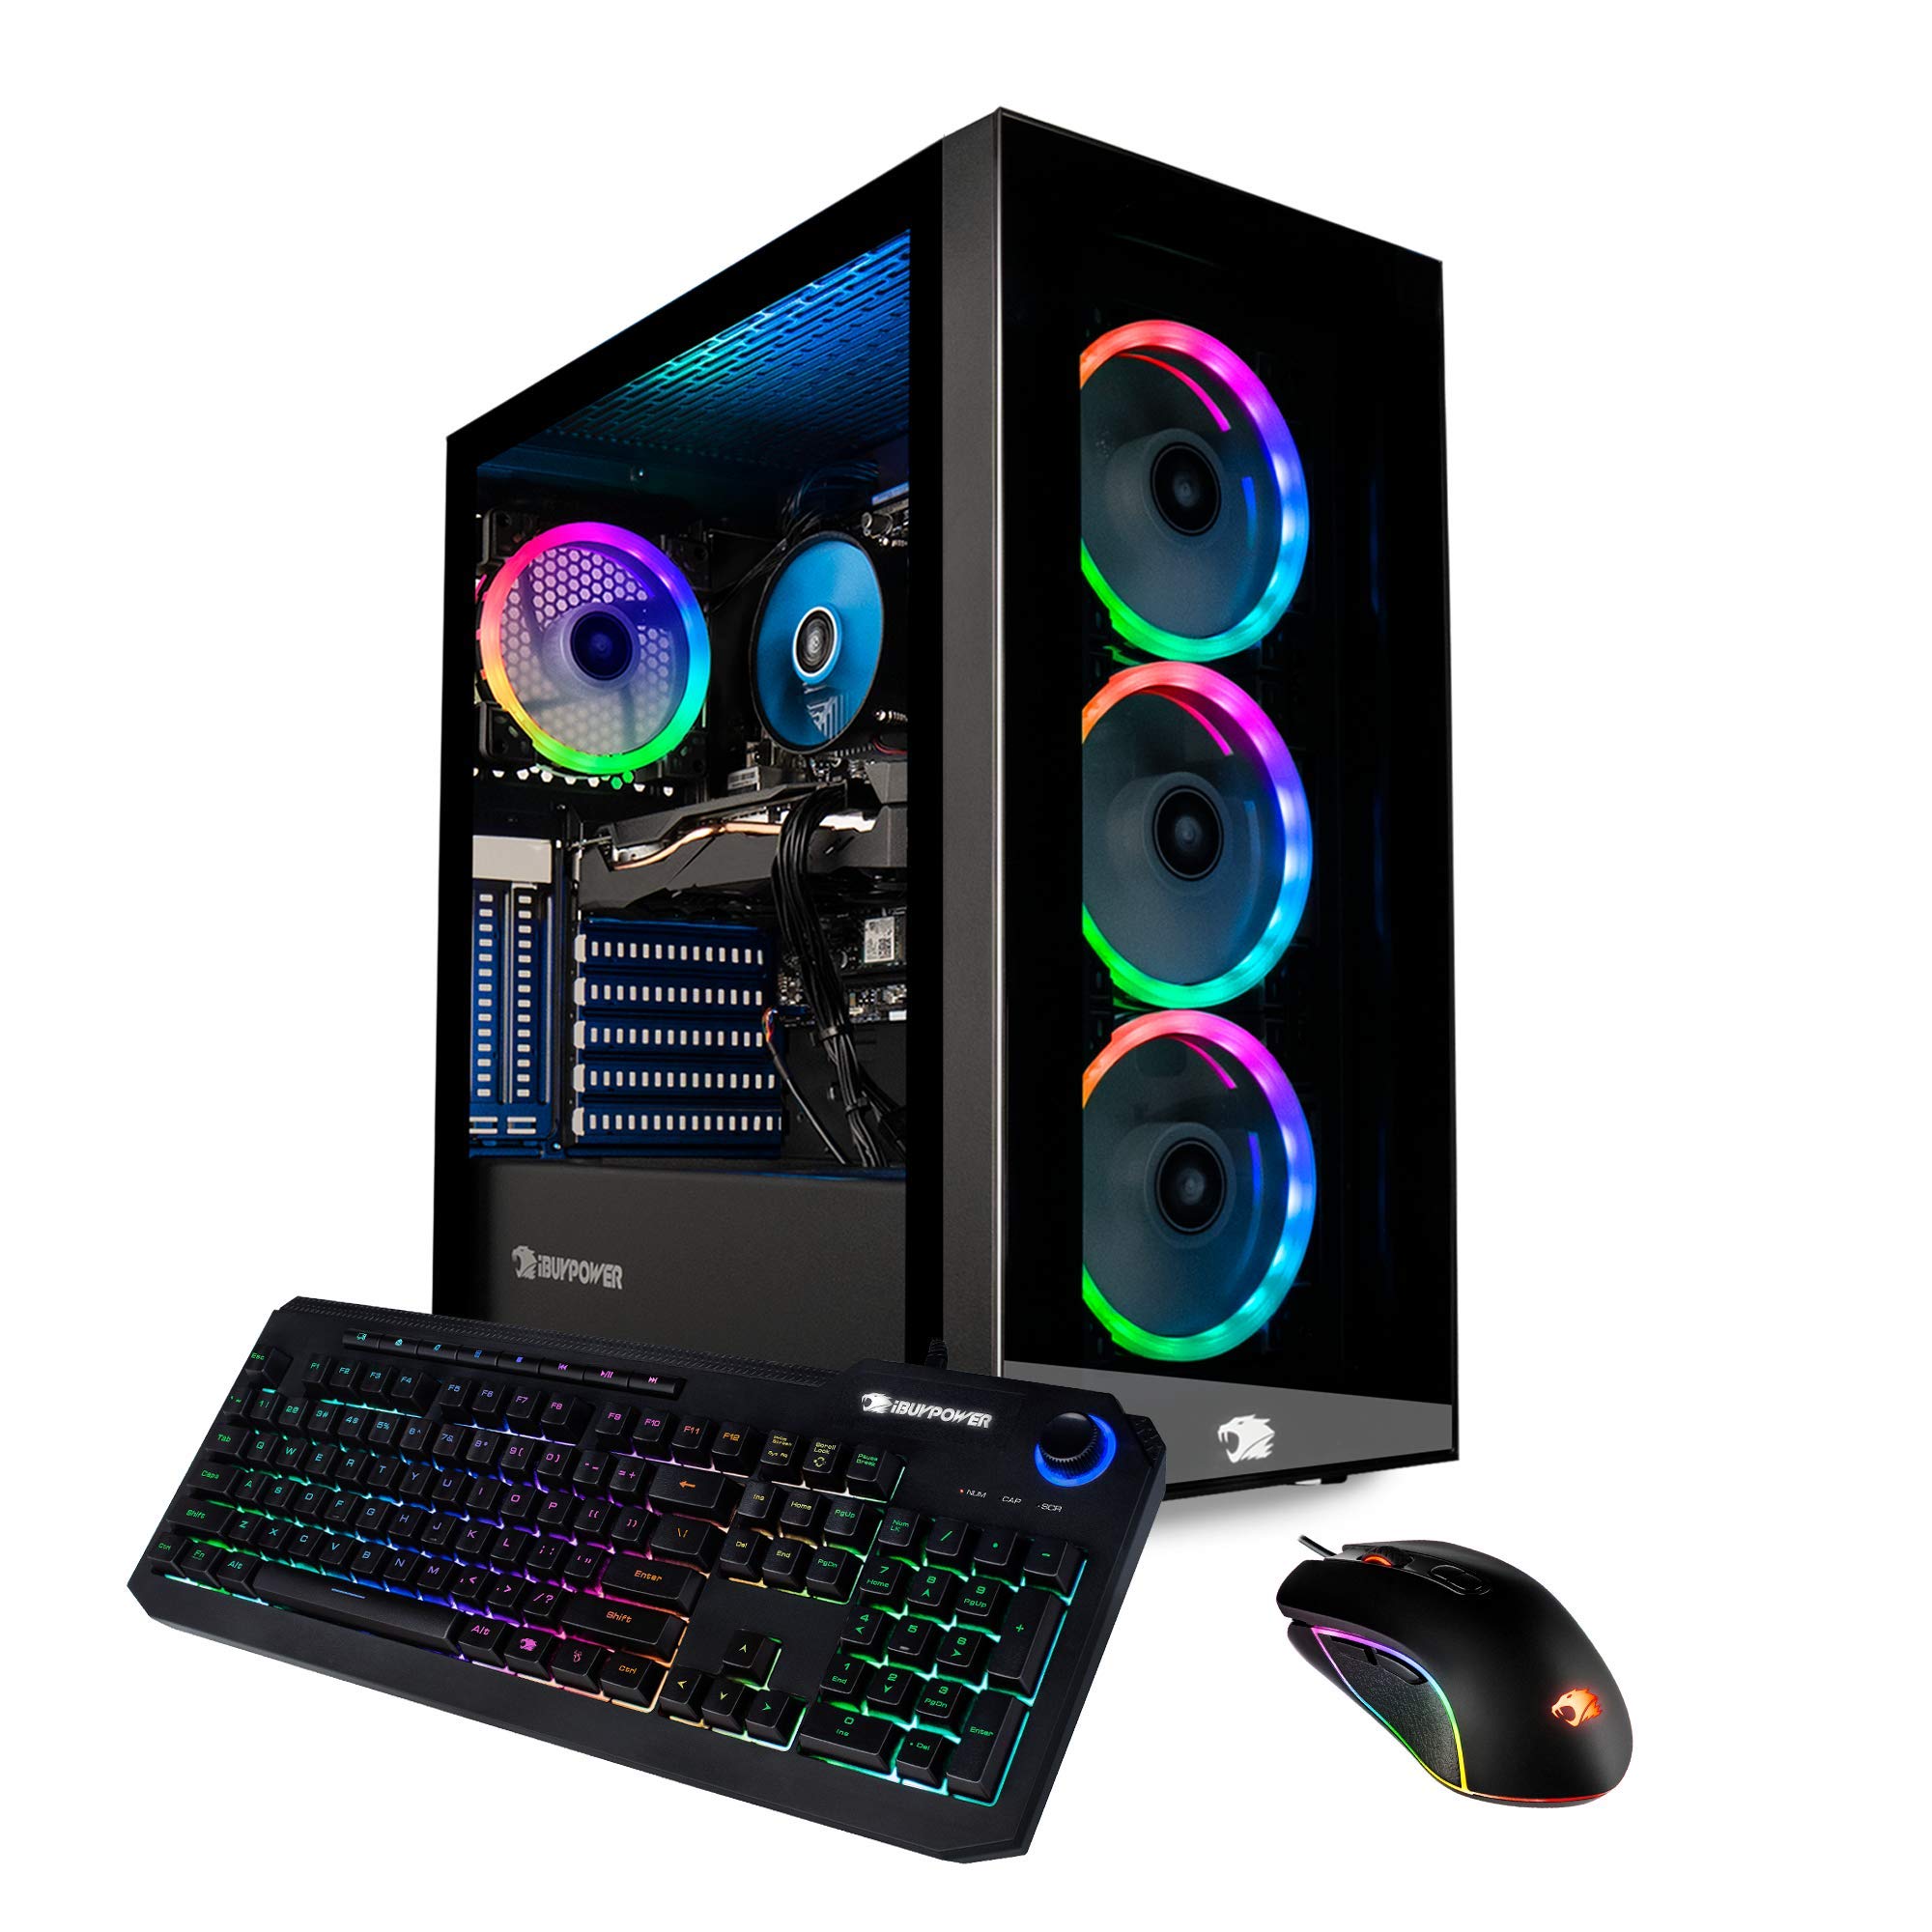
Welcome to the world of PC building! Opening up the Omen PC case may seem like a daunting task, but fear not. With the right tools and proper guidance, you’ll soon be on your way to upgrading or troubleshooting your rig. Whether you’re a seasoned veteran or a first-time PC builder, this guide will walk you through the step-by-step process of opening the Omen PC case.
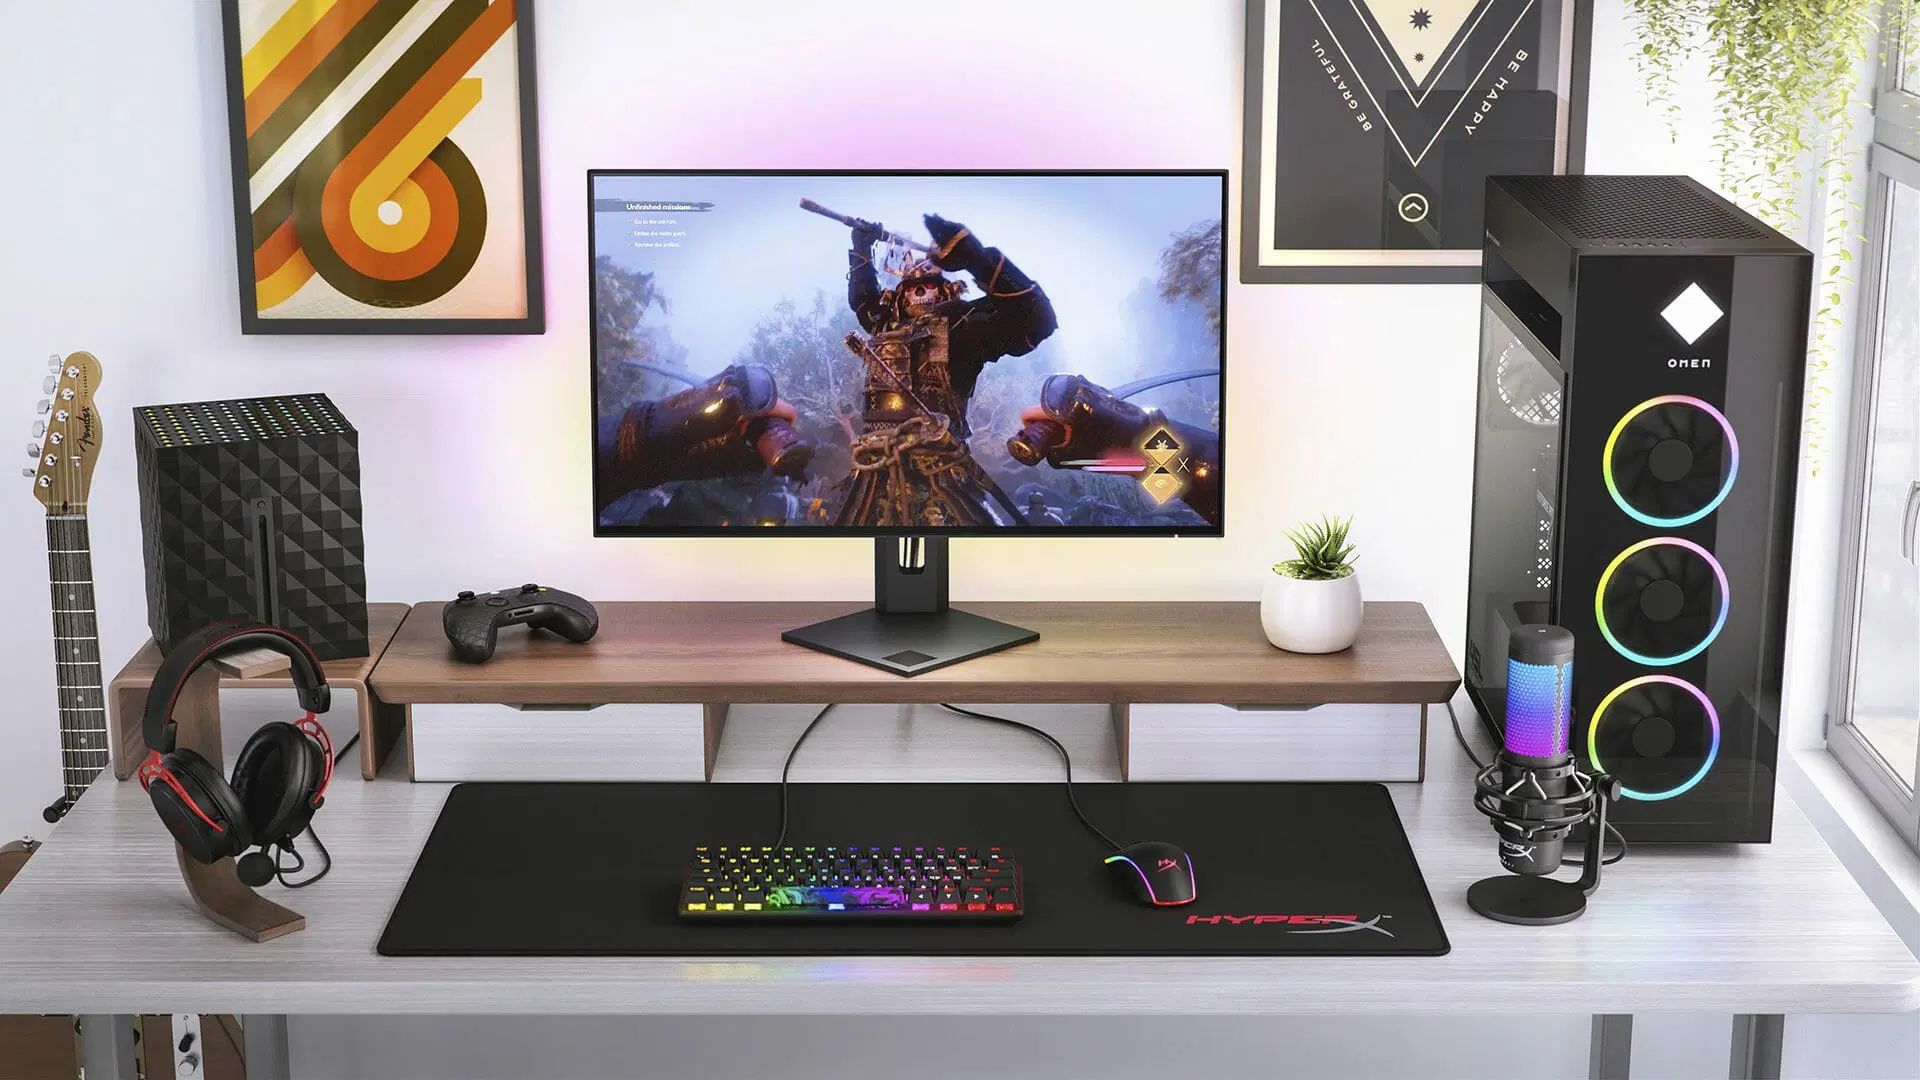
The Omen PC case is designed with both functionality and aesthetics in mind. Its sleek design and sturdy construction make it a popular choice among gamers and tech enthusiasts. However, to access the components inside the case, you’ll need to remove the panels and other components. Don’t worry, it’s not as complicated as it may seem!
In this guide, we will cover the tools you’ll need for the job, as well as a detailed walkthrough of each step involved in opening the Omen PC case. By the end of this guide, you’ll feel confident and ready to explore the inner workings of your Omen PC.
Tools Needed
Before we dive into the process of opening the Omen PC case, let’s gather the necessary tools to ensure a smooth and safe experience. Having the right tools on hand will make the process much more efficient and help prevent any accidental damage to your components. Here are the tools you’ll need:
- Screwdriver: A Phillips head screwdriver is the most common type required for opening the Omen PC case. Make sure you have one available before starting.
- Anti-static wrist strap: This will help dissipate any static electricity from your body, protecting your delicate components from electrostatic discharge.
- Tweezers: A pair of fine-tipped tweezers can be handy for handling smaller components or cables inside the case.
- Flashlight: Although not essential, having a flashlight can come in handy for better visibility, especially when working in tight spaces.
- Small bowl or container: This will serve as a convenient place to keep screws and other small components as you remove them from the case. It will help avoid misplacing or losing them.
With these tools at your disposal, you’ll be well-equipped to open the Omen PC case without any hiccups. Now, let’s move on to the step-by-step process of removing the side panel and accessing the internal components of the case.
Step 1: Removing the Side Panel
The first step in opening the Omen PC case is to remove the side panel. This will give you access to the internal components of the case. Here’s how to do it:
- Make sure your Omen PC is powered off and unplugged from the wall outlet.
- Locate the screws on the back of the case that are holding the side panel in place.
- Using a Phillips head screwdriver, carefully unscrew these screws and set them aside in a safe place.
- Once the screws are removed, gently slide the side panel towards the back of the case.
- The side panel should now be free. Carefully lift it off and set it aside.
With the side panel removed, you now have a clear view of the internal components of the Omen PC. Take a moment to familiarize yourself with the layout before proceeding to the next steps. It’s important to handle the components with care and avoid touching any delicate parts.
Now that you have successfully removed the side panel, you’re ready to move on to the next step: disconnecting the cables inside the case.
Step 2: Disconnecting Cables
Now that you’ve removed the side panel of your Omen PC case, it’s time to disconnect the cables connected to the components inside. This step is crucial as it allows you to have more maneuverability and access to the various parts of the case. Follow these steps to disconnect the cables:
- Identify the cables that are connected to the motherboard, graphics card, and other components.
- Start by disconnecting the power cables from the motherboard. Gently pull the plug away from the socket, being careful not to apply excessive force.
- Next, locate the cables connected to the graphics card. Depending on your setup, you may need to release the retention clip or unscrew the bracket holding the graphics card in place. Once done, carefully remove the cables from the card.
- Move on to other cable connections, such as the SATA cables for the hard drives or SSDs, front panel connectors, and any additional peripherals that are plugged into the motherboard.
- Take a moment to organize and bundle the disconnected cables to ensure they don’t interfere with the remaining steps.
Remember to handle the cables gently to avoid any damage to the connectors or cables themselves. If you need assistance in identifying the different cables and connectors, consult your motherboard’s manual for a detailed layout.
With the cables safely disconnected, you’re now ready to move on to the next step: removing the front bezel of the Omen PC case.
Step 3: Removing the Front Bezel
With the cables disconnected, it’s time to tackle the front bezel of your Omen PC case. The front bezel is the outer cover that protects the front of the case and houses the front-facing ports and buttons. Follow these steps to remove the front bezel:
- Locate the clips or screws that secure the front bezel to the case. These are usually located along the edges or corners of the bezel.
- If your Omen PC case has clips, gently pry them open using a flat-headed screwdriver or your fingers. Be careful not to exert too much force to avoid damaging the clips or the bezel.
- If your Omen PC case has screws, carefully unscrew them using a Phillips head screwdriver. Set the screws aside in a safe place for reassembly.
- Once the clips or screws are released, gently pull the front bezel towards you. Take your time and ensure that all clips or screws have been undone before attempting to remove it completely.
- If you encounter any resistance, double-check for any remaining clips or screws that may still be holding the bezel in place.
- Continue to pull the front bezel until it is completely removed from the case.
With the front bezel removed, you now have a clearer view of the front-facing ports, buttons, and the front fans (if any) of your Omen PC case. Take a moment to observe and familiarize yourself with these components before moving on to the next steps.
Next up is the step of removing the top panel of the case, which we will cover in the next section.
Step 4: Removing the Top Panel
Now that the front bezel is removed, it’s time to move on to removing the top panel of your Omen PC case. The top panel covers the top portion of the case and provides access to the internal components. Follow these steps to remove the top panel:
- Locate the screws that secure the top panel to the case. These screws are usually found towards the rear of the case.
- Using a Phillips head screwdriver, carefully unscrew these screws and set them aside.
- Some Omen PC cases may have additional clips or latches holding the top panel in place. If this is the case, gently release these clips or latches to free the top panel.
- Once all screws and clips are undone, gently lift the top panel straight up from the case.
- Be cautious of any wires or cables that may be connected to the top panel. If necessary, disconnect these cables before fully removing the panel.
With the top panel removed, you will now have better access to the internal components of your Omen PC. Take a moment to inspect and familiarize yourself with the layout before proceeding to the next steps.
Our next step will involve removing the power supply shroud, which we will cover in detail in the following section.
Step 5: Removing the Power Supply Shroud
In this step, we’ll be focusing on removing the power supply shroud. The power supply shroud is a cover that hides the power supply and its cables, providing a clean and organized look to the case. Here’s how to proceed:
- Locate the screws that secure the power supply shroud to the case. These screws are usually found at the back or bottom of the case.
- Using a Phillips head screwdriver, carefully unscrew these screws and set them aside.
- Once the screws are removed, gently lift the power supply shroud upwards to detach it from the case.
- Be cautious of any cables or connections that may be attached to the power supply shroud. If necessary, disconnect these cables before fully removing the shroud.
With the power supply shroud removed, you’ll now have better access to the power supply and its connections. Take a moment to ensure that you’ve disconnected any necessary cables and have a clear view of the power supply area.
Now that the power supply shroud is out of the way, we can move on to removing the graphics card in the subsequent step.
Step 6: Removing the Graphics Card
Now that you have removed the power supply shroud, it’s time to tackle the graphics card. The graphics card is a crucial component responsible for processing and rendering graphics in your Omen PC. Follow these steps to safely remove it:
- Locate the screws or retention clip that secures the graphics card to the motherboard.
- If there are screws, use a Phillips head screwdriver to carefully unscrew them, ensuring they are released but not fully removed.
- If there is a retention clip, gently push it downwards or outwards (depending on your case design) to release the graphics card.
- With the screws or retention clip released, gently grip the graphics card by the edges and carefully pull it straight out from the PCIe slot on the motherboard. Apply even pressure and avoid twisting or bending the card.
Once the graphics card is removed, handle it with care and set it aside in a safe place. If you have any plans to upgrade or replace the graphics card, now is the perfect time to do so.
With the graphics card out of the way, you’re now ready to move on to the next step: removing the hard drive cage.
Step 7: Removing the Hard Drive Cage
The hard drive cage is typically where your storage drives, such as HDDs or SSDs, are housed. Removing the hard drive cage will provide you with access to install or remove these drives. Here’s how to proceed:
- Locate the screws or clips that secure the hard drive cage to the case. They are typically found at the sides or bottom of the cage.
- If there are screws, use a Phillips head screwdriver to carefully unscrew them, ensuring they are released but not fully removed.
- If there are clips, gently press or release them to loosen the hard drive cage.
- Once the screws or clips are undone, carefully slide or lift the hard drive cage out of the case.
As you remove the hard drive cage, be cautious of any cables or connections that may be attached to the cage or the drives within it. If necessary, disconnect these cables before fully removing the cage to avoid damaging any components.
With the hard drive cage removed, you now have access to install or remove your storage drives. Take this opportunity to organize your drives or make any necessary upgrades. Remember to handle the drives with care and follow proper handling procedures to avoid static discharge.
Now that the hard drive cage has been taken care of, we can move on to accessing the motherboard in the next step.
Step 8: Accessing the Motherboard
Now that you’ve removed the hard drive cage, it’s time to focus on accessing the motherboard. The motherboard is the central component that houses the CPU, RAM, and other vital parts of your computer. Follow these steps to gain access to the motherboard:
- Locate the screws that secure the motherboard to the case. These screws are typically found around the edges of the motherboard.
- Using a Phillips head screwdriver, carefully unscrew these screws and set them aside.
- Some cases may have additional clips or latches that hold the motherboard in place. If present, release these clips or latches to free the motherboard.
- Once all screws and clips are undone, gently lift the motherboard out of the case. Be cautious of any cables or connectors that may still be attached to the motherboard.
- If necessary, carefully disconnect any remaining cables or connectors from the motherboard to fully remove it.
As you handle the motherboard, be mindful of its delicate components and ensure that you’re grounding yourself to minimize static electricity. Consider using an anti-static wrist strap to provide an extra layer of protection for the motherboard and its sensitive electronics.
With the motherboard removed, you can now inspect, clean, or make any necessary changes to the components on the motherboard. Take your time and proceed with caution as you handle the motherboard and its various connections.
Now that you’ve accessed the motherboard, we can proceed to the final step: reassembling the case.
Step 9: Reassembling the Case
Congratulations! You’ve successfully completed the steps to access and work with the internal components of your Omen PC. Now it’s time to reassemble the case and restore your PC to its fully functional state. Follow these steps to put everything back together:
- Starting with the motherboard, carefully place it back into the case, aligning the screw holes with the corresponding standoffs.
- Secure the motherboard in place by tightening the screws but avoid over-tightening, as this can damage the motherboard.
- Reconnect any cables or connectors that were disconnected from the motherboard during the disassembly process.
- Place the hard drive cage back into the case and secure it using the screws or clips.
- Reinstall the graphics card by lining up the connector with the PCIe slot and firmly pressing it in until it clicks into place.
- Attach any necessary cables to the graphics card, such as power connectors or HDMI/DisplayPort cables.
- Insert the power supply shroud back into the case and secure it using the screws.
- Reattach the top panel by lining it up with the case and fastening the screws or clips.
- Slide the front bezel back into place, ensuring all clips are engaged and secured.
- Finally, reattach the side panel by aligning it with the case and tightening the screws.
Once everything is reassembled, double-check all connections to ensure they are secure and properly seated. Plug in the power cable and turn on your PC to ensure everything is functioning as expected.
By following these steps, you’ve successfully opened, worked on, and reassembled your Omen PC case. Whether you were upgrading components, troubleshooting issues, or simply exploring the inner workings of your PC, you should feel proud of your accomplishment!
Remember, always exercise caution and ensure proper safety measures when working with electronic components. If you encounter any difficulties or have any concerns, it’s always best to consult the manufacturer’s documentation or seek professional assistance.
Conclusion
Opening the Omen PC case can seem like a daunting task, but with the right tools and guidance, it becomes a manageable and rewarding experience. By following the step-by-step process outlined in this guide, you’ve gained the knowledge and confidence to access and work with the internal components of your Omen PC.
Throughout the process, you’ve learned how to remove the side panel, disconnect cables, remove the front bezel, remove the top panel, take off the power supply shroud, remove the graphics card, and even access the motherboard. These skills are invaluable for upgrading components, troubleshooting issues, or simply gaining a deeper understanding of your PC.
Remember to exercise caution and follow proper safety measures when working with electronic components. Take the time to ground yourself and use appropriate tools to avoid damage to your components.
Once you’ve completed your work inside the case, the final step is to reassemble everything. By carefully reattaching the components and securing them in place, you’ll restore your Omen PC to its fully functional state.
Now that you have successfully opened and reassembled your Omen PC case, you can enjoy the satisfaction of a job well done. Whether you’re diving into gaming, content creation, or any other demanding tasks, having the knowledge and skills to access and work with your PC’s components gives you the freedom to customize and optimize your computer to your liking.
Thank you for following this guide, and we hope it has been helpful in your Omen PC journey. Happy computing!


