Introduction
Welcome to this guide on how to change inputs on an Omen gaming monitor. Whether you’re looking to switch between different gaming consoles, connect your PC, or want to use your monitor for other multimedia devices, knowing how to change inputs is essential for a seamless and efficient gaming experience.
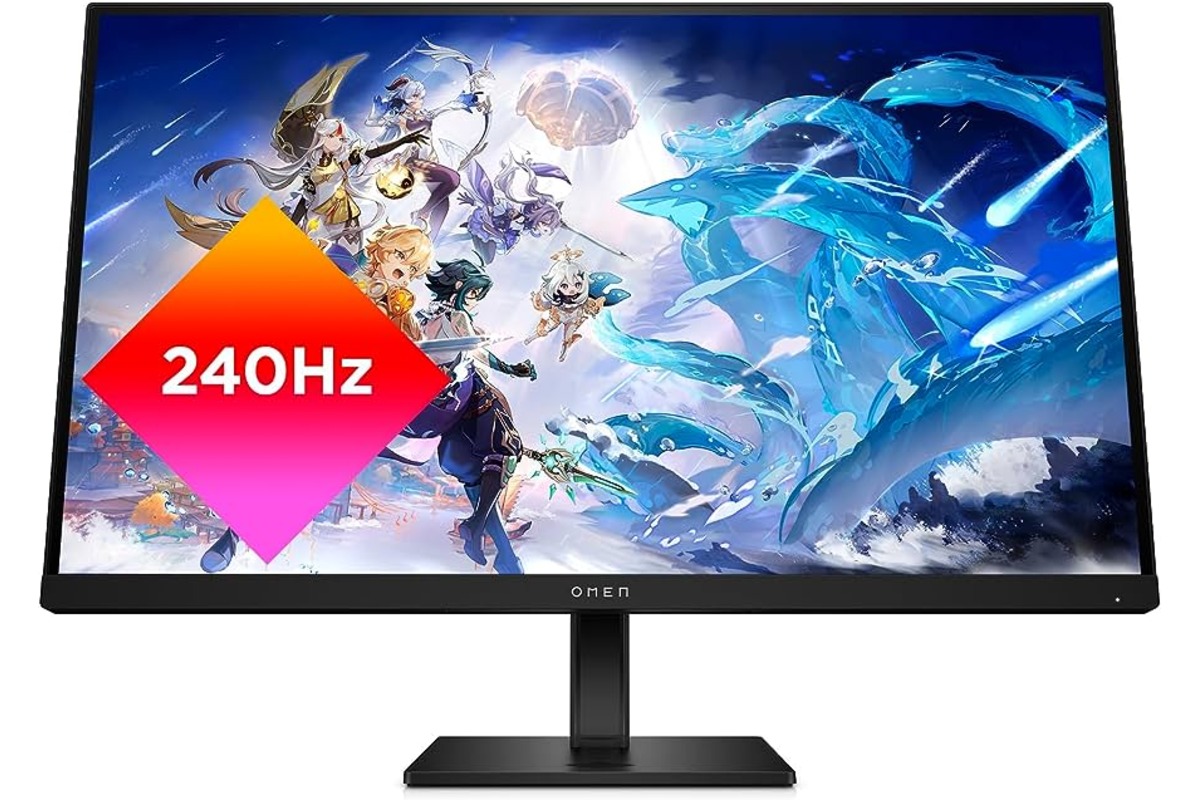
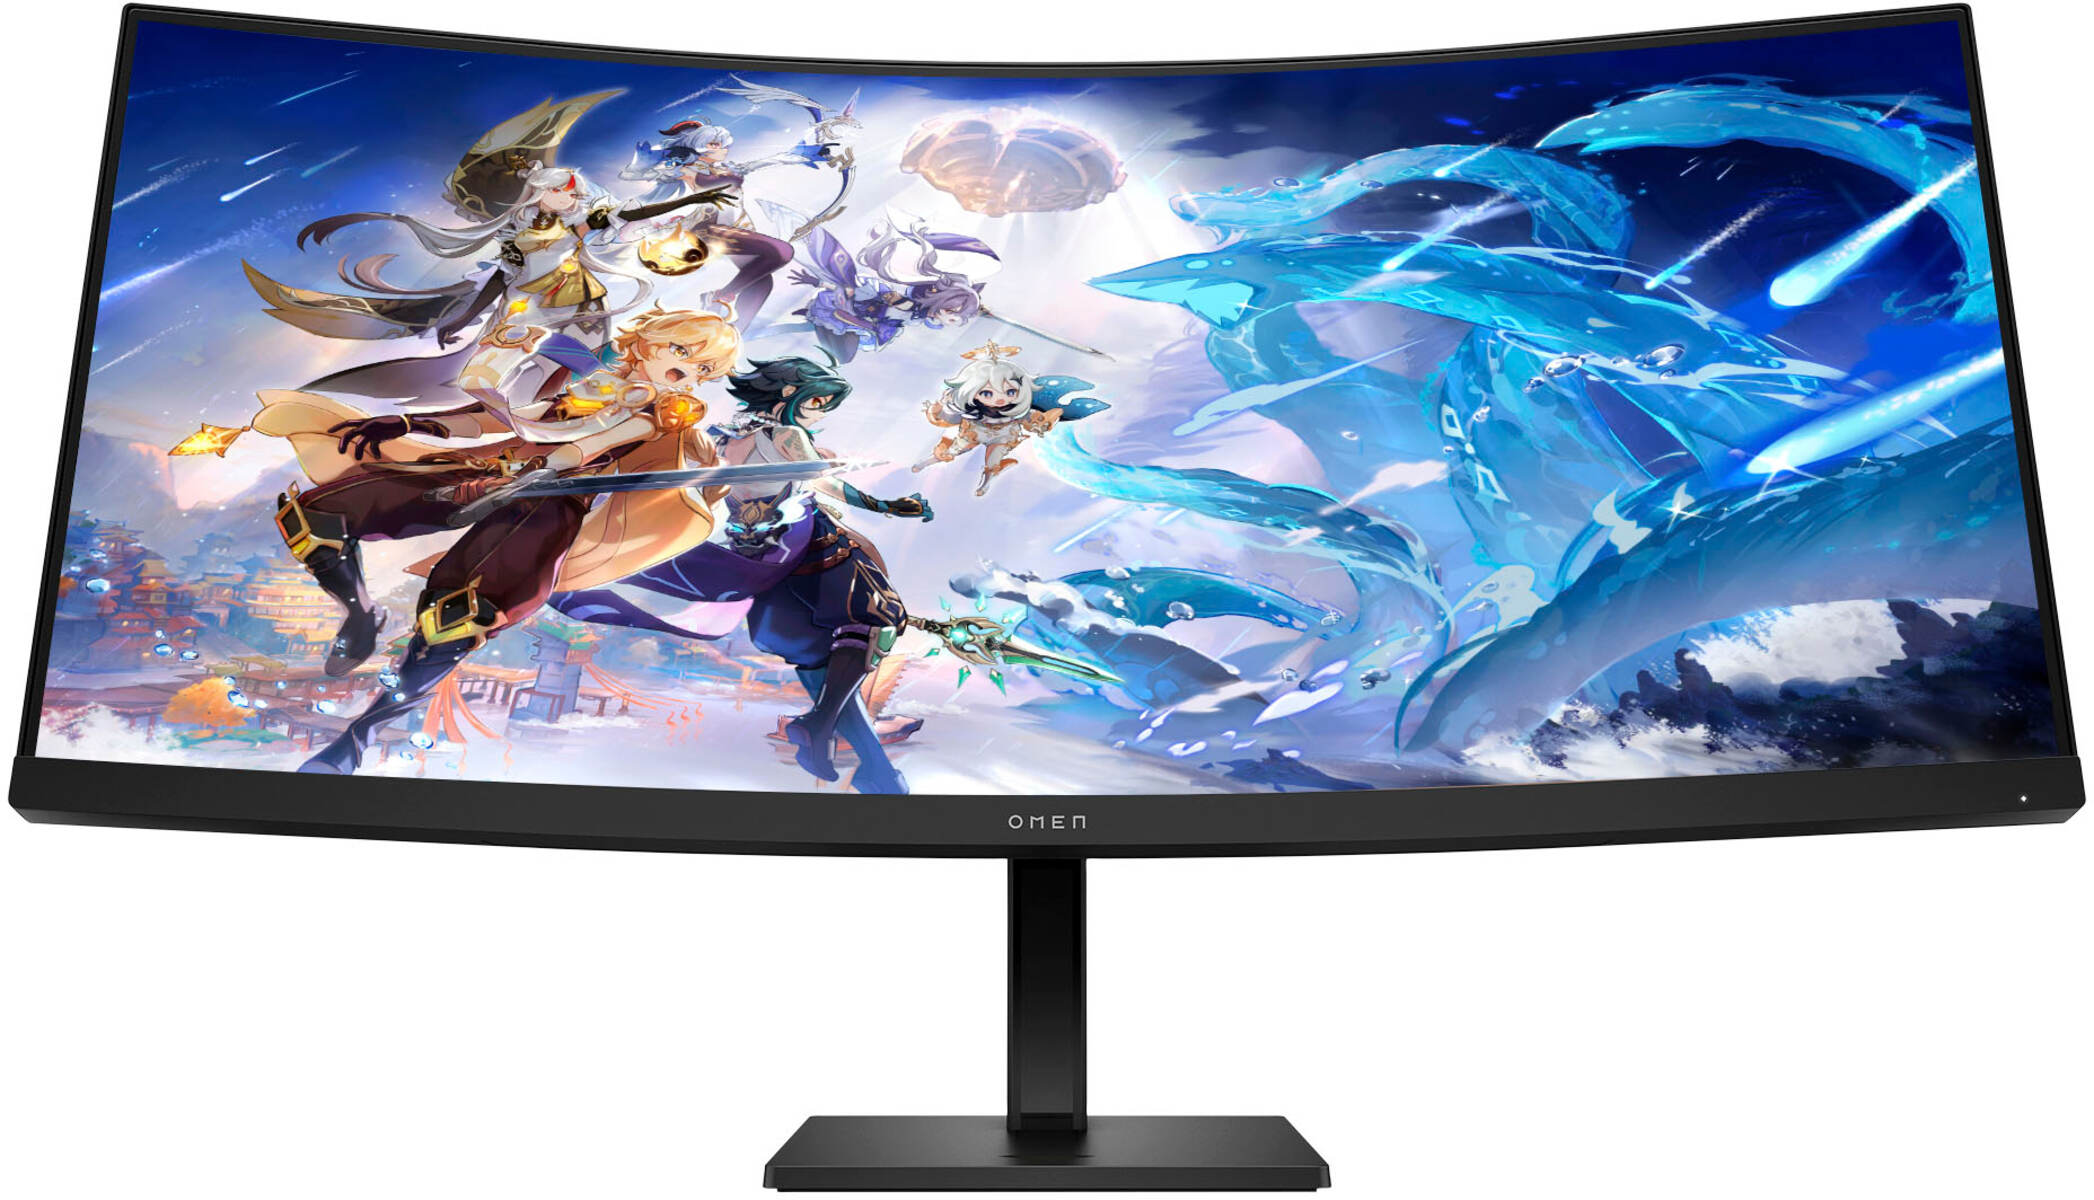
The Omen gaming monitors offer a range of impressive features and cutting-edge technology to enhance your gameplay. From high-resolution displays to fast refresh rates, these monitors are designed to provide immersive visuals and smooth performance.
Changing inputs on an Omen gaming monitor allows you to effortlessly connect various devices without the need for complex configurations. Whether you’re a seasoned gamer or a casual user, being able to switch inputs quickly can save you time and ensure that you can enjoy your favorite games or movies without any hassle.
In this guide, we will walk you through the step-by-step process of changing inputs on your Omen gaming monitor. We’ll cover everything from locating the input buttons and accessing the on-screen display (OSD) menu to navigating through the menu options and selecting the desired input. By the end of this guide, you’ll be able to seamlessly switch between different inputs on your Omen gaming monitor.
Let’s dive into the details and get started with the first step: locating the input buttons on your Omen gaming monitor.
Step 1: Locating the Input Buttons
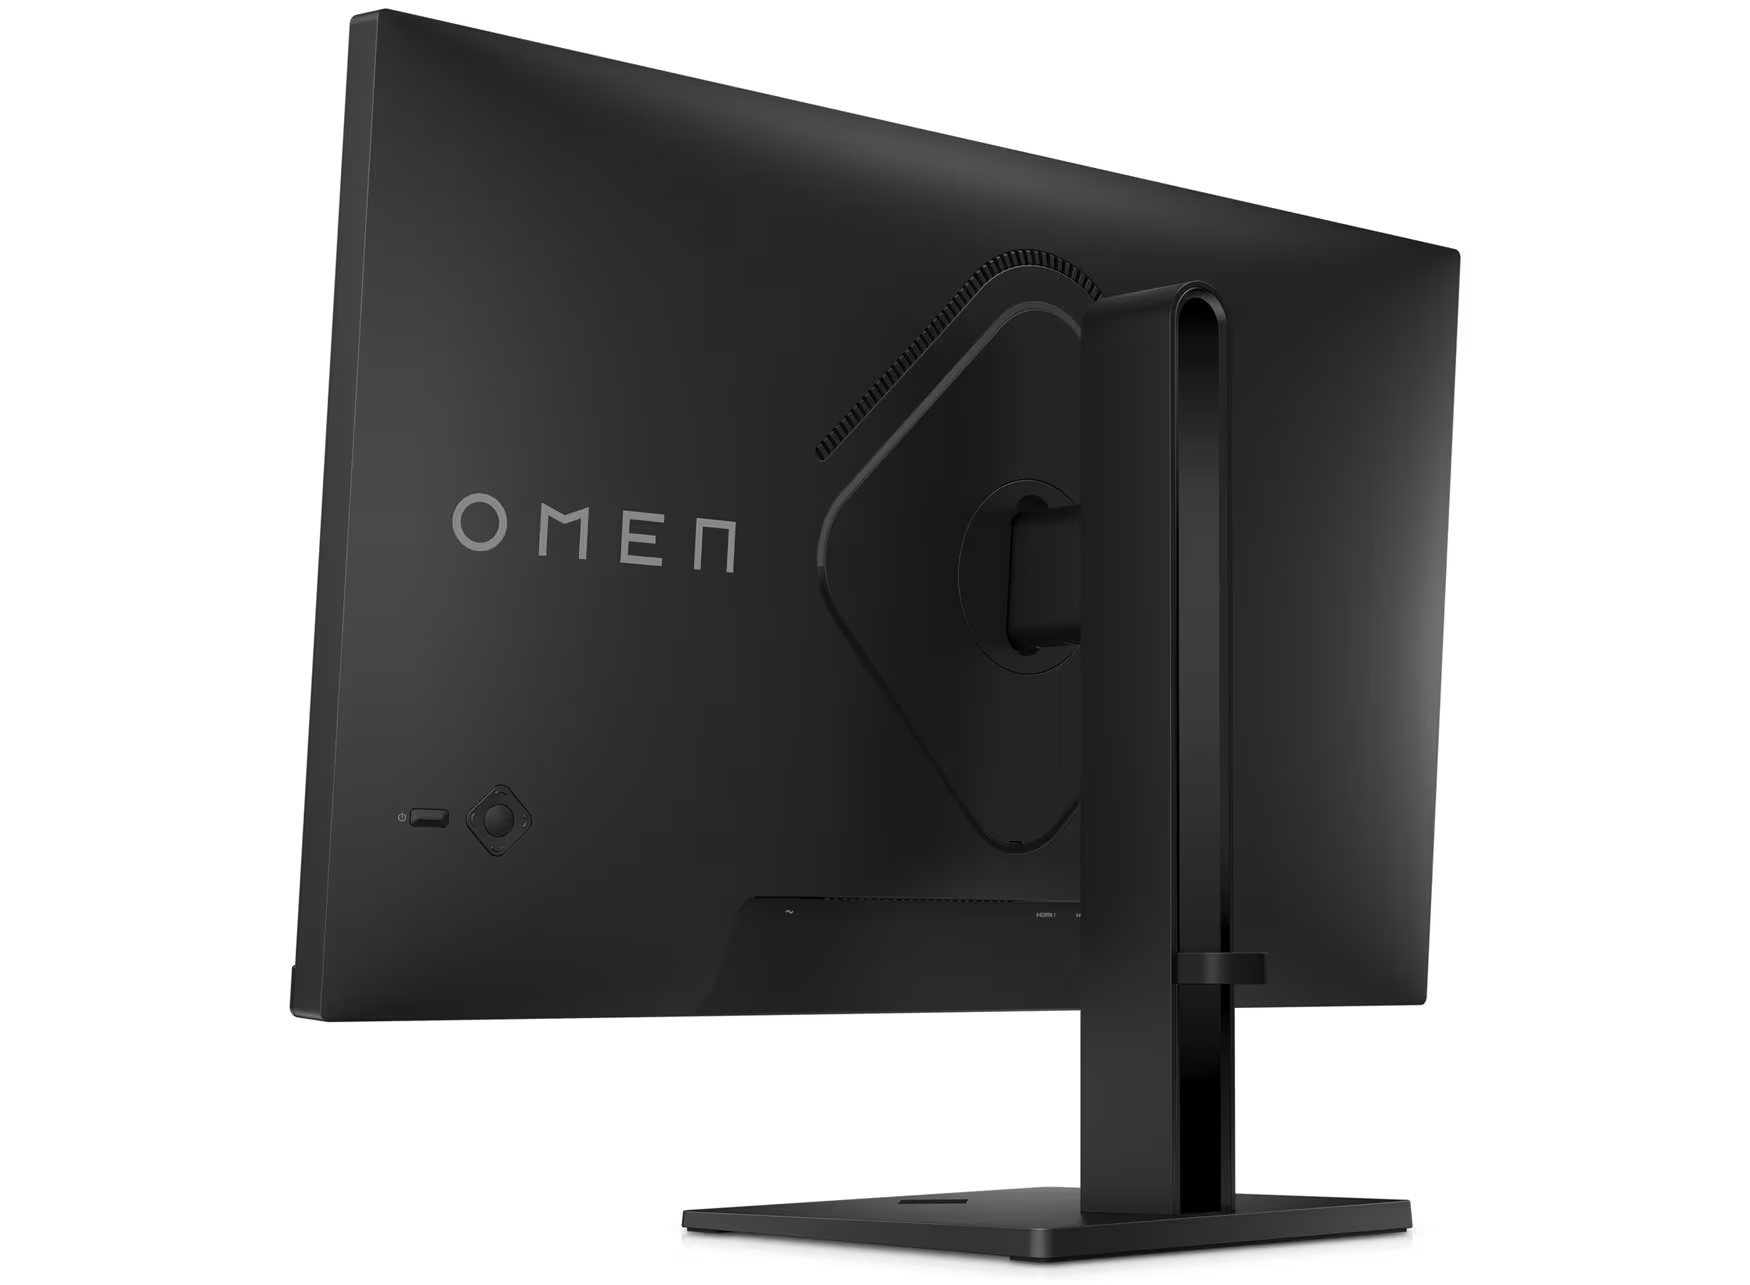
The first step to changing inputs on your Omen gaming monitor is to locate the input buttons. These buttons are usually located either on the front or the side of the monitor. The specific placement may vary depending on the model of your Omen monitor, but they are typically easily accessible.
Take a closer look at your monitor and look for buttons or labels that indicate the input options. The input buttons are typically labeled with icons representing the different types of inputs, such as HDMI, DisplayPort, DVI, or VGA. Some models may also have dedicated buttons for specific inputs.
If you are having trouble locating the input buttons, consult the user manual that came with your Omen gaming monitor. The manual will provide detailed information about the physical controls and buttons on your monitor. It is always a good idea to familiarize yourself with the layout of the monitor’s controls before proceeding to the next steps.
Once you have identified the location of the input buttons, you are ready to move on to the next step: accessing the on-screen display (OSD) menu.
Step 2: Accessing the On-Screen Display (OSD) Menu
After locating the input buttons on your Omen gaming monitor, the next step is to access the on-screen display (OSD) menu. The OSD menu allows you to navigate and customize various settings of your monitor, including the input options.
To access the OSD menu, look for a button typically labeled as “Menu” or “OSD” on your monitor. Press this button to bring up the OSD menu on the screen. Some Omen gaming monitors may have touch-sensitive or joystick controls, so refer to the user manual if you’re not sure about the specific button or control mechanism on your monitor.
Once the OSD menu appears, you can use the navigation buttons or controls to move through the menu options. The navigation buttons are usually located near the input buttons and may be labeled as directional arrows or have icons that represent different directions.
Take a moment to familiarize yourself with the navigation controls and how they function. This will help you navigate through the OSD menu more efficiently in the following steps.
With the OSD menu open and ready for navigation, you can proceed to the next step: navigating through the menu options.
Step 3: Navigating through the OSD Menu
Once you have accessed the on-screen display (OSD) menu on your Omen gaming monitor, it’s time to navigate through the menu options to find the input settings. The OSD menu allows you to adjust various display settings, so it’s important to know how to navigate efficiently to reach the input options.
Using the navigation buttons or controls on your monitor, move through the OSD menu options until you find the input settings. These settings are usually located in a section dedicated to display or input options. The exact location and name of the input settings may vary depending on the specific model of your Omen gaming monitor.
Once you have found the input settings section, you can use the navigation buttons to move through the available input options. Each option is labeled with the corresponding input type, such as HDMI, DisplayPort, DVI, or VGA.
As you navigate through the OSD menu, take note of any other display or performance settings that you may want to adjust. The OSD menu provides a range of options to customize your gaming experience, including brightness, contrast, color settings, and more.
Remember, the goal is to find and select the desired input option. So, continue navigating through the OSD menu until you locate the specific input that you want to use. Once you have identified the desired input, you can move on to the next step: selecting the input option.
Step 4: Selecting the “Input” Option
After navigating through the on-screen display (OSD) menu and finding the input settings section on your Omen gaming monitor, the next step is to select the desired input option. This step allows you to specify which input source you want to use for your monitor.
Using the navigation buttons or controls, highlight and select the “Input” option within the OSD menu. This option is usually indicated by a label or icon that represents input selection.
Once you have selected the “Input” option, a submenu will appear, displaying the available input sources that you can choose from. These sources typically include HDMI, DisplayPort, DVI, VGA, and other relevant options depending on your monitor’s capabilities.
Using the navigation buttons, scroll through the list of input sources until you reach the desired option. Pay attention to the labels or icons associated with each input to ensure you select the correct source.
Some Omen gaming monitors may also provide automatic input detection, which means the monitor will automatically switch to the active input source without requiring manual selection. In this case, you may not need to go through the process of choosing the input option manually.
Once you have selected the desired input option, you can proceed to the next step: confirming the input change.
Step 5: Choosing the Desired Input
After selecting the “Input” option in the on-screen display (OSD) menu of your Omen gaming monitor, the next step is to choose the desired input source that you want to use. This step allows you to specify which device or connection you want to use as the input for your monitor.
Within the submenu of the “Input” option, you will see a list of available input sources such as HDMI, DisplayPort, DVI, VGA, and more. Using the navigation buttons or controls, scroll through the list and highlight the input source that corresponds to the device or connection you want to use.
Pay close attention to the labels or icons associated with each input source to ensure you select the correct one. This is particularly important if you have multiple devices connected to your Omen gaming monitor.
Once you have highlighted the desired input source, press the appropriate button or control to confirm your selection. This will choose the input source and apply the changes to your monitor’s display settings.
If you are unsure about which input source to choose, consult the user manual or check the cables connected to your monitor to determine which device or connection is associated with each input. This will help you make the correct selection and avoid any confusion.
After choosing the desired input, you are ready to move on to the next step: confirming the input change.
Step 6: Confirming the Input Change
Once you have selected the desired input source on your Omen gaming monitor, the next step is to confirm the input change. Confirming the change ensures that your monitor recognizes and applies the selected input source for display.
After choosing the input source, exit the on-screen display (OSD) menu by pressing the appropriate button or control. This will save the changes and return you to the main display screen of your Omen gaming monitor.
Take a moment to observe the screen and ensure that the input change has been successfully applied. Your monitor should now be displaying the content from the selected input source, whether it’s a gaming console, PC, or another multimedia device.
If you do not see the expected content or if the screen remains blank, double-check the cable connections between your devices and your monitor. Ensure that the selected input source matches the actual device or connection you want to use.
If you are still experiencing issues, you may need to revisit the previous steps and ensure that you have followed the instructions accurately. Consult the user manual or contact technical support for further assistance in troubleshooting the input change.
Once you have confirmed that the input change has been successfully implemented, you can proceed to the next step: testing the new input.
Step 7: Testing the New Input
After confirming the input change on your Omen gaming monitor, it’s essential to test the new input to ensure everything is working as expected. This step allows you to verify that the selected input source is displaying content correctly on your monitor.
Start by activating the device or connection associated with the selected input source. For example, if you have chosen the HDMI input for your gaming console, turn on the console and make sure it is connected properly to your monitor.
Once the device is powered on and connected, switch your attention back to the Omen gaming monitor. Observe the screen and check if the content from the selected input source is being displayed as intended.
If you see the expected content and it appears to be functioning correctly, congratulations! You have successfully tested the new input, and your Omen gaming monitor is now ready for your gaming or multimedia experience.
On the other hand, if you encounter any issues or if the content is not displaying correctly, there are a few troubleshooting steps you can take. First, make sure all cables are securely connected and that they are in good condition. Verify that the selected input source matches the device or connection you are testing.
If the problem persists, consult the user manual for troubleshooting tips specific to your Omen gaming monitor model. Additionally, consider reaching out to the manufacturer’s technical support for further assistance.
Once you have confirmed that the new input is working as expected, you can start enjoying your gaming experience or multimedia content on your Omen gaming monitor.
Conclusion
Changing inputs on your Omen gaming monitor is a simple process that allows you to seamlessly switch between different devices and connections. By following the step-by-step guide in this article, you can navigate the on-screen display (OSD) menu and select the desired input source with ease.
Remember to locate the input buttons on your monitor, access the OSD menu, and navigate through the menu options to find the “Input” settings. Once you have chosen the desired input, confirm the change and test the new input to ensure it is displaying content correctly.
Being able to change inputs on your Omen gaming monitor opens up a world of possibilities, whether you’re connecting your gaming console, PC, or other multimedia devices. This flexibility allows you to enjoy a seamless and immersive gaming experience or easily switch between different tasks and content.
If you have any issues or questions during the input change process, consult the user manual that came with your Omen gaming monitor or reach out to the manufacturer’s technical support for assistance.
Now that you have successfully learned how to change inputs on your Omen gaming monitor, you can fully harness its capabilities and customize your gaming or multimedia setup to fit your preferences and needs.