Introduction
Welcome to our guide on how to move Windows from one SSD to another! If you’re looking to upgrade your computer’s storage or replace a faulty SSD, it’s essential to transfer your Windows operating system (OS) along with your files and settings. Moving Windows to a new SSD can be a daunting task, but fear not – we have you covered.
In this article, we will walk you through the process of successfully migrating your Windows OS to a different SSD. Before we dive into the specifics, it’s important to note that this guide assumes you have a basic understanding of computer hardware and software. If you’re not comfortable with technical tasks, it may be best to seek assistance from a professional.
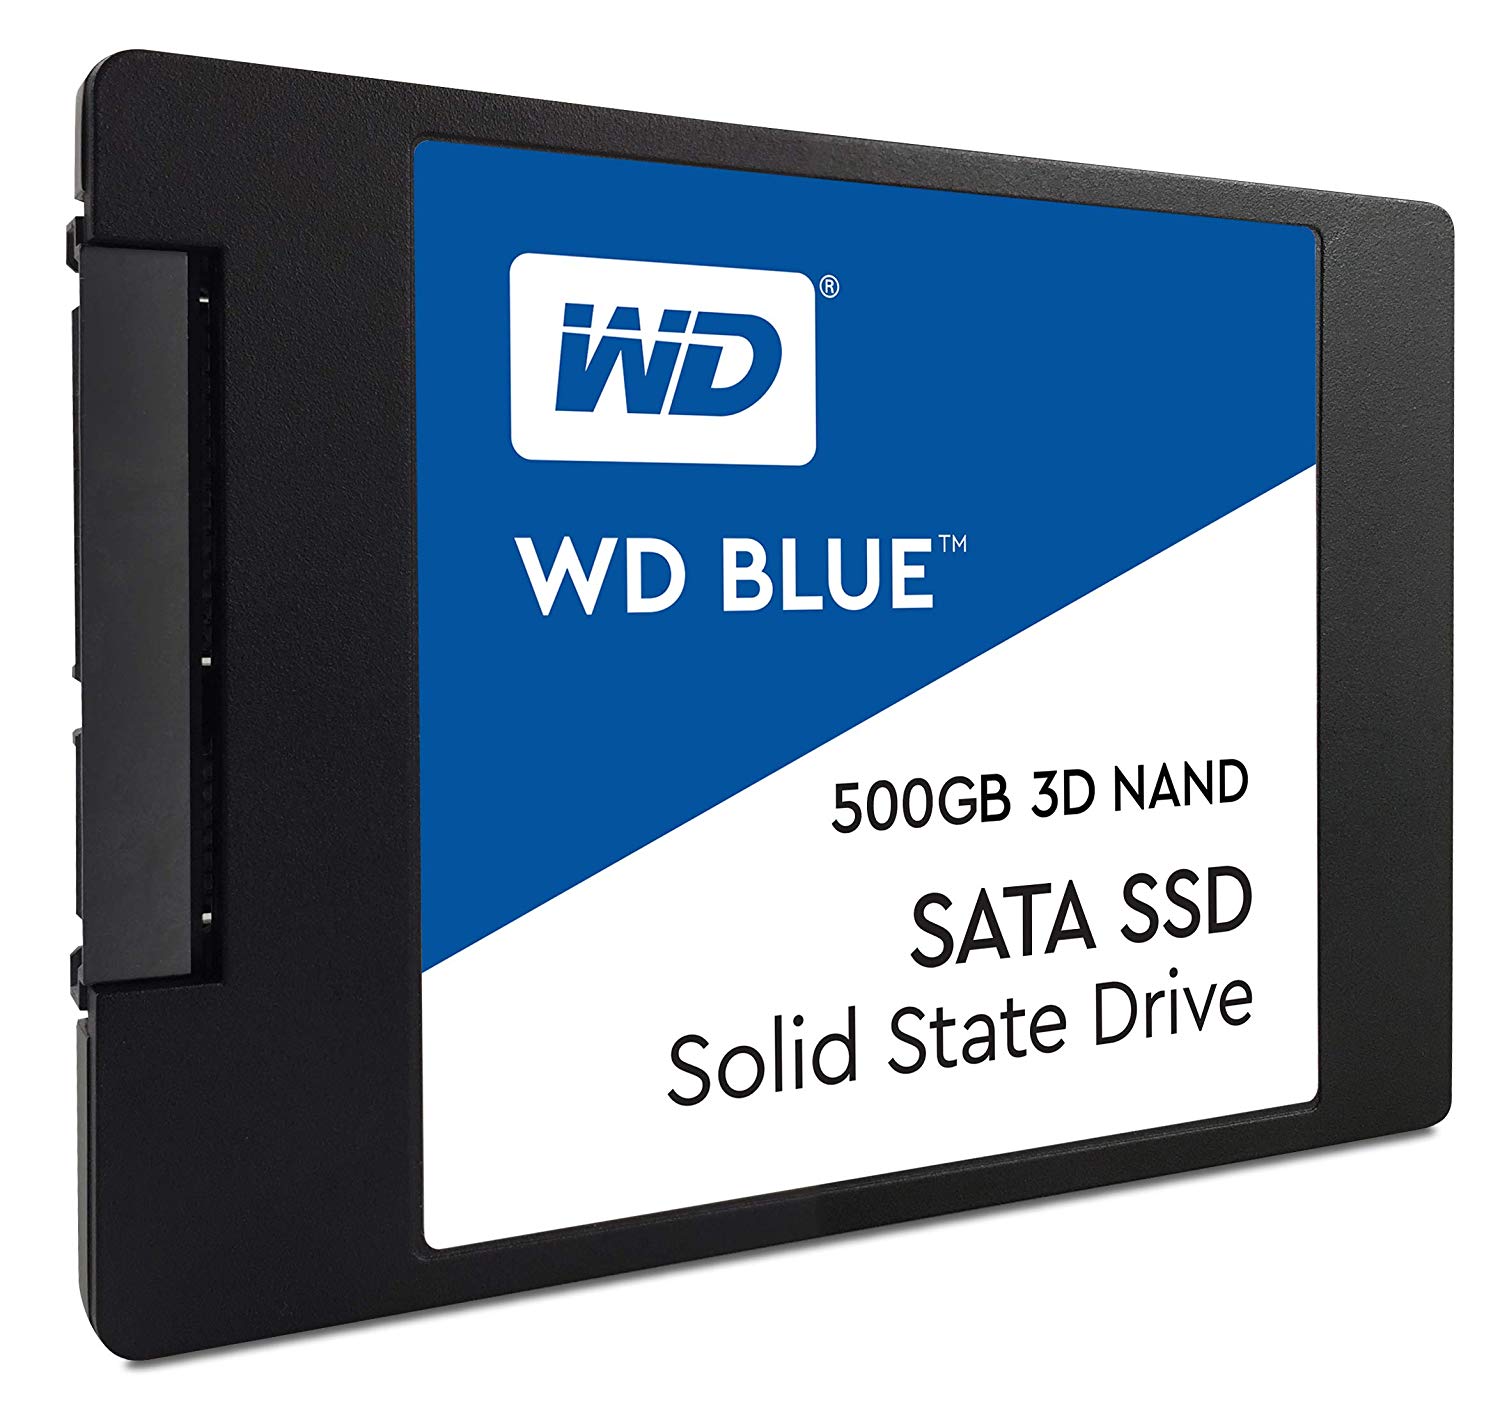
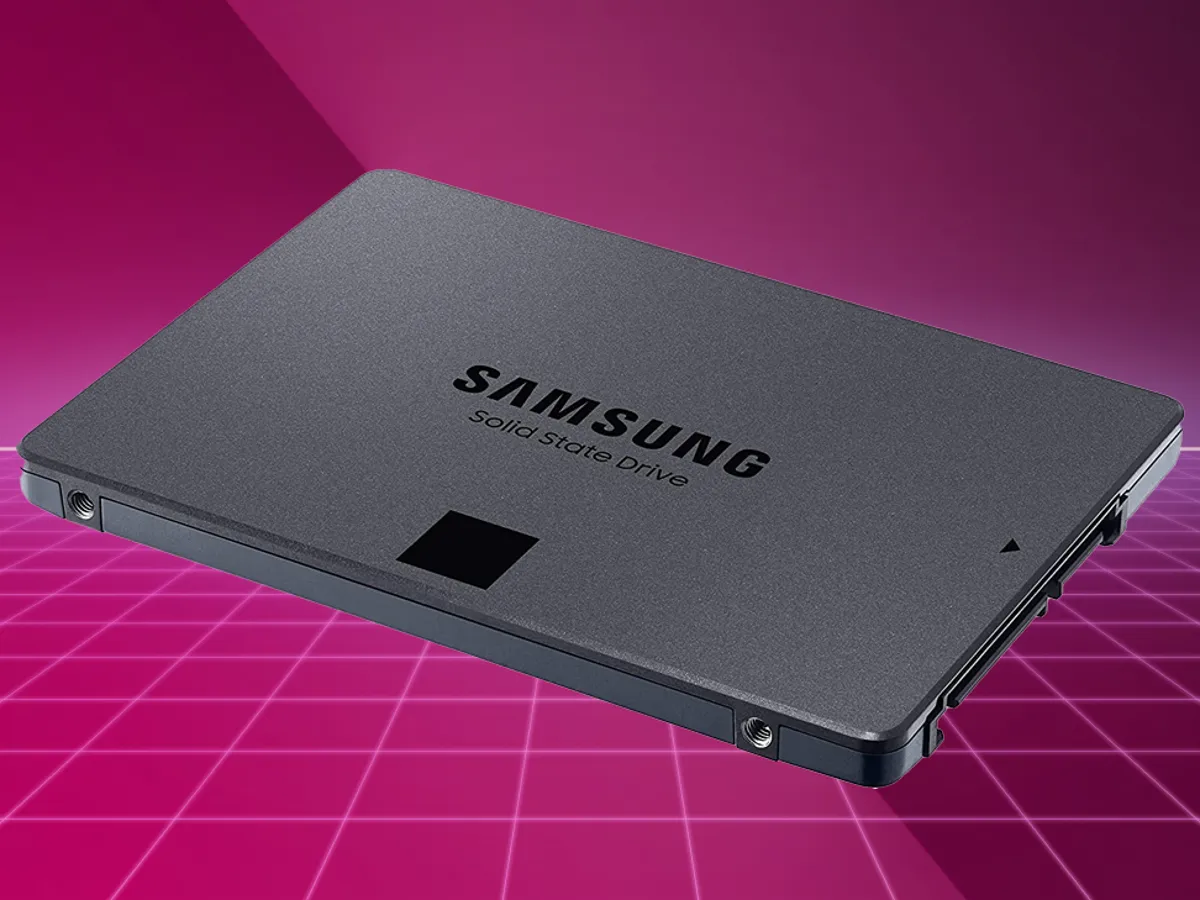
Before we get started, there are a few things to consider. First, ensure that your new SSD is compatible with your computer’s motherboard and that it has sufficient capacity to store your Windows OS and other files. Secondly, it’s crucial to back up all your important data. While the migration process is generally safe, it’s better to be safe than sorry.
In the following sections, we will provide you with step-by-step instructions to help you smoothly transfer your Windows installation to a new SSD. This involves creating a bootable USB drive, cloning your current SSD to the new one, disconnecting the old SSD, and then booting from the new SSD.
By the end of this guide, you’ll have your Windows OS up and running on your shiny new SSD, allowing for improved performance and reliability. So, let’s get started and dive into the exciting process of moving your Windows to a different SSD!
Things to Consider Before Moving Windows to Another SSD
Before you start the process of moving Windows to another SSD, there are a few important factors to consider. These considerations will help ensure a smooth and successful migration, minimizing the risk of data loss or compatibility issues. Let’s take a closer look at what you need to know:
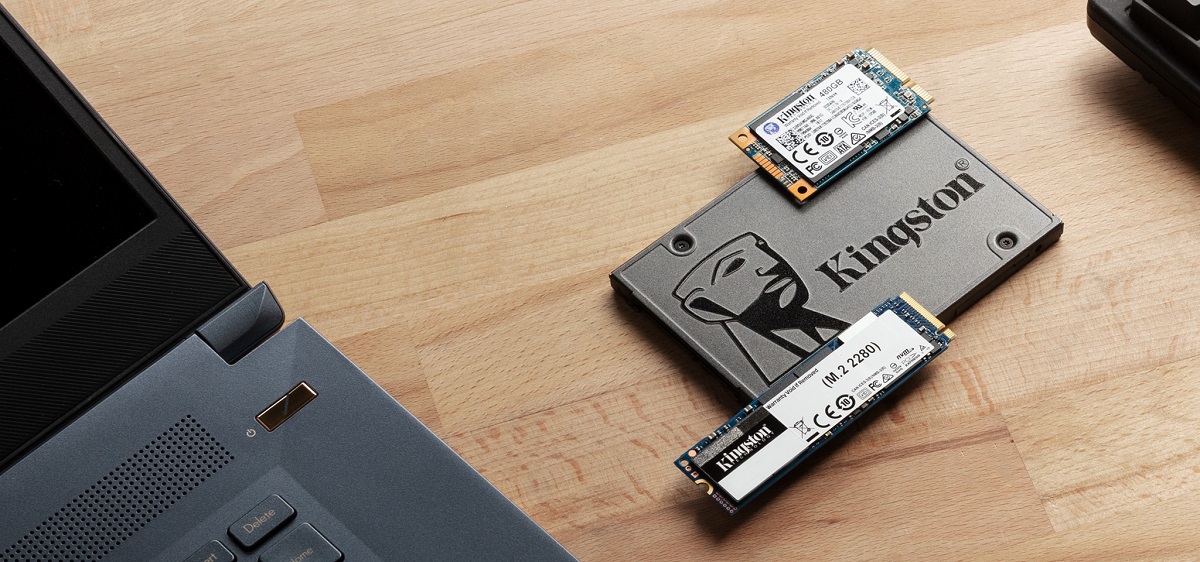
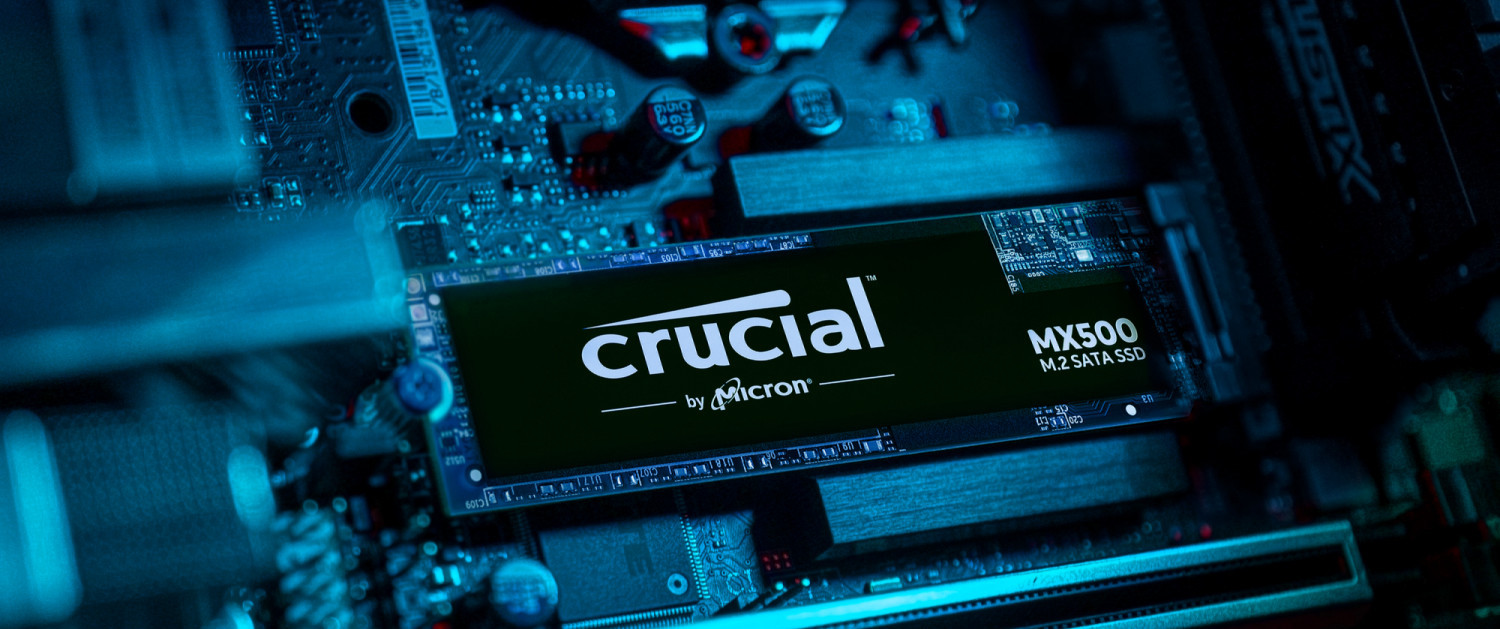
- Compatibility: Make sure that the new SSD you plan to use is compatible with your computer’s hardware. Check the manufacturer’s specifications and ensure that the SSD is the right form factor and interface for your motherboard.
- Capacity: Assess the capacity of the new SSD. Determine if it will have enough space to accommodate your Windows operating system, applications, and files. If you’re downsizing to a smaller SSD, you may need to prioritize which files to keep.
- Backup: It’s crucial to back up all your important data before proceeding with the migration process. While the process is generally safe, there’s always a risk of data loss. Create a backup of your files on an external hard drive or cloud storage solution.
- License: Ensure that you have a valid license for your Windows operating system. Moving Windows to a new SSD doesn’t affect your license, but it’s always a good idea to have it handy in case you need to reactivate Windows.
- Software and Settings: Take note of the software applications you currently have installed on your computer. Make a list of any custom settings or configurations you want to transfer to the new SSD. This will help you set up your new system more efficiently.
- Available Resources: Prepare a bootable USB drive with the necessary software and drivers for the migration process. You may need to download specific tools or drivers from the SSD manufacturer’s website to ensure a smooth transfer.
By taking these considerations into account, you’ll be well-prepared for the task of moving Windows to another SSD. With careful planning and attention to detail, the migration process will be much smoother, and you can enjoy your new SSD with your Windows operating system up and running in no time.
Backing Up Your Data
Before you embark on the process of moving Windows to another SSD, it’s crucial to back up your data. While the migration process is generally safe, there’s always a small risk of data loss or corruption. By creating a backup, you can have peace of mind knowing that your important files are protected. Here’s how to back up your data:
- Identify Your Important Files: Take some time to identify the files and folders that are essential to you. These may include documents, photos, videos, music files, and any other data that you can’t afford to lose.
- Choose a Backup Method: There are several backup methods available, including external hard drives, network-attached storage (NAS), and cloud storage services. Select the method that best suits your needs and preferences.
- External Hard Drive Backup: If you have an external hard drive, connect it to your computer. Use backup software or manually copy and paste your important files onto the external drive. Make sure to organize your data in a folder structure that makes it easy to locate and restore files later.
- Network-Attached Storage (NAS): If you have a NAS device in your home network, set up a backup job to copy your important files to the NAS. This method provides an extra layer of protection since the data is stored on a separate device.
- Cloud Storage Backup: Cloud storage services like Google Drive, Dropbox, or Microsoft OneDrive offer convenient and reliable backup options. Sign up for an account, install the necessary software, and configure it to automatically synchronize your important files to the cloud.
- Verify Your Backup: After the backup process is complete, take a moment to verify that your files have been successfully transferred. Open a few files from your backup location to ensure they are intact and accessible.
Remember, it’s crucial to regularly update your backups to keep your data protected. This will ensure that even in the event of a hardware failure or accidental deletion, you can easily restore your important files. With your data safely backed up, you can proceed with confidence to the next step of moving Windows to another SSD.
Creating a Bootable USB Drive
In order to move Windows to another SSD, you’ll need to create a bootable USB drive. This will allow you to boot your computer from the USB drive and initiate the migration process. Here’s a step-by-step guide on how to create a bootable USB drive:
- Select a Reliable Tool: There are several software applications available that can help you create a bootable USB drive. Some popular options include Rufus, UNetbootin, and Windows USB/DVD Download Tool. Choose the one that is compatible with your operating system and download it from a trusted source.
- Insert the USB Drive: Connect a USB drive with sufficient space (at least 8GB) to your computer’s USB port. Note that all existing data on the USB drive will be erased during the process, so make sure to back up any important files stored on the USB drive.
- Launch the Software: Open the software you downloaded and launch it on your computer. Make sure to run the software with administrative privileges if prompted.
- Select the ISO File: In the software, select the ISO file for the Windows operating system. This file contains the installation files for Windows. You can either browse your computer to find the ISO file or download it from the official Microsoft website.
- Choose the USB Drive: Choose the USB drive from the list of available drives in the software. Double-check to ensure that you’ve selected the correct drive, as all data on the drive will be erased.
- Configure the Settings: Depending on the software you’re using, you may have the option to configure additional settings such as partition schemes or file system formats. You can usually leave these settings at their default values unless you have specific requirements.
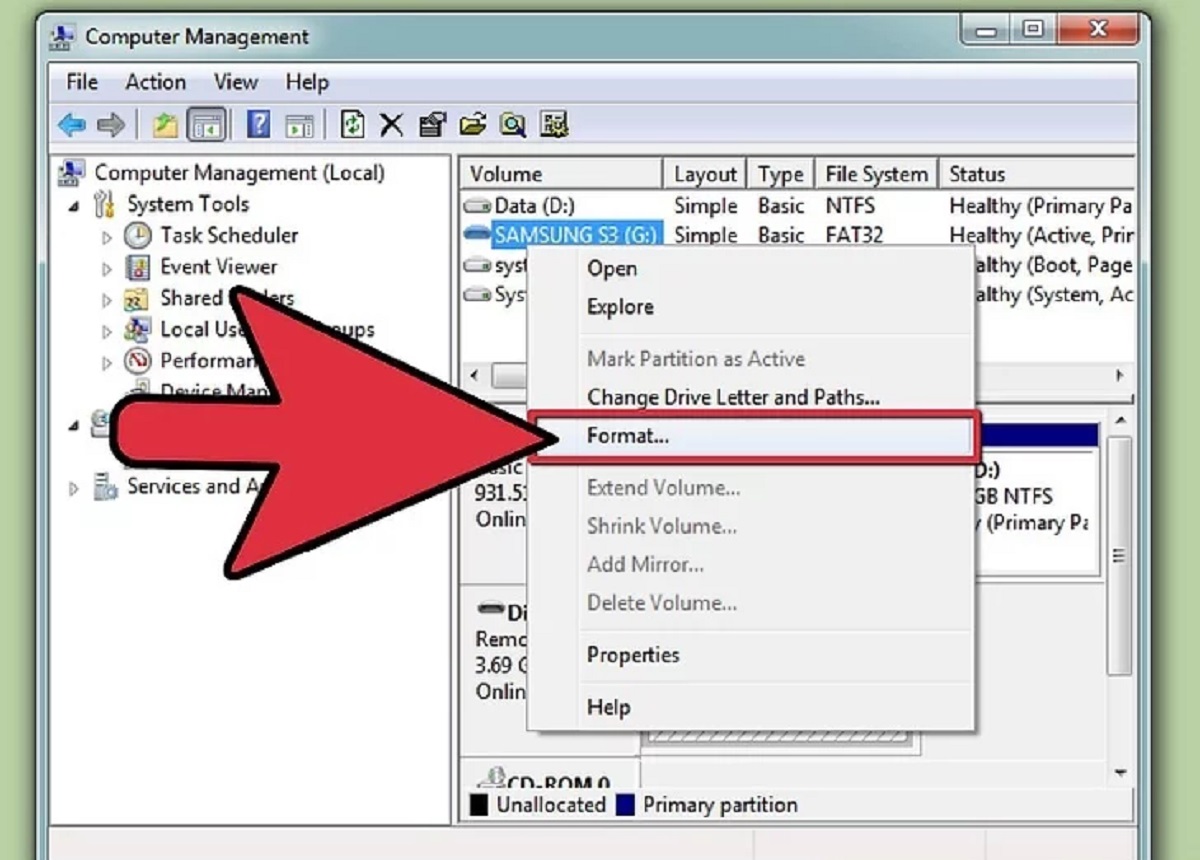
- Create the Bootable USB Drive: Click on the “Start” or “Create” button to begin the process of creating the bootable USB drive. The software will format the USB drive and copy the necessary files from the ISO image onto the drive. This process may take a few minutes to complete.
- Verify the Bootable USB Drive: Once the process is finished, verify that the bootable USB drive has been created successfully by checking if the necessary files and folders are present on the drive.
With your bootable USB drive ready, you can now proceed to the next step of cloning your current SSD to the new one. This bootable USB drive will enable you to start the migration process smoothly and efficiently.
Cloning Your Current SSD to the New One
Once you have created the bootable USB drive, the next step in moving Windows to another SSD is to clone your current SSD to the new one. Cloning involves creating an exact copy of your existing SSD, including the Windows OS, files, and settings. Follow these steps to clone your SSD:
- Connect the New SSD: Disconnect power to your computer and open the case. Locate an available SATA port on your motherboard and connect the new SSD. Ensure that the new SSD is properly secured in the case.
- Connect the Bootable USB Drive: Plug the bootable USB drive you created in the previous step into a USB port on your computer.
- Boot from the USB Drive: Restart your computer and enter the BIOS or UEFI settings. Look for the option to change the boot order and set the USB drive as the first boot device. Save the changes and exit the BIOS or UEFI settings.
- Start the Cloning Software: Once your computer restarts, it should boot from the USB drive. The bootable USB drive should automatically launch the cloning software you selected. If not, you may need to manually run the software.
- Select the Source Drive: In the cloning software, select your current SSD as the source drive. This is the drive that contains your Windows OS and other files.
- Select the Destination Drive: Choose the new SSD as the destination drive. This is the drive that will receive the cloned data.
- Configure the Cloning Settings: Depending on the software you’re using, you may have the option to configure additional settings such as partition sizes or data transfer methods. Review the settings and make any necessary adjustments.
- Start the Cloning Process: Begin the cloning process by clicking on the “Clone” or “Start” button in the software. The software will start copying the data from the source SSD to the destination SSD. This process may take some time, depending on the size of the data being cloned.
- Verify the Cloning Process: Once the cloning process is complete, the software will indicate its success. Double-check to ensure that all data has been transferred to the new SSD without any errors or warnings.
With the cloning process complete, you have successfully moved Windows from your old SSD to the new one. The new SSD now contains an exact copy of your previous Windows installation, including your files and settings. The next step is to disconnect the old SSD and connect the new one in your computer.
Disconnecting the Old SSD and Connecting the New One
Now that you have successfully cloned your current SSD to the new one, it’s time to physically swap them out in your computer. Here’s how to disconnect the old SSD and connect the new one:
- Power Off Your Computer: Shut down your computer and unplug it from the power source. This is an essential safety step to avoid any electrical damage while working on the internal components.
- Open the Computer Case: Remove the side panel or cover of your computer case. This will allow you to access the internal components.
- Locate the Old SSD: Identify the old SSD that you want to replace. It’s usually connected to one of the SATA ports on your motherboard and has power cables connected to it.
- Disconnect the Power and Data Cables: Carefully unplug the power cable and SATA data cable from the old SSD. Make sure to note which cables were connected to which ports for later reference. Gently remove the old SSD from its mounting bracket if necessary.
- Connect the New SSD: Take the new SSD and connect the SATA data cable to a vacant SATA port on the motherboard. The SATA data cable is usually flat and has two L-shaped connectors – one for the motherboard and the other for the SSD. Connect the power cable to the new SSD as well.
- Secure the New SSD: If required, securely mount the new SSD in the computer case using screws or brackets. Ensure that it is firmly in place to prevent any movement that could cause damage.
- Close the Computer Case: Carefully place the side panel or cover back on the computer case. Make sure it is properly aligned and securely closed.
- Power On and Test: Plug in your computer and power it on. The computer should recognize the new SSD during the boot process. If everything is connected correctly, your system should start up normally.
- Check the New SSD: Once your computer has booted into Windows, open “File Explorer” and ensure that the new SSD is recognized and visible. Verify that your files and settings from the previous SSD are intact on the new one.
By following these steps, you have successfully disconnected the old SSD and connected the new one in your computer. The new SSD should now be the primary storage device, containing your Windows OS and all your data. The final step is to boot your computer from the new SSD and verify that Windows is working properly.
Booting from the New SSD
With the new SSD installed and connected in your computer, the next step is to set it as the bootable drive. This will ensure that your computer starts up from the new SSD and runs the Windows OS successfully. Here’s how to boot from the new SSD:
- Restart Your Computer: Save any ongoing work and restart your computer. This will give you access to the BIOS or UEFI settings.
- Enter the BIOS or UEFI Settings: During the boot process, you’ll need to press a specific key to access the BIOS or UEFI settings. The key to access these settings is usually displayed on the screen during startup. Common keys include F2, F10, Del, or Esc. Consult your computer’s documentation if you’re unsure.
- Navigate to the Boot Order Settings: Once you’re in the BIOS or UEFI settings, look for the option related to boot order or boot sequence. This setting determines the priority of bootable devices. You want to ensure that the new SSD is set as the first boot device.
- Set the New SSD as the First Boot Device: Use the arrow keys to navigate to the boot order settings and select the new SSD as the first boot device. Save the changes and exit the BIOS or UEFI settings. The computer will restart.
- Verify the Booting Process: As your computer restarts, it should now boot directly from the new SSD. You should see the Windows logo during startup, indicating that the Windows OS is loading from the new SSD.
- Allow Windows to Load Completely: Give Windows a few moments to load all the necessary files and drivers from the new SSD. Depending on your computer’s specifications, this process may take some time.
- Log into Windows: Once Windows has finished loading, you’ll be prompted to log into your user account. Enter your username and password to access your desktop.
- Verify System Stability: Take a moment to ensure that your computer is running smoothly after booting from the new SSD. Open a few applications, browse the internet, and perform basic tasks to confirm that everything is working correctly.
By following these steps, you have successfully set the new SSD as the bootable drive. Your computer will now start up faster and run smoother with the Windows OS running from the new SSD. Now it’s time to verify that Windows is functioning properly on the new SSD.
Verifying That Windows Is Working on the New SSD
After successfully booting from the new SSD, it is essential to verify that Windows is functioning correctly and that all your files and settings are intact. Here are the steps to verify the functionality of Windows on the new SSD:
- Check for System Stability: Use your computer as you normally would and ensure that the system remains stable. Open various applications, browse the internet, and perform tasks that you typically do. Pay attention to any unusual behavior, crashes, or errors.
- Verify File Access and Performance: Open File Explorer and navigate through your files and folders. Check if you can access all your documents, photos, videos, and other important files. Pay attention to the speed and responsiveness of file operations.
- Test Installed Applications: Launch your commonly used software applications and verify that they work correctly on the new SSD. Open and save files using those applications to ensure seamless functionality.
- Check Device Drivers: Ensure that all necessary device drivers are installed and functioning correctly. Go to the Device Manager and look for any yellow exclamation marks or error icons. If there are any issues, consider updating or reinstalling the drivers for those devices.
- Test Internet Connectivity: Verify that you can connect to the internet and browse websites without any issues. Check if you can access network resources and perform online activities without interruptions.
- Perform System Updates: Check for any pending Windows updates and install them if available. Keeping your system up to date is crucial for security and performance improvements.
- Validate System Settings: Review your system settings, including power management, display resolution, audio configuration, and any customized settings you previously had. Make sure that everything is configured according to your preferences.
- Monitor System Performance: Keep an eye on your system’s performance after moving Windows to the new SSD. Monitor the CPU usage, memory consumption, and disk activity using built-in Windows performance tools or third-party software. Ensure that the system is running efficiently.
- Perform Backup of the New SSD: Now that Windows is working correctly on the new SSD, it’s a good time to create a backup. Set up a regular backup routine to protect your data and ensure that you have a reliable recovery option in case of any future issues.
By following these steps and verifying that Windows is working on the new SSD, you can ensure a smooth transition and enjoy the improved performance and reliability provided by the new storage device. If any issues arise, refer to the troubleshooting tips provided by your computer manufacturer or seek assistance from technical support.
Conclusion
Congratulations! You have successfully moved Windows from one SSD to another. By following the steps outlined in this guide, you managed to migrate your operating system, files, and settings to a new SSD, improving performance and reliability.
Throughout the process, you took the necessary precautions, such as considering compatibility, backing up your data, creating a bootable USB drive, cloning your SSD, disconnecting the old SSD, connecting the new one, and setting it as the bootable drive. By verifying that Windows is functioning properly on the new SSD and ensuring that all your files and settings are intact, you can confidently take advantage of your upgraded storage device.
Remember to keep your new SSD and Windows installation up to date by installing regular updates and performing backups to protect your data. With the improved speed and responsiveness that the new SSD brings, you can enjoy a smoother computing experience for years to come.
Should you encounter any issues along the way, do not hesitate to consult the documentation provided by your computer manufacturer or seek assistance from technical support, as they can provide you with specific guidance tailored to your system.
Thank you for following this guide on how to move Windows from one SSD to another. We hope that this article has been informative and helpful in enabling you to successfully migrate your Windows installation. Enjoy your upgraded storage and the enhanced performance it brings!


