Introduction
When it comes to watching videos, subtitles can greatly enhance the viewing experience, especially for those who are hearing impaired or non-native speakers. However, sometimes the subtitle files are separate from the video, requiring viewers to manually load them. This can be inconvenient, particularly when you want to share the video with others or watch it on a device that does not support external subtitle files.
Luckily, there is a way to merge video and subtitles into a single file, eliminating the need for separate subtitle files and making it easier to enjoy your favorite videos with subtitles. By merging the video and subtitles, you can create a seamless viewing experience for yourself and others without the hassle of having to load subtitles separately.
In this guide, we will walk you through the steps on how to merge video and subtitles into one file. Whether you have a movie, TV show, or any other type of video file, we will show you the process from start to finish, making it easy for you to follow along and merge your videos with subtitles effortlessly.
Before we begin, it’s important to note that we will be using software to merge the video and subtitle files. There are various software options available, both free and paid, that can help you accomplish this task. We will discuss choosing the right software in the next section, so you can select the one that best suits your needs and preferences.
Step 1: Choosing the right software
When it comes to merging video and subtitle files, the first step is to choose the right software that fits your requirements. There are several options available, each with its own set of features and capabilities. To help you make an informed decision, consider the following factors:
- Compatibility: Ensure that the software you choose is compatible with the video and subtitle file formats you plan to work with. Common video formats include MP4, AVI, MKV, while subtitle formats can include SRT, SUB, and ASS.
- User-friendly interface: Look for software that offers a user-friendly interface, making it easy to navigate and understand. The process of merging video and subtitles should be straightforward and intuitive.
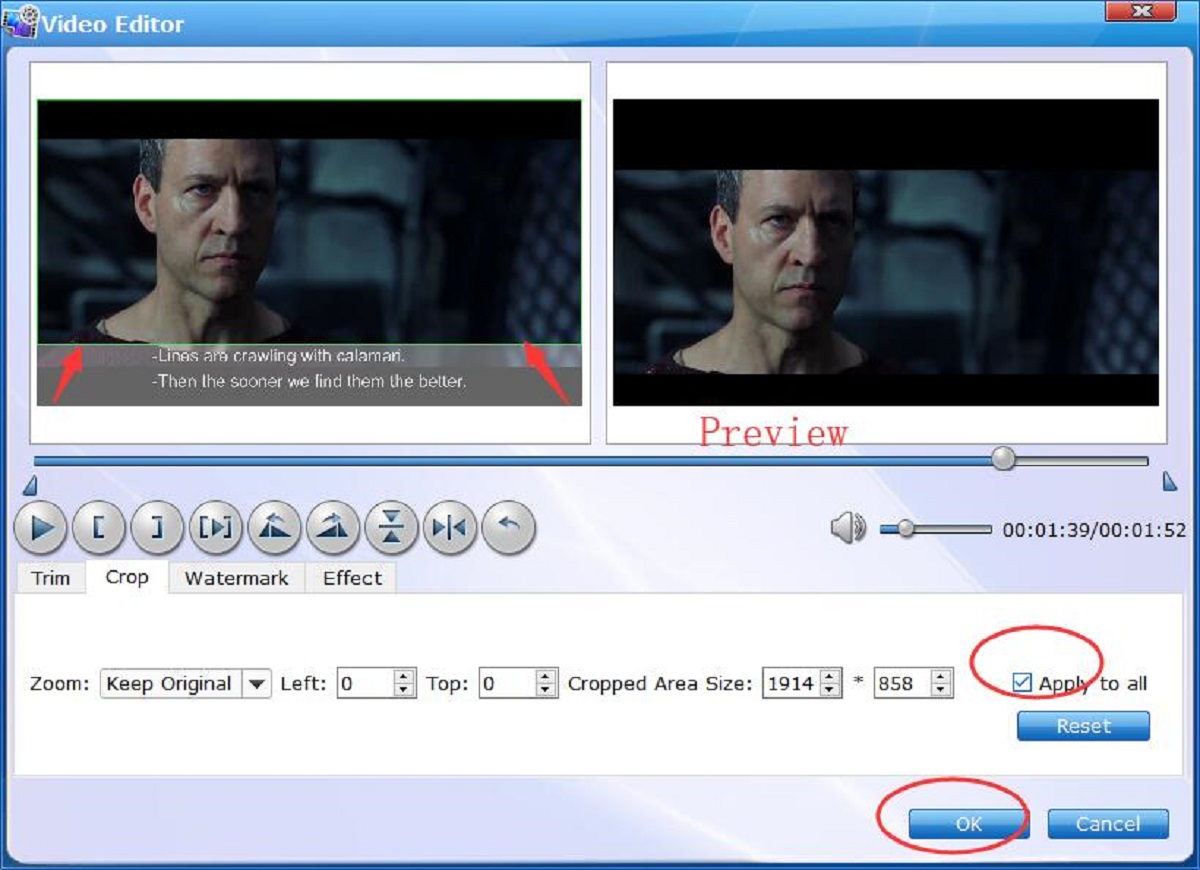
- Subtitle customization: Check if the software allows you to customize the appearance of the subtitles, such as font style, size, color, and positioning. This can be helpful if you prefer a specific subtitle format or want to match the subtitles to your video’s aesthetic.
- Syncing options: Consider whether the software offers syncing options to adjust the timing of the subtitles with the video. This is particularly useful if the subtitles are out of sync or need minor adjustments.
- Additional features: Some software may provide extra features like video editing, batch processing, or support for multiple languages. Assess if these features are relevant to your needs and if they add value to the software.
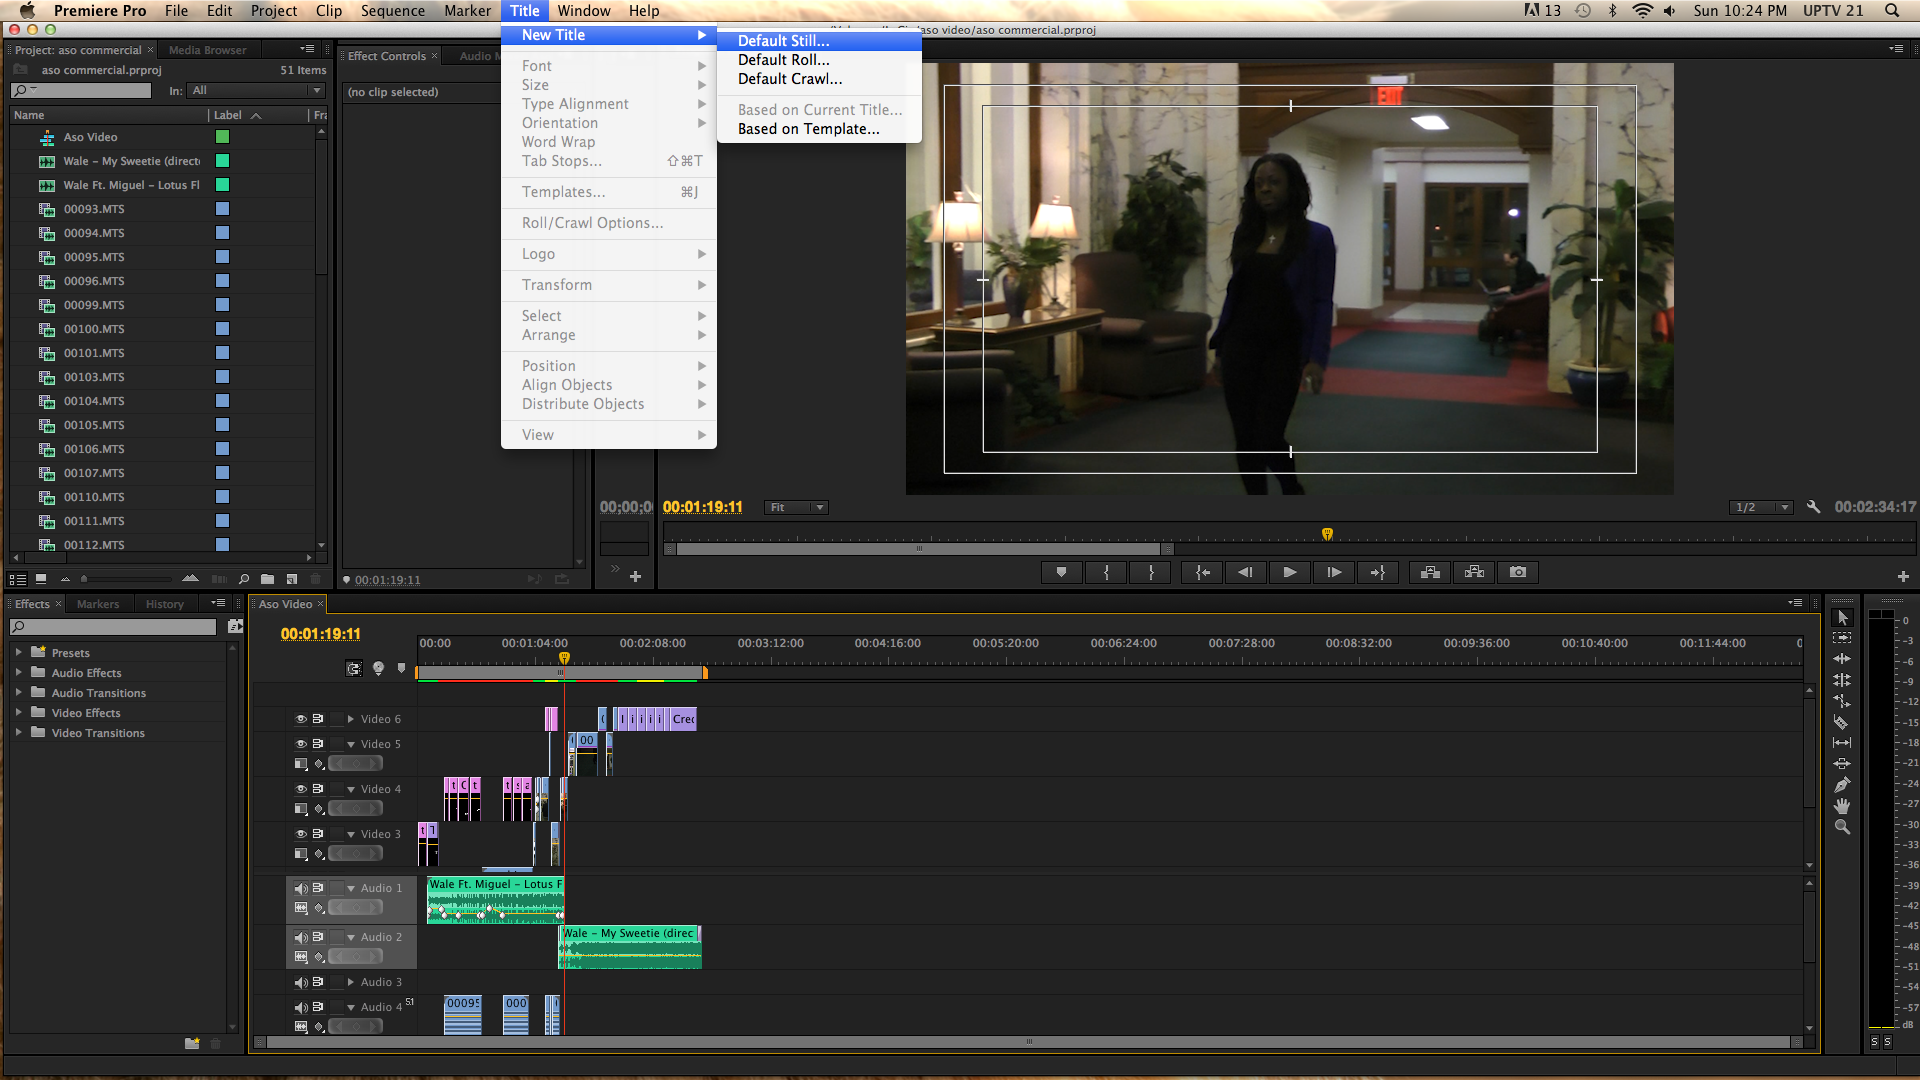
Once you have determined your requirements and preferences, you can explore popular software options like VLC Media Player, Handbrake, Aegisub, and Subtitle Edit. These tools are widely used and trusted by the community, offering a range of features to help you merge video and subtitle files effectively.
Remember that different software may have slightly different steps and interfaces, but the general process of merging video and subtitles remains consistent. In the following sections, we will provide a generic overview that can be applied to most software options, giving you a solid foundation to merge your video and subtitle files seamlessly.
Step 2: Preparing the video and subtitle files
Before you can merge your video and subtitle files, it’s essential to ensure they are properly prepared. Here are the steps to follow:
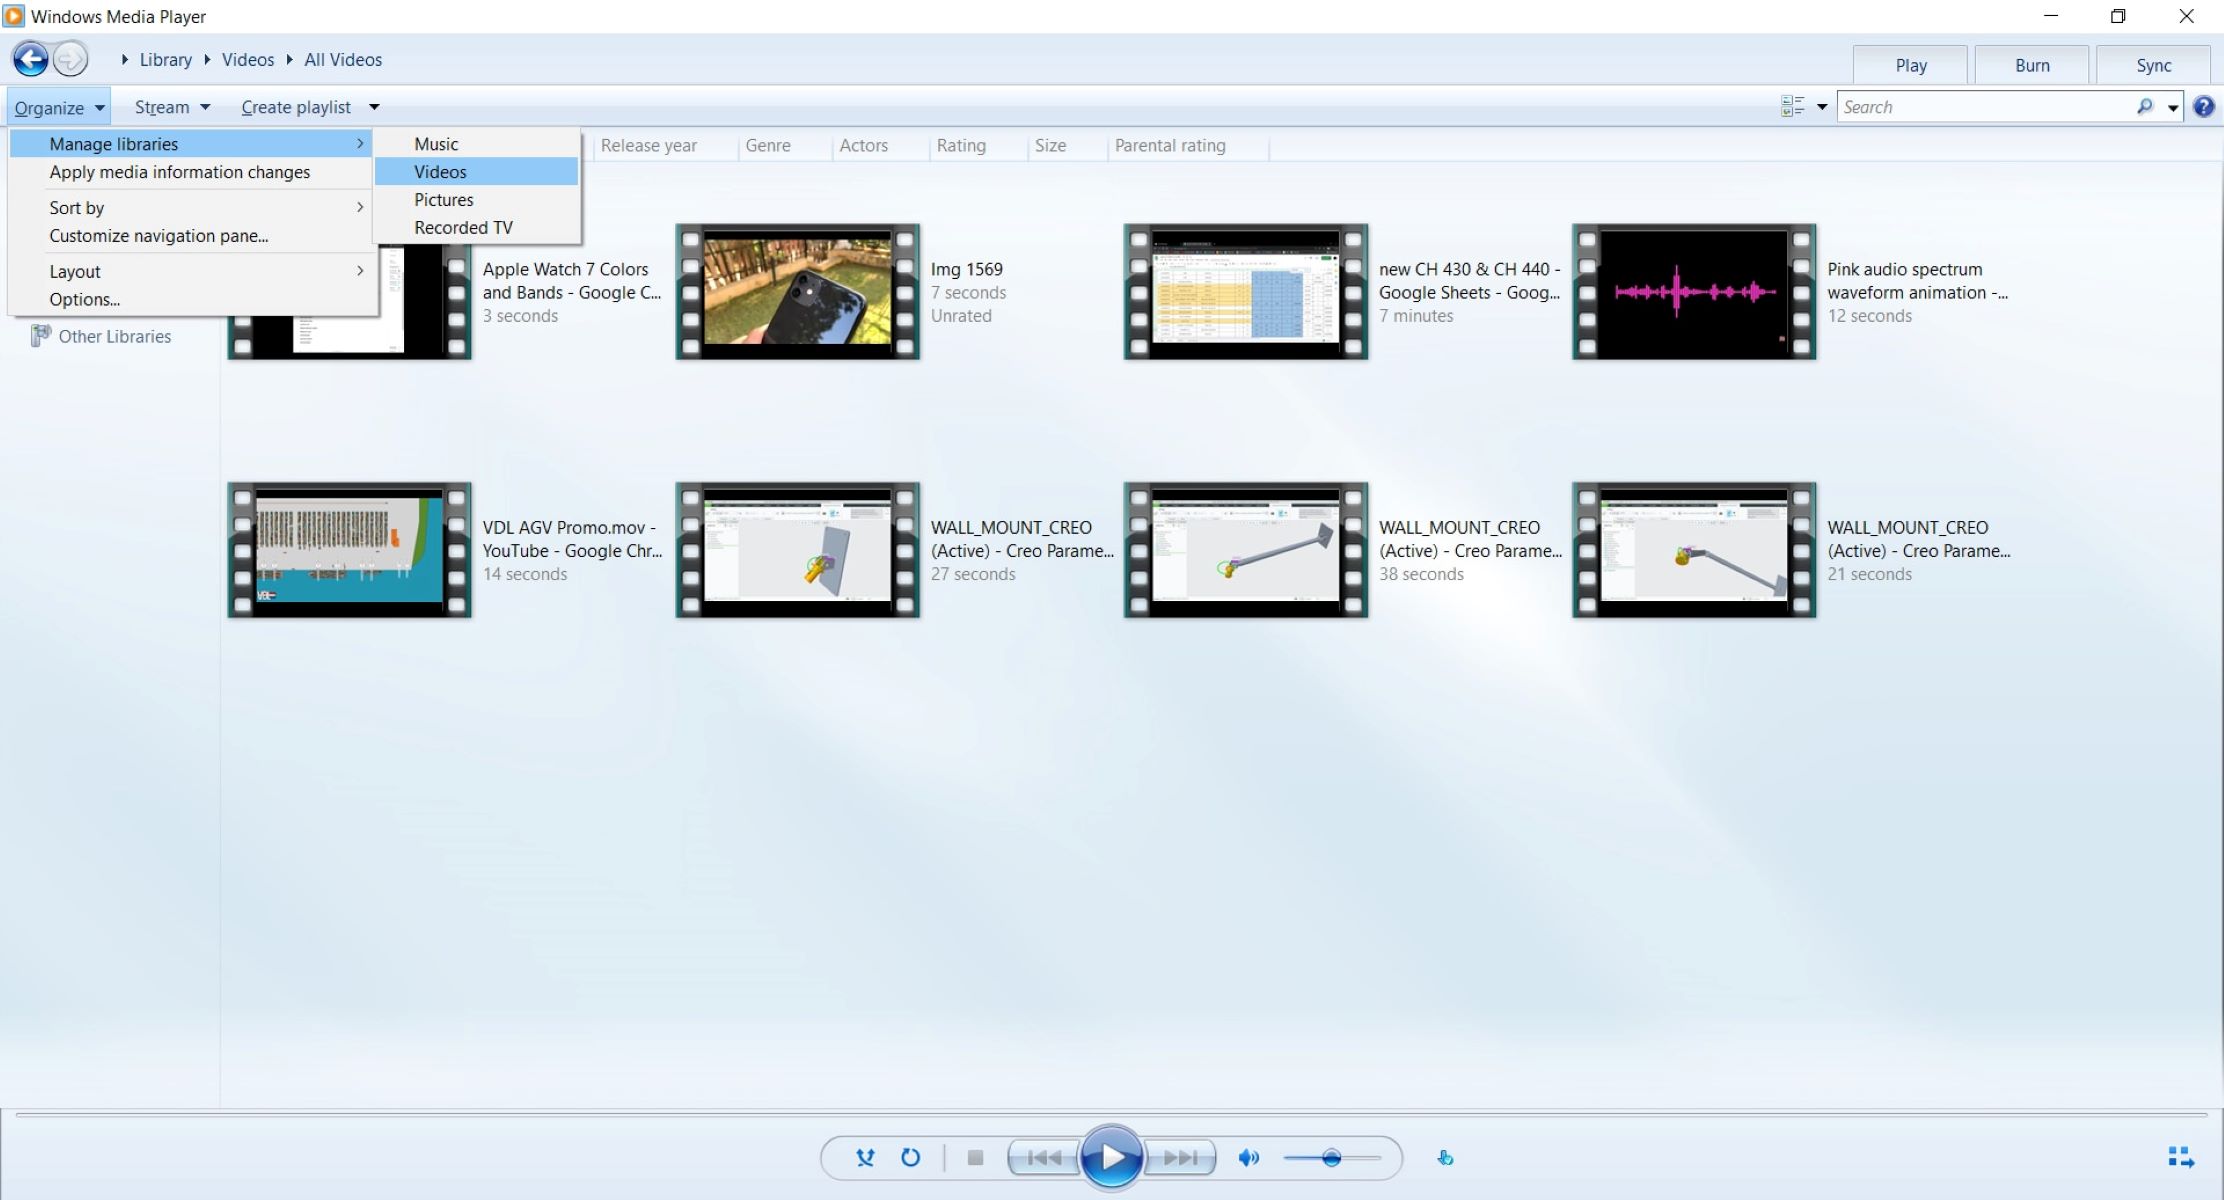
- Locate the video and subtitle files: Make sure you know the exact location of both the video and subtitle files on your computer. It’s easier to work with files that are stored in an easily accessible folder.
- Check file compatibility: Verify that both the video and subtitle files are in compatible formats. If needed, convert them to supported formats using an appropriate conversion tool.
- Give the files the same name: For easier merging, rename the video and subtitle files so that both have the same name. This will make it simpler to associate the video and subtitle files during the merging process.
- Ensure accurate syncing: If your subtitle file is not synchronized correctly with the video, you may want to adjust the timing or sync using dedicated subtitle editing software, such as Subtitle Workshop or Aegisub.
By properly preparing your video and subtitle files, you will create a solid foundation for merging them seamlessly in the next steps. It’s crucial to have the files in the correct formats and ensure that the subtitles are accurately synced with the video to avoid any issues during the merging process.
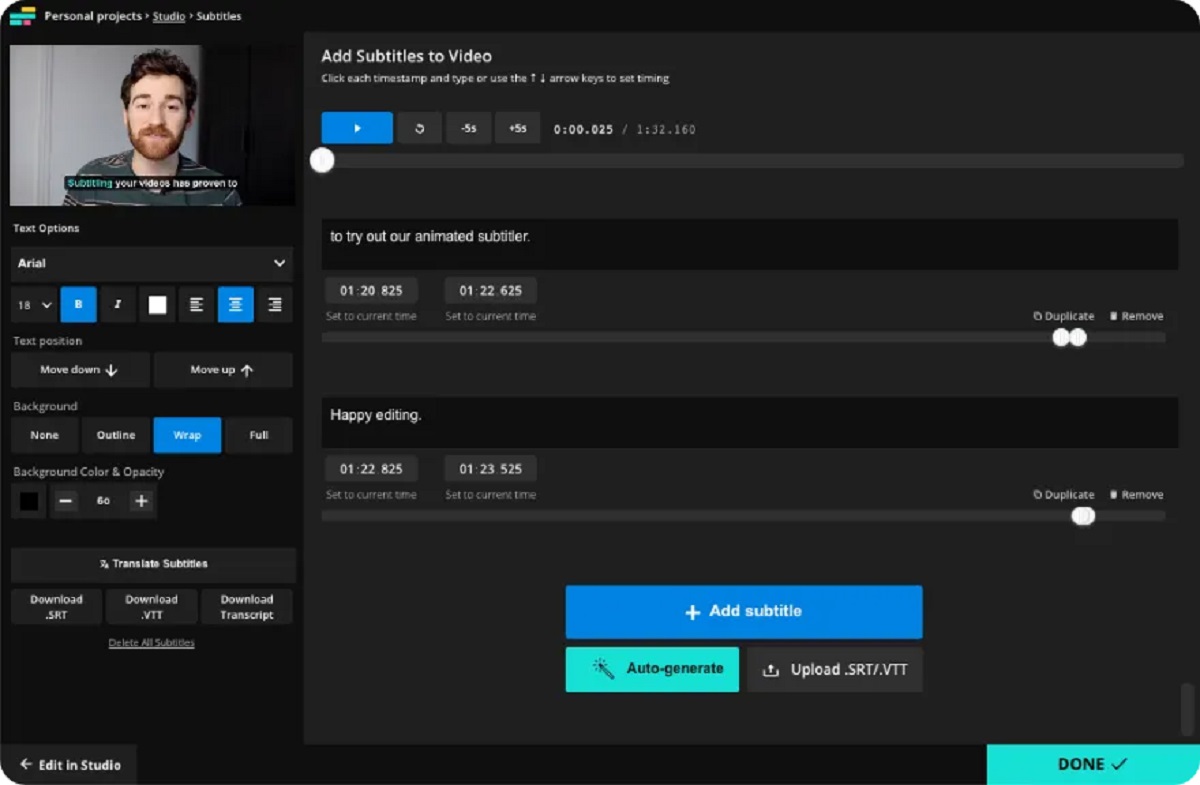
Step 3: Importing the video and subtitle files
Once you have prepared your video and subtitle files, the next step is to import them into the chosen software for merging. The specific steps may vary depending on the software you are using, but the general process involves the following:
- Launch the software: Open the software on your computer, ensuring that you have installed the latest version.
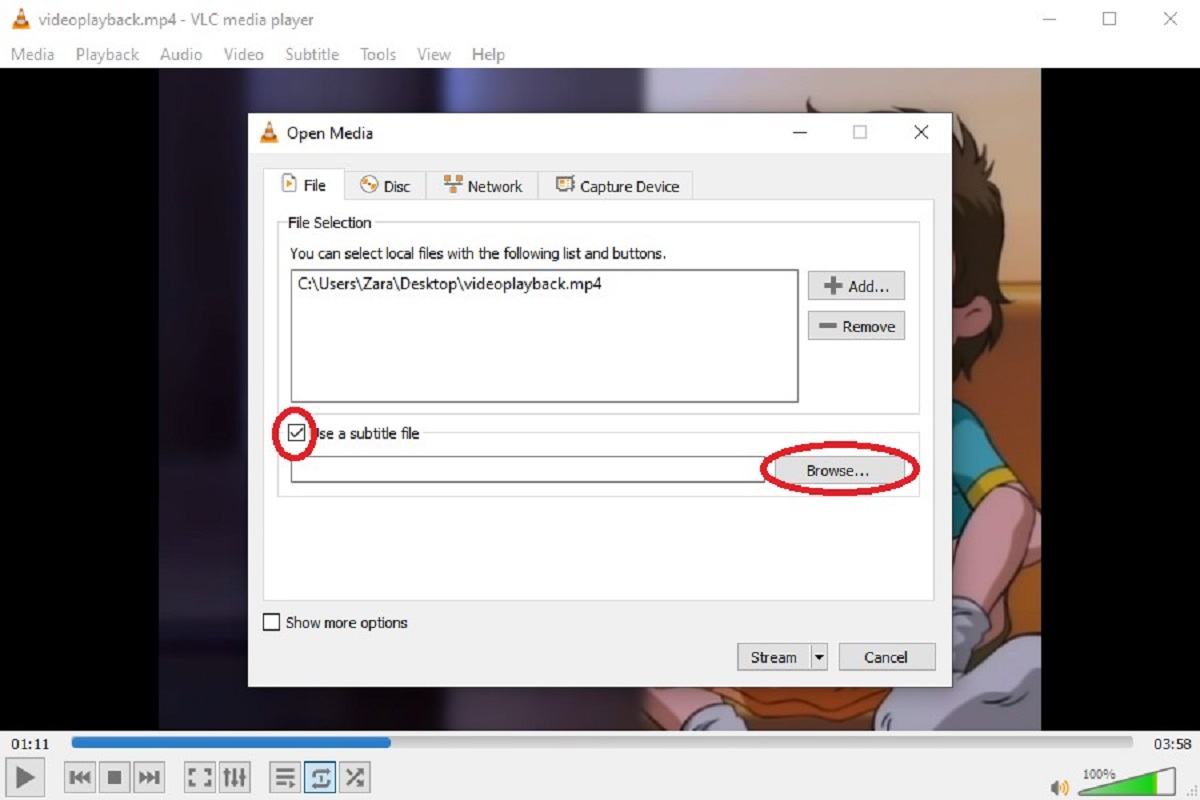
- Select the video file: Locate and select the video file you want to merge with the subtitles. This can usually be done by clicking on a “File” or “Open” option in the software’s menu.
- Add the subtitle file: Look for an “Add Subtitle” or “Import Subtitle” button in the software and click on it. You will then need to navigate to the location of the subtitle file and select it.
- Verify the file association: Some software automatically associates the video file with the subtitle file if they have the same name. Confirm that the video and subtitle files are correctly linked or manually match them if necessary.
After completing these steps, you should be able to see both the video and subtitle files loaded into the software’s interface. At this point, you’re ready to proceed to the next step of syncing the subtitles with the video.
Remember to consult the software’s documentation or online tutorials for specific instructions on importing video and subtitle files, as the exact steps may vary depending on the software you are using.
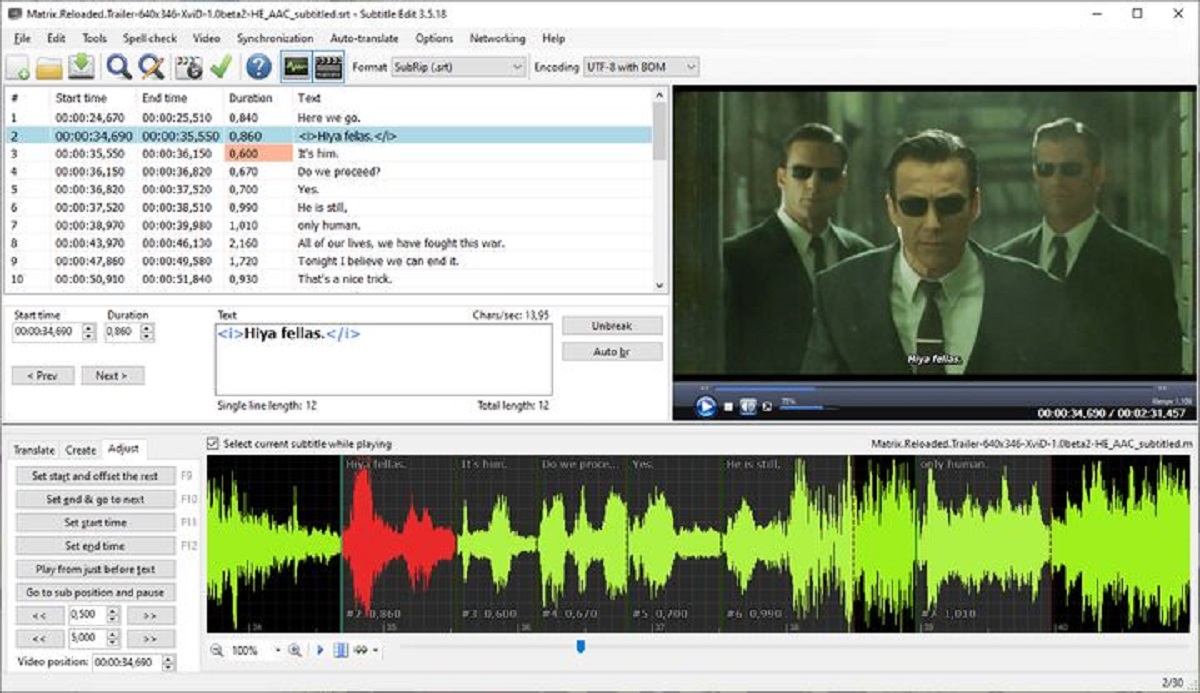
Step 4: Syncing the subtitles with the video
Syncing the subtitles with the video ensures that the text appears on the screen at the right time and matches the dialogue or audio. This step is particularly important if the subtitle file is not already perfectly synced with the video. Here’s how you can synchronize the subtitles:
- Access the subtitle settings: Look for an option or tab within the software that allows you to modify the subtitle settings. It may be labeled as “Subtitle Settings,” “Subtitle Editor,” or something similar.
- Adjust the subtitle timing: In the subtitle settings, you will typically have options to adjust the start time, end time, or duration of each subtitle. Use this feature to synchronize the subtitle text with the corresponding audio or dialogue in the video.
- Preview the changes: Some software provides a preview window where you can see the video with the synchronized subtitles in real-time. Check the preview to ensure the subtitles are appearing correctly and are in sync with the video.
- Fine-tune the syncing: If necessary, continue making adjustments to the subtitle timing until it perfectly matches the video. This may involve tweaking the start or end times of individual subtitles or even adjusting the synchronization gradually throughout the video.
Keep in mind that the specific steps and options for syncing subtitles can vary depending on the software you are using. It’s essential to familiarize yourself with the subtitle settings in your chosen software and refer to its documentation or online guides if you encounter any difficulties.
Once you are satisfied with the synchronization of the subtitles with the video, you’re ready to move on to the final step of merging the video and subtitle files into a single entity.
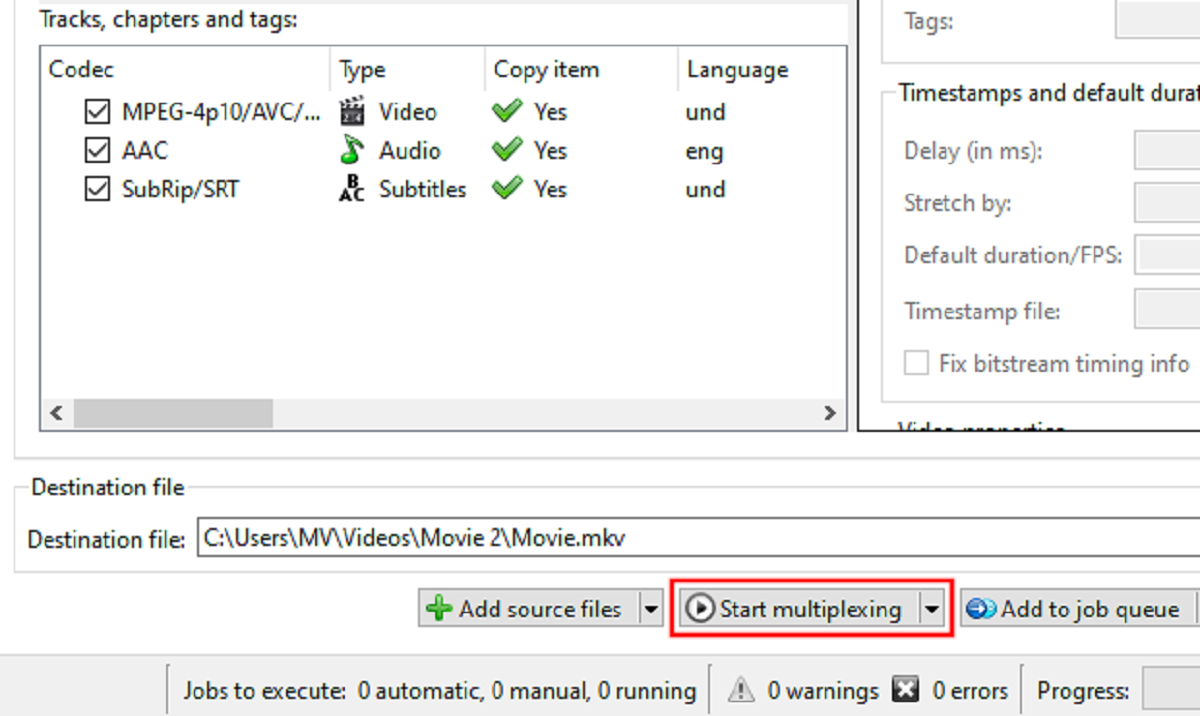
Step 5: Merging the video and subtitles
Now that you have imported the video and synchronized the subtitles, it’s time to merge them together into a single file. The process may vary depending on the software you are using, but here are the general steps to follow:
- Select the merge or export option: Look for a menu option or button that allows you to merge or export the video with the subtitles. This option could be labeled as “Merge,” “Export,” “Save,” or something similar.
- Choose the output format: Determine the format you want the merged video to be in. Common formats include MP4, AVI, and MKV. Select the desired format from the available options in the software.
- Configure additional settings: Some software may provide advanced settings for the merged video. Explore these options if you want to adjust the video quality, resolution, or other parameters of the output file.
- Specify the output location: Choose a location on your computer where you want to save the merged video file. Make sure you have enough storage space available for the file.
- Initiate the merging process: Click on the merge or export button to start the merging process. The software will begin combining the video and subtitle files, incorporating the synced subtitles into the video.
- Wait for the merging to complete: Depending on the length of the video and the processing power of your computer, the merging process may take some time. Be patient and let the software finish merging the files.
Once the merging is complete, you will have a single video file that contains the subtitles. This merged file can now be easily shared, played, and enjoyed without the need for external subtitle files.
Please note that the specific steps and options for merging video and subtitles can vary depending on the software you are using. Refer to the software’s documentation or online resources for any specific instructions or troubleshooting guidance.
Step 6: Exporting the merged video with subtitles
After successfully merging the video and subtitles, the final step is to export the merged file. This ensures that the merged video with subtitles is saved in a format that can be easily shared and played across various devices. Here’s how you can export the merged video:
- Confirm the output settings: Review the output settings in the software to ensure that the merged video file is configured according to your preferences. This includes the output format, resolution, quality, and any other relevant options.
- Select the destination and filename: Specify the location on your computer where you want to save the exported video file. Choose a descriptive and recognizable filename that reflects the content of the video.
- Start the exporting process: Click on the export or save button to initiate the exporting process. The software will start encoding and saving the merged video with the subtitles based on the specified settings.
- Monitor the progress: Depending on the length and complexity of the video, the exporting process may take some time. Keep an eye on the progress indicator in the software to track the completion of the export.
- Verify the exported file: Once the exporting process is finished, navigate to the location where you saved the merged video file. Double-check that the file has been created successfully and that the subtitles are correctly merged with the video.
- Test the video with subtitles: Open the exported video file using a video player to ensure that the subtitles are displayed correctly and that they remain in sync with the video. Adjustments may be necessary if any discrepancies or issues are observed.
By following these steps, you will have successfully exported the merged video with subtitles. You can now enjoy the convenience of a single file that contains both the video and subtitles, making it easier to share, distribute, and enjoy your favorite videos with subtitles.
Keep in mind that the exporting process may differ slightly depending on the software you are using. Consult the software’s documentation or online resources for any specific instructions related to exporting merged videos with subtitles.
Conclusion
Merging video and subtitle files into a single entity can greatly enhance the viewing experience, providing convenience for both viewers and creators. By following the steps outlined in this guide, you can easily merge your videos with subtitles, creating a seamless and enjoyable experience for all.
In this guide, we discussed the importance of choosing the right software for merging video and subtitle files. Compatibility, user-friendly interface, subtitle customization, syncing options, and additional features were highlighted as key factors to consider when selecting software.
We then explored the essential step of preparing the video and subtitle files, emphasizing the need for file compatibility and accurate syncing. Taking the time to properly prepare the files ensures a smooth merging process.
The subsequent step of importing the video and subtitle files into the chosen software was explained. This involved locating the files, checking file associations, and verifying their availability within the software’s interface.
Syncing the subtitles with the video was identified as a critical step to ensure that the text appears in sync with the corresponding audio or dialogue. Adjustments can be made within the subtitle settings of the chosen software to fine-tune the timing.
Afterward, we discussed the actual merging process, including selecting the merge/export option, choosing the output format, and initiating the merging process. This step resulted in a single merged file that incorporates both the video and subtitles.
The final step, exporting the merged video with subtitles, involved confirming the output settings, selecting the destination and filename, and monitoring the exporting process. Verifying the exported file and testing it with a video player ensured the accuracy of the merged video and subtitles.
By successfully completing these steps, you can enjoy the convenience of a single merged video file that incorporates subtitles. Whether you’re sharing videos with friends, watching movies on different devices, or creating content for a broader audience, merging video and subtitles provides a seamless and engaging experience.
Remember to consult the documentation and resources specific to the software you choose, as the exact steps may vary. Stay creative, experiment with different options, and explore the possibilities of merging video and subtitles to elevate your viewing experience.