Introduction
Welcome to the delicious world of homemade water ice! If you’re looking for a refreshing, icy treat to beat the summer heat, making water ice in your Cuisinart ice cream maker is a fantastic option. With just a few simple steps, you can create a mouthwatering and customizable dessert that will cool you down on even the hottest days.
Water ice, also known as Italian ice or sorbet, is a frozen dessert made from a mixture of water, sugar, and fruit juice or flavorings. It offers a smooth and light texture, bursting with refreshing flavors. The great thing about making water ice in your Cuisinart ice cream maker is that it’s incredibly easy and quick. Plus, you have complete control over the flavors and ingredients, allowing you to create your own unique combinations.
In this article, we’ll guide you through the process of making water ice in your Cuisinart ice cream maker. We’ll cover the equipment and ingredients you’ll need, as well as provide step-by-step instructions for achieving the perfect water ice consistency. By the end of this article, you’ll be ready to delight your taste buds and those of your friends and family with your homemade water ice creations.
So, let’s dive in and discover how to harness the power of your Cuisinart ice cream maker to whip up delicious and refreshing water ice!
Equipment Needed
Before you embark on your water ice-making adventure, it’s important to gather all the necessary equipment. Here’s a list of what you’ll need:
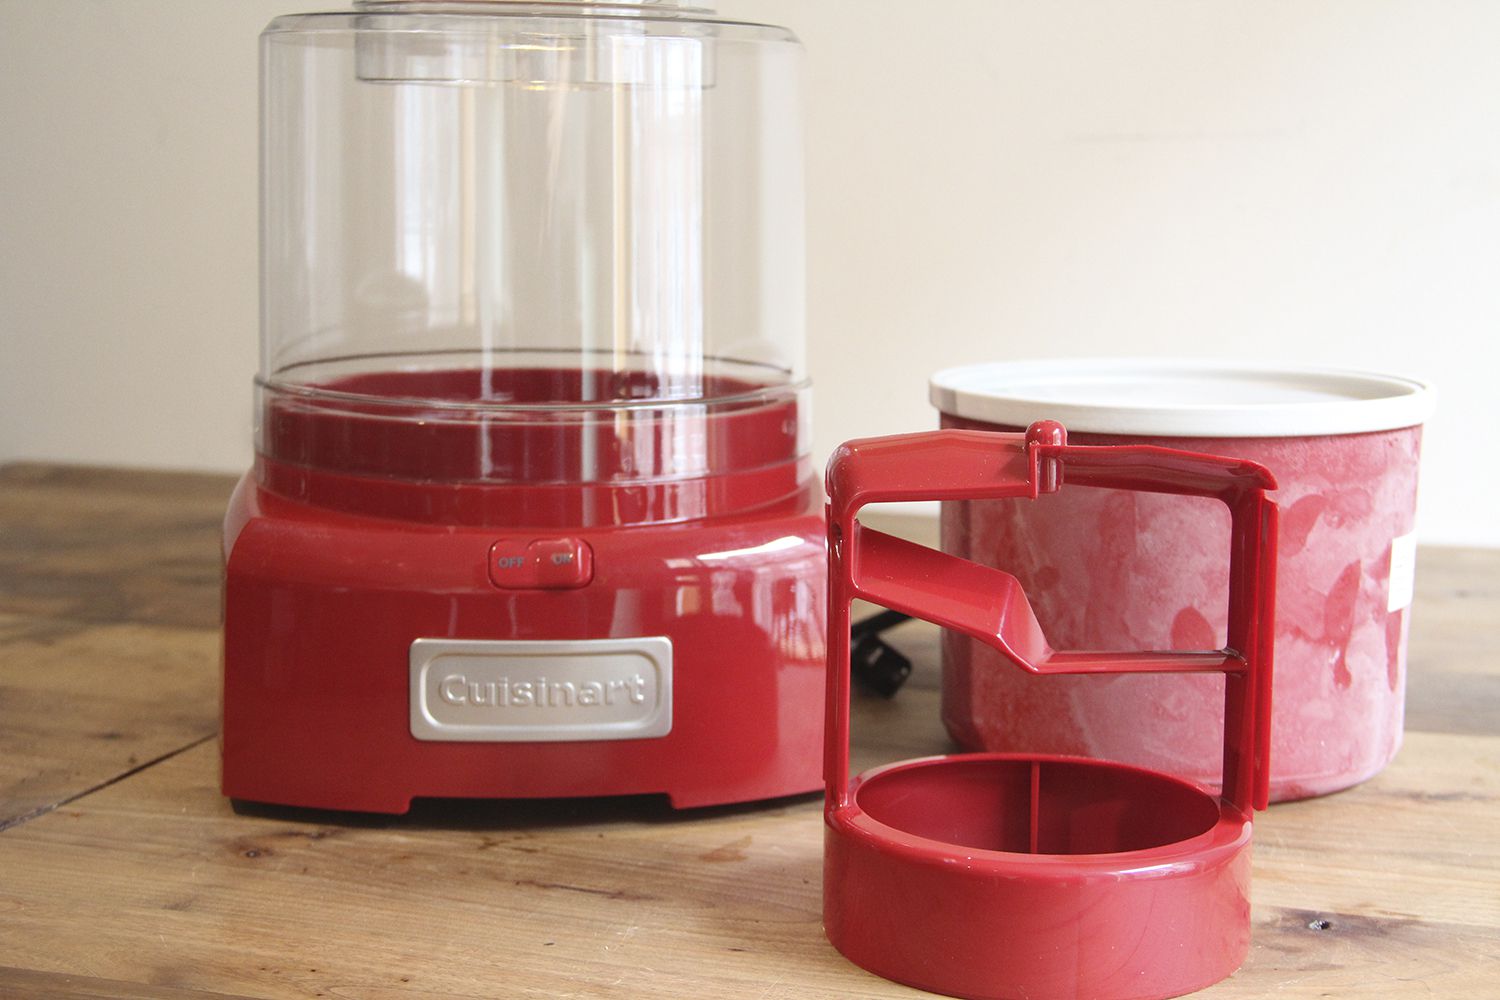
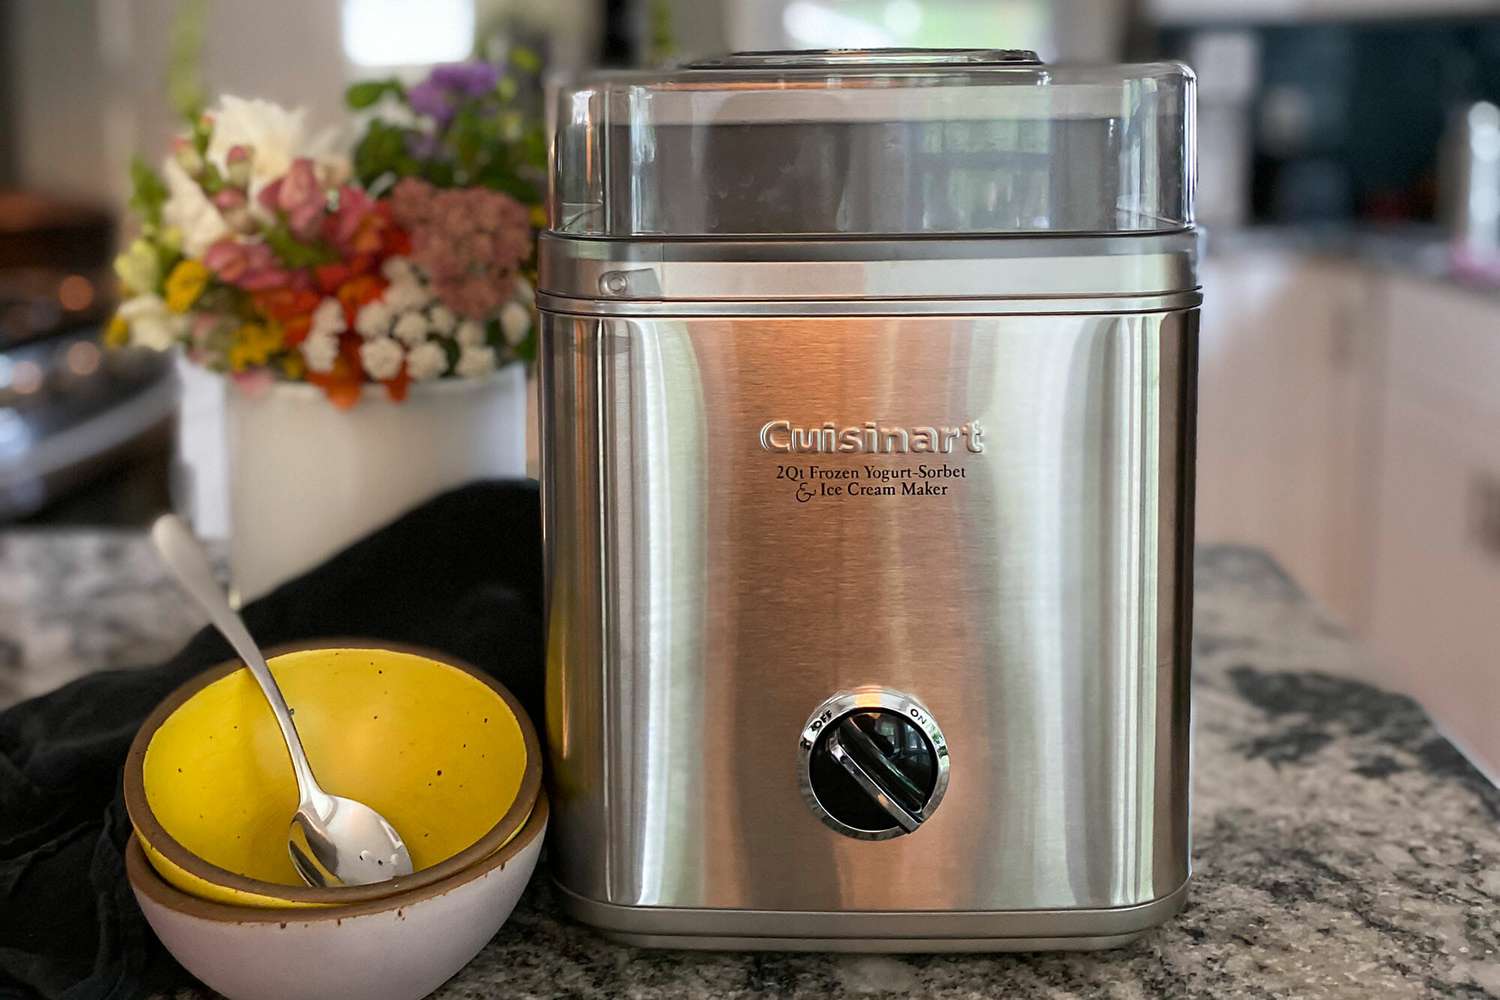
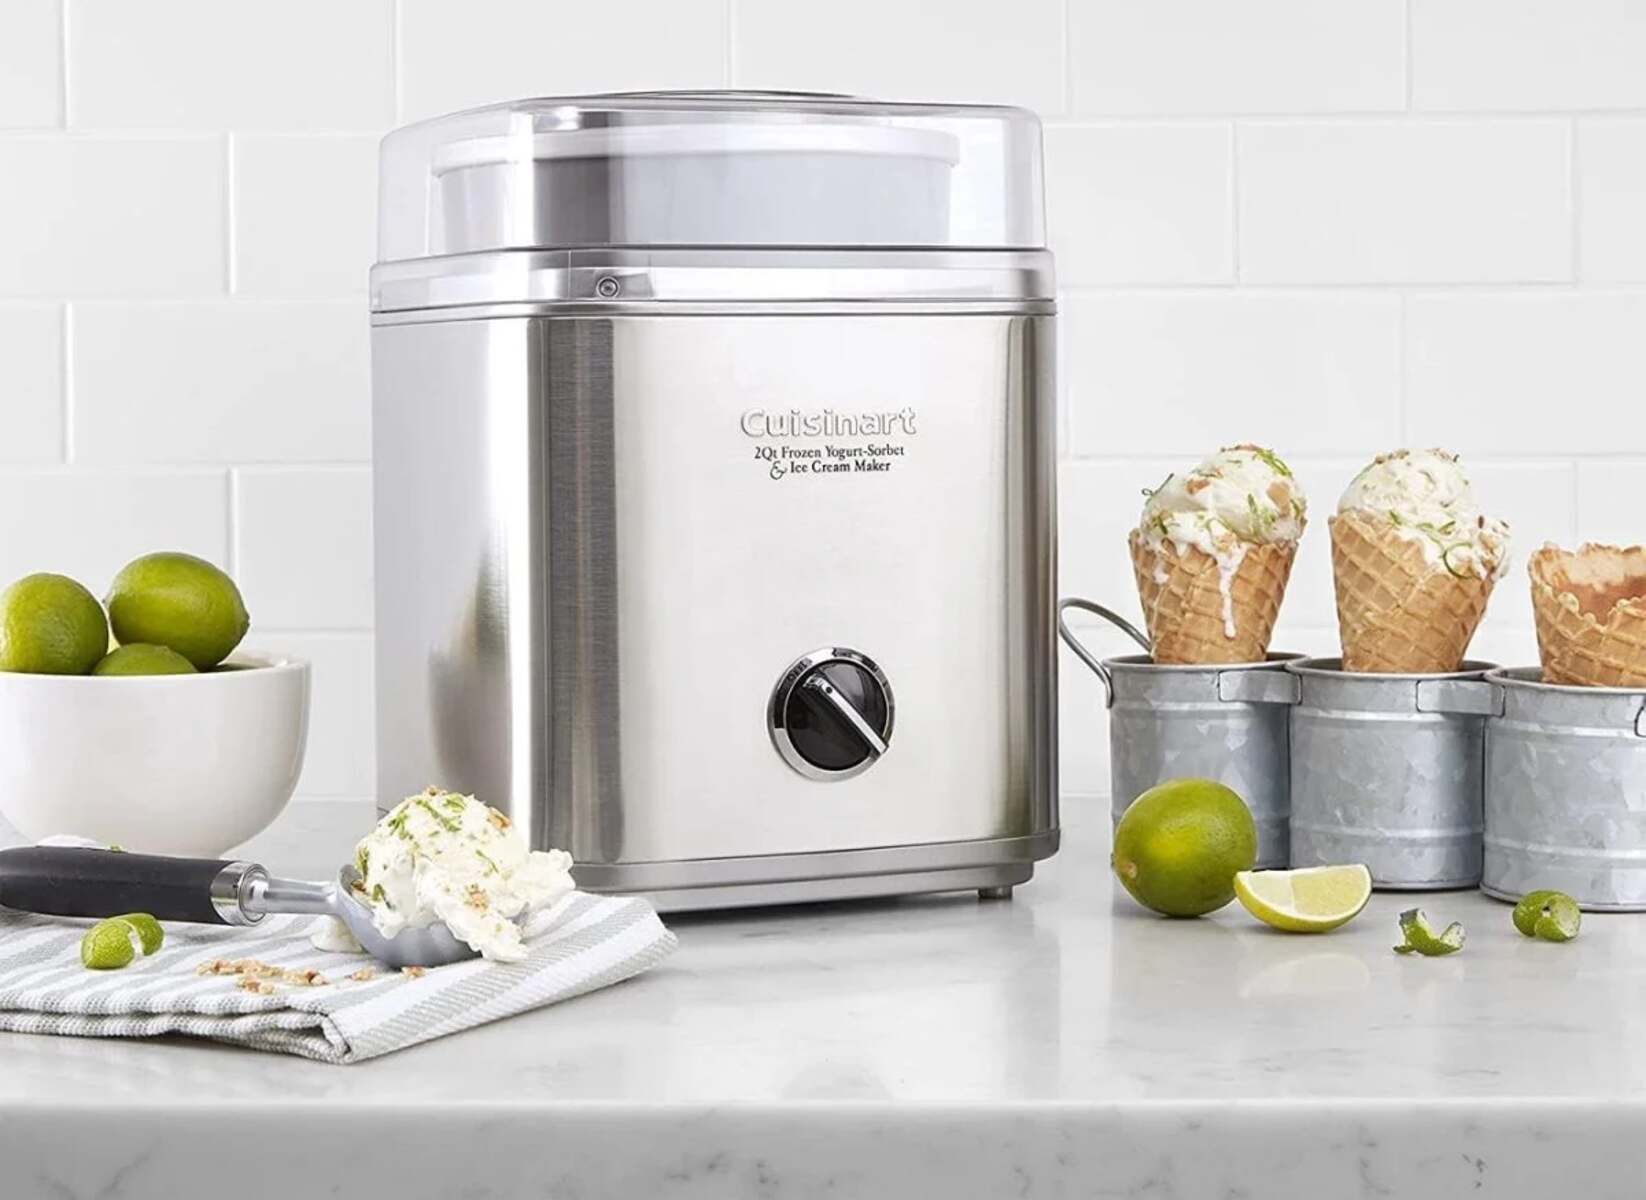
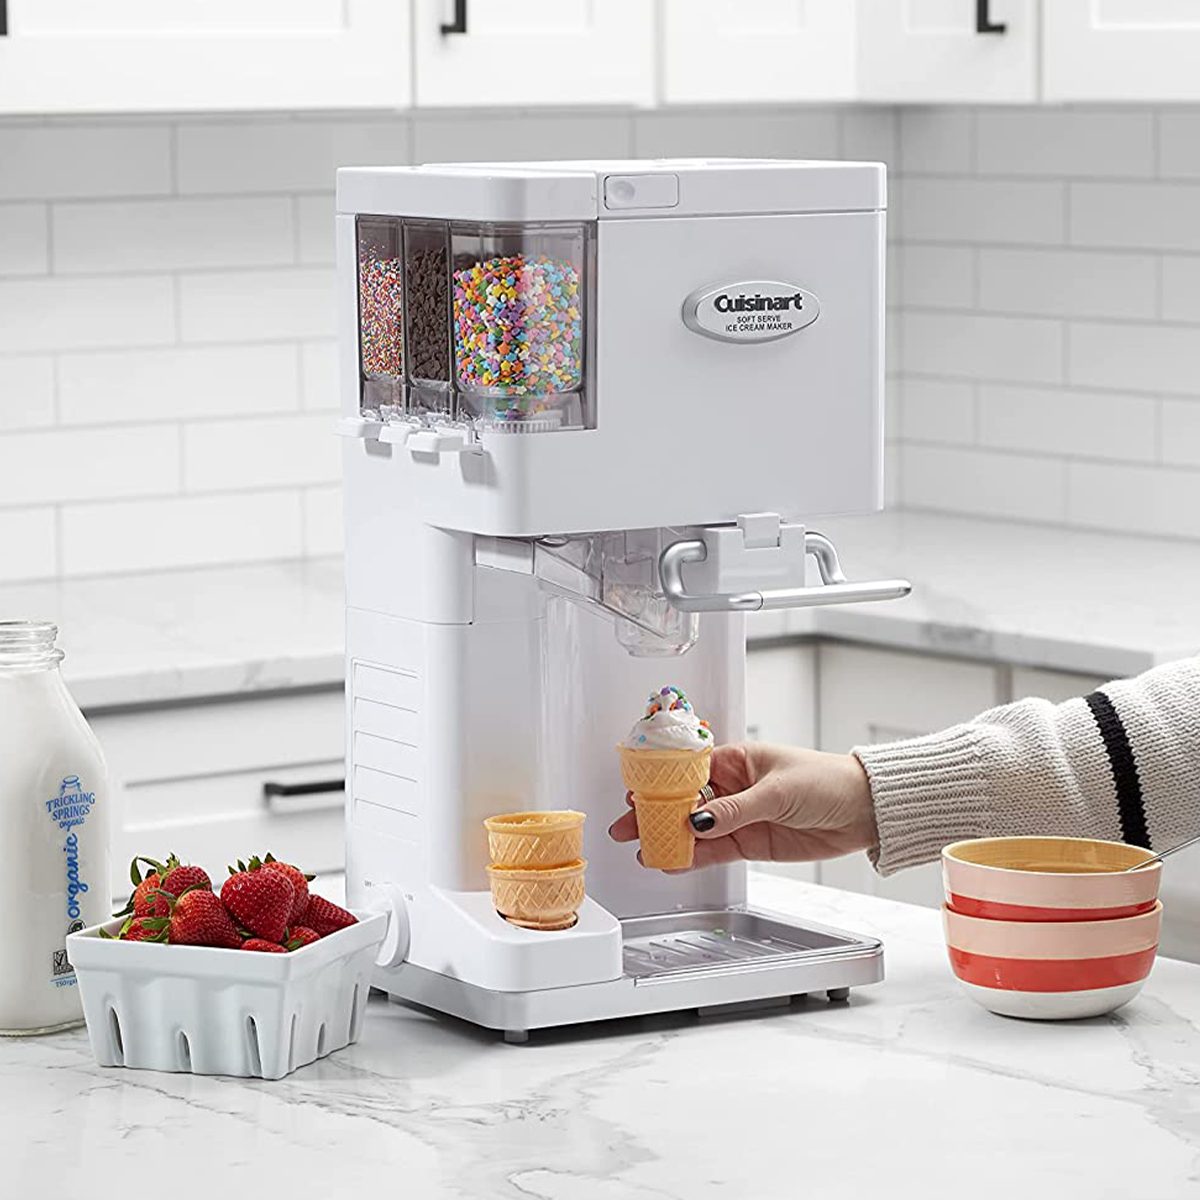
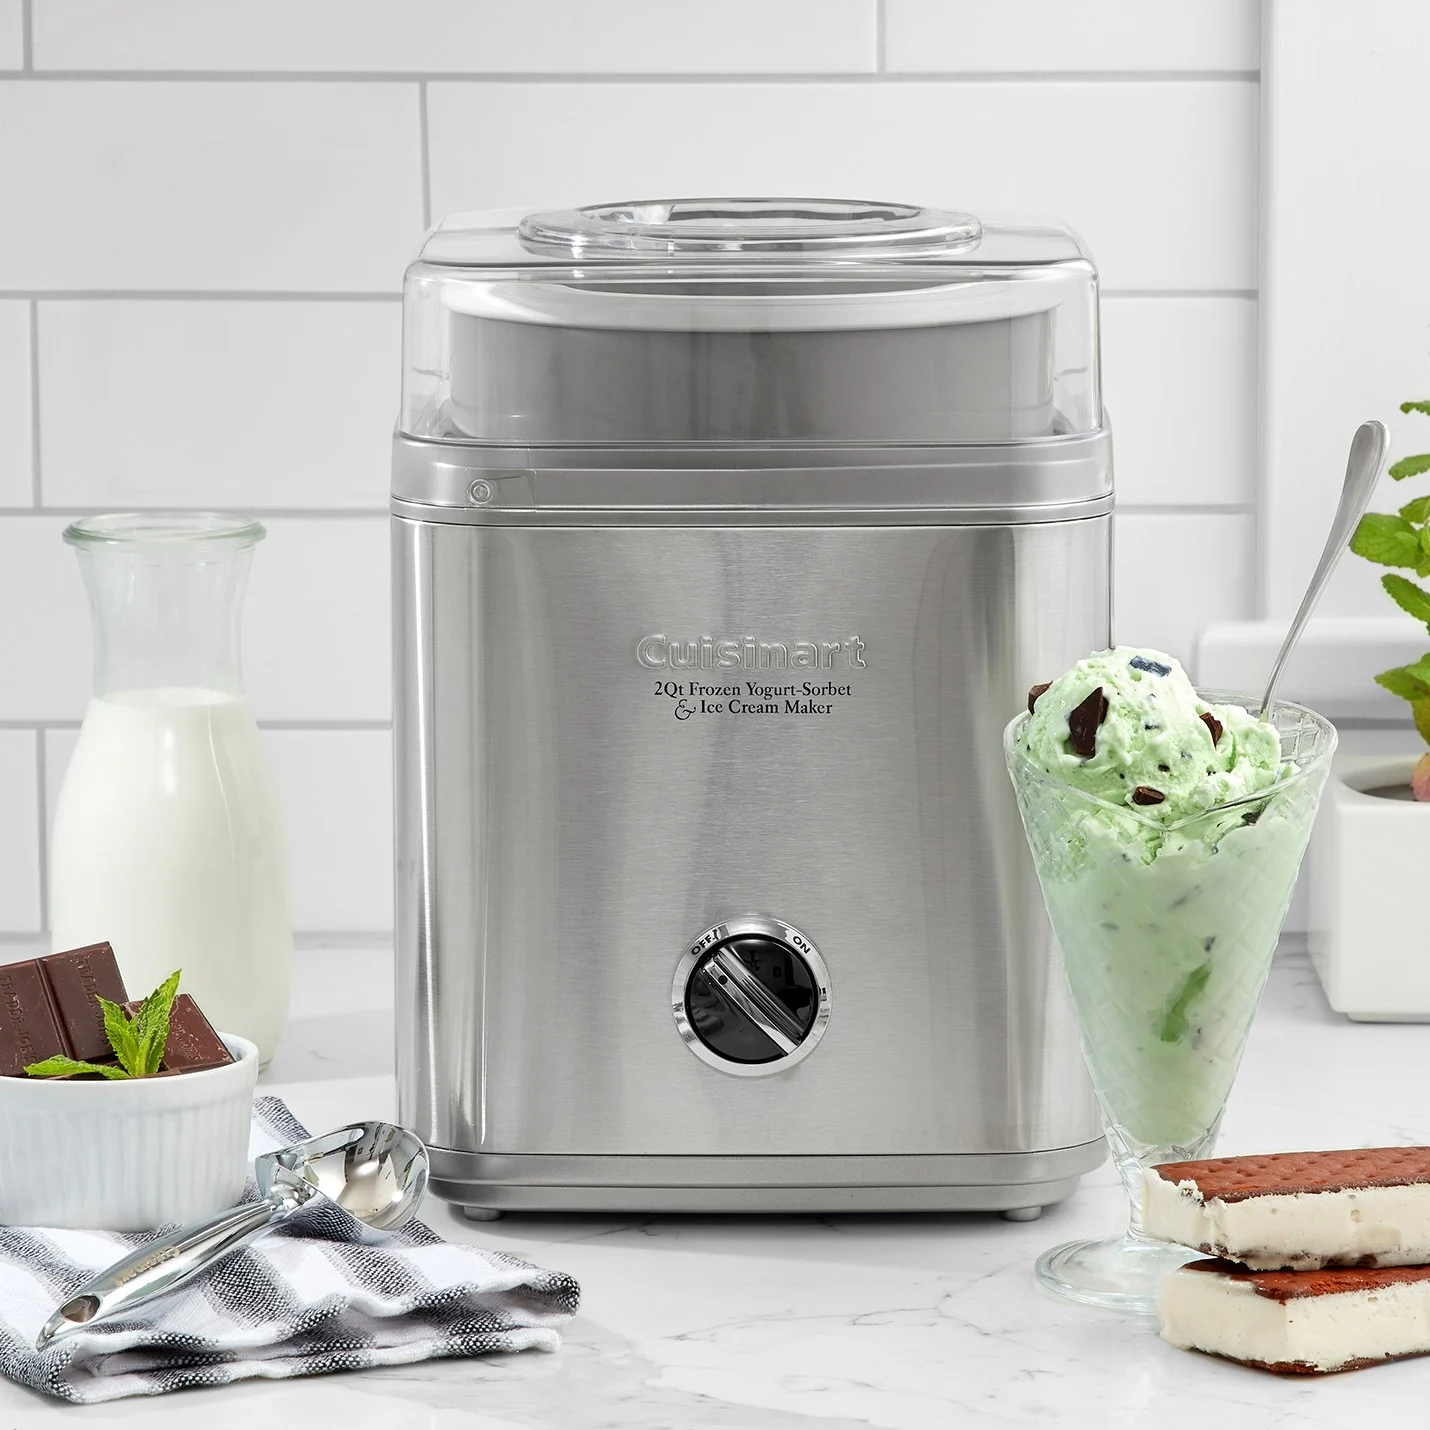
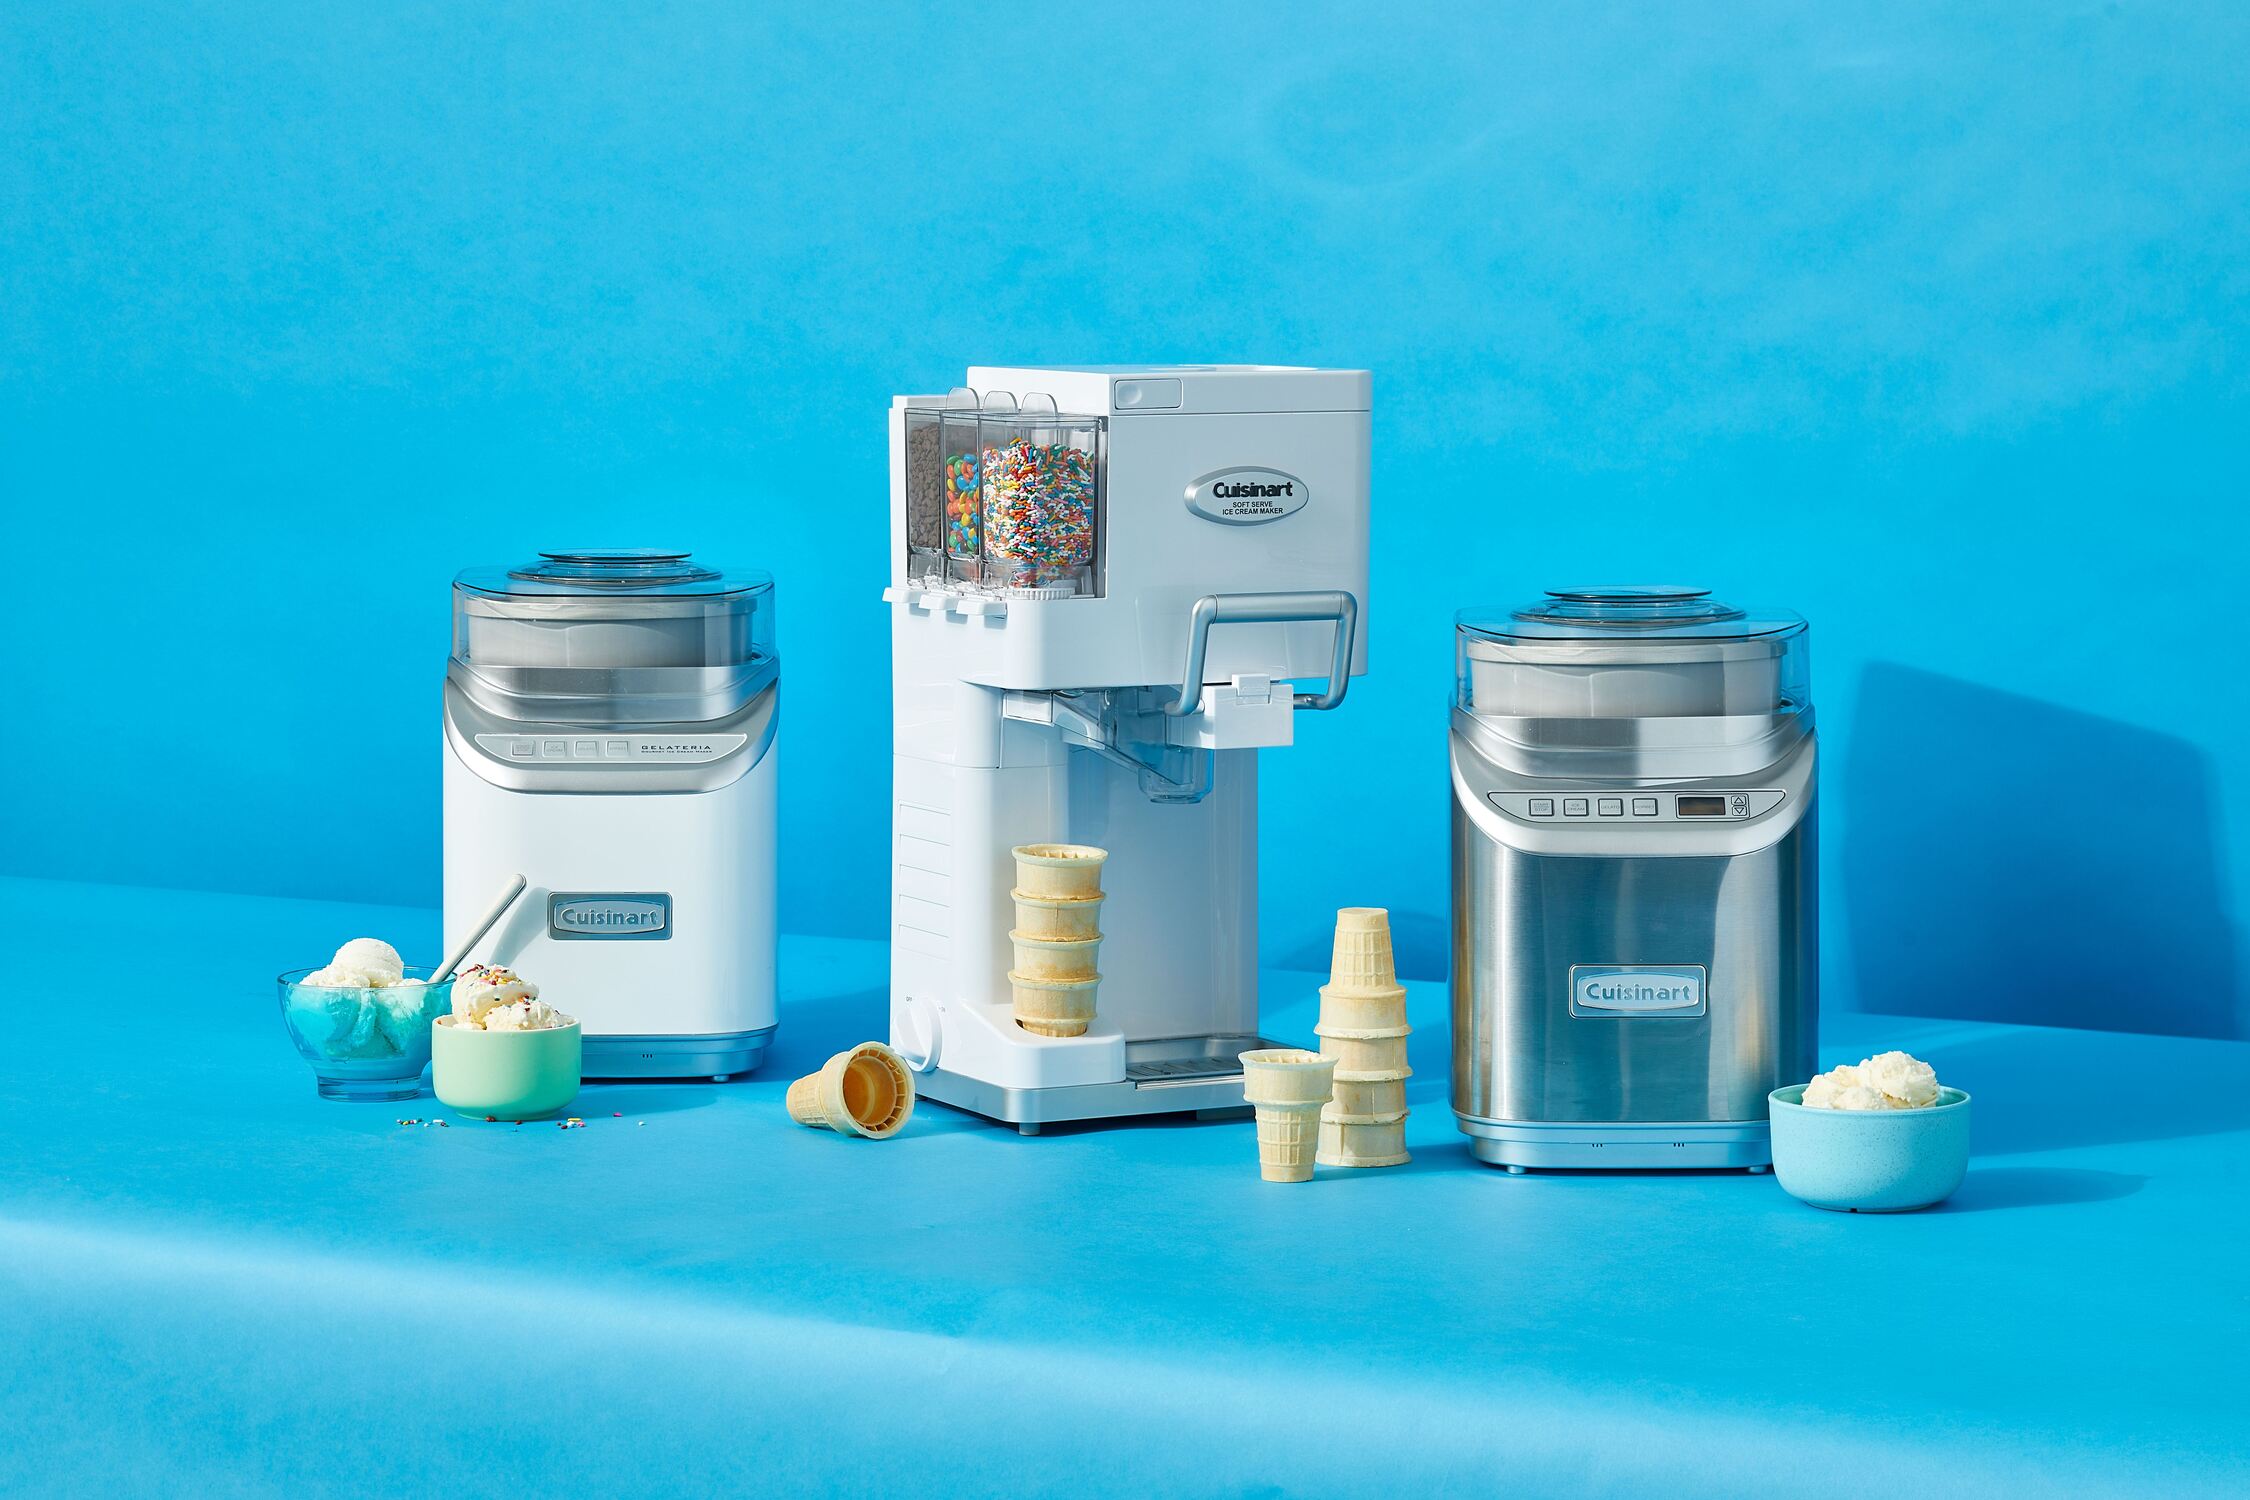
- Cuisinart Ice Cream Maker: The star of the show is, of course, your trusty Cuisinart ice cream maker. Make sure it’s in good working condition and has been thoroughly cleaned before you begin.
- Freezer-Safe Container: You’ll need a container for chilling the water ice mixture before pouring it into the ice cream maker. Choose a container that’s freezer-safe and has enough capacity to hold your desired amount of water ice.
- Measuring Cups and Spoons: Accurate measurements are key to achieving the perfect water ice consistency, so make sure you have a set of measuring cups and spoons on hand.
- Mixing Bowl: You’ll need a mixing bowl to combine the simple syrup and water. Opt for a bowl that’s large enough to hold the mixture without any spills or splashes.
- Whisk or Spoon: A whisk or spoon will come in handy for mixing the simple syrup and water. Choose the utensil that you find most comfortable to work with.
- Ice Cream Scoop or Spoon: Once your water ice is ready to be served, you’ll need an ice cream scoop or spoon to portion it out into bowls or cones.
It’s important to note that the specific equipment you’ll need may vary based on the recipe you choose and your personal preferences. Feel free to adapt and modify the equipment list as needed. Now that you have your equipment ready, it’s time to gather the ingredients and proceed to the next steps.
Ingredients
Making water ice in your Cuisinart ice cream maker requires a few simple ingredients. Here’s what you’ll need:
- Water: The base of your water ice is, of course, water. Make sure to use clean and filtered water for the best results.
- Sugar: Sugar is essential for adding sweetness to the water ice. You can use granulated sugar or experiment with other sweeteners such as honey or agave syrup.
- Fruit Juice or Flavorings: To give your water ice its delicious flavor, you’ll need fruit juice or flavorings. You can use freshly squeezed fruit juice or opt for concentrated fruit juice or extracts. Popular flavor options include lemon, lime, raspberry, strawberry, and mango.
- Optional: Fruit Puree or Chopped Fruit: If you prefer a chunkier texture, you can add fruit puree or chopped fruit to your water ice mixture. This adds an extra burst of flavor and texture to your frozen treat.
Keep in mind that the quantities of these ingredients will depend on your taste preferences and the recipe you’re following. It’s important to have the right balance of sweetness and flavor, so feel free to adjust the sugar and fruit juice quantities accordingly.
Now that you have your equipment and ingredients ready, it’s time to dive into the step-by-step process of making water ice in your Cuisinart ice cream maker.
Step 1: Prepare the Ice Cream Maker
Before you start making your water ice, it’s important to properly prepare your Cuisinart ice cream maker. Follow these steps to ensure everything is ready:
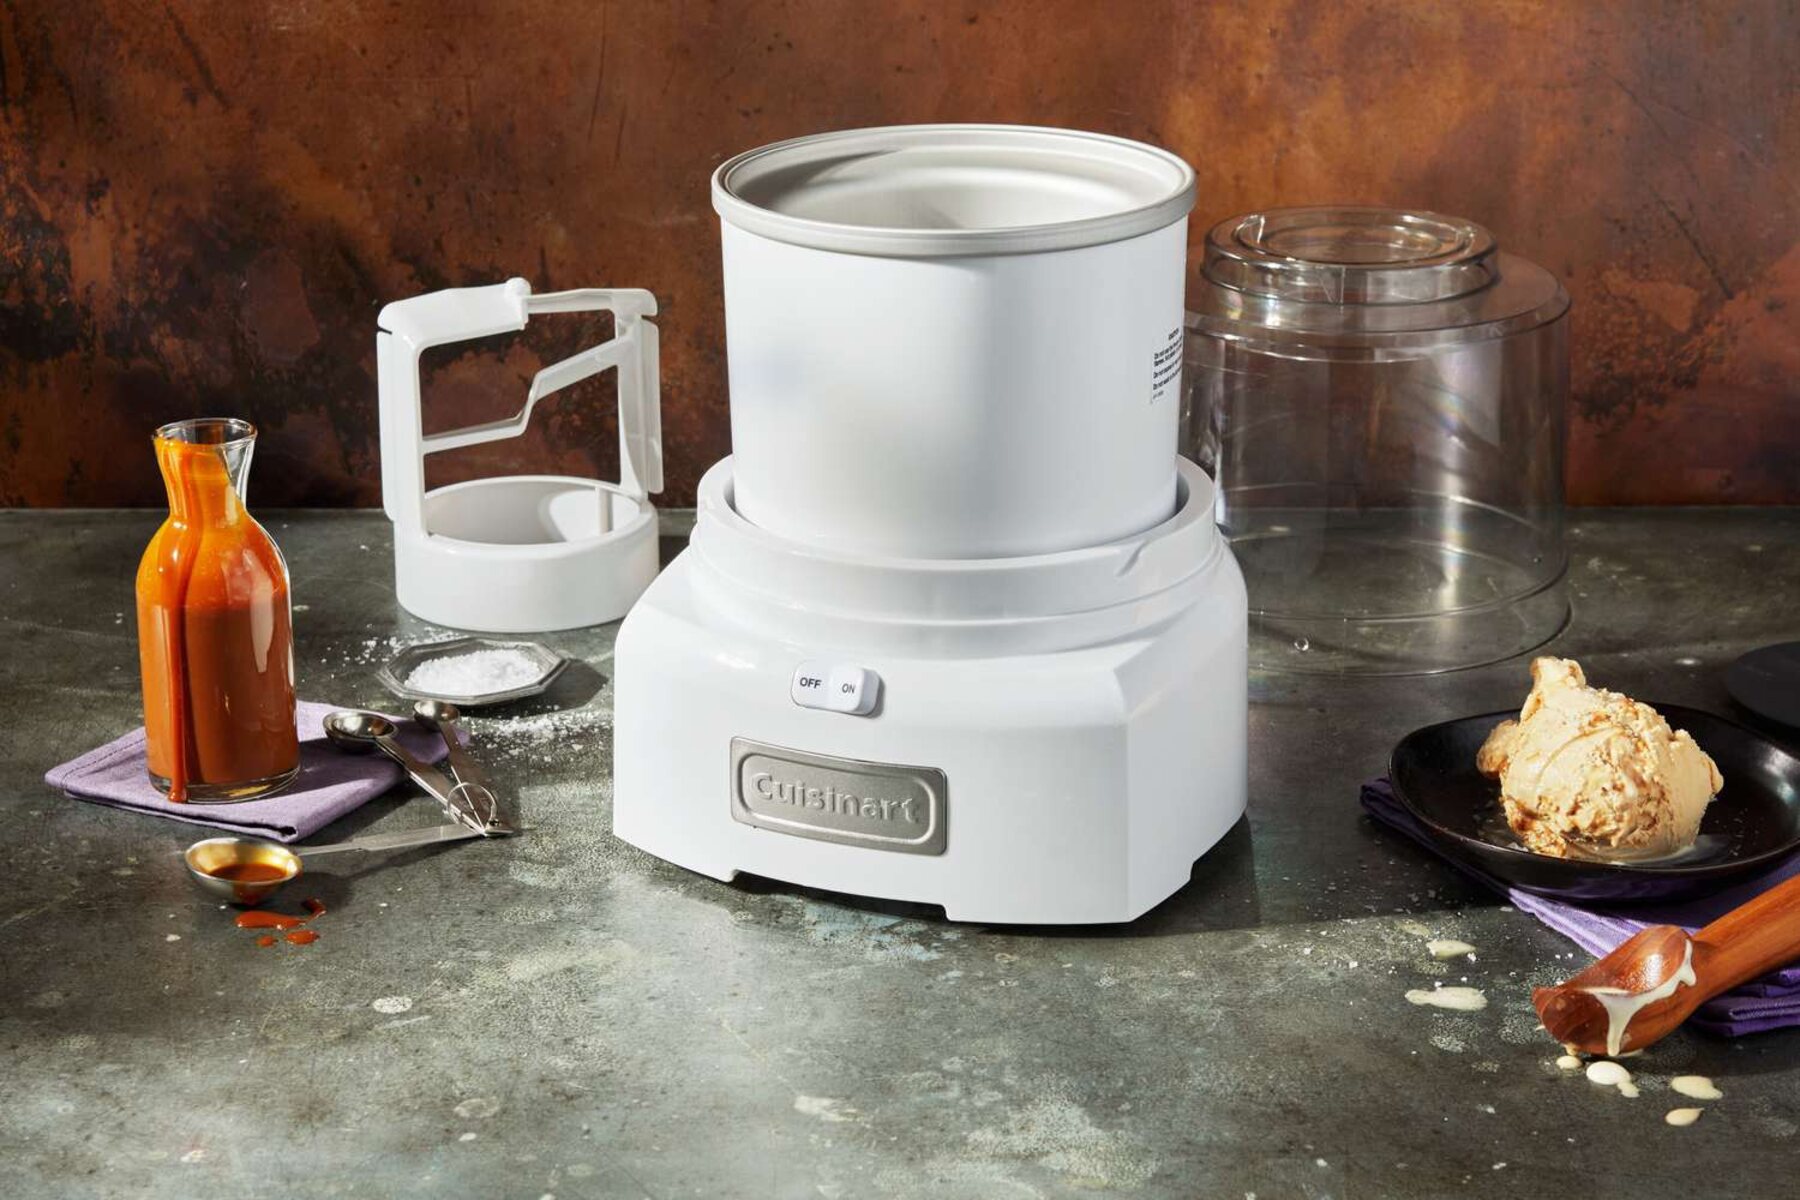
- Freeze the Bowl: Most Cuisinart ice cream makers come with a freezing bowl that needs to be pre-frozen. Place the bowl in the freezer for at least 24 hours before making water ice. This ensures that the freezing bowl is well chilled and ready to freeze your mixture effectively.
- Assemble the Ice Cream Maker: Once the freezing bowl is properly chilled, remove it from the freezer. Attach any necessary paddles or blades to the ice cream maker according to the manufacturer’s instructions. Ensure that all components are securely in place.
- Position the Ice Cream Maker: Find a stable and level surface in your kitchen. Place the ice cream maker on this surface, ensuring that there is enough space around it for proper airflow during the churning process.
- Power On the Ice Cream Maker: Plug in the ice cream maker and turn it on. This will start the churning mechanism and prepare it for the water ice-making process.
By properly preparing your Cuisinart ice cream maker, you’ll ensure optimal freezing and churning of your water ice mixture. Now that your ice cream maker is ready, it’s time to move on to the next step: making the simple syrup.
Step 2: Make the Simple Syrup
Before you can mix your water ice ingredients together, you’ll need to create a simple syrup. This sweet liquid acts as a base for your water ice, providing the necessary sweetness and texture. Follow these steps to make the simple syrup:
- Measure the Water: In a small saucepan, measure out the desired amount of water according to your water ice recipe. It’s recommended to use equal parts of water and sugar for a balanced sweetness.
- Heat the Water: Place the saucepan over medium heat and bring the water to a gentle boil. Allow it to simmer for a few minutes until it’s hot and almost boiling.
- Add the Sugar: Once the water is hot, slowly add the sugar to the saucepan. Stir continuously to ensure that the sugar fully dissolves and becomes incorporated into the water.
- Keep Stirring: Continue to stir the mixture until the sugar is completely dissolved. This will create a smooth and syrupy consistency.
- Remove from Heat: Once the sugar is fully dissolved, remove the saucepan from the heat source. Allow the simple syrup to cool down to room temperature before proceeding to the next step.
The simple syrup serves as the sweet base for your water ice and helps to prevent the formation of ice crystals. It’s an essential component of the water ice-making process. Once your simple syrup has cooled down, it’s time to move on to mixing it with water and other flavorings to create the delicious water ice mixture.
Step 3: Mix the Simple Syrup and Water
Now that you have prepared the simple syrup, it’s time to combine it with water and any additional flavorings to create the base of your water ice mixture. Follow these steps to mix the simple syrup and water:
- Get a Mixing Bowl: Prepare a mixing bowl large enough to hold the desired amount of water ice mixture. Make sure the bowl is clean and dry.
- Pour in the Simple Syrup: Carefully pour the prepared simple syrup into the mixing bowl.
- Add Water: Measure out the appropriate amount of water, usually equal parts to the simple syrup, and pour it into the mixing bowl.
- Incorporate other Flavorings: If you want to add fruit juice or other flavorings to your water ice, this is the time to do it. Measure out the desired amount of fruit juice or flavorings and add them to the mixing bowl. Stir well to combine all the ingredients thoroughly.
By mixing the simple syrup, water, and additional flavorings, you create the base of your water ice mixture. The simple syrup adds a pleasant sweetness and helps prevent ice crystals from forming, while the water and flavorings add the desired taste and texture to your water ice. Once you have mixed all the ingredients together, it’s time to proceed to the next step: chilling the mixture.
Step 4: Chill the Mixture
After mixing the simple syrup, water, and flavorings, it’s important to chill the water ice mixture before pouring it into the Cuisinart ice cream maker. This step allows the flavors to meld together and ensures that the mixture is cold and ready for the freezing process. Follow these steps to chill the water ice mixture:
- Transfer the Mixture: Carefully transfer the mixed water ice mixture from the mixing bowl to a clean and freezer-safe container. Ensure that the container has a lid to prevent any odors from affecting the flavor of the mixture.
- Place in the Freezer: Cover the container with the lid and place it in the freezer. Make sure it’s on a stable and flat surface to avoid any spills or leaks.
- Chill for at least 2 hours: Let the water ice mixture chill in the freezer for at least 2 hours, or until it is thoroughly chilled. This will allow the flavors to marry and the mixture to reach the optimal temperature for freezing.
It’s important to note that the exact chilling time may vary depending on the recipe and the quantity of the water ice mixture. It’s recommended to check the consistency periodically by stirring the mixture gently with a spoon. The mixture should be cold, but not frozen, when you’re ready to pour it into the Cuisinart ice cream maker.
Once the water ice mixture is properly chilled, it’s time to move on to the exciting step of transforming it into a frozen delight. In the next step, we will pour the mixture into the Cuisinart ice cream maker for the churning process.
Step 5: Pour the Mixture into the Ice Cream Maker
Now that the water ice mixture has been chilled, it’s time to pour it into your Cuisinart ice cream maker. This step allows the mixture to be churned and frozen, transforming it into a smooth and refreshing water ice. Follow these steps to pour the mixture into the ice cream maker:
- Retrieve the Chilled Mixture: Take the container of chilled water ice mixture out of the freezer and remove the lid.
- Give it a Quick Stir: Before pouring the mixture into the ice cream maker, give it a quick stir with a spoon or whisk to ensure that the flavors are well mixed.
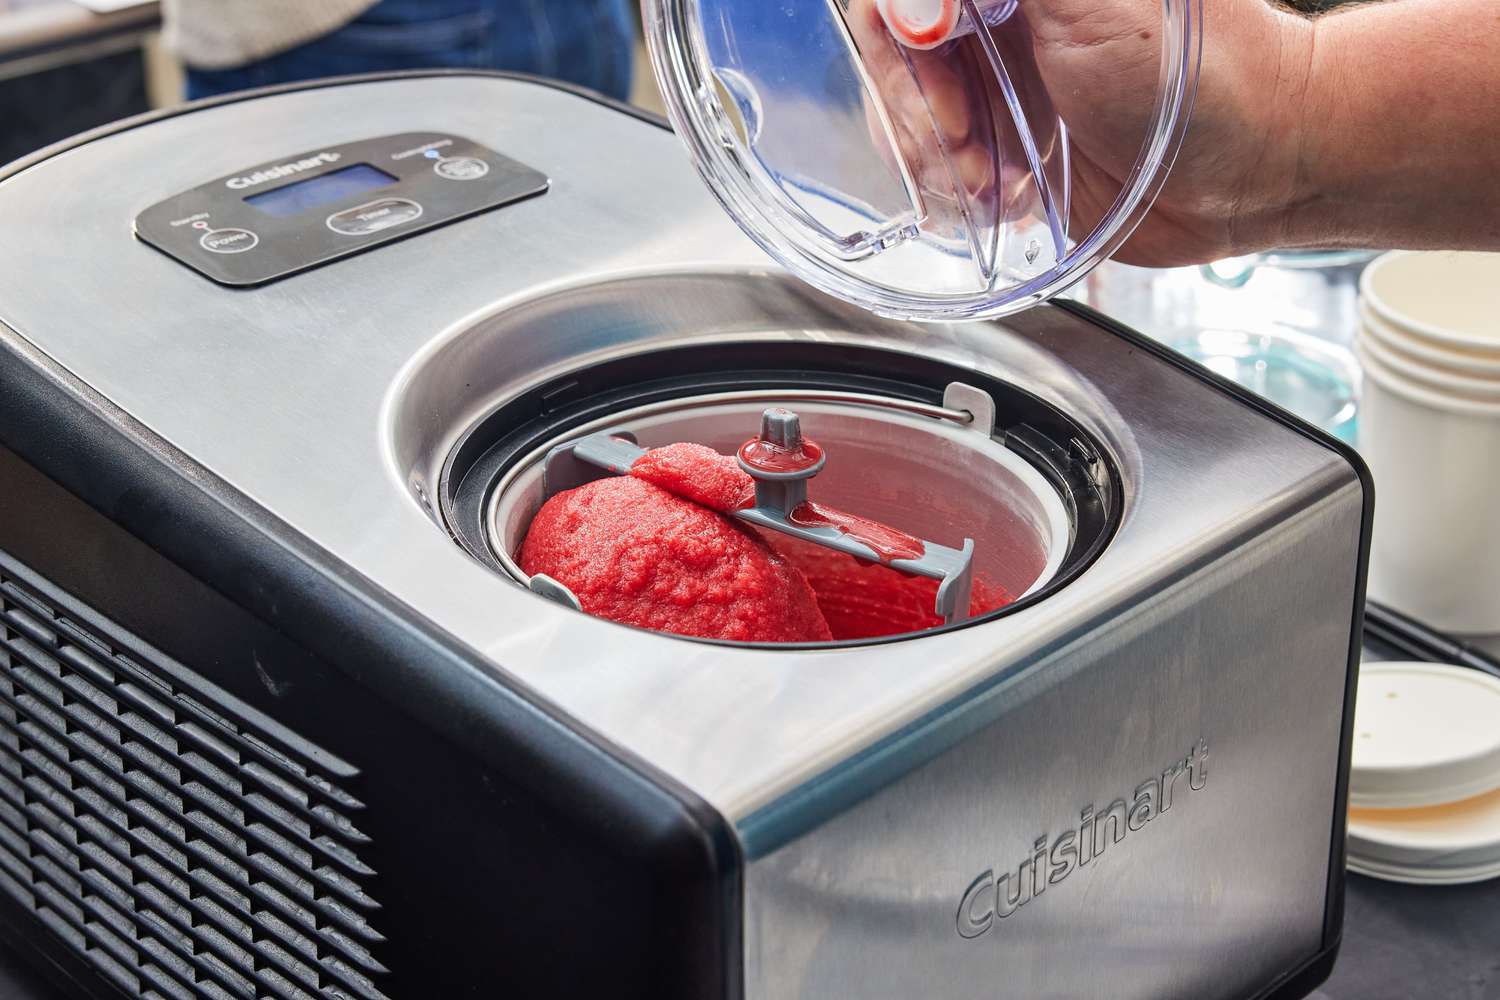
- Pour the Mixture into the Ice Cream Maker: Open the lid of the Cuisinart ice cream maker and carefully pour the water ice mixture into the freezing bowl. Be sure not to overfill the bowl, as the mixture will expand during the churning process.
- Secure the Lid: Close the lid of the ice cream maker, making sure it is securely in place. This will allow the churning mechanism to function properly.
By pouring the water ice mixture into the Cuisinart ice cream maker, you’re ready to start the exciting process of churning and freezing the mixture. The churning mechanism within the ice cream maker will agitate the mixture, incorporating air, and freezing it simultaneously. This creates the creamy and smooth texture we love in water ice.
With the mixture poured into the ice cream maker, it’s time to move on to the next step: churning the mixture to perfection.
Step 6: Churn the Mixture
Now that the water ice mixture is in the Cuisinart ice cream maker, it’s time to start the churning process. Churning incorporates air into the mixture while freezing it, resulting in a smooth and creamy water ice texture. Follow these steps to churn the mixture:
- Power On the Ice Cream Maker: Make sure the lid of the ice cream maker is securely closed. Plug in the ice cream maker and turn it on. This will activate the churning mechanism.
- Let it Churn: Allow the ice cream maker to churn the water ice mixture for the specified amount of time stated in your recipe. This is typically around 20 to 30 minutes, but it can vary depending on the quantity and consistency of the mixture.
- Observe the Progress: As the mixture churns, you will notice it thickening and freezing. The ice cream maker’s paddle or blade will continuously agitate the mixture, preventing ice crystals from forming.
- Check for the Desired Consistency: After the recommended churning time, check the consistency of the mixture. It should be thick, smooth, and creamy. If you prefer a firmer texture, you can continue churning for a few more minutes.
During the churning process, it’s important to resist the temptation to open the lid of the ice cream maker too frequently. Opening the lid allows cold air to escape, which can hinder the freezing process and result in a less desirable water ice consistency.
Once the water ice mixture has reached the desired consistency, it’s time to move on to the final step: freezing the water ice before serving and enjoying.
Step 7: Freeze the Water Ice
After churning the water ice mixture in the Cuisinart ice cream maker, it’s important to transfer it to the freezer for further freezing. This step allows the water ice to harden and reach the perfect texture before serving. Follow these steps to freeze the water ice:
- Transfer to a Freezer-Safe Container: Once the water ice has finished churning, carefully scoop or pour it into a freezer-safe container. Choose a container that has a tight-fitting lid to prevent freezer burn and maintain the quality of the water ice.
- Smooth the Surface: Use a spatula or the back of a spoon to smoothen the surface of the water ice in the container. This will help prevent ice crystals from forming and maintain a consistent texture.
- Place in the Freezer: Cover the container with the lid and place it in the freezer. Make sure it is on a flat surface and is not overcrowded by other items.
- Freeze for Several Hours: Allow the water ice to freeze in the freezer for at least 4-6 hours, or until it is firm and fully set. The exact freezing time may vary depending on the temperature of your freezer and the size of the container.
It’s important to note that if you prefer a softer texture, you can serve the water ice after a shorter freezing time. However, for a firmer and more scoopable consistency, it is recommended to freeze it for the specified duration.
Once the water ice is completely frozen and ready to be served, it’s time for the final step: indulging in your homemade frozen treat and savoring its delightful flavors.
Step 8: Serve and Enjoy!
Congratulations! You’ve successfully made your homemade water ice using your Cuisinart ice cream maker. Now it’s time to savor your frozen creation and enjoy every delicious bite. Follow these steps to serve and enjoy your water ice:
- Retrieve the Frozen Water Ice: Take the container of frozen water ice out of the freezer and remove the lid.
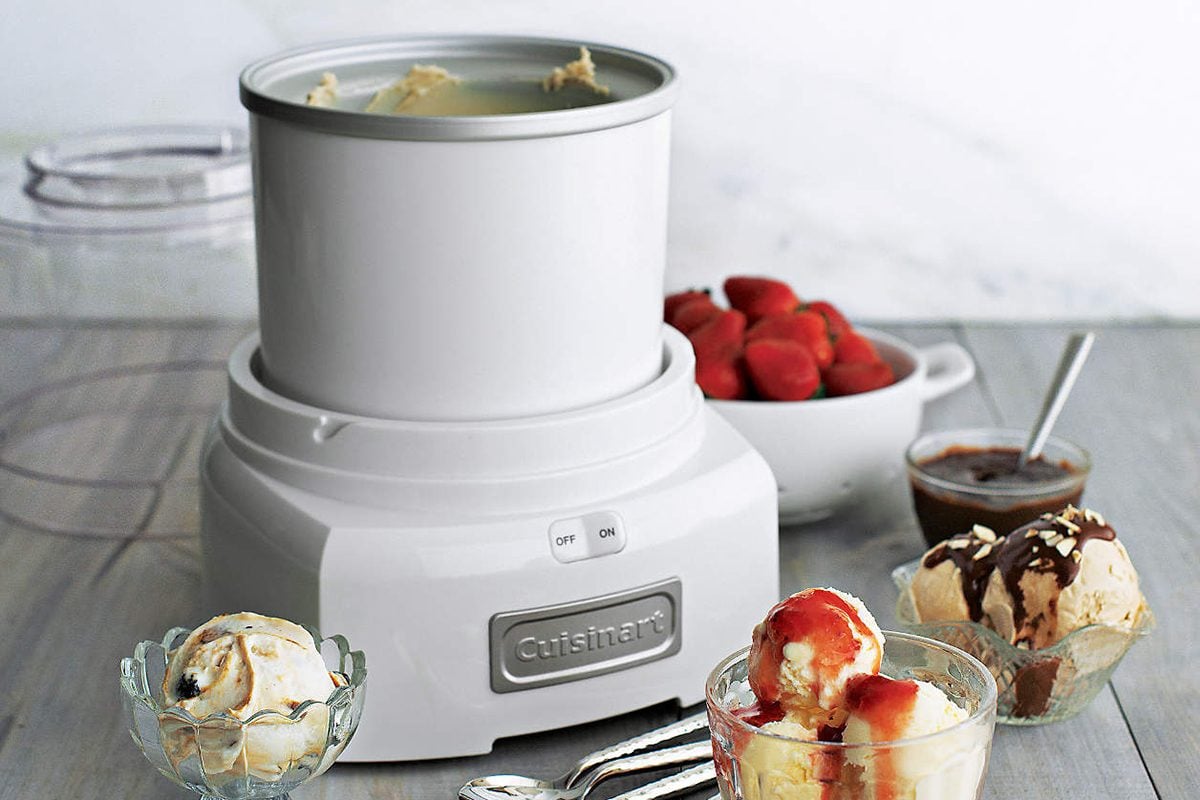
- Scoop or Serve: Use an ice cream scoop or a spoon to portion out the desired amount of water ice into bowls or cones. If you prefer a more artisanal presentation, you can even use a piping bag to create beautiful swirls.
- Add Toppings: Sprinkle your water ice with your favorite toppings, such as fresh fruit, chocolate chips, or a drizzle of syrup. This will enhance the flavors and add a delightful crunch or extra burst of sweetness.
- Enjoy Immediately: Water ice is best enjoyed immediately after serving, while it’s still at its optimal texture and flavor. Gather your friends and family, sit back, and relish in the cool and refreshing treat you’ve created!
Remember to store any remaining water ice in a sealed container and return it to the freezer to maintain its freshness. It can be kept for several days, but the texture may firm up slightly over time.
Feel free to experiment with different flavors and combinations to create your own signature water ice recipes. You can try variations with different fruit juices, extracts, or even include chunks of fresh fruit for added texture.
Now that you know the step-by-step process of making water ice in your Cuisinart ice cream maker, you can enjoy this refreshing treat whenever you desire. So go ahead, dive into your delicious creation, and relish in the joy of homemade water ice!
Conclusion
Congratulations on becoming a water ice expert! By following the simple steps outlined in this guide, you’ve learned how to make delicious water ice using your Cuisinart ice cream maker. From preparing the ice cream maker and creating the simple syrup to churning and freezing the mixture, each step is crucial in yielding a smooth and flavorful water ice.
With your Cuisinart ice cream maker, you have the freedom to experiment with various flavors and create your own unique combinations. Whether you prefer classic flavors like lemon or raspberry, or if you venture into more exotic fruit combinations, the possibilities are endless.
Remember to utilize the equipment needed for the process, including the ice cream maker, freezer-safe container, measuring cups, and mixing bowls. These tools will ensure that your water ice turns out perfectly every time.
As you serve and enjoy your homemade water ice, you can impress family and friends with your creativity and culinary skills. Customizing your water ice with toppings, sauces, or even using it as a base for floats, allows for endless possibilities to tantalize your taste buds.
Now, armed with the knowledge of making water ice, it’s time to embark on your frozen dessert adventures. So why wait? Gather your ingredients, fire up your Cuisinart ice cream maker, and indulge in the delightful and refreshing world of homemade water ice!