Introduction
Have you ever found yourself struggling to see the projected image on your projector screen due to a lack of brightness? If so, you’re not alone. Many projector owners face this issue, especially when using their projectors in well-lit environments or for larger screens.
Fortunately, there are several ways to make your projector brighter and enhance the quality of your projections. Whether you’re watching a movie, giving a presentation, or enjoying a gaming session, optimizing the brightness of your projector can greatly improve your experience.
In this article, we will explore ten effective methods to make your projector brighter. These techniques range from simple adjustments to more advanced options, allowing you to find the right solution for your specific needs.
Before we dive into the methods, it’s important to note that not all projectors are created equal. The brightness level of a projector is measured in lumens, and different models have varying capabilities. Higher-end projectors typically offer higher brightness levels, but that doesn’t mean you can’t maximize the brightness of your current projector.
By following the tips and techniques outlined in this article, you can make the most of your existing projector and ensure bright and vibrant projections. So, let’s get started and transform your projector’s brightness to the next level!
Clean the Lens
One of the simplest yet often overlooked methods to make your projector brighter is to clean the lens. Over time, dust, fingerprints, and smudges can accumulate on the lens, hindering the clarity and brightness of the projected image.
To clean the lens, start by turning off the projector and allowing it to cool down. Using a soft, lint-free cloth, gently wipe the lens in a circular motion to remove any dirt or debris. If the lens is particularly dirty, you can moisten the cloth slightly with a gentle lens cleaning solution or isopropyl alcohol. However, be sure to check the manufacturer’s instructions before applying any cleaning substances.
In addition to the lens, it’s also important to clean the projector’s air vents and filters. Dust and debris can clog these areas, causing the projector to overheat and reducing its overall brightness. Use a can of compressed air or a soft brush to carefully remove any buildup from the vents and filters, ensuring proper airflow.
Regularly cleaning the lens, vents, and filters of your projector not only enhances its brightness but also helps to extend its lifespan. This simple maintenance task should be a part of your regular projector care routine.
Remember, a clean lens allows the light to pass through without obstruction, resulting in a clearer and brighter projection. So, take a few minutes to clean your projector, and you’ll notice a significant improvement in the brightness of your projected images.
Adjust the Brightness Settings
Most modern projectors come equipped with various image settings, including brightness, contrast, and color saturation. Adjusting the brightness settings can have a direct impact on the perceived brightness of the projected image.
To access the brightness settings on your projector, navigate to the menu or settings options using the remote control or the projector’s onboard buttons. Look for the “Brightness” or “Image Settings” option and make adjustments accordingly.
When adjusting the brightness, it’s essential to find the right balance. Increasing the brightness too much can result in a washed-out picture, while decreasing it too much can make the image appear dim. Aim to find the sweet spot where the image is bright and vibrant without sacrificing image quality.
Keep in mind that the optimal brightness setting may vary depending on the environmental lighting conditions. For a well-lit room, you may need to increase the brightness, while for a darkened room, you can reduce it slightly. Experiment with different settings to find what works best for your specific setup.
Additionally, some projectors offer presets or picture modes specifically designed for different purposes, such as presentations, movies, or gaming. These presets often adjust multiple image settings simultaneously, including brightness, contrast, and color temperature. Consider trying out these presets to see if they offer a brighter and more suitable image for your needs.
Remember to save your changes after adjusting the brightness settings. Take note of the original default settings in case you want to revert to them later.
By fine-tuning the brightness settings of your projector, you can maximize the perceived brightness of the projected image, ensuring a more visually appealing viewing experience.
Utilize a White Screen or Surface
The choice of projection surface can significantly impact the brightness of your projector’s image. Using a white screen or surface is highly recommended as it reflects light more efficiently and enhances the overall brightness and contrast of the projected image.
When selecting a screen, opt for one with a high-gain rating. The gain refers to the degree of reflection provided by the screen. A higher gain screen reflects more light, resulting in a brighter image. However, keep in mind that higher-gain screens may produce a narrower viewing angle.
If you don’t have a white projection screen, you can use a white wall or a roll of projection fabric specifically designed for this purpose. Just ensure that the surface is clean and smooth to minimize any distortion or interference with the projected light.
It’s important to note that using a white screen or surface is particularly effective in darkened or controlled lighting environments. In brightly lit rooms, the ambient light may still impact the overall brightness of the image. We’ll explore ways to address ambient light in a later section.
Another benefit of utilizing a white screen or surface is that it helps improve color accuracy. White surfaces provide a neutral background, allowing the projector to display the intended colors as accurately as possible. This enhances the overall image quality and makes it appear more vibrant and realistic.
Additionally, ensure that the screen or surface is positioned correctly. It should be free from any obstructions or shadows that could interfere with the projected image. Adjust the distance and angle accordingly to obtain the best possible results.
By utilizing a white screen or surface, you can optimize the brightness and color accuracy of your projector, resulting in a more impactful and enjoyable viewing experience.
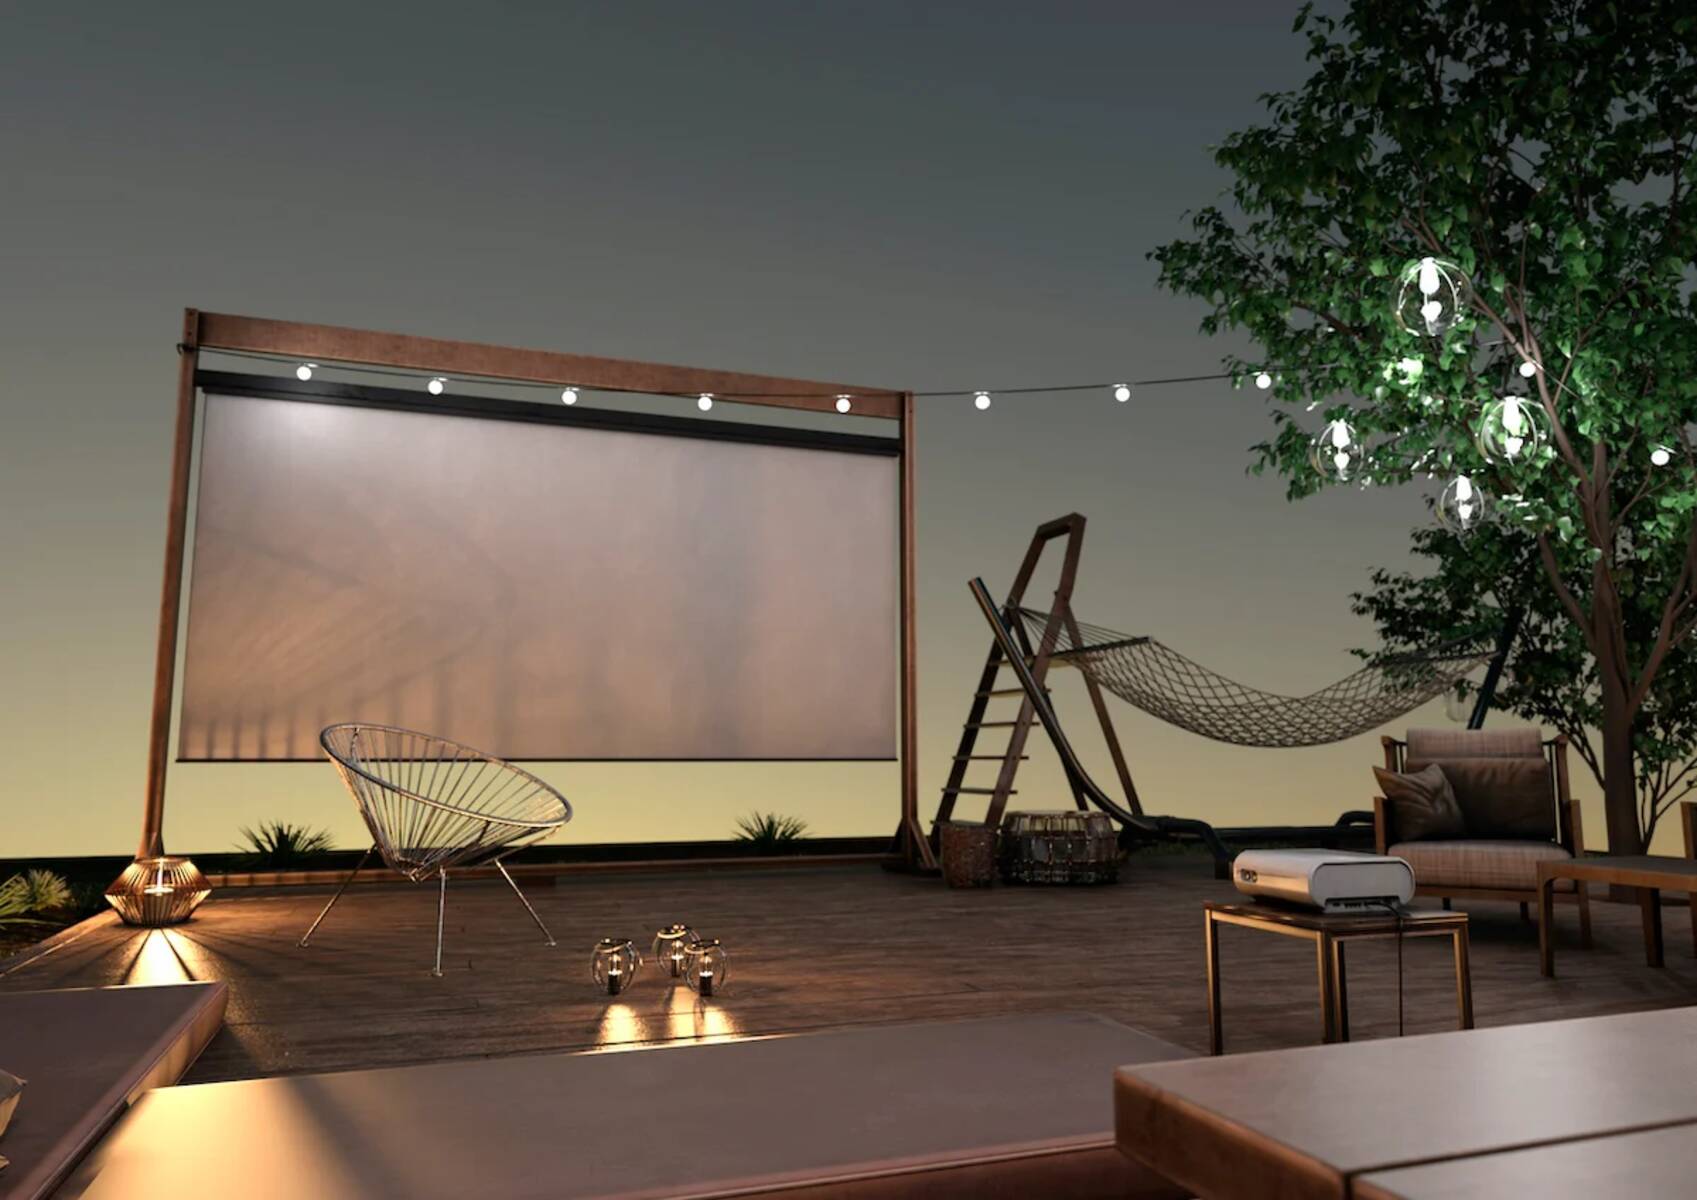
Position the Projector Properly
The positioning of your projector can greatly affect its brightness and image quality. When setting up your projector, consider the following factors to ensure optimal brightness:
Distance: Place the projector at an appropriate distance from the screen or projection surface. Refer to the manufacturer’s guidelines or projection calculator to determine the ideal distance for your specific projector model. Positioning the projector too far or too close can result in a dimmer image.
Angle: Aim to position the projector at a perpendicular angle to the screen or projection surface. Avoid tilting the projector, as it can distort the image and reduce brightness. Correctly aligning the projector will ensure that the light beam hits the screen directly, maximizing brightness and clarity.
Keystone Correction: Most projectors offer keystone correction features, which allow you to adjust the image to compensate for any distortion caused by an angled projection. However, excessive keystone correction can negatively impact brightness and image quality. Whenever possible, try to position the projector in a way that minimizes the need for keystone correction.
Elevation: Elevating the projector can often improve brightness. Placing the projector on a raised surface or mounting it on the ceiling can help prevent obstructions, such as furniture or people, from blocking the projection path. This ensures that the full light output is directed towards the screen, enhancing brightness and visibility.
By carefully positioning your projector, you can maximize its brightness and optimize the quality of the projected image. Take the time to find the ideal distance, angle, and elevation, and make any necessary adjustments to achieve the best possible results.
Use a Higher Wattage Bulb
The brightness of a projector is directly related to the wattage of its bulb. If you find that your projector is not bright enough, consider upgrading to a higher wattage bulb.
Before replacing the bulb, check the projector’s documentation or consult with the manufacturer to ensure compatibility with higher wattage bulbs. Not all projectors can handle bulbs with higher wattages, so it’s essential to follow the recommended specifications.
Higher wattage bulbs emit more light, resulting in a brighter projection. However, it’s worth noting that increasing the wattage may also lead to increased heat production and shorter bulb life. Make sure to monitor the projector’s temperature and adhere to the manufacturer’s guidelines for bulb replacement.
When purchasing a replacement bulb, be sure to identify the correct wattage and type for your projector. It’s recommended to buy bulbs from reputable sources to ensure quality and compatibility.
Once you’ve installed the higher wattage bulb, adjust the projector’s brightness settings accordingly. Since the new bulb emits more light, you may need to fine-tune the brightness level to prevent the image from appearing too bright or washed out.
Using a higher wattage bulb can significantly enhance the brightness of your projector, providing a more vivid and immersive viewing experience. However, it’s crucial to ensure compatibility, monitor temperatures, and follow proper maintenance practices to maximize bulb lifespan and overall projector performance.
Reduce Ambient Light
Ambient light can have a significant impact on the perceived brightness of your projected image. To make your projector appear brighter, it is important to minimize or eliminate any sources of ambient light in the viewing area.
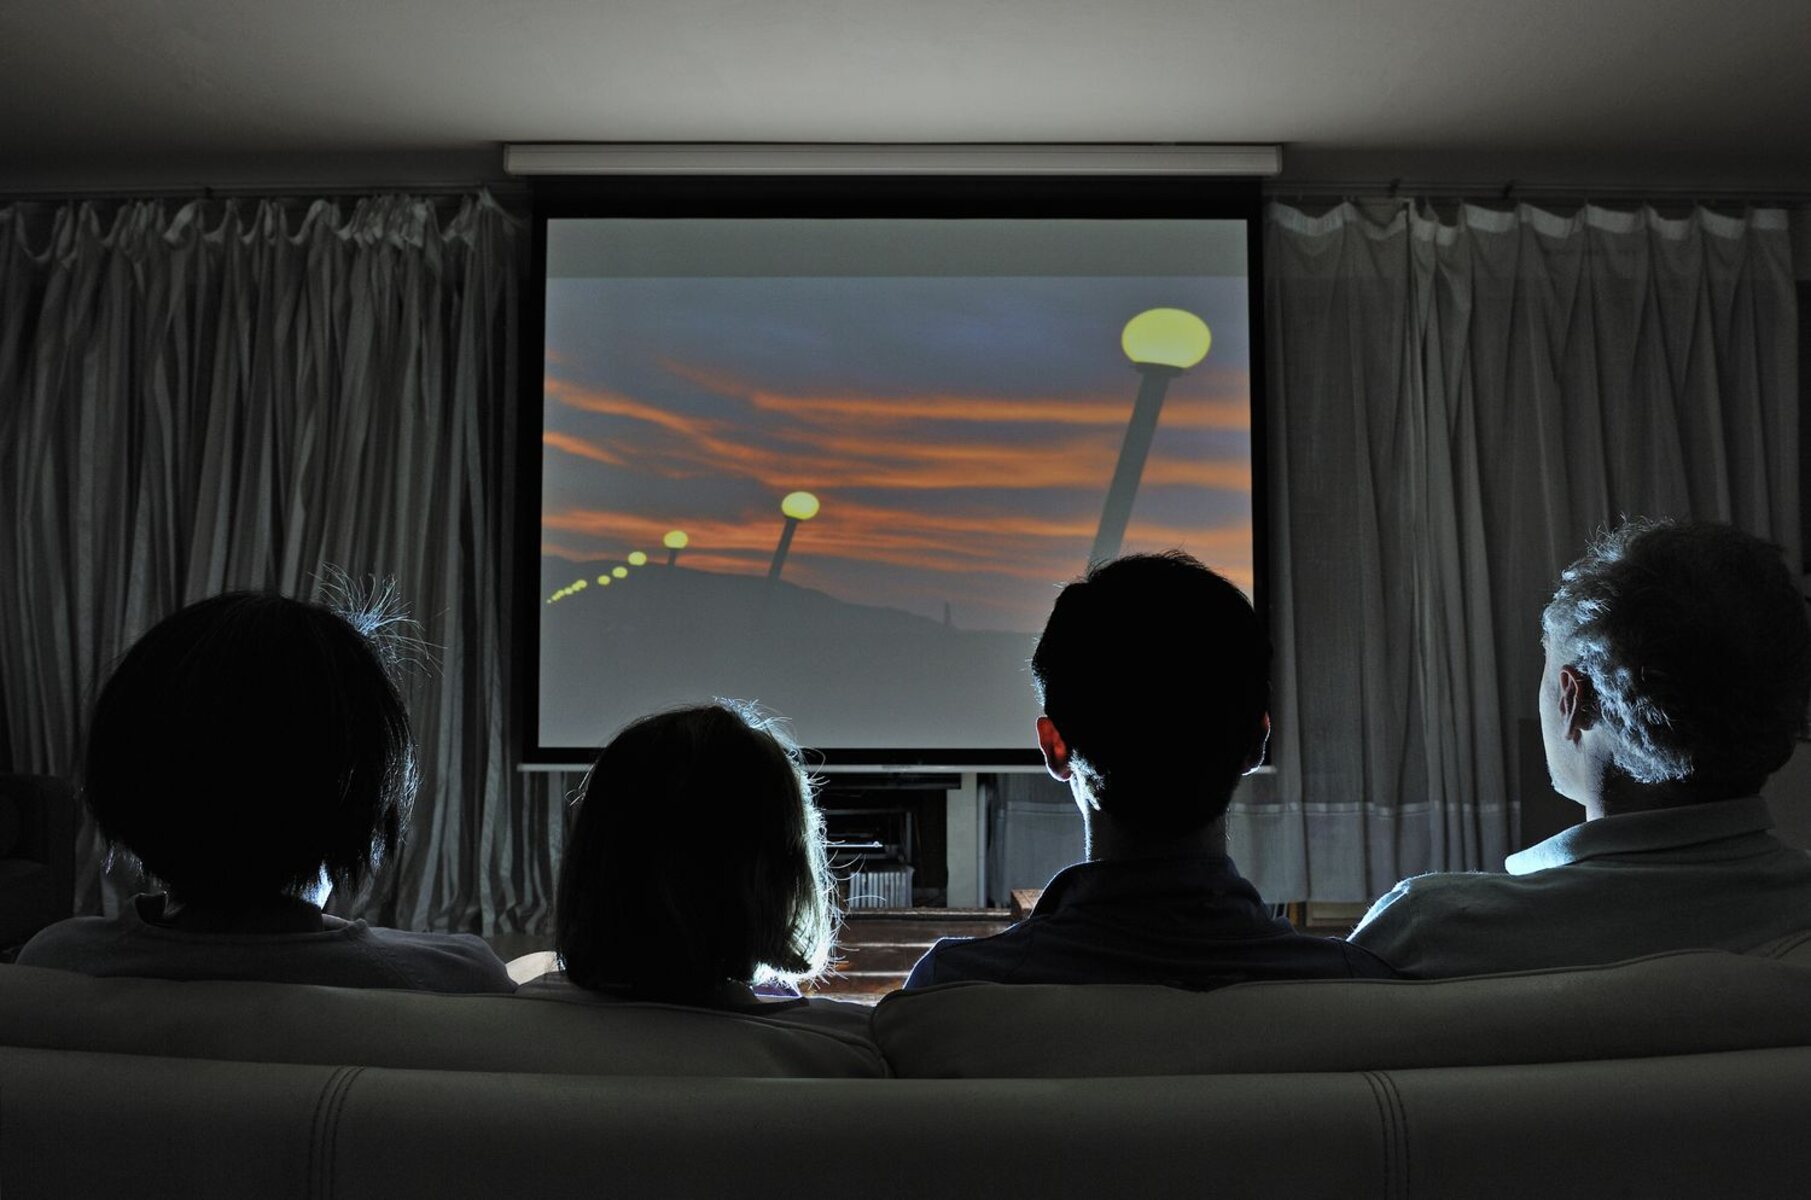
Start by closing curtains, blinds, or shades in the room to block out natural light. If possible, choose a room with minimal windows or use blackout curtains to create a darker environment. This allows the projected image to stand out more and reduces the interference of external light.
Another effective way to reduce ambient light is to turn off or dim any unnecessary lighting fixtures in the room. This includes overhead lights, lamps, and even nearby electronic screens. The less light competing with the projected image, the brighter and more vibrant it will appear.
If you’re unable to completely eliminate ambient light, consider using light-absorbing materials to cover surfaces that may reflect light onto the screen. For example, dark-colored walls, furniture, or decorative elements can help absorb stray light and enhance the contrast and brightness of the projected image.
Additionally, you can invest in a projector screen with ambient light-rejecting (ALR) properties. These screens are designed to reflect the projected light directly back at the viewer while minimizing the impact of ambient light from other angles. ALR screens can significantly improve the perceived image brightness, especially in well-lit environments.
By reducing ambient light in the viewing area, you can enhance the brightness and visibility of your projector’s image. Creating a dark and controlled environment allows the projected image to take center stage, resulting in a more immersive and enjoyable viewing experience.
Check and Replace Filters
Filters play a crucial role in maintaining the optimal performance of your projector. Over time, these filters can become clogged with dust and debris, restricting airflow and affecting the projector’s brightness.
To ensure your projector operates at its maximum brightness, it’s essential to regularly check and clean the filters. Consult the projector’s manual or manufacturer’s instructions for specific guidance on locating and removing the filters.
Once you’ve located the filters, carefully remove them, taking note of their orientation for reinstallation. Use a can of compressed air or a soft brush to gently remove any accumulated dust and dirt from the filters. If the filters are heavily soiled or damaged, it may be necessary to replace them entirely.
Replacing filters should be done according to the manufacturer’s recommendations. Some projectors have user-replaceable filters, while others may require professional servicing. Consult the user manual or contact the manufacturer for guidance on getting the right filters and replacing them correctly.
Regular maintenance of the filters ensures proper airflow, preventing the projector from overheating and negatively impacting its brightness and overall performance.
Keep in mind that the frequency of filter maintenance and replacement depends on several factors, including usage, environment, and projector model. It’s advisable to inspect and clean the filters every few months, or more frequently if you notice a significant reduction in brightness or the projector’s internal temperature rising.
By checking and replacing filters as needed, you can maintain optimal airflow, prevent overheating, and ensure that your projector continues to deliver bright and vivid projections.
Adjust the Contrast Settings
Alongside brightness, the contrast settings of your projector can significantly impact the perceived image quality and brightness. Contrast refers to the difference between the light and dark areas of the projected image, and adjusting this setting can help enhance the overall brightness.
To access the contrast settings, navigate to the projector’s menu or settings options using the remote control or onboard buttons. Look for the “Contrast” or “Image Settings” option and make adjustments accordingly.
Increasing the contrast can make the bright areas of the image appear brighter and more vibrant, which can improve overall brightness perception. However, be cautious not to increase the contrast too much, as it can lead to a loss of detail in darker areas of the image.
Similarly, decreasing the contrast can improve visibility in darker scenes or in low-light environments. Adjusting the contrast settings allows the projector to better differentiate between shades of black and white, resulting in a clearer and more detailed image.
It’s important to note that the optimal contrast setting may vary depending on the content being projected and the lighting conditions in the room. Experiment with different settings to find what works best for your specific situation.
Remember to save your changes after adjusting the contrast settings. Take note of the default settings in case you want to revert to them later.
By fine-tuning the contrast settings of your projector, you can improve image quality, enhance the brightness perception, and ensure a more visually engaging viewing experience.
Consider Using a Projector Amplifier
If you’re still unsatisfied with the brightness of your projector despite trying other methods, you might want to consider using a projector amplifier. A projector amplifier, also known as a signal amplifier or booster, can help enhance the brightness and clarity of the projected image.
A projector amplifier works by amplifying the video signal sent from the source device to the projector. This boost in signal strength can compensate for any loss or degradation that may occur over long cable runs or when connecting multiple devices in a complex setup.
Using a projector amplifier can help ensure that the signal reaching the projector is strong and stable, resulting in a brighter and more vibrant image. It can also help minimize any signal interference or degradation that may occur due to factors such as cable quality or distance.
When shopping for a projector amplifier, consider factors such as compatibility with your projector and source devices, the number of input and output connections available, and the maximum signal resolution supported. It’s essential to choose an amplifier that meets your specific needs and supports the resolutions and formats you intend to use.
Installation of a projector amplifier is typically straightforward. Connect the source device to the input of the amplifier, and then connect the amplifier’s output to the projector. Make sure to follow the specific instructions provided with the amplifier to ensure proper installation and configuration.
Keep in mind that a projector amplifier may not be necessary for all setups. It is most beneficial in situations where long cable runs or complex setups can potentially compromise the signal quality and brightness. Consider your specific requirements and the limitations of your current setup before investing in a projector amplifier.
By using a projector amplifier, you can potentially overcome any signal degradation or loss that may be impacting the brightness of your projected image, resulting in a more vivid and visually satisfying viewing experience.
Upgrade to a Brighter Projector
If you’ve exhausted all other options and still find that your current projector lacks the desired brightness, it may be time to consider upgrading to a brighter model. Upgrading to a projector with higher lumen output can significantly improve the brightness and overall image quality.
When choosing a new projector, look for models that offer higher lumen ratings. Lumens refer to the measurement of brightness, and a higher lumen output means a brighter projected image. Consider the environment in which you will be using the projector and choose a model that can deliver the desired brightness level under those conditions.
Additionally, pay attention to other features such as contrast ratio, resolution, and connectivity options to ensure you get a projector that meets your specific needs and preferences.
It’s worth noting that brighter projectors often come at a higher price point, so it’s essential to consider your budget and prioritize your requirements accordingly. Assess how much of an improvement in brightness you need and choose a projector that provides a suitable balance between performance and affordability.
Before making a purchase, read reviews, compare specifications, and consider consulting with professionals or experts who can provide guidance based on your specific requirements.
Keep in mind that upgrading to a brighter projector may require adjustments to your setup, such as screen size, distance, and positioning. Ensure that you have the necessary space and configuration to accommodate the new projector.
By upgrading to a brighter projector, you can enjoy a significant improvement in image brightness, resulting in a more immersive and visually captivating viewing experience. However, carefully consider your needs, budget, and compatibility before making a decision.
Conclusion
Improving the brightness of your projector is essential for enhancing the visual experience, whether you’re watching movies, delivering presentations, or gaming. In this article, we explored ten effective methods to make your projector brighter.
We began by emphasizing the importance of maintaining a clean lens, which allows light to pass through without obstruction. We then discussed adjusting the brightness and contrast settings to find the optimal balance for your viewing environment.
Utilizing a white screen or surface enhances brightness and color accuracy, while proper projector positioning ensures optimal light projection onto the screen. Additionally, using a higher wattage bulb can significantly improve brightness, although compatibility and heat management must be considered.
To further optimize brightness, reducing ambient light by closing curtains or using light-absorbing materials is essential. Checking and replacing filters prevents blockages that can diminish airflow and decrease brightness. Lastly, considering a projector amplifier or upgrading to a brighter projector offers more advanced solutions.
Remember, each method has its own benefits and considerations, and not all methods may be suitable for your specific situation. Evaluate your needs, budget, and existing equipment before deciding on the best approach.
By implementing these techniques, you can transform your projector’s brightness and enjoy a more vibrant, immersive, and visually stunning viewing experience. Take the time to experiment with different methods and find the combination that works best for you.
Elevate your projector’s brightness and unlock the full potential of your visual presentations or entertainment, making every viewing experience a bright and memorable one.