Introduction
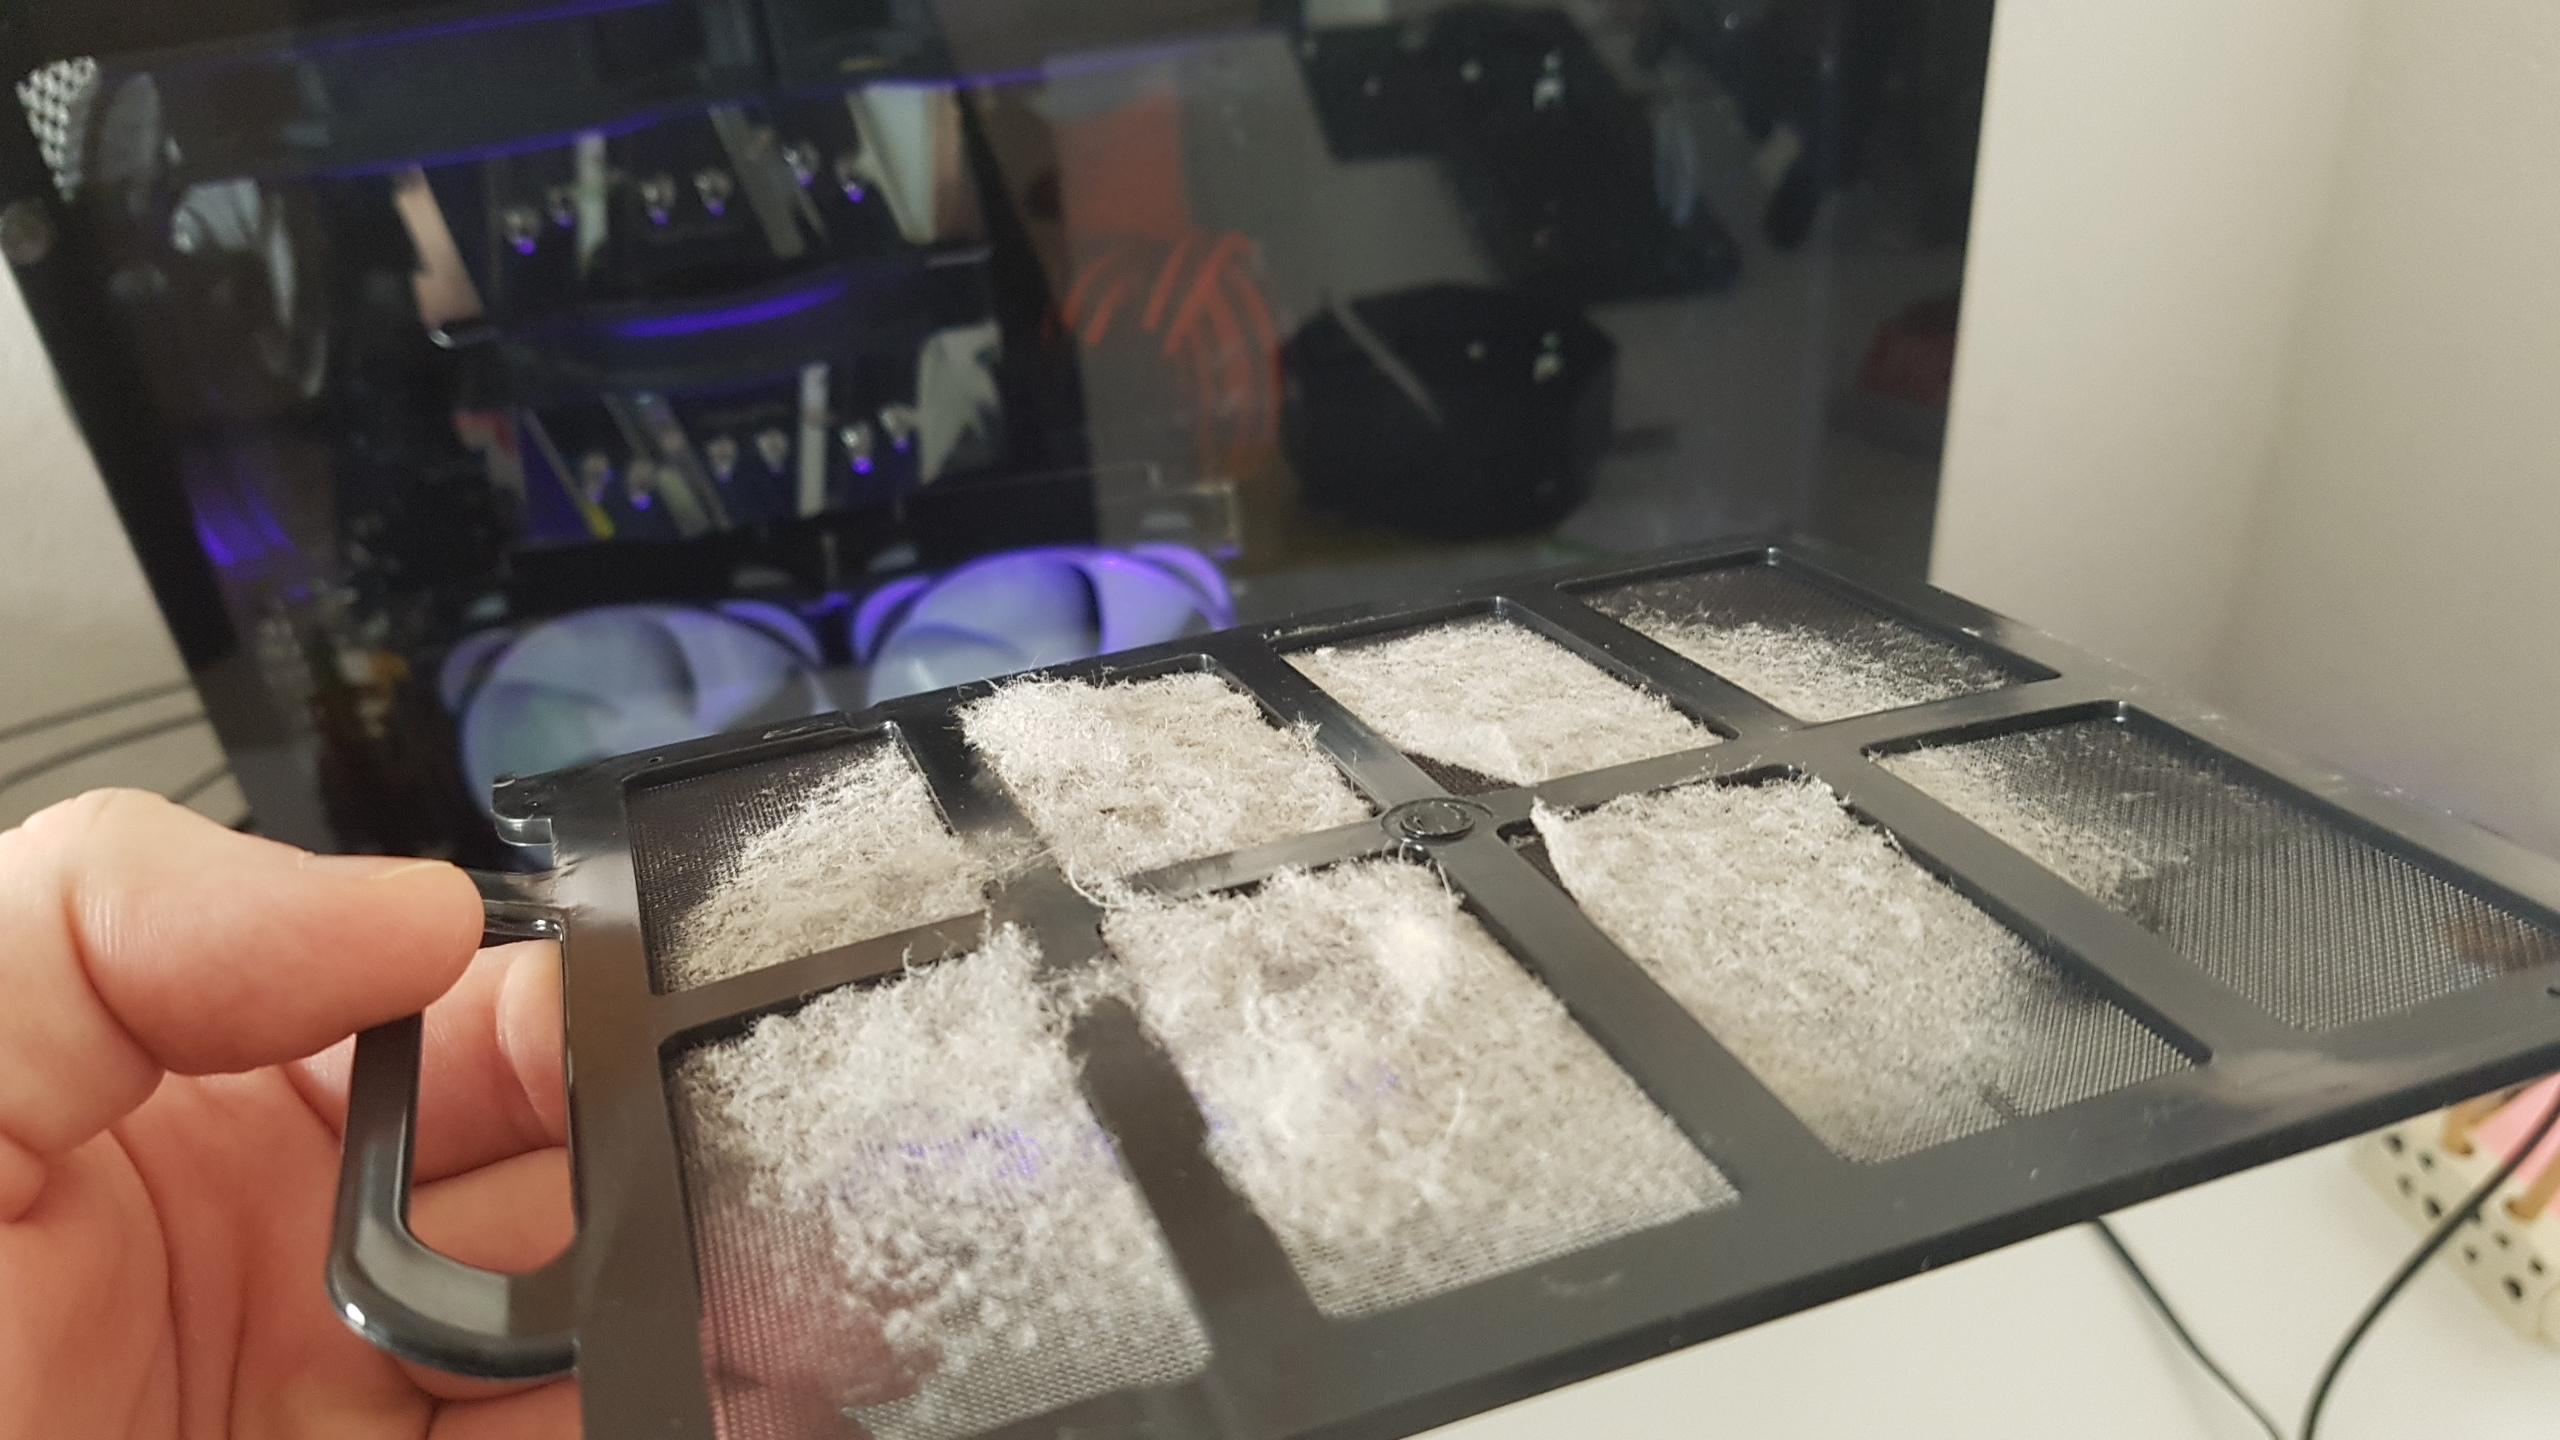
Welcome to the world of PC customization and maintenance! Whether you’re a gaming enthusiast or a professional who relies on their computer for work, it’s imperative to keep your PC clean and free from dust. Dust can accumulate inside the PC case over time, affecting the cooling efficiency and potentially causing damage to vital components. That’s where a PC case dust filter comes to the rescue!
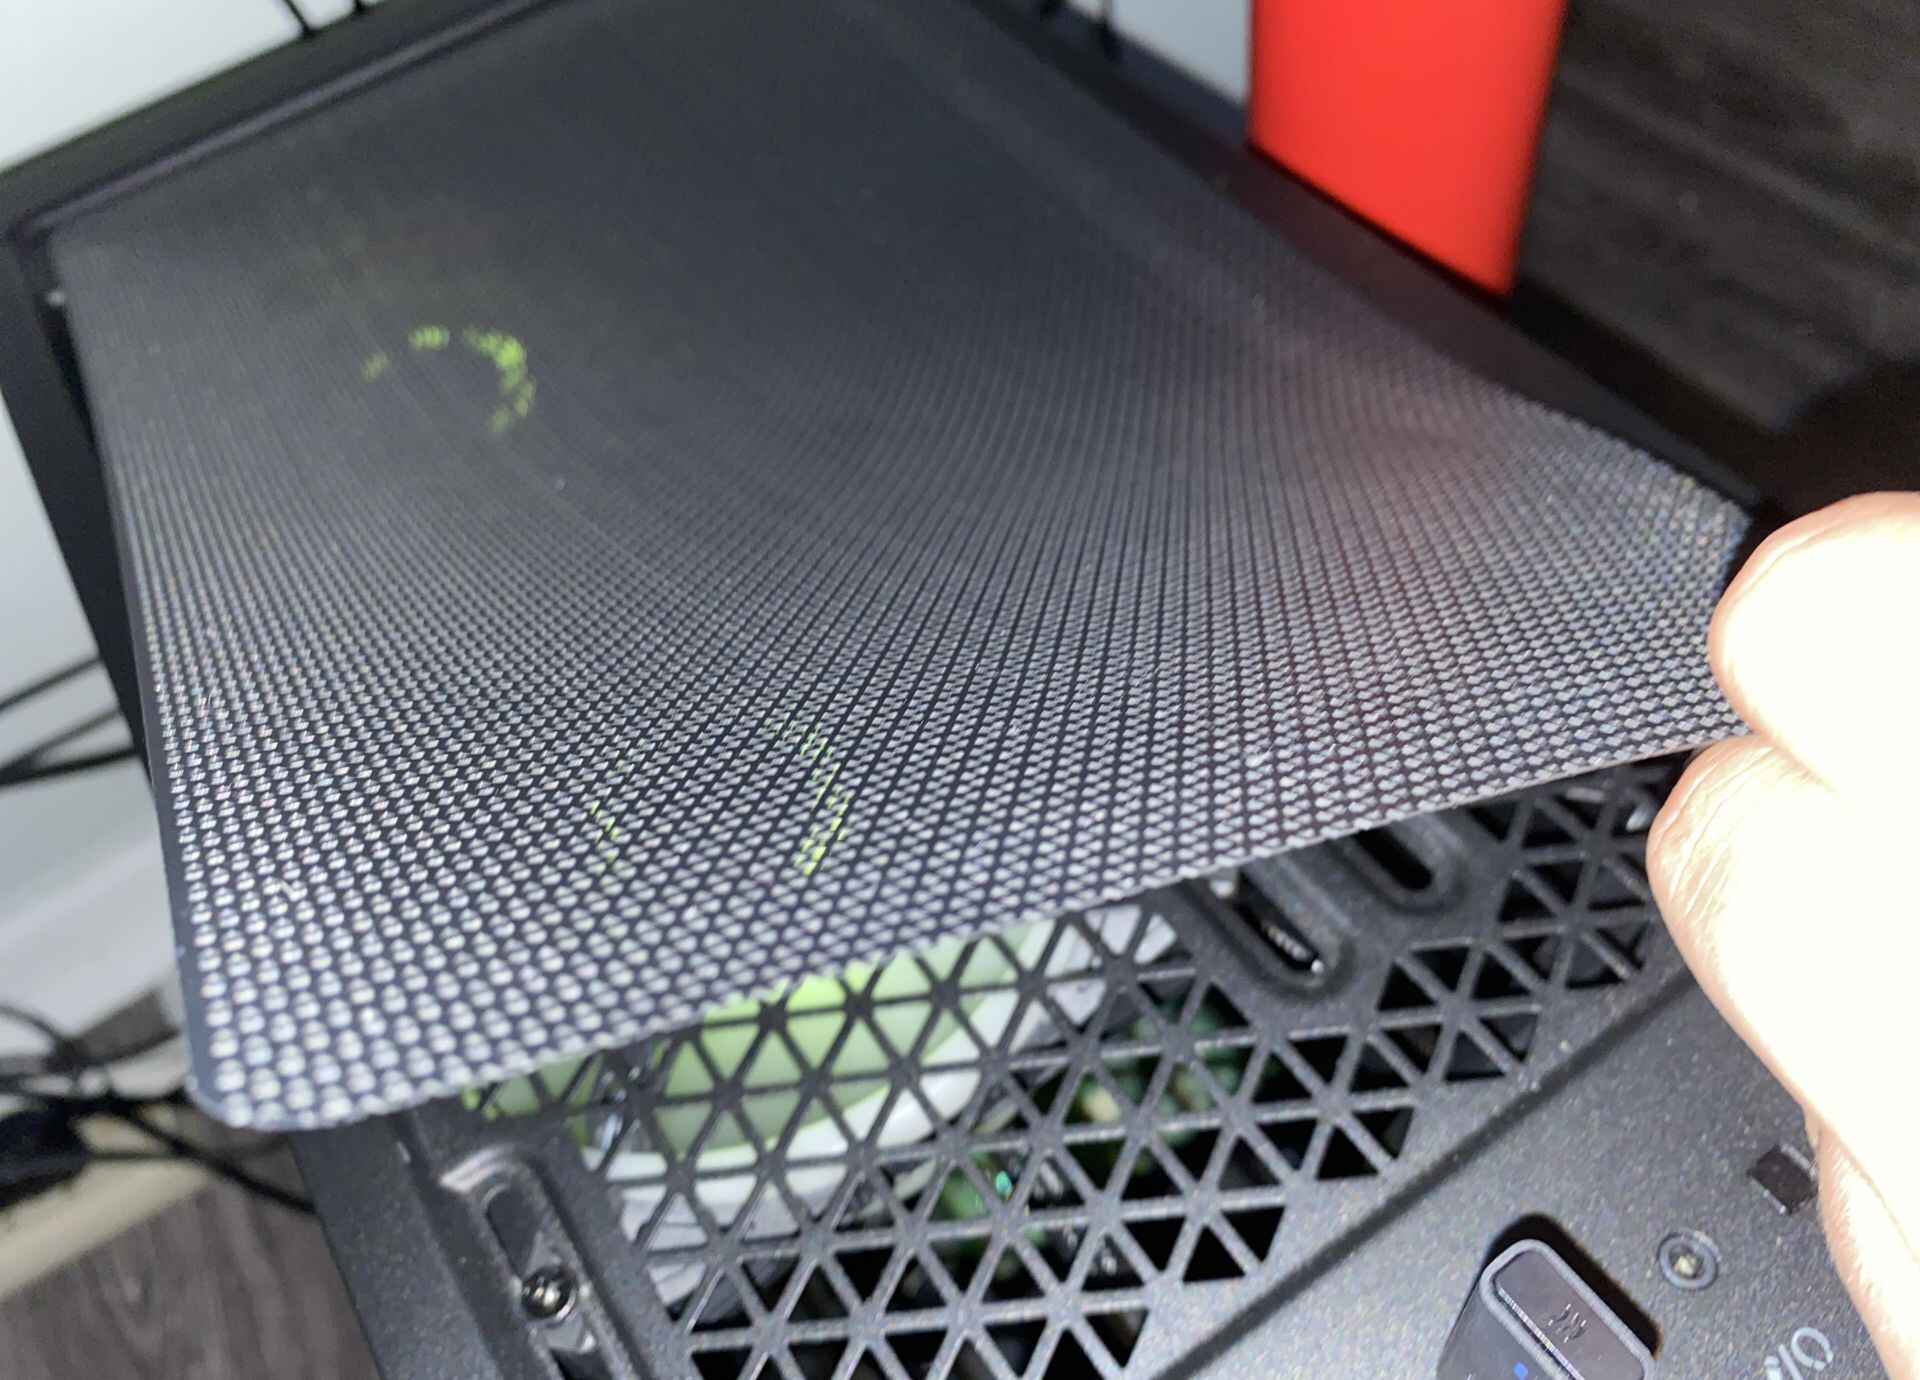
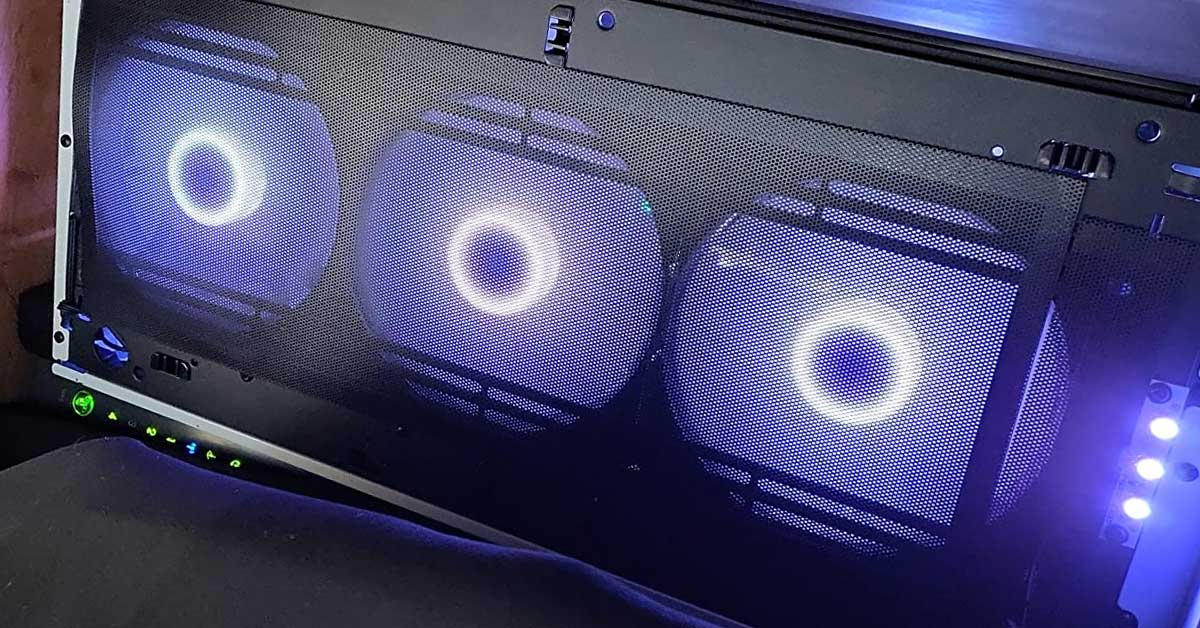
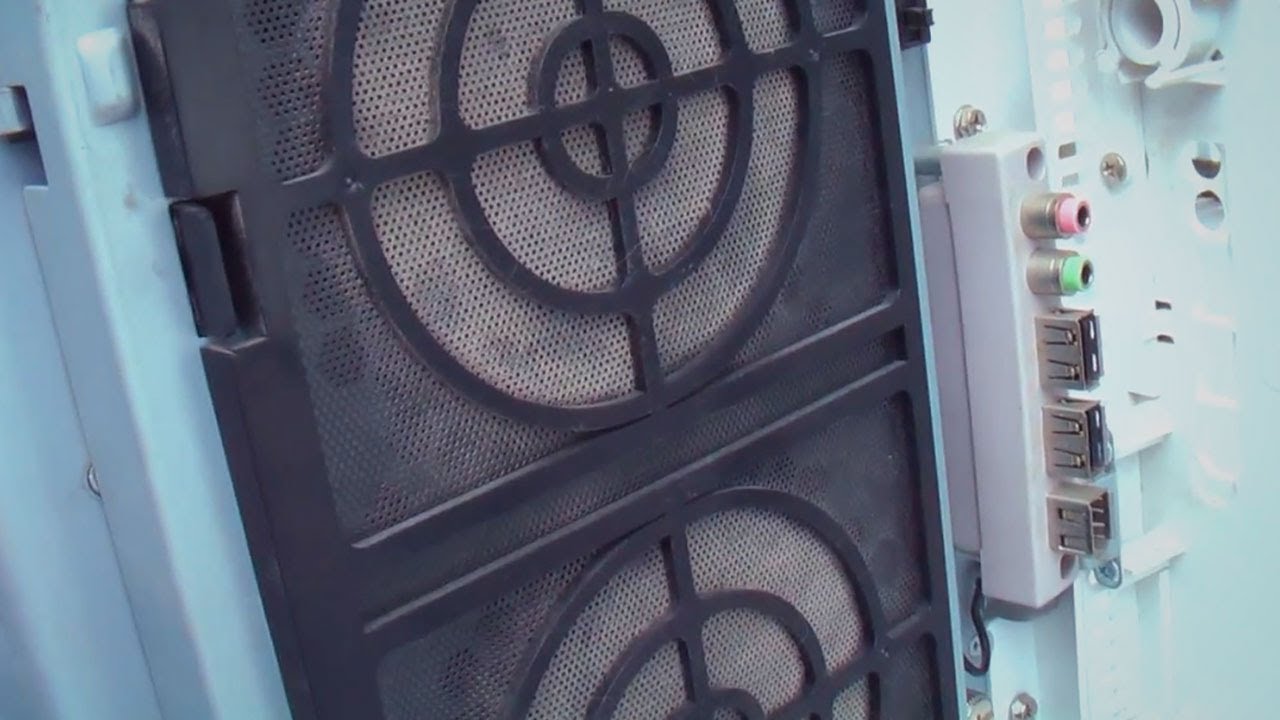
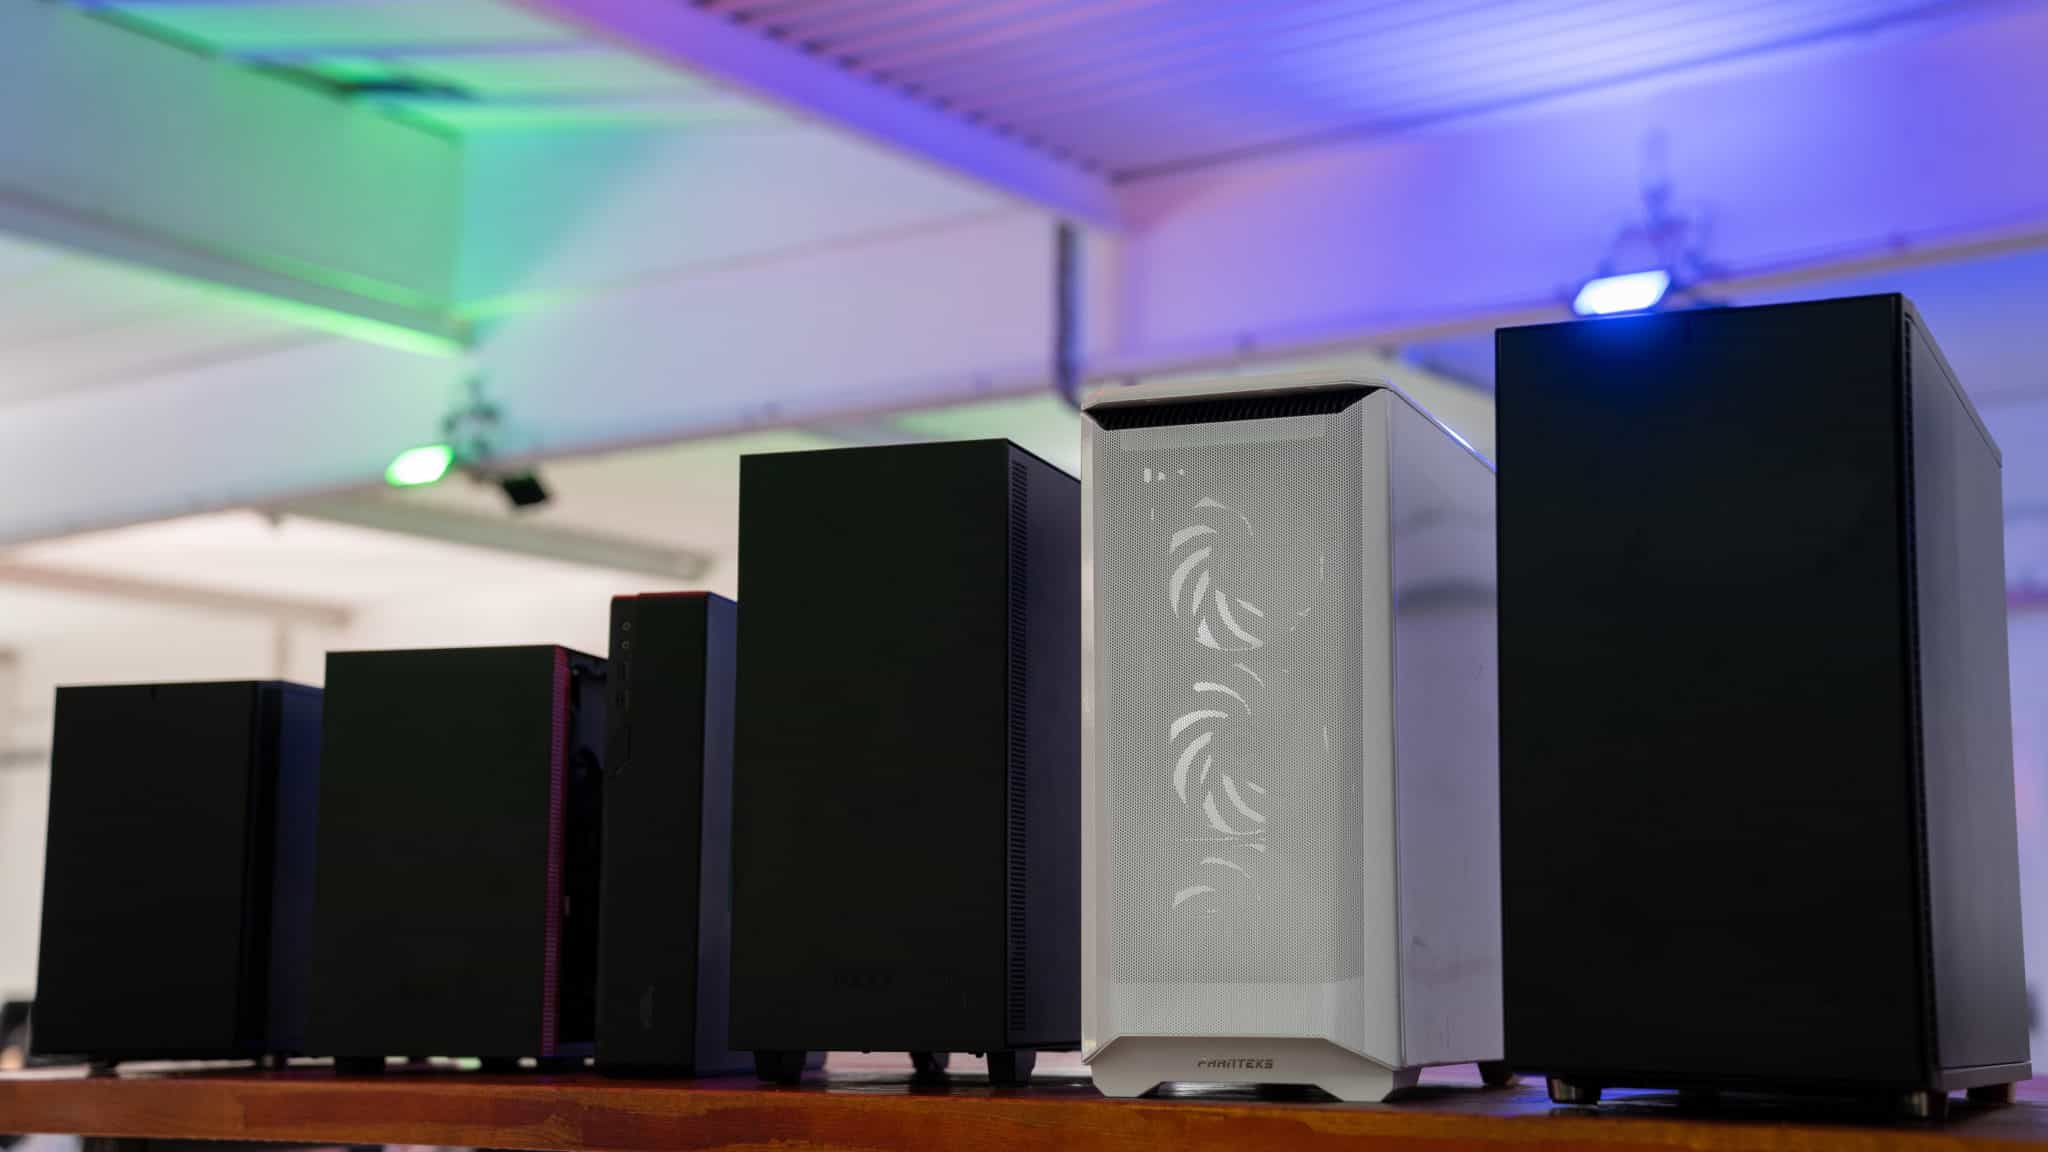
A PC case dust filter is a simple yet effective solution that prevents dust and debris from entering your computer system. It acts as a barrier, allowing proper airflow while trapping unwanted particles. While many PC cases come pre-equipped with dust filters, some older models or budget cases may lack this essential feature.
Luckily, you don’t have to spend a fortune on a new case just to get the benefits of a dust filter. In this guide, we will show you how to make your own DIY PC case dust filter using easily available materials. Not only will this save you money, but it will also give you a sense of pride and accomplishment knowing that you’ve customized your PC to meet your specific needs.
By following this step-by-step guide, you’ll learn how to create a dust filter tailored to the size and shape of your PC case. Additionally, we’ll provide tips on how to install the dust filter and maintain it for optimal performance. So, let’s roll up our sleeves and get started on creating a dust-free environment for your precious PC!
Benefits of a PC Case Dust Filter
A PC case dust filter offers numerous benefits that are essential for the proper functioning and longevity of your computer. Let’s take a closer look at some of the advantages it provides:
1. Improved Airflow: Dust accumulation inside your PC case can hinder the airflow, causing overheating and performance issues. A dust filter prevents large particles from entering your system, ensuring that the intake fans receive clean air for efficient cooling.
2. Reduced Maintenance Frequency: Without a dust filter, you’d need to clean the internals of your PC more frequently, which can be time-consuming and risky. By using a dust filter, you minimize the amount of dust that enters your computer, reducing the need for regular maintenance and cleaning.
3. Protection of Components: Dust particles can settle on your motherboard, graphics card, and other components, leading to electrical shorts and potential damage. A dust filter acts as a barrier, preventing these particles from reaching delicate parts and safeguarding your hardware.
4. Longer Lifespan: By minimizing dust accumulation, a PC case dust filter helps prolong the lifespan of your computer. Dust can cause components to overheat, reducing their efficiency and potentially shortening their lifespan. With a dust filter, you can keep your PC running smoothly for years to come.
5. Improved Performance: Overheating due to dust can lead to performance degradation, including system slowdowns and crashes. By maintaining a dust-free environment, your PC can perform optimally, allowing you to enjoy smooth and uninterrupted computing experiences, whether gaming, streaming, or working.
6. Enhanced Aesthetic Appeal: Many dust filters come with stylish designs that can complement your PC case’s overall look. They not only serve a functional purpose but also add a touch of style to your rig, making it visually appealing.
These benefits highlight the importance of incorporating a dust filter into your PC case. Whether you’re a casual user or a hardcore gamer, a dust filter is an invaluable investment that can significantly improve the performance and lifespan of your computer.
Materials Needed
Before we begin making our DIY PC case dust filter, let’s gather the materials required. You may already have some of these items at home, making this project even more cost-effective and convenient. Here’s what you’ll need:
- Mesh Material: Look for a fine mesh material that can effectively capture dust particles without obstructing airflow. Nylon or polyester mesh with a density of around 50 to 100 threads per inch (TPI) is ideal.
- Scissors: A good pair of scissors will come in handy for cutting the mesh material to the desired size and shape.
- Measuring Tape: You’ll need a measuring tape to accurately measure the dimensions of your PC case or the area where you plan to install the dust filter.
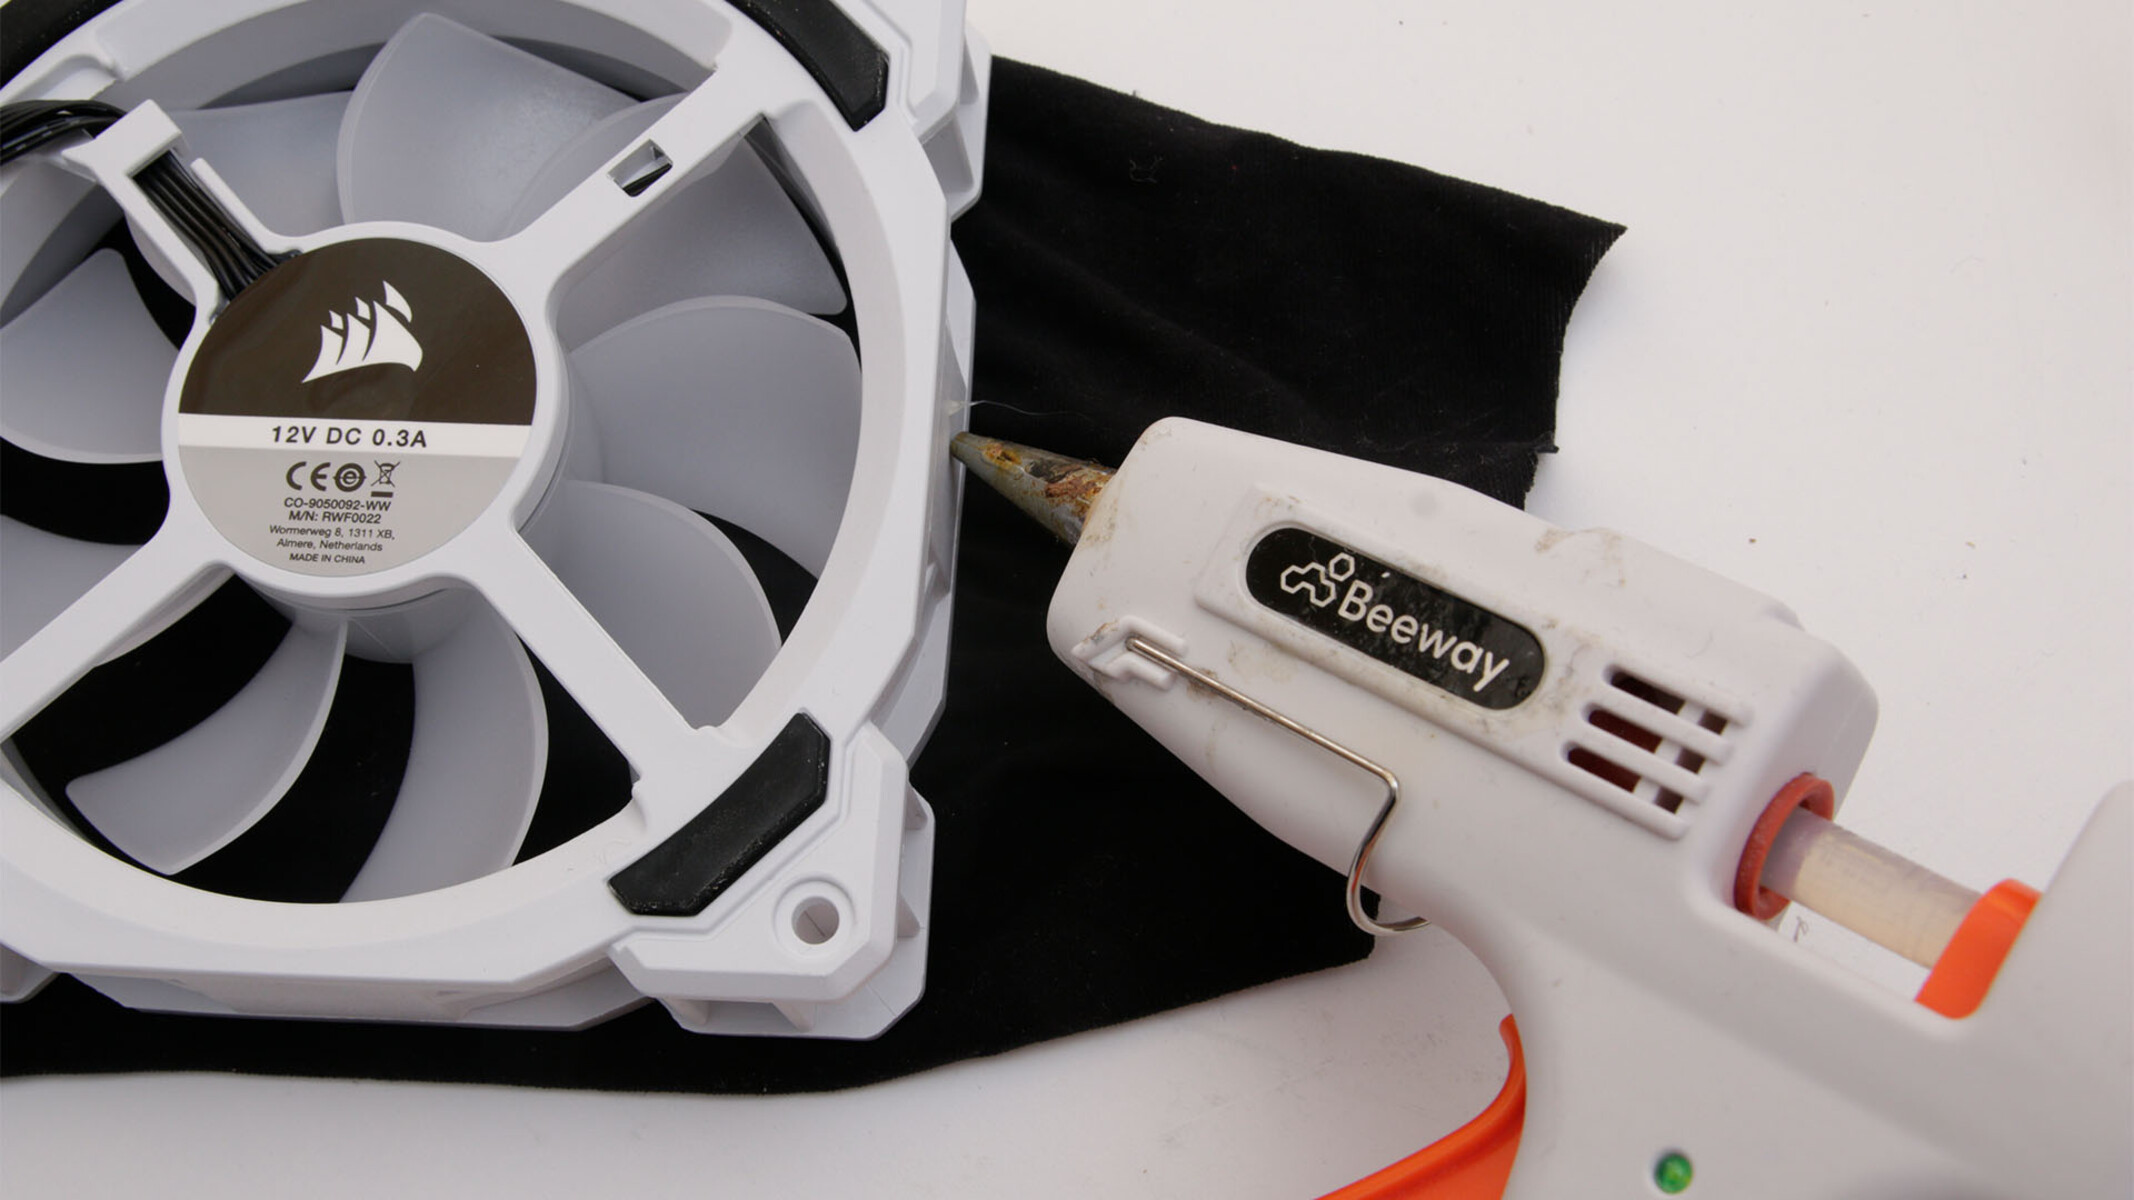
- Adhesive Strips: Opt for adhesive strips or hook-and-loop fasteners like Velcro to attach the dust filter to your PC case. Make sure they are strong and secure enough to hold the filter in place.
- Marker or Pen: Use a marker or pen to mark the measurements on the mesh material before cutting.
- Cleaning Tools: While not essential for creating the dust filter, it’s always a good idea to have some cleaning tools on hand for routine maintenance. This can include a can of compressed air or a soft brush to remove dust from the filter.
These basic materials should be readily available at your local craft store or online. Once you’ve gathered everything, let’s move on to the next step of creating your own PC case dust filter.
Step-by-Step Guide to Making a PC Case Dust Filter
Now that we have all the necessary materials, let’s dive into the step-by-step process of creating your very own PC case dust filter. Follow these instructions closely to ensure a proper fit and optimal performance:
- Measure the Dimensions: Using a measuring tape, measure the dimensions of the area where you intend to install the dust filter. Take accurate measurements to ensure a snug fit.
- Mark the Measurements: Using a marker or pen, mark the measurements on the mesh material. Be sure to add a little extra on each side for the overlapping edges.
- Cut the Mesh Material: Carefully cut along the marked measurements using a pair of scissors. Take your time to ensure clean and precise cuts.
- Trim the Edges: Once you have the cut piece of mesh, trim the edges to remove any jagged or uneven edges. This will give it a neater appearance and prevent any possible snags.
- Attach the Adhesive Strips: Take the adhesive strips or hook-and-loop fasteners and cut them into smaller pieces. Attach these pieces to the edges of the mesh material, ensuring they are evenly spaced.
- Position the Dust Filter: Open your PC case and locate the area where you want to install the dust filter. Carefully position the mesh material over this area, ensuring it aligns with the marks you made earlier.
- Secure the Dust Filter: Press the adhesive strips firmly against the PC case, securing the dust filter in place. Make sure it is firmly attached so that it doesn’t shift or fall off during regular use.
- Test the Fit: Close the PC case and power on the system. Run it for a few minutes to check the airflow and ensure that the dust filter doesn’t impede the cooling performance. Adjust as needed to maintain optimal airflow.
Following these step-by-step instructions will help you create a custom dust filter for your PC case. Remember, accuracy and attention to detail are crucial. With your new DIY dust filter in place, you can enjoy a cleaner and dust-free environment for your computer.
Installing the DIY Dust Filter
Now that you have successfully created your own PC case dust filter, it’s time to install it into your computer system. Proper installation ensures maximum effectiveness and prevents any potential issues. Follow these steps to install your DIY dust filter:
- Turn off and unplug your PC: Before beginning the installation process, safely shut down your computer and disconnect it from the power source. This will prevent any accidental damage or electrical shock.
- Open your PC case: Remove the side panel of your PC case by unscrewing the screws or using any latch mechanism present. Be careful not to damage any internal components during this process.
- Identify the intake vents: Locate the intake vents on your PC case where the air enters. These vents are usually located at the front, top, or sides of the case. Make sure to check your PC case manual if you’re unsure about the exact location.
- Clean the intake vents: Before installing the dust filter, take a moment to clean the intake vents using a can of compressed air or a soft brush. Clearing any existing dust or debris will ensure maximum airflow once the filter is in place.
- Attach the dust filter: Carefully position the DIY dust filter over the selected intake vent. Ensure that it covers the entire opening without obstructing any other components. Press it firmly against the case to secure it in place.
- Secure the dust filter: If your DIY dust filter has adhesive strips or hook-and-loop fasteners, press them firmly against the PC case to secure the filter. Double-check that the filter is properly attached and snugly fitted to prevent any gaps.
- Close your PC case: Once the dust filter is securely in place, close your PC case by reattaching the side panel. Tighten the screws or latch mechanism to ensure a proper seal.
- Power up your PC: Plug in your PC and power it up. Monitor the temperatures and airflow to ensure that the dust filter doesn’t impede the cooling performance. If you notice any issues, such as increased temperatures or abnormal noises, double-check the filter’s placement and adjust if necessary.
By following these installation steps, you can enjoy the benefits of a dust-free PC system without compromising on airflow or performance.
Maintenance and Cleaning Tips
Once your DIY dust filter is installed, it’s important to maintain and clean it regularly to ensure its effectiveness and longevity. Here are some maintenance and cleaning tips to keep your dust filter in optimal condition:
- Regular Cleanings: Schedule regular cleanings for your dust filter to prevent dust build-up. The frequency will depend on the environment in which your PC is placed, but a general guideline is to clean it every 2-3 months.
- Remove the Dust Filter: Carefully remove the dust filter from your PC case. Gently detach it from the adhesive strips or hook-and-loop fasteners, taking care not to damage the mesh material.
- Clean with Compressed Air: Use a can of compressed air to blow off the accumulated dust from the filter. Hold the can upright and use short bursts to dislodge the debris. Start from one corner and work your way across the entire surface of the filter.
- Wash with Mild Soap and Water: If the dust filter is heavily soiled, you can wash it with a mild soap and water solution. Fill a basin with lukewarm water, add a small amount of gentle soap, and gently hand wash the filter. Rinse it thoroughly and allow it to air dry completely before reinstalling it in your PC case.
- Inspect for Damage: While cleaning, inspect the dust filter for any damage or tears. If you notice any holes or frayed edges, consider replacing the filter to maintain its effectiveness.
- Keep the Surrounding Area Clean: Dust can accumulate in the vicinity of your PC, so it’s important to keep the area clean as well. Dust and vacuum regularly to minimize the amount of dust that enters your PC case.
- Monitor Airflow and Temperatures: After cleaning and reinstalling the dust filter, monitor your PC’s temperatures and airflow. Make sure that the filter is not impeding the cooling performance. If you notice any abnormalities, such as increased temperatures or restricted airflow, inspect the filter and adjust its placement if needed.
Following these maintenance and cleaning tips will help you maintain a clean and dust-free PC case. By taking care of your dust filter, you ensure that it continues to effectively trap dust and debris, keeping your computer system running smoothly for years to come.
Conclusion
Creating your own DIY PC case dust filter is a rewarding and cost-effective solution to keep your computer free from dust and debris. By following the step-by-step guide in this article, you have learned how to make a custom dust filter tailored to the dimensions of your PC case. Not only does a dust filter improve airflow and protect your components, but it also enhances the overall performance and lifespan of your computer.
Remember to gather the necessary materials, measure accurately, and secure the filter properly during installation. Regular maintenance and cleaning are essential to ensure that the dust filter continues to effectively trap dust particles and maintain optimal airflow. By following the maintenance tips provided, you can prolong the longevity of your dust filter and keep your PC running smoothly.
Whether you’re a gaming enthusiast, a creative professional, or simply a regular user, a PC case dust filter is a valuable addition to your computer setup. It provides numerous benefits, including improved airflow, reduced maintenance frequency, and protection for your valuable components. With a DIY dust filter in place, you can enjoy a cleaner and more efficient PC system for all your computing needs.
So, why wait? Get creative and start crafting your own PC case dust filter today. Your computer will thank you!


