Introduction
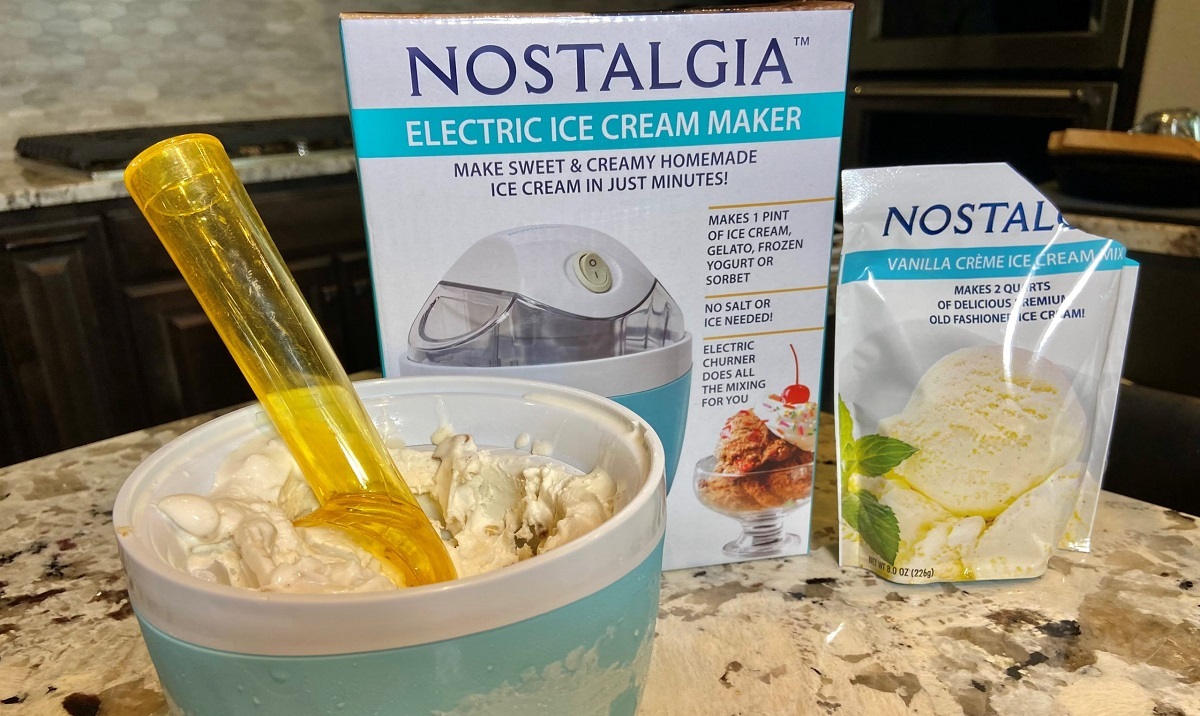
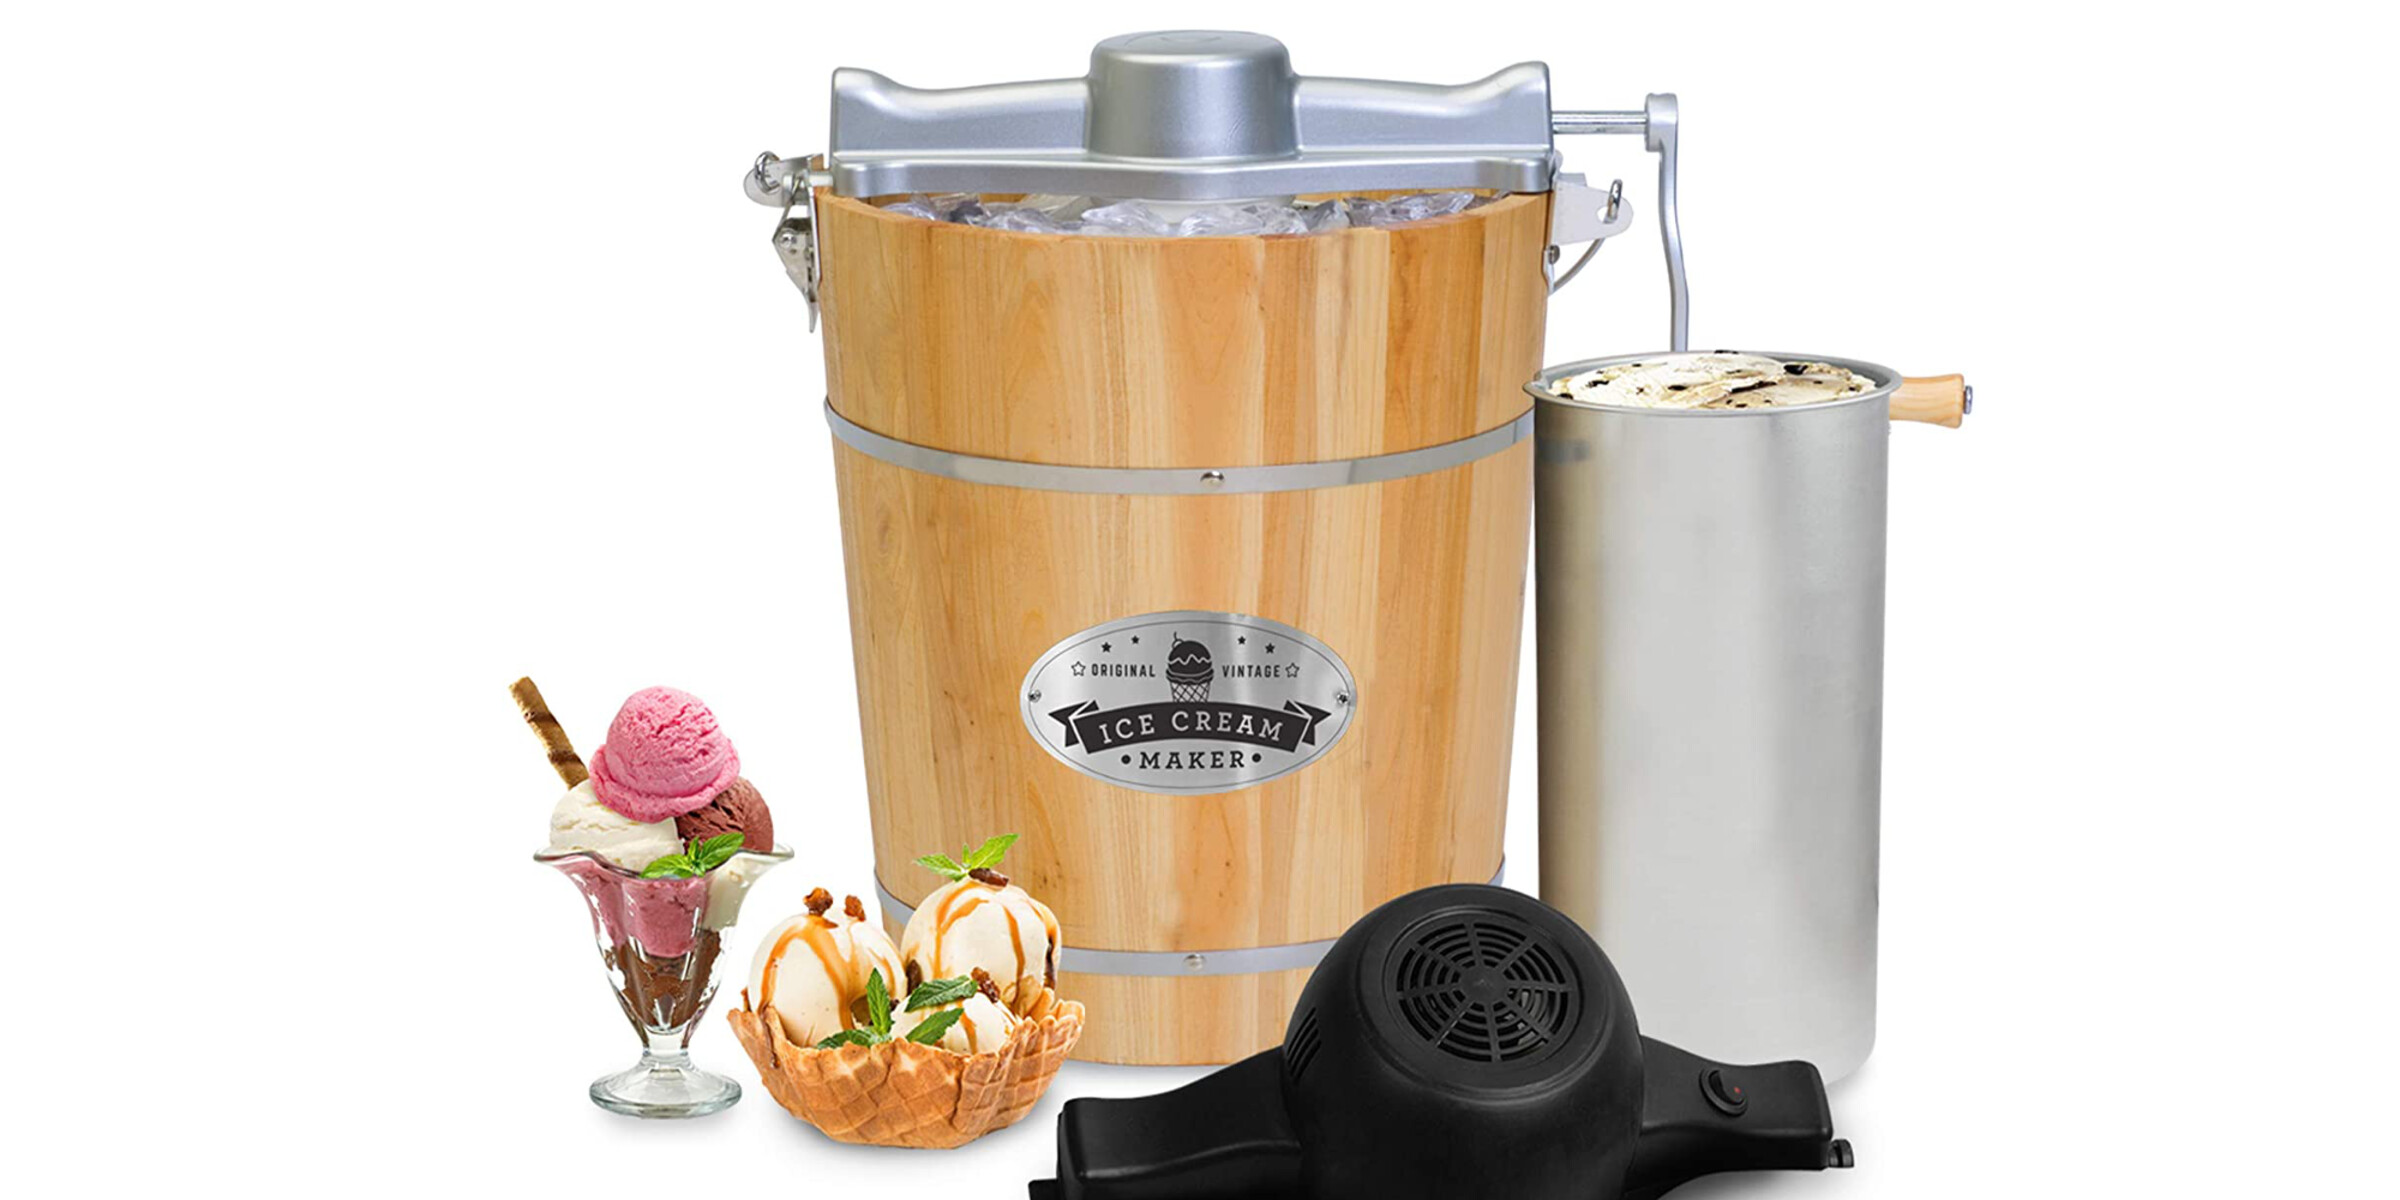
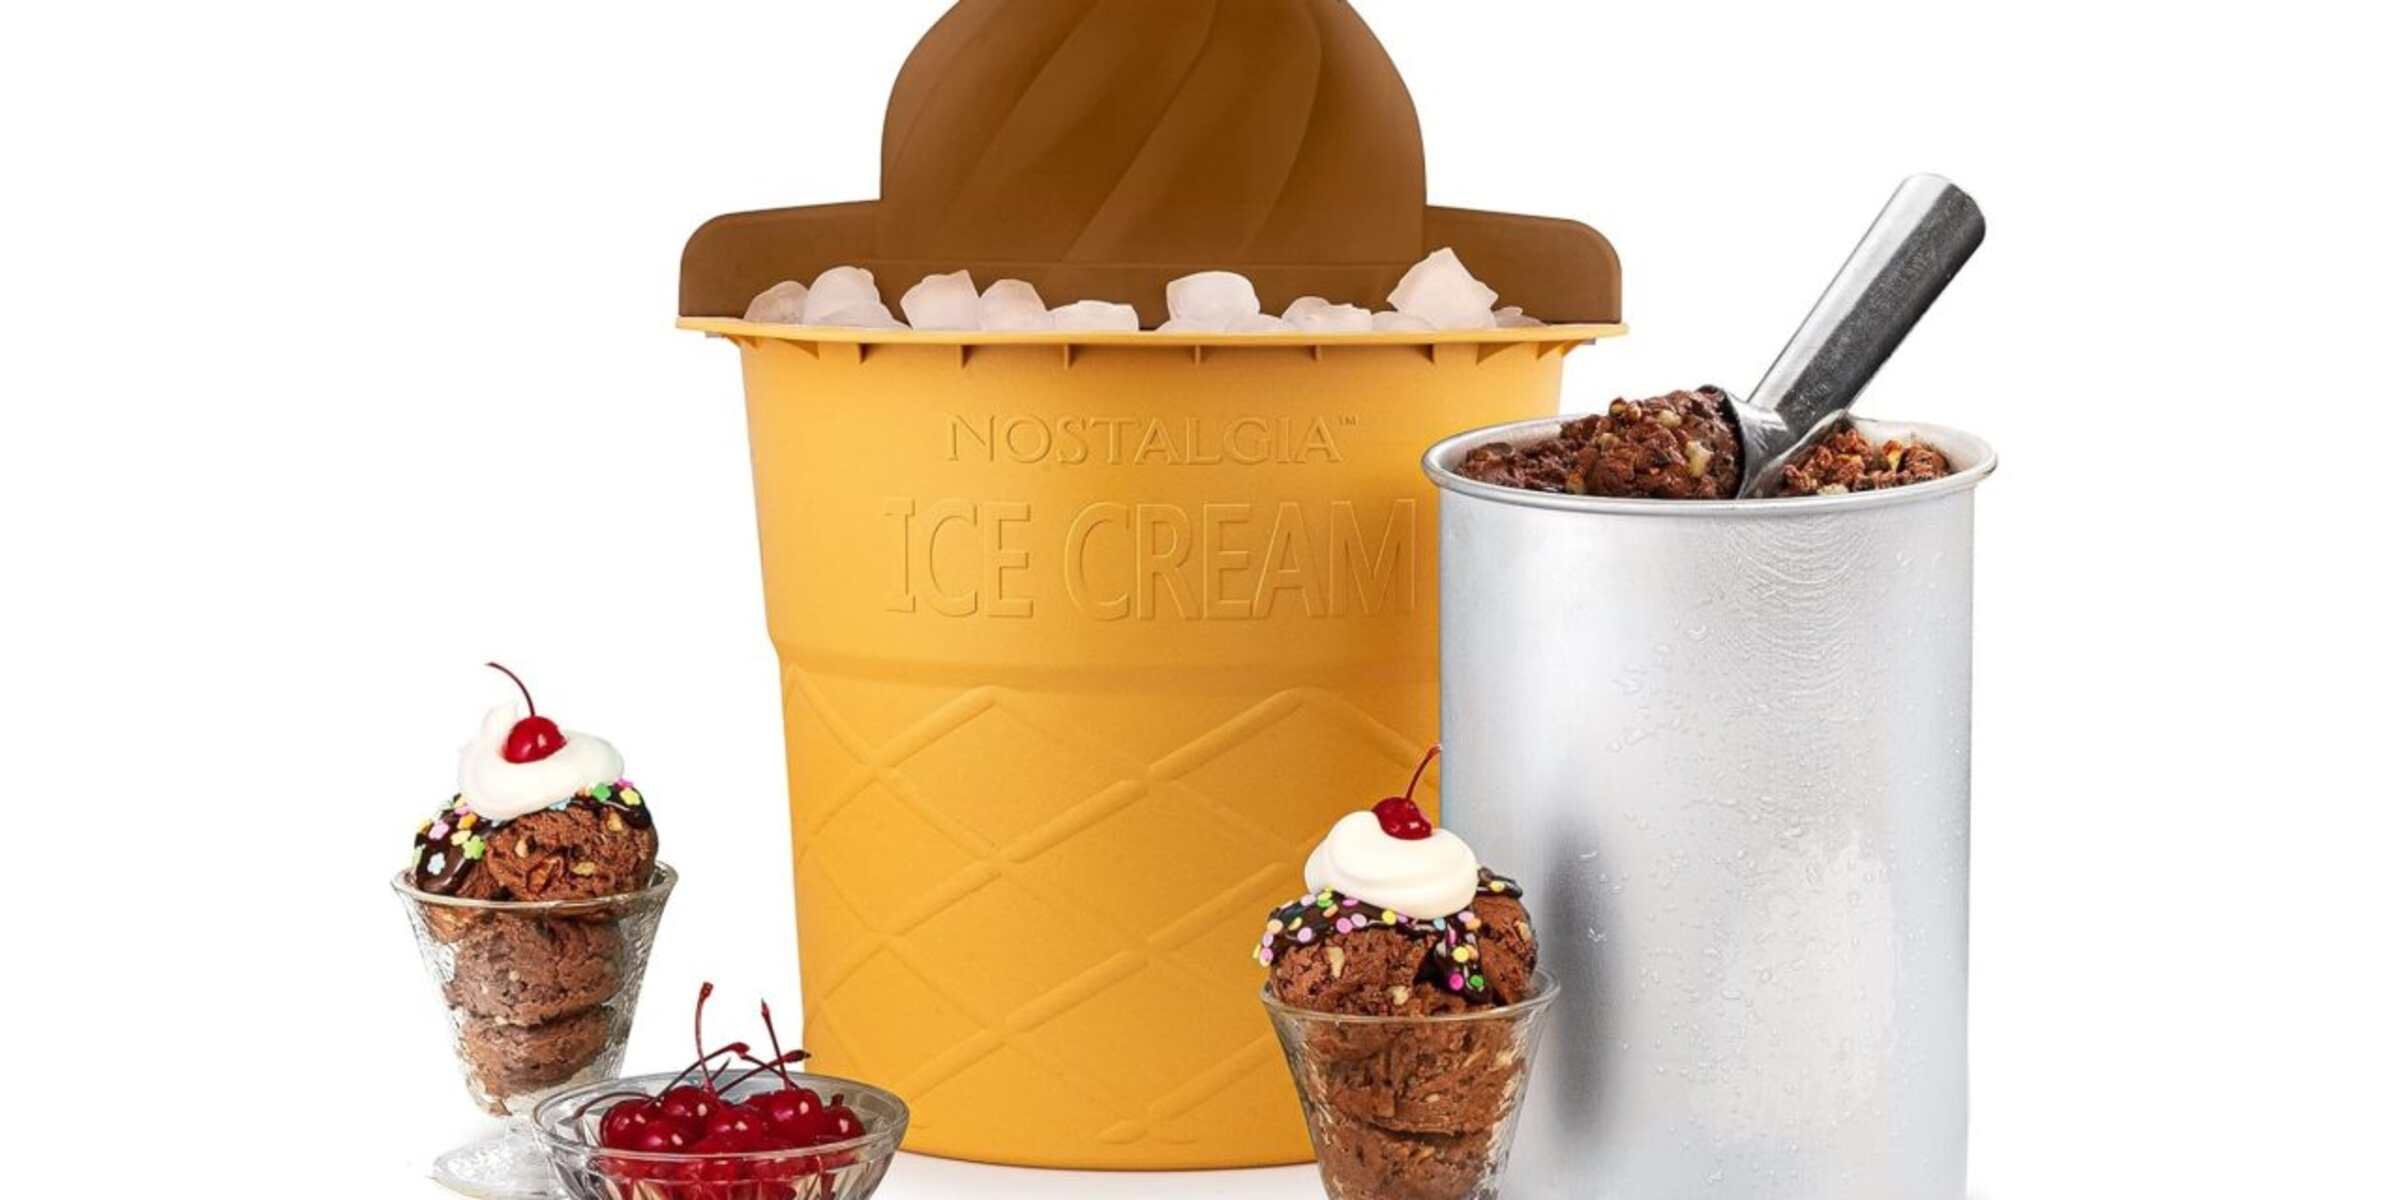
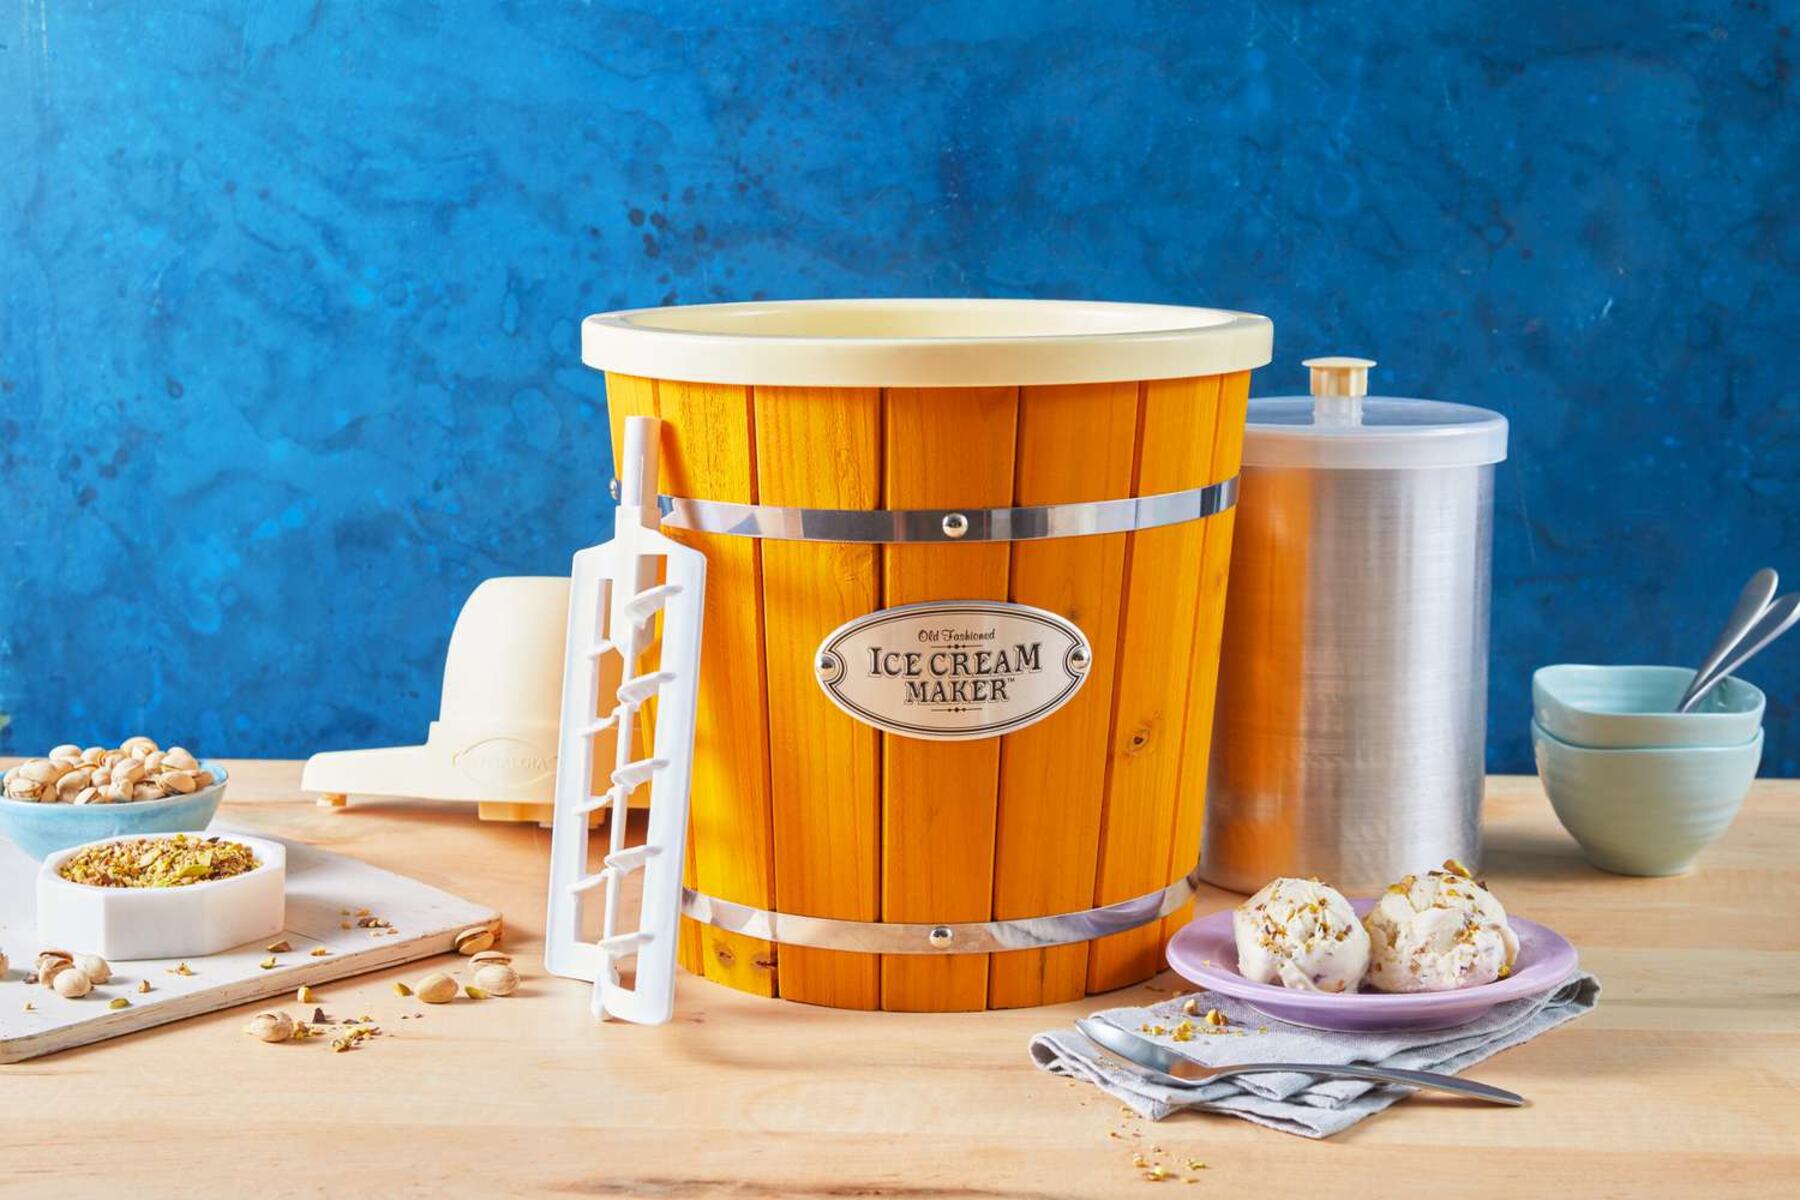
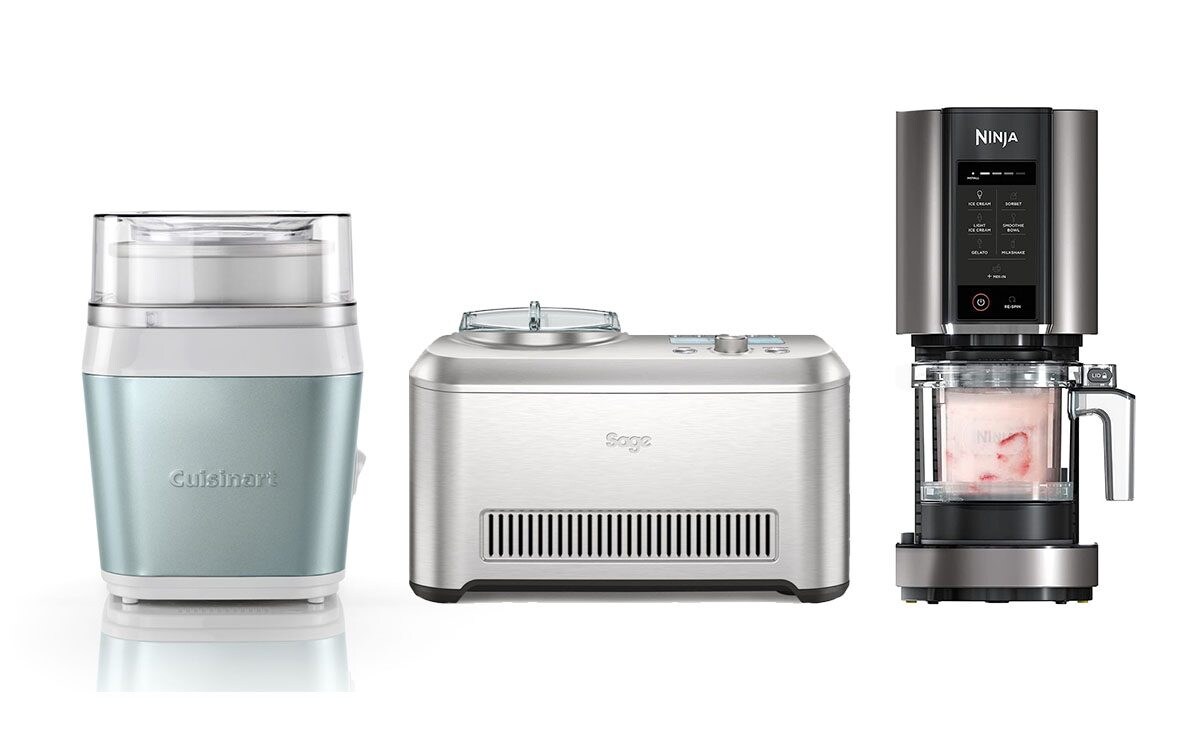
Who doesn’t love a scoop of delicious, creamy ice cream on a hot summer day? If you’re a fan of this frozen treat and want to experience making it in the comfort of your own home, then an electric ice cream maker is a must-have appliance in your kitchen. With its ease of use and convenience, you can unleash your creativity and whip up various flavors and combinations that are personalized to your taste.
In this article, we will guide you through the process of making ice cream in an electric ice cream maker. From choosing the right ingredients to adding in delicious mix-ins, we’ll provide you with all the necessary steps to create homemade ice cream that rivals your favorite ice cream parlor.
While the thought of making ice cream from scratch might seem daunting, with the right tools and a little bit of patience, you’ll be amazed at the quality and taste of your own homemade creation. So, let’s dive in and discover the joy of making ice cream at home!
Choosing the Right Ingredients
The key to making delicious ice cream starts with selecting high-quality ingredients. The better the ingredients, the better the final product will be. Here are some important factors to consider when choosing your ice cream ingredients:
- Dairy: The base of most ice creams is dairy, typically whole milk and heavy cream. Opt for fresh, high-fat content dairy products to achieve a rich and creamy texture.
- Sugar: Sweetness is a crucial component of ice cream. Use granulated sugar or alternative sweeteners like honey or maple syrup. Keep in mind that sugar also helps prevent ice crystals from forming.
- Eggs: Some ice cream recipes call for eggs to create a custard base. If you prefer a richer and smoother ice cream, consider using eggs. However, you can also make eggless ice cream using condensed milk or coconut milk.
- Flavorings: Whether you want classic vanilla or adventurous flavors like chocolate, strawberry, or mint, use high-quality extracts or powders to achieve the desired taste. Fresh fruits, jams, and nuts can also be used to add extra flavor and texture.
- Mix-ins: If you like a bit of texture in your ice cream, you can add delicious mix-ins like chocolate chips, cookie dough, crushed candies, or chopped nuts. Be creative and experiment with different combinations.
When selecting ingredients, be conscious of any dietary restrictions or allergies. There are plenty of options available for vegan, lactose-free, or gluten-free ice creams to cater to various dietary needs.
Remember, the quality of your ingredients directly impacts the flavor and texture of your ice cream, so choose wisely. With the right ingredients, you’re well on your way to creating a delectable frozen treat.
Preparing the Ice Cream Maker
Before you start making your ice cream, it’s essential to prepare your electric ice cream maker to ensure optimal results. Follow these steps to get your ice cream maker ready:
- Freeze the bowl: Most electric ice cream makers have a removable freezer bowl that needs to be pre-frozen. Place the bowl in your freezer for at least 24 hours prior to starting the ice cream-making process. Ensure that the bowl is completely frozen before proceeding.
- Assemble the ice cream maker: Once the bowl is frozen, assemble your ice cream maker according to the manufacturer’s instructions. This usually involves attaching the stirring paddle or dasher and securing the lid in place.
- Place the ice cream maker on a stable surface: Find a level and stable surface in your kitchen for your ice cream maker. This will prevent any unnecessary spillage or accidents while the machine is in operation.
- Ensure the machine is clean: Before pouring in your ice cream mixture, make sure the ice cream maker is clean and free from any residue from previous batches. Follow the manufacturer’s instructions for cleaning and maintenance.
- Double-check the power source: Ensure your ice cream maker is properly plugged into a suitable power source before turning it on.
By properly preparing your ice cream maker, you’ll optimize its performance and ensure that your ice cream freezes evenly and turns out smooth and creamy.
Now that your ice cream maker is ready, it’s time to move on to the next step – making the ice cream base!
Pre-Freezing the Bowl
One of the most important steps in making ice cream with an electric ice cream maker is pre-freezing the bowl. This step ensures that the bowl is thoroughly chilled, allowing it to freeze the ice cream mixture properly and create that smooth and creamy texture we all love. Here’s how to pre-freeze the bowl:
- Clean the bowl: Before placing the bowl in the freezer, make sure it is clean and free from any dirt or debris. Wash it with warm soapy water and rinse it thoroughly.
- Dry the bowl: Ensure that the bowl is completely dry before putting it in the freezer. Any moisture on the surface can cause ice crystals to form and affect the texture of the ice cream.
- Find adequate freezer space: Clear out enough space in your freezer to accommodate the size of the ice cream bowl. Make sure the bowl can sit upright without any obstructions.
- Place the bowl in the freezer: Put the ice cream bowl in the coldest part of your freezer. Ideally, it should be placed towards the back or on the lowest shelf to ensure maximum freezing.
- Allow ample freezing time: Leave the bowl in the freezer for a minimum of 24 hours before using it. This duration allows the bowl to reach the optimal freezing temperature required for making ice cream.
It’s crucial to plan ahead and pre-freeze the bowl well in advance, especially if you’re planning to make ice cream for a specific occasion or event. This ensures that you won’t have to wait last-minute for the bowl to freeze, delaying your ice cream-making process.
By pre-freezing the bowl properly, you’ll set the foundation for creating perfect homemade ice cream. Now that the bowl is ready, let’s move on to preparing the ice cream base!
Making the Ice Cream Base
The ice cream base is the foundation of your frozen treat. It provides the creamy texture, flavor, and richness that we all love. Making the base involves combining the dairy, sweeteners, and flavorings to create a delicious mixture that will churn into ice cream. Here’s how to make the ice cream base:
- Measure your ingredients: Start by gathering all the ingredients needed, including the dairy (milk, cream), sugar, eggs (if using), and flavorings. Follow the recipe measurements carefully.
- Combine the dairy and sugar: In a saucepan, heat the milk and cream over medium heat until it reaches a gentle simmer. Stir in the sugar until it dissolves completely.
- Create the custard (if using eggs): If your recipe calls for eggs, whisk them in a separate bowl until well beaten. Slowly pour a small amount of the hot milk mixture into the beaten eggs while whisking continuously. This tempers the eggs and prevents them from curdling when added to the hot milk mixture.
- Combine the custard with the milk mixture: Slowly pour the tempered eggs into the saucepan with the milk mixture, whisking continuously. Cook the mixture over low heat, stirring constantly, until it thickens slightly and coats the back of a spoon. Do not let it come to a boil.
- Add flavorings: Remove the saucepan from heat and stir in your chosen flavorings, such as vanilla extract, cocoa powder, or fruit puree. Adjust the quantity according to your taste preference.
- Cool the ice cream base: Transfer the ice cream base to a bowl and let it cool to room temperature. Once cool, cover the bowl with plastic wrap and refrigerate for at least 4 hours or overnight. This step allows the flavors to meld together and the base to chill thoroughly.
Remember to follow the instructions and measurements provided in your chosen recipe. The process may vary depending on the specific recipe and any variations you choose to make. Once the ice cream base is chilled, you’re ready to move on to the next step – pouring the mixture into the ice cream maker!
Chilling the Ice Cream Mixture
After making the ice cream base, it’s crucial to chill the mixture before adding it to the ice cream maker. This step not only enhances the flavors but also helps ensure a smoother and creamier texture in the final product. Here’s how to properly chill the ice cream mixture:
- Cover and refrigerate: Transfer the ice cream base into a container with a tight-fitting lid or cover it tightly with plastic wrap. This prevents any unwanted flavors or odors from seeping into the mixture.
- Allow sufficient cooling time: Refrigerate the ice cream base for a minimum of 4 hours, or ideally overnight. This extended chilling time allows the flavors to meld together and the mixture to cool completely.
- Stir the mixture: Before pouring the chilled base into the ice cream maker, give it a good stir to ensure the ingredients are well incorporated.
Chilling the ice cream mixture not only enhances the taste but also helps it freeze evenly in the ice cream maker. The cold temperature allows for efficient churning and freezing of the mixture, resulting in a smoother and creamier ice cream.
Now that your ice cream mixture is properly chilled, it’s time to move on to the next step – adding in your desired mix-ins and flavorings!
Add-ins and Flavorings
Adding in your favorite mix-ins and flavorings is where you can get creative and personalize your ice cream to your liking. Whether you prefer classic combinations or unique creations, this step allows you to elevate the flavors and textures of your homemade treat. Here are some ideas to inspire your add-ins and flavorings:
- Mix-ins: From chocolate chips and cookie dough to crushed candies and nuts, the options for mix-ins are endless. Consider what flavors and textures would complement your chosen ice cream base. Stir in your desired mix-ins during the churning process or layer them in as you transfer the ice cream to a container.
- Fresh fruits: Incorporating fresh fruits into your ice cream can bring a burst of natural sweetness and vibrant colors. Chop or puree the fruits and fold them into the ice cream mixture before churning.
- Jam or preserves: Swirls of jam or preserves add bursts of concentrated fruit flavor to your ice cream. Drizzle the jam over the ice cream base before churning and gently swirl it in with a spoon or spatula.
- Extracts and flavorings: Experiment with different extracts like mint, almond, or coconut, to infuse unique flavors into your ice cream base. You can also incorporate spices like cinnamon or nutmeg for a warm and aromatic twist.
- Liqueurs or spirits: For adult-only ice cream creations, consider adding a splash of your favorite liqueur or spirit. Baileys, Kahlua, or bourbon can bring a delightful depth of flavor to your homemade treat.
Remember to consider the compatibility of flavors and textures when choosing your mix-ins and flavorings. Be adventurous and combine complementary ingredients to create mouthwatering ice cream concoctions.
Now that you’ve perfected your ice cream base and added in delicious mix-ins and flavorings, it’s time to pour the mixture into the ice cream maker and start churning!
Pouring the Mixture into the Ice Cream Maker
Now that you have your chilled ice cream mixture ready, it’s time to transfer it into the ice cream maker and start churning. This step is crucial in turning your mixture into a creamy, frozen delight. Follow these steps to pour the mixture into the ice cream maker:
- Set up your ice cream maker: Ensure that your ice cream maker is assembled and ready to use according to the manufacturer’s instructions. Make sure the freezer bowl is properly inserted, the dasher or stirring paddle is attached, and the lid is secure.
- Turn on the ice cream maker: Before pouring the mixture, switch on the ice cream maker to start the churning process. This allows the freezing mechanism to begin functioning.
- Pour the mixture into the ice cream maker: Slowly and carefully pour the chilled ice cream mixture into the ice cream maker’s freezer bowl while it is churning. Pour it through the opening in the lid or using a designated pouring spout if available.
- Avoid overfilling: Make sure not to overload the ice cream maker with too much mixture. Leave enough space for the ice cream to expand and churn properly.
- Churn until thickened: Allow the ice cream maker to churn the mixture for the recommended time stated in your specific recipe or according to the manufacturer’s instructions. This generally takes around 20-30 minutes, but it may vary.
During the churning process, the mixture will gradually freeze, creating the velvety texture of ice cream. The stirring paddle or dasher will continuously churn the mixture, incorporating air and preventing ice crystals from forming. It’s important to avoid opening the lid or removing the freezer bowl during this stage to maintain the consistent freezing process.
Once the ice cream reaches the desired consistency, it’s time to check its readiness and transfer it to a container for further freezing. We’ll cover these steps in the next section.
Churning the Ice Cream
Churning is the process in which the ice cream mixture is continuously mixed and frozen in an ice cream maker, transforming it into a smooth and creamy dessert. Proper churning is essential to achieve the desired consistency and texture of your homemade ice cream. Here’s how to effectively churn your ice cream:
- Start the churning process: Once you’ve poured the ice cream mixture into the ice cream maker, turn it on and let it run according to the manufacturer’s instructions. The paddle or dasher will rotate and mix the mixture while it slowly freezes.
- Monitor the churning: Keep an eye on the mixture as it churns. You’ll notice it gradually thickening and increasing in volume. The time required for churning may vary depending on the specific recipe and the consistency you desire. Typically, it takes between 20 to 30 minutes.
- Check visual cues: Visual cues can help determine when the ice cream is properly churned. It should have a soft-serve-like consistency and hold its shape. If it looks too soft, continue churning for a few more minutes. Be cautious not to over-churn, as it can result in a grainy texture.
- Check for readiness: To further check if the ice cream is ready, you can do a “spoon test.” Simply dip a spoon into the churned mixture and lift it up. The ice cream should cling to the spoon and slowly drip off, without being too runny.
- Adjust the churning time if needed: If the ice cream is too soft or still looks like a liquid, continue churning for a few more minutes until it reaches the desired consistency. If it becomes difficult to churn and feels too firm, it’s a sign that it’s done.
It’s important to note that different recipes and variations may have different churning times and desired consistencies. Follow the guidelines provided in your specific recipe for the best results.
Once you’re satisfied with the consistency of your churned ice cream, it’s time to move on to the next step – checking the ice cream’s consistency and preparing it for storage.
Checking Ice Cream Consistency
Checking the consistency of your churned ice cream is an important step to ensure that it has reached the desired texture and is ready for further processing or serving. Here are a few ways to assess the consistency of your homemade ice cream:
- Visual cues: Take a look at the churned ice cream in the maker. It should have a thick and creamy appearance, similar to store-bought ice cream. If it appears too liquidy or lacks structure, it may need more churning time.
- Spoon test: Dip a spoon into the churned ice cream and lift it up. The ice cream should cling to the spoon and have a smooth, satiny texture. If it looks too soft or drips off quickly, it may need more churning.
- Taste test: Take a small sample of the churned ice cream and taste it. It should be well-incorporated, smooth, and creamy. The flavors should be balanced and pronounced. If it tastes grainy or lacks flavor, it may need more churning or additional ingredients.
- Finger swipe test: Gently run your finger across the surface of the churned ice cream. It should have a firm but creamy texture, without any clumps or icy patches. If it feels overly firm or has large ice crystals, it may have been over-churned or may need additional blending.
- Temperature: Pay attention to the temperature of the churned ice cream. It should be chilled and cold but not frozen solid. If it’s too soft, it may need more time in the freezer to set and firm up.
Remember, the final consistency of your ice cream will also be affected by the freezing process that follows. Once you’re satisfied with the churned ice cream’s consistency, it’s time to transfer it to a container and prepare it for storage in the freezer. We’ll cover these steps in the next section.
Storing and Serving the Ice Cream
Now that your homemade ice cream is churned to perfection, it’s time to store it properly to maintain its texture and flavor. Here’s how to store and serve your delicious creation:
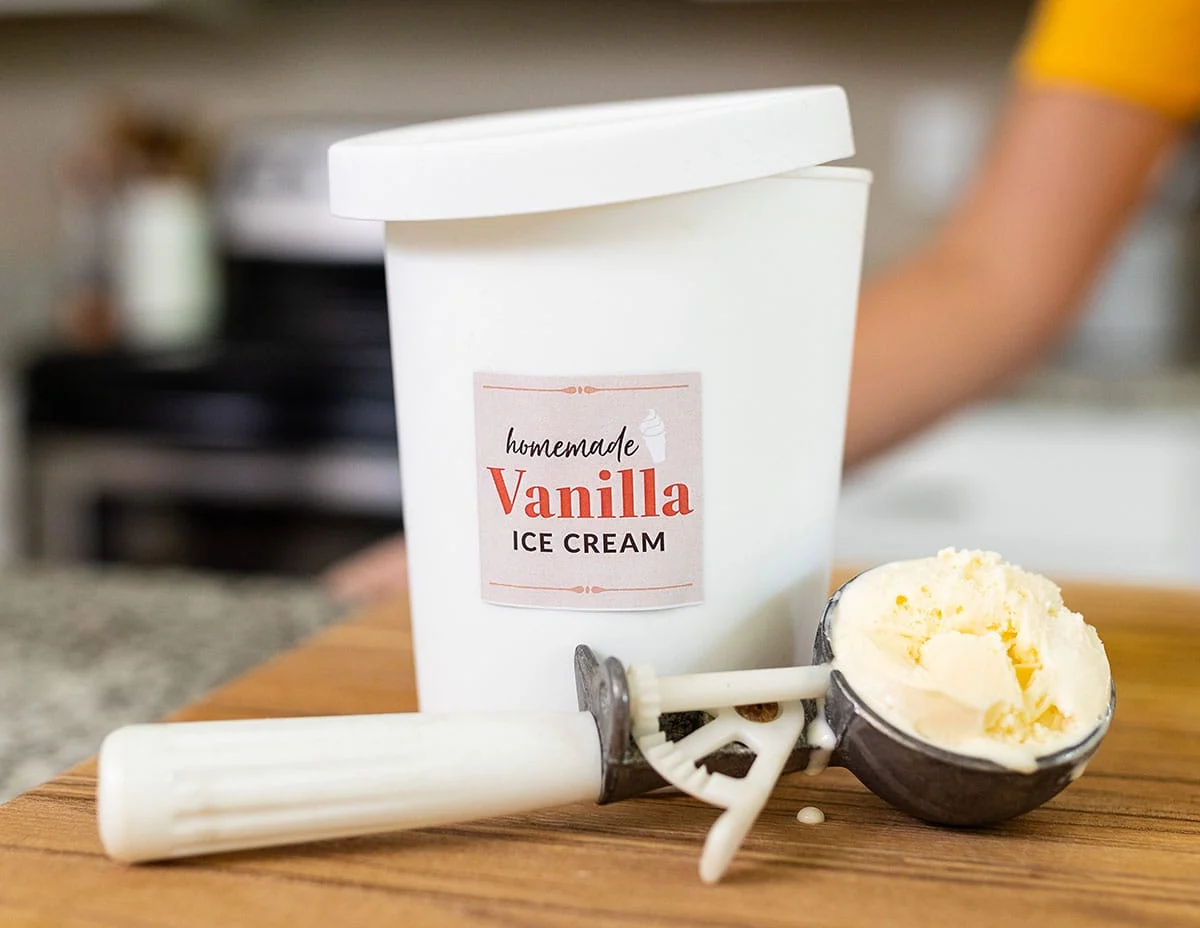
- Transfer to a container: Using a spatula or spoon, transfer the churned ice cream from the ice cream maker to a lidded container. Use a container that is freezer-safe and has enough space to allow for expansion as the ice cream freezes.
- Press plastic wrap on the surface: To prevent ice crystals from forming on the surface of the ice cream, press a layer of plastic wrap directly onto the surface before sealing the container with the lid. This helps maintain its smooth texture.
- Label and date the container: To keep track of the freshness, label the container with the flavor and date of preparation. This will allow you to know how long the ice cream has been in the freezer.
- Freeze the ice cream: Place the container in the freezer and allow the ice cream to freeze for a minimum of 4 hours or until it reaches the desired firmness. The longer it freezes, the harder it will become.
- Serving suggestions: When serving the ice cream, allow it to sit at room temperature for a few minutes to soften slightly. This will make scooping easier and enhance its texture. Serve the ice cream in bowls or cones, and garnish with your favorite toppings, such as whipped cream, chocolate sauce, or sprinkles.
Remember to keep your stored ice cream well-sealed and avoid frequent opening of the container, as exposure to air can lead to freezer burn and affect the quality of the ice cream. Consume the ice cream within a few weeks for the best taste and texture.
Now that you’ve learned how to store and serve your homemade ice cream, enjoy the fruits of your labor and indulge in the creamy goodness you’ve created!
Troubleshooting Tips
Making homemade ice cream can be a delightful experience, but sometimes unexpected challenges may arise. Don’t worry – we’ve got you covered with some troubleshooting tips to help you overcome common issues. Here are a few solutions to common problems you may encounter while making ice cream:
- Ice cream is too soft: If your ice cream comes out too soft or runny after churning, it may need more time in the ice cream maker. Put it back in the machine and continue churning until it reaches the desired consistency.
- Ice cream is too icy: When ice cream becomes icy in texture, it may be due to insufficient fat content or over-churning. Make sure to use the recommended fat content in your recipe and avoid over-churning, as this can introduce excess air and result in icy ice cream.
- Ice cream has a grainy texture: Grainy ice cream can be caused by undissolved sugar or improper emulsification of the base. Ensure that your sugar is fully dissolved in the mixture, and follow the recipe instructions to properly emulsify the ingredients.
- Ice cream has a crystallized texture: Crystal formation can happen when ice cream is exposed to temperature fluctuations during the freezing process. To avoid this, make sure your freezer is set to the appropriate temperature and store the ice cream in airtight containers to minimize contact with air.
- Ice cream lacks flavor: If your ice cream lacks flavor, consider adjusting the amount or type of flavorings you use. Experiment with different extracts, spices, or mix-ins to enhance the taste and create a more flavorful ice cream.
- Ice cream doesn’t freeze: If your ice cream mixture does not freeze in the ice cream maker, check that the freezer bowl is properly pre-frozen and that the machine is functioning correctly. Make sure to follow the manufacturer’s instructions and troubleshoot any technical issues if necessary.
Remember that making ice cream is a learning process, and it may take a few tries to achieve the perfect result. Don’t be discouraged by initial setbacks – adjust your techniques and ingredients to improve your ice cream-making skills.
By following these troubleshooting tips, you’ll be well-equipped to overcome common challenges and create delicious homemade ice cream every time you step into the kitchen.
Conclusion
Making ice cream in an electric ice cream maker is not only a fun and rewarding experience but also allows you to indulge in delicious frozen treats customized to your taste. By following the steps outlined in this guide, you can create homemade ice cream with the perfect texture and flavor.
We started by discussing the importance of choosing high-quality ingredients, including dairy, sugar, eggs, and flavorings. Then, we explored how to prepare the ice cream maker by pre-freezing the bowl and assembling the machine properly.
Next, we delved into the process of making the ice cream base, emphasizing the importance of measuring ingredients accurately and incorporating flavorings to enhance the taste. Chilling the ice cream mixture and ensuring it is thoroughly cold before churning is another vital step to achieve the desired consistency.
We provided tips on pouring the mixture into the ice cream maker, churning the ice cream to the proper consistency, and checking the ice cream’s texture to ensure optimal results. Storing and serving your homemade ice cream is crucial for maintaining its taste and quality over time.
We also offered troubleshooting tips to help you address common issues that may arise during the ice cream-making process. Don’t be discouraged by setbacks; instead, use them as learning opportunities to improve your skills and create even more delicious ice cream.
Now that you have the knowledge and techniques to make ice cream in an electric ice cream maker, it’s time to unleash your creativity and start experimenting with different flavors, mix-ins, and toppings. Enjoy the journey of crafting homemade ice cream that will delight your taste buds and impress your friends and family.
Get ready to savor the creamy, delightful goodness of your very own homemade ice cream!


