Introduction
Welcome to the wonderful world of homemade ice cream! Making your own custard ice cream using an ice cream maker is a delightful way to indulge in a rich and creamy treat. Whether you’re a seasoned ice cream aficionado or a novice in the kitchen, this step-by-step guide will help you create a luscious custard base and transform it into a heavenly frozen dessert.
What sets custard ice cream apart is its velvety texture and luxurious taste. The secret lies in the custard base, which is made by combining milk, cream, sugar, and eggs. This combination creates a rich and smooth custard that will make your ice cream irresistibly creamy. With the help of an ice cream maker, you can easily churn this custard base into a delectable frozen dessert.
One of the advantages of making custard ice cream at home is the ability to customize it to your preference. You can add various flavors such as vanilla, chocolate, strawberry, or even experiment with unique combinations. The possibilities are endless, and the satisfaction of creating your own personalized ice cream is truly rewarding.
Not only does homemade custard ice cream taste incredible, but it’s also a fun activity to do with family and friends. You can involve kids in the process and let them choose their favorite mix-ins or toppings to create their own signature ice cream flavors.
Before we dive into the delicious process of making custard ice cream, let’s gather all the ingredients we need. Read on for the list of essential ingredients that will make your homemade frozen treat simply delectable.
Ingredients
To make homemade custard ice cream, you will need the following ingredients:
- 2 cups of whole milk
- 2 cups of heavy cream
- 3/4 cup of granulated sugar
- 4 large egg yolks
- 1 tablespoon of vanilla extract
- A pinch of salt
These simple ingredients come together to create the base for your custard ice cream. The whole milk and heavy cream provide the creamy and smooth texture, while the sugar adds sweetness. The egg yolks not only contribute to the richness but also help bind the mixture and give it a silky consistency.
The vanilla extract enhances the flavor and adds a subtle aroma to the ice cream. You can also experiment with other flavorings such as cocoa powder, fruit extracts, or even crushed cookies to create unique variations of custard ice cream.
Lastly, don’t forget the pinch of salt! Salt may seem like an odd addition to a sweet dessert, but it actually enhances the flavors and balances the sweetness in your ice cream.
Now that we have all the ingredients ready, let’s move on to the next step: preparing the custard base for your ice cream.
Step 1: Prepare the custard base
Creating a rich and creamy custard base is the first step towards making delicious custard ice cream. Follow these instructions to prepare the custard base:
- In a medium saucepan, combine the whole milk and heavy cream over medium heat. Heat the mixture until it begins to simmer, stirring occasionally to prevent scorching.
- While the milk and cream mixture is heating up, in a separate bowl, whisk together the granulated sugar and egg yolks until well combined and creamy.
- Once the milk and cream mixture reaches a simmer, remove it from the heat. Slowly pour a small amount of the hot mixture into the bowl with the sugar and egg yolks, whisking constantly. This is called tempering and helps prevent the eggs from curdling.
- Pour the tempered mixture back into the saucepan with the remaining milk and cream mixture. Return the saucepan to the stove over low heat.
- Cook the custard base mixture over low heat, stirring continuously, until it thickens slightly and coats the back of a spoon. This process usually takes about 5-7 minutes. Be careful not to let the mixture boil.
- Remove the saucepan from the heat and stir in the vanilla extract and pinch of salt. Mix well to incorporate the flavors evenly.
Once the custard base is prepared, it’s time to move on to the next step: chilling the custard base before it goes into the ice cream maker.
Step 2: Chill the custard base
After preparing the custard base for your ice cream, it’s important to chill it thoroughly before proceeding to the next step. Chilling the custard base helps to develop the flavors and ensures that it freezes properly in the ice cream maker. Follow these instructions to chill the custard base:
- Transfer the custard base to a clean, heatproof bowl or container. This will allow it to cool faster.
- Cover the bowl or container with plastic wrap, making sure it is touching the surface of the custard to prevent a skin from forming.
- Place the covered custard base in the refrigerator and let it chill for at least 4 hours or overnight. The longer it chills, the better the flavors will meld together.
- During the chilling process, the custard base will thicken and become more cohesive.
Chilling the custard base is crucial as it helps maintain the desired consistency and texture when churning it in the ice cream maker. Once the custard base is thoroughly chilled, it will be ready for the next step: pouring it into the ice cream maker.
Step 3: Pour the custard base into the ice cream maker
Now that the custard base has been properly chilled, it’s time to transform it into a smooth and creamy ice cream using an ice cream maker. Follow these instructions to pour the custard base into the ice cream maker:
- Take the chilled custard base out of the refrigerator and give it a gentle stir to ensure it is well-mixed and smooth.
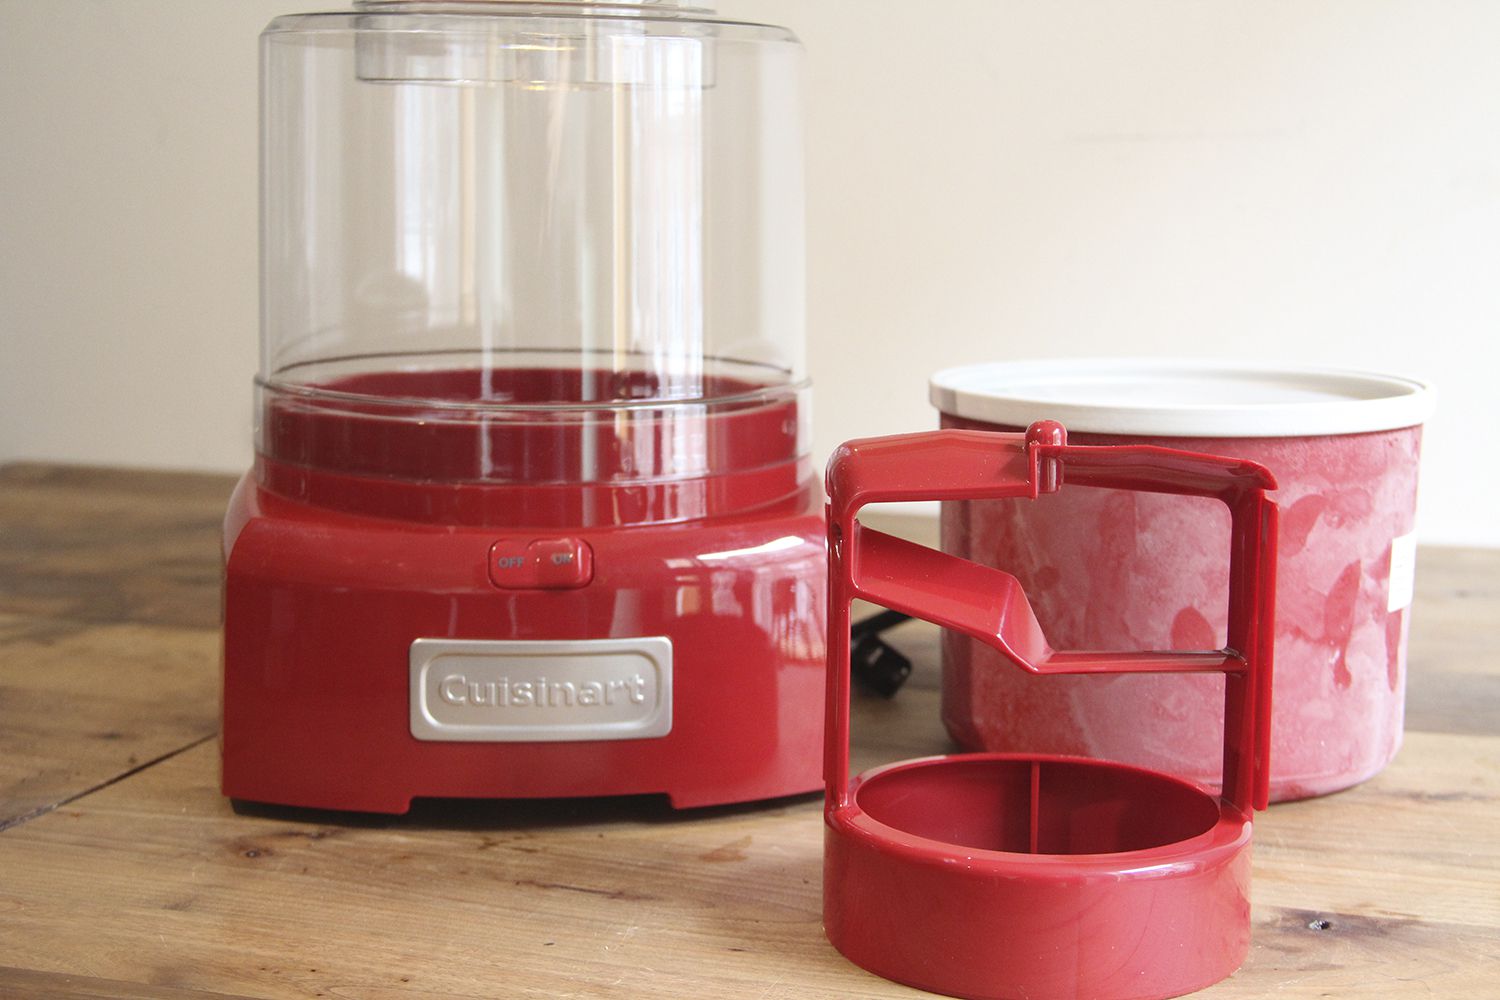
- Set up your ice cream maker according to the manufacturer’s instructions. This usually involves placing the bowl of the ice cream maker in the freezer for a certain amount of time to freeze it thoroughly.
- Once the ice cream maker is ready, pour the custard base into the frozen bowl. Be careful not to overfill it, as the mixture will expand during the churning process.
- Secure the lid of the ice cream maker and turn it on. The machine will begin churning the custard base.
- Allow the ice cream maker to work its magic for about 20-25 minutes, or until the custard has thickened to a soft-serve consistency. The exact time may vary depending on the model of your machine.
- While the custard is churning, resist the temptation to open the lid too often, as this can introduce excess air into the mixture and affect the final texture.
Once the custard base has been poured into the ice cream maker and the churning process is complete, it’s time to move on to the next step: transferring the churned custard to a container for further freezing.
Step 4: Churn the custard base
Churning the custard base in the ice cream maker is where the magic happens and transforms the mixture into a creamy and dreamy frozen dessert. Follow these instructions to churn the custard base:
- Once the custard base is poured into the ice cream maker, secure the lid tightly and turn on the machine.
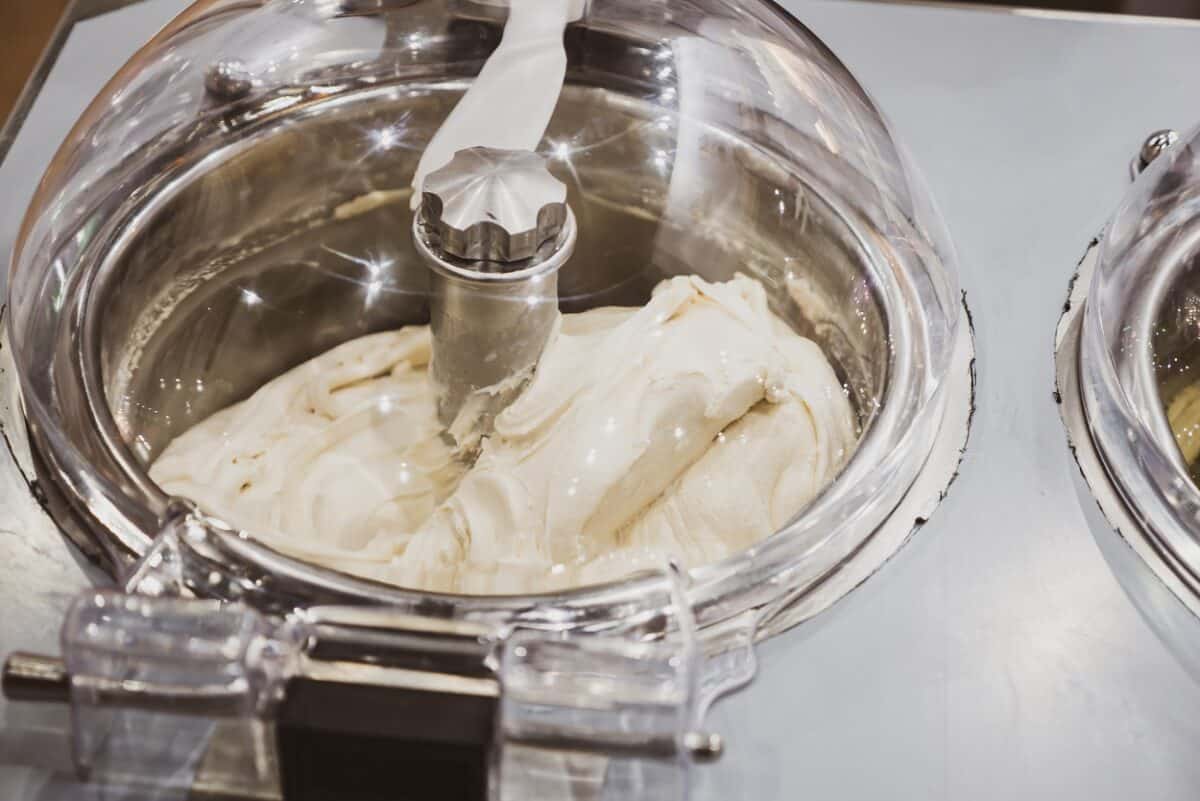
- Allow the machine to churn the custard base for about 20-25 minutes, or until the mixture reaches a soft-serve consistency. The churning time may vary depending on the type and model of your ice cream maker.
- As it churns, the custard base will gradually freeze and thicken. You will notice the texture becoming creamier and smoother.
- To check the consistency, lift the lid of the ice cream maker and take a spoonful of the partially churned custard. It should resemble a soft-serve ice cream texture.
- If you desire a firmer consistency, continue churning for a few more minutes until it reaches your desired thickness. Keep in mind that the ice cream will further firm up during the freezing process.
- While the custard churns, resist the urge to remove the lid frequently. Opening the lid too often can cause ice crystals to form, affecting the final texture.
Churning the custard base in the ice cream maker aerates the mixture, creating a smooth and creamy texture. Once the churned custard is at the desired consistency, it’s time to transfer it to a container and prepare it for the final freezing stage.
Step 5: Transfer the churned custard to a container
After the custard base has been churned to the desired consistency, it’s time to transfer it from the ice cream maker to a container for further freezing. Follow these instructions to successfully transfer the churned custard:
- Turn off the ice cream maker and remove the lid.
- Using a spatula or a spoon, transfer the churned custard from the ice cream maker’s bowl into a freezer-safe container. Make sure the container is large enough to accommodate the entire batch of ice cream with some room for expansion.
- Smooth the surface of the custard with the back of a spoon or a spatula to create an even layer.
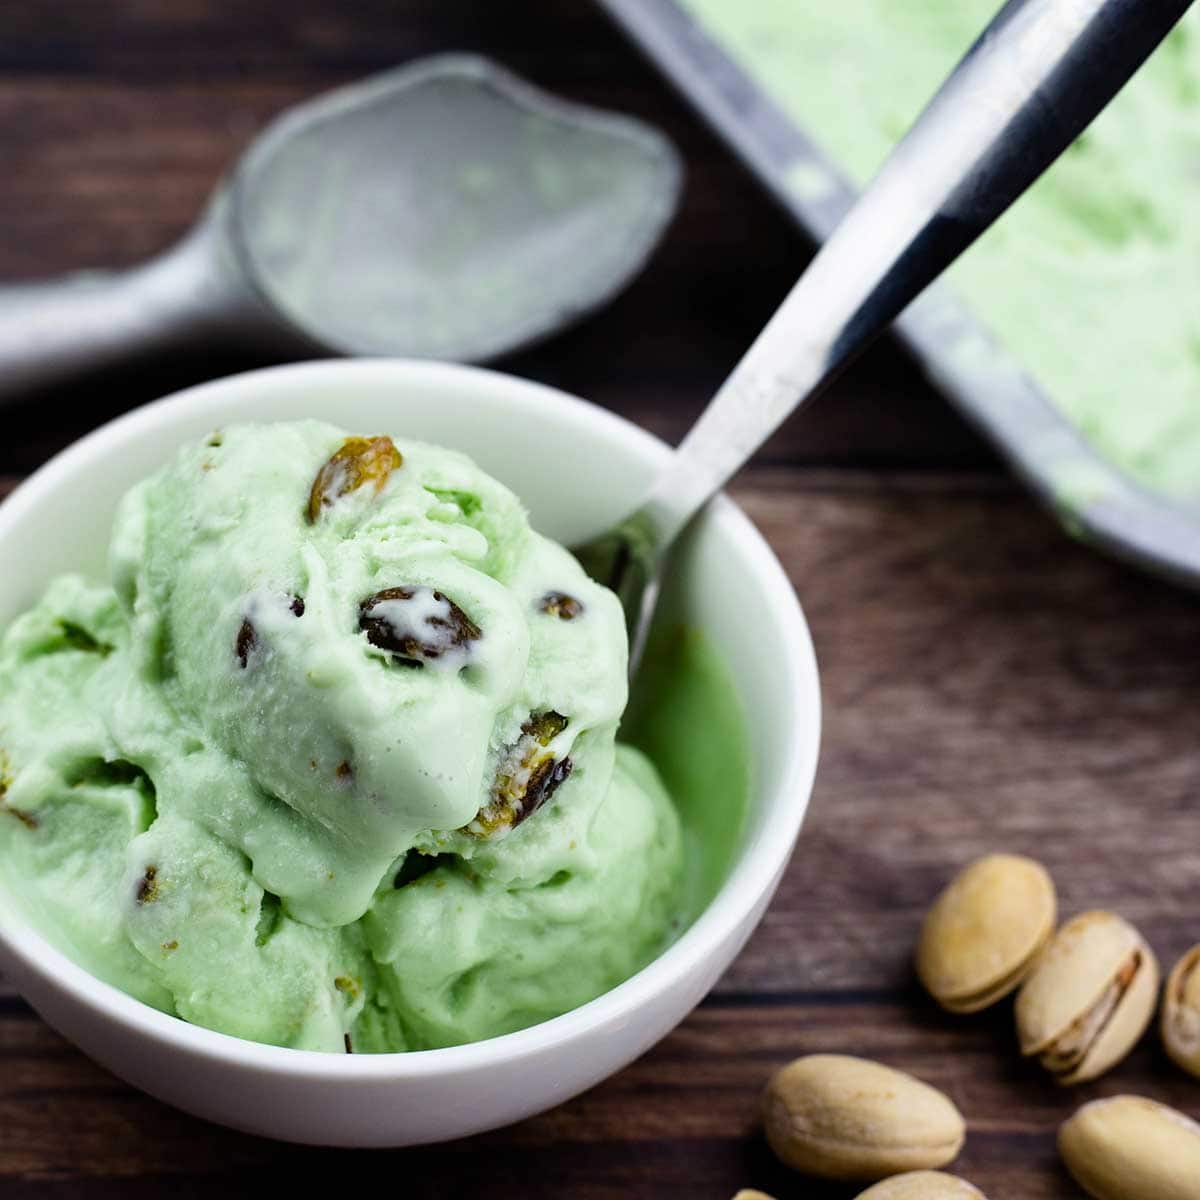
- If desired, this is the perfect time to add any mix-ins or swirls to the ice cream. Popular options include chocolate chips, crushed cookies, nuts, or fruit sauces. Simply sprinkle or drizzle them over the surface of the custard, and gently swirl them in using a spoon or knife.
- Once the custard is in the container and any additional mix-ins have been added, cover the container with an airtight lid or plastic wrap. This will prevent freezer burn and help maintain the freshness and texture of the ice cream.
- Label the container with the flavor and date, so you can easily identify it in the freezer.
Now that the churned custard is safely transferred to a container, it’s time to move on to the final step: freezing and serving the custard ice cream!
Step 6: Freeze and serve the custard ice cream
Now that you’ve successfully churned the custard into a creamy delight, it’s time to freeze it and get ready to savor your homemade custard ice cream. Follow these instructions to complete the process:
- Place the container with the churned custard in the freezer. Make sure it is on a flat surface to prevent any spillage or uneven freezing.
- Allow the custard ice cream to freeze for at least 4-6 hours, or until it reaches the desired firmness. This will give the flavors time to develop and the texture to set.
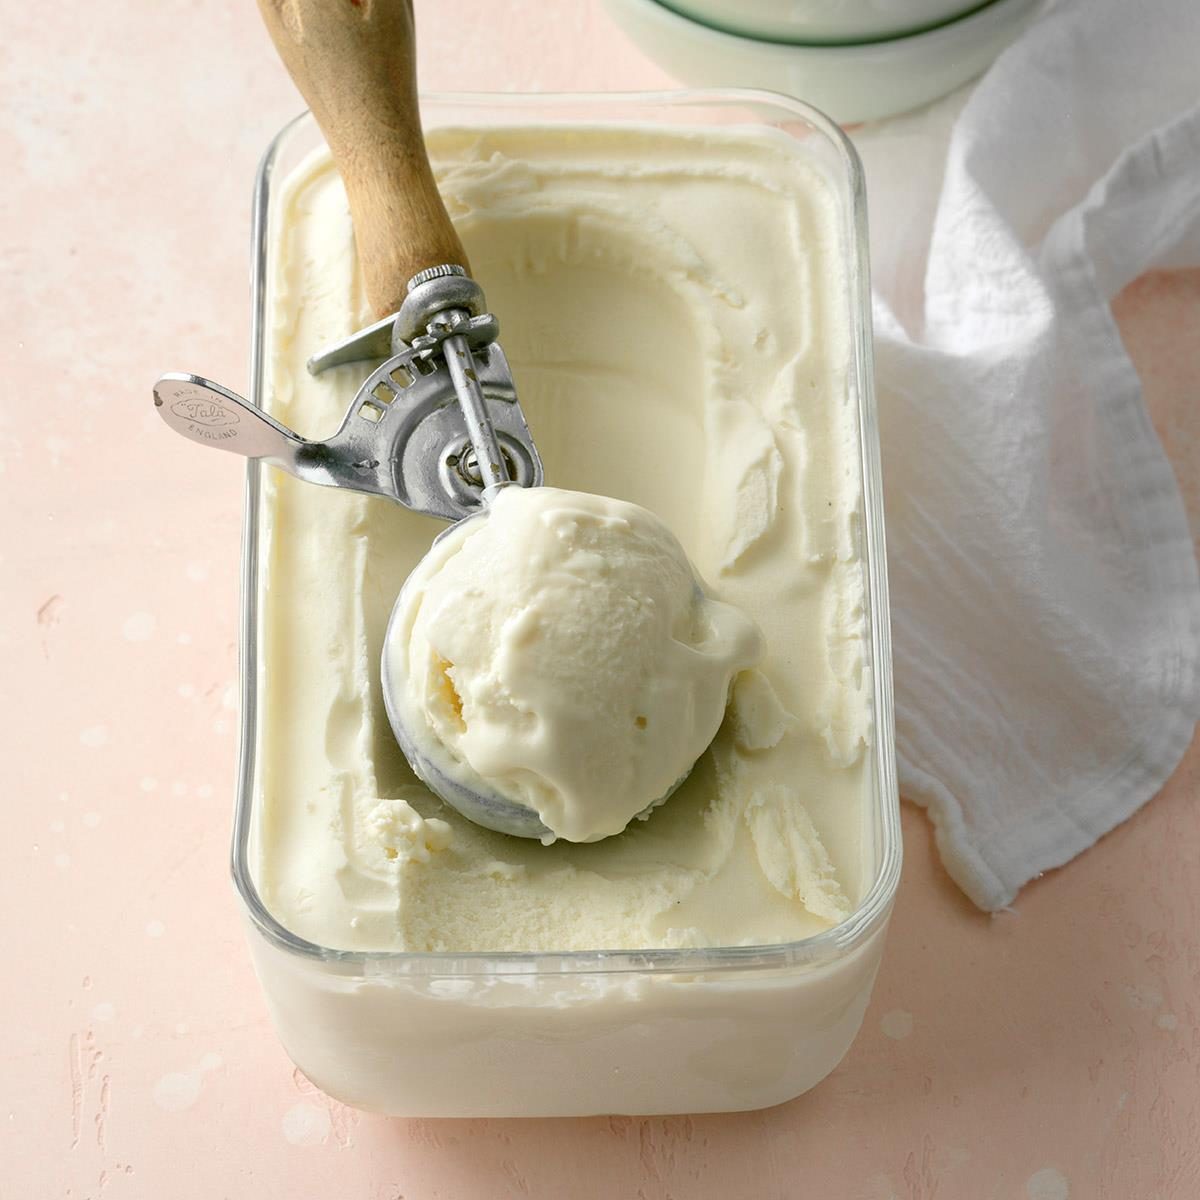
- When serving the custard ice cream, remove it from the freezer and let it sit at room temperature for a few minutes to soften slightly. This will make it easier to scoop.
- Using an ice cream scoop, portion the delicious custard ice cream into bowls or cones. The creamy, smooth consistency will make each scoop a delight.
- Garnish the custard ice cream with your favorite toppings, such as chocolate sauce, caramel drizzle, fresh fruits, or chopped nuts. Get creative and make it even more indulgent!
- Enjoy your homemade custard ice cream right away, savoring each creamy spoonful. The amazing flavors and delightful texture will surely leave you craving for more.
Remember to promptly return any remaining custard ice cream to the freezer for storage. It can be kept frozen for up to a couple of weeks, although it’s best to enjoy it at its freshest within the first few days.
Now, it’s time to indulge in the fruits of your labor and enjoy the creamy goodness of your very own homemade custard ice cream. Share it with loved ones or savor it on your own – either way, it’s a sweet treat that is sure to bring joy and satisfaction.
Conclusion
Creating your own custard ice cream at home using an ice cream maker is a rewarding and delicious endeavor. By following the step-by-step guide outlined in this article, you can enjoy the satisfaction of making a rich and creamy frozen treat right in your own kitchen.
From preparing the custard base with ingredients like milk, cream, sugar, and eggs, to carefully churning it in the ice cream maker, each step plays a crucial role in developing the perfect texture and flavor. The process allows you to customize your ice cream with different flavors and mix-ins, making each batch unique and tailored to your taste preferences.
Remember to give the custard base enough time to chill thoroughly before churning, as this ensures smooth and creamy results. Once the custard is churned to perfection, transfer it to a container for further freezing, adding any desirable mix-ins along the way.
After the custard ice cream has been frozen to your desired firmness, it’s time to serve and savor the delightful treat. Don’t hesitate to experiment with different toppings and garnishes to enhance the flavors and make each serving even more special.
Making custard ice cream at home is not only a fun and delicious project, but it also allows you to enjoy a premium dessert without the need for store-bought alternatives. So, gather your ingredients, fire up the ice cream maker, and let your creativity and taste buds run wild as you indulge in the creamy and delightful world of homemade custard ice cream.
Now, go ahead and treat yourself to a scoop or two of your homemade custard ice cream. Enjoy every creamy bite and share the joy of this delectable frozen dessert with your loved ones.