Introduction
Welcome to the world of homemade ice cream! There’s something special about making your own ice cream from scratch, and today we’re going to show you how to make a delicious batch of rum raisin ice cream using a Cuisinart ice cream maker. This classic flavor combination is sure to delight both kids and adults alike.
Imagine the smooth and creamy texture of homemade ice cream with the sweet and boozy flavor of rum soaked raisins. It’s a match made in dessert heaven! And with the help of a Cuisinart ice cream maker, you can easily create this delectable treat right in your own kitchen.
Not only is making homemade ice cream a fun and rewarding experience, but it also allows you to control the quality of ingredients and customize the flavor to your liking. No more artificial additives or preservatives – just pure, homemade goodness.
But before we dive into the step-by-step process, let’s make sure we have everything we need. Gather your ingredients, prepare your equipment, and get ready to embark on a frozen journey that will leave your taste buds begging for more.
Ingredients
To make homemade rum raisin ice cream, you will need the following ingredients:
- 1 cup of raisins
- 1/2 cup of dark rum
- 2 cups of heavy cream
- 1 cup of whole milk
- 3/4 cup of granulated sugar
- 4 large egg yolks
- 1 teaspoon of vanilla extract
- A pinch of salt
It’s important to choose high-quality ingredients for the best flavor and texture. Use fresh, plump raisins that haven’t been sitting on your pantry shelf for too long. As for the rum, opt for a dark variety that has a rich and bold flavor.
For the custard base, you’ll need a combination of heavy cream and whole milk. The cream will lend a luxurious creaminess to the ice cream, while the milk helps create a balanced texture.
To sweeten the ice cream, granulated sugar is used. Feel free to adjust the amount depending on your preference for sweetness. If you prefer a less sweet ice cream, you can reduce the sugar slightly.
The egg yolks in the recipe serve as a thickening agent and add richness to the ice cream. Make sure to use large egg yolks for best results.
Finally, don’t forget the vanilla extract and a pinch of salt to enhance the flavor profile of the ice cream. These ingredients may seem small, but they play a big role in creating a well-rounded and delicious dessert.
Now that we have all the ingredients ready, it’s time to gather the necessary equipment and start making our homemade rum raisin ice cream.
Equipment Needed
To make homemade rum raisin ice cream, you will need the following equipment:
- Cuisinart ice cream maker
- Medium-sized saucepan
- Whisk
- Heatproof bowl
- Fine-mesh strainer
- Measuring cups and spoons
- Rubber spatula
- Plastic wrap or parchment paper
- Freezer-safe container
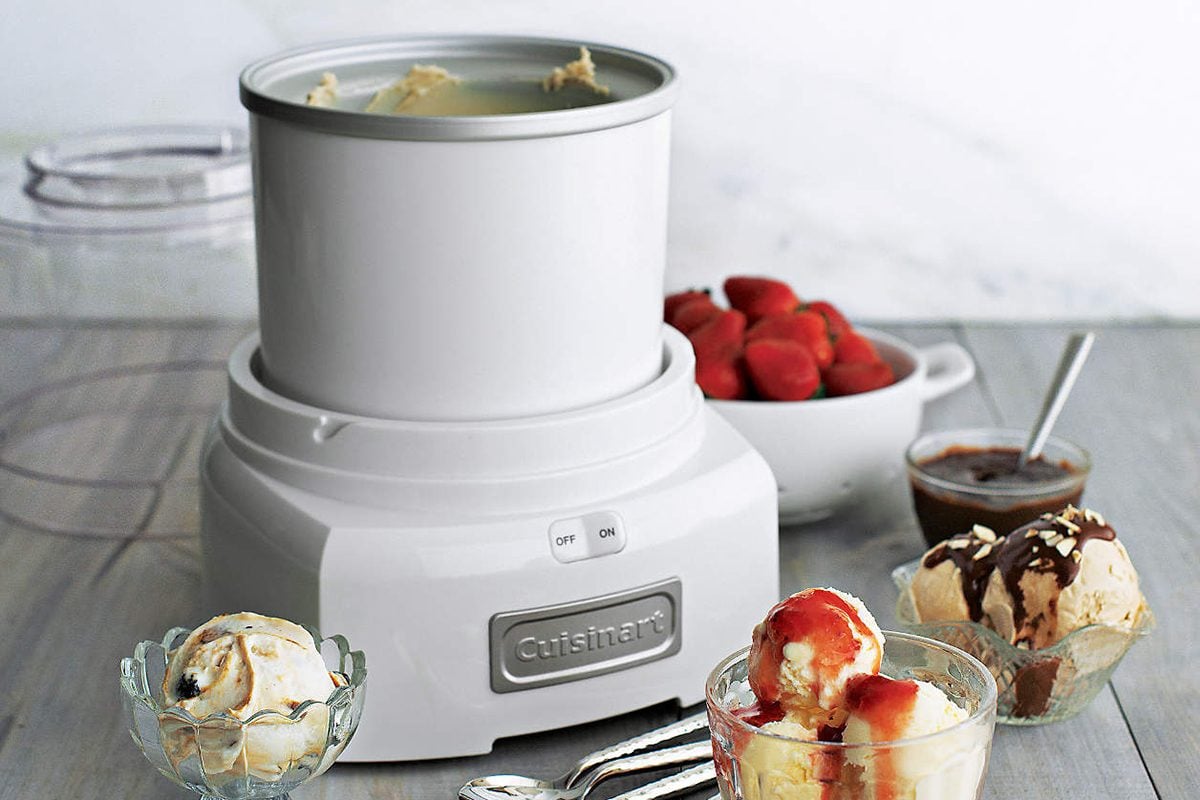
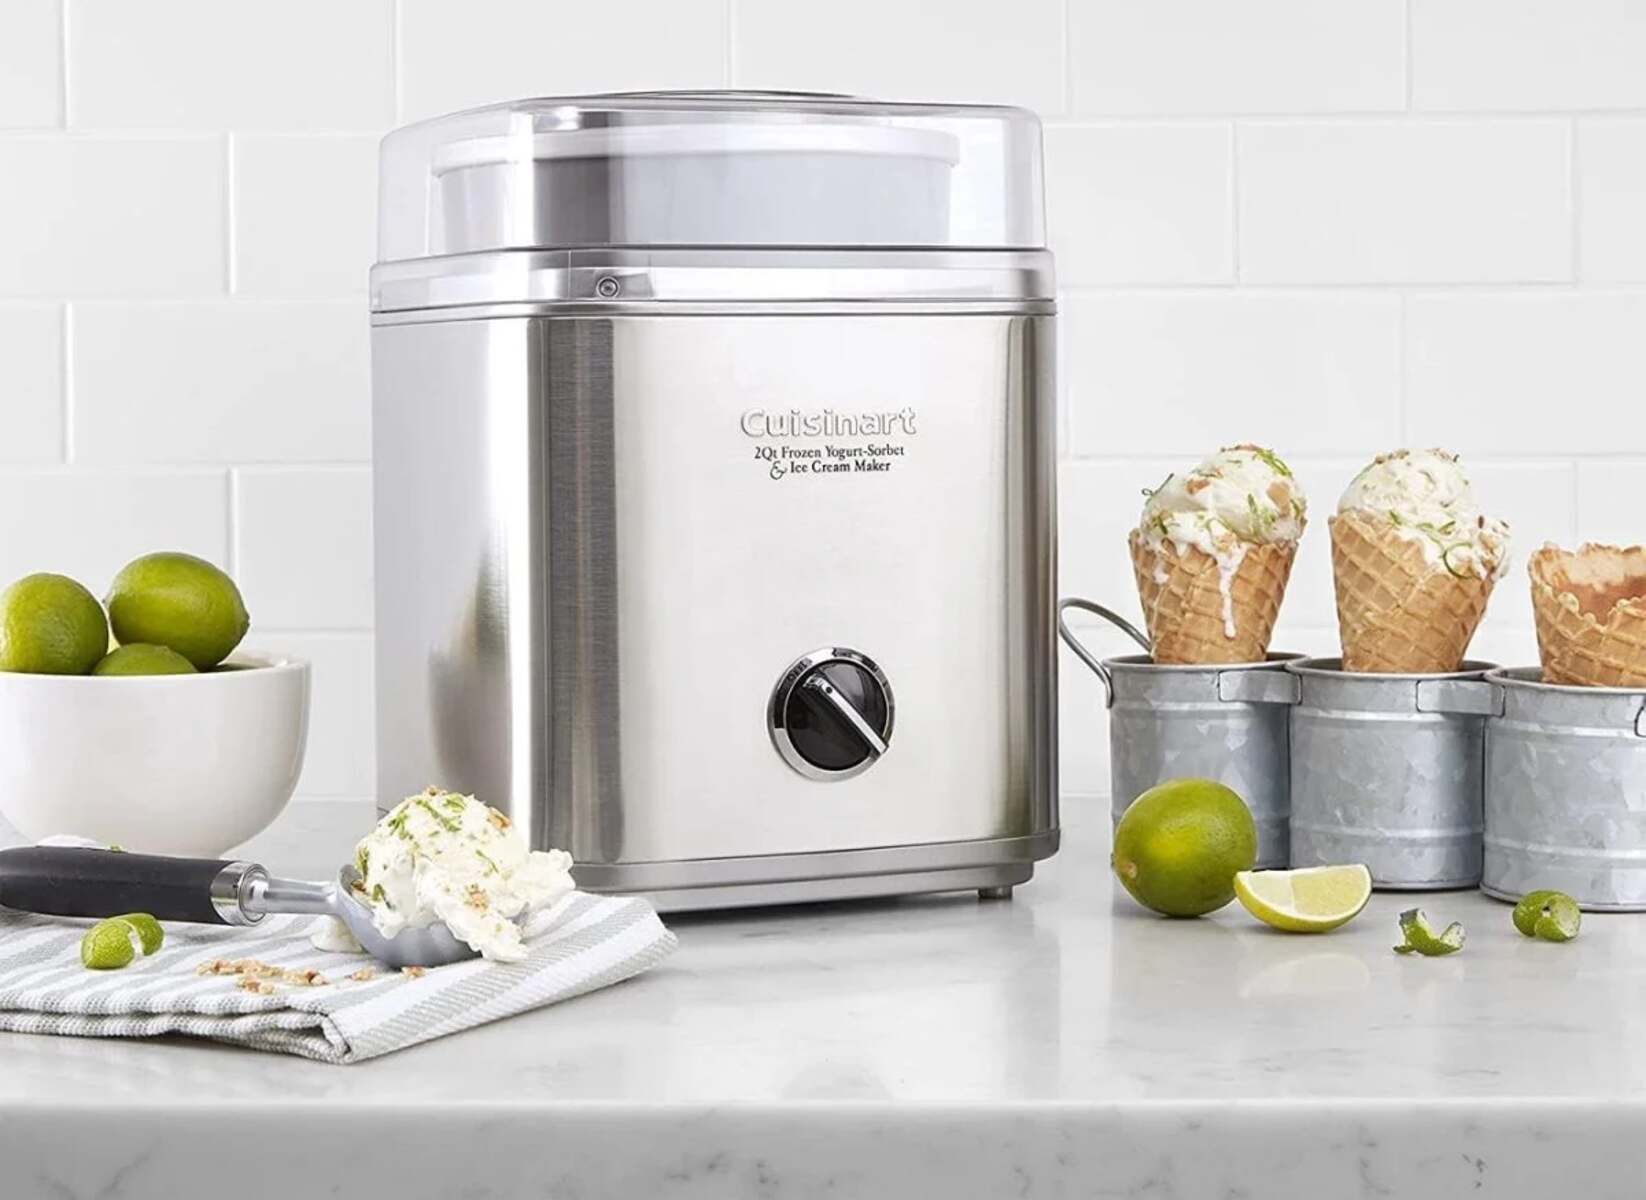
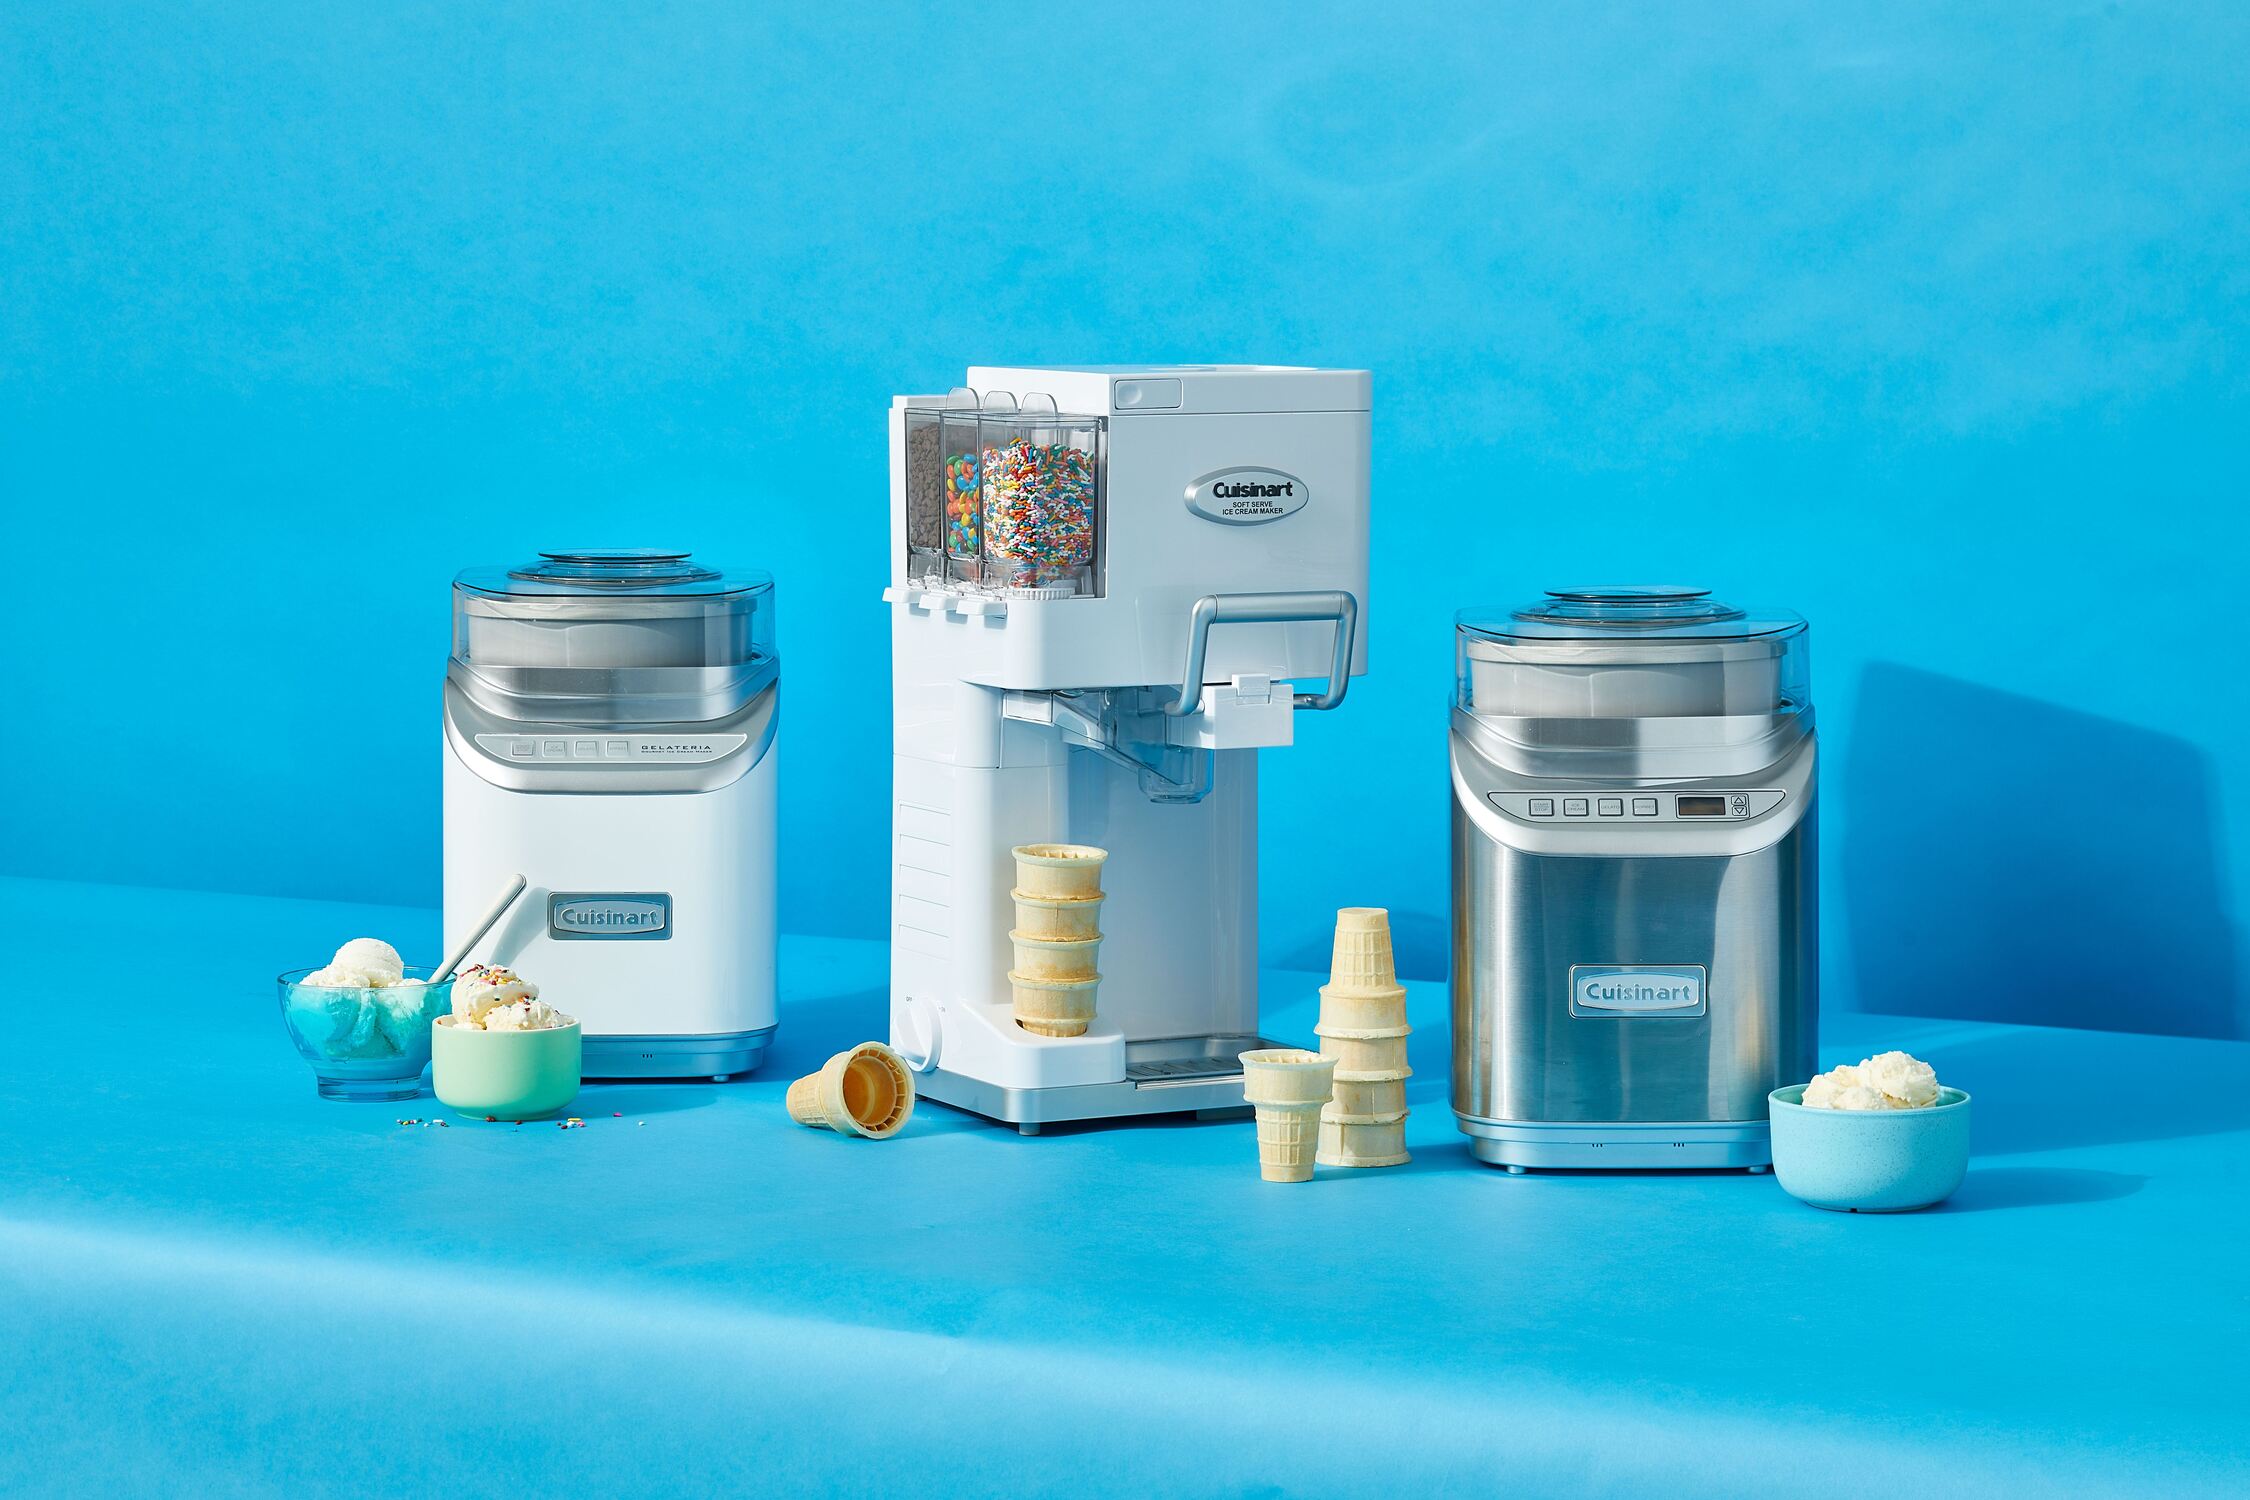
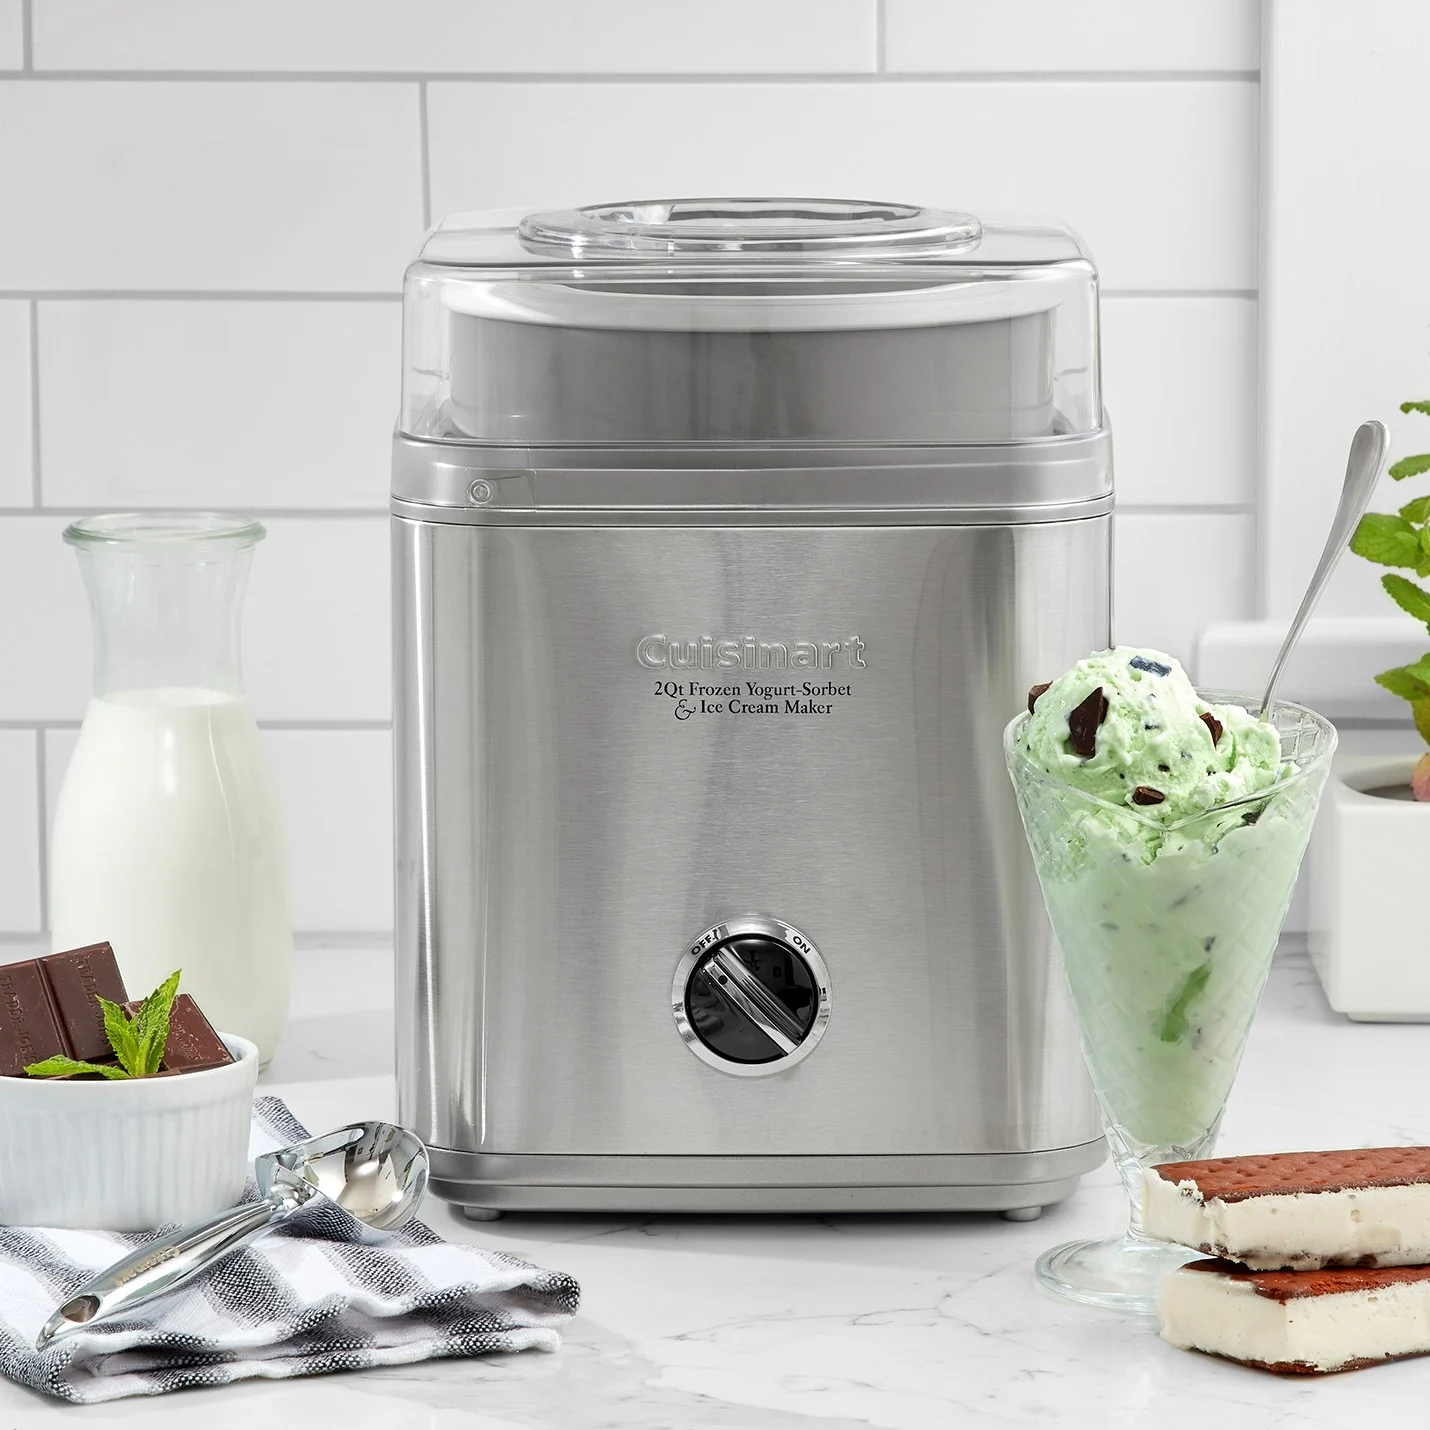
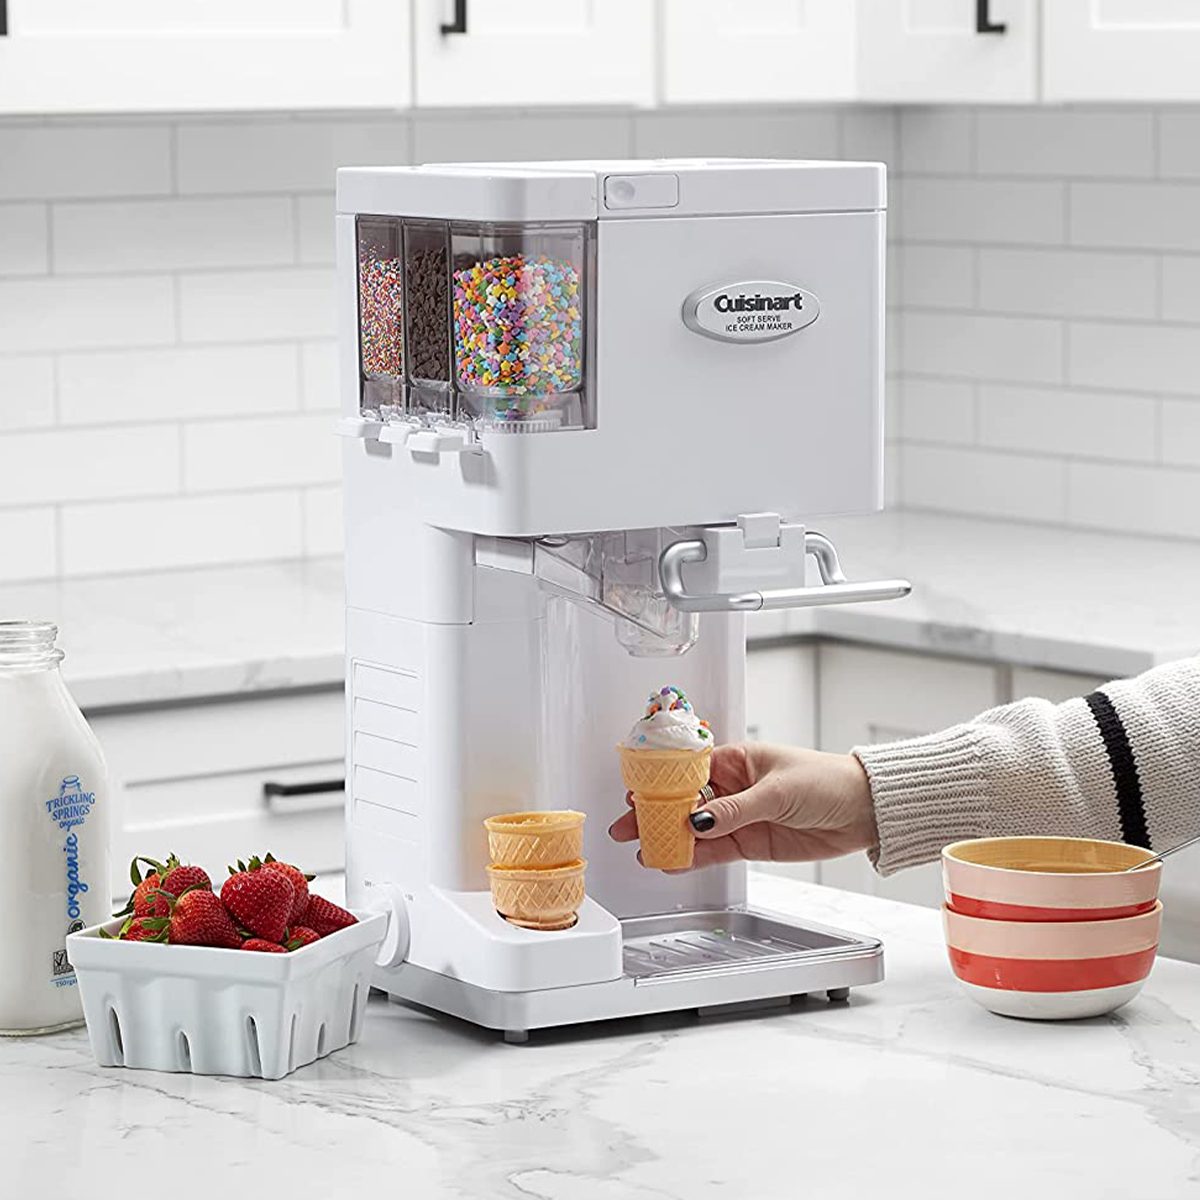
The Cuisinart ice cream maker is the star of the show. This machine makes it incredibly easy to churn your ice cream to the perfect consistency. Make sure you have the freezer bowl of the ice cream maker frozen according to the manufacturer’s instructions before starting the recipe.
A medium-sized saucepan is needed to heat the custard base. Choose a saucepan with a thick bottom to prevent the custard from burning. You’ll also need a whisk to combine the ingredients and ensure a smooth mixture.
A heatproof bowl is essential for tempering the egg yolks and whisking the custard base. Make sure the bowl is large enough to hold the mixture without overflow.
A fine-mesh strainer comes in handy to strain the custard base, removing any small lumps or cooked egg bits. This step ensures a silky smooth texture in your ice cream.
Measuring cups and spoons are necessary for accurate measurements of the ingredients. Using precise measurements helps maintain the proper balance of flavors and textures in the ice cream.
A rubber spatula is useful for scraping down the sides of the saucepan and bowl, ensuring that no custard is wasted. It’s important to incorporate all the mixture for the best results.
To cover and protect the ice cream during the freezing process, you’ll need plastic wrap or parchment paper. This prevents ice crystals from forming on the surface of the ice cream.
Lastly, you’ll need a freezer-safe container to store the finished ice cream. Choose a container that has a lid and is large enough to hold the desired amount of ice cream.
With all the equipment gathered and ready, let’s move on to the step-by-step process of making homemade rum raisin ice cream.
Step 1: Soaking the Raisins
The first step in making homemade rum raisin ice cream is to soak the raisins in dark rum. This step infuses the raisins with a delightful boozy flavor that will complement the richness of the ice cream.
- Start by placing the raisins in a small bowl.
- Pour the dark rum over the raisins, ensuring that they are fully submerged.
- Gently stir the raisins to make sure they are evenly soaked in the rum.
- Cover the bowl with plastic wrap and let the raisins soak for at least 1 hour, or preferably overnight in the refrigerator.
The length of time you soak the raisins can vary depending on your preference. If you prefer a stronger rum flavor, you can extend the soaking time. However, be cautious not to soak the raisins for too long, as they may become overly saturated and overpower the ice cream.
Once the raisins have soaked to your desired level, strain them, reserving the rum for later use. The plump and boozy raisins are now ready to be incorporated into the ice cream.
With the raisins soaked and ready, let’s move on to preparing the custard base for the rum raisin ice cream.
Step 2: Preparing the Custard Base
Now that the raisins are soaking in rum, it’s time to prepare the custard base for our homemade rum raisin ice cream. The custard base is what gives the ice cream its creamy and rich texture.
- In a medium-sized saucepan, combine the heavy cream, whole milk, and granulated sugar.
- Place the saucepan over medium heat and stir the mixture until the sugar has dissolved completely.
- In a separate heatproof bowl, whisk the egg yolks until they are well beaten.
- Slowly pour about half of the heated cream mixture into the bowl with the egg yolks, whisking constantly to temper the yolks.
- Pour the tempered yolks back into the saucepan with the remaining cream mixture, stirring continuously.
It’s important to temper the egg yolks to prevent them from curdling when added to the hot cream mixture. Tempering involves gradually adding a small amount of the hot liquid to the yolks while whisking vigorously. This brings the temperature of the yolks closer to the temperature of the cream, allowing for a smooth and cohesive custard base.
Continue cooking the custard mixture over medium heat, stirring constantly, until it thickens and coats the back of a spoon. This should take about 8-10 minutes.
Be careful not to let the custard come to a boil, as it can cause the eggs to curdle and result in a lumpy ice cream base. Keep the heat at a medium level and stay attentive throughout the process.
Once the custard has reached the desired thickness, remove the saucepan from the heat and stir in the vanilla extract and a pinch of salt. These ingredients add depth and enhance the overall flavor of the ice cream.
With the custard base prepared, it’s time to move on to the next step – chilling the custard base before churning it into ice cream.
Step 3: Chilling the Custard Base
After preparing the custard base for your homemade rum raisin ice cream, it’s important to chill it thoroughly before moving on to the next step. Chilling the custard base not only improves the texture of the ice cream but also allows the flavors to meld together for a more intense and well-rounded taste.
- Carefully pour the custard base into a heatproof bowl.
- Cover the bowl with plastic wrap, ensuring it touches the surface of the custard to prevent a skin from forming.
- Place the bowl in the refrigerator and let it chill for at least 4 hours, or preferably overnight.
Chilling the custard base for an extended period helps develop a smoother and creamier texture in the final ice cream. The longer it chills, the better the flavors will meld together.
When you’re ready to proceed with making the ice cream, remove the chilled custard base from the refrigerator and give it a quick stir to ensure it’s well mixed. It’s now time to churn the custard base into a delightful rum raisin ice cream!
In the next step, we’ll guide you through the process of churning the ice cream using a Cuisinart ice cream maker.
Step 4: Churning the Ice Cream
Now that the custard base for your rum raisin ice cream is chilled, it’s time to churn it into a creamy and luscious frozen treat using a Cuisinart ice cream maker.
- Take the frozen bowl of your Cuisinart ice cream maker out of the freezer and assemble the machine according to the manufacturer’s instructions.
- Pour the chilled custard base into the frozen bowl of the ice cream maker.
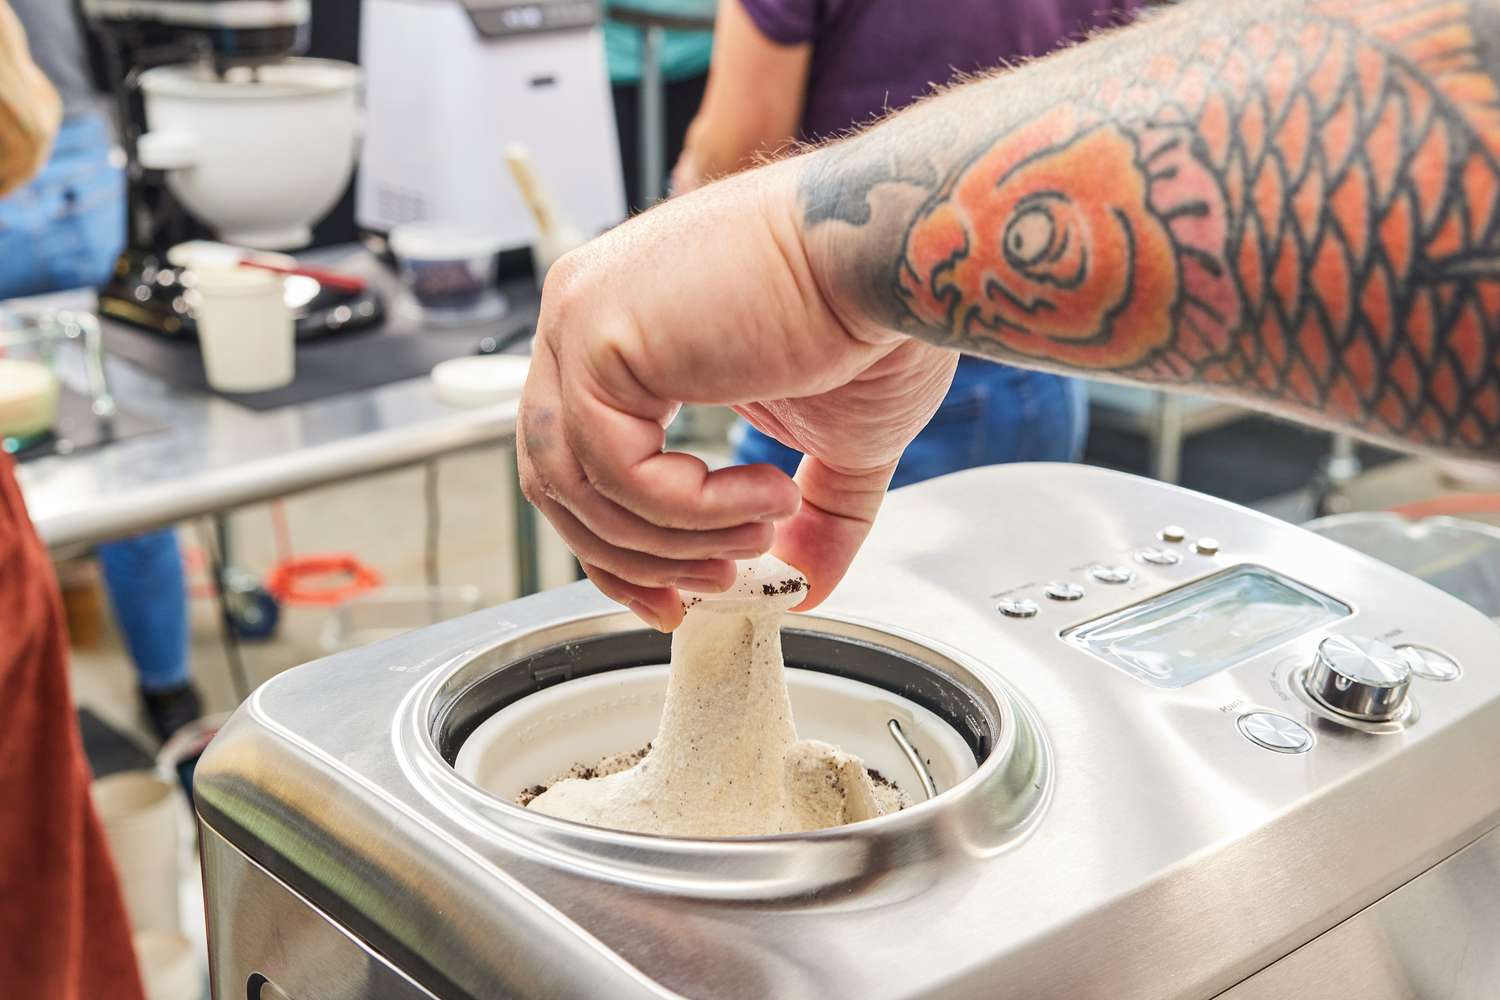
- Turn on the machine and let it churn for about 20-25 minutes, or until the ice cream reaches a thick and creamy consistency.
- While the ice cream is churning, you can take this time to gather the soaked rum raisins.
- After the churning process is complete, the ice cream should be soft and ready for the addition of the rum-soaked raisins.
The Cuisinart ice cream maker makes the churning process effortless. As the machine churns, it incorporates air into the ice cream mixture, resulting in a light and fluffy texture.
Once the desired consistency is achieved, it’s time to move on to the next step – adding the rum-soaked raisins to the ice cream.
Remember to work quickly during this step to prevent the ice cream from melting too much. The addition of the raisins brings a burst of flavor and texture to the rum raisin ice cream, making it truly irresistible.
In the next step, we will guide you through adding the rum-soaked raisins to the freshly churned ice cream.
Step 5: Adding the Rum and Raisins
Now that your rum raisin ice cream has reached a creamy consistency, it’s time to add the star ingredients – the rum-soaked raisins. This step will infuse the ice cream with a delightful boozy flavor and a burst of chewy sweetness.
- Retrieve the bowl of rum-soaked raisins from the refrigerator.
- Using a slotted spoon, remove the raisins from the bowl, allowing any excess rum to drain off.
- Gradually add the rum-soaked raisins to the churned ice cream, stirring gently with a rubber spatula to distribute them evenly.
Be mindful not to add all the rum at once, as it may result in a watery consistency. Instead, focus on adding the raisins first and then gradually incorporate the rum, tasting as you go, to achieve your desired level of flavor.
The rum-soaked raisins will add a burst of sweetness and a subtle boozy flavor to the ice cream. Their chewy texture provides a delightful contrast to the smoothness of the ice cream base.
Once the rum and raisins are gently mixed into the ice cream, it’s time to move on to the final step – freezing the ice cream to achieve the perfect scoopable texture.
In the following step, we will guide you on how to freeze and store your homemade rum raisin ice cream.
Step 6: Freezing the Ice Cream
After adding the rum-soaked raisins to your rum raisin ice cream, it’s time to freeze it to achieve the perfect scoopable texture. Properly freezing the ice cream ensures that it sets up properly and maintains its creamy consistency.
- Transfer the churned ice cream with the rum and raisins into a freezer-safe container.
- Smooth the surface of the ice cream with a rubber spatula.
- Cover the container with a lid, plastic wrap, or parchment paper to prevent ice crystals from forming.
- Place the container in the freezer and let the ice cream freeze for at least 4-6 hours or overnight, until it is firm.
Allowing the ice cream to freeze for several hours ensures that it solidifies and holds its shape when scooped. The longer it freezes, the better the texture and flavor will be.
When storing the ice cream in the freezer, make sure to keep it in the coldest part of the freezer and away from any strong-smelling foods that could affect its taste. This will help maintain the quality and freshness of the ice cream.
Now that your rum raisin ice cream is tucked away in the freezer, it’s time to move on to the final step – serving and enjoying this homemade delight!
In the next step, we will guide you through the process of serving and savoring your delicious homemade rum raisin ice cream.
Step 7: Serving and Enjoying!
Congratulations! Your homemade rum raisin ice cream is now ready to be savored and enjoyed. It’s time to indulge in the creamy texture, the sweet rum-infused raisins, and the delightful flavors that you’ve created.
- Remove the container of frozen rum raisin ice cream from the freezer and let it sit at room temperature for a few minutes to slightly soften.
- Using an ice cream scoop, portion out generous scoops of the ice cream into your desired serving bowls or cones.
- Garnish the scoops of ice cream with additional rum-soaked raisins, if desired.
You can also get creative with your presentation by adding a drizzle of caramel sauce, a sprinkle of toasted nuts, or a dusting of cinnamon on top of the ice cream. The choice is yours to customize and elevate the dessert to your liking.
Once your ice cream is served, it’s time to sit back, relax, and savor every spoonful of this homemade delight. Allow the flavors to dance on your taste buds and enjoy the creamy texture that you’ve lovingly crafted.
If you have any leftovers, make sure to store the remaining ice cream in a well-sealed container in the freezer. Homemade ice cream is best enjoyed within a week to maintain its quality and freshness.
Now, sit back, take a bite, and relish in the satisfaction of creating a delectable indulgence right in your own kitchen. Enjoy every spoonful of your homemade rum raisin ice cream and share the joy with your loved ones.
Thank you for joining us on this delicious ice cream-making journey. We hope you had a fantastic experience, and we look forward to sharing more delightful recipes with you in the future. Happy indulging!