Introduction
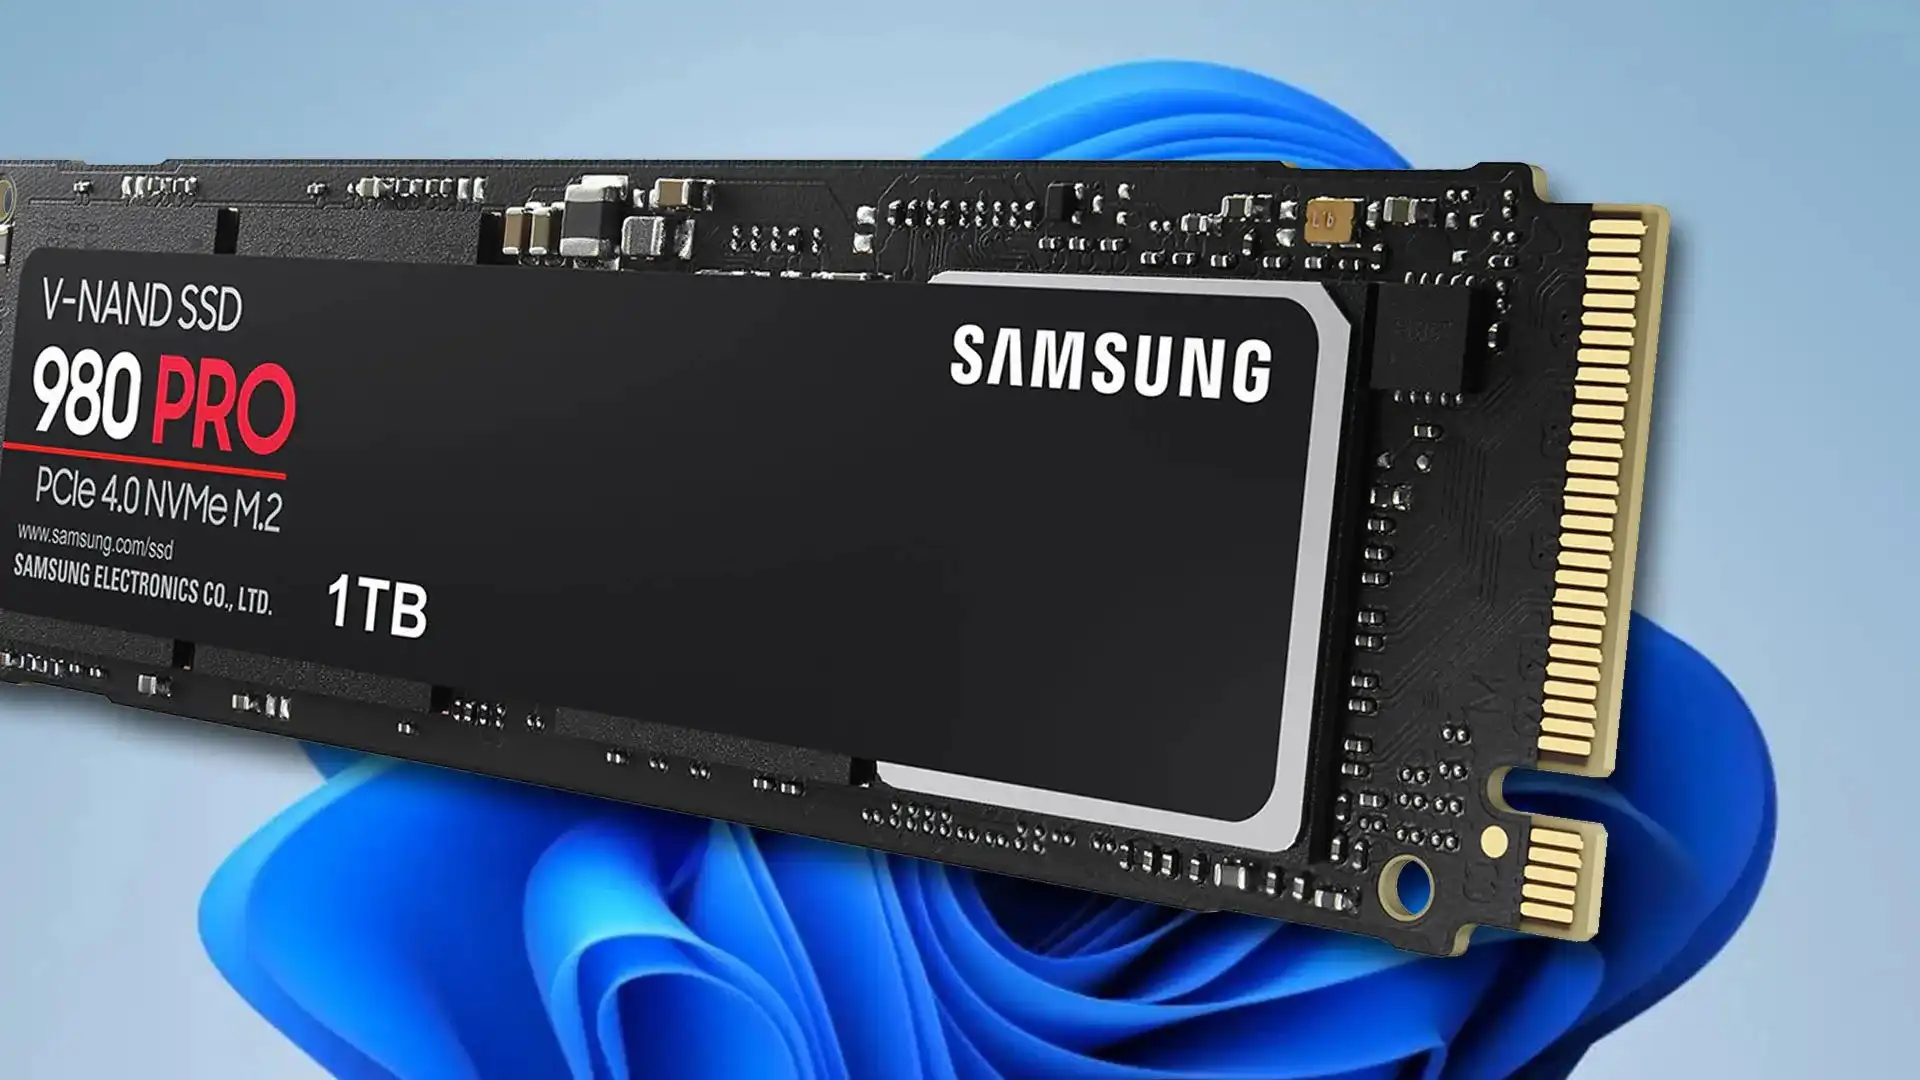
Welcome to this guide on how to install Windows 11 on an M.2 SSD. With the release of Windows 11, many users are excited to upgrade their operating systems and experience the new features and improvements it brings. Installing Windows 11 on a high-speed M.2 SSD can help enhance system performance and provide a seamless user experience.
Windows 11 introduces a host of exciting features, such as a redesigned Start menu, improved multitasking capabilities with the Snap feature, and a new Microsoft Store. It also boasts a modern and visually appealing user interface that enhances productivity and ease of use. By following the steps outlined in this guide, you’ll be able to install Windows 11 on your M.2 SSD and enjoy all the benefits it has to offer.
Before we proceed with the installation process, it’s essential to check your system requirements to ensure compatibility. Windows 11 has specific hardware requirements that your PC must meet, including the processor, RAM, storage, and graphics capabilities. It’s crucial to verify that your system meets these requirements to ensure a successful installation.
In addition to checking the system requirements, you’ll need to prepare the necessary tools. One of the most important tools is a USB drive with sufficient storage capacity to create a Windows 11 installation media. This media will be used to install the operating system on your M.2 SSD. You’ll also need access to a computer with internet connectivity to download the Windows 11 ISO file and a tool to create the installation media.
Before proceeding with the installation, it’s highly recommended to back up your data. Although the installation process shouldn’t erase any data, it’s always better to be safe than sorry. Creating a backup ensures that your files and important documents are protected in case of any unforeseen issues during the installation process.
Now that you’re familiar with the prerequisites, let’s move on to creating the Windows 11 installation media. Once you have the installation media ready, we’ll guide you through the process of setting up the BIOS/UEFI to boot from the installation media. Finally, we’ll walk you through the steps of installing Windows 11 on your M.2 SSD and setting up the operating system to enjoy its new features.
Step 1: Check the System Requirements
Before proceeding with the installation of Windows 11 on your M.2 SSD, it’s crucial to ensure that your system meets the necessary requirements. Microsoft has introduced specific hardware requirements for Windows 11 to provide optimal performance and compatibility with the operating system’s new features.
The system requirements for Windows 11 include:
- Processor: 1 gigahertz (GHz) or faster with 2 or more cores on a compatible 64-bit processor
- RAM: 4 gigabytes (GB) or more
- Storage: 64 GB or more available storage
- Graphics Card: Compatible with DirectX 12 or later, with a WDDM 2.0 driver
- Display: High definition (720p) display, 9″ or larger diagonally, with a 16:9 aspect ratio; or a Tablet or Monitor with a diagonal display size of 8″ or larger, with a 16:10 aspect ratio
- Internet Connection: Internet connectivity is necessary to download Windows updates and activate the operating system
In addition to these basic requirements, Windows 11 also has additional hardware requirements for certain features such as TPM (Trusted Platform Module) version 2.0, Secure Boot, and UEFI firmware with Secure Boot capability. It’s essential to check if your system supports these features, as they are crucial for the installation and proper functioning of Windows 11.
To check the system requirements, you can use the PC Health Check tool provided by Microsoft. This tool will scan your system and provide a report on whether it meets the requirements for Windows 11. If your PC does not meet the requirements, you may need to consider upgrading certain hardware components or sticking with your current operating system.
Before proceeding with the installation, it’s important to note that upgrading to Windows 11 may require a valid product key. If you are upgrading from a licensed version of Windows 10, you should be able to activate Windows 11 with the same product key. However, if you are performing a clean installation or upgrading from an older version of Windows, you may need to purchase a new product key.
Ensuring that your system meets the necessary requirements is crucial for a smooth installation and optimal performance of Windows 11. Once you have verified that your PC meets all the necessary specifications, you’re ready to move on to the next step: preparing the necessary tools to install Windows 11.
Step 2: Prepare the Necessary Tools
Before you can start installing Windows 11 on your M.2 SSD, you’ll need to gather the necessary tools to create a Windows 11 installation media. This media will be used to facilitate the installation process and ensure a successful setup of the operating system. Here are the tools you’ll need:
- USB Drive: You’ll need a USB drive with at least 8 GB of storage capacity. This drive will be used to create the Windows 11 installation media.
- Windows 11 ISO File: You’ll also need the Windows 11 ISO file, which contains all the installation files for the operating system. The ISO file can be downloaded from the official Microsoft website or through the Windows Update Assistant.
- Installation Media Creation Tool: To create the Windows 11 installation media, you’ll need a tool such as the Microsoft Media Creation Tool or Rufus. These tools will help you format the USB drive and copy the Windows 11 ISO file onto it.
Once you have gathered all the necessary tools, follow these steps to prepare the installation media:
- Insert the USB drive into your computer’s USB port.
- Download the Windows 11 ISO file from the official Microsoft website or through the Windows Update Assistant. Make sure to choose the correct version and language of Windows 11 that you want to install.
- Run the Installation Media Creation Tool (or Rufus) and select the USB drive that you inserted.
- Follow the prompts to format the USB drive and create the installation media. This process may take some time, so please be patient.
- Once the installation media is created, safely eject the USB drive from your computer.
By following these steps, you’ll have successfully prepared the necessary tools to proceed with the Windows 11 installation. The next step is to backup your data to ensure its safety during the installation process. Creating a backup is an important precautionary measure to protect your files and documents from any potential loss or corruption. We’ll cover the backup process in the next step.
Step 3: Backup Your Data
Before proceeding with the installation of Windows 11 on your M.2 SSD, it’s essential to create a backup of your important data. While the installation process is designed to preserve your files, there is always a small risk of data loss or corruption during system upgrades. By creating a backup, you can ensure that your files are protected and can be easily restored if needed.
There are several ways to back up your data, depending on the size and type of files you have. Here are a few common methods:
- External Hard Drive or SSD: Connect an external storage device, such as an external hard drive or SSD, to your computer. Copy and paste your important files and folders onto the external drive. This method is suitable for backing up a large amount of data, such as documents, photos, videos, and music.
- Cloud Storage Services: Utilize cloud storage services, such as Google Drive, Dropbox, or Microsoft OneDrive, to back up your files. These services offer a certain amount of free storage and can be accessed from multiple devices. Simply upload your files to the cloud storage provider of your choice.
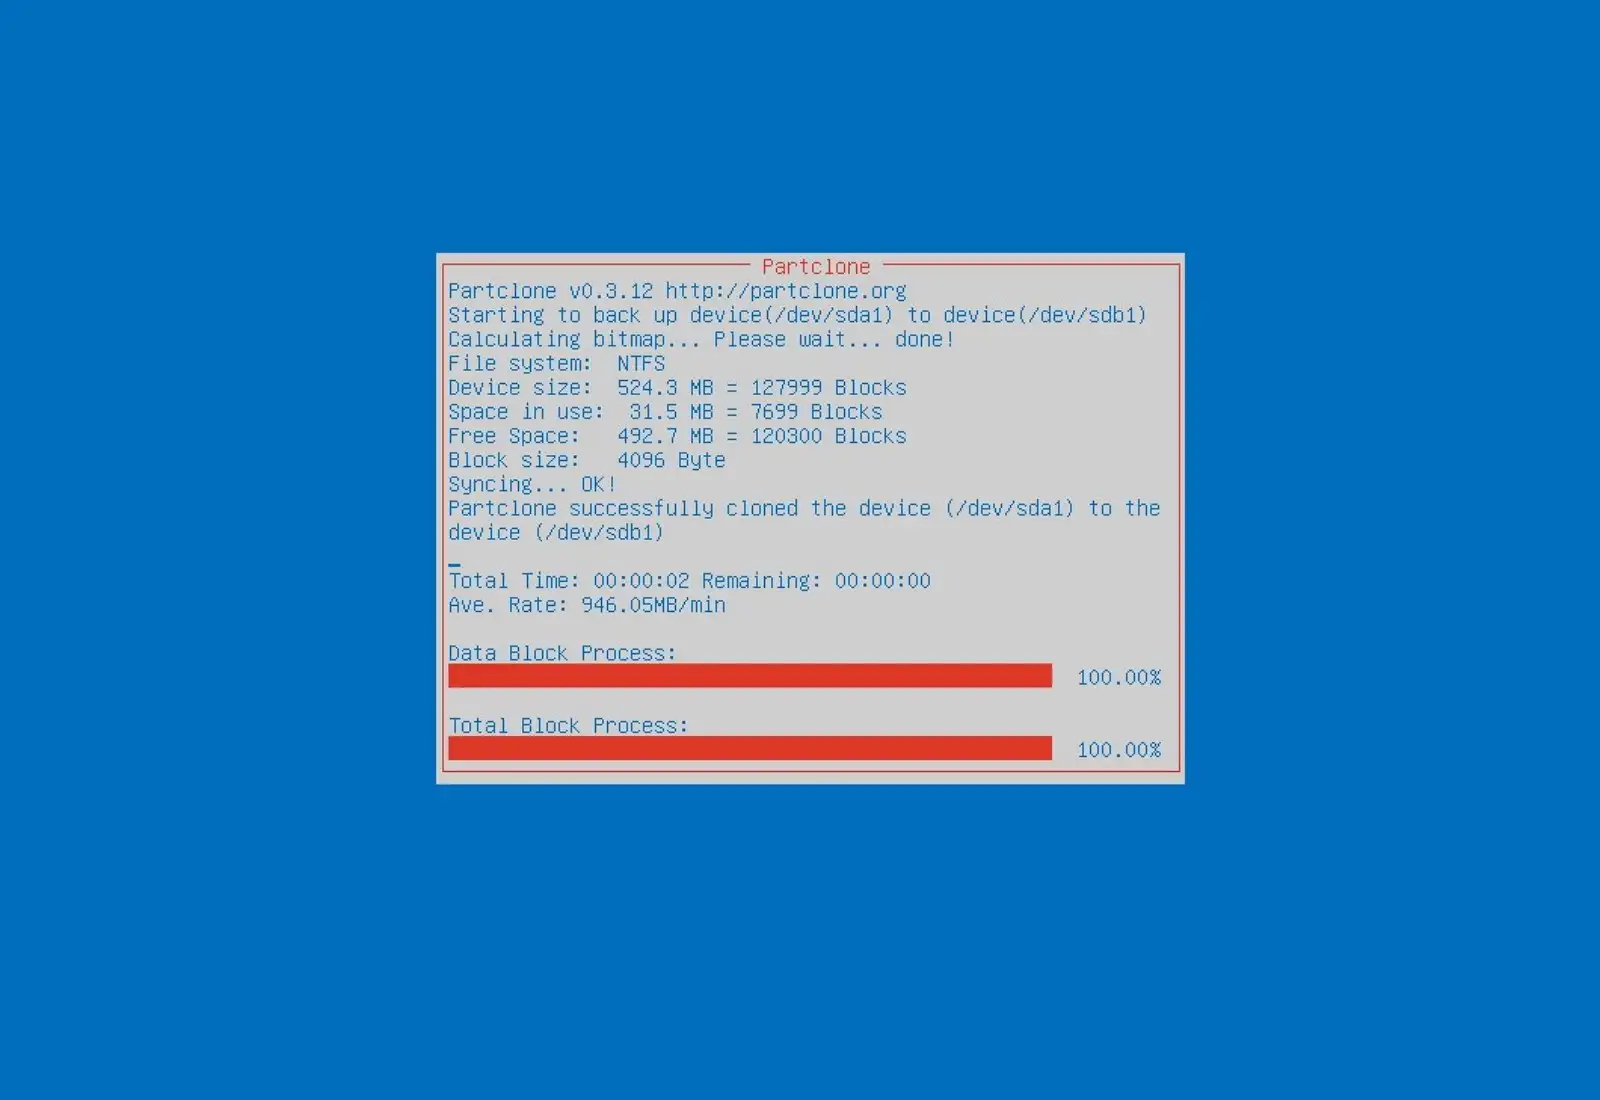
- Backup Software: Use backup software like Acronis True Image, EaseUS Todo Backup, or Macrium Reflect to create a complete system backup. This method is ideal for creating a full backup, including your operating system, applications, and data. You can restore the entire system if needed.
When creating a backup, it’s important to select the files and folders that are important to you. Focus on documents, photos, videos, and any other data that is not easily replaceable. It’s also a good practice to organize your files and remove any unnecessary data to save storage space and make the backup process more efficient.
Once you have completed the backup process, it’s essential to verify that your backup is successful and accessible. Take the time to double-check the files and folders on your backup device to ensure that they are intact and can be restored if needed.
Creating a backup provides you with peace of mind during the installation of Windows 11. In the event of any unforeseen issues or data loss during the installation process, you can easily restore your files and continue working without any significant disruptions.
With your data securely backed up, you’re now ready to move on to the next step: creating a Windows 11 installation media. We’ll guide you through the process in the next step.
Step 4: Create a Windows 11 Installation Media
Creating a Windows 11 installation media is a crucial step in the process of installing the operating system on your M.2 SSD. The installation media allows you to boot from it and install Windows 11 onto your computer. In this step, we’ll guide you through the process of creating the installation media using the USB drive and the Windows 11 ISO file.
Follow these steps to create a Windows 11 installation media:
- Insert the USB drive into an available USB port on your computer.
- Download the Windows 11 ISO file from the official Microsoft website or through the Windows Update Assistant. Make sure to select the version and language that you prefer.
- Once the Windows 11 ISO file is downloaded, you’ll need a tool to create the installation media. You can use the official Microsoft Media Creation Tool or third-party tools like Rufus, which are both effective options.
- Open the installation media creation tool and select the option to create installation media for another PC.
- Select your preferred language, edition, and architecture (32-bit or 64-bit) for Windows 11.
- Choose the USB drive that you inserted in step 1 as the target location for creating the installation media.
- Click “Next” or “Create” to start the process. The tool will format the USB drive and copy the Windows 11 installation files onto it. This may take some time, depending on your system’s performance and the speed of the USB drive.
- After the process is complete, safely eject the USB drive from your computer.
Congratulations! You have successfully created a Windows 11 installation media. This USB drive will be used to boot your computer and start the installation process of Windows 11 onto your M.2 SSD. Keep the USB drive in a safe place until you’re ready to proceed with the installation.
Before moving on to the next step, ensure that you have backed up your important data and verified its accessibility. Having a backup provides an extra layer of security during the installation process, allowing you to recover your files if necessary.
In the next step, we’ll explain how to set up the BIOS/UEFI to boot from the Windows 11 installation media. This step is crucial to initiate the installation process successfully. Let’s proceed to step 5.
Step 5: Set up the BIOS/UEFI to Boot from the Installation Media
In this step, we will guide you through the process of setting up the BIOS/UEFI to boot from the Windows 11 installation media. This is a crucial step to initiate the installation process successfully.
Follow these steps to set up the BIOS/UEFI:
- Connect the USB drive containing the Windows 11 installation media to your computer.
- Restart your computer and access the BIOS/UEFI settings. The specific key to enter the BIOS/UEFI varies depending on the manufacturer, but commonly used keys are F2, Del, Esc, F10, or F12. Refer to your computer’s documentation or perform a quick internet search to find the correct key for your system.
- Once inside the BIOS/UEFI settings, navigate to the “Boot” or “Boot Order” section. The exact name may vary depending on your system.
- Change the boot order to prioritize the USB drive. Move the USB drive to the top of the boot order list. This ensures that your computer will boot from the Windows 11 installation media instead of the internal hard drive.
- Save and exit the BIOS/UEFI settings. Look for the option to save changes and exit, typically labeled with “Save & Exit” or something similar.
- Your computer will now restart, and it should boot from the Windows 11 installation media. Be patient; it may take some time to load.
Once the computer successfully boots from the Windows 11 installation media, you will be guided through the installation process by the Windows setup wizard. Follow the on-screen instructions to proceed with the installation of Windows 11 onto your M.2 SSD.
It is important to note that during the installation process, you may be prompted to choose the installation language, time zone, and keyboard layout. Make the appropriate selections based on your preferences and location.
If, for some reason, your computer does not boot from the installation media, you may need to repeat the process and double-check that the USB drive is properly connected and the boot order is correctly set in the BIOS/UEFI settings. Also, ensure that you have created the installation media correctly by following the instructions in the previous step.
Once you have successfully set up the BIOS/UEFI to boot from the installation media, and Windows 11 setup is initiated, you’re ready to move on to the next step—installing Windows 11.
In the next step, we will guide you through the process of installing Windows 11 on your M.2 SSD. Let’s proceed to step 6.
Step 6: Install Windows 11
Now that you have successfully set up the BIOS/UEFI to boot from the Windows 11 installation media, it’s time to proceed with the installation process. Follow these steps to install Windows 11 onto your M.2 SSD:
- Once your computer has booted from the Windows 11 installation media, the Windows setup wizard will appear. Select your language, time format, and keyboard layout preferences, and click “Next” to continue.
- Click on the “Install Now” button to start the installation process.
- Enter your Windows product key if prompted. If you don’t have a product key, you can select the option to skip this step and activate Windows later.
- Read and accept the license terms by checking the box and clicking “Next.”
- On the next screen, select the “Custom: Install Windows only (advanced)” option.
- Now, you’ll need to select the M.2 SSD as the installation location for Windows 11. Choose the M.2 SSD from the list of available drives. If you have multiple partitions on the M.2 SSD, make sure to select the correct one.
- Click “Next” to begin the installation process. Windows 11 will now be installed onto your M.2 SSD. The installation process may take some time, so be patient and avoid interrupting it.
- Once the installation process is complete, your computer will restart. During the restart, remove the USB drive from your computer to prevent booting from it again.
- After the restart, Windows 11 will continue with the setup process. Follow the on-screen instructions to personalize your settings, such as creating a user account, choosing a computer name, and configuring privacy settings.
- Once you’ve completed the setup process, you’ll be greeted with the Windows 11 desktop. Congratulations! You have successfully installed Windows 11 on your M.2 SSD. Enjoy exploring the new operating system and its exciting features.
It’s worth mentioning that the exact steps and screens may vary slightly depending on the version of Windows 11 and any updates released by Microsoft. However, the overall process should remain quite similar.
Before moving on, take a moment to confirm that Windows 11 has been installed correctly on your M.2 SSD. Ensure that all your files and settings are intact and that your system is running smoothly.
Now that Windows 11 is installed on your M.2 SSD, you can proceed with the final steps to set up the operating system according to your preferences.
In the next step, we will guide you through the process of setting up Windows 11 and customizing it to your liking. Let’s move on to step 7.
Step 7: Set up Windows 11 and Enjoy!
Congratulations! You have successfully installed Windows 11 on your M.2 SSD. Now it’s time to set up the operating system and customize it to your preferences. Follow these steps to get started:
- After the installation process is complete, Windows 11 will guide you through the initial setup. You may be prompted to choose a region, keyboard layout, and time zone. Make the appropriate selections and click “Next” to continue.
- If you have a Microsoft account, you can sign in with it to access your personalized settings, such as OneDrive cloud storage and Microsoft Store purchases. Alternatively, you can choose to create a local account. Follow the on-screen instructions to sign in or create an account.
- Next, you’ll have the opportunity to customize your settings. You can choose to enable or disable features like Cortana, personalized ads, and location tracking. Take the time to review these settings and make selections based on your preferences. Click “Next” to proceed.
- Windows 11 will now prepare your desktop and finalize your settings. This may take a few moments.
- Once the desktop appears, take a moment to explore the new features and interface of Windows 11. Familiarize yourself with the redesigned Start menu, the Taskbar, and the new productivity-focused features like Snap layouts.
- Customize Windows 11 according to your preferences. You can personalize your desktop background, choose a color scheme, and customize the Taskbar and Start menu appearance. Right-click on the desktop and select “Personalize” to access these options.
- Install necessary drivers and updates. It’s crucial to ensure that your system has the latest drivers and updates installed for optimal performance and security. Visit the manufacturer’s website of your computer or the devices connected to it to download and install the necessary drivers. Additionally, run Windows Update to get the latest system updates from Microsoft.
- Install your favorite applications and software. Whether it’s productivity tools, multimedia software, or games, install the applications you need to make the most of your Windows 11 experience.
- Set up your preferred browser and other default applications. Choose your favorite web browser and set it as the default. Similarly, set your preferred applications for tasks like email, music, and video playback.
- Ensure that your data is properly organized and transferred. If you backed up your files before the installation, you can now restore them to their respective locations. Take the time to organize your files and folders for easy access and efficient workflow.
With Windows 11 set up and customized to your liking, you can now enjoy all the new features, performance improvements, and a visually appealing user interface. Take the time to explore and discover the various functionalities offered by Windows 11.
Remember to regularly update your system, back up your important files, and maintain strong security practices to keep your Windows 11 installation secure and up to date.
Thank you for following this guide on how to install Windows 11 on an M.2 SSD. We hope this step-by-step process has been helpful to you. Enjoy your new Windows 11 experience!


