Introduction
Welcome to this comprehensive guide on how to install a tablet in your car. With advancements in technology, it has become increasingly popular to integrate tablets into vehicles for a variety of purposes, such as GPS navigation, multimedia entertainment, and even vehicle diagnostics. Installing a tablet in your car can revolutionize your driving experience and provide you with endless possibilities.
Before you begin this installation process, there are a few important factors to consider. Firstly, you need to choose the right tablet for your car. Ensure that it has the necessary features, such as a large screen size, high resolution, and durable construction suitable for automotive use. Additionally, you’ll need to gather the required tools and materials, including wiring harnesses, mounting brackets, and potentially a dash kit.
In this guide, we will walk you through each step of the installation process, providing detailed instructions on how to remove the existing head unit, mount the tablet in your car, wire it properly, and ensure the installation is secure. It is important to note that the specific steps may vary depending on your car’s make and model, as well as the tablet you choose to install.
Throughout this guide, we will strive to provide you with clear, concise instructions while keeping the process as straightforward as possible. Don’t worry if you’re not a technical expert – this guide is designed to be accessible to all skill levels. Whether you’re a car enthusiast looking to upgrade your audiovisual system or a novice looking to enhance your driving experience, we’ve got you covered.
By following this guide, you’ll be able to transform your car into a high-tech and entertainment-packed space that meets your unique needs. So, without further ado, let’s dive into the process of installing a tablet in your car and unlock a whole new world of possibilities!
Choosing the Right Tablet
When it comes to choosing the right tablet for your car, there are several factors to consider. The tablet you select will play a crucial role in providing you with an enjoyable and seamless experience while driving. Here are some key points to keep in mind:
- Screen Size and Resolution: Opt for a tablet with a larger screen size, preferably around 7 to 10 inches, as it will offer better visibility and ease of use while on the road. Additionally, ensure that the tablet has a high resolution display to enhance the clarity of maps, videos, and other content.
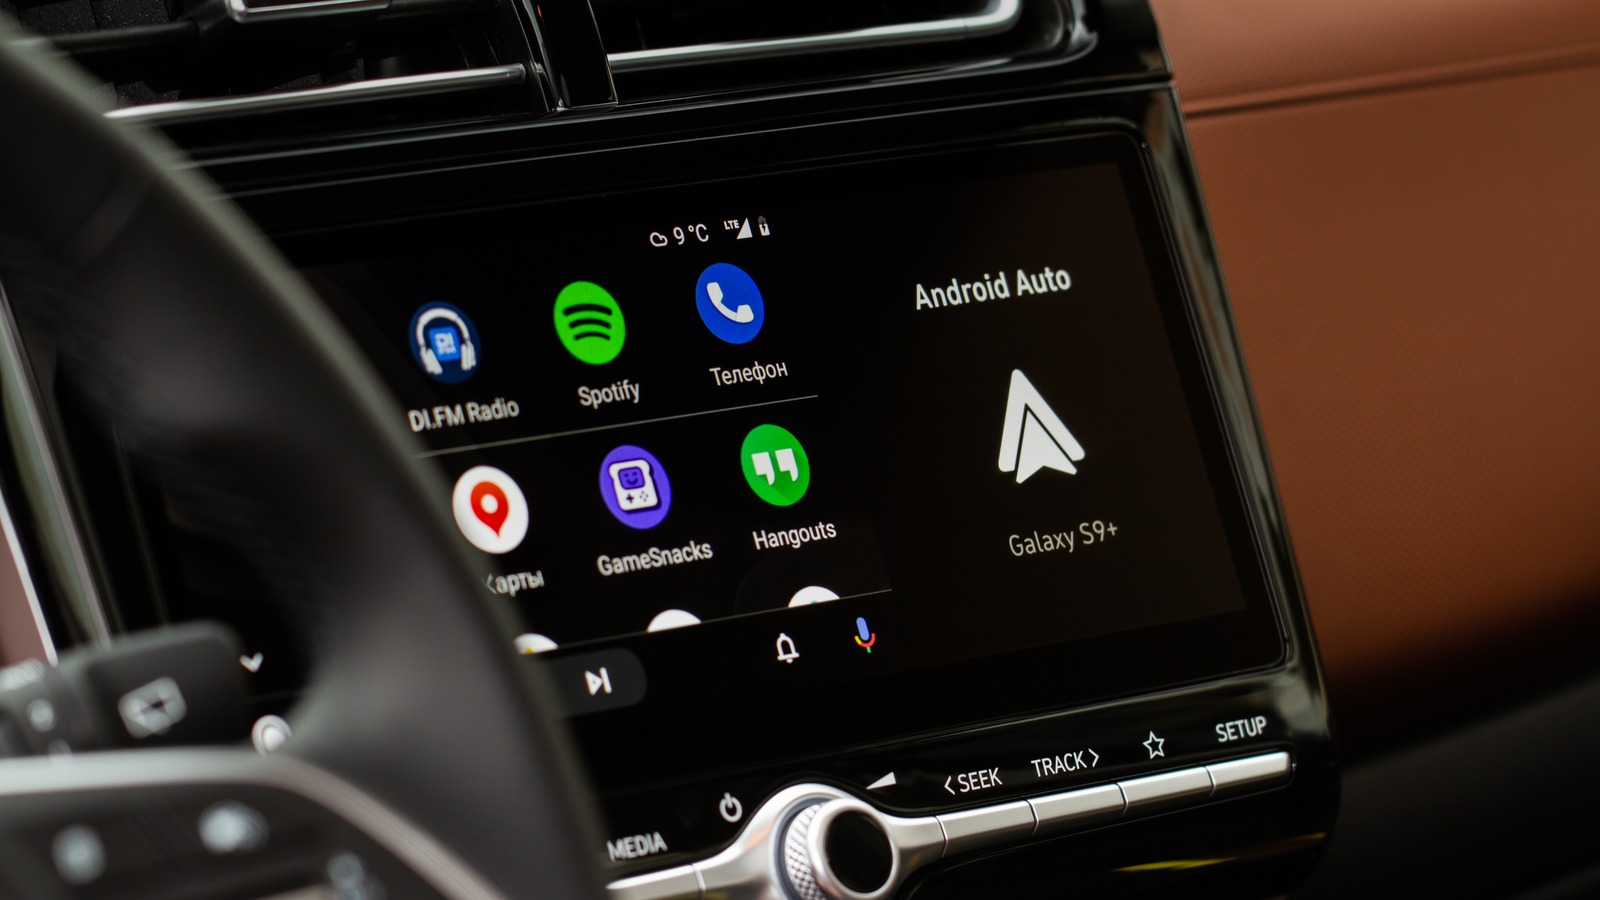
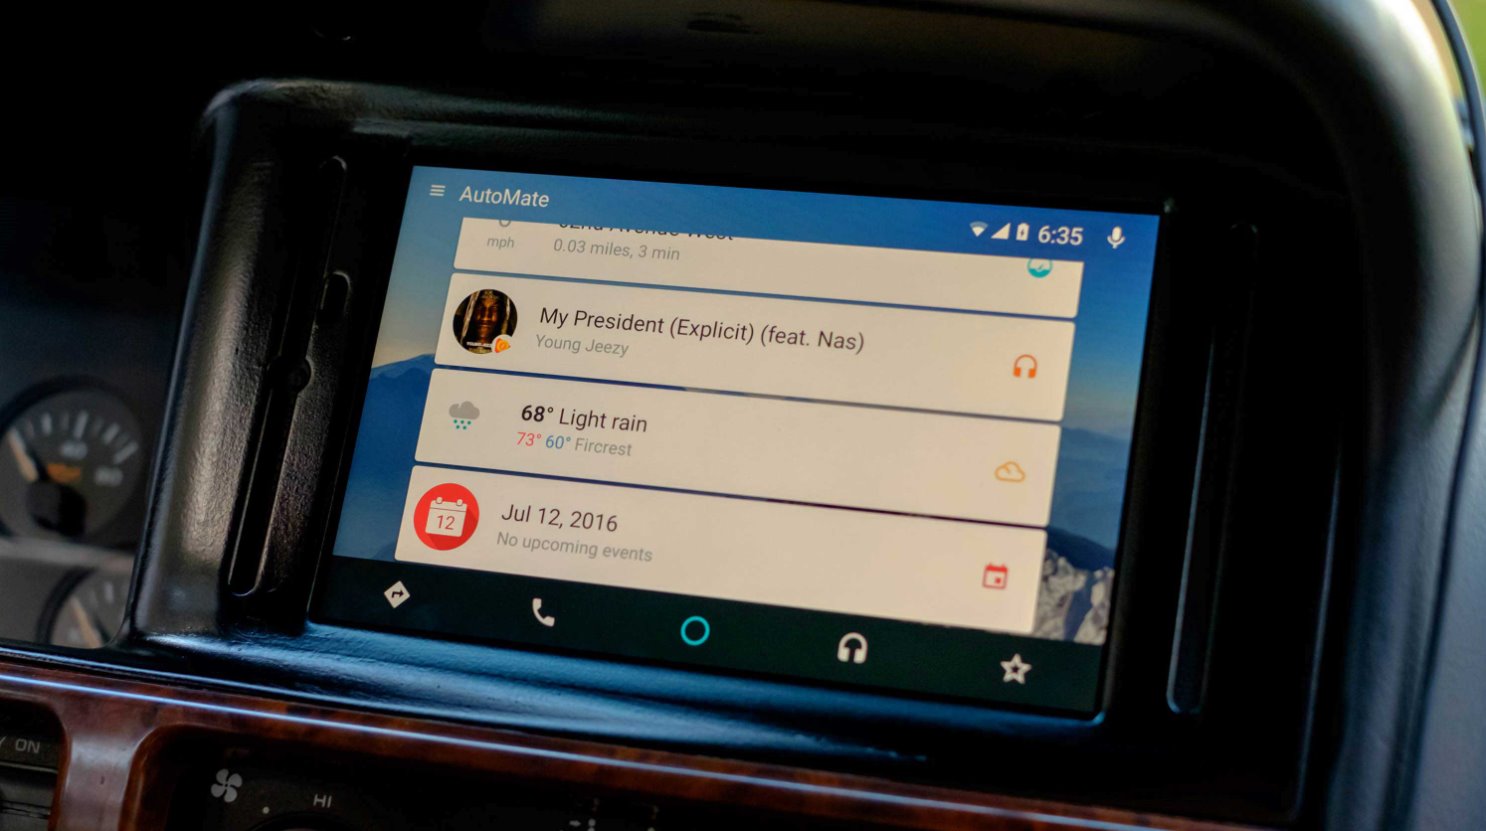
- Operating System: Choose a tablet that runs on a stable and user-friendly operating system. The most popular options are Android and iOS. Both have a wide range of apps and customization options available, so consider your personal preferences when making a decision. Additionally, make sure the tablet can support the latest version of the operating system for compatibility with future updates.
- Durability: Since your tablet will be installed in a car, it’s vital to choose one that is built to withstand the rigors of automotive use. Look for tablets that are designed for road conditions, with features like shock resistance and durable construction materials. This will ensure that your tablet can withstand vibrations and temperature fluctuations while maintaining optimal performance.
- Connectivity Features: Ensure that the tablet you choose has the necessary connectivity options, such as Bluetooth and Wi-Fi, to seamlessly connect to your car’s audio system, internet, and other devices. Additionally, consider if you require features like GPS navigation, cellular data support, or compatibility with external devices like OBD-II scanners.
- Battery Life: Since the tablet will be used in a mobile setting, it’s crucial to select one with a long battery life. Look for tablets that can provide several hours of continuous use before needing a recharge. This will ensure that you can enjoy your tablet’s features during longer drives without worrying about battery drain.
By considering these factors and evaluating how they align with your specific needs and preferences, you’ll be able to choose the right tablet for your car. Remember, it’s essential to find a balance between performance, durability, and compatibility to enhance your driving experience.
Required Tools and Materials
Before you embark on the installation process, it’s important to gather all the necessary tools and materials. Having these on hand will ensure that the installation goes smoothly and efficiently. Here’s a list of the essential items you’ll need:
- Trim Removal Tools: These tools are used to safely remove any panels or trim pieces in your car’s interior without causing damage. Examples include panel pry tools, trim removal wedges, and plastic trim removal tools.
- Socket Set and Screwdrivers: These tools will be necessary for removing bolts, screws, and any other fasteners that may secure the existing head unit or mounting brackets in your car.
- Wiring Harness and Connectors: A wiring harness will be required to connect the new tablet to your car’s electrical system. Make sure to get the appropriate wiring harness for your car model. Additionally, you may need connectors, crimping tools, and electrical tape to properly connect the wires together.
- Fabrication Tools (if necessary): Depending on the mounting location and the specific requirements of your car, you may need additional tools like a Dremel or a file to fabricate custom brackets or modify existing mounting points.
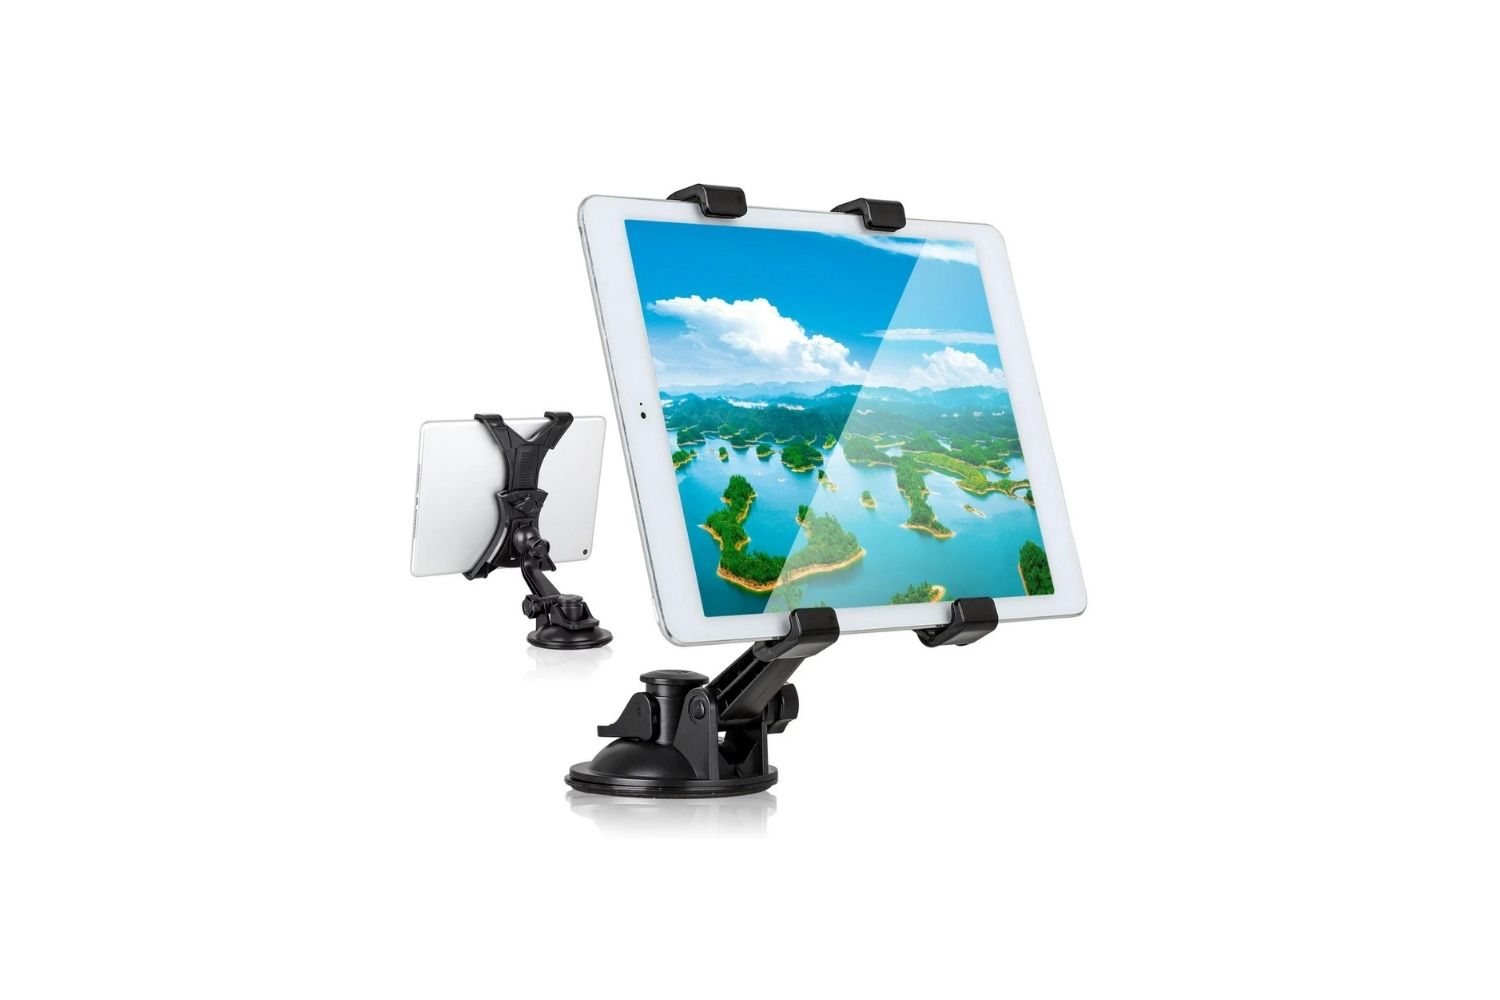
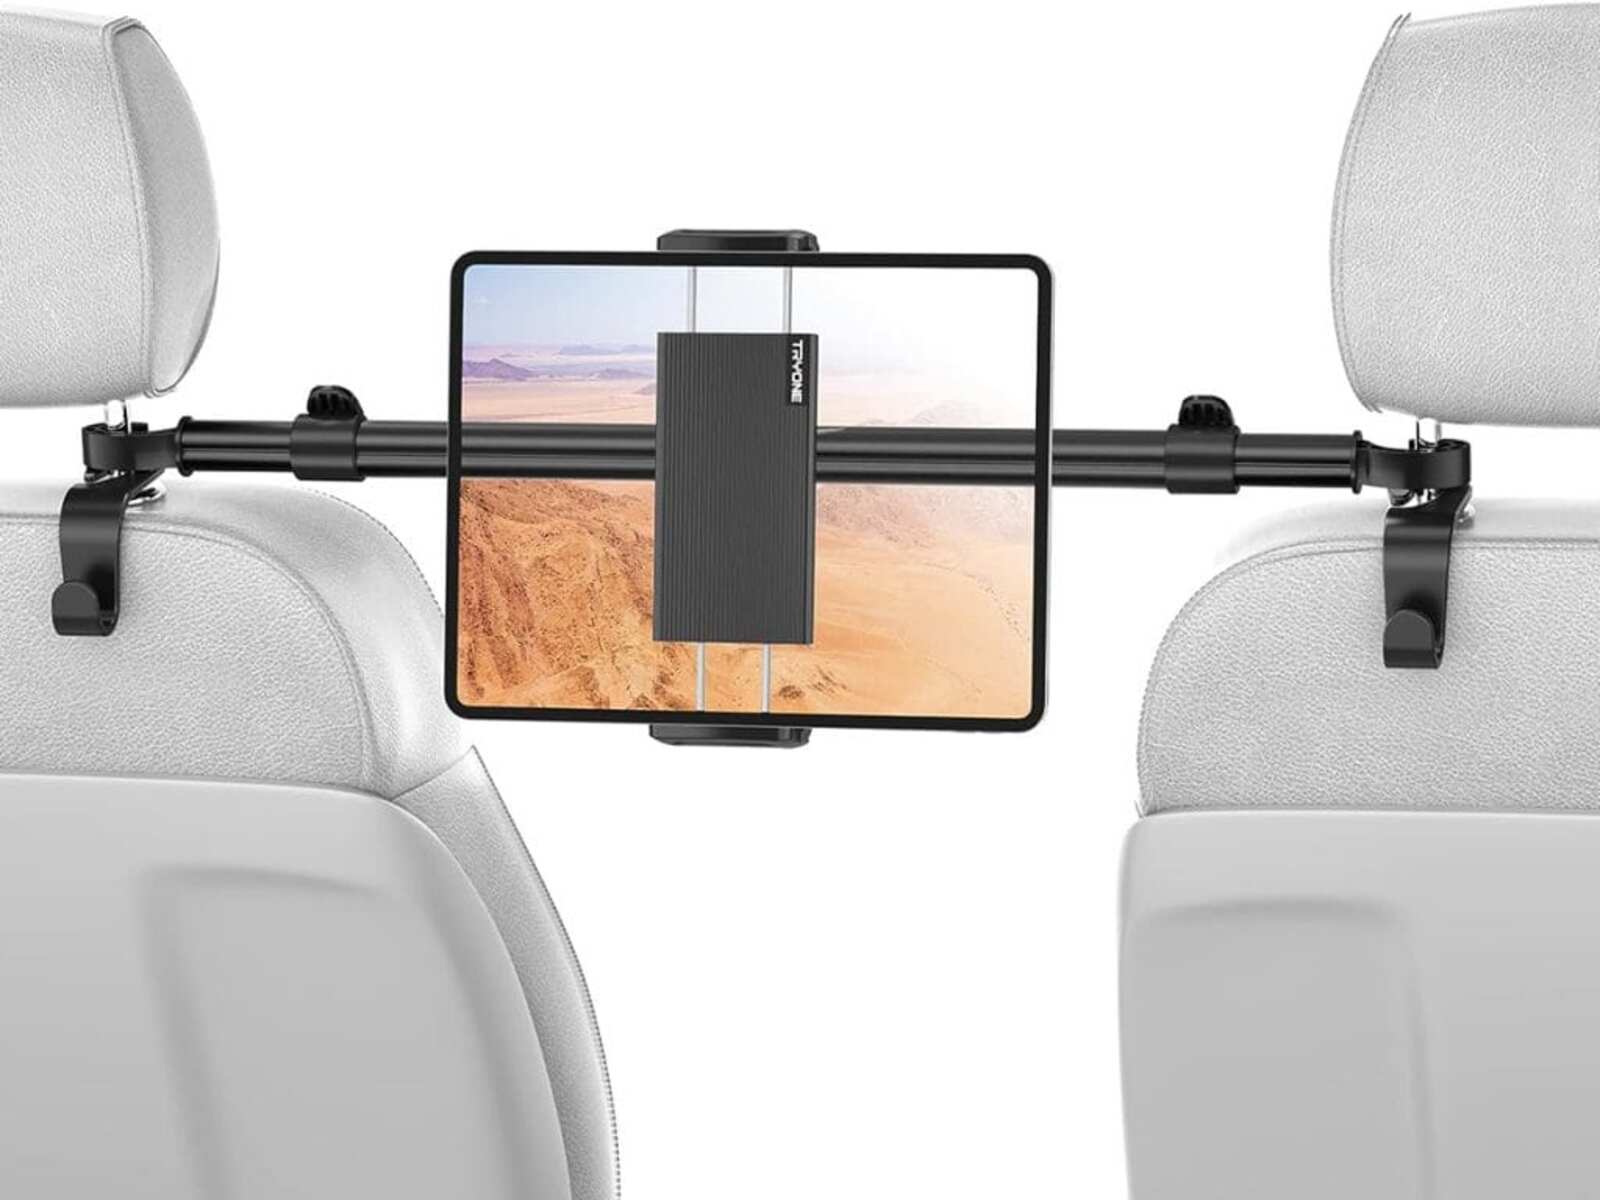
- Mounting Bracket: To securely mount the tablet in your car, you’ll need a compatible mounting bracket. Consider the location where you want to install the tablet (e.g., dashboard, headrest, or center console) to choose the appropriate bracket type and size.
- Mounting Adhesive or Screws: Depending on the mounting bracket and your preference, you may need adhesive tapes or screws to secure the bracket to your car’s interior. Consider the stability and durability of the mounting method for a secure installation.
- Dash Kit (if necessary): In some cases, a dash kit may be required to fill any gaps or provide a seamless integration between the tablet and your car’s dashboard. This is often necessary when replacing a standard single or double DIN head unit with a tablet.
- Protective Gear: It’s always a good idea to wear gloves and safety glasses when working on your car to protect yourself from any potential injuries or hazards.
Make sure to have all the necessary tools and materials ready before you begin the installation process. This will save you time and frustration as you progress through the steps. It’s important to note that the specific tools and materials required may vary depending on your car’s make and model, as well as the tablet you choose to install.
Removing the Existing Head Unit
The first step in installing a tablet in your car is to remove the existing head unit. Follow these steps to safely remove the head unit:
- Disconnect the Battery: Begin by disconnecting the vehicle’s battery to prevent any electrical shorts or hazards during the removal process. Consult your car’s manual for proper instructions on disconnecting the battery.
- Remove the Trim Panels: Carefully remove any trim panels surrounding the head unit using trim removal tools. Start from the edges and work your way inward, applying gentle pressure to release the clips. Take your time and avoid using excessive force to prevent any damage to the trim or panels.
- Locate the Mounting Brackets: Once the trim panels are removed, locate the mounting brackets or screws that secure the head unit. These can usually be found at the sides or the top and bottom of the unit. Use the appropriate screwdriver or socket set to remove the screws or bolts.
- Disconnect the Wiring Harness: Carefully unplug the wiring harness connected to the back of the head unit. Some head units may have multiple connectors, so take note of their positions for future reference. To disconnect the wiring harness, press the release tabs or squeeze the connectors’ locking mechanisms while gently pulling them apart.
- Remove the Antenna Cable: If your car has an external antenna, you’ll need to disconnect the antenna cable from the back of the head unit. This is usually a simple push-and-twist motion to release the cable from the antenna input.
- Slide Out the Head Unit: With the mounting brackets and wiring harness disconnected, gently slide out the head unit from the dashboard. Be mindful of any remaining cables behind the unit and make sure they don’t get caught or tangled.
- Set Aside the Removed Head Unit: Once the head unit is removed, set it aside in a safe place. You may need it for reference or if you plan to reinstall it in the future.
With the existing head unit successfully removed, you’re now ready to proceed with the next steps of mounting the tablet in your car. Take a moment to ensure that all connections have been properly unplugged and that no wires are obstructing the installation area. Now, let’s move on to the exciting part – mounting your tablet!
Mounting the Tablet
Mounting the tablet in your car is a crucial step in the installation process. Follow these steps to properly mount the tablet:
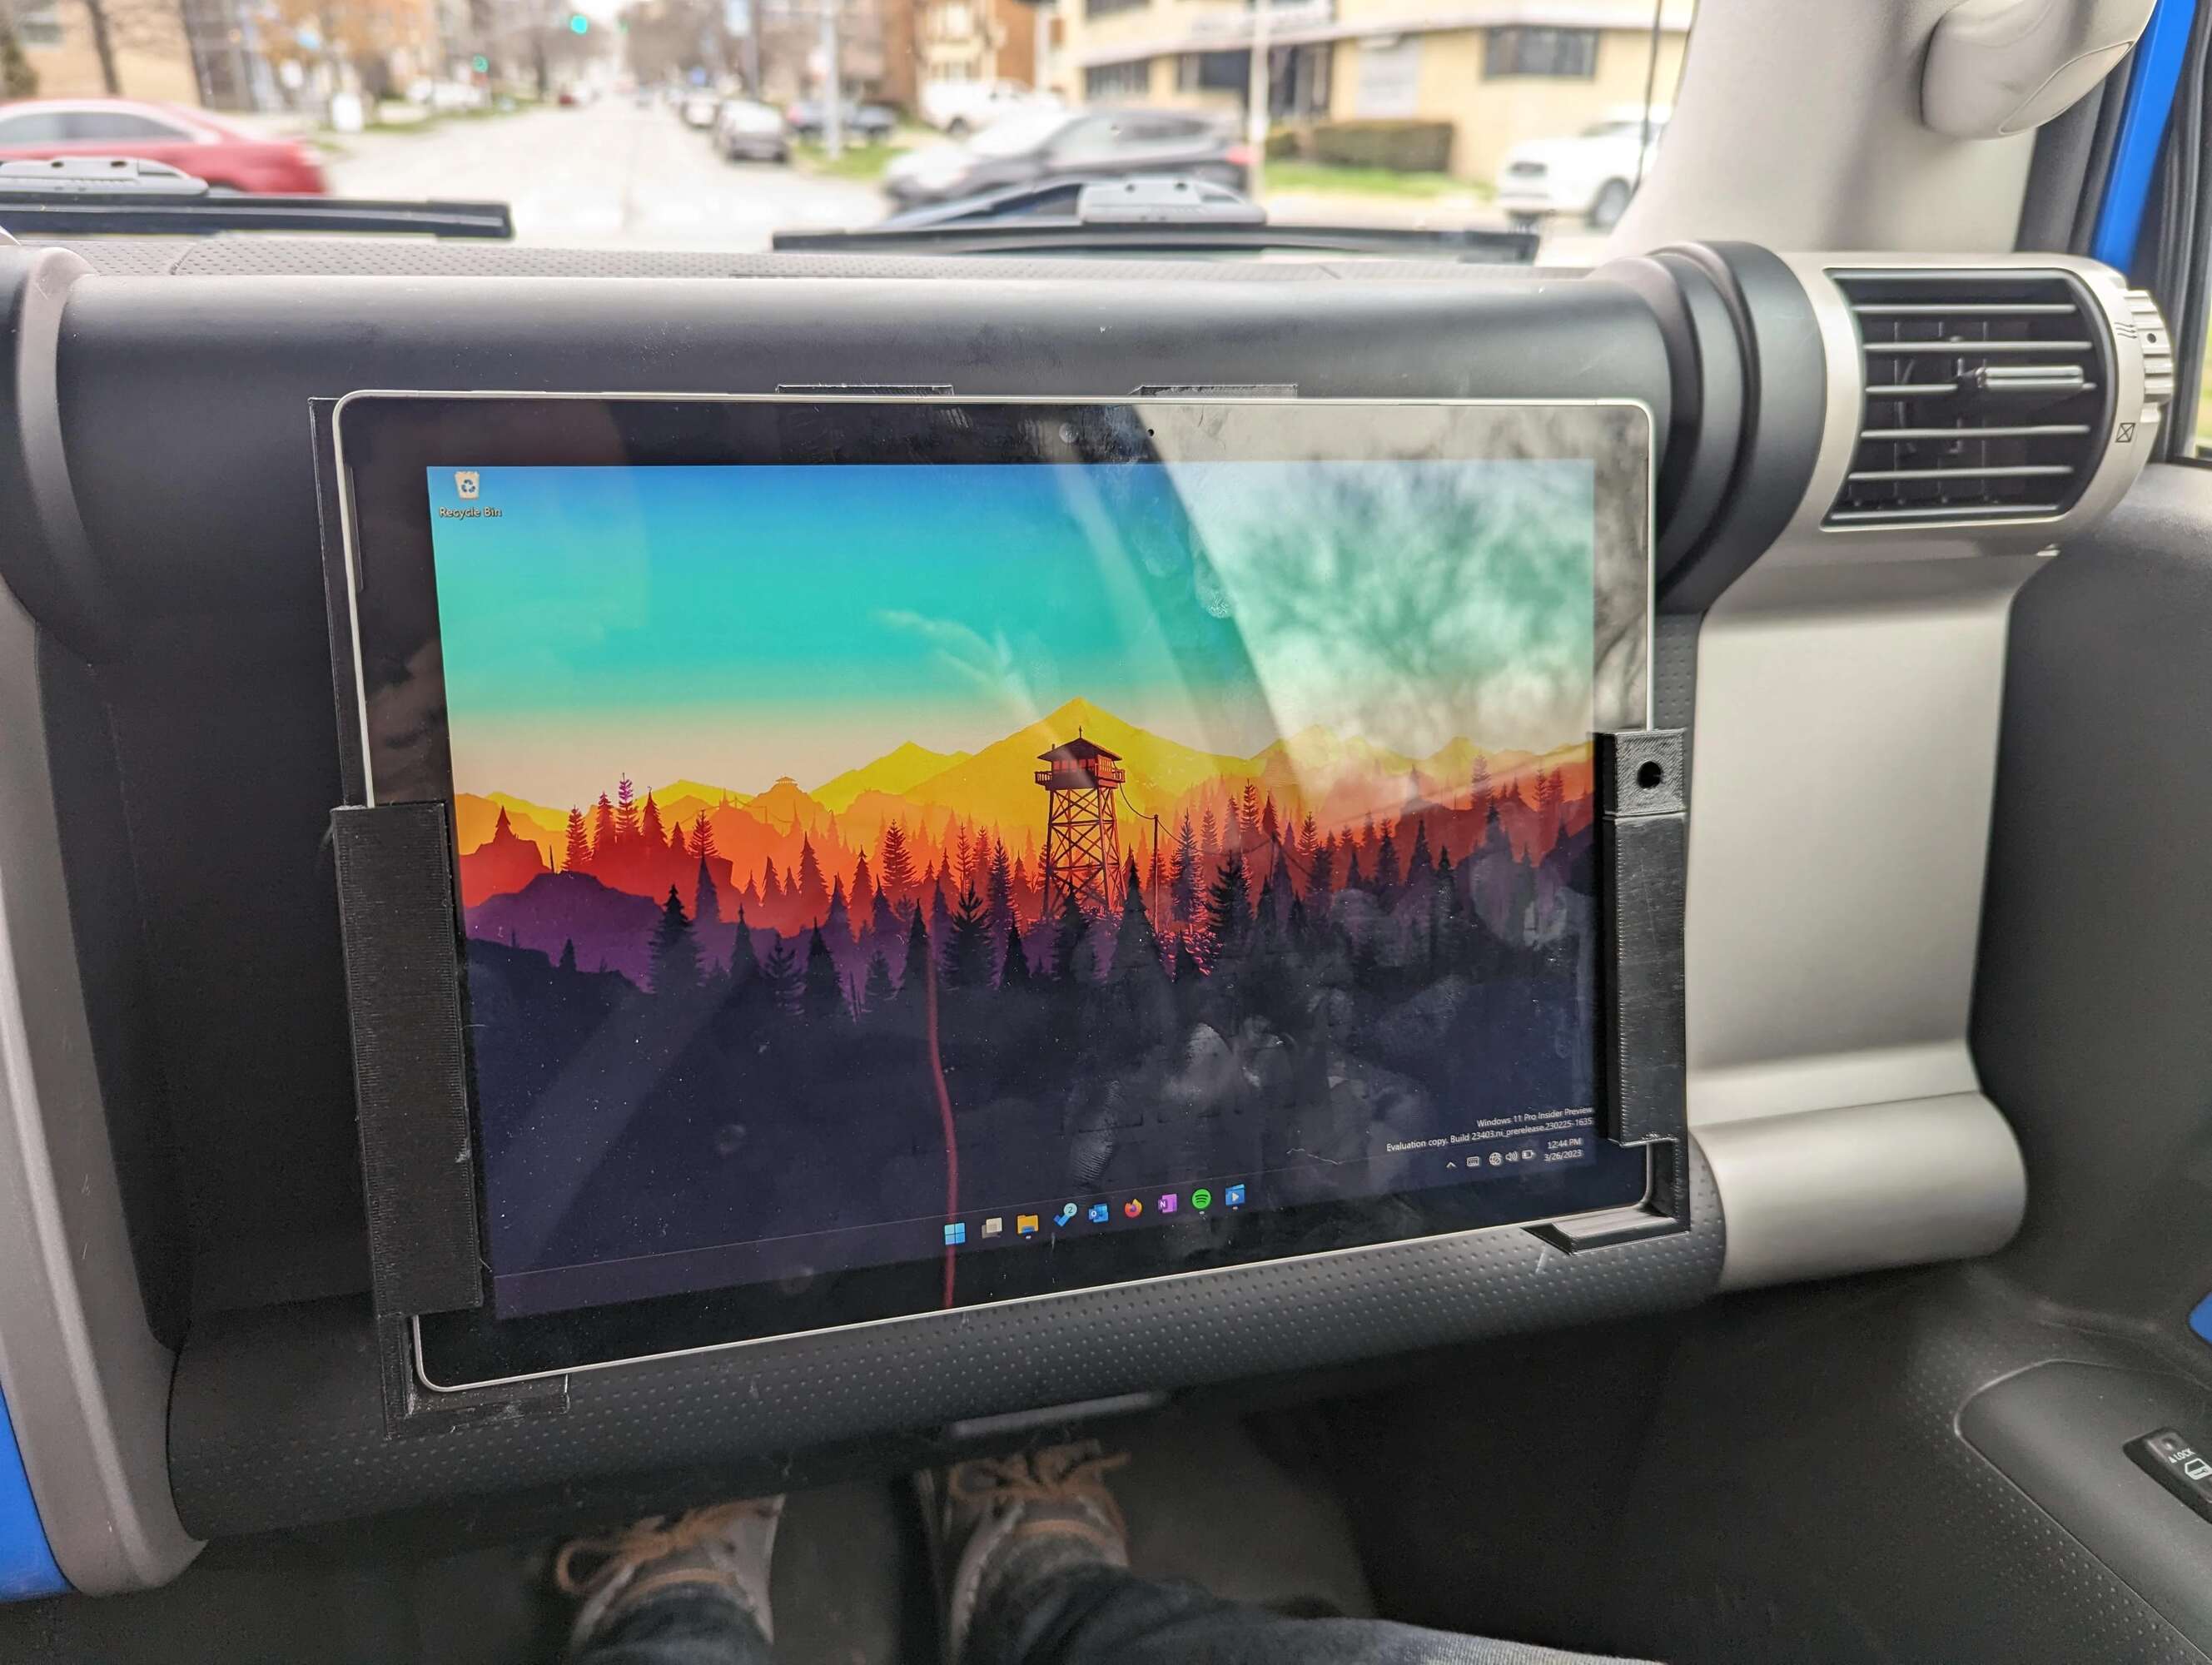
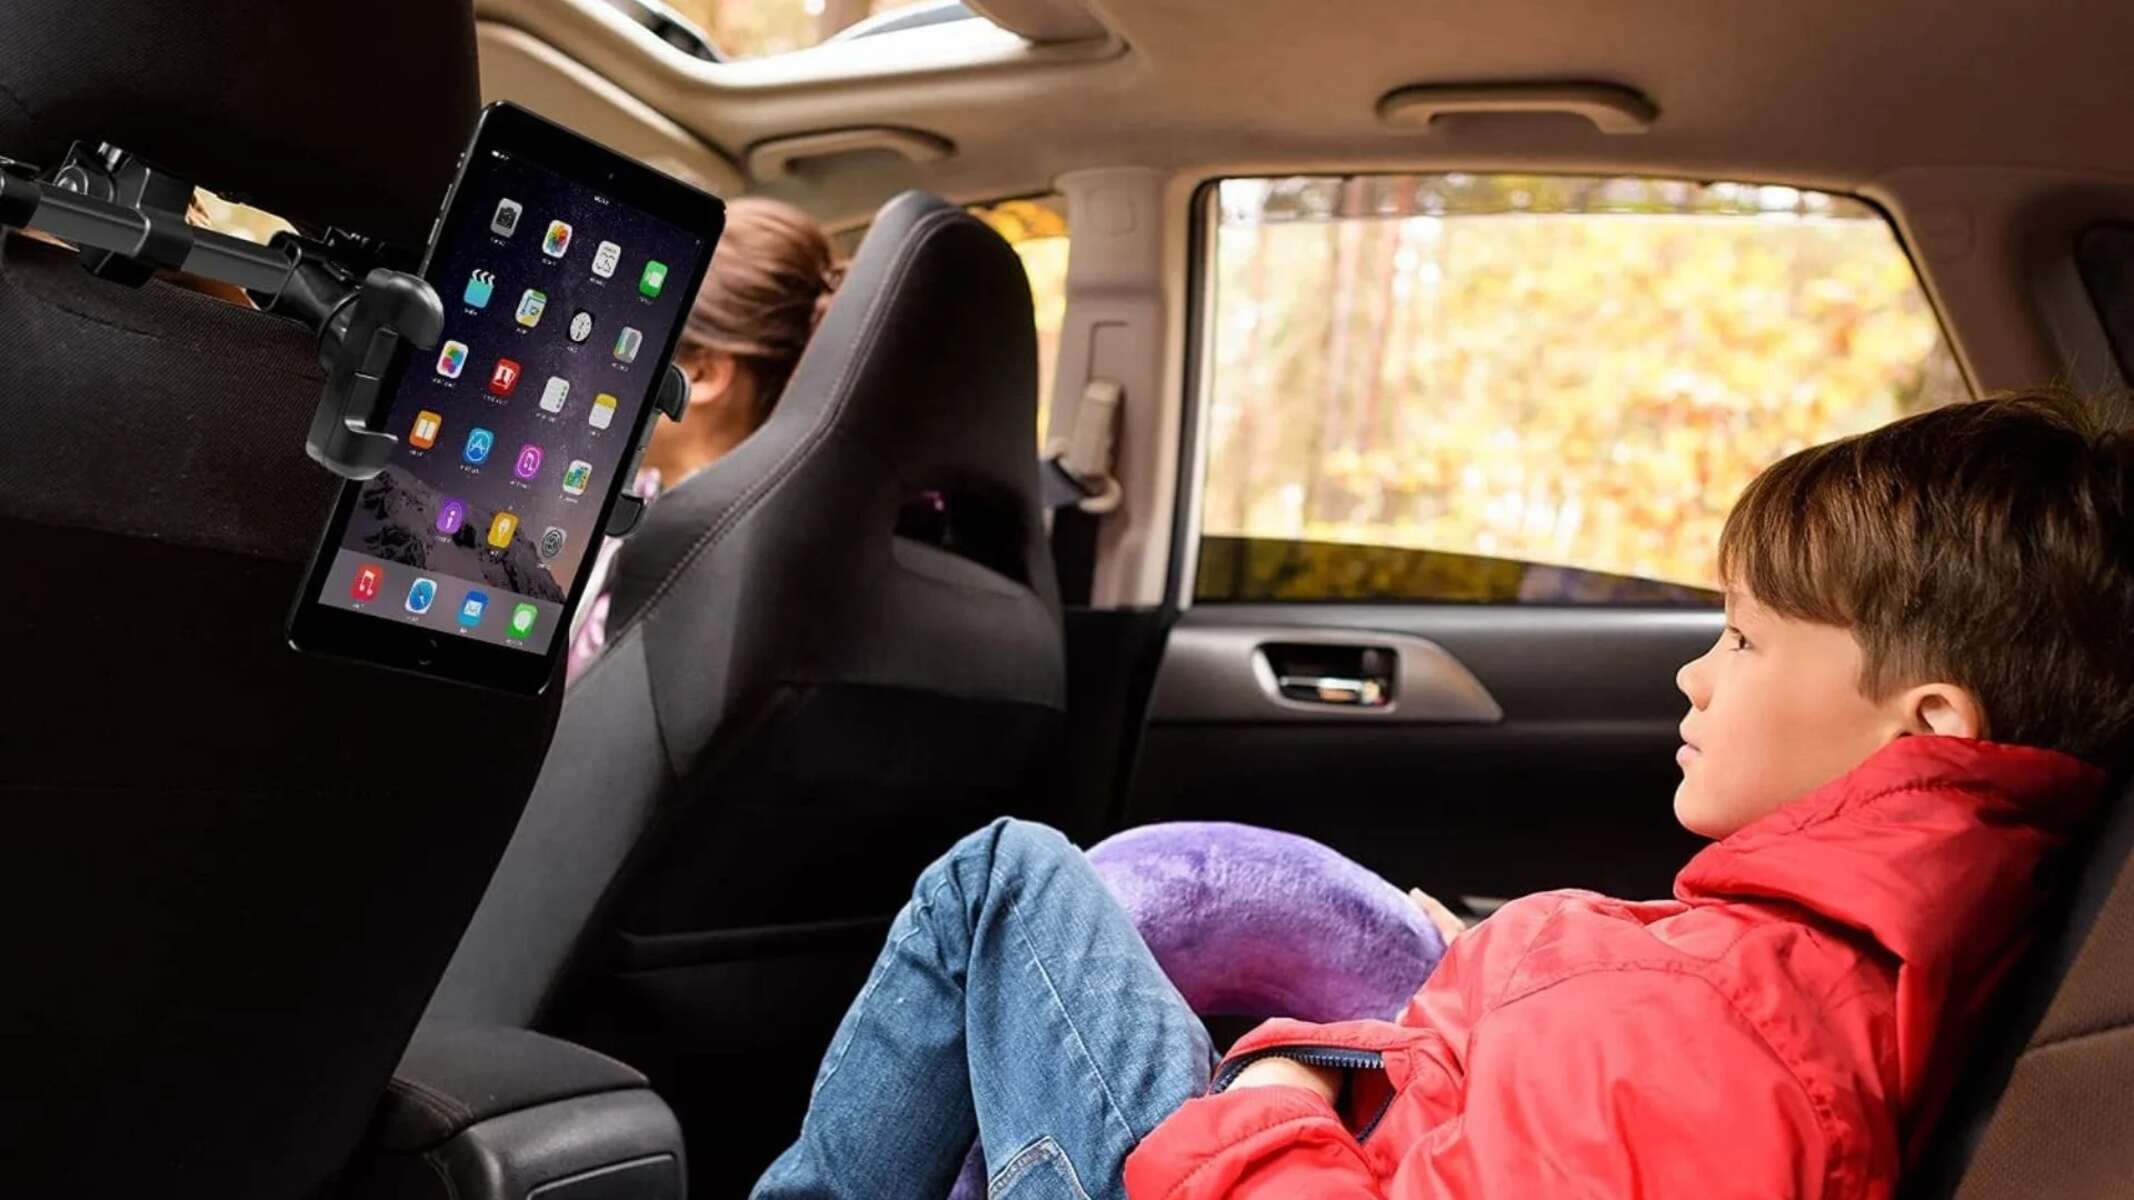
- Select the Mounting Location: Determine where you want to mount the tablet in your car. Common locations include the dashboard, headrest, or center console. Consider factors such as visibility, accessibility, and safety when choosing the location.
- Attach the Mounting Bracket: Use the appropriate mounting bracket and securely attach it to the chosen location. The mounting brackets are typically designed to accommodate various tablet sizes and have adjustable features to achieve the desired viewing angle. Follow the manufacturer’s instructions to ensure proper installation.
- Attach the Tablet to the Mounting Bracket: Depending on the design of the mounting bracket, you may need to use adhesive tapes or screws to secure the tablet to the bracket. Carefully align the tablet with the bracket and attach it firmly, making sure it is level and secure.
- Adjust the Viewing Angle: Once the tablet is attached to the mounting bracket, adjust the viewing angle to your preference. Ensure that the tablet is positioned in a way that allows for comfortable and safe viewing while driving.
- Test the Stability: Give the tablet a gentle shake or tap to ensure that it is securely mounted and doesn’t wobble or move excessively. If there is any instability, double-check the attachment points and tighten any screws or fasteners as necessary.
During the process of mounting the tablet, it’s important to consider the aesthetics and functionality. Take care to position the tablet in a way that doesn’t obstruct your view of the road or interfere with other important controls or displays in the car. The goal is to create a clean, integrated, and user-friendly setup.
Keep in mind that the specific mounting process may vary depending on the mounting bracket you choose and the design of your car’s interior. Always refer to the instructions provided by the manufacturer of the bracket and follow their guidelines for the best results.
Once the tablet is securely mounted, you’re ready to move on to the next steps of wiring the tablet to your car’s electrical system. Proper wiring is essential for the tablet to function seamlessly and provide you with all its features. Let’s proceed to the next section to learn how to wire the tablet in your car.
Wiring the Tablet
Wiring the tablet in your car is a crucial step to ensure its functionality and connectivity. Here’s a step-by-step guide to help you wire the tablet properly:
- Prepare the Wiring Harness: Depending on your car’s make and model, you may need a specific wiring harness adapter to connect the tablet to your car’s electrical system. Follow the manufacturer’s instructions to prepare the wiring harness accordingly.
- Connect the Wiring Harness: Plug the corresponding connectors of the wiring harness into the respective ports on the back of the tablet. Ensure a secure and proper connection is made.
- Connect the Power Cables: Locate the power cables (typically red for positive and black for negative) on the incoming wiring harness. Connect the positive wire to a switched power source in your car’s fuse box or electrical system. Connect the negative wire to a suitable ground point in the car.
- Connect Audio and Video Cables (if applicable): If you plan to integrate the tablet with your car’s audio system or video displays, connect the necessary audio and video cables to the appropriate ports on the tablet and the corresponding components in the car.
- Test the Connections: Once the wiring is complete, test the connections and ensure that the tablet powers on and functions as expected. Check the audio and video outputs to confirm proper integration with the car’s audiovisual system.
- Tidy Up the Wiring: Once everything is tested and confirmed to be working, carefully bundle and secure the wiring using zip ties or cable management solutions. This will help keep the wires organized, minimize interference, and provide a cleaner and neater installation.
It’s important to follow the wiring diagrams and instructions provided by the tablet and wiring harness manufacturers to ensure proper connections. Take your time during the wiring process, and double-check all the connections to avoid any issues in the future.
If you’re unsure about the wiring process or don’t have experience with car electronics, it’s recommended to seek professional assistance or consult with an automotive technician. They can ensure the wiring is done correctly and safely.
With the tablet properly wired, you’re now ready to move on to the next steps of securing the wiring and mounting in order to complete the installation process. Let’s proceed to the next section to learn how to secure the wiring and mounting for a professional-looking and reliable installation.
Securing the Wiring and Mounting
Securing the wiring and mounting is essential to ensure a professional-looking and reliable installation of the tablet in your car. Follow these steps to properly secure the wiring and mounting:
- Secure the Wiring: Carefully route and tuck the wiring behind panels and trim pieces to keep it hidden and away from any moving parts or potential hazards. Use zip ties or cable clips to secure the wiring along existing wiring harnesses or mounting points, ensuring a tidy and organized appearance.
- Protect the Wiring: If necessary, use wire loom or split tubing to protect the wiring from sharp edges or potential damage. This will help extend the lifespan of the wiring and prevent any electrical shorts or malfunctions.
- Secure the Mounting Bracket: Double-check the mounting bracket and ensure it is securely fastened to the chosen location in your car. Confirm that it is stable and doesn’t wobble or move with normal vibrations and driving conditions.
- Test the Tablet Placement: Verify that the tablet is securely mounted within the bracket and doesn’t shift or come loose during driving. Ensure that the viewing angle remains optimal and doesn’t obstruct your view or accessibility to other important controls in the car.
- Reinstall Trim Panels: Once you’re satisfied with the wiring and mounting, carefully reinstall any trim panels that were previously removed. Align the clips and gently push them back into place until they snap securely. Take your time to ensure a proper fit and avoid any gaps or misalignments.
- Test Functionality: With everything secured, turn on the car’s battery and test the tablet’s functionality. Ensure that it powers on, connects to any integrated systems properly, and operates as expected.
By properly securing the wiring and mounting, you can prevent any potential hazards, maintain a clean and organized appearance, and ensure long-lasting performance of the installed tablet in your car.
It’s important to periodically check the mounted tablet and wiring to ensure that they remain secure over time. Vibrations and temperature changes can cause loosening or shifting of the mounting and wiring, so regular inspections will help maintain the installation’s integrity.
Now that you have successfully secured the wiring and mounting, you’re ready to move on to the final step – testing the tablet. Let’s proceed to the next section to learn how to test the tablet’s functionality and ensure a successful installation.
Testing the Tablet
Testing the tablet is the final step to ensure that the installation was successful and that the tablet is functioning properly in your car. Follow these steps to thoroughly test the tablet:
- Power On the Tablet: Turn on the tablet and allow it to fully boot up. Make sure that it powers on smoothly without any issues.
- Check the Touchscreen: Verify that the touchscreen is responsive and accurate. Tap on various areas of the screen to navigate through different apps and menus. Check for any dead zones or delays in touch response.
- Test Audio and Video Playback: Play audio files and videos through the tablet’s speakers or connected audio system. Ensure that the sound is clear and at an appropriate volume level. Check for any distortions or abnormalities in sound quality. Also, test video playback to confirm smooth playback without stuttering or lag.
- Try Out Navigation and GPS: If your tablet has built-in navigation or GPS capabilities, test them by entering a destination and following the navigation instructions. Verify that the maps are accurate and up-to-date and that the GPS signal is strong and stable.
- Connect External Devices: If you plan to connect external devices like smartphones or USB drives to the tablet, test the compatibility and functionality of these connections. Ensure that the tablet recognizes the devices and that you can access and use them properly.
- Test Wireless Connectivity: Check the Wi-Fi and Bluetooth connectivity of the tablet by connecting to your home network or other devices. Test the stability and speed of the Wi-Fi connection and pair the tablet with other Bluetooth devices to make sure they work seamlessly.
- Ensure App Compatibility: Install and test any specific apps or features you plan to use on the tablet, such as music streaming services, productivity tools, or vehicle diagnostic apps. Confirm that they function correctly and integrate well with the tablet’s operating system.
- Test Charging Capability: Connect the tablet to a power source in your car and verify that it charges properly. Ensure that the tablet’s battery level increases while connected to the power source.
By thoroughly testing the tablet, you can identify any potential issues or glitches and address them before your regular use. If you encounter any problems during testing, refer to the tablet’s user manual or seek assistance from the manufacturer’s customer support.
Once you have tested the tablet and verified its functionality, congratulations! You have successfully installed and tested the tablet in your car. Enjoy the enhanced driving experience and the convenience and entertainment that the tablet brings.
If everything is working correctly, you can now conclude the installation process and start exploring the endless possibilities that your tablet offers while on the road.
Conclusion
Congratulations on successfully installing a tablet in your car! By following the steps outlined in this guide, you have transformed your vehicle into a high-tech and entertainment-packed space. The tablet installation opens up a world of possibilities, from GPS navigation and multimedia entertainment to vehicle diagnostics and connectivity to external devices.
Remember, choosing the right tablet is crucial for a seamless and enjoyable experience. Consider factors like screen size, resolution, operating system, durability, connectivity features, and battery life when selecting the tablet for your car.
Throughout the installation process, it’s essential to gather the necessary tools and materials and follow the manufacturer’s instructions. Removing the existing head unit, mounting the tablet, wiring it properly, and securing the wiring and mounting are all crucial steps to ensure a professional-looking and reliable installation.
Thoroughly testing the tablet’s functionality confirms that everything is working as expected. Checking the touchscreen responsiveness, audio and video playback, navigation and GPS capabilities, wireless connectivity, and compatibility with external devices ensures that you’ll have a smooth experience while using the tablet in your car.
Now that you have successfully installed and tested the tablet, enjoy the enhanced driving experience and the convenience it brings. Just be sure to periodically check the wiring, mounting, and functionality of the tablet to make any necessary adjustments or repairs in the future.
Thank you for following this guide on how to install a tablet in your car. We hope this information has been helpful, and that you have a fantastic time using your newly installed tablet!