Introduction
Welcome to our step-by-step guide on how to install the Silenx Ixtrema Pro 120mm Thermistor Case Fan (Model: IXP-74-14T). This powerful and efficient case fan is designed to keep your computer system cool, ensuring optimal performance and longevity. Installing this fan is a great investment to improve your computer’s cooling capabilities, especially if you engage in demanding tasks such as gaming or video editing.
The Silenx Ixtrema Pro 120mm Thermistor Case Fan boasts a thermistor sensor, which automatically adjusts fan speed according to the computer’s temperature, ensuring efficient cooling while keeping noise levels to a minimum. This feature makes it an excellent choice for individuals who prioritize a quiet computing experience without compromising on cooling effectiveness.
In this guide, we will walk you through each step of the installation process, providing clear instructions and tips along the way. By the end of this guide, you will have a fully functional Silenx Ixtrema Pro 120mm Thermistor Case Fan installed in your computer, ready to enhance its cooling capabilities.
Before we get started, it’s important to note that this installation guide assumes you have a basic understanding of computer hardware and are comfortable working inside your computer case. If you are unsure or feel uneasy about any aspect of the installation process, it is always recommended to seek assistance from a professional or consult the manufacturer’s support resources.
Now that we’ve covered the basics, let’s gather the necessary tools and materials for the installation process.
Step 1: Gather the Necessary Tools and Materials
Before beginning the installation process, it’s important to gather all the necessary tools and materials to ensure a smooth and efficient installation of the Silenx Ixtrema Pro 120mm Thermistor Case Fan. Here’s what you will need:
- A Silenx Ixtrema Pro 120mm Thermistor Case Fan (Model: IXP-74-14T) – Make sure you have the correct fan model for your computer case.
- A screwdriver – Most computer cases require a Phillips screwdriver, but check your case’s specifications to confirm.
- Anti-static wristband (optional) – This will help prevent accidental damage to your computer components caused by static electricity.
Having these tools and materials ready will ensure that you can complete the installation without any interruptions or delays. It’s a good idea to check the contents of the Silenx Ixtrema Pro 120mm Thermistor Case Fan package to ensure all necessary components are included.
Additionally, before starting the installation process, it’s important to power off your computer and unplug it from the power source. This will ensure your safety and prevent any potential damage to your computer or its components during the installation process.
Now that you have gathered all the required tools and materials, we can proceed to the next step: turning off and unplugging your computer.
Step 2: Turn Off and Unplug Your Computer
Before beginning the installation process, it’s crucial to shut down your computer properly and ensure that it is completely powered off. This step is essential for your safety and to prevent any damage to your computer’s hardware during the installation process.
To turn off your computer, follow these simple steps:
- Save any open files and close all applications running on your computer.
- Click on the “Start” button in the bottom left corner of your screen.
- Select “Shut Down” from the options displayed.
- Wait for the computer to complete the shutdown process. This may take a few moments.
Once your computer has been shut down, it’s important to unplug the power cord from the electrical outlet. This ensures that there is no electrical current flowing through the system and reduces the risk of any accidental damage during the installation process.
If your computer has a power supply unit (PSU) with a physical switch, you can also toggle the switch to the “off” position to completely cut off the power supply.
Always double-check that your computer is fully powered off and unplugged before proceeding to the next step. This will help keep you safe and prevent any potential damage to your computer or the Silenx Ixtrema Pro 120mm Thermistor Case Fan during the installation process.
Now that your computer is securely powered off and unplugged, we can move on to the next step: opening the computer case.
Step 3: Open the Computer Case
In order to access the internal components of your computer and install the Silenx Ixtrema Pro 120mm Thermistor Case Fan, you will need to open the computer case. Opening the case may vary depending on the design of your computer, but here are some general steps to follow:
- Place your computer on a stable surface, preferably with the side panel facing up for easy access.
- Locate the screws or latches on the back or side of the case that secure the side panel.
- Using the appropriate screwdriver or releasing mechanism, remove the screws or release the latches to loosen the side panel.
- Gently slide or lift off the side panel to reveal the internal components of the computer.
It’s important to handle the side panel with care to avoid any accidental damage to the computer or its components. If you encounter any resistance when removing the panel, double-check for any additional screws or latches that may be securing it in place.
Once the side panel is successfully removed, you will have clear access to the internal components of your computer, such as the motherboard, power supply, and drive bays. Take a moment to familiarize yourself with the layout and positioning of these components, as it will aid in locating the ideal spot for installing the Silenx Ixtrema Pro 120mm Thermistor Case Fan.
Now that you have successfully opened the computer case, you are ready to proceed to the next step: locating the desired installation spot for the thermistor case fan.
Step 4: Locate the Desired Installation Spot for the Thermistor Case Fan
Choosing the right location for installing the Silenx Ixtrema Pro 120mm Thermistor Case Fan is crucial to ensure optimal airflow and efficient cooling of your computer system. The fan should be strategically positioned to draw in fresh air and expel hot air, thereby maintaining a cool internal temperature.
Here are some factors to consider when selecting the desired installation spot for the thermistor case fan:
- Airflow: Identify areas within the computer case where air intake and exhaust are optimal. This can include rear or side panels with ventilation holes or empty drive bays.
- Heat Sources: Take note of the components in your computer that generate the most heat, such as the CPU or graphics card. Position the fan near these components to dissipate heat effectively.
- Compatibility: Check the dimensions of the Silenx Ixtrema Pro 120mm Thermistor Case Fan and ensure that the chosen location can accommodate its size without obstructing other components.
- Cable Management: Assess the available space for routing the fan’s cables and ensuring a neat and organized interior. Avoid placing the fan in areas where cables might obstruct its operation or impede airflow.
It’s important to note that every computer case has its own unique layout and cooling requirements. Therefore, take the time to evaluate and experiment with different installation spots before finalizing the location for the thermistor case fan.
Once you have identified the ideal location, we can proceed to the next step: preparing the installation area for the Silenx Ixtrema Pro 120mm Thermistor Case Fan.
Step 5: Prepare the Installation Area
Before installing the Silenx Ixtrema Pro 120mm Thermistor Case Fan, it’s important to prepare the installation area to ensure a smooth and secure fit. Taking the time to properly prepare the area will help prevent any potential issues during or after the installation process.
Here are the steps to prepare the installation area for the thermistor case fan:
- Clean the area: Use a can of compressed air or a soft brush to remove any dust or debris from the installation spot. This ensures that the fan will operate with maximum efficiency and prevents any potential blockage of airflow.
- Remove obstructions: Ensure that there are no cables, wires, or other components that may obstruct the installation of the fan. Clear the area of any obstacles to allow for a smooth installation process.
- Check mounting options: Depending on your computer case, there may be different mounting options available. Determine whether you will be using screws, clips, or other mounting mechanisms to secure the fan in place.
By preparing the installation area, you create an optimal environment for the Silenx Ixtrema Pro 120mm Thermistor Case Fan to operate effectively and efficiently. It also reduces the risk of any damage to other components or interference with the fan’s operation.
Once the installation area is properly prepared, you are now ready to proceed with the actual installation of the Silenx Ixtrema Pro 120mm Thermistor Case Fan.
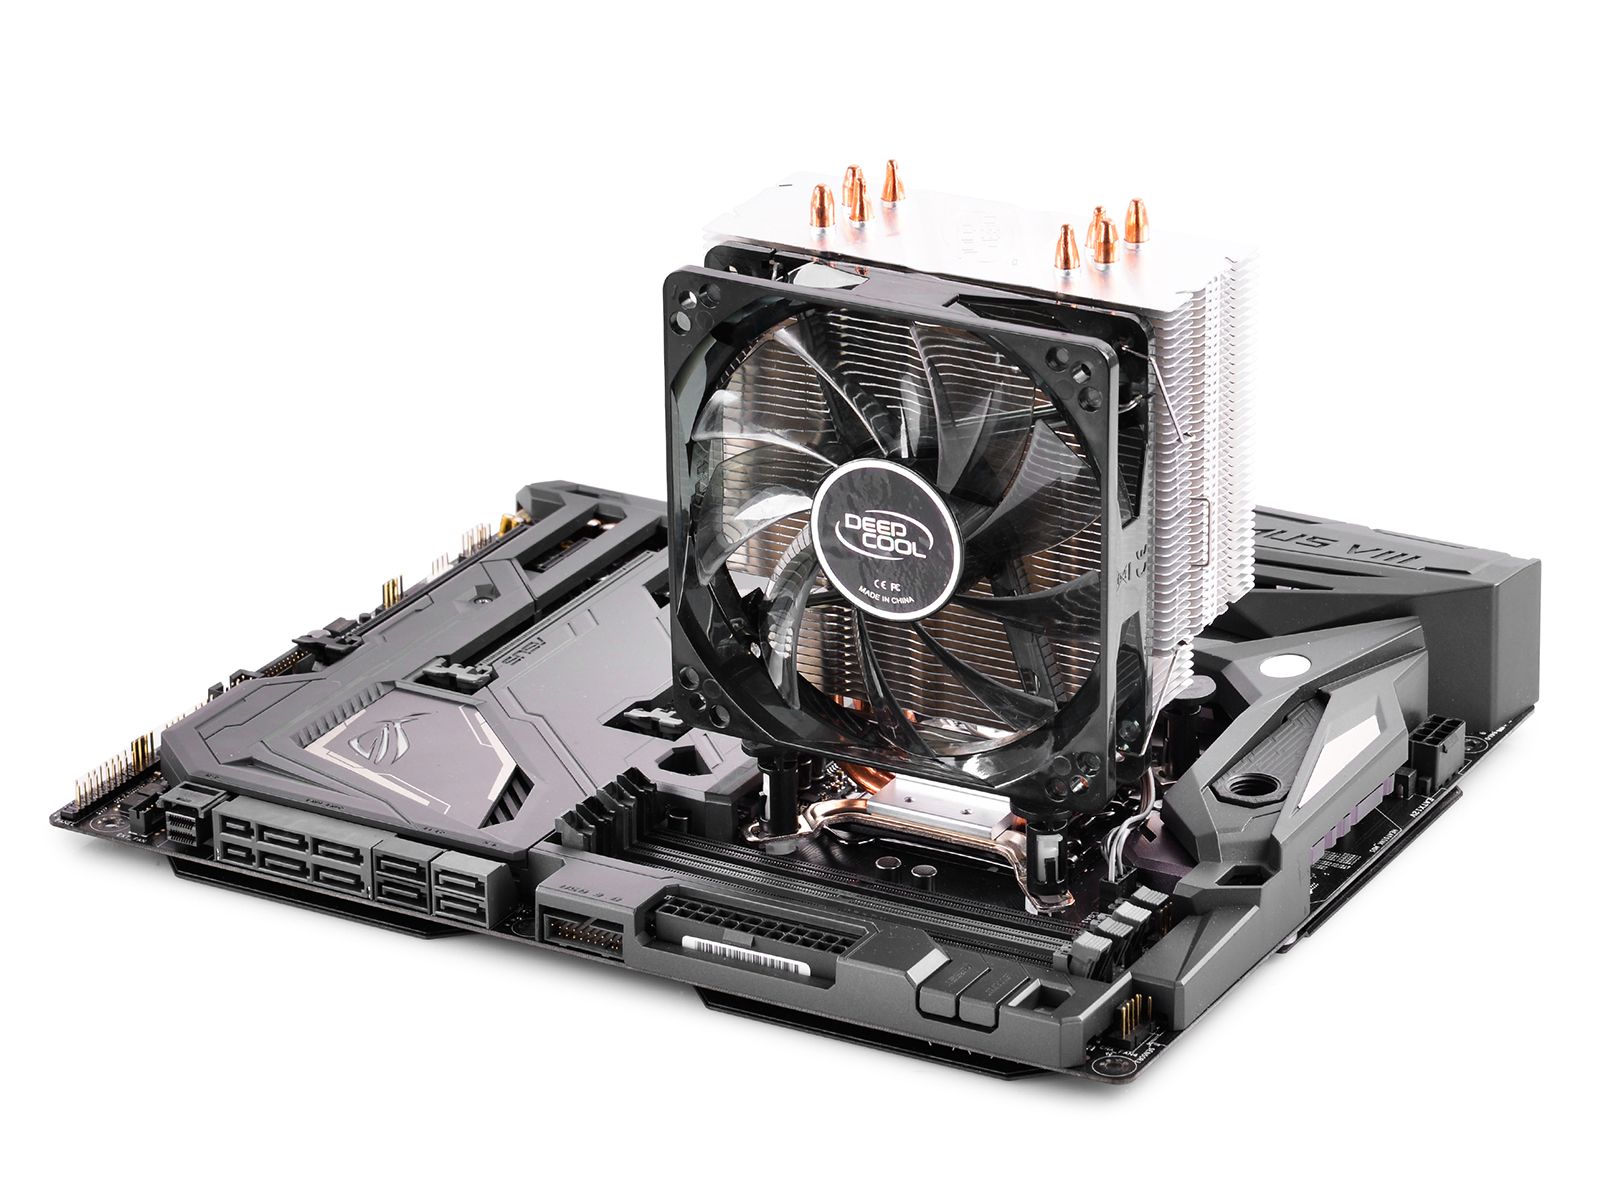
Step 6: Install the Silenx Ixtrema Pro 120mm Thermistor Case Fan
Now that you have prepared the installation area, it’s time to install the Silenx Ixtrema Pro 120mm Thermistor Case Fan into your computer. Proper installation is essential to ensure optimal cooling performance and maximize the longevity of your components. Follow these steps to install the fan:
- Position the fan: Carefully place the Silenx Ixtrema Pro 120mm Thermistor Case Fan into the designated installation spot. Ensure that the fan’s mounting holes align with the corresponding holes or slots on the computer case.
- Secure the fan: Depending on your computer case, you may need to use screws, clips, or other mounting mechanisms to secure the fan in place. Refer to the manufacturer’s instructions for specific mounting instructions.
- Tighten the screws: If using screws, gently tighten them in a diagonal pattern to ensure even and secure attachment. Avoid overtightening, as it may damage the fan or the computer case.
During the installation process, take care not to apply excessive force or pressure on any components. This will help prevent any accidental damage to the fan or other internal parts of your computer.
Once the Silenx Ixtrema Pro 120mm Thermistor Case Fan has been securely installed, give it a gentle shake to ensure it is stable and does not wobble. A properly installed fan should be firmly in place without any loose movement.
Congratulations! You have successfully installed the Silenx Ixtrema Pro 120mm Thermistor Case Fan. The next step is to connect the fan to the appropriate headers to enable its operation.
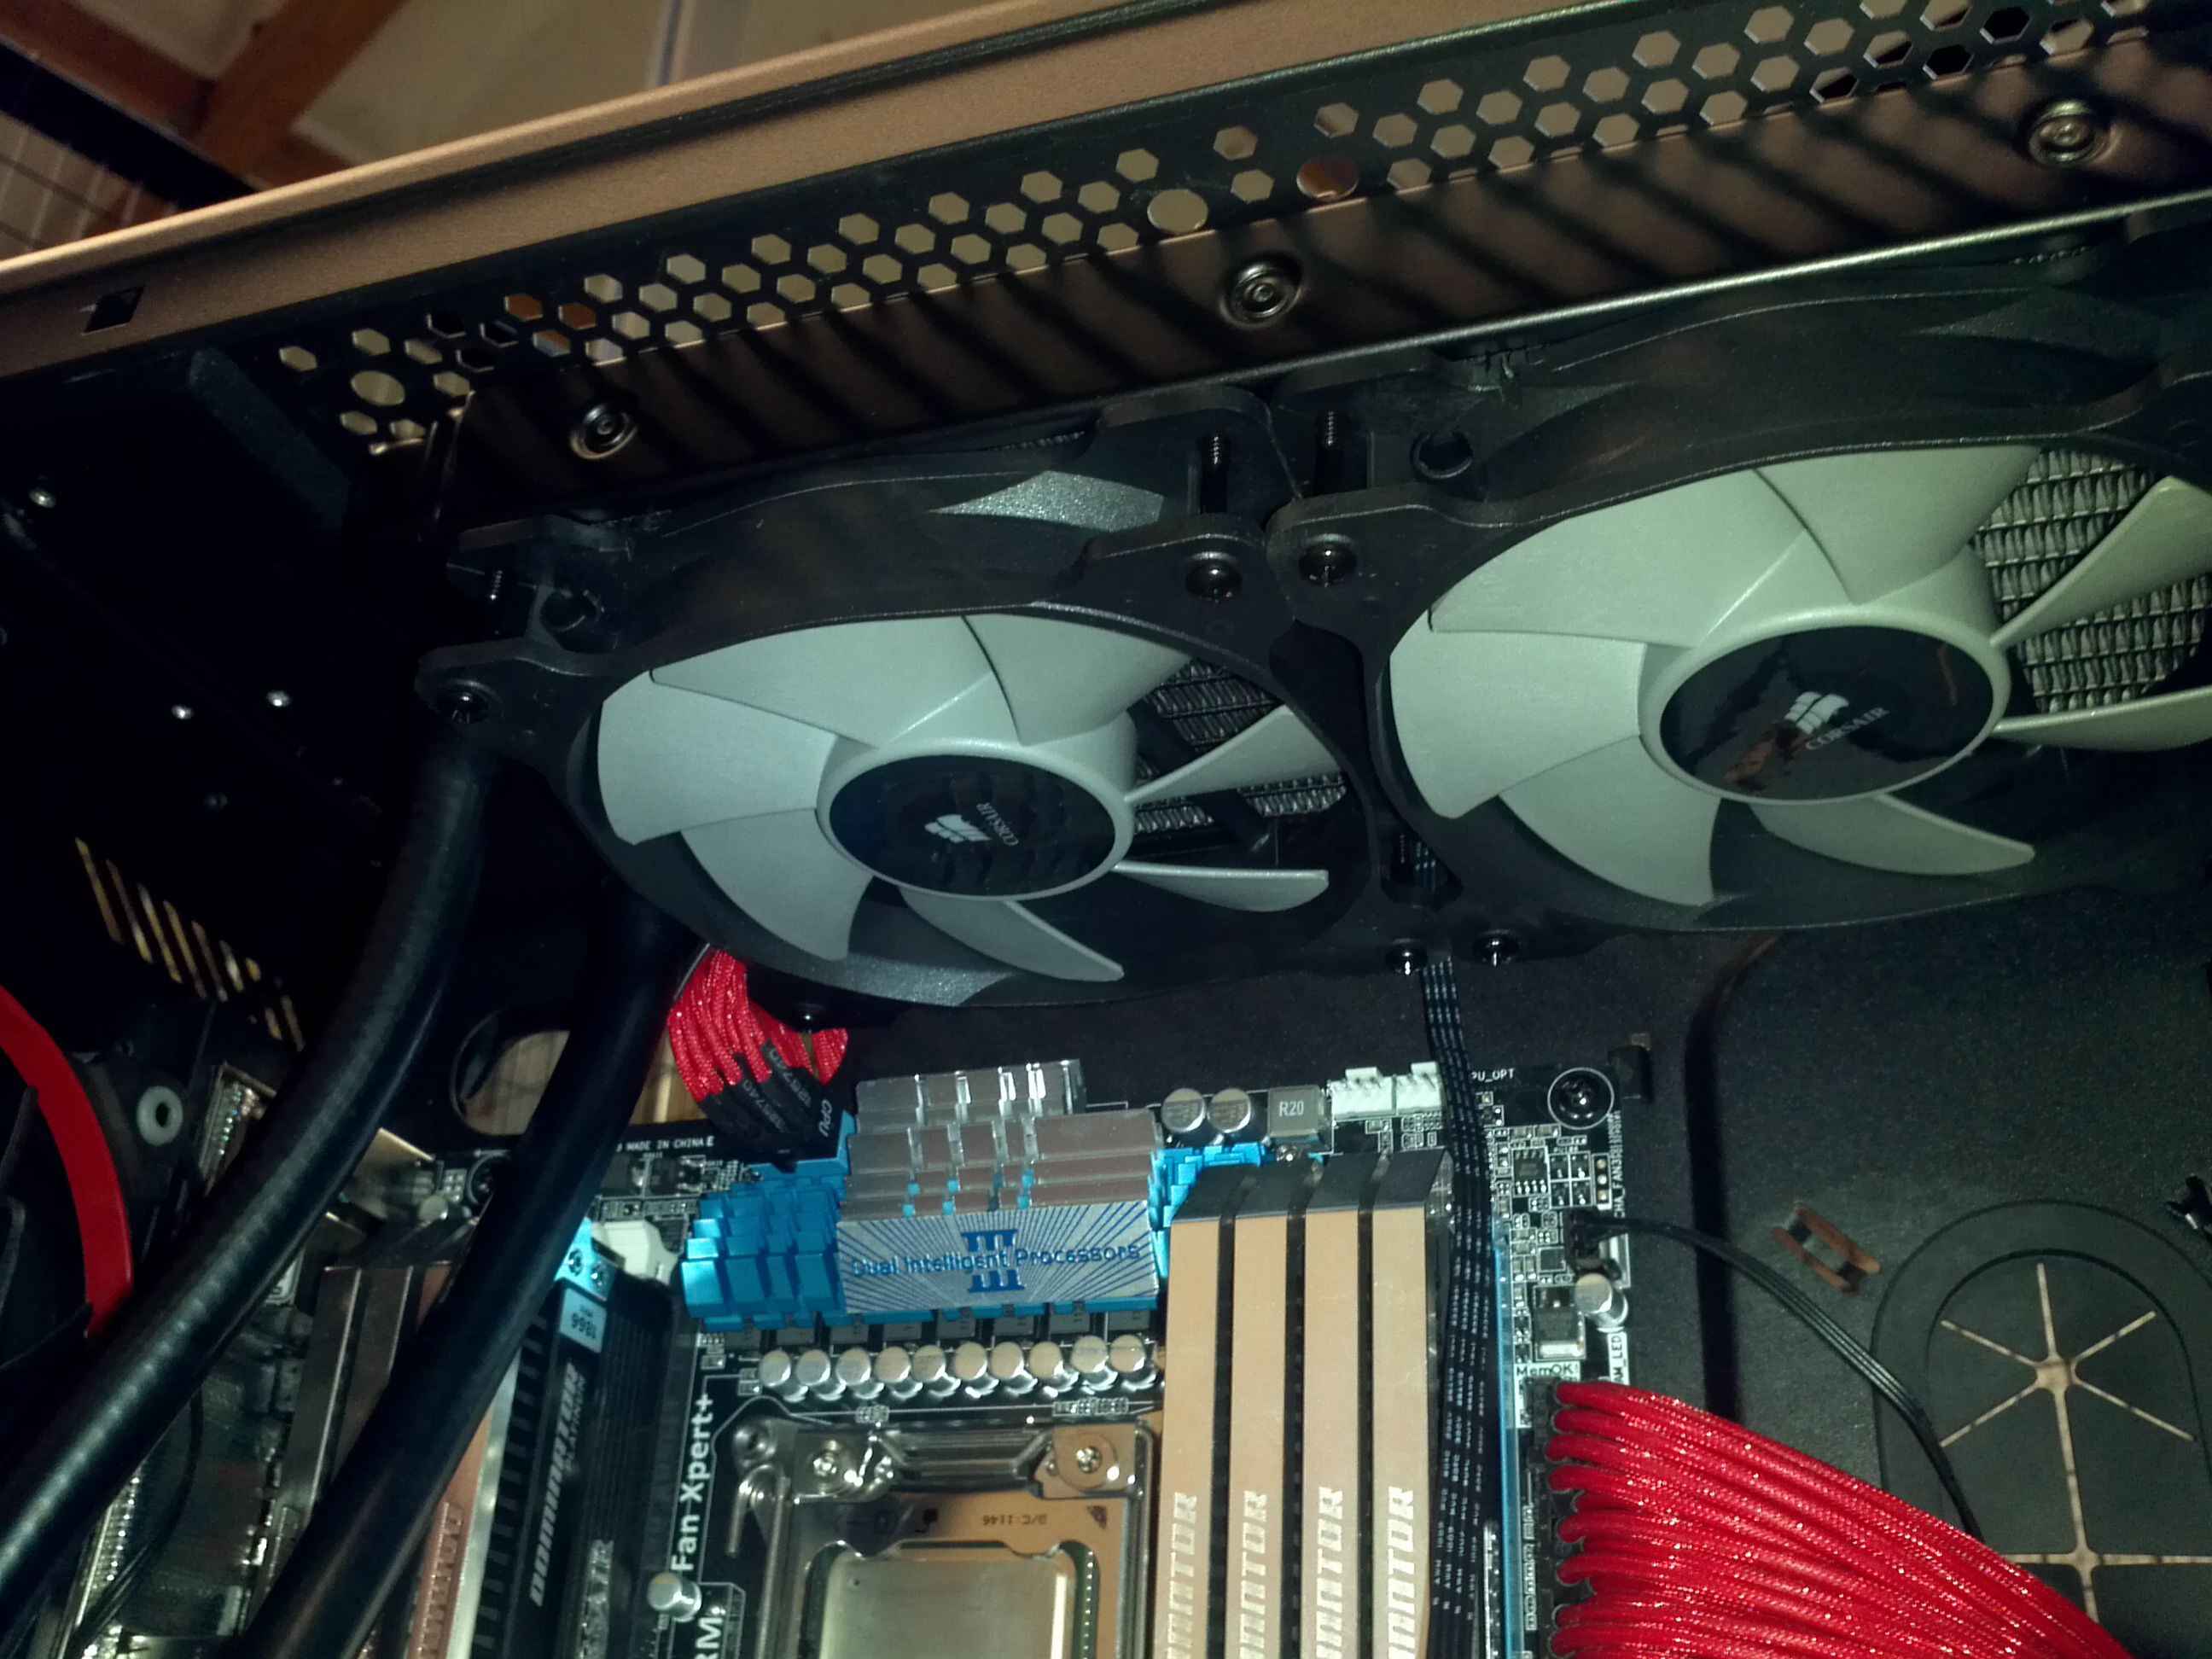
Step 7: Connect the Thermistor Case Fan to the Appropriate Headers
Connecting the Silenx Ixtrema Pro 120mm Thermistor Case Fan to the appropriate headers is crucial to ensure its functionality and control. The fan’s thermistor sensor relies on a proper connection to accurately measure and respond to the computer’s temperature. Follow these steps to connect the thermistor case fan:
- Locate the fan headers: Check your computer’s motherboard or fan controller to identify the appropriate fan headers for connecting the thermistor case fan.
- Plug in the fan cable: Take the cable connected to the Silenx Ixtrema Pro 120mm Thermistor Case Fan and locate the corresponding fan header. Ensure that the connection is secure and that the pins align correctly.
- Check the orientation: Pay attention to the connector orientation and polarity. The header and connector should have matching shapes or notches to ensure a proper fit.
Some motherboards or fan controllers may have specific labels or color-coding for different fan headers. Refer to the motherboard or fan controller manual for detailed information regarding the specific headers and their functions. This ensures that you connect the thermistor case fan to the appropriate header for proper control and temperature regulation.
Once the thermistor case fan is securely connected, give the cable a light tug to confirm that it is firmly in place. Loose connections can lead to improper functioning or even fan failure, so it’s important to ensure a secure connection.
With the Silenx Ixtrema Pro 120mm Thermistor Case Fan successfully connected to the appropriate headers, you are one step closer to optimizing your computer’s cooling capabilities. The next step is to close the computer case securely, keeping all the components protected and in place.
Step 8: Close the Computer Case
Now that you have installed and connected the Silenx Ixtrema Pro 120mm Thermistor Case Fan, it’s time to close the computer case. Properly securing the case is essential to protect the internal components and ensure the fan operates efficiently. Follow these steps to close the computer case:
- Position the side panel: Gently align the side panel with the computer case, ensuring that it is correctly oriented and all the screw holes or latches line up.
- Slide or press the panel into place: Slowly slide or press the side panel back onto the case until it is snug and secure. If your case uses screws, insert and tighten them in a diagonal pattern to evenly distribute the pressure.
- Double-check for proper closure: Give the side panel a gentle push to confirm that it is securely closed. It should fit flush with the case and show no signs of looseness or gaps.
Make sure not to overtighten the screws, as this can damage the case threads or strip the screw heads. Tighten them just enough to ensure a secure fit without exerting excessive force.
Closing the computer case properly is essential to maintain optimal airflow and prevent dust and debris from entering the system. A securely closed case also helps in reducing noise levels and ensuring the longevity of the components inside.
Once you have closed the computer case, take a moment to visually inspect the case for any loose objects, screws, or cables that may have been displaced during the installation process. Secure any loose items to prevent any potential interference with the fan’s operation or other components.
Congratulations! Your Silenx Ixtrema Pro 120mm Thermistor Case Fan is now installed, connected, and the computer case is securely closed. The final step is to power on your computer and test the functionality of the fan to confirm successful installation and operation.
Step 9: Power On and Test the Thermistor Case Fan
After successfully installing and closing the computer case, it’s time to power on your computer and test the functionality of the Silenx Ixtrema Pro 120mm Thermistor Case Fan. Testing the fan will ensure that it is operating correctly and effectively cooling your computer system. Follow these steps to power on and test the fan:
- Plug-in and turn on your computer: Reconnect the power cord to the computer and plug it into a power outlet. Press the power button to turn on your computer.
- Listen for fan operation: Pay attention to the sound of the fan spinning. The Silenx Ixtrema Pro 120mm Thermistor Case Fan is designed to operate quietly, ensuring a peaceful computing experience.
- Observe fan speed control: The fan’s thermistor sensor should automatically adjust the fan speed based on the computer’s temperature. Monitor the fan speed to ensure it increases or decreases appropriately in response to temperature changes.
- Check for airflow: Feel the airflow near the fan’s installation spot or use a piece of tissue paper held near the fan to determine if air is being properly circulated. The Silenx Ixtrema Pro 120mm Thermistor Case Fan should provide a steady flow of cool air within your computer case.
- Monitor system temperatures: Use monitoring software or BIOS/UEFI settings to check the temperature of your computer’s components. If the fan is properly installed and functioning, it should help maintain optimal temperatures, preventing overheating.
During the testing phase, it is essential to be vigilant and observant. If any unusual noises or irregularities are noticed during operation, power off your computer immediately, and double-check the fan’s installation and connection.
If everything appears to be working correctly, congratulations! You have successfully installed and tested the Silenx Ixtrema Pro 120mm Thermistor Case Fan. The enhanced cooling provided by this fan will contribute to the optimal performance and longevity of your computer system.
Remember to periodically clean the fan and monitor its performance to ensure it continues to operate efficiently and effectively over time. Enjoy your improved cooling and quieter computing experience!
Conclusion
Congratulations on successfully installing the Silenx Ixtrema Pro 120mm Thermistor Case Fan! By following the step-by-step guide, you have enhanced the cooling capabilities of your computer system and ensured optimal performance. This thermistor case fan is designed to efficiently regulate temperatures while maintaining a quiet operation, providing you with a better computing experience.
Through the installation process, you have learned how to gather the necessary tools and materials, turn off and unplug your computer, open the computer case, locate the desired installation spot for the fan, prepare the installation area, install the fan securely, connect it to the appropriate headers, close the computer case, and finally power on and test the functionality of the fan.
It’s important to regularly monitor and maintain the Silenx Ixtrema Pro 120mm Thermistor Case Fan to ensure its optimal performance. Cleaning the fan periodically and checking its operation will help prolong its lifespan and keep your computer system running smoothly.
We hope that this guide has been informative and helpful in guiding you through the installation process. If you encounter any difficulties or have further questions, consult the manufacturer’s documentation or seek assistance from a professional.
Enjoy the improved cooling, reduced noise levels, and enhanced overall performance of your computer system with the Silenx Ixtrema Pro 120mm Thermistor Case Fan. Happy computing!