Introduction
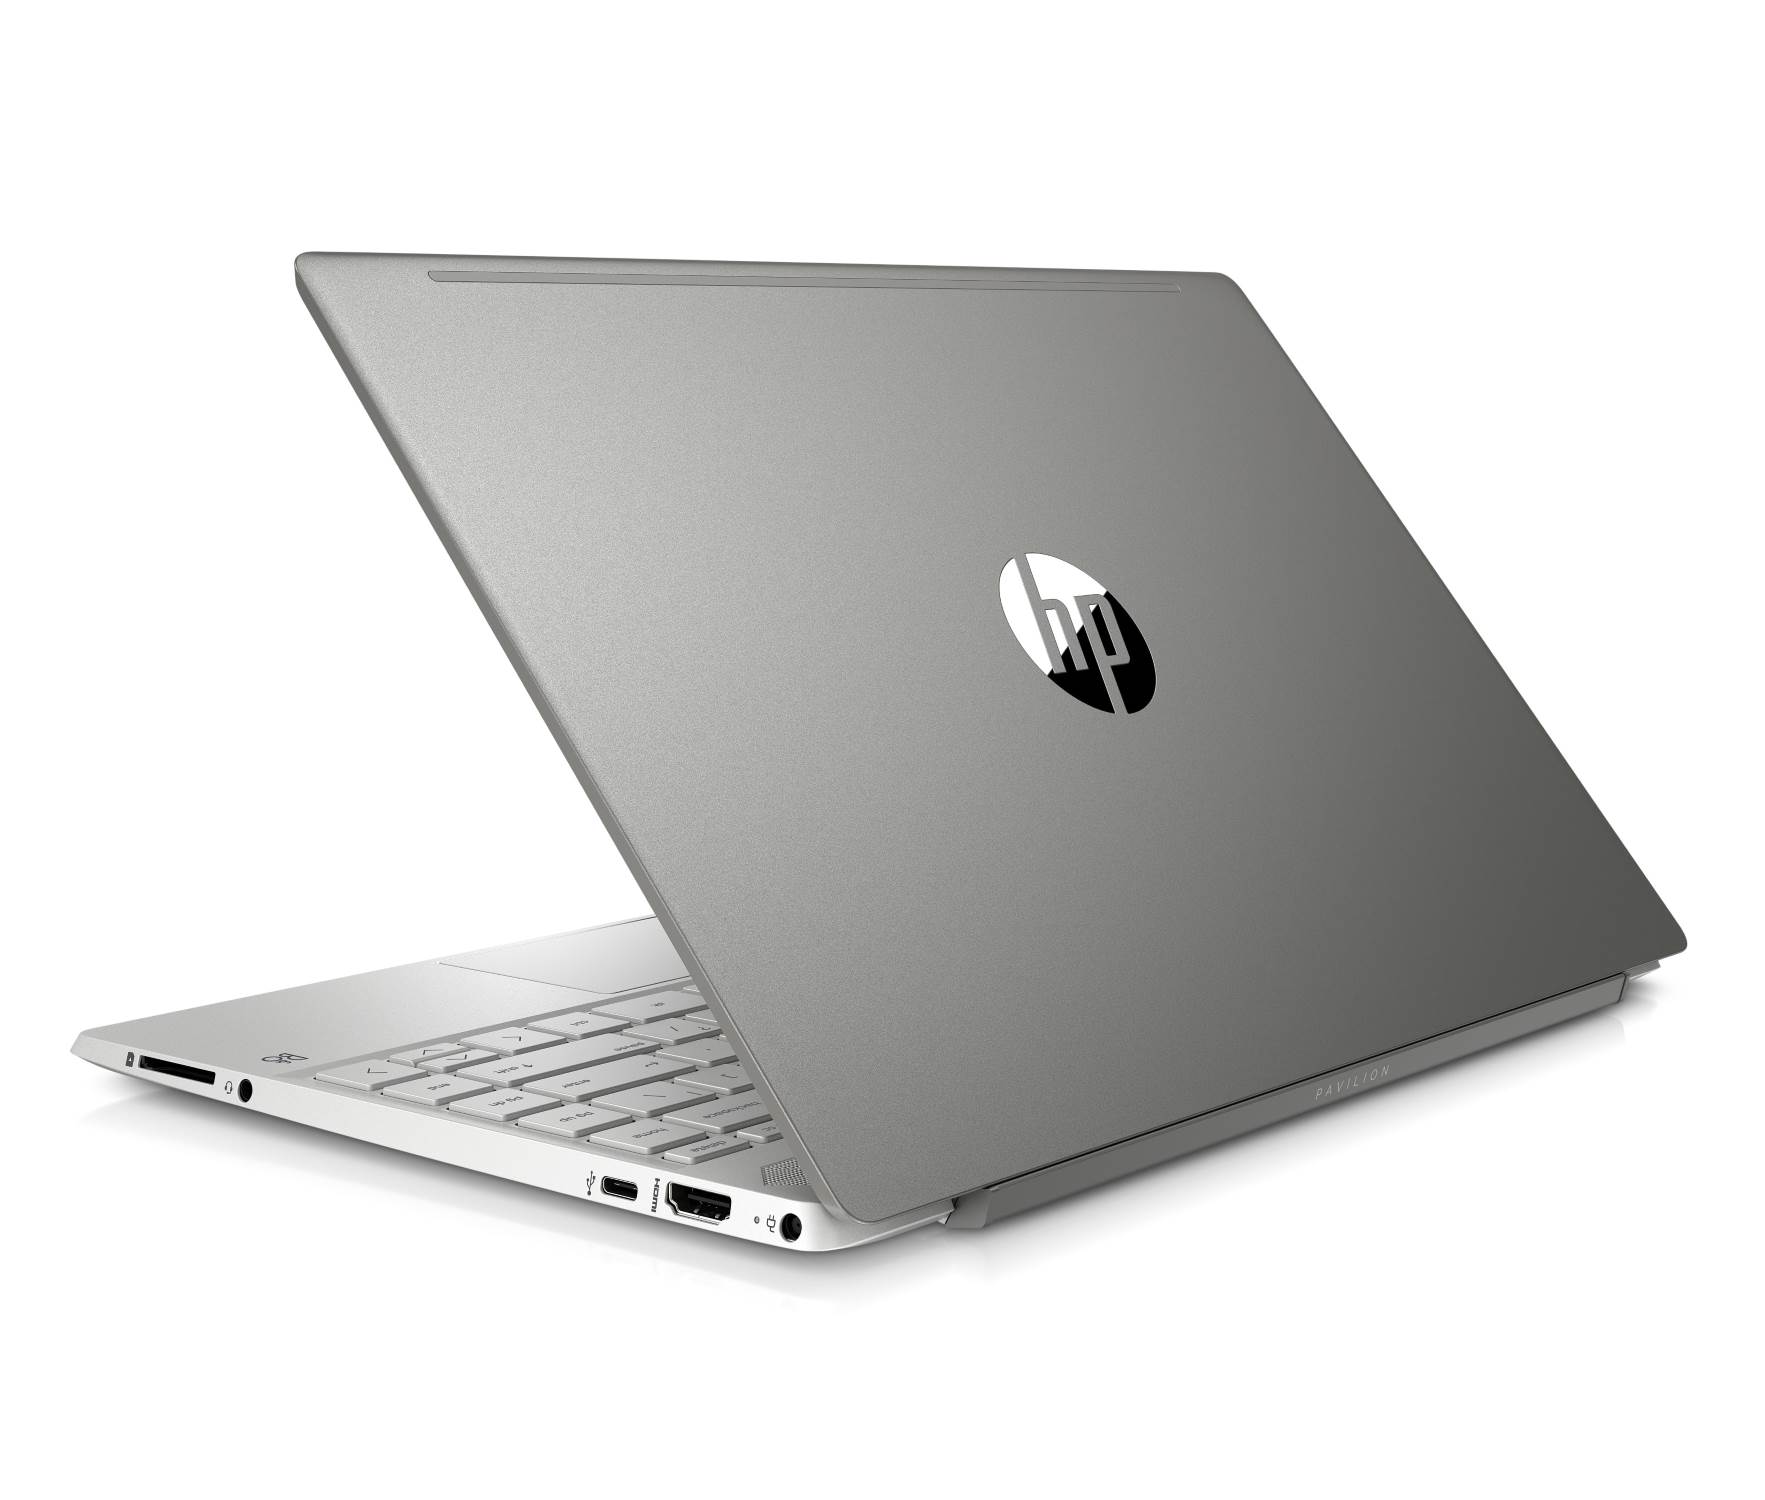
Upgrading the RAM (Random Access Memory) of your HP Pavilion laptop can greatly improve its performance and speed. RAM is a key component that allows your laptop to run multiple programs simultaneously and handle complex tasks. If you find that your laptop is sluggish and frequently freezes or lags, installing additional RAM can be an effective solution.
In this step-by-step guide, we will walk you through the process of installing RAM in your HP Pavilion laptop. Before we dive into the detailed steps, it’s important to note that while the specific instructions may vary slightly depending on the model of your laptop and the physical layout of its internal components, the general process remains the same.
Before you begin, it’s essential to ensure you have the correct type and amount of RAM compatible with your laptop model. Refer to the user manual or HP’s official website for information on the maximum RAM capacity and any specific RAM requirements for your specific laptop model.
Additionally, make sure to follow proper safety precautions while handling the internal components of your laptop. This includes turning off the laptop, disconnecting it from any power source, and grounding yourself to prevent any static discharge that can damage sensitive computer parts.
Now that you’ve gathered the necessary information and taken the necessary precautions, let’s proceed to the next step, which is preparing for the installation.
Step 1: Preparing for the Installation
Before you begin the process of installing RAM in your HP Pavilion laptop, it’s important to prepare yourself and gather the necessary tools. Here are the steps to follow:
- Firstly, ensure that you have the compatible RAM module for your HP Pavilion laptop. Check the user manual or visit the manufacturer’s website to determine the type and maximum capacity supported by your specific model.
- Next, gather the necessary tools for the installation. You will need a small screwdriver (usually a Phillips head) to open the laptop’s casing and remove the existing RAM module. Additionally, it’s recommended to have an antistatic wrist strap or mat to prevent any static electricity from damaging the internal components of the laptop.
- Find a clean and well-lit workspace where you can comfortably work on your laptop. Make sure to have a clean, static-free surface to place the laptop on during the installation process.
- Before you proceed, make sure to save any important files or documents and close all applications. The RAM installation process may require you to restart your laptop, so it’s essential to have everything saved and backed up.
- Finally, to ensure your safety during the installation process, it’s crucial to turn off your laptop and unplug it from any power source. This will prevent any potential electrical damage and accidents.
Once you have completed these preparations, you are now ready to move on to the next step, which involves turning off the laptop and removing the battery. We will cover this process in the next section.
Step 2: Turning off the Laptop and Removing the Battery
Before you begin the physical installation of the RAM module, it’s important to turn off your HP Pavilion laptop and remove the battery. Follow these steps:
- Save any ongoing work and close all applications. It’s important to ensure that all your data is saved and that there are no pending tasks before proceeding with the shutdown.
- Shut down your laptop by clicking on the “Start” menu, selecting the “Power” option, and choosing “Shut down.” Alternatively, you can press and hold the power button until the laptop turns off.
- Once the laptop is completely powered down, locate the battery release latch on the underside of the laptop. Slide or press the latch in the direction indicated to release the battery.
- With the latch released, gently remove the battery from its compartment. It should easily slide out or pop up, depending on the design of your specific HP Pavilion model.
- Set the removed battery aside in a safe place. It’s important to handle the battery with care and avoid any damaging impacts or exposure to extreme heat or moisture.
With the laptop turned off and the battery removed, you have successfully completed step 2. Now it’s time to move on to the next step, where we will locate the RAM slots in your HP Pavilion laptop. Continue reading to learn more.
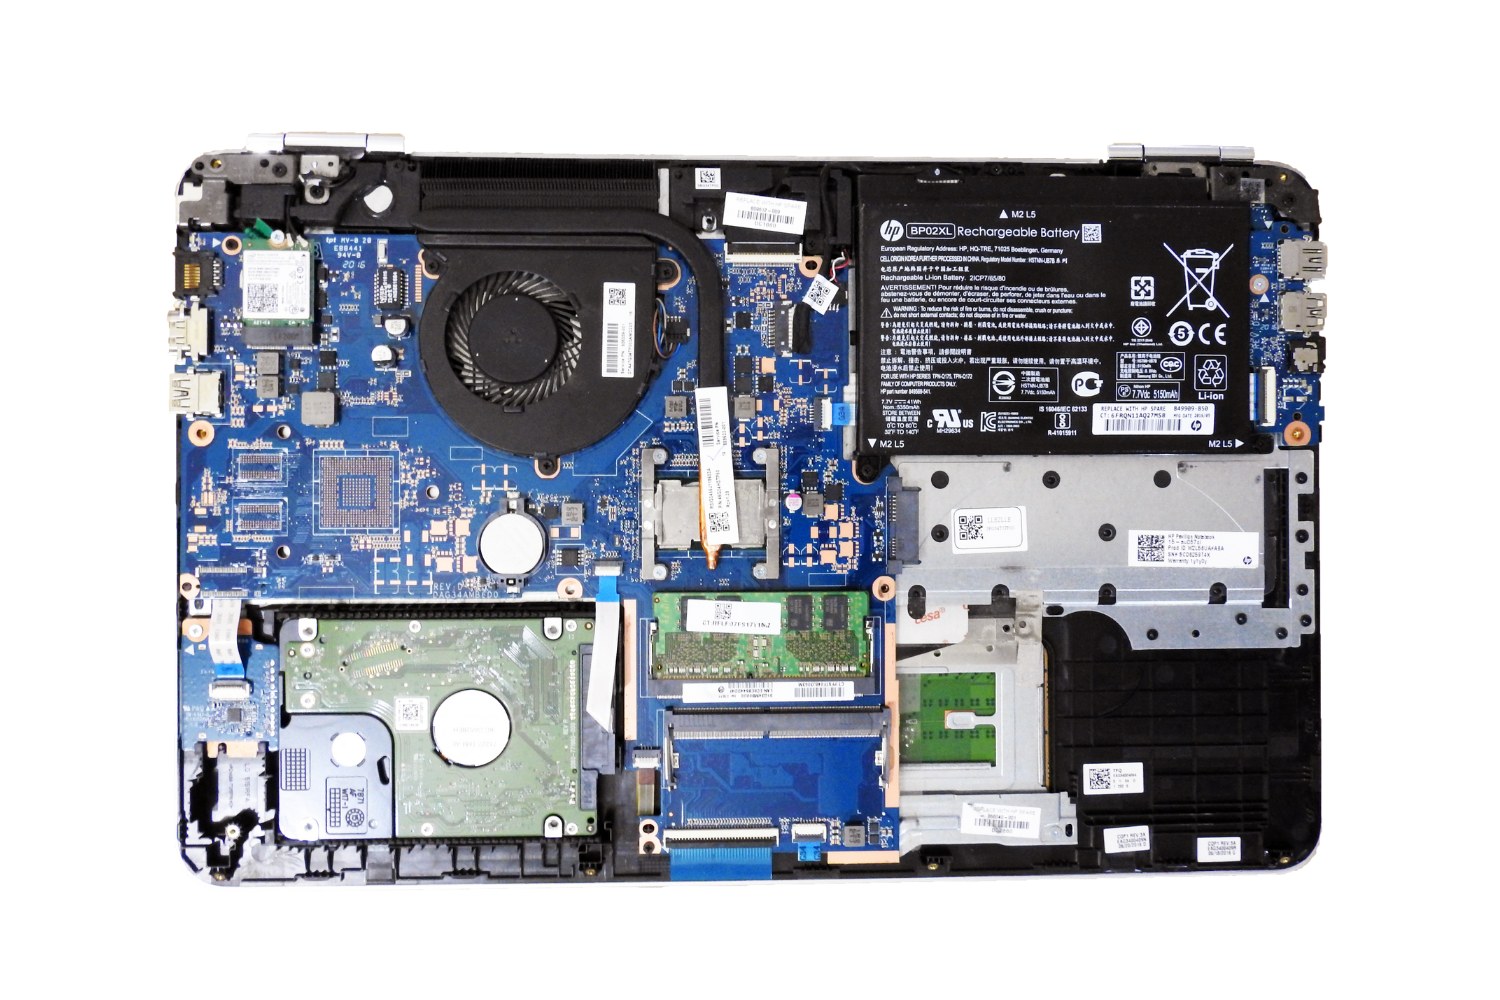
Step 3: Locating the RAM Slots
Once you have turned off your HP Pavilion laptop and removed the battery, it’s time to locate the RAM slots where the new RAM module will be installed. Follow these steps:
- Flip your laptop over and locate the panel on the bottom of the device. This panel usually has a small icon or text indicating that it houses the RAM.
- Using a small screwdriver (usually a Phillips head), remove the screws that secure the panel. Place the screws in a safe place to avoid losing them.
- Gently lift and remove the panel to reveal the internal components of your laptop. Take a moment to familiarize yourself with the layout, ensuring you can identify the RAM slots.
- Most HP Pavilion laptops have two RAM slots that are typically located next to each other. The RAM modules are rectangular in shape, with metal contacts on the bottom and a notch or groove on one side.
- Take note of any existing RAM modules already installed in the slots. This information will be useful when removing the existing RAM in the following step.
By now, you should have successfully located the RAM slots in your HP Pavilion laptop. These slots are where the new RAM module will be inserted. In the next step, we will guide you through the process of removing the existing RAM. Keep reading to learn more.
Step 4: Removing the Existing RAM
Now that you have located the RAM slots in your HP Pavilion laptop, it’s time to remove the existing RAM module. Follow these steps:
- Before you proceed, make sure to ground yourself by either wearing an antistatic wrist strap or touching a grounded metal object. This will help prevent any static electricity from damaging the internal components of your laptop.
- Locate the existing RAM module in one of the RAM slots. It may be secured with small metal clips on the sides. Gently spread the clips outward to release the RAM module.
- Once the clips are released, the RAM module should pop up at a slight angle. Grasp the module by the edges and carefully pull it out of the slot, using even force on both sides to avoid bending or damaging the module.
- Set the removed RAM module aside in a safe place. If you plan to keep the module as a spare or for future use, place it in an antistatic bag or wrap it in an antistatic material to protect it from any potential damage.
- If your laptop has a second RAM module, repeat steps 2 and 3 to remove it as well.
By following these steps, you have successfully removed the existing RAM module(s) from your HP Pavilion laptop. In the next step, we will guide you through the process of inserting the new RAM module. Keep reading to learn more.
Step 5: Inserting the New RAM
With the existing RAM module(s) removed from your HP Pavilion laptop, it’s time to insert the new RAM module. Follow these steps:
- Ensure that the new RAM module you have is compatible with your laptop’s specifications, including the correct type and maximum capacity.
- Hold the new RAM module by the edges, making sure to avoid touching the metal contacts or any exposed circuits. Align the notch or groove on the module with the corresponding notch inside the RAM slot.
- With the notch lined up, gently insert the RAM module into the slot at a slight angle. Apply even pressure to both sides of the module until it is fully seated. You may hear a click or feel a slight resistance when the module is properly inserted.
- If you have a second RAM module to install, repeat steps 2 and 3 to insert it into the second RAM slot.
- Once both RAM modules are securely in place, gently press down on the modules to ensure proper contact with the metal contacts inside the slots. Make sure the modules are level and fully seated.
By following these steps, you have successfully inserted the new RAM module(s) into your HP Pavilion laptop. In the next step, we will guide you through the process of reassembling the laptop and booting it up. Continue reading to learn more.
Step 6: Reassembling the Laptop and Booting Up
Now that you have successfully installed the new RAM module(s) in your HP Pavilion laptop, it’s time to reassemble the laptop and boot it up. Follow these steps:
- Carefully place the panel back onto the bottom of the laptop, aligning it with the screw holes. Make sure it is properly seated before proceeding.
- Insert and tighten the screws that secure the panel, ensuring they are snug but not overly tight. Be careful not to strip the screws or overtighten them.
- Next, locate the battery that you removed earlier and gently insert it back into its compartment. Ensure the contacts are aligned and the battery is securely in place.
- Slide or press the battery until it clicks into place and the latch locks it in. This will ensure a proper connection and prevent the battery from being dislodged during use.
- Once the battery is securely inserted, connect your laptop to a power source using the AC adapter. This will provide power to the laptop and charge the battery if needed.
- Finally, press the power button to turn on your HP Pavilion laptop. It should boot up normally and recognize the newly installed RAM module(s).
- To verify that the RAM has been successfully installed, you can check the system properties of your laptop. Right-click on the “My Computer” or “This PC” icon, select “Properties,” and navigate to the “System” or “About” tab. Here, you should see the total amount of RAM installed and any other relevant information.
Congratulations! You have successfully reassembled your HP Pavilion laptop and booted it up after installing the new RAM module(s). You can now enjoy improved performance and faster multitasking capabilities. If you encounter any issues or the laptop doesn’t recognize the new RAM, double-check that it is properly seated and securely connected. If the problem persists, consult the laptop’s user manual or contact technical support for further assistance.
Conclusion
Upgrading the RAM in your HP Pavilion laptop is a great way to boost its performance and efficiency. By following the step-by-step guide provided, you can easily install new RAM modules and experience a noticeable improvement in multitasking capabilities and overall speed.
Remember to prepare for the installation by gathering the necessary tools and ensuring you have the correct RAM module for your specific laptop model. Take proper precautions, such as turning off the laptop, removing the battery, and grounding yourself, to avoid any potential damage to the internal components.
Locating the RAM slots, removing the existing RAM, and inserting the new modules are crucial steps in the process. Pay close attention to alignment and apply even pressure when installing the new RAM to ensure a secure fit.
Finally, reassemble the laptop, securely insert the battery, and boot it up to complete the installation. Verify that the RAM has been properly recognized by checking the system properties.
By successfully upgrading the RAM in your HP Pavilion laptop, you can enjoy faster performance, smoother multitasking, and an overall improved computing experience. If you encounter any issues during the installation or have further questions, don’t hesitate to refer to the user manual or seek technical support.
Now that you have equipped yourself with the knowledge and skills necessary to upgrade the RAM in your HP Pavilion laptop, go ahead and take advantage of the enhanced performance it brings. Get ready to unlock the full potential of your laptop and enjoy a seamless computing experience.