Introduction
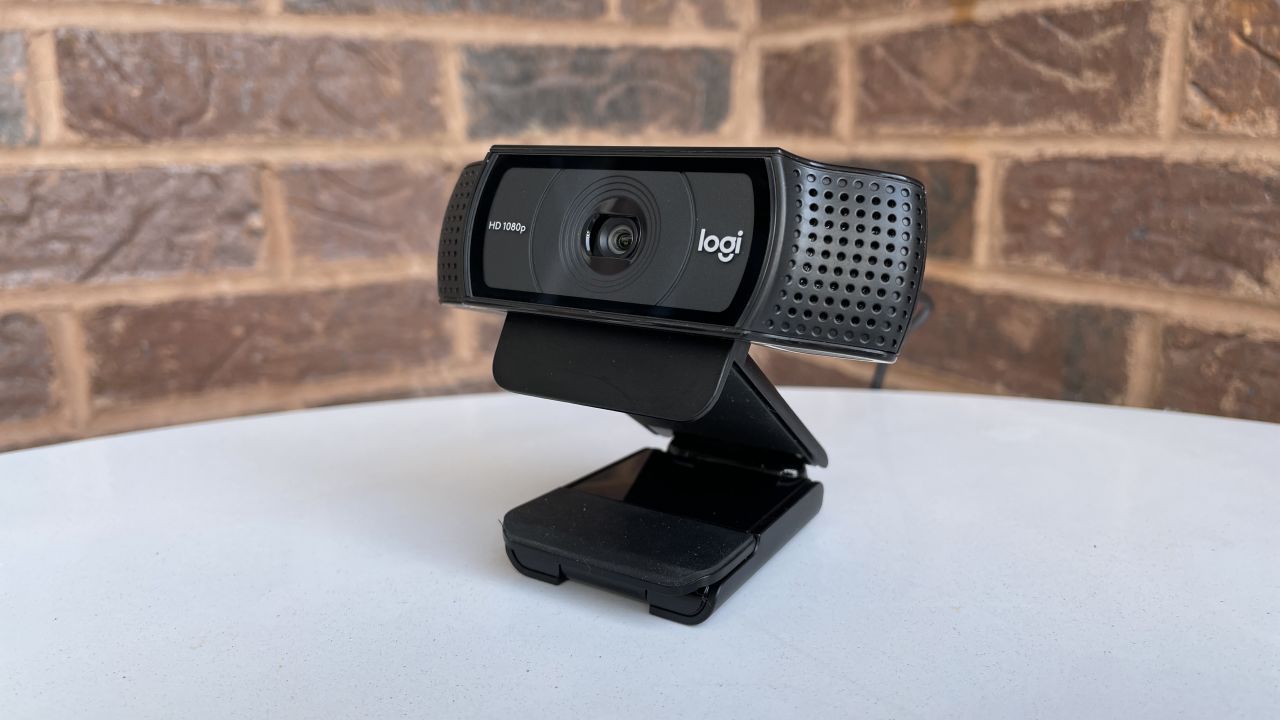
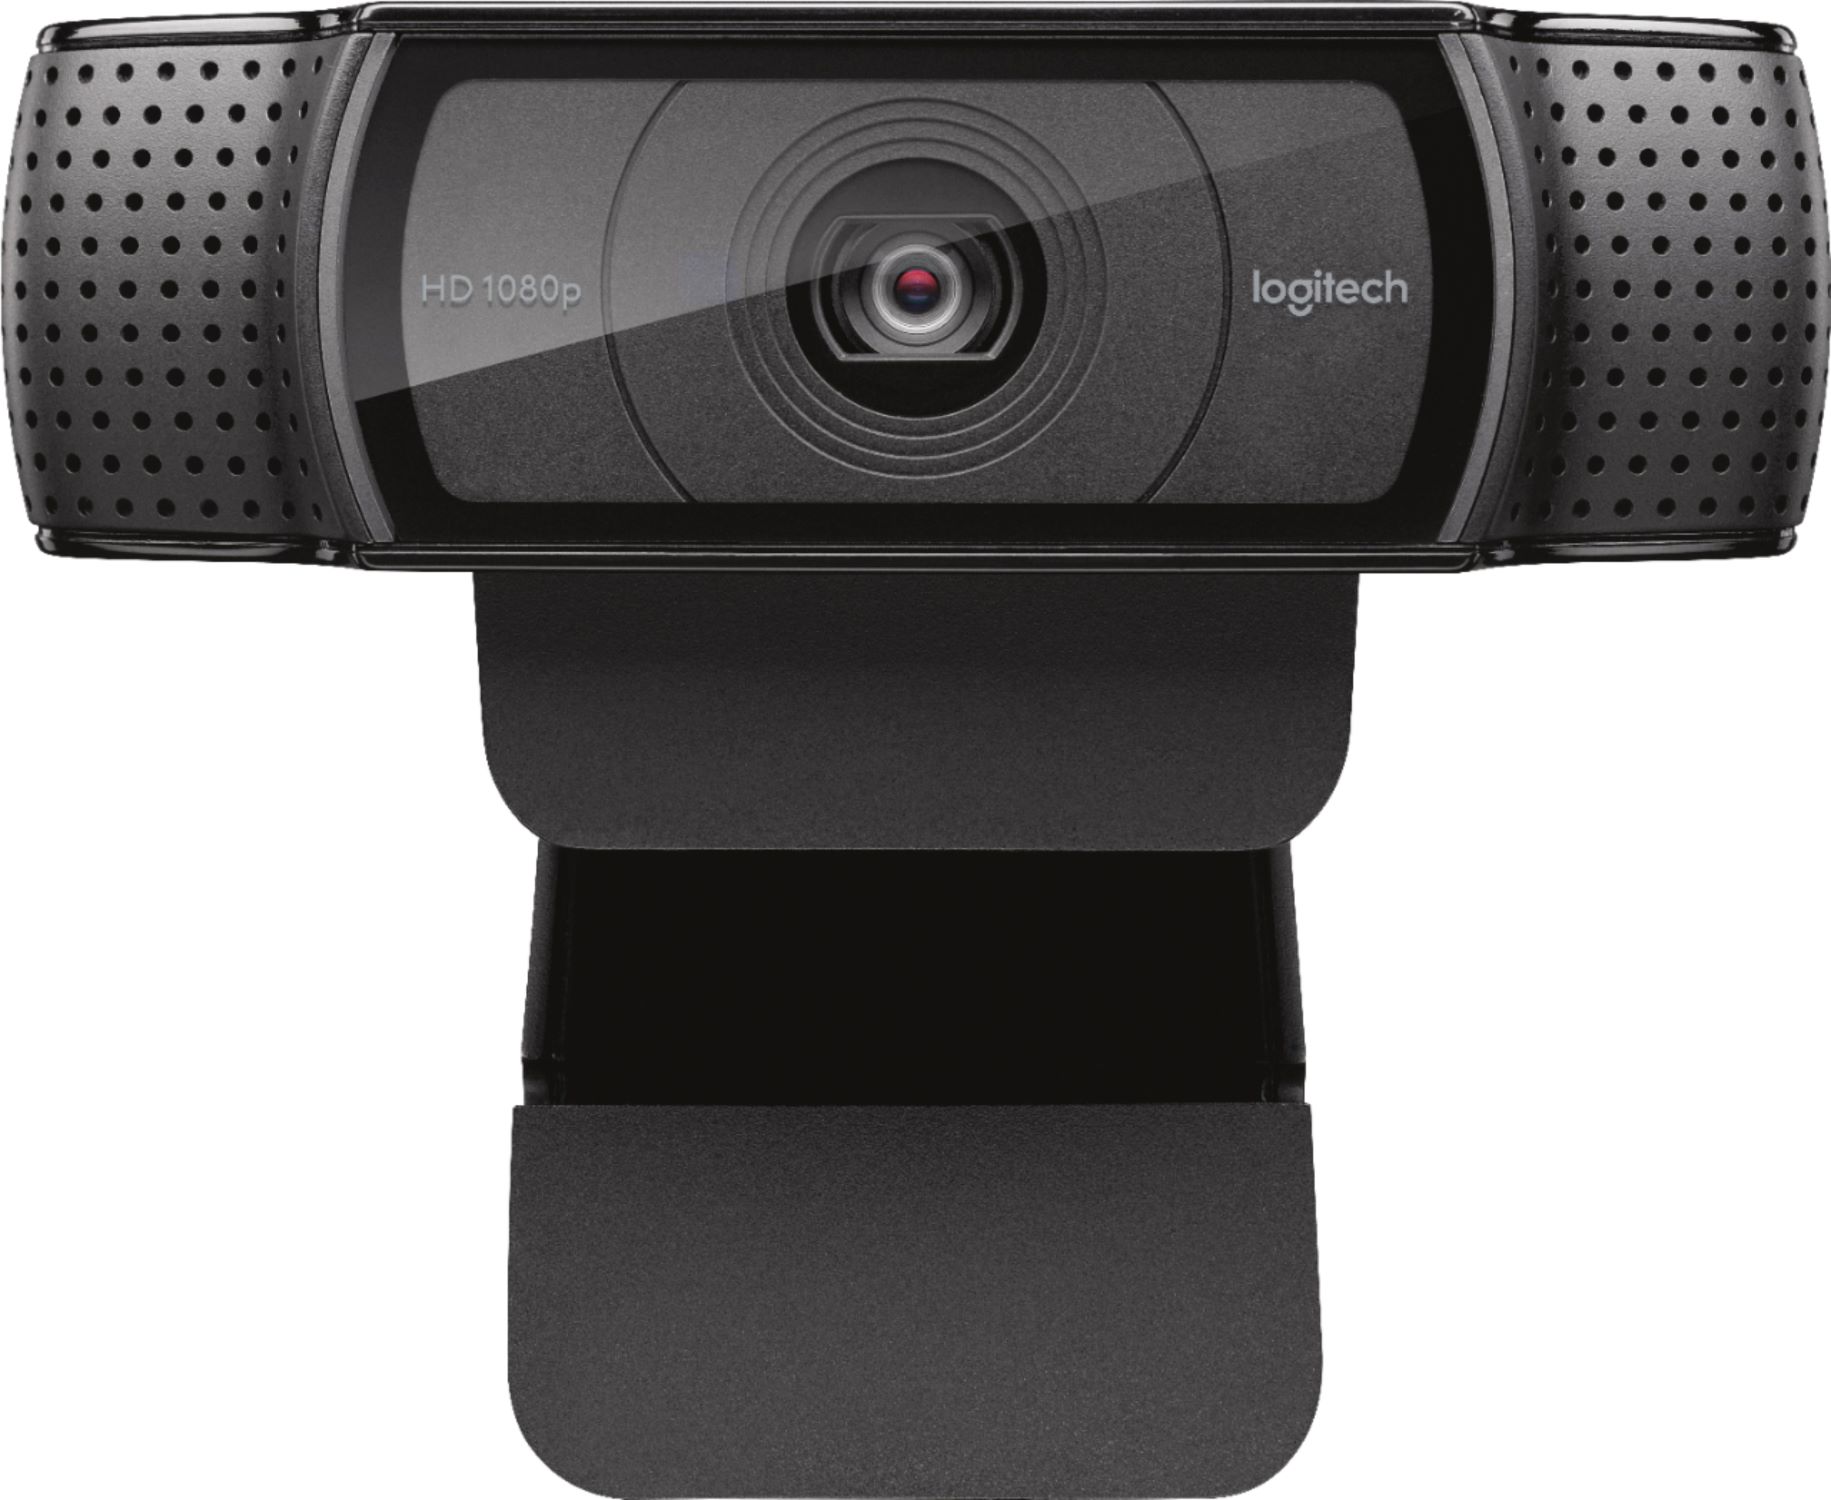
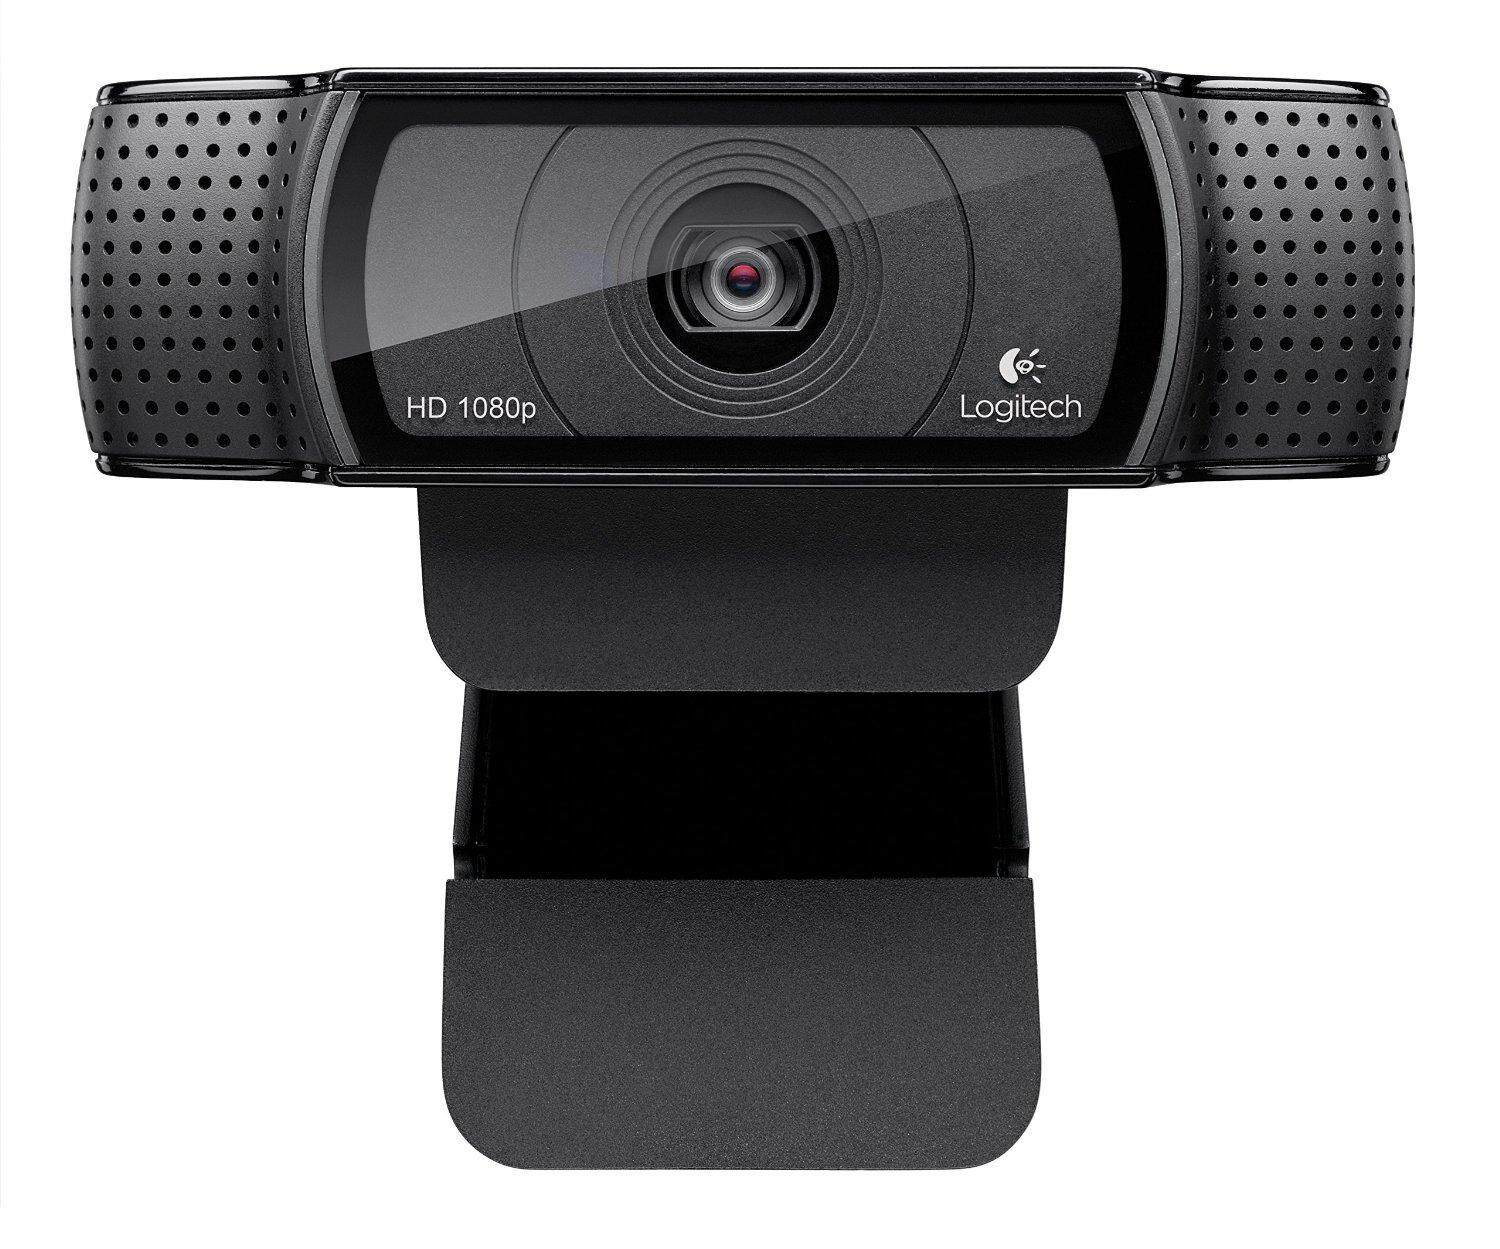
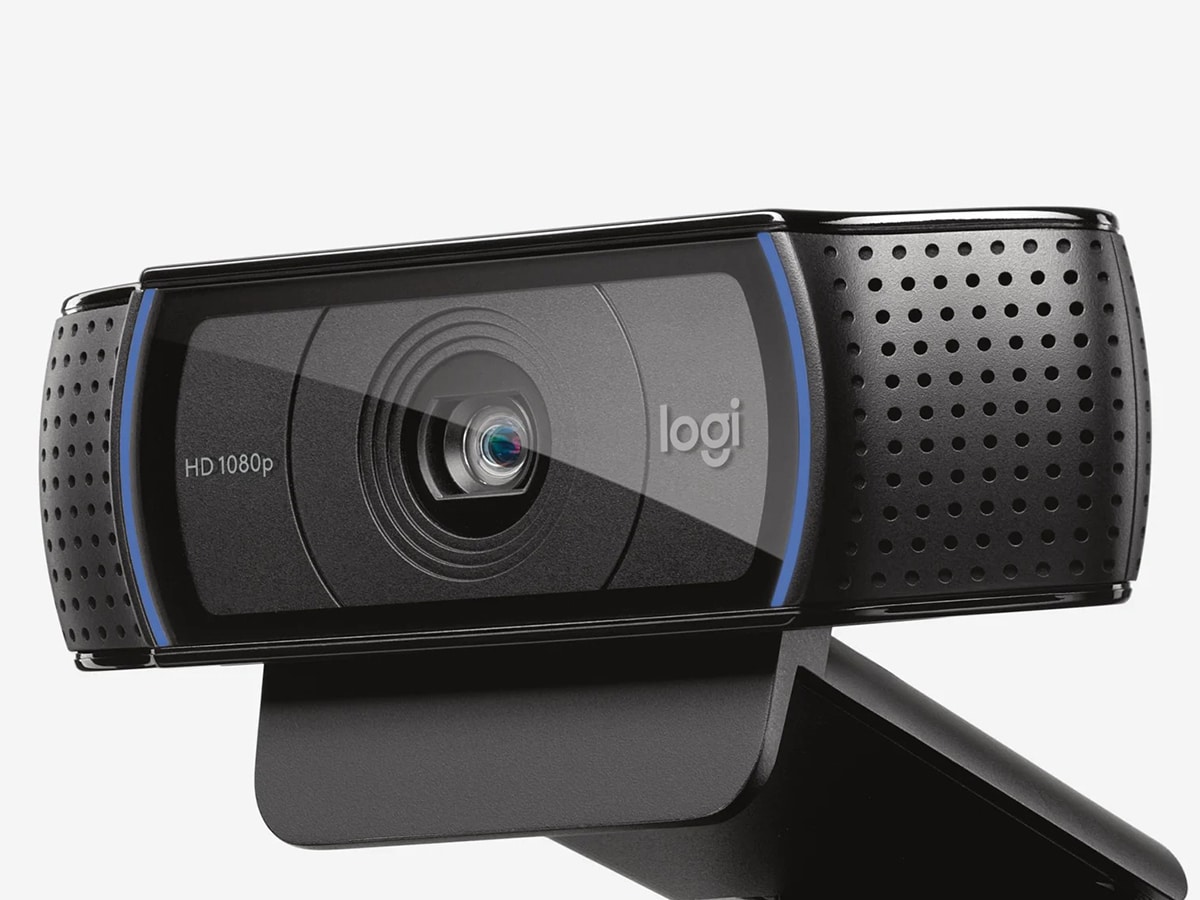
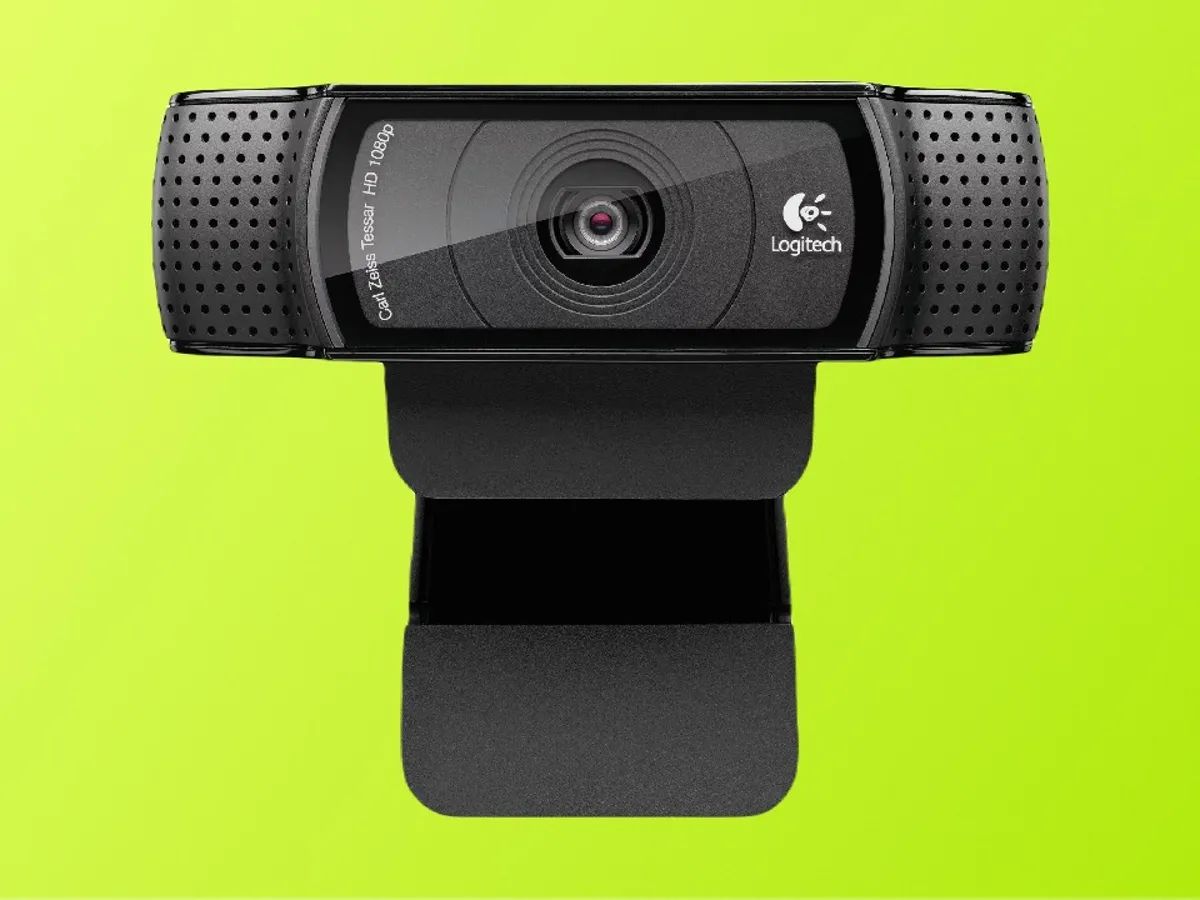
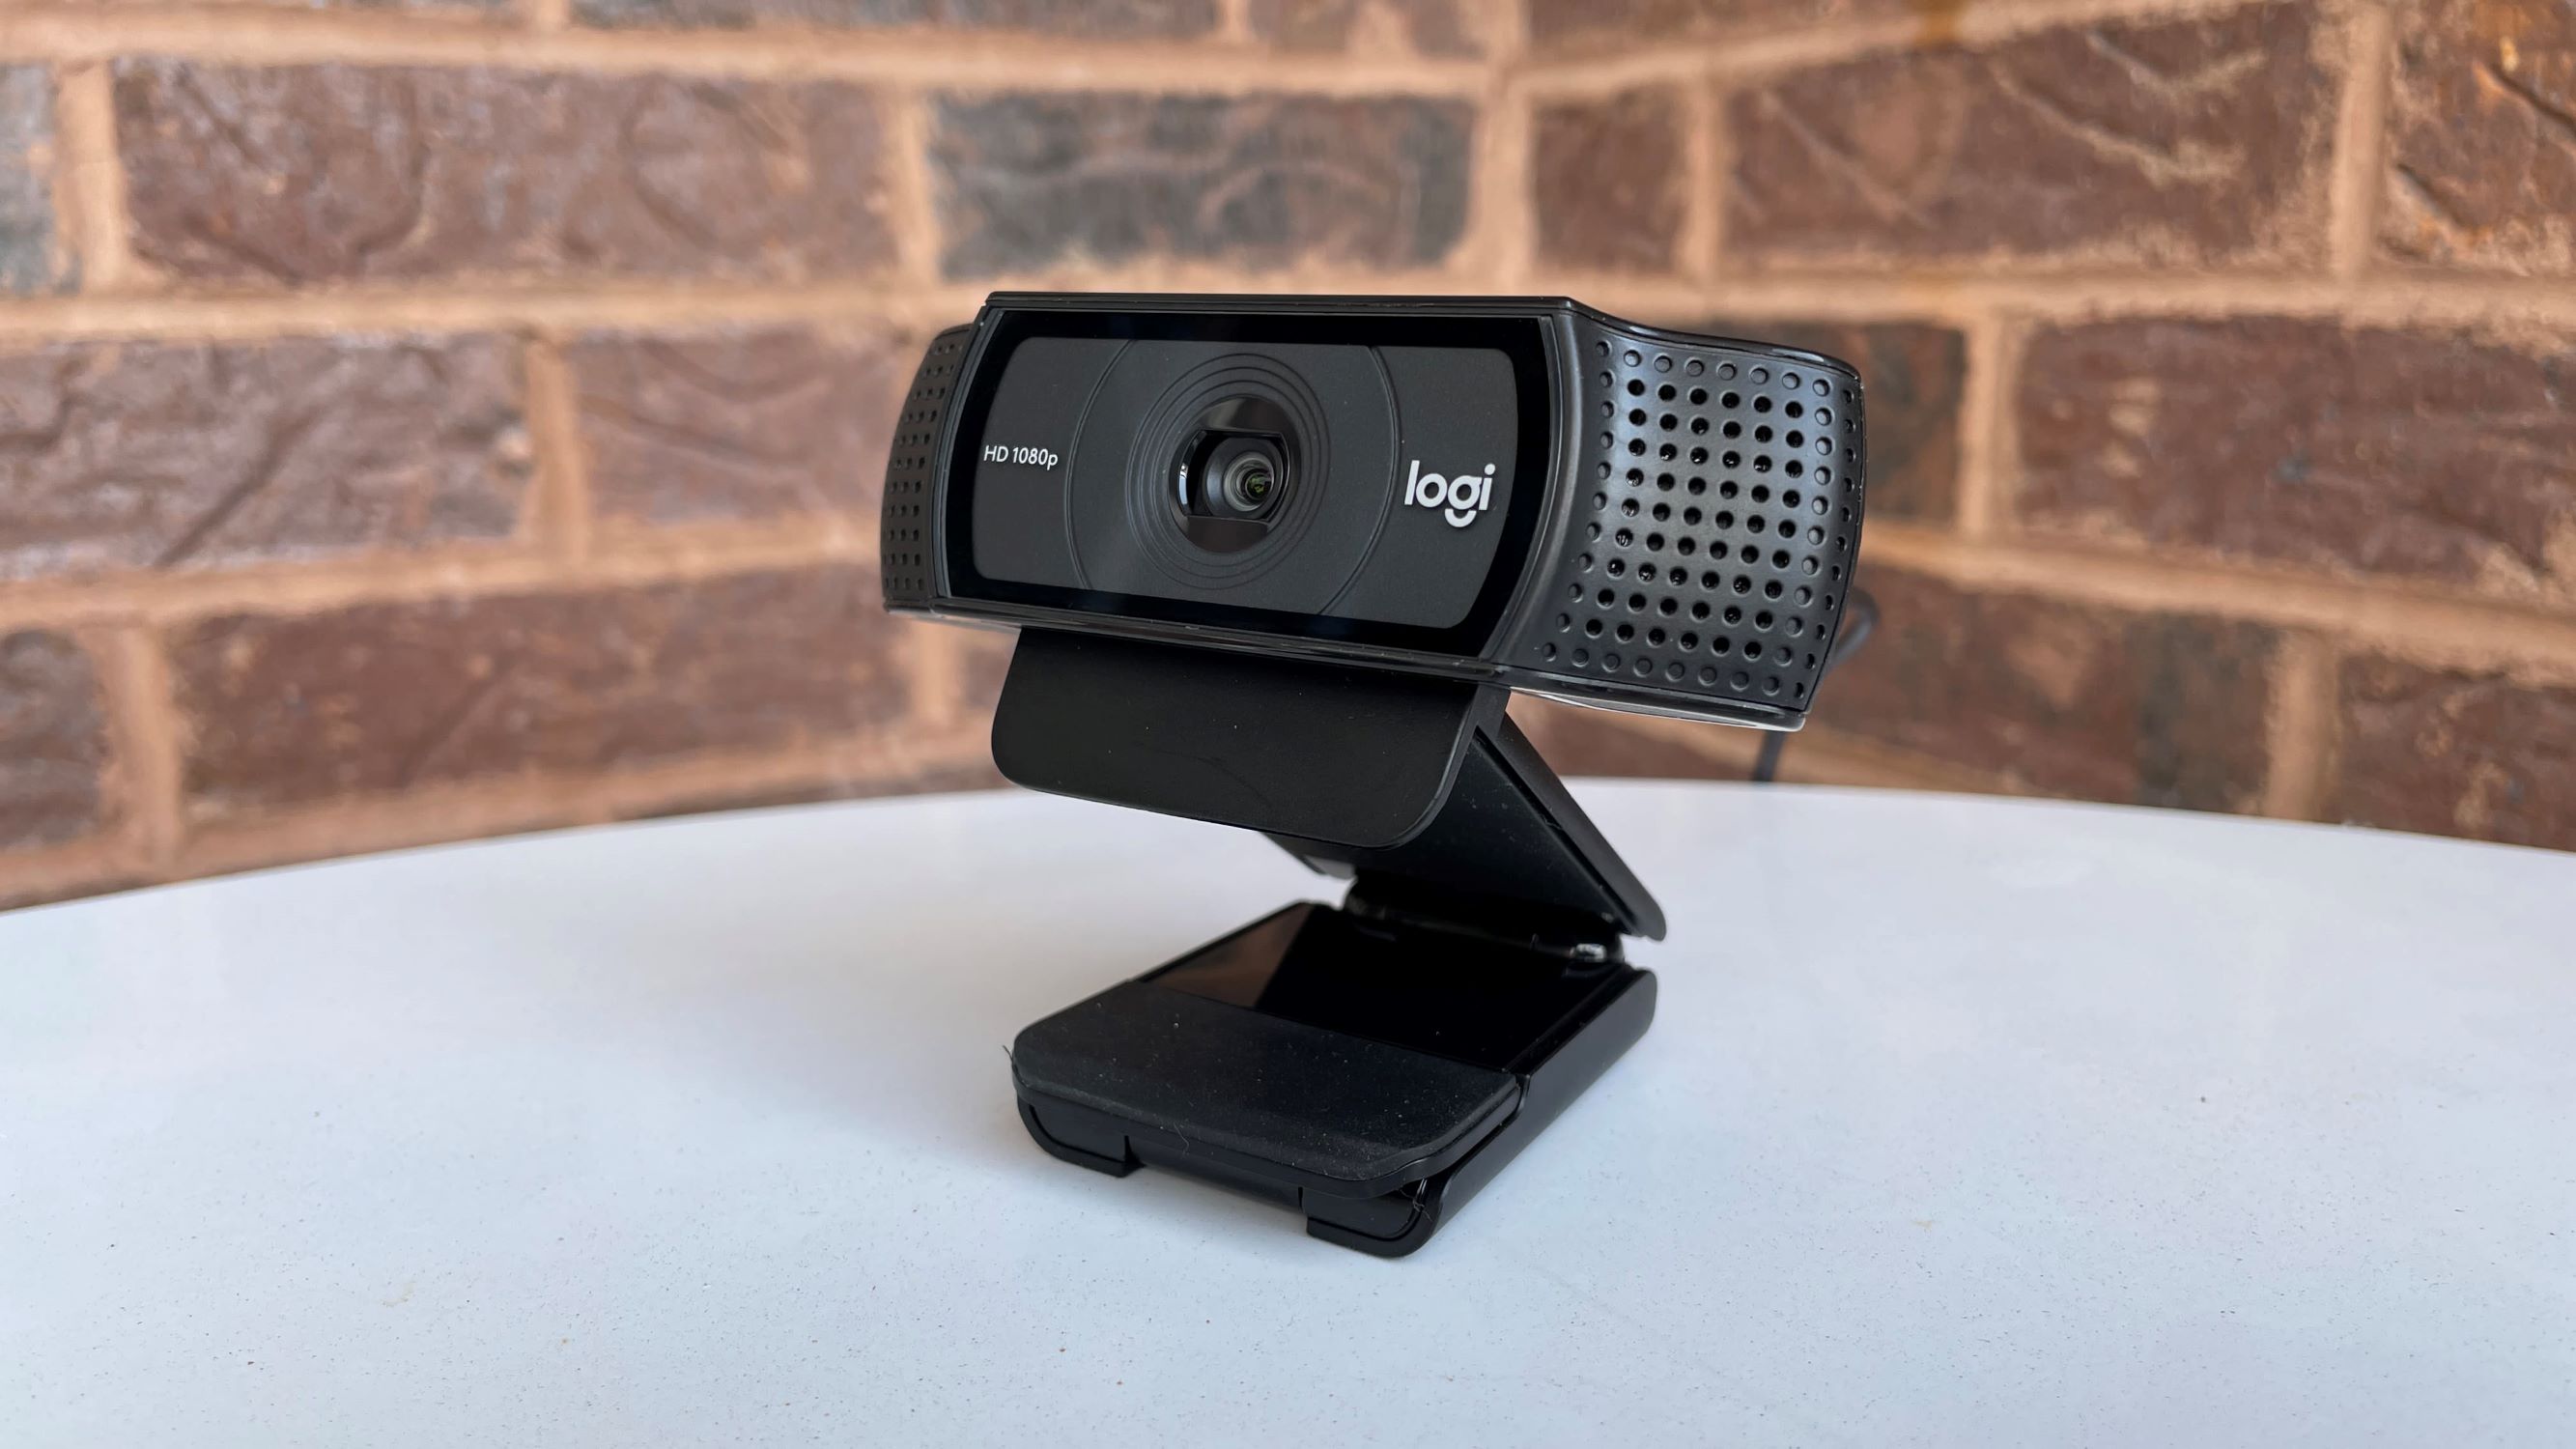
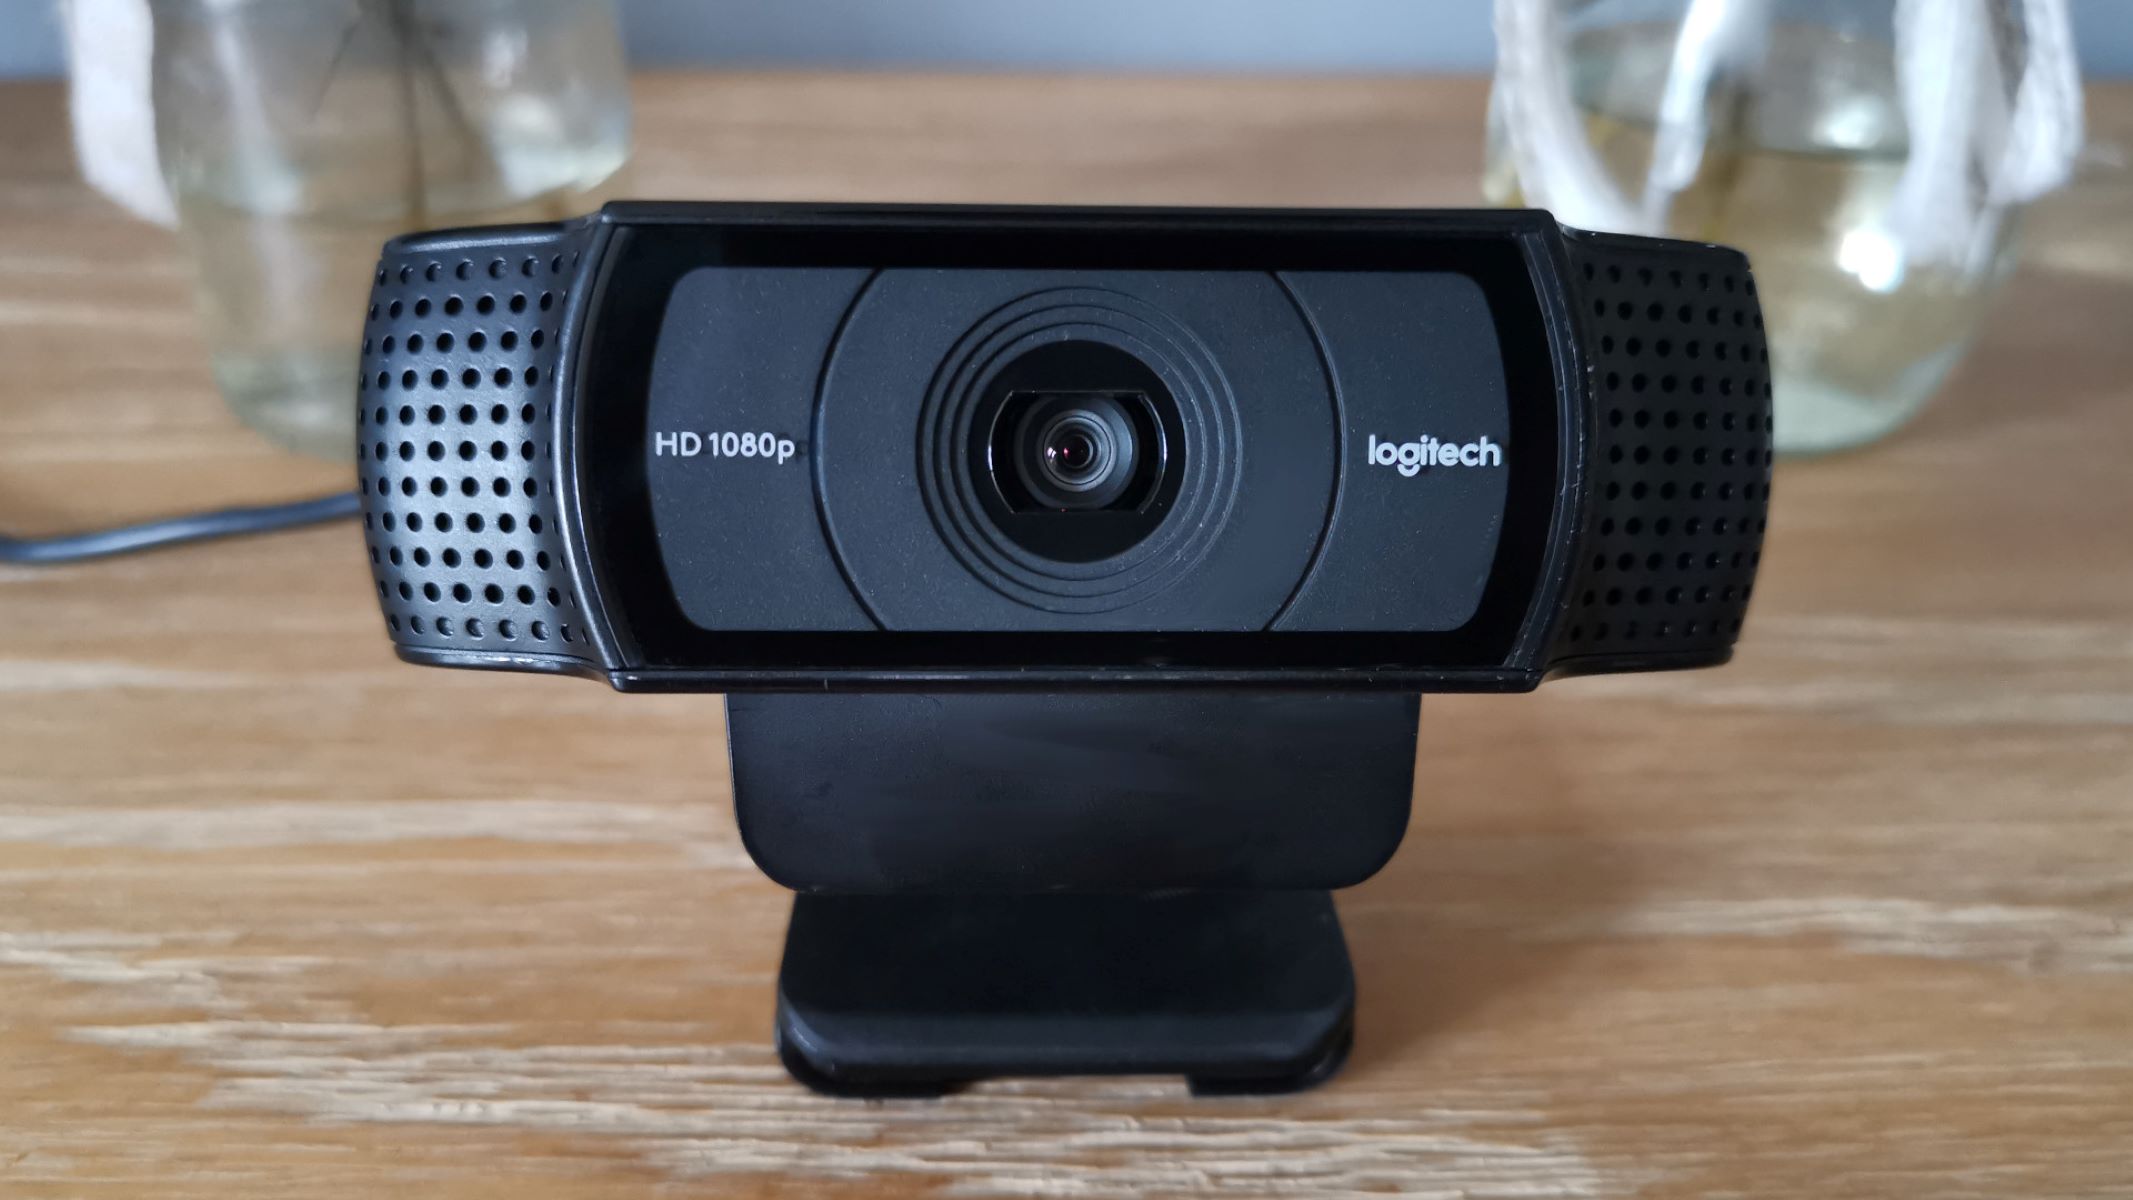
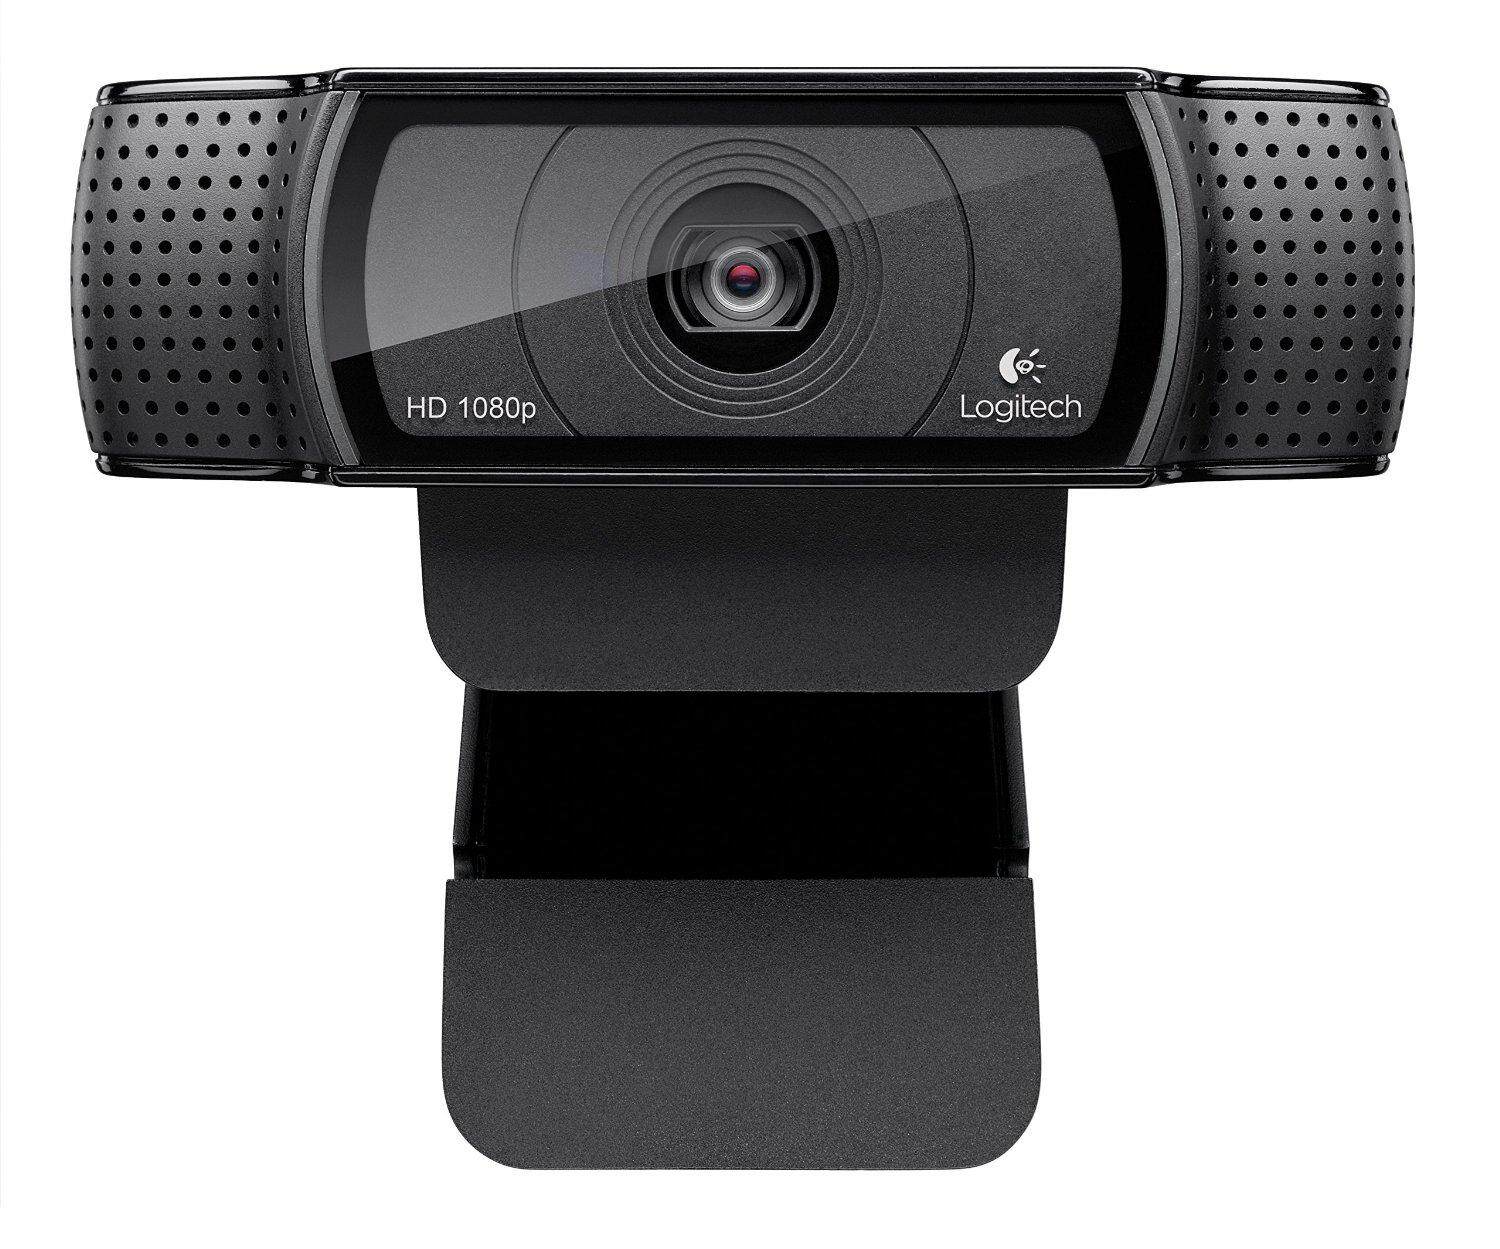
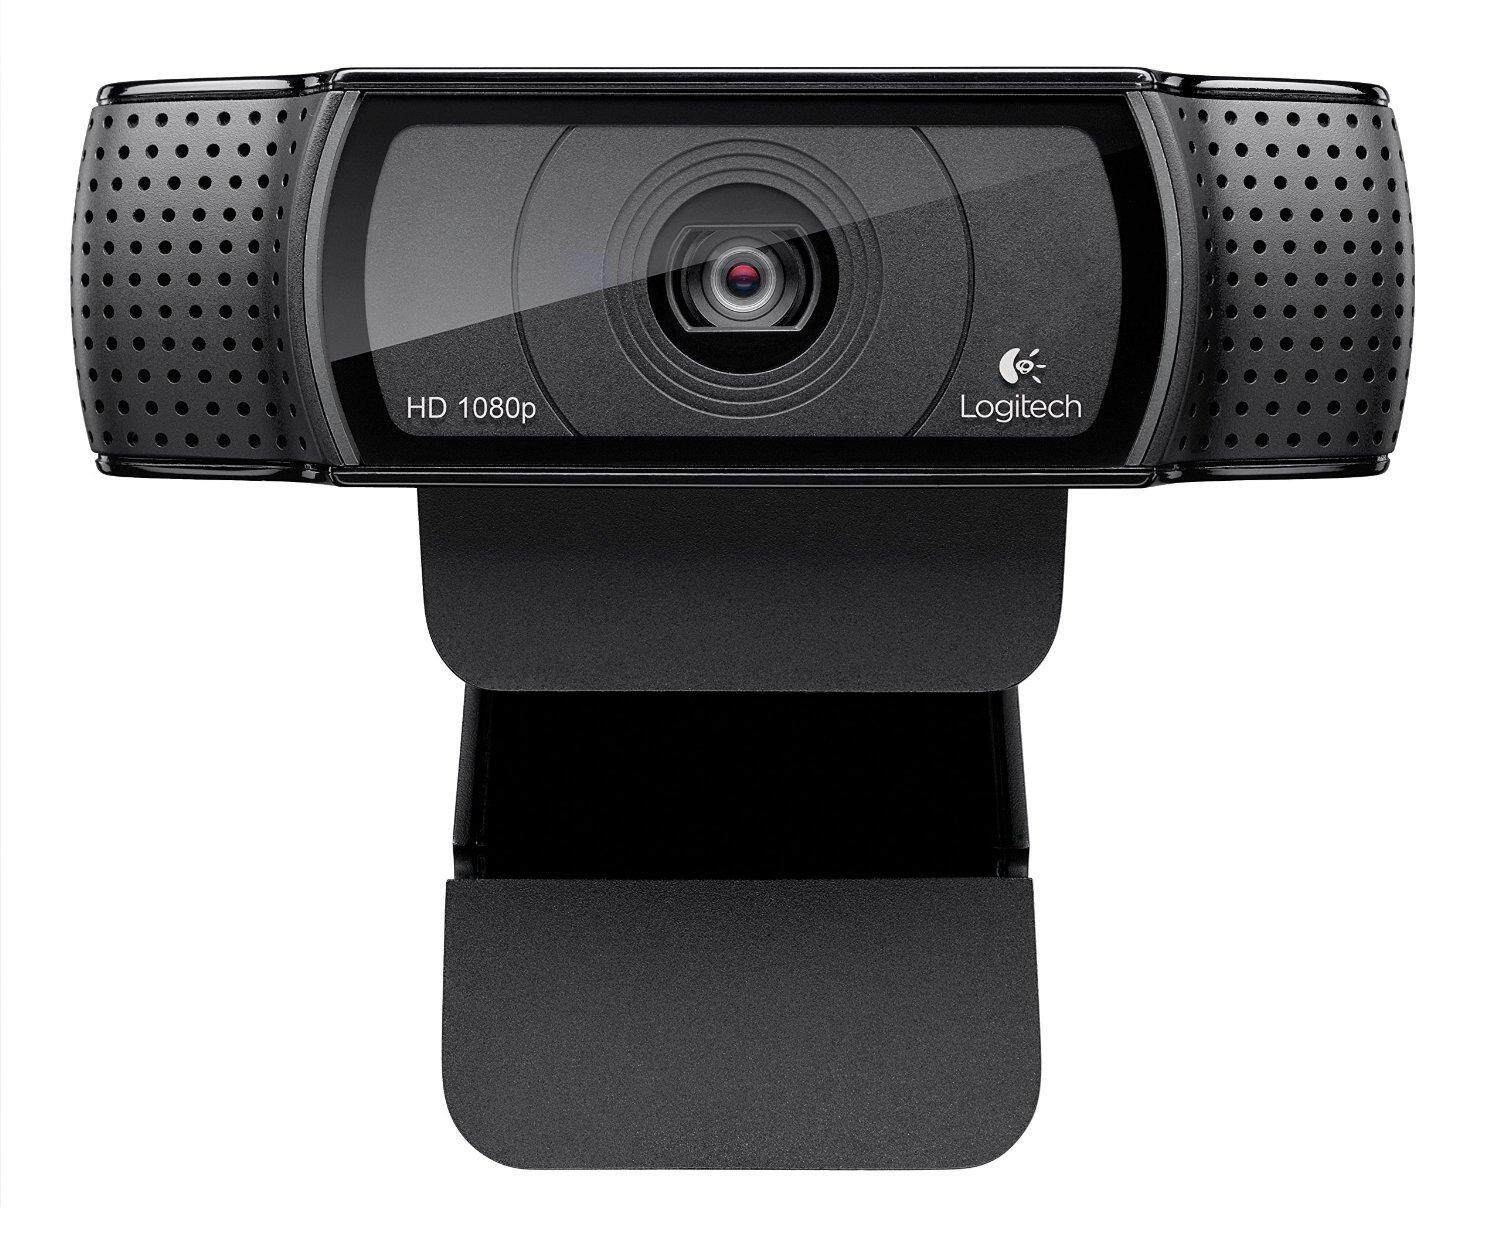
Welcome to the guide on how to install the Logitech C920 Webcam on Windows 10. The Logitech C920 Webcam is a popular choice for those looking to enhance their video conferencing, streaming, or content creation experience. With its high-definition capabilities and advanced features, this webcam provides crystal-clear video and audio quality.
Before diving into the installation process, it’s essential to ensure that your system meets the necessary requirements. This will ensure a smooth setup and optimal performance. Additionally, you will need to download and install the appropriate software for the Logitech C920 Webcam to fully utilize its functionalities.
In this step-by-step guide, we will walk you through the process of installing the Logitech C920 Webcam on Windows 10. By following these instructions, you’ll be up and running with your new webcam in no time.
Please note that the guide assumes you have basic knowledge of operating a computer and are familiar with Windows 10. If you encounter any issues during the installation process, refer to the Logitech support website or consult their customer service for further assistance.
Step 1: Check System Requirements
Before proceeding with the installation of the Logitech C920 Webcam, it’s crucial to ensure that your system meets the minimum requirements. This will help ensure compatibility and optimal performance of the webcam. Here are the system requirements:
- Operating System: Verify that your computer is running Windows 10, as the Logitech C920 Webcam is specifically designed for this operating system.
- Processor: Check that your computer has a compatible processor. The Logitech C920 Webcam requires at least a 2.4 GHz processor or equivalent.
- RAM: Ensure that your system has sufficient RAM to support the webcam. A minimum of 2 GB is recommended.
- USB Port: The Logitech C920 Webcam connects via USB, so ensure that your computer has an available USB 2.0 or USB 3.0 port.
- Internet Connection: While not mandatory for the installation process, an internet connection is essential if you plan on utilizing online features such as firmware updates or additional software downloads.
- Graphics Card: Check if your system has a compatible graphics card to handle the webcam’s high-definition video output. Ideally, a DirectX 9.0c compatible graphics card or higher is recommended.
It’s essential to meet these minimum requirements to ensure a smooth and hassle-free installation of the Logitech C920 Webcam. If your system does not meet the requirements, you may experience compatibility issues or suboptimal performance. Now that you’ve verified that your system matches these requirements, you’re ready to proceed to the next step, which is downloading the Logitech C920 Webcam software.
Step 2: Download the Logitech C920 Webcam Software
Now that you have confirmed that your system meets the necessary requirements, it’s time to download the Logitech C920 Webcam software. Follow the steps below to get started:
- Open your preferred web browser and go to the official Logitech website.
- Navigate to the Support or Downloads section of the website.
- Search for “Logitech C920 Webcam” in the search bar.
- Locate the appropriate software for Windows 10 and click on the download link.
Ensure that you select the correct software version that corresponds to your operating system and webcam model. This will ensure compatibility and the availability of all the features and functionalities.
Once the download is complete, locate the installation file in your computer’s Downloads folder or the specified destination folder. The file will usually be in the .exe format.
Double-click on the installation file to initiate the installation process. Follow the on-screen instructions carefully to complete the installation. It may take a few minutes for the software to install, so be patient.
It’s worth mentioning that during the installation process, you may be prompted to agree to the terms and conditions or customize the installation settings. Review the information provided and make your selections accordingly.
Once the software installation is complete, you’re one step closer to enjoying the features of your Logitech C920 Webcam. In the next step, we will guide you through the process of connecting the webcam to your computer.
Step 3: Install the Logitech C920 Webcam Software
Now that you have downloaded the Logitech C920 Webcam software, it’s time to install it on your Windows 10 computer. Follow the steps below to complete the installation:
- Locate the downloaded installation file on your computer. It is usually saved in the Downloads folder or your specified destination folder.
- Double-click on the installation file to launch the setup wizard.
- Read and accept the terms and conditions, if prompted, to proceed with the installation.
- Choose the installation options you prefer. You may have the option to customize the installation location or choose additional components.
- Click on the “Install” or “Next” button to initiate the installation process.
- Wait for the software to be installed on your computer. The installation progress will be displayed on the screen. This may take a few minutes, so be patient.
- Once the installation is complete, you may be prompted to restart your computer. If so, save any unsaved work and click on the “Restart” button to restart your computer.
After your computer restarts, the Logitech C920 Webcam software will be fully installed and ready to use. You can now proceed to the next step to connect the Logitech C920 Webcam to your computer.
It’s important to note that during the installation process, it’s recommended to keep your webcam disconnected from your computer. Wait until the software installation is complete before connecting the webcam. This will ensure a smooth and successful installation.
Step 4: Connect the Logitech C920 Webcam to your Computer
Now that you have installed the Logitech C920 Webcam software, it’s time to connect the webcam to your Windows 10 computer. Follow the steps below to get started:
- Locate the USB cable that came with your Logitech C920 Webcam.
- Connect one end of the USB cable to the USB port on your computer.
- Connect the other end of the USB cable to the USB port on the Logitech C920 Webcam.
- Wait for a moment for your computer to detect the webcam. It may take a few seconds for the webcam to be recognized.
- Once the webcam is detected, Windows 10 will automatically install the necessary drivers for the Logitech C920 Webcam.
- After the drivers are installed, you may see a notification or confirmation message indicating that the webcam is ready to use.
- At this point, the Logitech C920 Webcam is successfully connected to your Windows 10 computer. You can now proceed to the next step to adjust the webcam settings.
It’s important to ensure that the USB cable is securely connected to both the computer and the webcam to establish a reliable connection. If the webcam is not detected or you encounter any issues during the connection process, try using a different USB port or restarting your computer.
Now that your Logitech C920 Webcam is connected to your computer, you can make adjustments to the webcam settings in Windows 10. This will allow you to personalize your video and audio preferences for the best possible experience. Continue to the next step to learn how to adjust the webcam settings.
Step 5: Adjust Webcam Settings in Windows 10
After connecting the Logitech C920 Webcam to your Windows 10 computer, it’s important to adjust the webcam settings to optimize your video and audio experience. Follow the steps below to make the necessary adjustments:
- Launch the Logitech Webcam software on your computer. You can find it in your Start menu or desktop shortcut.
- Once the software is open, you will see the main interface. Here, you can access various webcam settings and features.
- Explore the different tabs and options available in the software. You can adjust settings such as video resolution, frame rate, exposure, focus, and more.
- Make adjustments based on your preferences and requirements. Experiment with different settings to find the optimal configuration for your needs.
- Additionally, you can use the software to access advanced features of the Logitech C920 Webcam, such as face tracking, background replacement, and video effects.
- After adjusting the settings, click on the “Apply” or “Save” button to save the changes.
- Close the Logitech Webcam software. Your settings will be saved and applied for future use.
Keep in mind that the available settings and features may vary based on the version of the Logitech Webcam software and the specific model of the C920 Webcam. However, most Logitech Webcam software versions provide similar basic adjustment options.
By adjusting the webcam settings, you can enhance the quality of your video calls, livestreams, or content creation. Take some time to familiarize yourself with the options available and experiment with different settings to achieve the desired results.
Congratulations! You have successfully installed the Logitech C920 Webcam on your Windows 10 computer and made the necessary adjustments to optimize your webcam experience. Enjoy high-quality video and audio during your video conferencing sessions, streaming sessions, or content creation activities.
Conclusion
Congratulations! You have successfully installed the Logitech C920 Webcam on your Windows 10 computer. By following the step-by-step guide, you have ensured compatibility, downloaded the necessary software, connected the webcam, and adjusted the settings to optimize your video and audio experience.
The Logitech C920 Webcam offers remarkable features and high-definition video quality, making it an excellent choice for video conferencing, streaming, and content creation. With its easy-to-use software and customizable settings, you can personalize your webcam experience according to your preferences and requirements.
Remember to keep your webcam software up to date by visiting the official Logitech website and checking for any available firmware updates or new software releases. Regular updates will help improve performance, add new features, and address any potential issues.
Whether you’re using the Logitech C920 Webcam for professional meetings, connecting with loved ones, or creating content for your online audience, you can rely on its exceptional video and audio capabilities to deliver a seamless and engaging experience.
If you encounter any difficulties or have further questions, feel free to refer to the Logitech support website or contact their customer service for assistance. They have dedicated resources to help you with any technical issues or concerns you may have.
Thank you for following this installation guide, and we hope you enjoy using your Logitech C920 Webcam to its fullest potential! Happy video chatting, streaming, and content creation!


