Introduction
Welcome to our step-by-step guide on how to install the Hydro Series™ H150i Pro RGB 360mm Liquid CPU Cooler. If you’re looking to upgrade your computer’s cooling system for improved performance and temperature management, this guide is for you.
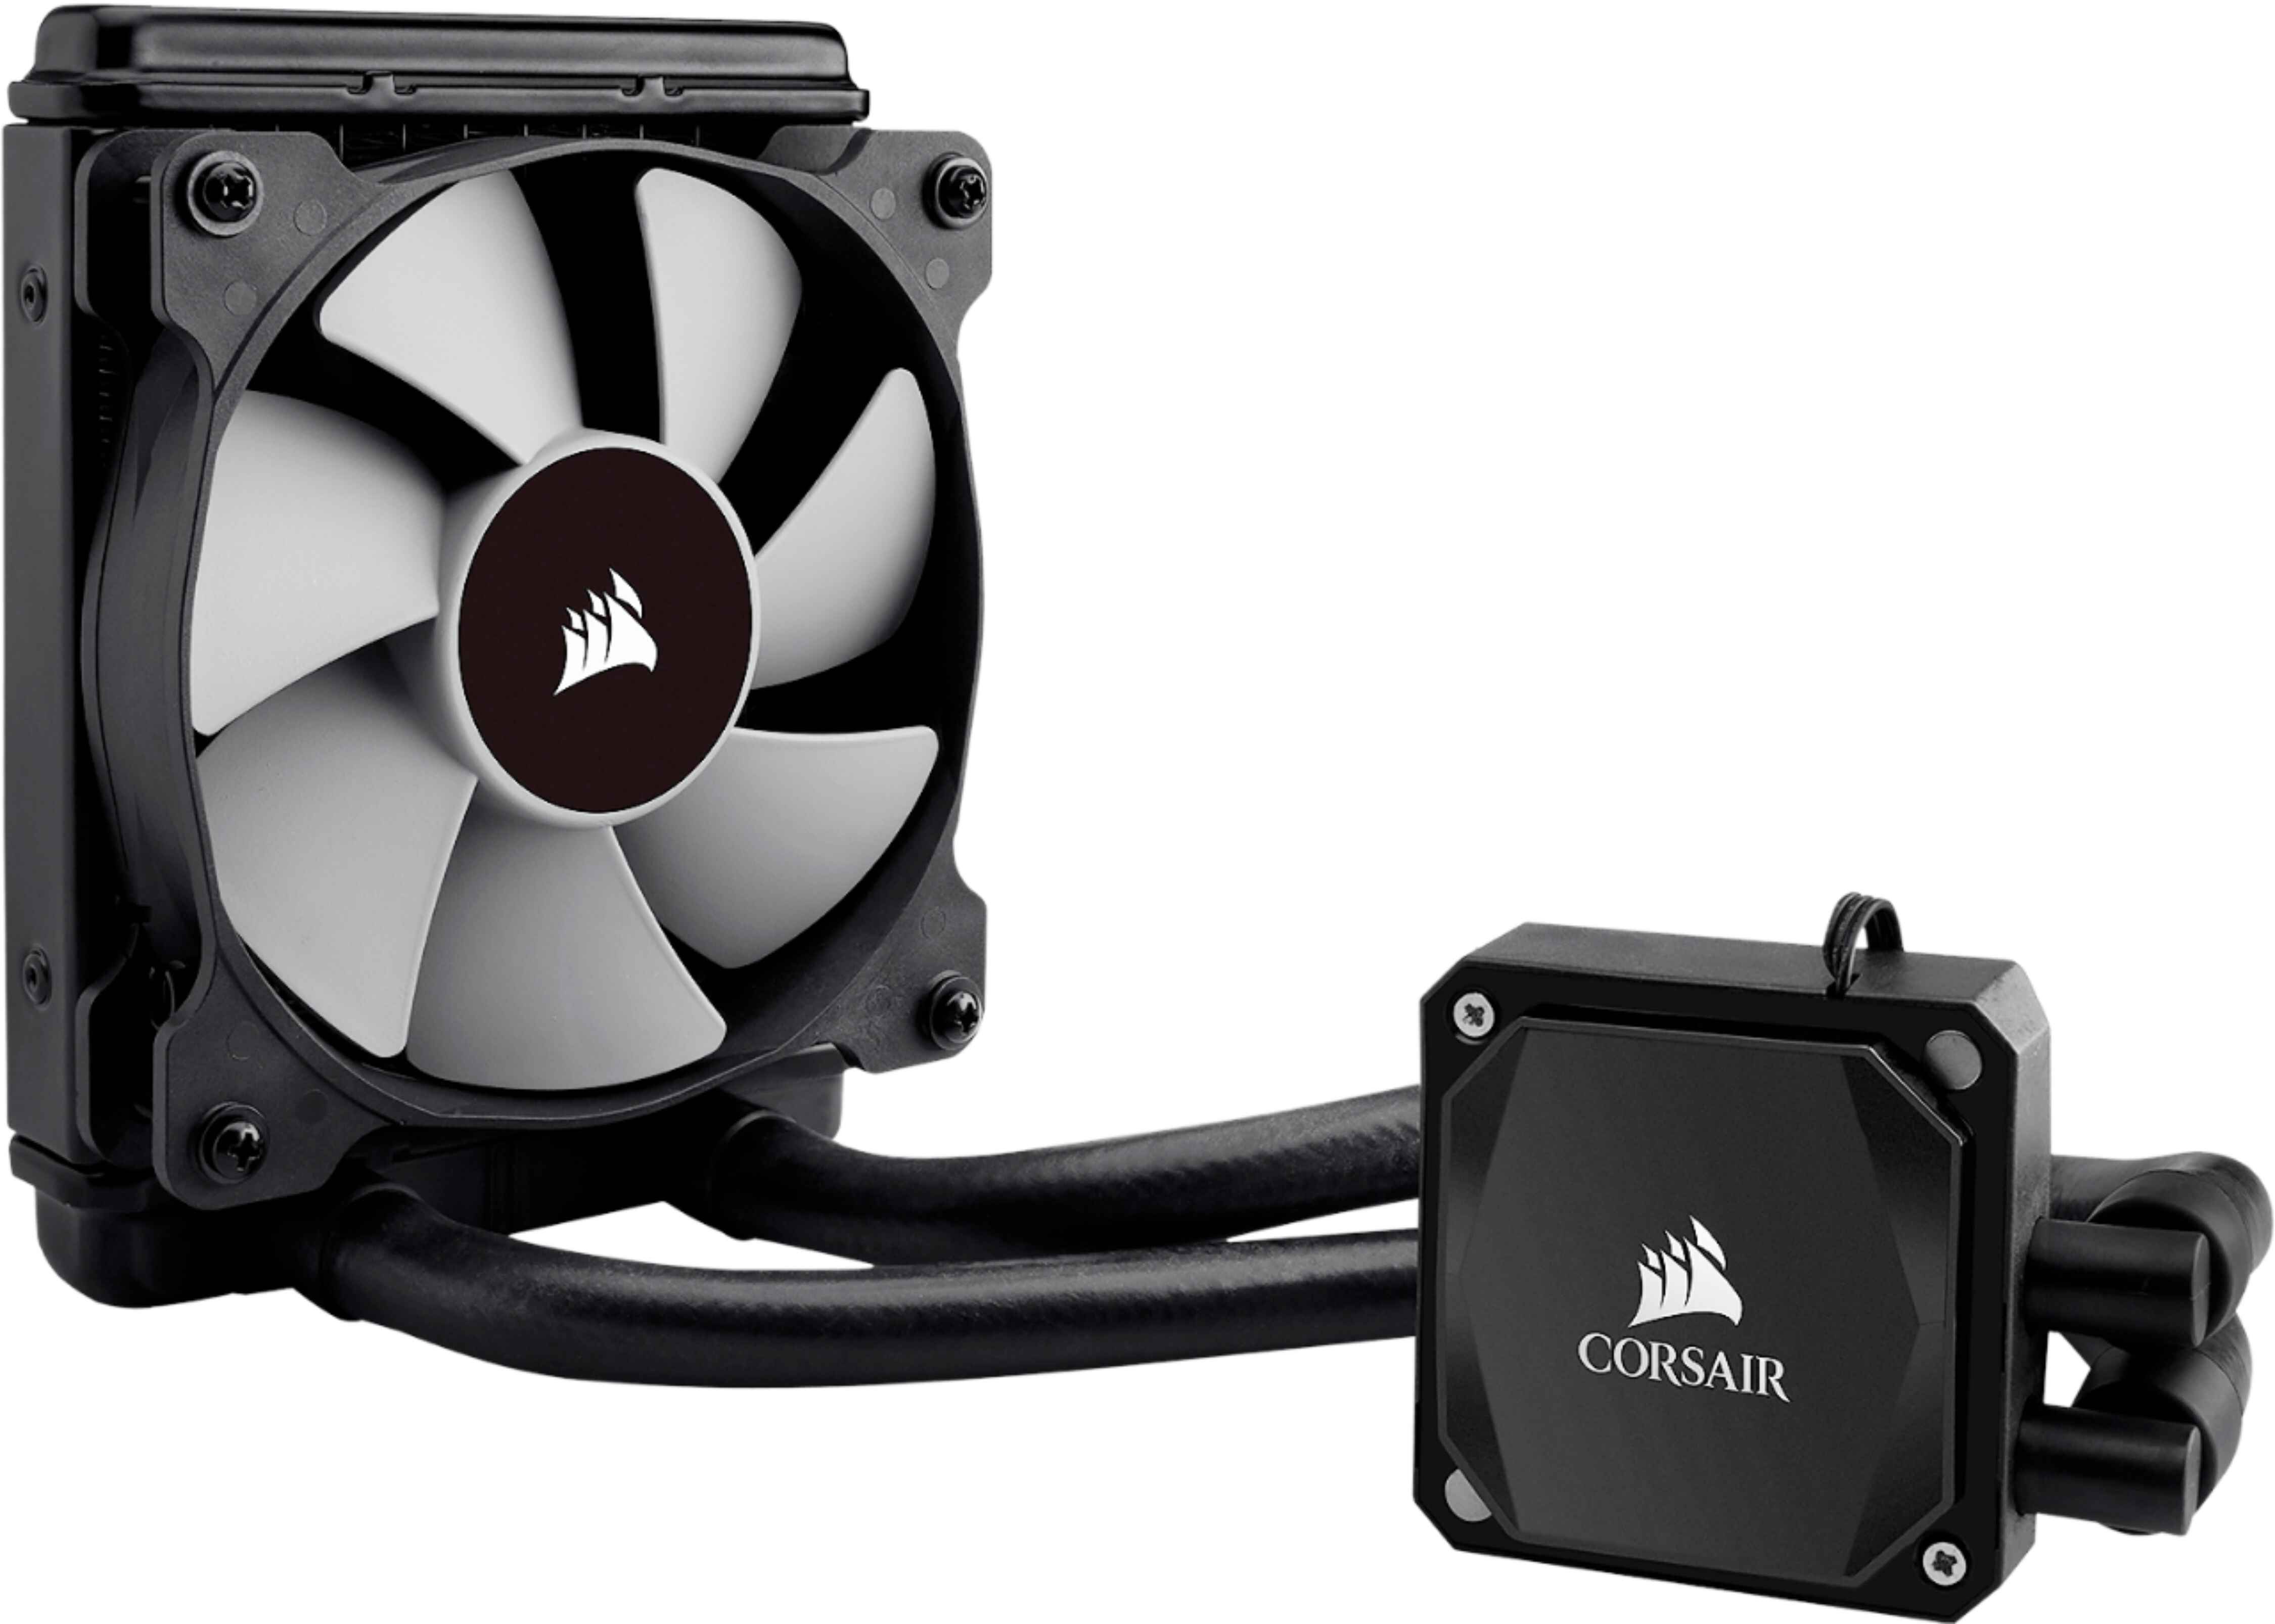
The Hydro Series™ H150i Pro RGB 360mm Liquid CPU Cooler is a high-performance cooling solution designed to keep your processor running smoothly even during intense gaming sessions or demanding tasks. With its advanced liquid cooling technology and RGB lighting effects, it not only provides efficient cooling but also adds a touch of style to your computer setup.
Before we dive into the installation process, it’s important to note that while installing a liquid CPU cooler might seem intimidating, it’s a fairly straightforward process as long as you follow the instructions carefully. In this guide, we will take you through each step, from unboxing the cooler to testing and troubleshooting.
Why Choose the Hydro Series™ H150i Pro RGB 360mm Liquid CPU Cooler?
The Hydro Series™ H150i Pro RGB 360mm Liquid CPU Cooler offers several advantages over traditional air coolers. Firstly, liquid cooling provides superior heat dissipation, allowing for more efficient cooling of your CPU. This is especially beneficial if you’re running a high-end processor that tends to generate a lot of heat.
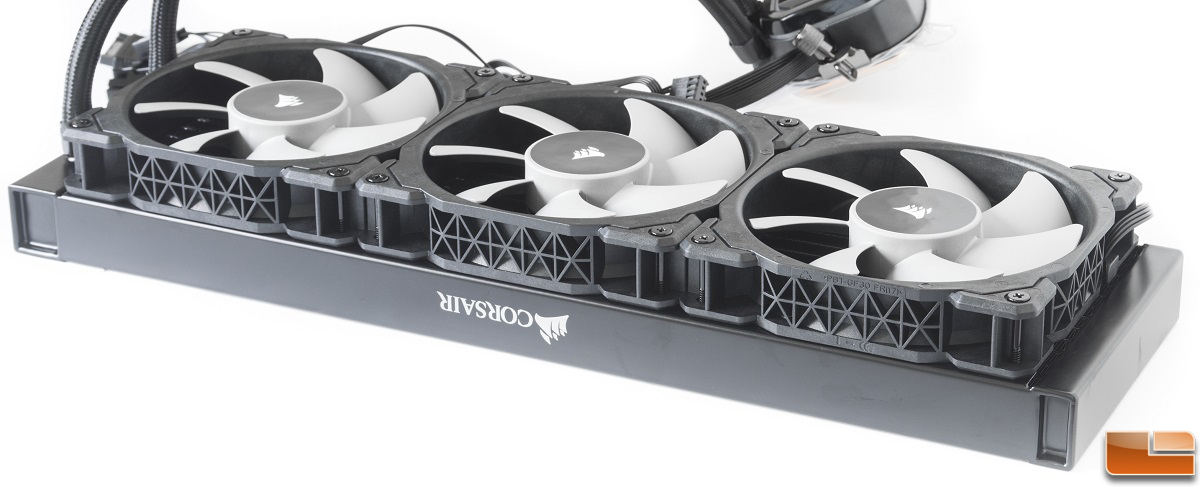
Additionally, the H150i Pro RGB comes equipped with three 120mm fans and a 360mm radiator, providing ample cooling power for even the most demanding systems. The RGB lighting feature allows you to customize the look of your cooler, adding a stylish touch to your PC build.
So, whether you’re a gaming enthusiast, a video editor, or simply someone who wants to keep their CPU running at optimal temperatures, the Hydro Series™ H150i Pro RGB 360mm Liquid CPU Cooler is an excellent choice.
Step 1: Unboxing the Hydro Series™ H150i Pro RGB 360mm Liquid CPU Cooler
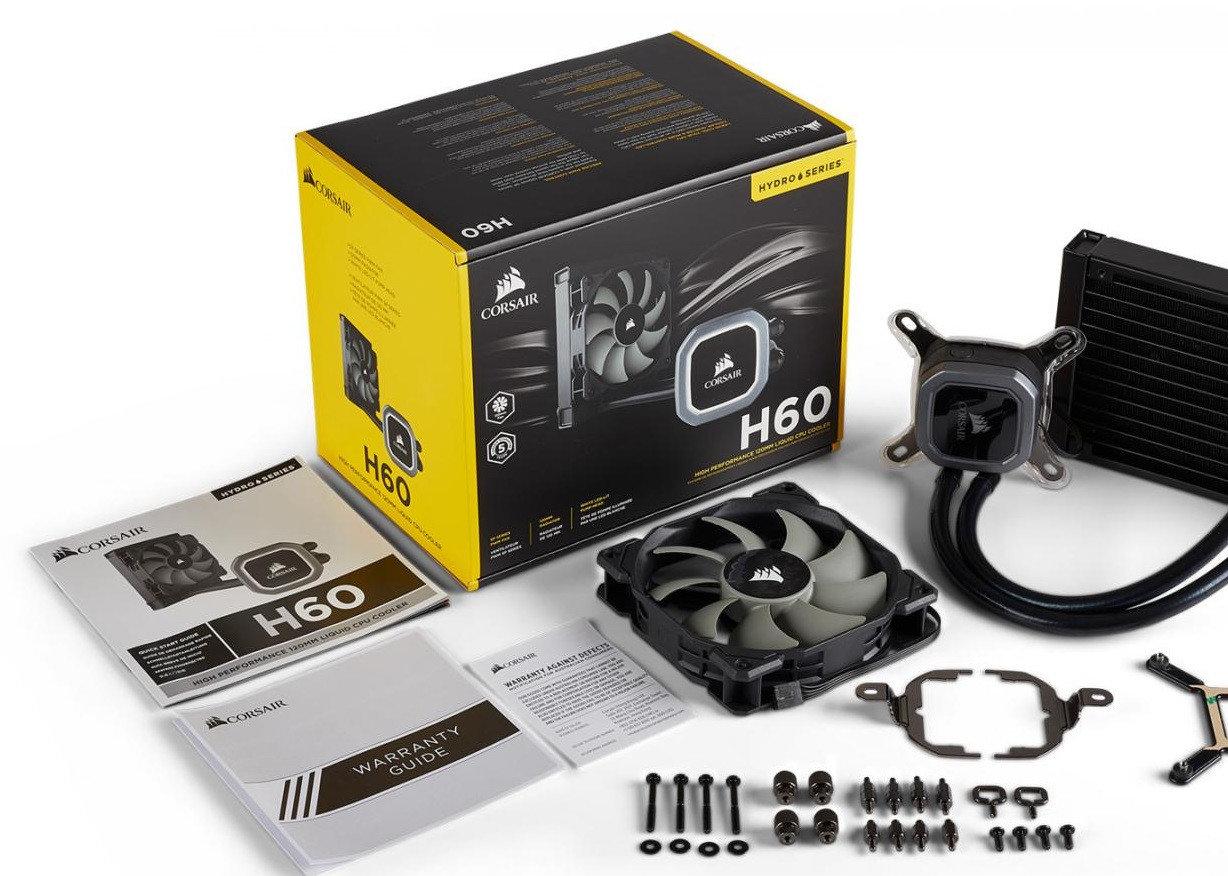
Before we begin the installation process, it is important to unbox and familiarize yourself with the components of the Hydro Series™ H150i Pro RGB 360mm Liquid CPU Cooler. Properly unboxing the cooler ensures that you have all the necessary parts and tools needed for a successful installation.
Follow these steps to unbox the cooler:
- Locate the Hydro Series™ H150i Pro RGB 360mm Liquid CPU Cooler package.
- Open the package carefully, ensuring not to damage any of the contents inside.
- Remove the top cover and set it aside.
- Inside the box, you will find the following components:
- The Hydro Series™ H150i Pro RGB CPU Cooler
- A 360mm radiator
- Three 120mm cooling fans
- A PWM fan splitter cable
- An Intel mounting bracket
- An AMD mounting bracket
- An assortment of screws and thermal compound
- A USB cable for iCUE software
- Take a moment to inspect each component for any signs of damage or defects. If you notice any issues, contact the manufacturer’s support for assistance.
It is essential to handle the cooler and its components with care during the unboxing process to prevent any accidental damage. Place the packaging materials aside in case you need them for safekeeping or future transportation.
Optional Step: Before proceeding with the installation, it is a good idea to read through the instruction manual provided with the cooler. Familiarize yourself with the installation steps, as this will give you a better understanding of the process and ensure a smoother installation.
Now that you have successfully unboxed the Hydro Series™ H150i Pro RGB 360mm Liquid CPU Cooler and inspected the components, you are ready to move on to the next step: preparing the computer case for installation.
Step 2: Preparing the Computer Case for Installation
Now that you have unboxed the Hydro Series™ H150i Pro RGB 360mm Liquid CPU Cooler, it’s time to prepare your computer case for the installation process. Proper preparation ensures that your cooler fits securely and functions optimally.
Follow these steps to prepare your computer case:
- Turn off your computer and unplug it from the power source. This is essential to avoid any electrical hazards during the installation process.
- Open the side panel of your computer case by removing the screws or sliding it off, depending on the case design. Refer to your case manual if you’re unsure of how to do this.
- Take a moment to assess the available space inside your case. The Hydro Series™ H150i Pro RGB 360mm Liquid CPU Cooler requires ample space for the radiator and fans. Ensure that your case has sufficient clearance for the cooler to fit without any obstructions.
- If there are any existing cooling fans or radiators in the way, remove them to make room for the new cooler. This may involve unscrewing the fans or radiator from their mounts. Keep the screws and mounting hardware in a safe place, as you may need them later.
- Clean the inside of your computer case using compressed air or a soft cloth. Remove any dust, debris, or cables that may be obstructing the installation area. A clean case allows for better airflow, which is essential for optimal cooling performance.
- Check the CPU socket area on your motherboard. Ensure that it is clear of any dirt or dust particles that may interfere with the installation process. Use a can of compressed air to gently blow away any debris.
- Refer to your motherboard manual and identify the appropriate CPU mounting holes. Depending on your CPU socket type (Intel or AMD), the holes may vary. Familiarize yourself with the correct mounting hole configuration before proceeding.
By following these steps, you have successfully prepared your computer case for the installation of the Hydro Series™ H150i Pro RGB 360mm Liquid CPU Cooler. In the next step, we will remove the existing CPU cooler and make way for the new one.
Step 3: Removing the Existing CPU Cooler
Before installing the Hydro Series™ H150i Pro RGB 360mm Liquid CPU Cooler, it is essential to remove the existing CPU cooler to ensure a clean and secure installation. Follow these steps to remove the old cooler:
- Start by shutting down your computer and disconnecting it from the power source. This step is crucial for your safety and to prevent any damage to your components.
- If your existing CPU cooler has a fan attached to it, unplug the fan cable from the motherboard or any fan controllers.
- Next, locate the mounting mechanism for your CPU cooler. The most common types are push pins, screws, or brackets. Identify the type used for your cooler.
- For coolers with push pins, gently press down on each pin one at a time while twisting counterclockwise to release them from the motherboard. Once all the pins are released, lift the cooler off the CPU.
- If your cooler is secured with screws, use a screwdriver to unscrew them in a diagonal pattern. Loosen each screw a little at a time to prevent any bending or damage to the CPU or the motherboard.
- Once the screws are removed, gently lift the old cooler off the CPU. If there is resistance, double-check for any remaining screws or pins that may still be securing the cooler.
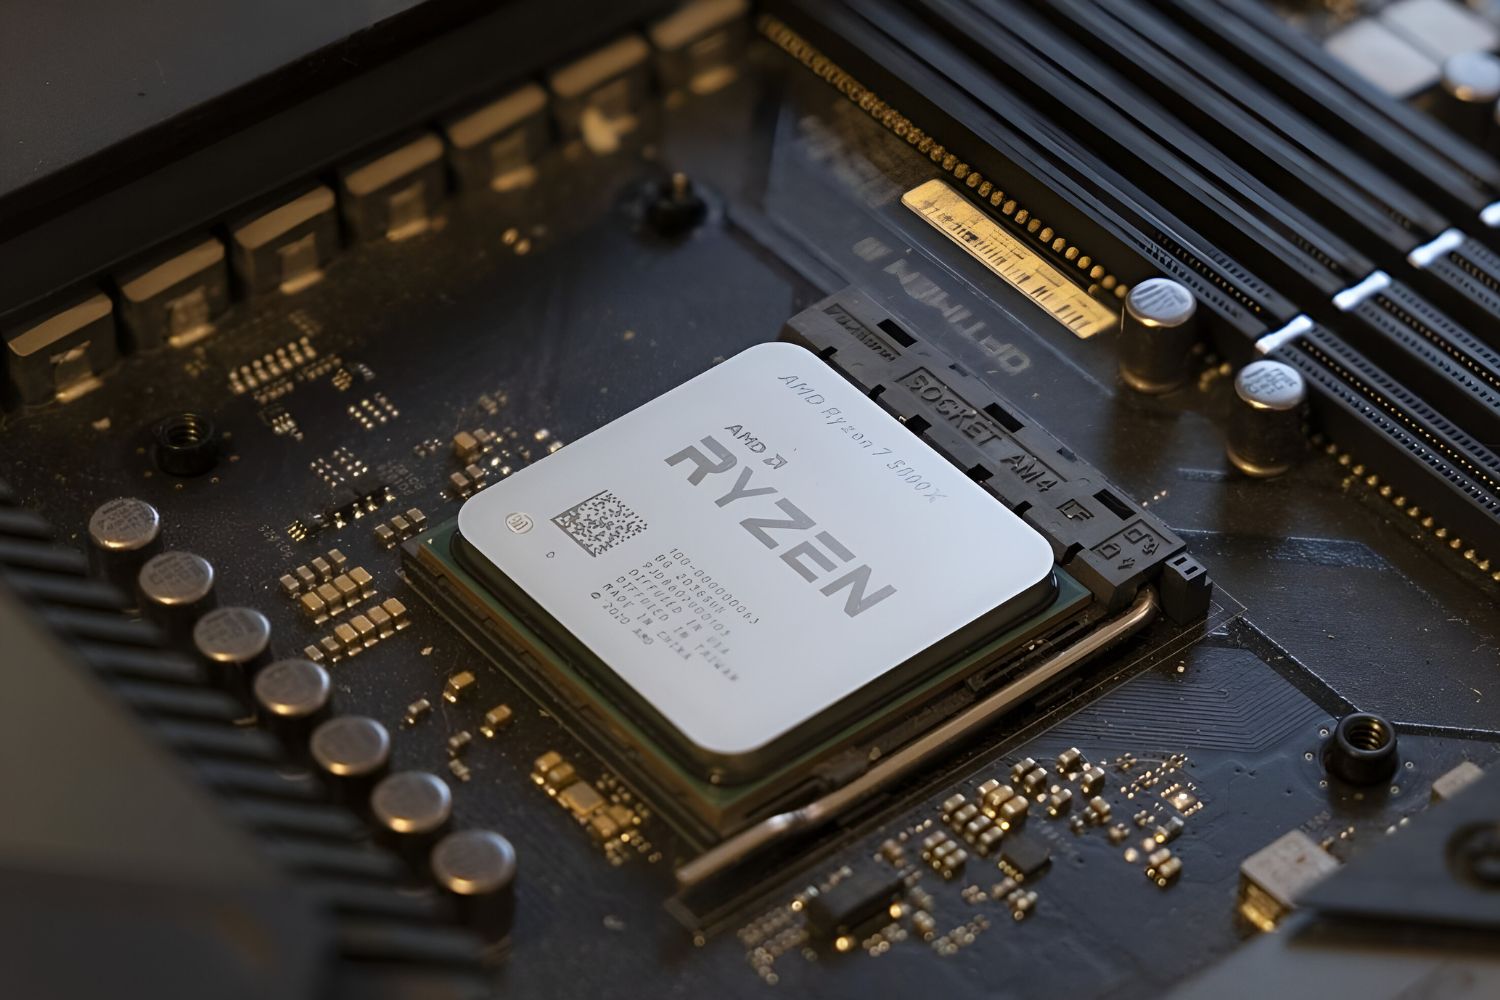
- After removing the cooler, you may notice thermal paste residue on the CPU. It’s important to clean this off before installing the new cooler. Use isopropyl alcohol and a microfiber cloth or cotton swab to wipe away the thermal paste. Ensure that the CPU surface is clean and free from any residue.
With the old CPU cooler successfully removed and the CPU surface cleaned, you are now ready to install the Hydro Series™ H150i Pro RGB 360mm Liquid CPU Cooler in the next step.
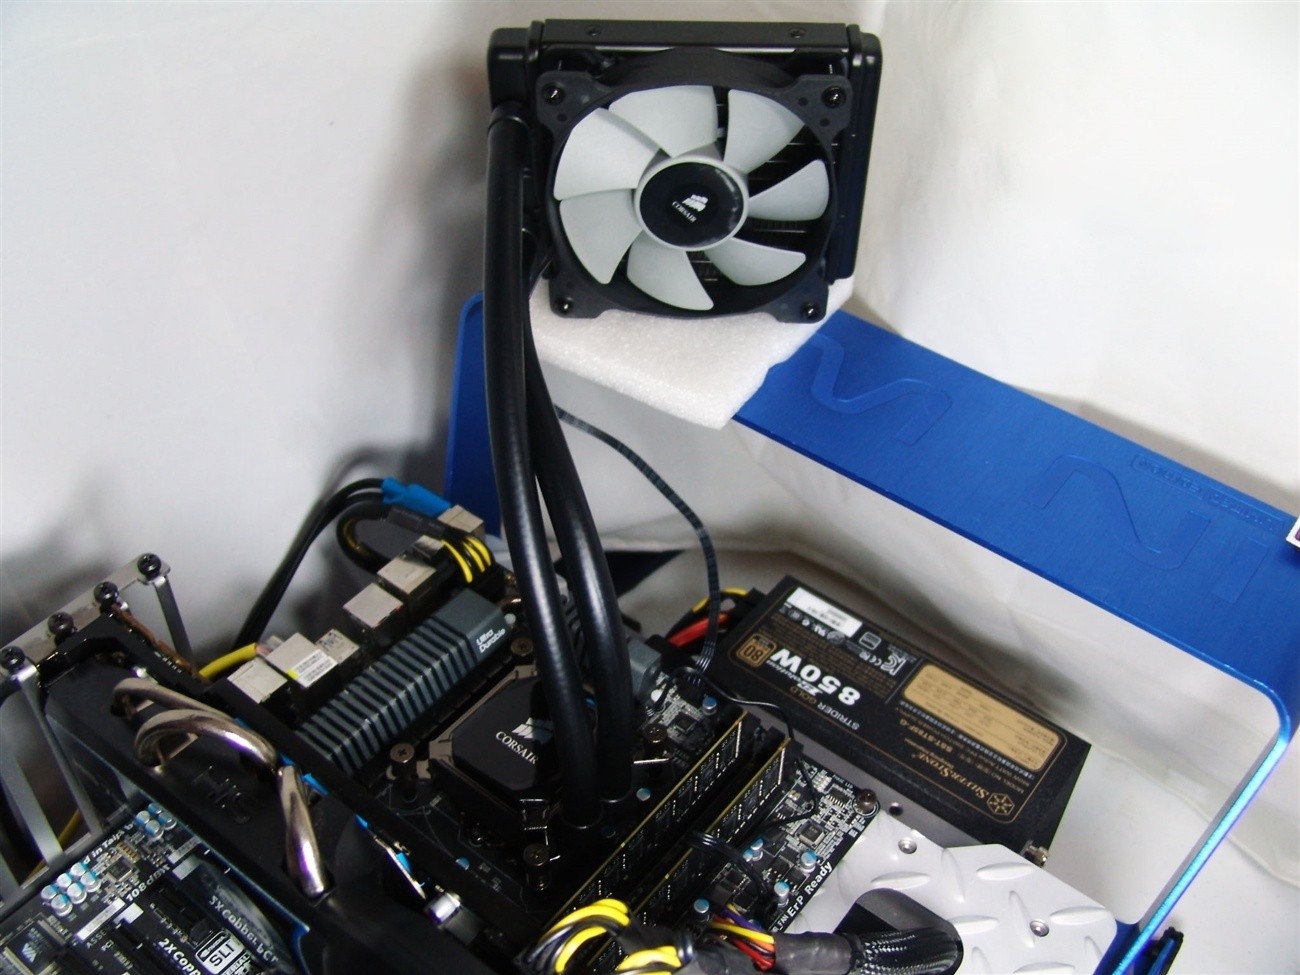
Step 4: Mounting the Hydro Series™ H150i Pro RGB CPU Cooler
With the old CPU cooler removed, it’s time to mount the Hydro Series™ H150i Pro RGB CPU Cooler onto your motherboard. Follow these steps for a successful installation:
- Start by locating the backplate included with your Hydro Series™ H150i Pro RGB CPU Cooler. This backplate provides support and stability for the cooler. Ensure that the backplate matches the CPU socket type of your motherboard (Intel or AMD).
- Carefully align the holes on the backplate with the mounting holes on the back of your motherboard.
- From the front side of the motherboard, insert the standoffs into the mounting holes on the backplate. Make sure they are securely in place.
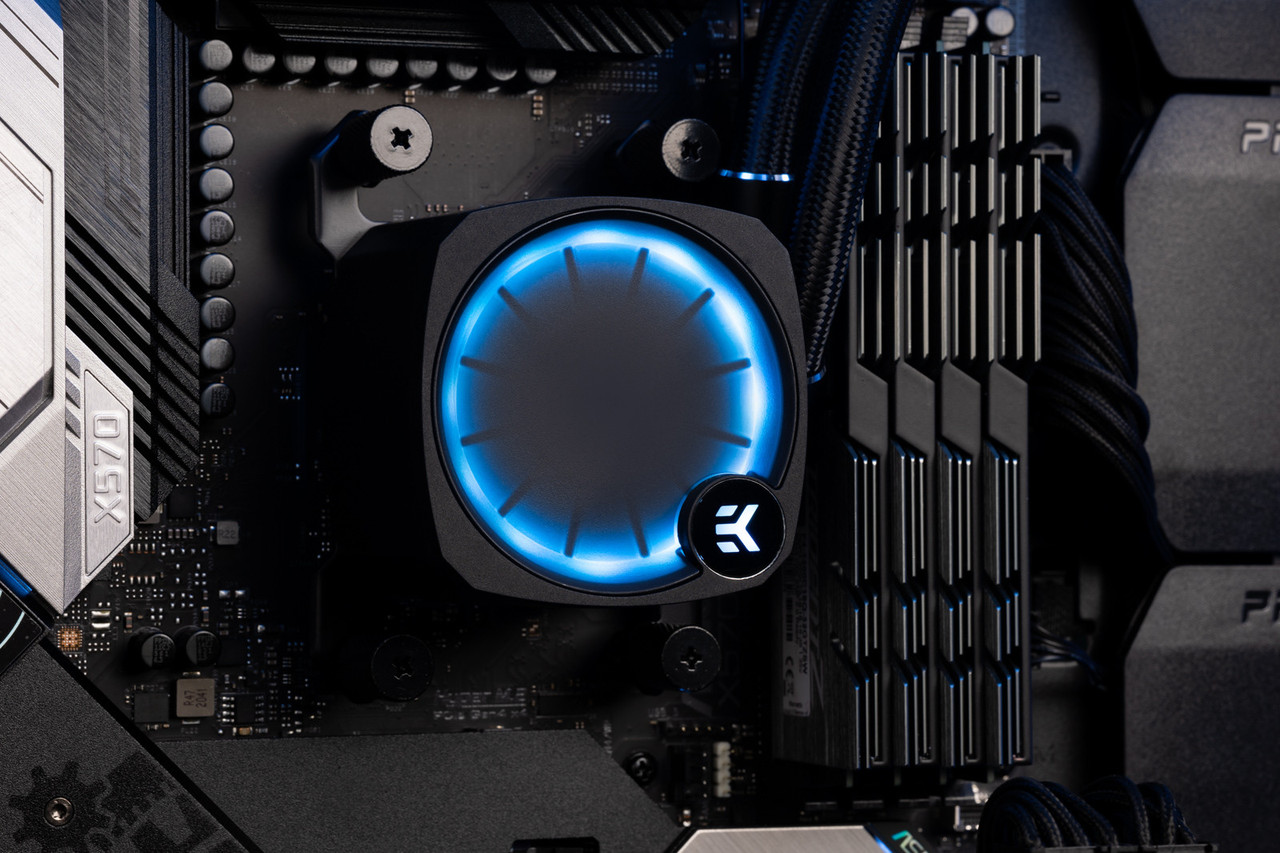
- Now, place the CPU block/pump assembly of the Hydro Series™ H150i Pro RGB CPU Cooler onto the CPU. Ensure that the thermal paste is applied to the center of the CPU before mounting the cooler.
- Align the holes on the CPU block/pump assembly with the standoffs on the backplate.
- Gently press down on the CPU block/pump assembly, evenly distributing the pressure to ensure a secure and firm attachment.
- Using the provided screws, fasten the CPU block/pump assembly onto the standoffs. Tighten the screws in a diagonal pattern to ensure even pressure distribution.
- Double-check that the CPU block/pump assembly is securely mounted and does not wobble or move when lightly touched.
It’s important to note that the mounting process may vary slightly depending on the manufacturer’s instructions. Always refer to the installation manual provided with your specific CPU cooler for accurate and detailed instructions.
With the Hydro Series™ H150i Pro RGB CPU Cooler successfully mounted onto your CPU, you have completed the next step of the installation process. In the following step, we will install the cooling fans to enhance the cooler’s performance.
Step 5: Installing the Cooling Fans
Now that the Hydro Series™ H150i Pro RGB CPU Cooler is securely mounted, it’s time to install the cooling fans. These fans play a crucial role in dissipating heat from the radiator and ensuring optimal cooling performance. Follow these steps to install the cooling fans:
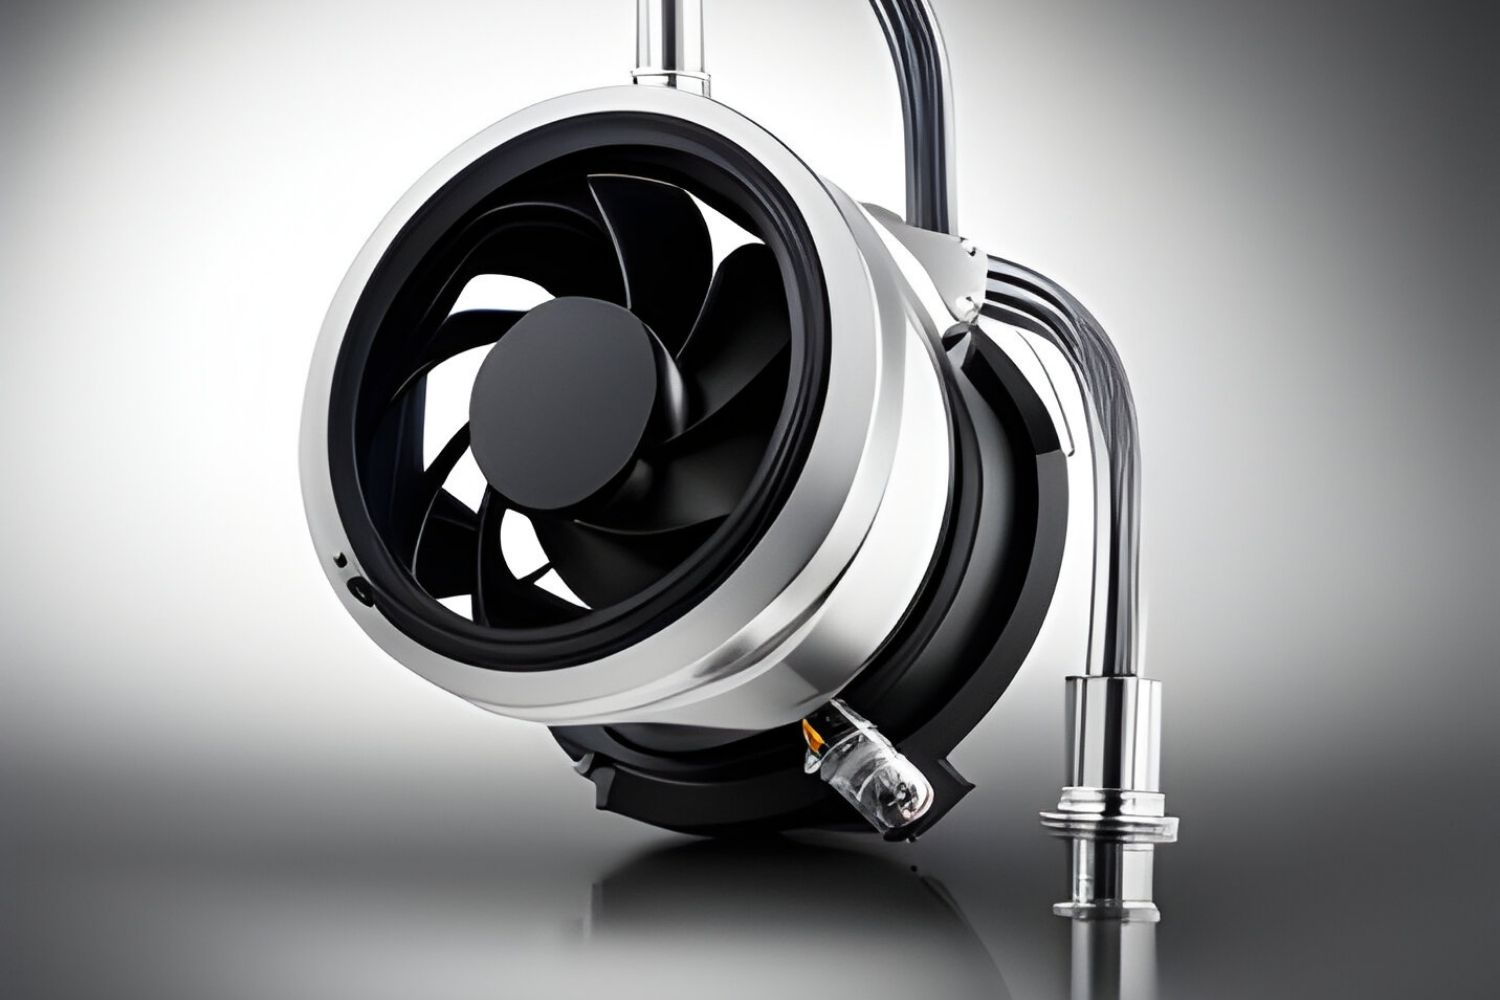
- Take one of the 120mm cooling fans and position it on one side of the radiator. Align the mounting holes on the fan with the corresponding holes on the radiator.
- Using the provided screws, secure the fan onto the radiator by screwing them in gently. Be careful not to overtighten the screws, as it may damage the radiator or the fan.
- Repeat steps 1 and 2 for the remaining two cooling fans, ensuring that they are evenly spaced along the radiator.
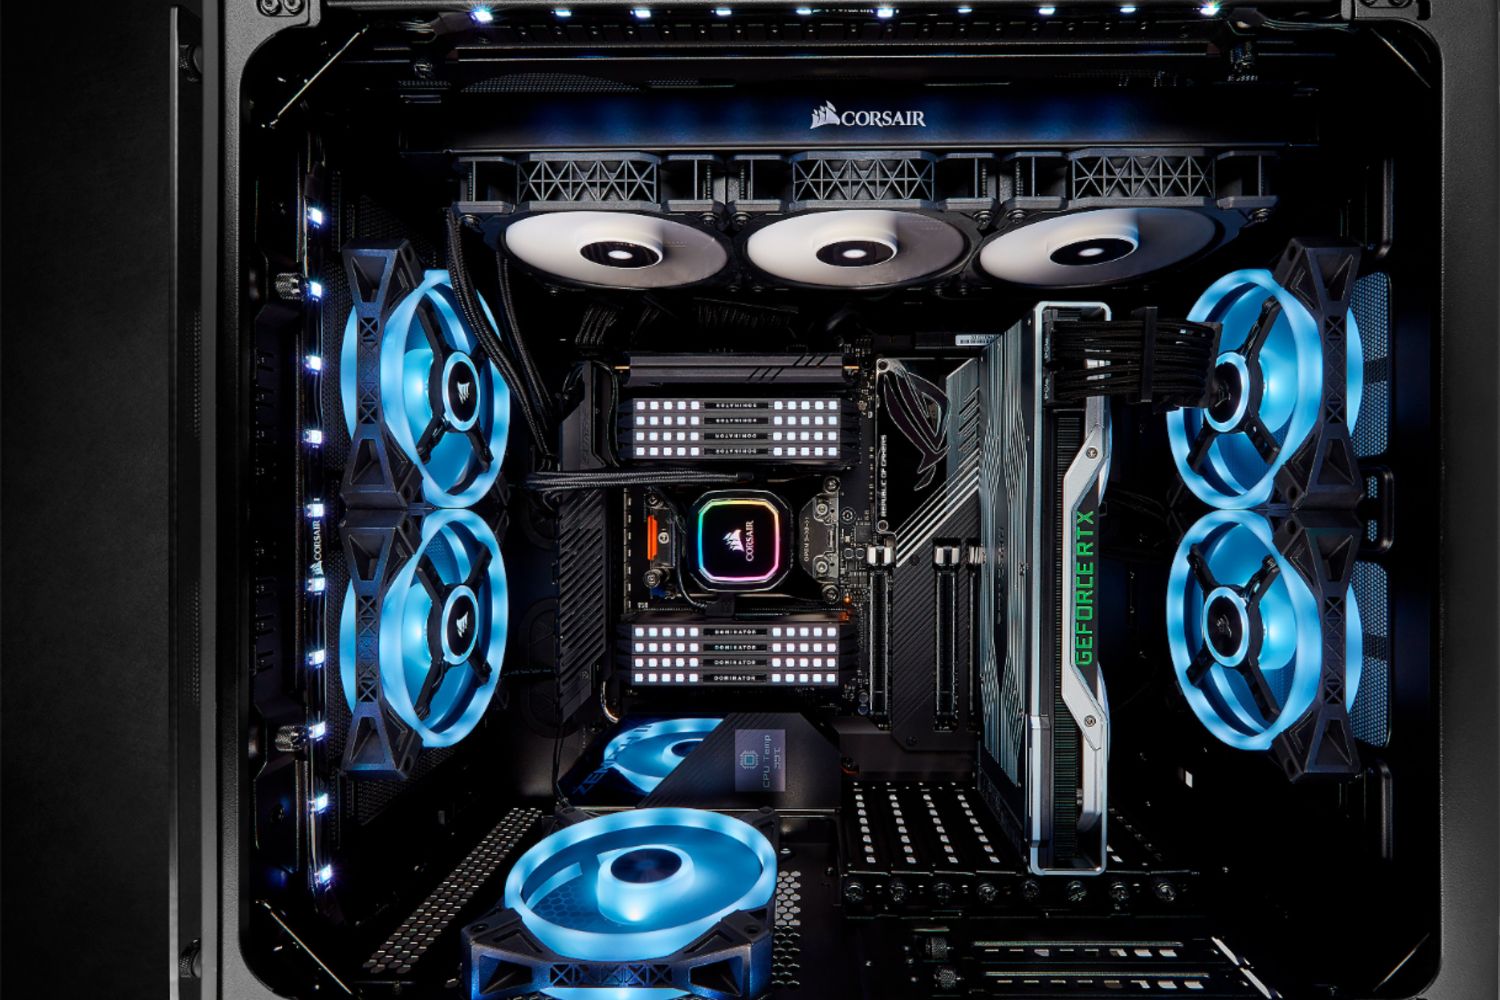
- Once all the fans are securely attached to the radiator, gently position the radiator with the fans inside your computer case. Make sure the fans are facing in the correct direction to ensure proper airflow.
- Using the provided screws or mounting brackets, secure the radiator to the case. Refer to your case manual for the appropriate mounting points.
- Double-check that the radiator is firmly and securely mounted, and the fans are in the correct position.
- Attach the fan cables to the fan headers on your motherboard or any fan controllers. Ensure that each fan is properly connected.
It’s important to note that some cases may have specific mounting points or brackets for radiators. Make sure to review your case manual or consult the manufacturer’s website for any additional installation instructions specific to your case.
With the cooling fans successfully installed, your Hydro Series™ H150i Pro RGB CPU Cooler is now ready for the next step, which involves connecting the power cables.
Step 6: Connecting the Power Cables
With the Hydro Series™ H150i Pro RGB CPU Cooler and cooling fans in place, it’s time to connect the necessary power cables to ensure proper functionality. Follow these steps to connect the power cables:
- Locate the power connection cables that came with your Hydro Series™ H150i Pro RGB CPU Cooler. These cables typically include the SATA power cable and the USB cable.
- Connect the SATA power cable to the SATA power connector on your power supply unit (PSU). This cable provides power to the CPU block/pump assembly.
- Ensure that the SATA power cable is securely connected, ensuring a tight and reliable connection.
- Next, connect the USB cable to the USB header on your motherboard. This cable allows you to control and customize the RGB lighting and monitor the performance of the cooler through the Corsair iCUE software.
- Ensure that the USB cable is securely connected, providing a stable connection between the cooler and your motherboard.
It’s important to note that the specific power cable connections may vary depending on your motherboard and power supply unit. Always consult the user manuals of your components for accurate information on how to connect the power cables.
Double-check that all power cables are properly connected and secure. This ensures that the CPU block/pump assembly and the cooling fans receive the necessary power for optimal performance.
With the power cables connected, your Hydro Series™ H150i Pro RGB CPU Cooler is almost ready to go. In the next step, we will install the Corsair iCUE software to control and monitor the cooler’s performance.
Step 7: Installing the Corsair iCUE Software
The Corsair iCUE software allows you to control and customize the RGB lighting effects of your Hydro Series™ H150i Pro RGB CPU Cooler, as well as monitor and adjust its performance. Follow these steps to install the Corsair iCUE software:
- Visit the official Corsair website and navigate to the support or downloads section.
- Search for the Corsair iCUE software and locate the appropriate version for your operating system. Download the software installer accordingly.
- Once the download is complete, locate the installer file and run it.
- Follow the on-screen prompts to install the Corsair iCUE software on your computer.
- During the installation process, carefully review and read any license agreements or terms and conditions presented.
- Once the installation is complete, launch the Corsair iCUE software.
- Ensure that your Hydro Series™ H150i Pro RGB CPU Cooler is connected to your computer via the USB cable.
- The Corsair iCUE software should automatically detect and display your cooler in the software interface.
- From the software interface, you can customize the RGB lighting effects, adjust fan speeds, monitor temperatures, and manage other performance settings of your cooler.
It’s important to keep the Corsair iCUE software up to date to ensure compatibility and access to the latest features and optimizations. Check for software updates regularly through the software interface or the Corsair website.
With the Corsair iCUE software installed and your cooler connected, you have successfully completed the installation process. In the final step, we will cover testing and troubleshooting to ensure everything is functioning as expected.
Step 8: Testing and Troubleshooting
After completing the installation of the Hydro Series™ H150i Pro RGB CPU Cooler and configuring the Corsair iCUE software, it’s important to test and troubleshoot to ensure everything is functioning properly. Follow these steps to test and troubleshoot your cooler:
- Power on your computer and monitor the CPU temperature through the Corsair iCUE software. Ensure that the temperatures are within the expected range for your CPU model.
- Listen for any unusual noises coming from the cooler, such as grinding or rattling sounds. Unusual noises could indicate a loose component or an issue with the fan blades. If you notice any abnormal sounds, investigate and rectify the issue if possible.
- With the Corsair iCUE software, test the RGB lighting effects. Customize the lighting to your preference and ensure that it is working as intended.
- Monitor the fan speeds through the Corsair iCUE software. Ensure that the fans are spinning at the correct speeds and adjust the fan curves if necessary to achieve optimal cooling performance.
- If you encounter any issues during testing, refer to the troubleshooting section in the Hydro Series™ H150i Pro RGB CPU Cooler’s user manual. Follow the recommended steps to address and resolve any problems.
- Check for software updates for the Corsair iCUE software and install any available updates. Updated software often includes bug fixes and performance enhancements.
- If you are unable to resolve any issues or if you suspect a hardware problem, contact Corsair’s customer support for further assistance.
Remember to periodically monitor your CPU temperatures and system performance to ensure that the Hydro Series™ H150i Pro RGB CPU Cooler is functioning optimally.
By following these steps and performing necessary tests and troubleshooting, you can ensure that your Hydro Series™ H150i Pro RGB CPU Cooler is installed correctly and operating at its best.
Conclusion
Congratulations! You have successfully completed the installation of the Hydro Series™ H150i Pro RGB 360mm Liquid CPU Cooler. By following each step carefully, you have upgraded your computer’s cooling system, ensuring improved performance and temperature management.
The Hydro Series™ H150i Pro RGB CPU Cooler offers a high-performance cooling solution, with its advanced liquid cooling technology and customizable RGB lighting effects. It provides efficient cooling for your processor, keeping it running smoothly even during demanding tasks or intense gaming sessions.
Throughout the installation process, we covered the necessary steps, including unboxing the cooler, preparing the computer case, removing the existing CPU cooler, mounting the Hydro Series™ H150i Pro RGB CPU Cooler, installing the cooling fans, connecting the power cables, installing the Corsair iCUE software, and testing and troubleshooting.
Remember to regularly monitor your CPU temperatures, adjust fan speeds if needed, and keep the Corsair iCUE software up to date for optimal performance and customization options. If you encounter any issues, refer to the troubleshooting section in the user manual or contact Corsair’s customer support for assistance.
With the Hydro Series™ H150i Pro RGB 360mm Liquid CPU Cooler installed, you can enjoy a cooler and more efficient system, providing a better computing experience overall. Sit back, relax, and enjoy the enhanced performance and stylish aesthetics that the Hydro Series™ H150i Pro RGB CPU Cooler brings to your setup!