Introduction
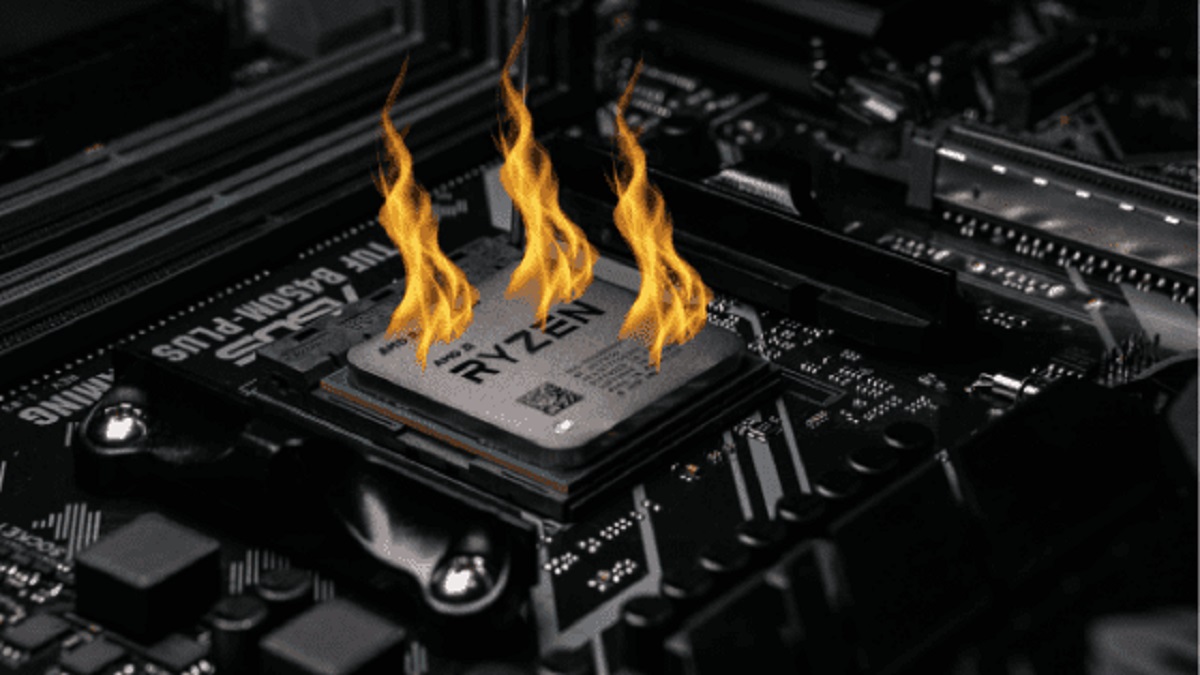
Welcome to the world of computer cooling enthusiasts! If you’re tired of your CPU running hot and are looking for an alternative cooling solution, building your own Peltier CPU cooler might just be the answer. In this article, we will guide you through the process of creating your very own Peltier CPU cooler from scratch.
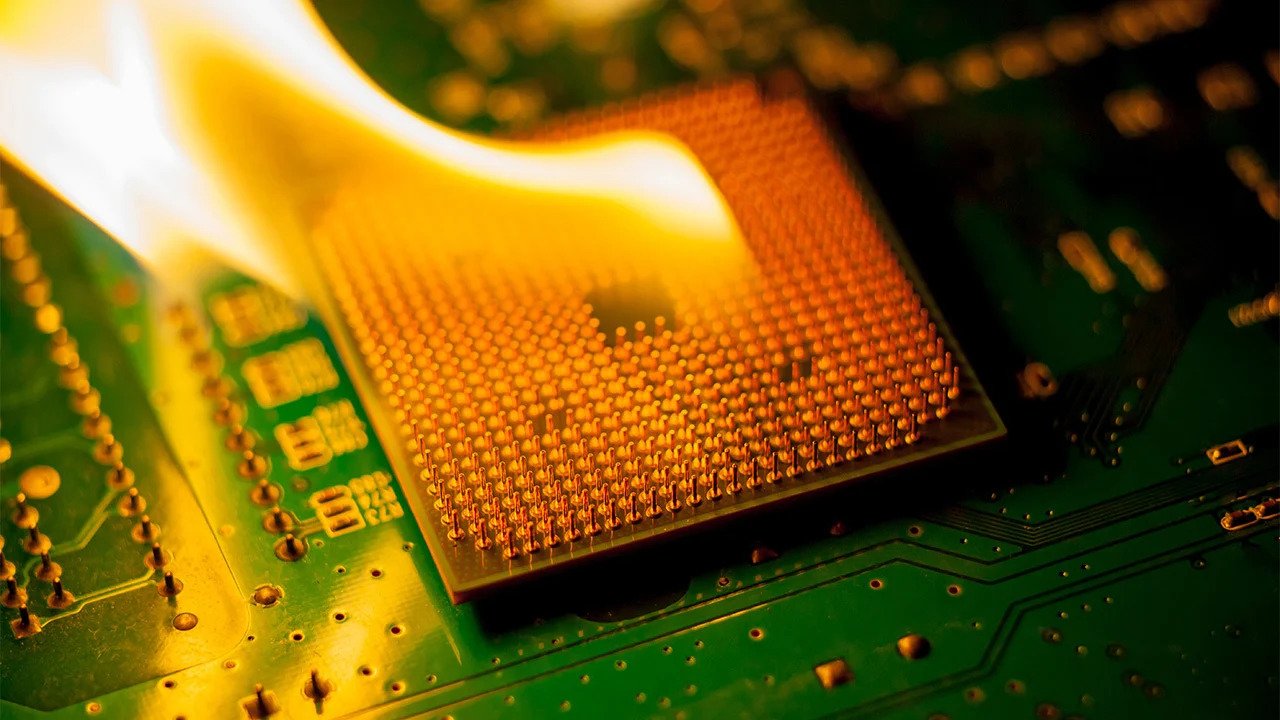
First, let’s understand what a Peltier CPU cooler is. A Peltier cooler, also known as a thermoelectric cooler, is a device that uses the Peltier effect to transfer heat away from the CPU. It operates by exploiting the temperature difference created by the flow of electric current through two dissimilar materials. This temperature difference creates a heat sink effect, allowing for efficient heat transfer and cooling.
Now you might be wondering, why bother building your own Peltier CPU cooler? Well, there are a few reasons why this DIY project can be worth your time and effort. Firstly, commercial CPU coolers can be expensive, especially the high-end ones with advanced cooling capabilities. By building your own, you can save a significant amount of money while achieving similar or even better cooling performance.
Secondly, building your own Peltier CPU cooler gives you the freedom to customize and tailor it to your specific needs. You can choose the materials, sizes, and other components based on your preferences and requirements. This level of customization allows for better efficiency and performance, ensuring that your CPU stays cool even during intense gaming or demanding tasks.
Last but not least, building your own Peltier CPU cooler can be a fun and rewarding project. It allows you to delve into the world of computer hardware and gain valuable knowledge and skills. You’ll have the satisfaction of knowing that you created a cooling solution that is unique and tailored to your needs.
Before we jump into the step-by-step guide, let’s take a moment to gather all the materials you’ll need for this build. Having everything ready will save you time and make the process smoother. So, grab a pen and paper and let’s get started!
What is a Peltier CPU Cooler?
A Peltier CPU cooler, also known as a thermoelectric cooler, is a device specifically designed to dissipate heat generated by a CPU. It utilizes the Peltier effect, discovered by Jean Charles Athanase Peltier in 1834, to create a temperature difference between two junctions when an electric current flows through two dissimilar materials. This temperature difference allows for efficient heat transfer, cooling down the CPU and preventing overheating.
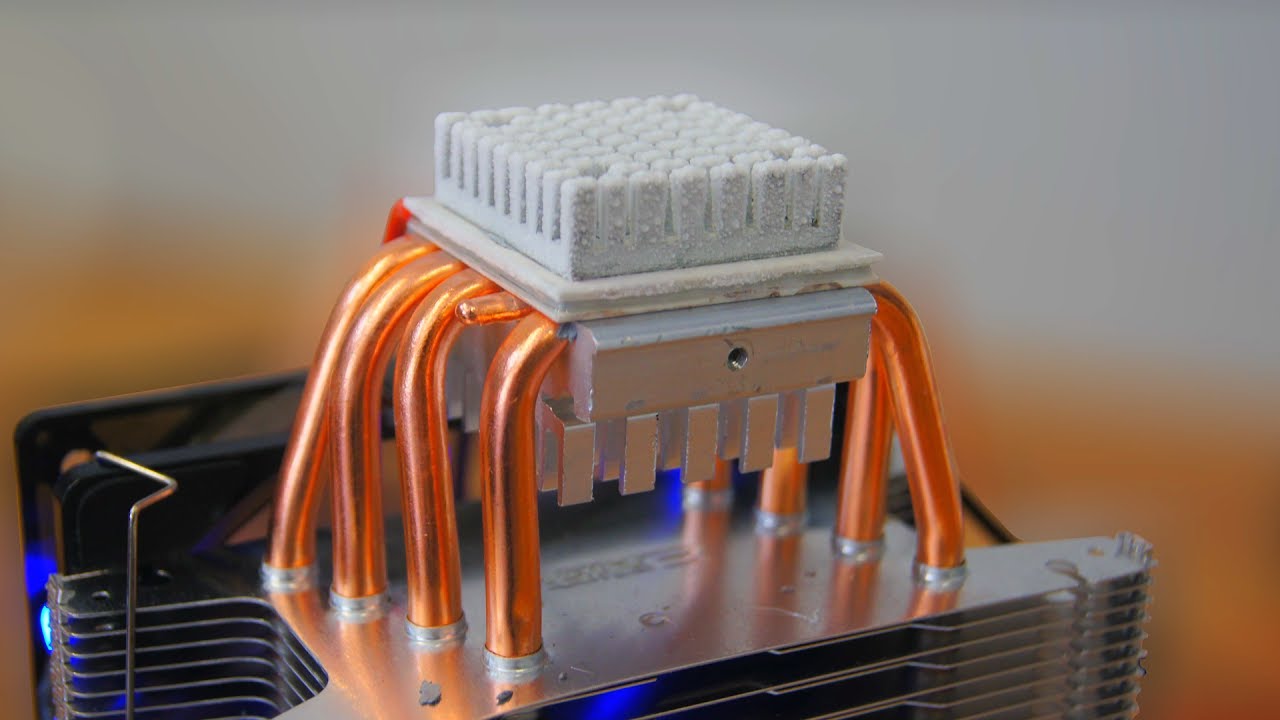
The main component of a Peltier CPU cooler is the Peltier module itself. This module is made up of a set of thermoelectric materials, such as bismuth telluride, sandwiched between two ceramic plates. When an electric current is applied to the module, one side becomes cold while the other becomes hot, creating the desired temperature difference.
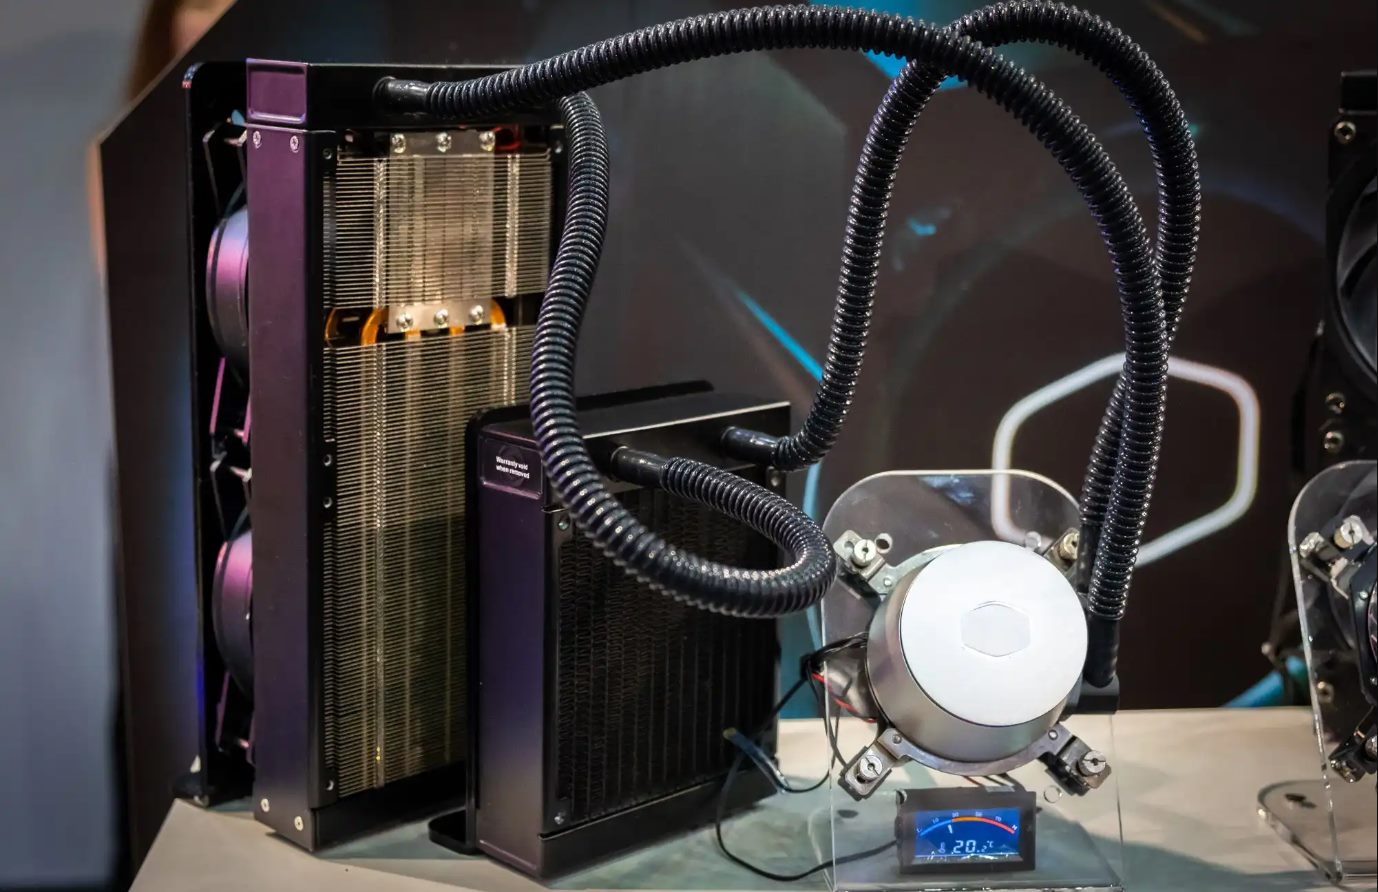
One side of the Peltier module, also known as the cold side, is in direct contact with the CPU heat source. This side absorbs the heat generated by the CPU, causing the thermoelectric materials to cool down. The hot side of the module, on the other hand, faces the external environment. It dissipates the absorbed heat into the surroundings using passive or active cooling methods, such as a heatsink and a fan, or even liquid cooling systems.
With the Peltier effect at work, the hot side of the Peltier module increases in temperature, while the cold side decreases in temperature. This temperature difference allows for efficient heat transfer from the CPU to the cold side, ensuring that the CPU operates within safe temperature limits.
It’s worth noting that while Peltier CPU coolers can effectively cool down CPUs, they also have some limitations. Peltier modules consume a significant amount of electrical power, as they require an electric current to operate. Additionally, Peltier coolers can create a substantial amount of heat on the hot side, which needs to be dissipated effectively to prevent temperature build-up.
Overall, Peltier CPU coolers offer an alternative cooling solution for those looking to achieve optimal CPU temperatures. Their unique thermoelectric cooling mechanism provides efficient heat transfer, making them ideal for overclocking or situations where traditional cooling methods may fall short.
Why Build Your Own Peltier CPU Cooler?
You may be wondering why you should undertake the task of building your own Peltier CPU cooler when there are plenty of pre-built options available on the market. Well, here are a few compelling reasons to consider this DIY project:
1. Cost Savings: Commercial CPU coolers, especially those with advanced cooling capabilities, can be quite expensive. By building your own Peltier CPU cooler, you can save a significant amount of money. The cost of individual components and materials is often more affordable than purchasing a pre-built cooler. Plus, you have the flexibility to choose components that fit your budget without sacrificing performance.
2. Customization: When you build your own Peltier CPU cooler, you have full control over the design and components. This level of customization allows you to tailor the cooler to your specific needs and preferences. You can choose the size, type, and quality of the components, ensuring that they meet your requirements. This customization also extends to the aesthetics, allowing you to create a cooler that matches your overall computer setup.
3. Performance Optimization: Building your own Peltier CPU cooler gives you the opportunity to optimize its performance. By selecting high-quality components and designing the cooler to efficiently dissipate heat, you can achieve better cooling results compared to off-the-shelf options. This is particularly beneficial for users who engage in intensive tasks such as gaming or video editing, where maintaining low CPU temperatures is crucial.
4. Learning Experience: Embarking on a DIY project like building a Peltier CPU cooler is an excellent opportunity to expand your knowledge and acquire new skills. Through the process, you’ll gain a deeper understanding of thermoelectric cooling principles, electrical wiring, and heat management. The hands-on experience you gain can be invaluable for future computer-related endeavors, allowing you to troubleshoot and make informed decisions when it comes to cooling solutions.
5. The Satisfaction of Achievement: There’s a certain sense of satisfaction that comes with successfully completing a DIY project. Building your own Peltier CPU cooler from scratch and seeing it effectively cool down your CPU is a gratifying experience. It’s a testament to your skills and resourcefulness, and it can provide a great sense of accomplishment that goes beyond the simple functional benefits of the cooler itself.
With these compelling reasons in mind, building your own Peltier CPU cooler offers cost savings, customization options, performance optimization, learning opportunities, and the personal satisfaction of a DIY achievement. So, if you’re up for the challenge, let’s dive into the materials you’ll need and the step-by-step process of building your own Peltier CPU cooler.
Materials Needed
Before you start building your Peltier CPU cooler, it’s essential to gather all the necessary materials. Having everything ready will ensure a smooth and efficient build process. Here’s a list of the materials you’ll need:
- Peltier Module: The heart of your Peltier CPU cooler, this thermoelectric module is responsible for the cooling effect. Choose one that fits your CPU socket and desired cooling capacity.
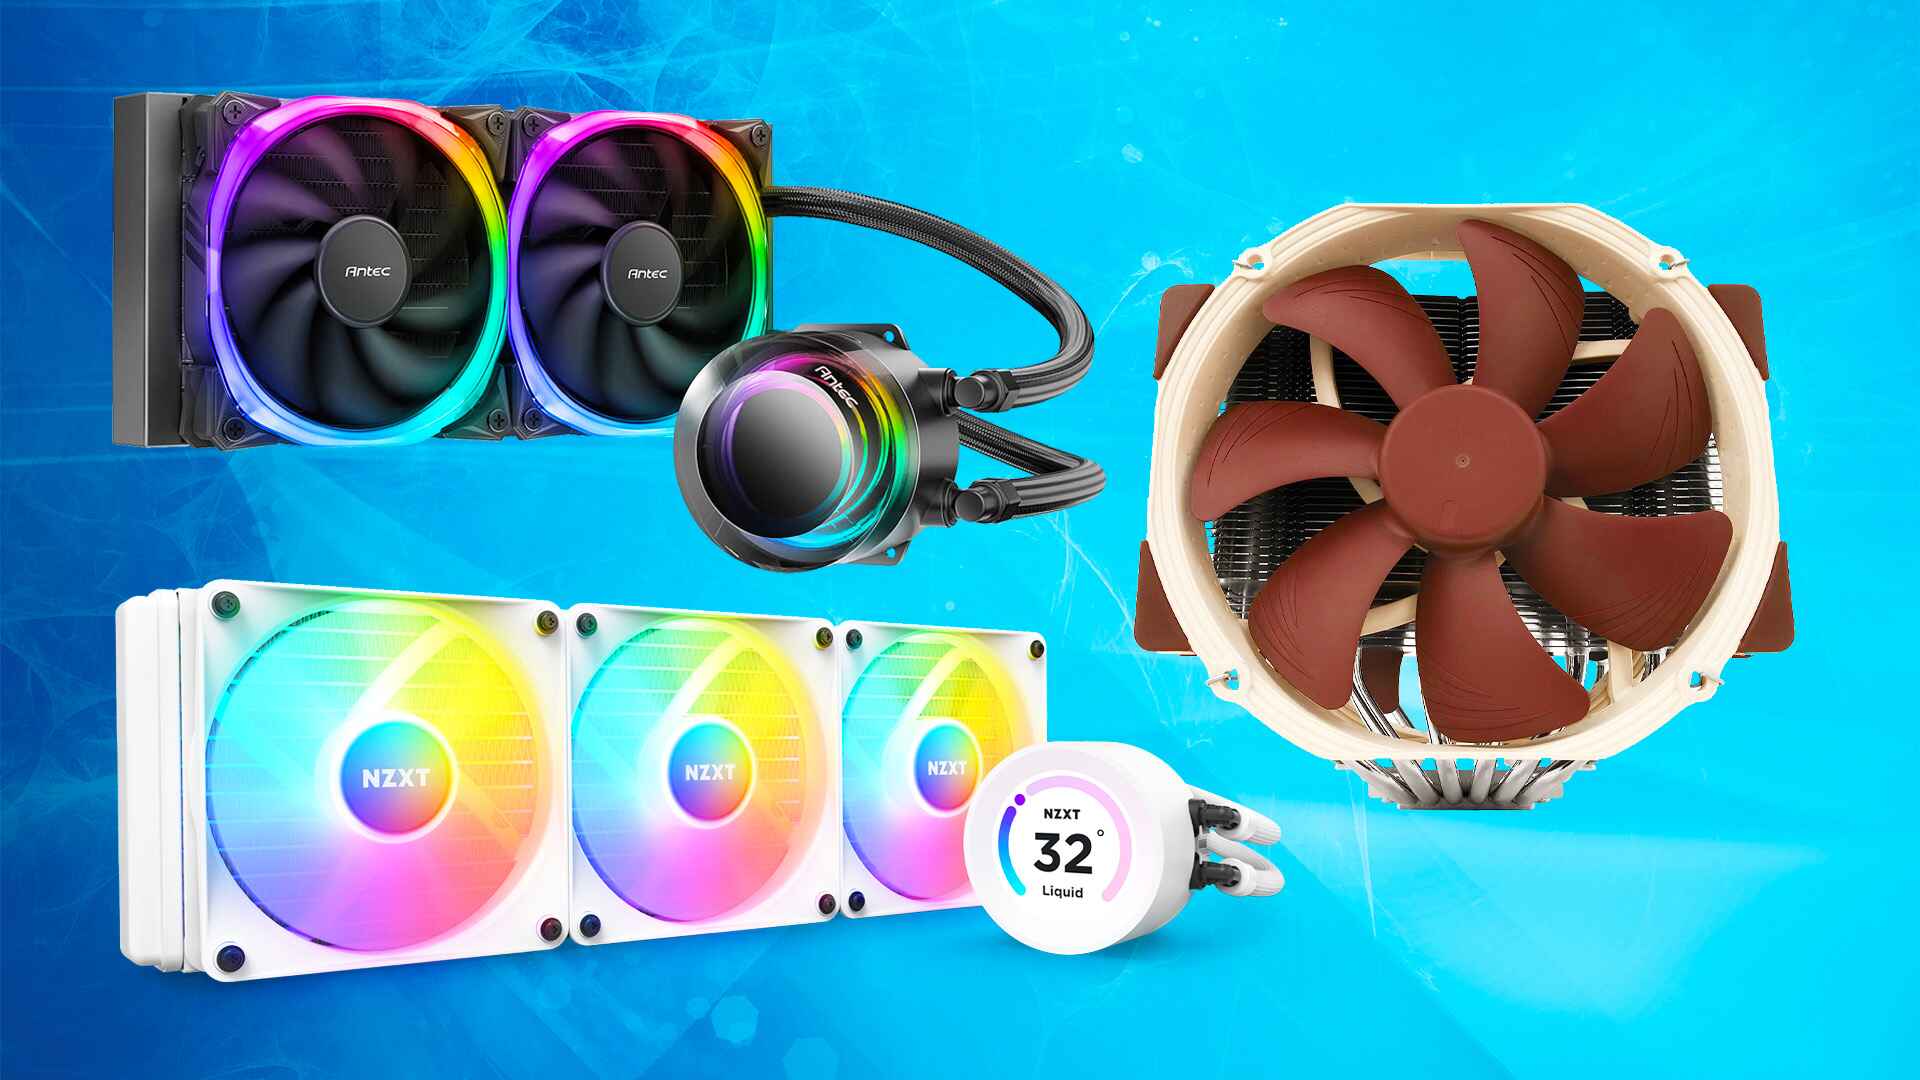
- Heat Sink: A high-quality heat sink will help dissipate the heat absorbed by the Peltier module. Look for a heat sink that matches your CPU socket and has sufficient surface area for efficient heat transfer.
- Thermal Interface Material (TIM): TIM is used to improve heat transfer between the CPU and the heat sink. Choose a high-quality thermal paste or thermal pad for maximum performance.
- Fan: An effective cooling system requires a fan to help dissipate the heat from the heat sink. Choose a fan with appropriate size, airflow, and noise levels that suit your needs.
- Power Supply: A reliable power supply is essential for powering the Peltier module. Ensure that it provides the necessary voltage and current for optimal performance.
- Wiring and Connectors: You’ll need various wires and connectors to connect the Peltier module, fan, and power supply. Use high-quality wires and connectors to ensure proper and secure connections.
- Insulating Material: To prevent electrical short circuits, you’ll need insulating material to separate the Peltier module from the heat sink and other components. Choose a non-conductive material like thermal pads or insulating washers.
- Screws and Mounting Hardware: You’ll need screws and mounting hardware to secure the Peltier module, heat sink, fan, and other components to your CPU socket and computer case.
- Thermal Sensors (Optional): If you want to monitor the temperature of your CPU and Peltier module, consider installing thermal sensors. You’ll need the appropriate sensors and connectors to integrate them into your cooling system.
- Tools: Lastly, gather the necessary tools for the build, such as a screwdriver, pliers, wire cutters, and thermal paste applicator. Having the right tools on hand will make the assembly process much easier.
Make sure to check the compatibility of the components with your CPU socket and computer case. It’s also a good idea to do some research and read reviews to ensure you’re selecting high-quality and reliable components.
With all the materials in hand, you’re ready to move on to the next step of building your Peltier CPU cooler. In the following steps, we’ll guide you through the process of assembling and wiring the cooler to get your CPU running cool and efficiently.
Step-by-Step Guide
Building your own Peltier CPU cooler requires careful planning and precise execution. Follow this step-by-step guide to assemble and wire your cooler effectively:
Step 1: Planning and Research
Start by researching the specific requirements and compatibility of your CPU socket with the Peltier module and other components. Ensure that you have a clear understanding of how the cooling system will fit into your computer case.
Step 2: Gather Materials
Collect all the materials listed in the previous section, ensuring that they are of the right specifications and quality. Double-check that you have all the necessary tools for the build process.
Step 3: Prepare the Heat Sink
If necessary, clean the heat sink thoroughly to remove any residue or dust. Apply a thin layer of thermal paste or place a thermal pad on the heat sink’s interface to ensure optimal heat transfer between the CPU and the heat sink.
Step 4: Assemble the Peltier Device
Carefully place the Peltier module on the prepared heat sink, ensuring that the module’s hot side faces outward. Use the appropriate screws and mounting hardware to secure it in place. Do not overtighten the screws, as this may damage the module.
Step 5: Secure the Cooling System
If your CPU cooler includes a fan, attach it to the heat sink using the provided screws or fan clips. Ensure that the fan is properly aligned with the heat sink for optimal heat dissipation. Additionally, make sure your cooler is securely mounted within your computer case, following the manufacturer’s instructions.
Step 6: Wire the Peltier Module
Connect the positive and negative terminals of the Peltier module to the appropriate terminals of your power supply. Use high-quality wires and connectors to ensure secure connections. Double-check the polarity to avoid damaging the module.
Step 7: Powering Up and Testing
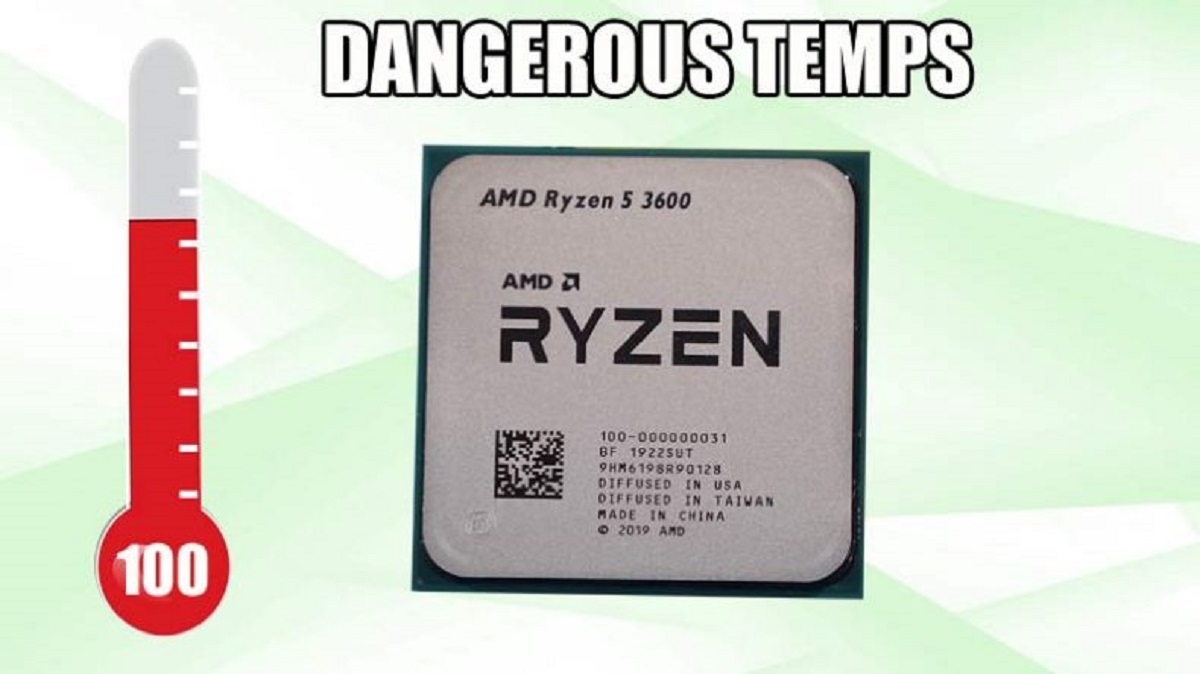
Before connecting the power supply, make sure all wiring is correctly connected and insulated. Once you’ve verified the connections, power up your computer and monitor the temperature of your CPU and Peltier module. Ensure that the cooling system is working correctly and that temperatures remain within safe limits.
It’s important to monitor the temperatures regularly to ensure the cooling system is functioning optimally and to detect any potential issues.
Remember that building a Peltier CPU cooler requires precision and attention to detail. Be patient and take the time to double-check your connections and ensure proper insulation to prevent any electrical mishaps or damage to your components.
Following these steps will guide you through the process of building your own Peltier CPU cooler and help keep your CPU running cool even during demanding tasks.
Step 1: Planning and Research
Before diving into the process of building your Peltier CPU cooler, it’s crucial to spend some time planning and conducting research. This step will help ensure that your cooler is compatible with your CPU socket and computer case, and that you have a solid understanding of the overall build process.
Start by identifying the specific requirements of your CPU socket. Determine the size and shape of the socket, as well as any specific cooling solutions recommended by the CPU manufacturer. Understanding these requirements will help you select the appropriate Peltier module and other components that are compatible with your CPU.
In addition to CPU socket compatibility, research the power requirements of the Peltier module and ensure that your power supply can provide the necessary voltage and current. Incorrect power supply can potentially damage the module or lead to suboptimal cooling performance.
Next, consider the physical space available in your computer case. Measure the dimensions and identify any constraints or limitations that may impact the installation and placement of the cooler. This step is particularly important if you have a compact or specialized case where space may be limited.
As part of your research, read user reviews and forums to gather insights from others who have built their own Peltier CPU coolers. Learn from their experiences and ensure that you’re aware of any potential challenges or issues that may arise during the build process.
During the planning phase, also consider your cooling requirements. Are you primarily interested in reducing CPU temperatures for gaming purposes or for overclocking? Understanding your cooling goals will help guide your component selection and design choices to achieve optimal cooling performance.
Lastly, make a comprehensive list of the materials and tools you’ll need for the build. Ensure that you have access to all the necessary components, such as the Peltier module, heat sink, fan, thermal interface material, and wiring. Having a complete list will save you time and prevent delays during the build process.
By investing time in the planning and research phase, you’ll be well-prepared to tackle the challenge of building your Peltier CPU cooler. This step will help you make informed decisions, avoid compatibility issues, and ultimately ensure a smoother and more successful build process.
Step 2: Gather Materials
Now that you’ve completed the planning and research phase, it’s time to gather all the necessary materials and tools for building your Peltier CPU cooler. Gathering everything you need upfront will help streamline the build process and prevent any unnecessary delays. Here’s a list of the materials you’ll need:
- Peltier Module: Select a high-quality Peltier module that is compatible with your CPU socket and meets your cooling requirements. Consider factors such as power consumption and maximum temperature differentials.
- Heat Sink: Choose a heat sink that fits your CPU socket and has sufficient surface area for effective heat dissipation. Look for models made of high-quality materials and with appropriate thermal conductivity.
- Thermal Interface Material (TIM): Get a reliable thermal paste or thermal pad to improve heat transfer between the CPU and the heat sink. Ensure it is suitable for your specific CPU and heat sink.
- Fan: Select a fan that matches the size and airflow requirements of your heat sink. Look for quiet and efficient models with a high static pressure that can effectively push air through the heat sink fins.
- Power Supply: Choose a power supply that can deliver the required voltage and current for the Peltier module. Ensure it has sufficient capacity and is compatible with your computer’s power connector.
- Wiring and Connectors: Get high-quality wires and connectors suitable for your power supply and Peltier module. Use appropriate gauges and ensure secure connections.
- Insulating Material: To prevent electrical short circuits, have insulating materials on hand, such as thermal pads or washers, to separate the Peltier module from the heat sink and other components.
- Screws and Mounting Hardware: Gather the necessary screws and mounting hardware to secure the Peltier module, heat sink, and fan. Ensure they are the correct size and compatible with your components.
- Thermal Sensors (Optional): If desired, consider including thermal sensors to monitor the temperature of your CPU and Peltier module. Get appropriate sensors and connectors to integrate them into the cooling system.
- Tools: Don’t forget to have the necessary tools ready, such as a screwdriver, pliers, wire cutters, and a thermal paste applicator. These tools will make the assembly process much more efficient.
Ensure that all the materials and tools are readily available and easily accessible. Double-check the compatibility of each component with your CPU socket and computer case to avoid any issues during the build process.
With all the materials gathered, you’re now ready to move on to the next step: preparing the heat sink. Stay organized, follow the instructions carefully, and enjoy the process of building your own Peltier CPU cooler!
Step 3: Preparing the Heat Sink
In this step, we will focus on preparing the heat sink, an essential component of your Peltier CPU cooler. Proper preparation of the heat sink ensures optimal heat transfer and efficient cooling performance. Below are the key steps to follow:
1. Cleaning: Start by thoroughly cleaning the heat sink to remove any dust, debris, or thermal paste residue from previous use. Use isopropyl alcohol and a lint-free cloth or cotton swabs to gently clean the surfaces of the heat sink. Ensure that it is completely dry before proceeding to the next step.
2. Applying Thermal Interface Material (TIM): To enhance heat transfer between the CPU and the heat sink, apply a thin layer of thermal paste or place a thermal pad on the surface of the heat sink that will come into contact with the CPU. The TIM helps fill any microscopic gaps and improves the thermal conductivity between the two surfaces. Follow the manufacturer’s instructions for applying the TIM, as different products may have specific guidelines.
3. Spreading Thermal Paste (If applicable): If you are using thermal paste, use a credit card or a thermal paste spreader to evenly spread a thin layer on the heat sink’s interface. The goal is to achieve uniform coverage without applying too much paste, as excess paste can hinder heat transfer. Use a zigzag pattern or a small dot in the center of the heat sink as a starting point.
4. Placing Thermal Pad (If applicable): If you are using a thermal pad, carefully place it on the heat sink’s interface. Ensure that it fully covers the surface and aligns with the CPU socket. The pad should be of appropriate thickness, ideally matching the distance between the heat sink and the CPU.
5. Checking Contact Surface: Inspect the heat sink’s contact surface to ensure it is flat and even. Any irregularities or imperfections on the surface can hinder proper heat transfer. If necessary, use a metal spatula or sandpaper to gently level and smooth out the contact surface. Be careful not to damage or scratch the heat sink during this process.
6. Installing Mounting Hardware: Check the mounting hardware that came with your heat sink. Follow the manufacturer’s instructions to install the appropriate brackets, screws, or clips that will secure the heat sink to the CPU socket. Ensure that the mounting hardware is securely attached but not overly tightened, as this may cause damage or uneven pressure on the CPU.
7. Verifying Compatibility: Before moving forward, verify that the heat sink is compatible and properly aligned with your CPU socket. Ensure that the mounting mechanism aligns with the holes on the CPU socket, and there is no interference with other components or motherboard components.
With the heat sink properly prepared, clean, and secured, you have taken an important step towards building an effective Peltier CPU cooler. In the next steps, we will focus on assembling the Peltier module, attaching the fan, and wiring the components to ensure optimal cooling performance.
Step 4: Assemble the Peltier Device
Assembling the Peltier device is a crucial step in building your own Peltier CPU cooler. In this step, we’ll guide you through the process of attaching the Peltier module to the heat sink. Follow these steps carefully to ensure a secure and efficient assembly:
1. Positioning the Peltier Module: Place the Peltier module on the prepared heat sink. Ensure that the hot side of the module faces outward, away from the heat sink. The hot side is typically denoted by markings or a different color on the module. Align the module centrally on the heat sink for even heat distribution.
2. Applying Thermal Paste (Optional): When assembling the Peltier module, you may consider applying a thin layer of thermal paste between the module and the heat sink’s cold side. This additional layer of thermal paste can help enhance heat transfer and improve cooling efficiency. Apply a small dot or a thin line of thermal paste on the heat sink’s cold side, then gently press and attach the Peltier module on top.
3. Securing the Peltier Module: Use the provided screws or mounting hardware to secure the Peltier module to the heat sink. Ensure that the module is tightly and evenly fastened in place. However, be careful not to over-tighten the screws, as this may damage the module or cause uneven pressure distribution.
4. Checking the Peltier Module’s Orientation: Double-check the orientation of the Peltier module after securing it to the heat sink. Verify that the correct side is facing outward and that the electrical connections are accessible for wiring in the upcoming steps.
5. Insulating the Peltier Module: To avoid electrical shorts and prevent unwanted heat transfer, place insulating material such as thermal pads or washers between the Peltier module and any adjacent components or surfaces. This ensures electrical isolation and protects the Peltier module from any metal parts that may conduct electricity.
6. Verifying Stability: Before proceeding to the next steps, gently shake or tilt the heat sink with the attached Peltier module to ensure its stability. Confirm that the module remains firmly in place and that there are no loose connections or components that could potentially compromise performance or cause damage.
By properly assembling the Peltier device, you’ve completed a critical milestone in building your Peltier CPU cooler. With the Peltier module securely attached to the heat sink, you’ve established the foundation for efficient heat transfer and cooling. The next steps will focus on securing the cooling system and wiring the components, bringing you closer to the finalization of your Peltier CPU cooler.
Step 5: Securing the Cooling System
After assembling the Peltier device, the next step is to secure the cooling system in place. This includes attaching the fan to the heat sink and ensuring proper mounting within your computer case. Follow these steps to effectively secure the cooling system:
1. Attaching the Fan: If your Peltier CPU cooler includes a fan, position it on the heat sink in a way that maximizes airflow through the fins. Align the screw holes on the fan with the mounting holes or brackets on the heat sink. Use the provided screws or clips to securely attach the fan to the heat sink. Ensure that the fan is properly aligned and centered on the heat sink for efficient heat dissipation.
2. Verifying Clearance: Check for any clearance issues between the fan and nearby components, such as RAM modules, motherboard heatsinks, or the computer case frame. Ensure that there is enough space for the fan to operate without obstruction and that it does not make contact with any components that could cause vibration or noise issues.
3. Secure Mounting: After attaching the fan to the heat sink, carefully tighten the screws or clips that secure the fan without applying excessive force. Ensure that the fan is stable and tightly fastened, but be cautious not to overtighten, as this may damage the fan or disrupt its functionality.
4. Compatibility Check: Verify that the overall dimensions of your Peltier CPU cooler, including the heat sink and fan, fit within your computer case without obstructing other critical components. Check that the cooler does not interfere with the RAM slots, PCIe expansion slots, or any other connectors on the motherboard.
5. Mounting the Cooler: Install the cooler within your computer case according to the manufacturer’s instructions. This may involve mounting the heat sink onto the CPU socket via the appropriate bracket or utilizing a specific mounting mechanism provided with the cooler. Ensure that the cooler is securely mounted and aligned with the CPU socket to avoid any instability or damage during operation.
6. Cable Management: Take the time to neatly route and secure any cables associated with the cooling system, including the fan power cable, Peltier module power cables, and any additional connectors or wires. Proper cable management will not only improve airflow and aesthetics but also prevent any potential interference with other components or fans within the system.
By securely mounting the cooling system, you’re ensuring optimal heat dissipation from the Peltier device and enhancing overall cooling performance. Take care to verify compatibility, securely attach the fan, and mount the cooler properly within the computer case. With these steps completed, you’re ready to move on to the next step: wiring the Peltier module and powering up the cooler.
Step 6: Wiring the Peltier Module
Wiring the Peltier module is a crucial step in the construction of your Peltier CPU cooler. This step involves connecting the Peltier device to the power supply, ensuring proper electrical connections for optimal cooling performance. Here’s a step-by-step guide on how to wire the Peltier module:
1. Identify the Power Supply Connectors: Locate the appropriate power supply connectors for your Peltier module. Depending on your power supply and the Peltier device’s specifications, you may need to use a 12V or 24V power connector. Refer to the manufacturer’s documentation for the correct power supply connectors to use.
2. Connect the Peltier Module: Connect the positive and negative terminals of the Peltier module to the corresponding terminals on the power supply. Double-check the polarity to ensure proper connections. It’s important to ensure secure and reliable connections for efficient power transfer.
3. Wiring Safety Considerations: Keep in mind that the Peltier module and the power supply can generate significant amounts of heat. To mitigate any potential safety risks, it’s important to ensure that all wiring is properly insulated and secured, minimizing the risk of accidental contact or short circuits. Use high-quality insulated wires and connectors to ensure the integrity of the connections.
4. Insulate the Exposed Wires: If there are any exposed wires after connecting the Peltier module to the power supply, use electrical tape or heat shrink tubing to insulate and protect these areas. This insulation will help prevent accidental contact with other components or surfaces and reduce the risk of electrical short circuits.
5. Organize and Manage the Wires: Take the time to properly manage and organize the wires to ensure a clean and clutter-free installation. Use zip ties or cable management solutions to secure the wires and keep them neatly arranged. This will not only improve the aesthetics but also facilitate better airflow and overall system maintenance.
6. Double-Check the Connections: Before powering up the Peltier CPU cooler, carefully inspect all the connections to ensure they are secure and properly insulated. Verify that the Peltier module is connected to the power supply and that there are no loose or exposed wires that could cause potential issues.
7. Perform a Test Run: Once you’re satisfied with the wiring setup, it’s time to power up your Peltier CPU cooler for a test run. Switch on the power supply and observe the Peltier module and cooling system. Monitor the temperatures of your CPU and the Peltier module to ensure they are within the desired operating range. This will help validate the functionality and effectiveness of your newly constructed Peltier CPU cooler.
By carefully wiring the Peltier module, you’re ensuring proper power delivery and optimal cooling performance. Take the necessary precautions for safety, insulate exposed wires, and perform a thorough check before powering up the cooler. With this step completed, you’re ready to move on to the final step: testing the performance of your Peltier CPU cooler and ensuring that it meets your cooling needs.
Step 7: Powering Up and Testing
After completing the previous steps of building your Peltier CPU cooler, it’s time to power up the system and test its performance. This final step is crucial for ensuring that your cooler is functioning correctly and providing effective cooling for your CPU. Follow these steps to power up and test your Peltier CPU cooler:
1. Double-Check Connections: Before powering up the system, carefully double-check all the connections, including the power supply, wiring, and any additional components. Ensure that everything is securely connected and properly insulated to prevent any potential hazards or malfunctions.
2. Switch on the Power Supply: Turn on the power supply unit to provide electrical power to the Peltier module and cooling system. Listen for any abnormal sounds or pay attention to any unusual vibrations that may indicate improper installation or mechanical issues.
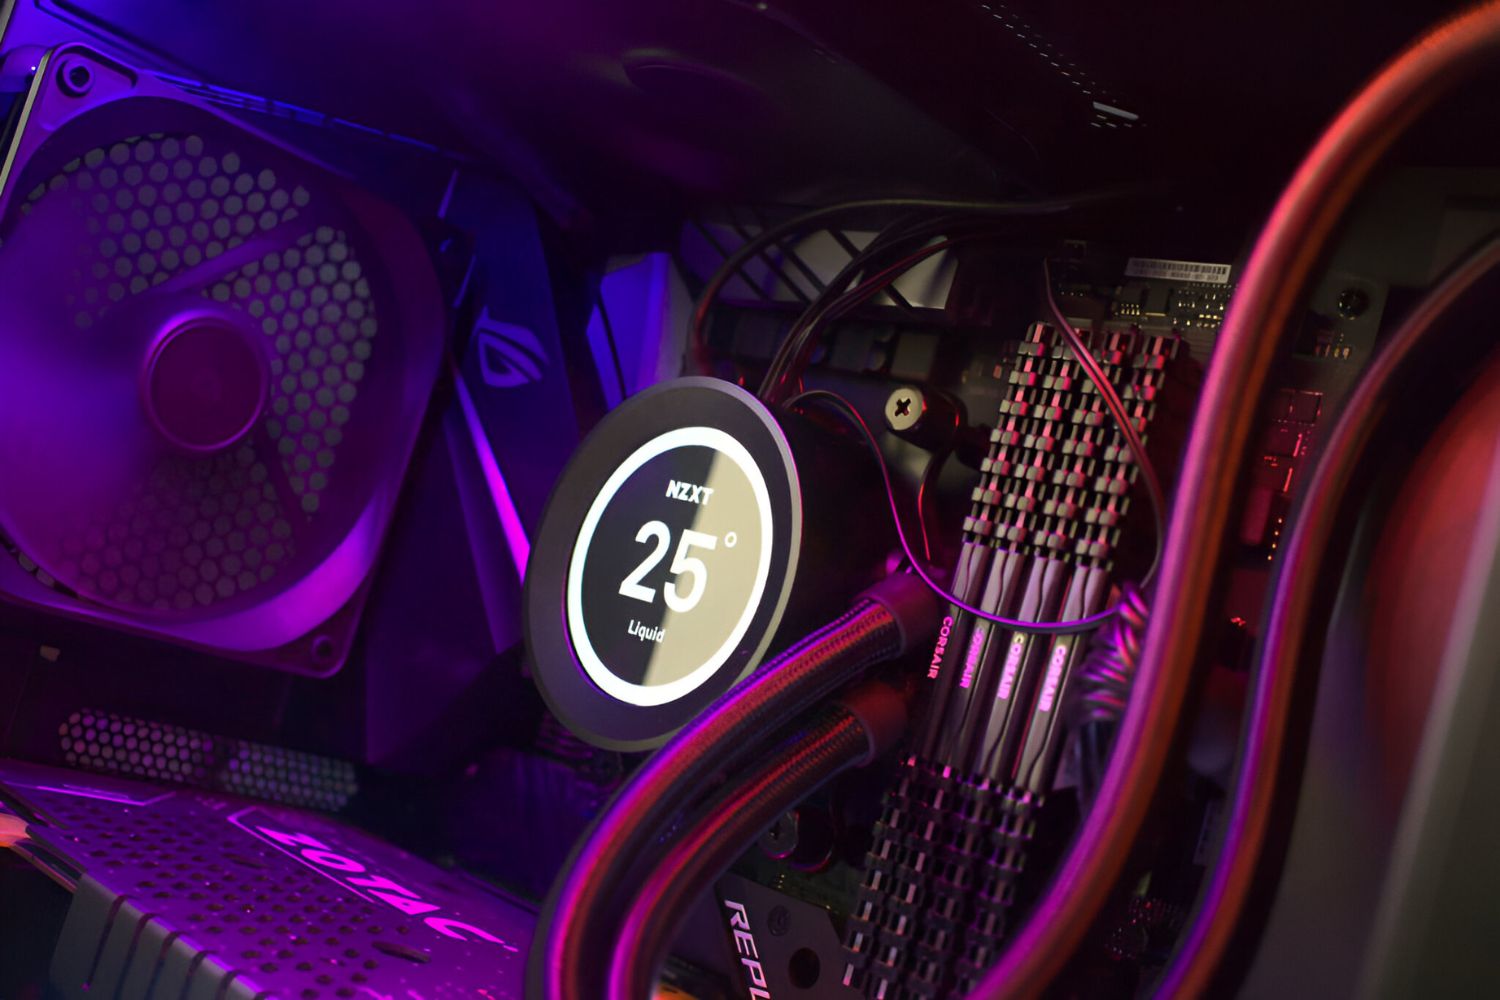
3. Monitor CPU and Peltier Module Temperatures: Use monitoring software or the BIOS settings to keep an eye on the temperatures of your CPU and the Peltier module. Ensure that the temperatures remain within the desired operating range. Monitor the fluctuations in temperatures during different usage scenarios such as idle, moderate load, and high load to verify the cooling efficiency of your Peltier CPU cooler.
4. Verify Stable Operation: Pay close attention to the stability of your system. Check for any unexpected crashes, restarts, or abnormalities that could be attributed to the Peltier CPU cooler. Keep an eye on the overall system performance and ensure that it remains stable and reliable during use.
5. Fine-Tuning the Cooling Performance (Optional): If necessary, you can fine-tune the cooling performance by adjusting fan speeds, Peltier module power, or other cooling settings. Experiment with these settings and monitor the corresponding temperature changes to achieve optimal cooling performance without compromising system stability.
6. Perform Extended Stress Testing (Optional): For a thorough assessment of your Peltier CPU cooler’s performance, consider performing extended stress testing. This involves running the CPU at maximum load for an extended period and monitoring the temperatures and system performance. This test will help ensure that your cooler can effectively handle the heat generated during demanding tasks or overclocking scenarios.
7. Monitor Long-Term Performance: After completing the initial testing, continue to monitor the long-term performance of your Peltier CPU cooler. Keep an eye out for any changes in temperatures, noise levels, or system stability. Regularly clean the heat sink and fans to maintain efficient and reliable cooling performance over time.
By following these steps, you can verify the functionality and effectiveness of your Peltier CPU cooler. Pay close attention to temperatures, system stability, and overall performance during testing. With successful results, you can confidently enjoy the benefits of your self-built Peltier CPU cooler and ensure that your CPU remains cool and optimized for any task you throw at it.
Conclusion
Congratulations on successfully building your own Peltier CPU cooler! By following the step-by-step guide, you’ve created a cooling solution that can effectively dissipate heat from your CPU, ensuring optimal performance and longevity.
Through planning, research, and careful assembly, you’ve customized your Peltier CPU cooler to suit your specific needs and preferences. Building your own cooler not only saves you money compared to commercial options but also provides a rewarding experience and an opportunity to learn about thermoelectric cooling and computer hardware.
Remember to regularly monitor the temperatures and performance of your CPU and Peltier module to ensure that the cooling system is operating optimally. Additionally, keep an eye on your system’s stability and address any issues that may arise promptly.
Building a Peltier CPU cooler may require experimentation and fine-tuning to achieve the best thermal performance for your specific setup. Adjusting fan speeds, Peltier module power, or other settings can help optimize cooling efficiency while maintaining stability.
Proper maintenance is also key to sustaining the performance of your cooler. Regularly clean the heat sink and fan to remove dust and debris that can hinder heat dissipation. Additionally, periodically check the insulation and connections to ensure that there are no loose wires or potential electrical issues.
Building your own Peltier CPU cooler is a rewarding endeavor that allows you to unlock the potential of your computer system. With the knowledge and skills you’ve acquired, you’ll be better equipped to tackle future cooling challenges and even explore other computer hardware projects.
Enjoy the improved cooling performance and the peace of mind that comes with knowing your CPU is operating at optimal temperatures. With your self-built Peltier CPU cooler, you can take your computer experience to new levels and enjoy the full potential of your system.