Introduction
Installing a CPU cooler is an essential step in building or upgrading your computer. The CPU cooler plays a vital role in keeping your processor cool and ensuring optimal performance. Whether you’re a seasoned computer enthusiast or a beginner, understanding how to install a CPU cooler is crucial in maintaining the longevity and efficiency of your system.
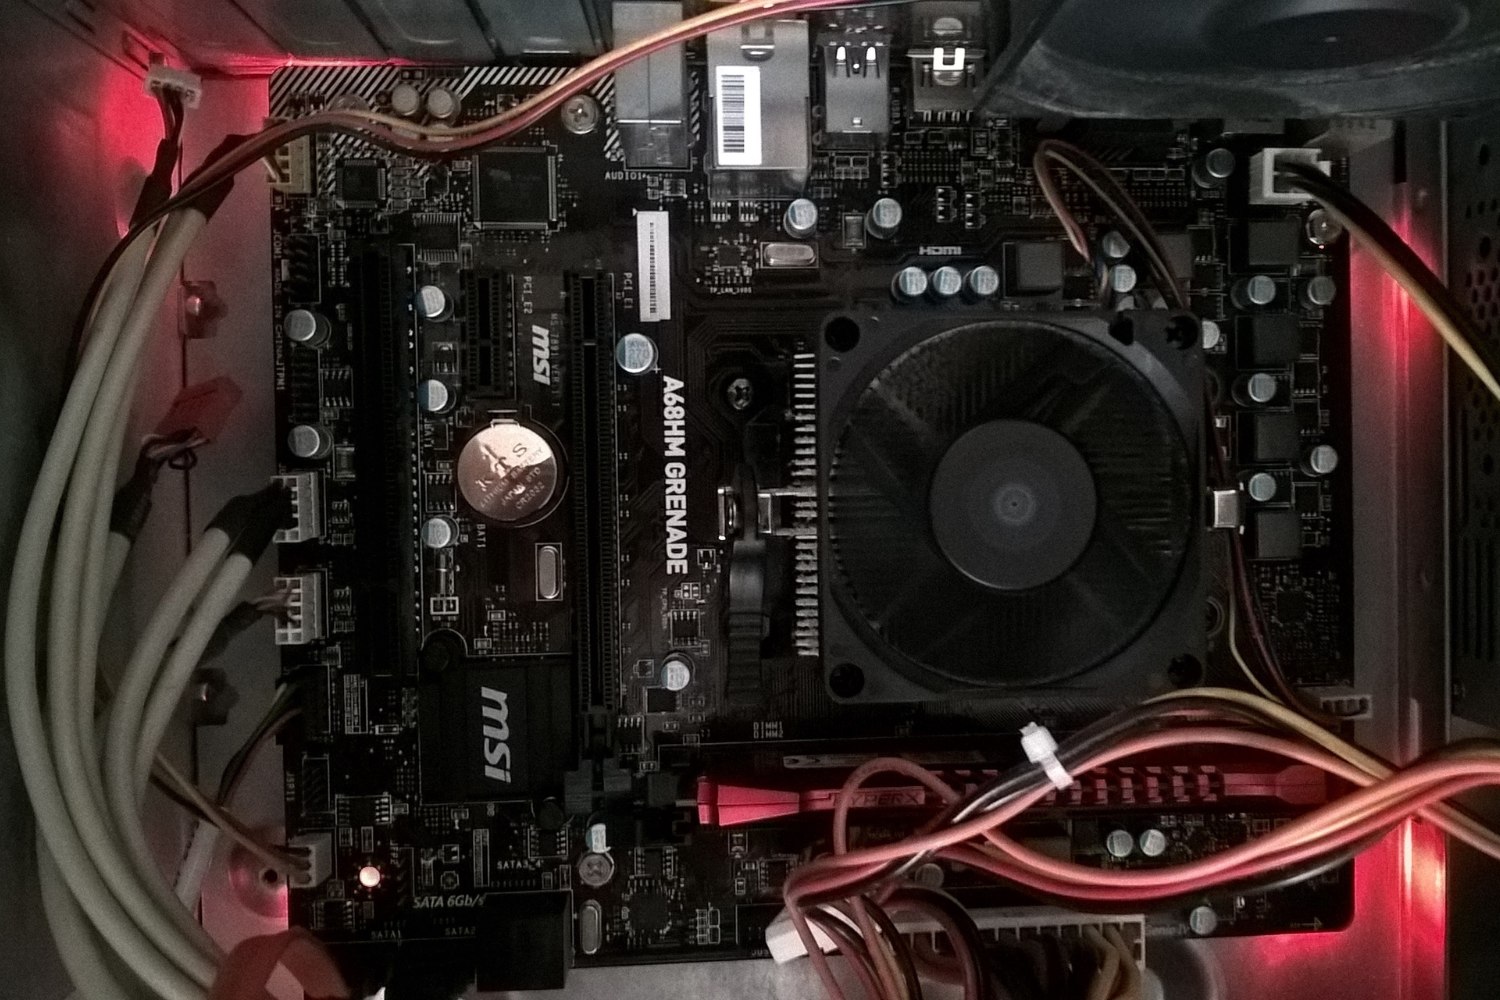
In this guide, we will walk you through the process of installing a CPU cooler on the A68Hm-Grenade Micro ATX motherboard. The A68Hm-Grenade is a popular micro ATX motherboard known for its compact size and compatibility with various CPU coolers. By following these step-by-step instructions, you will be able to install your CPU cooler correctly and effectively dissipate heat from your processor.
One of the main components in the computer that generates heat is the central processing unit (CPU). To prevent overheating, it is essential to install a CPU cooler. When a CPU operates at high temperatures, it can lead to decreased performance, instability issues, and even permanent damage.
Installing a CPU cooler involves removing the stock cooler that comes with the CPU and replacing it with an aftermarket cooler. Aftermarket coolers provide better cooling performance and often produce less noise. It is worth noting that the installation process may vary slightly based on the specific CPU cooler model you are using, so it is always best to refer to the manufacturer’s instructions.
Before diving into the installation process, it is essential to gather all the necessary tools and materials. You will need a CPU cooler, thermal paste, rubbing alcohol or thermal paste remover, a clean cloth or paper towels, a screwdriver, and an anti-static wrist strap (optional but recommended).
Prepare for Installation
Before you begin the installation process, it is important to properly prepare for the CPU cooler installation. Follow these steps to ensure a smooth installation process:
- Power off your computer: Make sure your computer is turned off and unplugged from the power source. This will prevent any accidental damage to the components and ensure your safety during the installation process.
- Gather the necessary tools and materials: As mentioned earlier, you will need a CPU cooler, thermal paste, rubbing alcohol or thermal paste remover, a clean cloth or paper towels, a screwdriver, and an anti-static wrist strap (optional but recommended).
- Prepare a clean and well-lit workspace: Find a flat and clean surface to work on. It is important to have enough space to lay out the components and tools without any clutter. Additionally, ensure that the area is well-lit to accurately see the installation process.
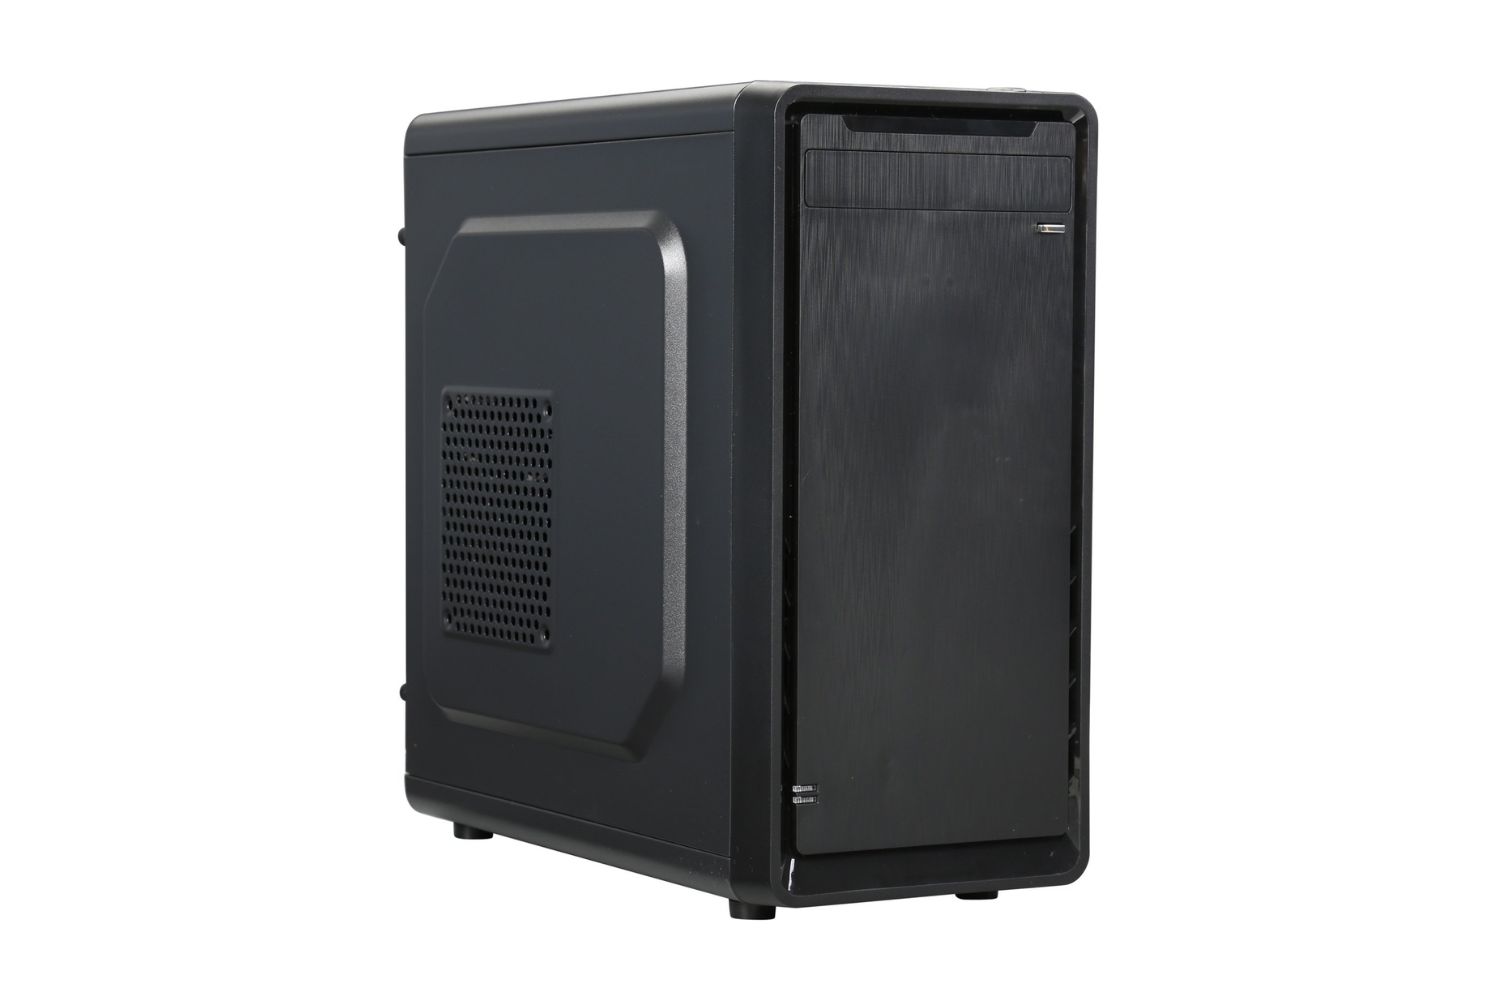
- Remove the side panel of your computer case: Most computer cases have removable side panels held in place by screws. Use a screwdriver to remove the screws and carefully slide off the side panel. This will give you access to the internal components of your computer.
- Ground yourself: It is important to discharge any static electricity before handling sensitive computer components. You can do this by either wearing an anti-static wrist strap or by touching a grounded metal object, such as the metal part of your computer case. This will prevent any static electricity from damaging the components.
By following these preparation steps, you are now ready to proceed with the CPU cooler installation. Taking the time to gather the necessary tools and materials and preparing your workspace will ensure a smooth and hassle-free installation process. Remember to read the manufacturer’s instructions for your specific CPU cooler model for any additional preparation steps or precautions.
Remove the Old Cooler
Before installing a new CPU cooler, you need to remove the old cooler that is currently installed on your processor. Follow these steps to safely remove the old cooler:
- Disconnect the power cables: Make sure your computer is turned off and disconnected from the power source. Unplug the power cables from the back of your computer to ensure your safety during the removal process.
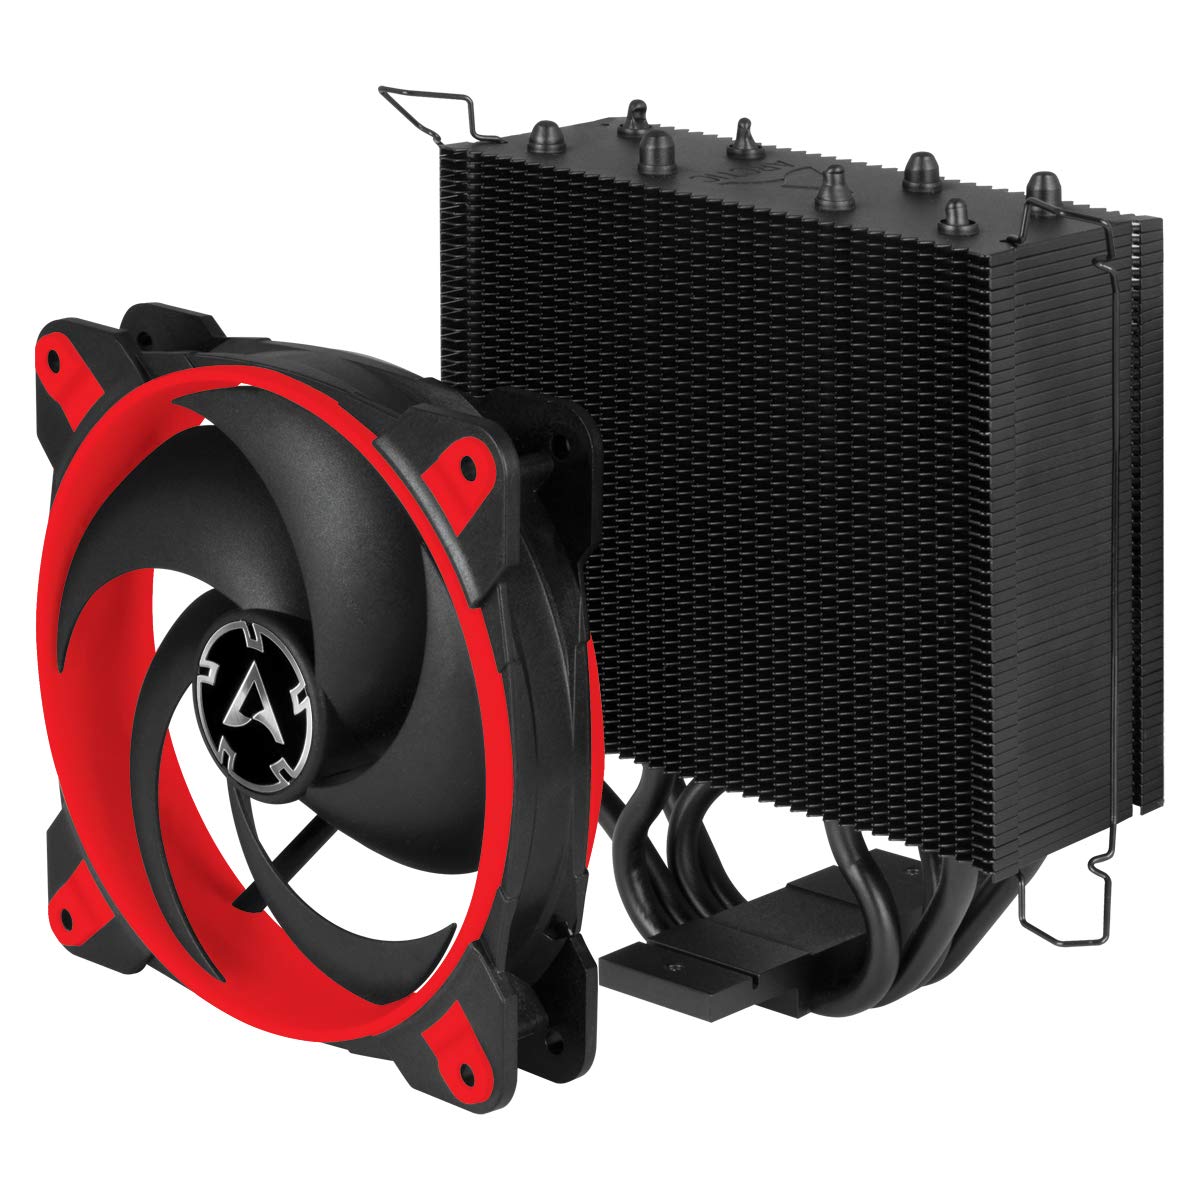
- Locate the CPU cooler: The CPU cooler is typically a large metal heatsink with a fan mounted on top. It is connected to the motherboard through a bracket or mounting mechanism. Identify the location of your CPU cooler before proceeding.
- Disconnect the fan cable: Locate the cable that connects the CPU cooler fan to the motherboard. Gently detach the fan cable by squeezing the plastic clip or gently pulling it away from the connector. Be careful not to pull on the wires directly to avoid damaging the cable.
- Remove the heatsink screws or clips: Depending on the type of CPU cooler, you will need to remove the screws or clips that secure the heatsink to the motherboard bracket. Use a screwdriver or your fingers to carefully loosen and remove the screws or unclip the clips. Keep the screws or clips in a safe place as you will need them later.
- Detach the heatsink from the CPU: Once the screws or clips are removed, gently lift the heatsink up and away from the CPU. Be cautious not to apply excessive force or twist the heatsink, as this can damage the CPU or motherboard.
- Clean the CPU and heatsink: With the old cooler removed, use a small amount of rubbing alcohol or thermal paste remover to clean the thermal paste from the surface of the CPU and the base of the heatsink. Apply the rubbing alcohol to a clean cloth or paper towel and gently wipe away any residue. Ensure both surfaces are clean and free from any debris.
By following these steps, you have successfully removed the old CPU cooler from your processor. Take care to handle the components with caution and avoid applying excessive force. Removing the old cooler and cleaning the CPU and heatsink surfaces will prepare you for the next step of applying thermal paste and installing the new CPU cooler.
Apply Thermal Paste
Thermal paste is an important component in the CPU cooler installation process. It helps in creating a smooth and efficient transfer of heat between the CPU and the cooler. Follow these steps to apply thermal paste properly:
- Choose the right amount of thermal paste: The ideal amount of thermal paste is a small pea-sized dot in the center of the CPU. Applying too little can result in poor heat transfer, while applying too much can create a mess and potentially cause overheating.
- Clean the CPU: Before applying thermal paste, ensure that the CPU surface is clean and free from any residual thermal paste or debris. Use a small amount of rubbing alcohol or thermal paste remover and a clean cloth or paper towel to clean the CPU surface carefully.
- Apply the thermal paste: Take a small amount of thermal paste approximately the size of a pea. Using a spatula, credit card, or the applicator that comes with your thermal paste, gently spread the paste evenly over the surface of the CPU. Be sure to avoid applying too much pressure and spreading the paste beyond the edges of the CPU surface.
- Spread the thermal paste: Once the thermal paste is applied, use a plastic card or the edge of the applicator to spread the paste evenly across the CPU surface. The goal is to create a thin and uniform layer of thermal paste that will facilitate efficient heat transfer.
- Double-check the application: After spreading the thermal paste, visually inspect the CPU to ensure the paste covers the entire CPU surface. There should not be any gaps or areas without thermal paste.
Applying thermal paste correctly is crucial for effective heat dissipation between the CPU and the cooler. Take your time in applying the thermal paste to ensure a proper and even distribution. Remember, a little goes a long way, and it is always better to err on the side of caution and apply slightly less thermal paste than too much.
Install the Backplate
The backplate is an essential component when installing a CPU cooler. It provides additional stability and support for the cooler on the motherboard. Follow these steps to correctly install the backplate:
- Check the compatibility: Ensure that the backplate you have is compatible with your specific motherboard and CPU cooler. Different motherboards may require different types of backplates, so it is crucial to consult the manual or manufacturer’s instructions for your specific motherboard model.
- Locate the backplate cutout: On the backside of the motherboard, you will find a cutout area that aligns with the CPU socket. This is where the backplate will be installed.
- Place the backplate: Insert the backplate into the cutout area on the backside of the motherboard, aligning the screw holes with the mounting holes on the motherboard.
- Secure the backplate: Using your fingers or a screwdriver, carefully secure the backplate in place by tightening the screws through the mounting holes. Be sure not to overtighten the screws to avoid damaging the motherboard.
- Double-check the alignment: After securing the backplate, double-check to ensure that it is properly aligned and flush with the motherboard’s surface. The backplate should sit flat against the motherboard without any gaps or tilting.
Installing the backplate is an important step in providing stability and support for the CPU cooler. Take your time to align the backplate correctly and secure it firmly without applying excessive force. A properly installed backplate will ensure a secure mounting of the CPU cooler and improve overall cooling efficiency.
Attach the Mounting Brackets
Attaching the mounting brackets is the next step in installing your CPU cooler. The mounting brackets provide the necessary connection between the CPU cooler and the backplate. Follow these steps to securely attach the mounting brackets:
- Check the cooler and bracket compatibility: Ensure that the mounting brackets you have are compatible with your specific CPU cooler model. Different coolers may require different types of mounting brackets, so it is important to refer to the manufacturer’s instructions or manual for your specific cooler.
- Identify the correct mounting holes: Most CPU coolers come with multiple sets of mounting holes to accommodate different socket types. Identify the correct mounting holes that align with your CPU socket configuration.
- Align the mounting brackets: Position the mounting brackets on either side of the CPU cooler, aligning the screw holes with the corresponding holes on the cooler.
- Secure the brackets to the cooler: Use the provided screws or other fastening mechanisms to attach the mounting brackets securely to the CPU cooler. Tighten the screws until they are snug, but be careful not to overtighten and damage the cooler or brackets.
- Place the cooler over the CPU socket: Carefully position the CPU cooler over the CPU socket, ensuring that the mounting brackets line up with the holes on the backplate.
- Slide the brackets into the backplate: Gently slide the mounting brackets into the corresponding holes on the backplate. Make sure the brackets are properly engaged with the backplate and securely in place.
Attaching the mounting brackets ensures a stable and secure connection between the CPU cooler and the backplate. Pay attention to the compatibility of the brackets with your specific cooler and follow the manufacturer’s instructions for proper installation. A securely attached mounting bracket will provide the foundation for a stable and efficient CPU cooler installation.
Place the CPU Cooler on CPU Socket
Now that the backplate and mounting brackets are securely in place, it’s time to position the CPU cooler onto the CPU socket. Proper placement ensures optimal cooling and heat dissipation. Follow these steps to correctly position the CPU cooler:
- Identify the orientation: Most CPU coolers have a specific orientation that aligns with the CPU socket configuration. Refer to the manufacturer’s instructions or manual to determine the correct orientation for your specific cooler.
- Align the cooler with the CPU socket: Gently position the CPU cooler on top of the CPU socket, aligning the mounting brackets with the corresponding holes on the motherboard.
- Ensure full contact with CPU: Make sure the cooler’s base is making full contact with the surface of the CPU. Avoid applying excessive pressure, as the cooler’s weight and mounting mechanism should provide enough pressure for proper contact.
- Double-check alignment: Take a moment to verify that the CPU cooler is properly aligned with the CPU socket and mounting brackets. Ensure that the cooler is centered over the CPU and evenly positioned.
Properly placing the CPU cooler on the CPU socket is critical for efficient heat transfer and cooling. Take your time to align the CPU cooler correctly, ensuring full contact with the CPU surface. Double-checking the alignment guarantees that the cooler is properly positioned before moving on to the next steps in the installation process.
Tighten the Mounting Screws
Once the CPU cooler is properly positioned on the CPU socket, it’s time to tighten the mounting screws. Properly securing the cooler ensures stability and optimal heat transfer. Follow these steps to tighten the mounting screws correctly:
- Start with diagonal tightening: Begin by tightening each mounting screw in a diagonal pattern. For example, tighten the top-left screw first, followed by the bottom-right screw, then the top-right screw, and finally the bottom-left screw. This helps distribute the pressure evenly and prevents any misalignment.
- Use the proper tool: Depending on the design of the mounting screws, you may need a screwdriver or a specific tool provided with the CPU cooler. Follow the manufacturer’s instructions to ensure you are using the correct tool for tightening the screws.
- Apply even pressure: Slowly and evenly tighten each screw, making sure not to overtighten. Apply enough pressure to secure the cooler in place without damaging the motherboard or the CPU. Avoid applying excessive force that could lead to uneven mounting or potential damage.
- Double-check tightness: After tightening all the screws, double-check to ensure that they are securely fastened. Gently wiggle the cooler to verify that it is firmly attached to the CPU socket. If there is any looseness, tighten the screws further, making sure not to overtighten.
Tightening the mounting screws is crucial for the stability and performance of the CPU cooler. Following a diagonal pattern and applying even pressure ensures an even distribution of force. Checking the tightness afterwards guarantees a secure attachment of the cooler to the CPU socket, providing effective cooling for your processor.
Connect the CPU Cooler Fan
The CPU cooler fan plays a vital role in dissipating heat from the CPU. Connecting the fan properly ensures effective cooling and optimal performance. Follow these steps to connect the CPU cooler fan:
- Locate the fan connector: The CPU cooler fan has a cable with a connector that needs to be plugged into the corresponding motherboard header. Locate the fan connector on the CPU cooler.
- Identify the CPU fan header: On the motherboard, locate the CPU fan header. It is typically labeled with “CPU_FAN” or a similar designation. Refer to the motherboard manual if you are unsure about the location.
- Align the fan connector: Align the fan connector with the CPU fan header. Make sure the pins on the connector match the holes on the header.
- Plug in the fan connector: Gently insert the fan connector into the CPU fan header. Ensure that it is securely connected, with no loose or partially inserted pins.
- Verify the connection: Double-check the connection by gently tugging on the fan cable. If it is securely connected, it should not come loose. Additionally, check the orientation of the fan blades to ensure they are correctly oriented for optimal airflow.
Connecting the CPU cooler fan correctly is essential for maintaining a cool and stable CPU temperature. A secure and proper connection guarantees that the fan will operate effectively in cooling the CPU. Take your time to align and plug in the fan connector, ensuring a solid connection between the CPU cooler and the motherboard.
Test the Installation
After successfully installing the CPU cooler, it’s important to test the installation to ensure optimal cooling performance and system stability. Follow these steps to test the installation of the CPU cooler:
- Power on your computer: Plug in the power cables and turn on your computer. Allow it to boot up and reach the operating system.
- Monitor temperature and fan speed: Use monitoring software to check the CPU temperature and fan speed. There are various software programs available for this purpose, such as HWMonitor, Core Temp, or SpeedFan. Monitor the temperature readings to ensure that the CPU temperature remains within safe operating limits.
- Listen for unusual noises: Listen for any unusual noises coming from the CPU cooler. The fan should run smoothly and quietly. If you hear any grinding or rattling sounds, it may indicate a problem with the installation. In such cases, it is advisable to recheck the installation or consult a professional for assistance.
- Perform stress tests: To further evaluate the CPU cooler’s performance, consider running stress tests or intensive tasks that put a heavy load on the CPU. This can be done using software such as Prime95 or AIDA64, which push the CPU to its limits. Monitor the temperature readings to see how the CPU cooler handles the increased workload.
- Observe system stability: During the stress testing period, keep an eye on your system’s stability. Monitor for any unexpected crashes, freezes, or performance issues. If the system remains stable and the CPU temperature stays within acceptable limits, it indicates a successful installation.
Testing the installation of the CPU cooler is crucial to ensure that it is properly functioning and providing effective cooling for your CPU. Monitoring the temperature, checking for unusual noises, performing stress tests, and observing system stability will help you determine if the installation was successful. If any issues arise, it may be necessary to reevaluate the installation or seek professional assistance.
Conclusion
Installing a CPU cooler is a necessary task to ensure the longevity and optimal performance of your computer’s CPU. By properly following the steps outlined in this guide, you can confidently install a CPU cooler on your A68Hm-Grenade Micro ATX motherboard.
We began by preparing for the installation, gathering the necessary tools and materials, and creating a clean workspace. We then removed the old cooler carefully and applied thermal paste to promote efficient heat transfer. After that, we installed the backplate and attached the mounting brackets securely. Placing the CPU cooler on the CPU socket and tightening the mounting screws ensured a proper and stable installation.
We then connected the CPU cooler fan, which plays a vital role in maintaining optimal temperatures. Finally, we tested the installation by monitoring temperature, checking for any unusual noises, and performing stress tests to ensure system stability and cooling efficiency.
Remember, the installation process may vary slightly depending on the specific CPU cooler model and motherboard you are using, so it is essential to refer to the manufacturer’s instructions for detailed guidance.
Properly installing a CPU cooler is a critical step in maximizing the performance and lifespan of your computer’s CPU. By following these steps and taking care throughout the installation process, you can ensure that your CPU remains cool and your system runs smoothly.
Congratulations on successfully installing your new CPU cooler! Now you can enjoy improved cooling performance and optimize the capabilities of your computer.