Introduction
When it comes to gaming or graphics-intensive tasks, having a dedicated GPU (Graphics Processing Unit) can significantly enhance the performance and visual experience on your computer. However, one common limitation faced by users is the amount of dedicated GPU memory available. If you find that your GPU memory is insufficient for your needs, there are several methods to increase it and optimize the performance of your graphics card.
Understanding how dedicated GPU memory works is essential before diving into the methods to increase it. The dedicated GPU memory, often referred to as VRAM (Video Random Access Memory), is a type of memory that is specifically reserved for graphic-related operations. It stores data such as textures, shaders, and other graphical assets that are required for rendering high-quality visuals.
Having insufficient GPU memory can result in several issues, such as reduced frame rates, lower resolutions, and decreased graphical settings. Fortunately, there are various ways you can increase the dedicated GPU memory and improve the overall performance of your system.
In this article, we will explore different methods to increase the dedicated GPU memory, ranging from software adjustments to hardware upgrades. By implementing these techniques, you can optimize your system’s performance and enjoy smoother gameplay, faster rendering, and better visuals.
Understanding Dedicated GPU Memory
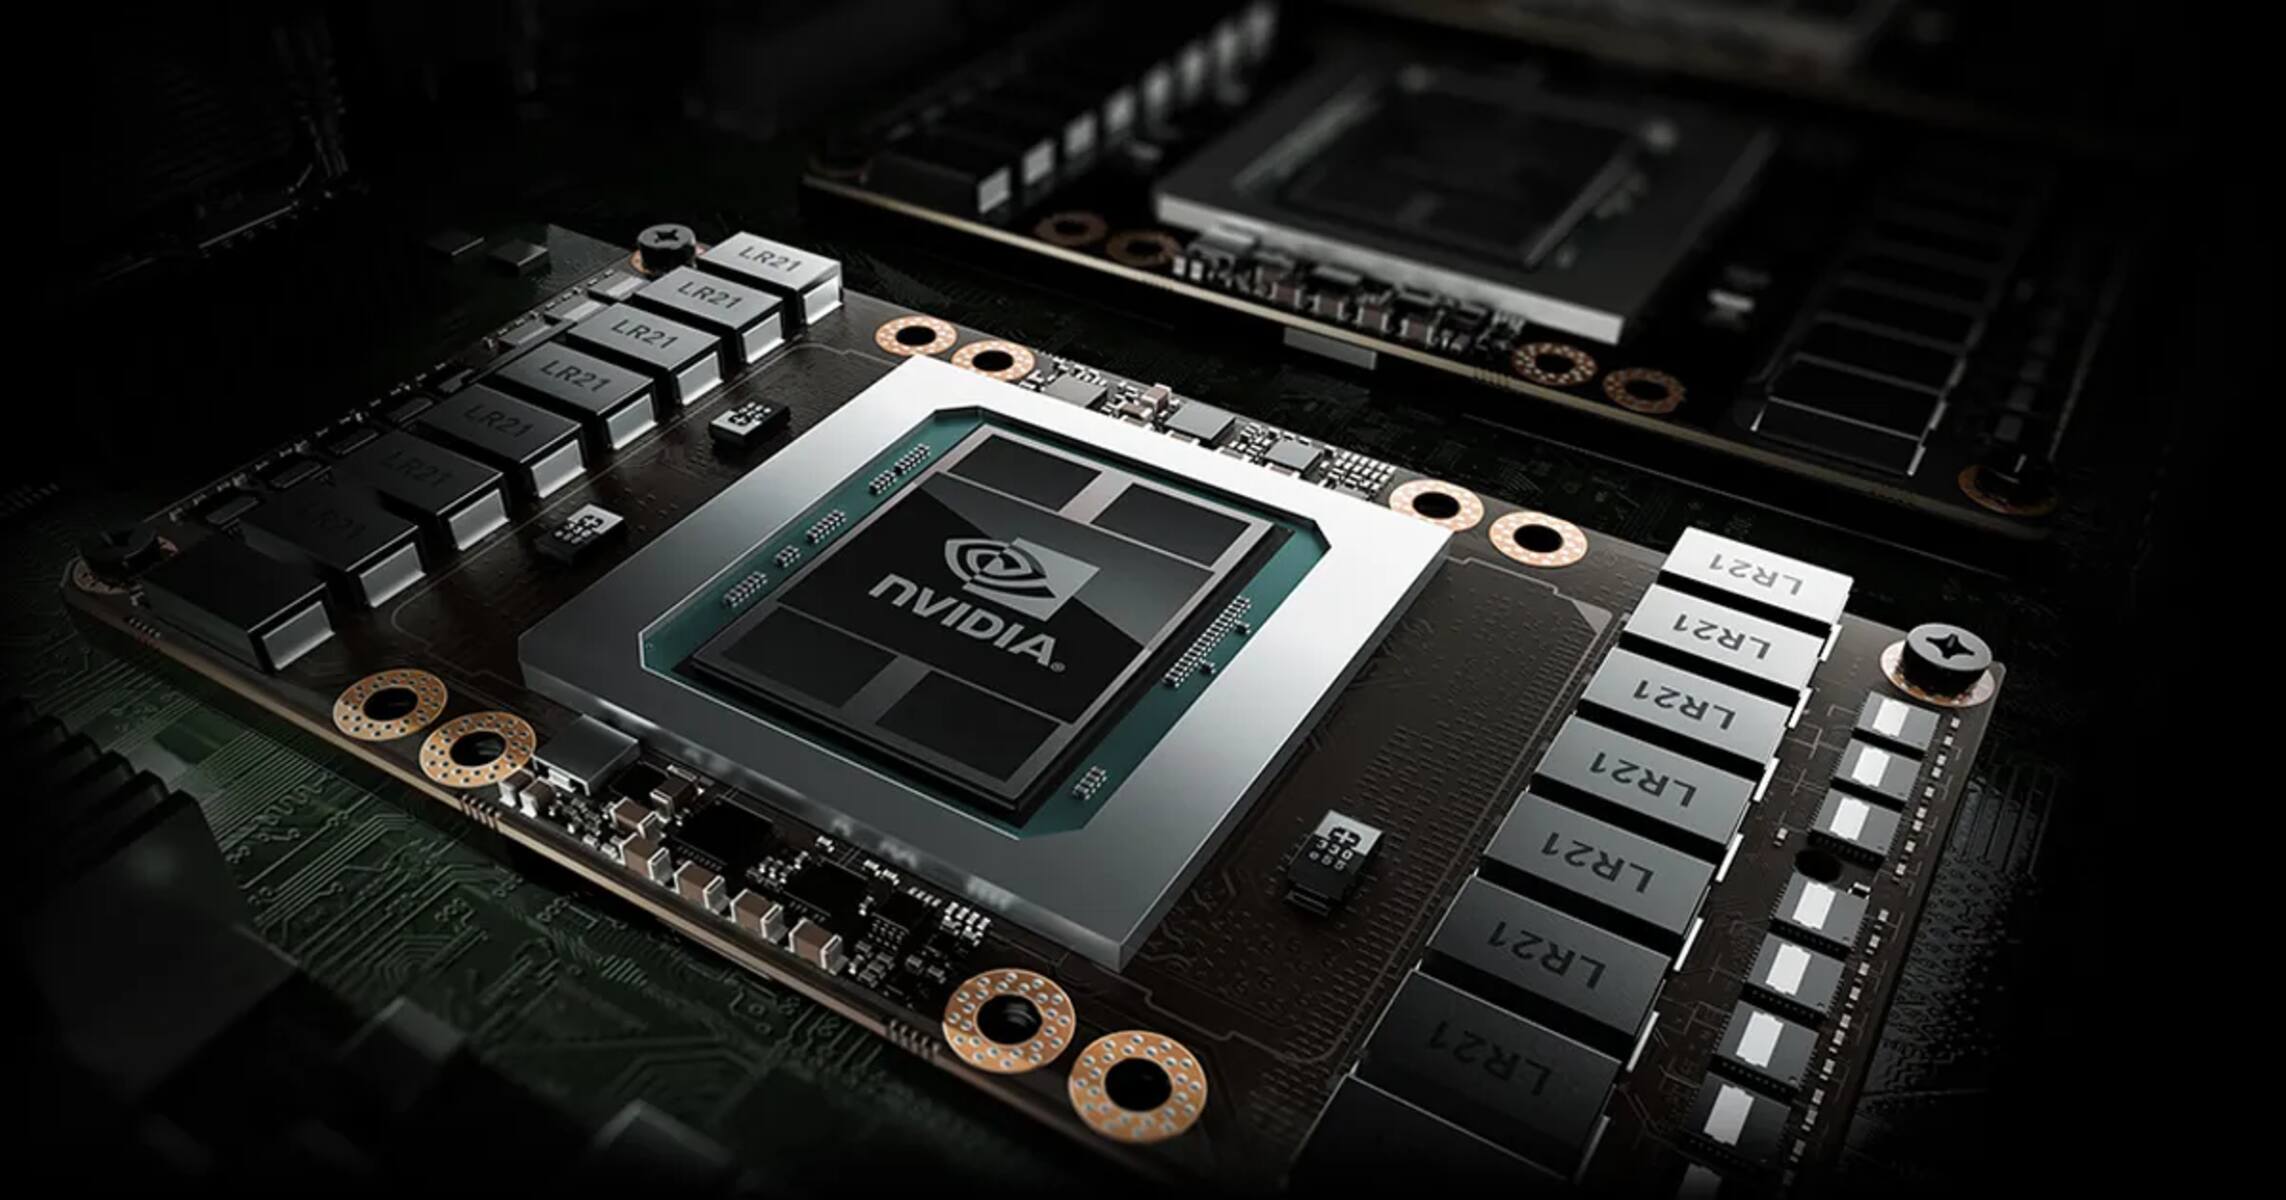
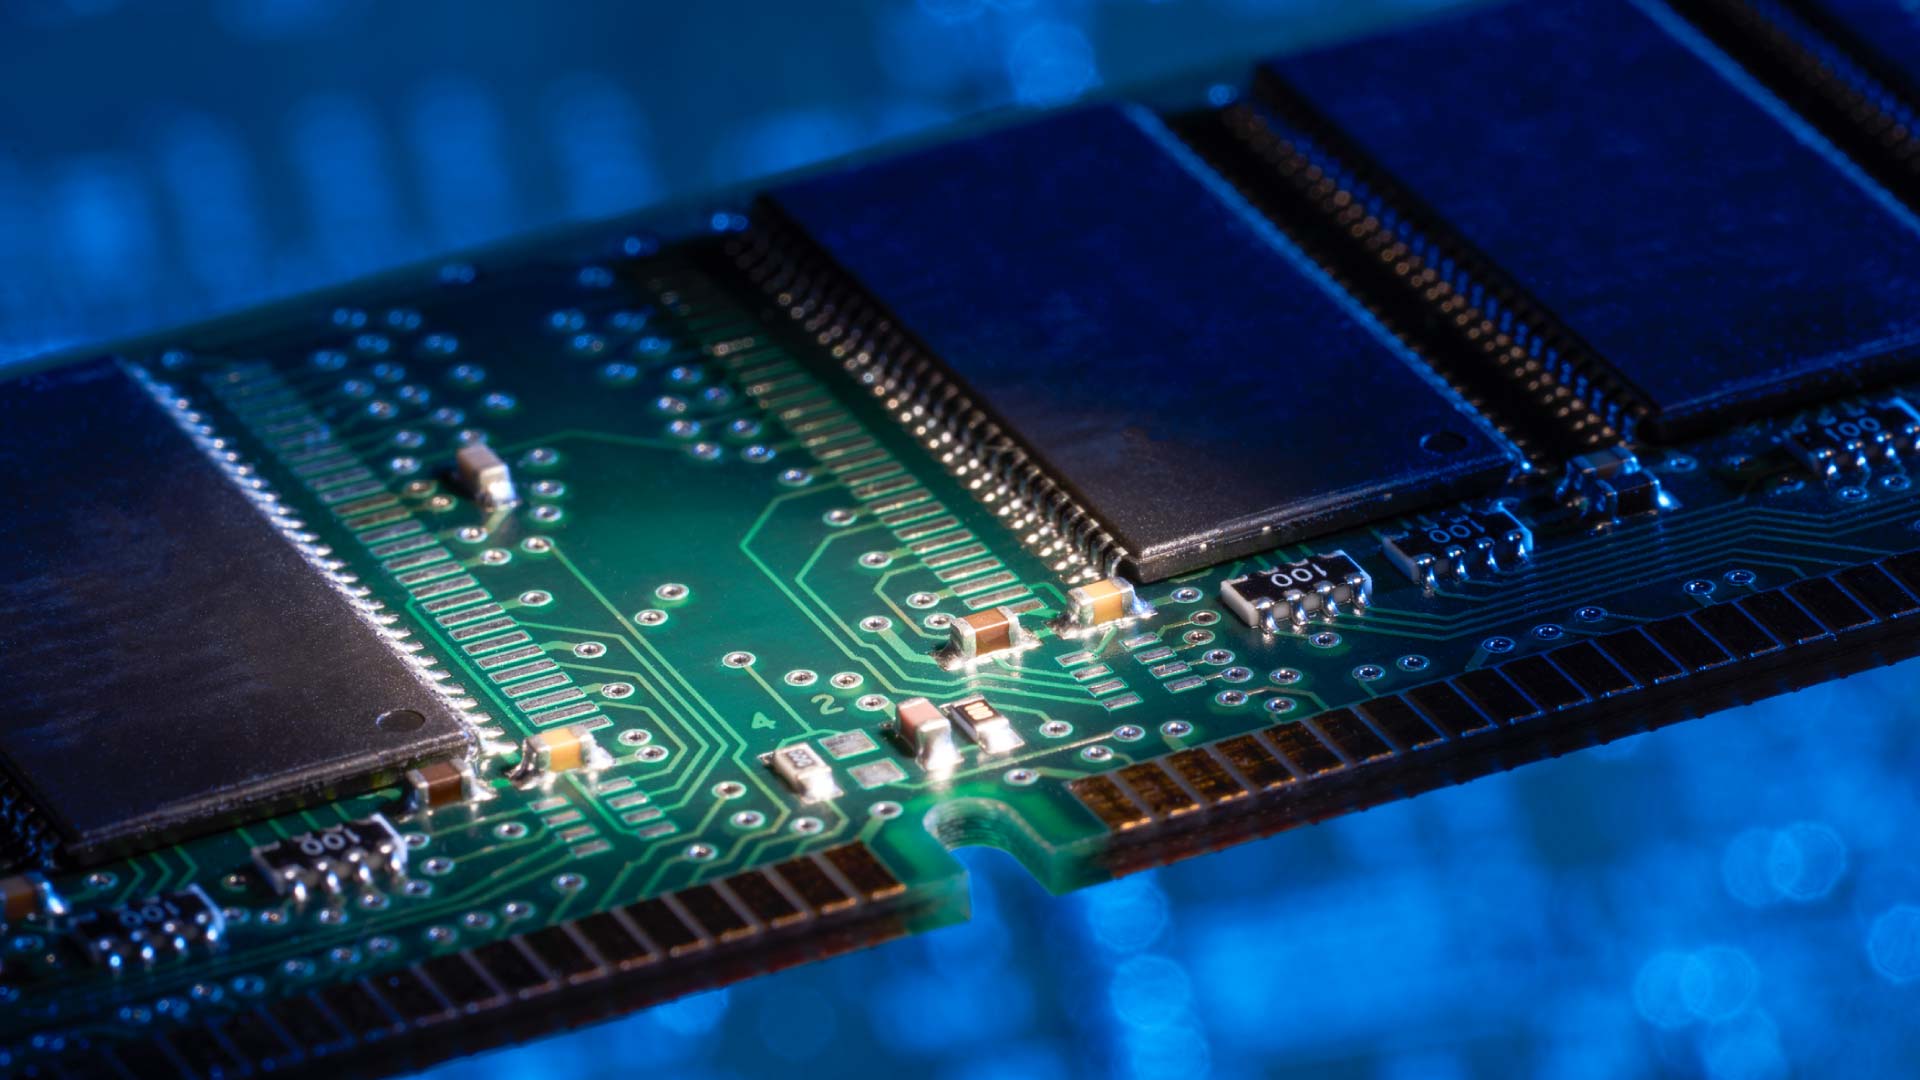
Dedicated GPU memory, also known as VRAM (Video Random Access Memory), plays a vital role in the performance of a graphics card. It is a specialized form of memory that is exclusively reserved for graphics processing and is separate from the computer’s main system memory (RAM).
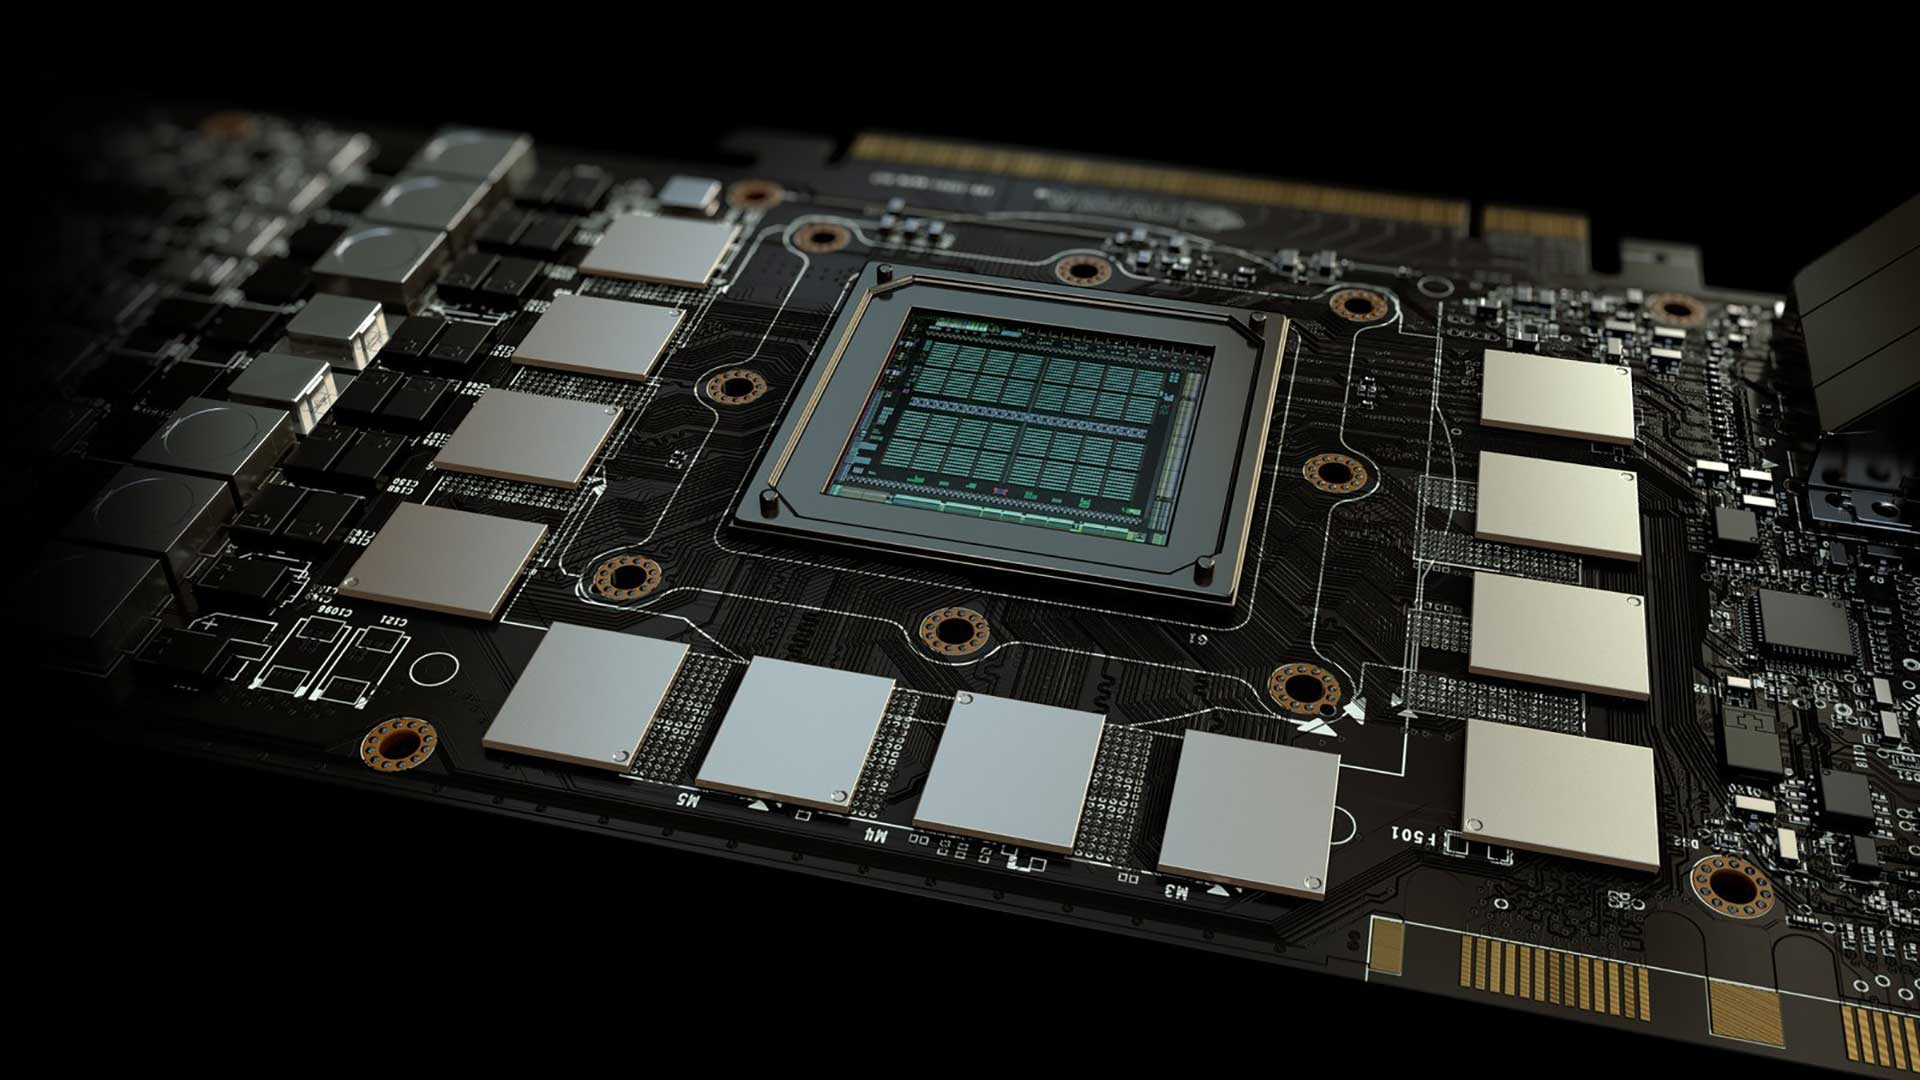
The primary purpose of dedicated GPU memory is to store and access data that is required for rendering images, textures, and other visual elements on the screen. This includes storing information about colors, textures, shaders, and other graphical assets. The GPU accesses this memory directly, resulting in faster data transfer rates and improved performance during graphically intensive tasks.
One important aspect of dedicated GPU memory is its capacity. The amount of VRAM in a graphics card determines its ability to handle complex graphics and high-resolution textures. Higher VRAM capacity enables the GPU to store and process more visual data, resulting in smoother frame rates and improved image quality.
It is worth noting that dedicated GPU memory is separate from the system RAM, which is used for general computing tasks. While the system RAM provides memory for running applications and storing temporary data, the VRAM is specifically optimized for graphics-related operations. This separation allows for efficient memory allocation, with the VRAM specializing in handling quick and simultaneous access to graphics data.
The size and speed of the dedicated GPU memory can vary depending on the graphics card model and specifications. High-end graphics cards typically have larger VRAM capacities, ranging from 4GB to 12GB or even more. On the other hand, entry-level or integrated graphics cards may have lower VRAM capacities, often ranging from 2GB to 4GB.
Having insufficient dedicated GPU memory can lead to performance issues in graphically demanding applications. When the VRAM becomes overloaded, the graphics card may struggle to render complex scenes and textures, resulting in reduced frame rates, stuttering, and lower overall visual quality.
In the next sections, we will explore various methods to increase the dedicated GPU memory and optimize its performance. By implementing these techniques, you can unlock the full potential of your graphics card and experience smoother gameplay, improved graphics, and enhanced visual fidelity.
Checking the Current Dedicated GPU Memory
Before proceeding with any methods to increase the dedicated GPU memory, it is important to determine the current amount of VRAM available on your graphics card. This information will help you understand the potential for increasing the VRAM and optimize the settings accordingly.
To check the dedicated GPU memory on a Windows computer, follow these steps:
- Right-click on the desktop and select “Display settings” from the context menu.
- In the Display settings window, scroll down and click on “Advanced display settings.”
- In the Advanced display settings window, click on “Display adapter properties for Display X,” where “X” represents the connected display number.
- A new window will open, displaying information about your graphics card. Go to the “Adapter” tab.
- Under the “Adapter information,” you will find the current dedicated video memory (VRAM) listed.
Alternatively, you can also use third-party software, such as GPU-Z, to check the dedicated GPU memory. GPU-Z provides detailed information about your graphics card, including the VRAM size, type, and usage.
If you are using a Mac, you can check the dedicated GPU memory by following these steps:
- Click on the Apple menu in the top-left corner of the screen and select “About This Mac.”
- In the Overview tab, click on “System Report.”
- In the System Report window, click on “Graphics/Displays” under the Hardware section.
- You will see detailed information about your graphics card, including the “VRAM (Total)” listed next to your GPU model.
By checking the current dedicated GPU memory, you can assess whether it meets the requirements of your applications and games. If you find that the VRAM is insufficient for your needs, you can proceed to the next sections to explore methods to increase the dedicated GPU memory.
Updating GPU Driver
One of the first steps to consider when looking to increase the dedicated GPU memory is to ensure that you have the latest GPU driver installed on your system. GPU driver updates often include performance optimizations and bug fixes that can improve the overall functionality and efficiency of the graphics card, including its memory management.
To update the GPU driver on a Windows computer, follow these steps:
- Open the Start menu and search for “Device Manager.”
- Click on “Device Manager” to open it.
- In the Device Manager window, expand the “Display adapters” category to display the list of installed graphics cards.
- Right-click on the graphics card you want to update and select “Update driver.”
- Choose the option to search for updated drivers automatically. Windows will then connect to the internet and search for the latest driver.
- If a new driver is available, Windows will download and install it automatically.
For Mac users, updating the GPU driver generally involves updating the macOS system software. Apple periodically releases updates that include improvements and compatibility enhancements for graphics cards.
Updating the GPU driver can potentially improve the performance of the graphics card and optimize its memory usage. It’s important to regularly check for driver updates from the graphics card manufacturer’s website or utilize automatic driver update software to ensure you have the latest drivers installed.
After updating the GPU driver, it’s a good practice to restart your computer to ensure that the changes take effect. Once the system is up and running, you can proceed to check the dedicated GPU memory again to see if there have been any improvements.
In the next sections, we will explore additional methods to increase the dedicated GPU memory, including adjusting BIOS settings, tweaking the Windows registry, and reducing system RAM usage. By implementing these techniques, you can further optimize the memory management of your graphics card and potentially increase its available dedicated GPU memory.
Adjusting BIOS Settings
Another method to potentially increase the dedicated GPU memory is by adjusting the BIOS settings of your computer. The BIOS (Basic Input/Output System) is firmware that is built into the motherboard and controls various hardware settings, including those related to the graphics card.
It’s important to note that not all computers have BIOS settings that allow you to adjust the dedicated GPU memory. This option is typically available on desktop computers and some high-end laptops. If your computer does not have this feature in the BIOS, you can proceed to the next sections for alternative methods.
To adjust the BIOS settings for dedicated GPU memory, you need to access the BIOS setup utility. The specific key or combination of keys to enter the BIOS can vary depending on the computer manufacturer. Common keys include Del, F2, F10, or Esc. Upon booting up your computer, look for a prompt or message indicating which key to press to enter the BIOS.
Once you’re in the BIOS setup utility, navigate to the “Advanced” or “Graphics” section. Here you may find options related to the dedicated GPU memory. Keep in mind that the available options and their names may differ depending on your computer’s BIOS version and manufacturer.
Look for an option labeled “Graphics Configuration,” “Memory Configuration,” or something similar. Within this menu, you may find options to adjust the dedicated GPU memory allocation. The options may be presented as a fixed value or a range of memory sizes to choose from.
Depending on your specific needs and system requirements, you can increase or decrease the dedicated GPU memory allocation. Bear in mind that increasing the dedicated GPU memory may limit the amount of system RAM available for other applications, potentially reducing overall system performance.
Once you have made the desired changes, save the BIOS settings and exit the BIOS setup utility. Your computer will then reboot. After the system restart, check the dedicated GPU memory again to verify if the changes have taken effect.
Adjusting the BIOS settings for dedicated GPU memory should be done with caution. It is recommended to keep a record of the original settings or take note of any changes made, in case you want to revert them later. Additionally, consult your computer’s documentation or the manufacturer’s website for specific instructions and guidance regarding BIOS settings.
In the following sections, we will explore other methods to increase the dedicated GPU memory, such as tweaking the Windows registry and reducing system RAM usage. These methods can be useful if your computer does not have adjustable BIOS settings or if you wish to further optimize memory management on your system.
Tweaking Windows Registry
Another method to potentially increase the dedicated GPU memory on a Windows computer is by making changes to the Windows Registry. The Windows Registry contains settings and configurations that control various aspects of the operating system and software installed on your computer.
Before proceeding with any changes to the Windows Registry, it is crucial to create a backup. Modifying the registry incorrectly can cause system instability or even render your computer inoperable. To create a registry backup, follow these steps:
- Press the Windows key + R to open the Run dialog box.
- Type “regedit” and press Enter to open the Registry Editor.
- In the Registry Editor, click on the File menu and select Export.
- Choose a location to save the backup file and provide a descriptive name.
- Click on the Save button to create the registry backup.
Once you have created the registry backup, you can proceed to make the necessary changes to increase the dedicated GPU memory:
- Open the Registry Editor by pressing the Windows key + R, typing “regedit,” and pressing Enter.
- Navigate to the following registry key:
HKEY_LOCAL_MACHINE\SOFTWARE\Microsoft\Windows NT\CurrentVersion\Virtualization - Right-click on the “Virtualization” key and select New > DWORD (32-bit) Value.
- Provide a name for the new value, such as “GPUMemoryAdjustment.”
- Double-click on the newly created value and set the Base to Decimal.
- In the Value data field, enter the desired value for the dedicated GPU memory. The value represents the number of MB (megabytes).
- Click OK to save the changes.
After making the changes, close the Registry Editor and restart your computer for the modifications to take effect. Once the system boots up, check the dedicated GPU memory to see if the changes have been applied.
It is important to note that not all computers or graphics cards support this method of tweaking the Windows Registry to increase the dedicated GPU memory. Additionally, modifying the registry can have unintended consequences, so proceed with caution and make sure to follow the instructions carefully.
In the following sections, we will explore other methods to increase the dedicated GPU memory, such as reducing system RAM usage and optimizing background programs. These methods can further enhance the performance of your graphics card and improve overall system efficiency.
Reducing System RAM Usage
Another approach to potentially increase the available dedicated GPU memory is by reducing the usage of system RAM. When the system RAM is heavily utilized, it can limit the resources available for the graphics card, impacting its performance and dedicated GPU memory allocation.
Here are some methods to help reduce system RAM usage:
- Close unnecessary applications: Close any unnecessary applications running in the background, especially those that consume significant system resources. This can free up more RAM for the graphics card and improve its performance.
- Disable startup programs: Many programs are configured to run automatically when the computer starts up. Disable any unnecessary startup programs to prevent them from consuming system resources unnecessarily.
- Manage browser tabs and extensions: Web browsers, particularly if you have multiple tabs open or numerous extensions installed, can consume a significant amount of RAM. Limit the number of open tabs and disable or remove unnecessary browser extensions to free up system resources.
- Adjust virtual memory settings: Virtual memory uses a portion of the hard drive as an extension of the system RAM. Optimizing the virtual memory settings can help reduce the strain on physical RAM. To adjust virtual memory settings, right-click on “This PC” or “My Computer,” select “Properties,” go to the “Advanced system settings,” navigate to the “Advanced” tab, click on “Settings” in the Performance section, go to the “Advanced” tab again, and click on “Change” in the Virtual Memory section.
- Disable unnecessary visual effects: Windows provides various visual effects that can consume system resources. To disable unnecessary visual effects, right-click on “This PC” or “My Computer,” select “Properties,” go to the “Advanced system settings,” navigate to the “Advanced” tab, and click on “Settings” in the Performance section. Select the “Adjust for best performance” option to disable all visual effects or choose specific settings that suit your needs.
Implementing these methods helps free up system RAM, which can potentially allow for more dedicated GPU memory allocation. It’s important to remember that reducing system RAM usage may not directly increase the dedicated GPU memory but can optimize the overall performance of your system, including the graphics card.
In the following sections, we will explore additional methods to increase the dedicated GPU memory, such as closing unnecessary background programs and uninstalling unused software and games. These methods can further optimize resource allocation and potentially improve the performance of your graphics card.
Closing Unnecessary Background Programs
One effective way to optimize system resources and potentially increase the available dedicated GPU memory is by closing unnecessary background programs. Background programs running on your computer can consume system resources, including RAM, which can impact the performance of your graphics card.
Here are some steps to help you close unnecessary background programs:
- Task Manager: Open the Task Manager by pressing Ctrl + Shift + Esc or by right-clicking the taskbar and selecting “Task Manager.” In the Processes or Details tab, identify any programs or processes that are consuming a significant amount of system resources. Right-click on them and select “End task” or “End process” to close them.
- Startup Programs: Some programs are configured to start automatically when your computer boots up. Managing startup programs can help prevent unnecessary programs from running in the background. To do this, open the Task Manager, go to the Startup tab, and disable any programs that you don’t need to start automatically.
- System Tray: The system tray, located in the bottom-right corner of the taskbar, may display icons for various programs running in the background. Right-click on these icons and look for options to exit or close the programs.
- Manual Closing: If you have any programs running in the background that you don’t need, manually close them by clicking on the program’s window and selecting the close (X) button or using the exit option from its menu.
By closing unnecessary background programs, you free up valuable system resources, including both CPU and RAM. This can improve the overall performance of your computer and potentially increase the available dedicated GPU memory.
It’s worth mentioning that certain programs, such as antivirus software or system utilities, may need to run in the background to ensure the security and stability of your system. Exercise caution when closing programs, and always keep critical and essential programs running.
In the next section, we will explore another method to increase the dedicated GPU memory by uninstalling unused software and games. This can further enhance system resource optimization and potentially free up additional dedicated GPU memory for more demanding applications and games.
Uninstalling Unused Software and Games
If you’re looking to increase the available dedicated GPU memory, one effective method is to uninstall any unused software and games from your computer. Unnecessary programs take up valuable disk space and can consume system resources, including RAM, which can impact the performance of your graphics card.
Here are some steps to help you uninstall unused software and games:
- Control Panel (Windows): Open the Control Panel by searching for it in the Start menu. In the Control Panel window, click on “Uninstall a program” or “Programs and Features.” This will display a list of installed programs. Scroll through the list and identify any software or games that you no longer use. Select the program/game, and click on the “Uninstall” or “Remove” button.
- Settings (Windows 10): Open the Settings app by clicking on the Start menu and selecting the settings gear icon. In the Settings window, click on “Apps” or “Apps & features.” This will display a list of installed apps. Scroll through the list and identify any software or games that you want to remove. Select the program/game, and click on the “Uninstall” button.
- Applications Folder (Mac): Open the Applications folder by clicking on the Finder icon in the Dock and selecting “Applications” from the sidebar. In the Applications folder, locate the software or games that you no longer need. Right-click on the program/game and select “Move to Trash” or drag it to the Trash icon in the Dock.
By uninstalling unused software and games, you not only free up disk space but also release system resources that were previously occupied by these programs. This can lead to improved overall system performance and potentially increase the available dedicated GPU memory.
It’s important to note that before uninstalling any software or games, it’s always a good practice to ensure that you won’t be losing any important files or data associated with them. Additionally, be cautious when removing any system-critical software or games, as they may be necessary for the functioning of your computer.
In the next sections, we will explore additional methods to increase the dedicated GPU memory, such as upgrading your graphics card and optimizing system settings. These methods can prove beneficial if you require a more significant boost in GPU performance and memory allocation.
Upgrading Graphics Card
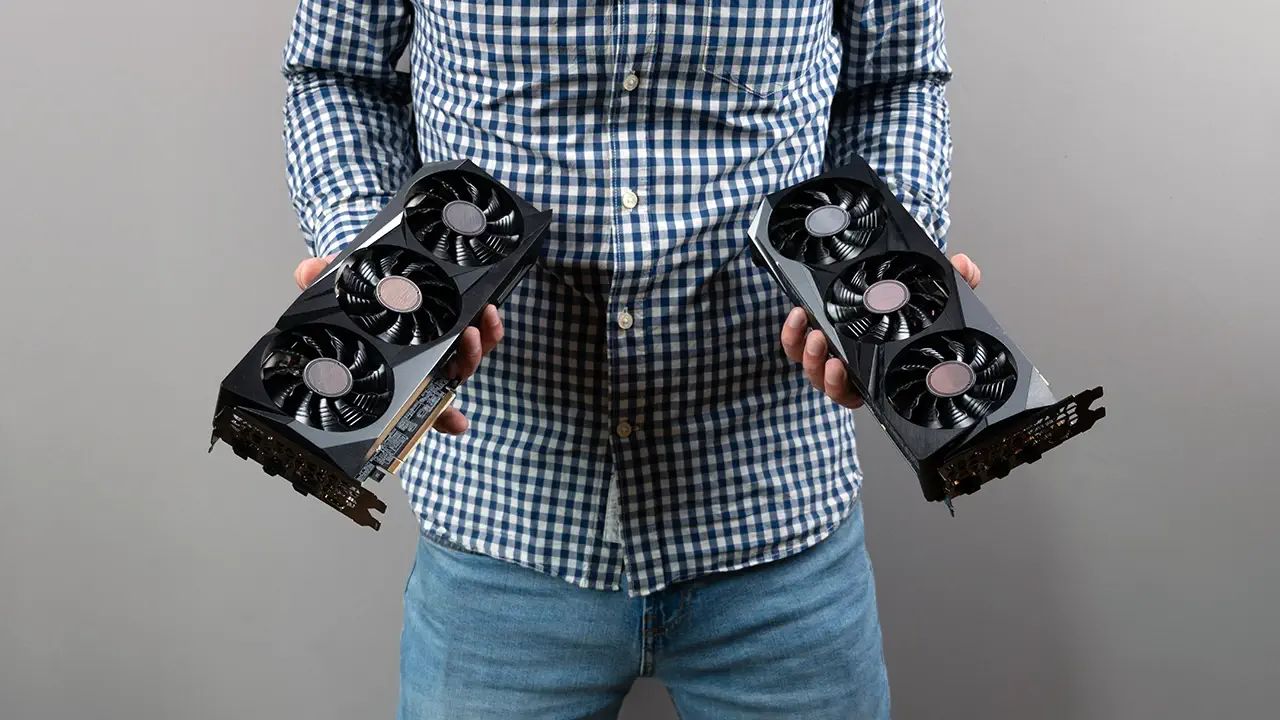
If you have exhausted all software-related methods and still need a significant increase in dedicated GPU memory, it may be time to consider upgrading your graphics card. Upgrading your graphics card can provide a substantial boost in performance and allow for a higher VRAM capacity, resulting in better graphics quality and smoother gameplay.
Here are some key points to consider when upgrading your graphics card:
- Compatibility: Ensure that the new graphics card is compatible with your computer’s hardware and meets any power supply requirements. Check the specifications of your motherboard, power supply unit (PSU), and available PCIe slots to determine the compatibility.
- Budget: Set a budget for the graphics card upgrade and explore options that fit within your budget range. Research and compare different models to find the one that offers the best performance and VRAM capacity for your needs.
- VRAM Capacity: Consider the VRAM capacity of the new graphics card. Higher VRAM capacity allows for better handling of high-resolution textures and complex scenes. Choose a card with a VRAM capacity that suits your requirements, keeping in mind the demands of the software and games you intend to use.
- Performance: Look at the overall performance benchmarks and reviews of the graphics card you are considering. Consider factors such as clock speed, CUDA cores (for NVIDIA cards), stream processors (for AMD cards), and memory bandwidth to gauge its overall performance and compatibility with your desired applications and games.
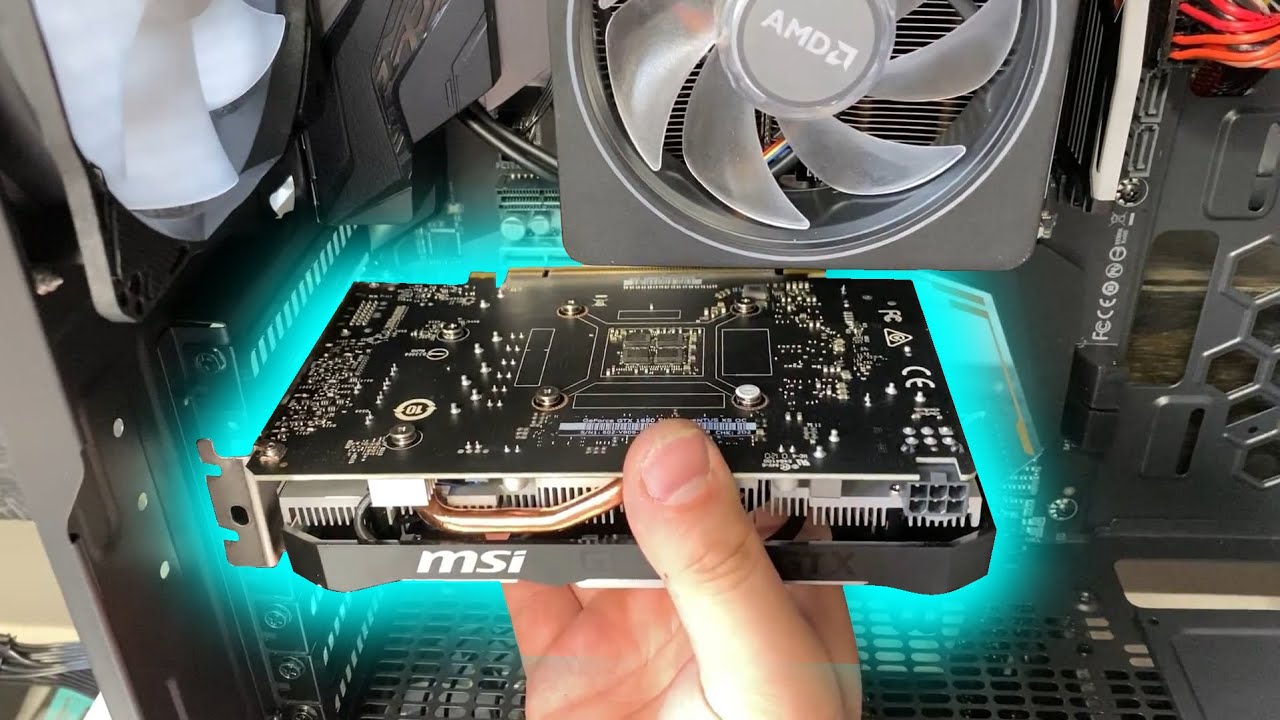
- Installation: Upgrading the graphics card involves physically installing the new card and updating the necessary drivers. Follow the manufacturer’s instructions for proper installation and configuration. Make sure to uninstall the drivers of the old graphics card and install the latest drivers for the new one.
By upgrading your graphics card, you not only increase the available dedicated GPU memory but also benefit from improved overall performance and graphical capabilities. This allows for a more immersive and visually stunning experience in games, as well as smoother graphics rendering in professional applications.
Keep in mind that upgrading the graphics card may require additional considerations, such as upgrading the power supply unit to meet the requirements of the new card. Carefully research and plan the upgrade to ensure the best results and compatibility with your system.
In the final section, we will summarize the different methods we’ve explored to increase the dedicated GPU memory and optimize the performance of your graphics card.
Conclusion
Increasing the dedicated GPU memory can greatly enhance the performance and visual experience of your computer, especially for gaming and graphics-intensive tasks. We have explored several methods to achieve this, each with its own advantages and considerations.
First, understanding the dedicated GPU memory and checking its current allocation provided a baseline for assessing the need for optimization. Updating the GPU driver ensures that you have the latest performance improvements and bug fixes. Adjusting BIOS settings allows for customization of the dedicated GPU memory allocation, although this option may not be available on all computers.
Tweaking the Windows Registry and reducing system RAM usage help optimize system resources and potentially increase available dedicated GPU memory. Closing unnecessary background programs and uninstalling unused software and games further free up system resources.
If software optimization proves insufficient, upgrading your graphics card offers a substantial boost in performance and VRAM capacity, providing more dedicated GPU memory for demanding applications and games. However, this option requires consideration of compatibility, budget, and installation procedures.
It is important to note that these methods should be implemented with caution, taking into account your specific setup and needs. The impact and effectiveness of each method may vary depending on your hardware configuration, software requirements, and personal preferences.
By applying these methods, you can optimize the performance of your graphics card, increase the available dedicated GPU memory, and enjoy smoother gameplay, better graphics quality, and enhanced visual fidelity.
Remember to keep your system updated, regularly check for driver updates, and maintain good software management practices to ensure optimal performance and longevity of your computer.


