Introduction
Welcome to the world of plant identification made easy with Google Lens! Whether you’re a gardening enthusiast, a nature lover, or simply curious about the flora around you, Google Lens can be your trusty companion in identifying plants with just a few taps on your smartphone.
With the power of artificial intelligence and image recognition technology, Google Lens has revolutionized the way we explore and learn about the world. From identifying landmarks to translating languages, Google Lens can now also recognize plants and provide detailed information about them right at your fingertips.
Gone are the days of scratching your head and wondering what that beautiful flower or unique plant is called. With Google Lens, you can simply point your camera at the plant, tap a few buttons, and voila! You have the answer you’re looking for.
Not only does Google Lens help you identify plants, but it also offers additional information such as common names, scientific classifications, growing tips, and even user-contributed images and comments. It’s like having a personal plant expert in your pocket!
In this article, we’ll guide you through the process of using Google Lens to identify plants, whether you’re out on a nature hike or exploring your own garden. So grab your smartphone, get ready to uncover the botanical wonders around you, and let’s dive into the world of plant identification with Google Lens!
What is Google Lens?
If you’ve never heard of Google Lens before, you might be wondering what exactly it is and how it can aid in plant identification. Google Lens is a powerful visual search tool developed by Google that uses artificial intelligence to analyze and recognize objects in images or real-time camera footage.
Originally introduced as part of the Google Photos app, Google Lens has now expanded to become a standalone feature accessible through the Google app, Google Assistant, and even some smartphones’ native camera apps. It acts as a bridge between the physical world and digital information, allowing users to gain insights, extract texts, identify objects, and much more.
When it comes to plant identification, Google Lens utilizes its image recognition technology to analyze the unique features, shapes, colors, and textures of plants. By comparing these visual cues with its extensive database of plants, Google Lens can provide accurate and relevant information about the plant you’re trying to identify.
But wait, it’s not just limited to identifying plants! Google Lens can also recognize various other objects such as animals, landmarks, products, and more. It’s a versatile tool that opens up a world of possibilities for users curious about the things they encounter in their everyday lives.
Google Lens seamlessly integrates with your smartphone’s camera, making it user-friendly and accessible for anyone with a compatible device. Whether you’re an experienced gardener looking to identify a specific species or a novice excited about discovering new plants, Google Lens is an invaluable tool that can enhance your knowledge and appreciation for the natural world.
Now that we have a better understanding of what Google Lens is and how it works, let’s explore how to access and utilize this powerful tool for plant identification.
How to Access Google Lens
Accessing Google Lens is a breeze, and there are multiple ways to do so depending on your device and preferences. Here are the various methods you can use:
- Google App: If you have the Google app installed on your smartphone, simply open it and tap on the Google Lens icon located in the search bar. This will activate Google Lens, allowing you to start identifying plants and other objects.
- Google Assistant: If your device has Google Assistant, you can access Google Lens by launching the Assistant using the designated button or voice command. Once the Assistant is open, say “Hey Google, open Google Lens” to bring up the visual search feature.
- Camera App Integration: Some smartphone manufacturers have integrated Google Lens directly into their native camera apps. In this case, simply open your camera app and look for the Google Lens icon or option. Tap on it, and you’ll be in the Google Lens interface ready to identify plants with ease.
- Google Photos: If you’re browsing your photo gallery and come across an image of a plant you want to identify, you can also access Google Lens through Google Photos. Open the desired image, tap on the Google Lens icon, and let it work its magic.
Depending on your device and its compatibility with Google Lens, you may be able to access it through additional methods as well. The important thing is to find the method that works best for you and start using Google Lens to uncover the mysteries of the botanical world.
Now that we know how to access Google Lens, let’s move on to the exciting part – using Google Lens to identify plants!
Using Google Lens to Identify Plants
Now that you’re familiar with Google Lens and how to access it, let’s dive into the process of using this powerful tool to identify plants. Follow these simple steps to unlock a wealth of information about the plants around you:
- Step 1: Open Google Lens: Launch the Google app, Google Assistant, or your smartphone’s camera app (if integrated) and access Google Lens using the methods mentioned earlier. Ensure that your camera is ready to capture images or scenes.
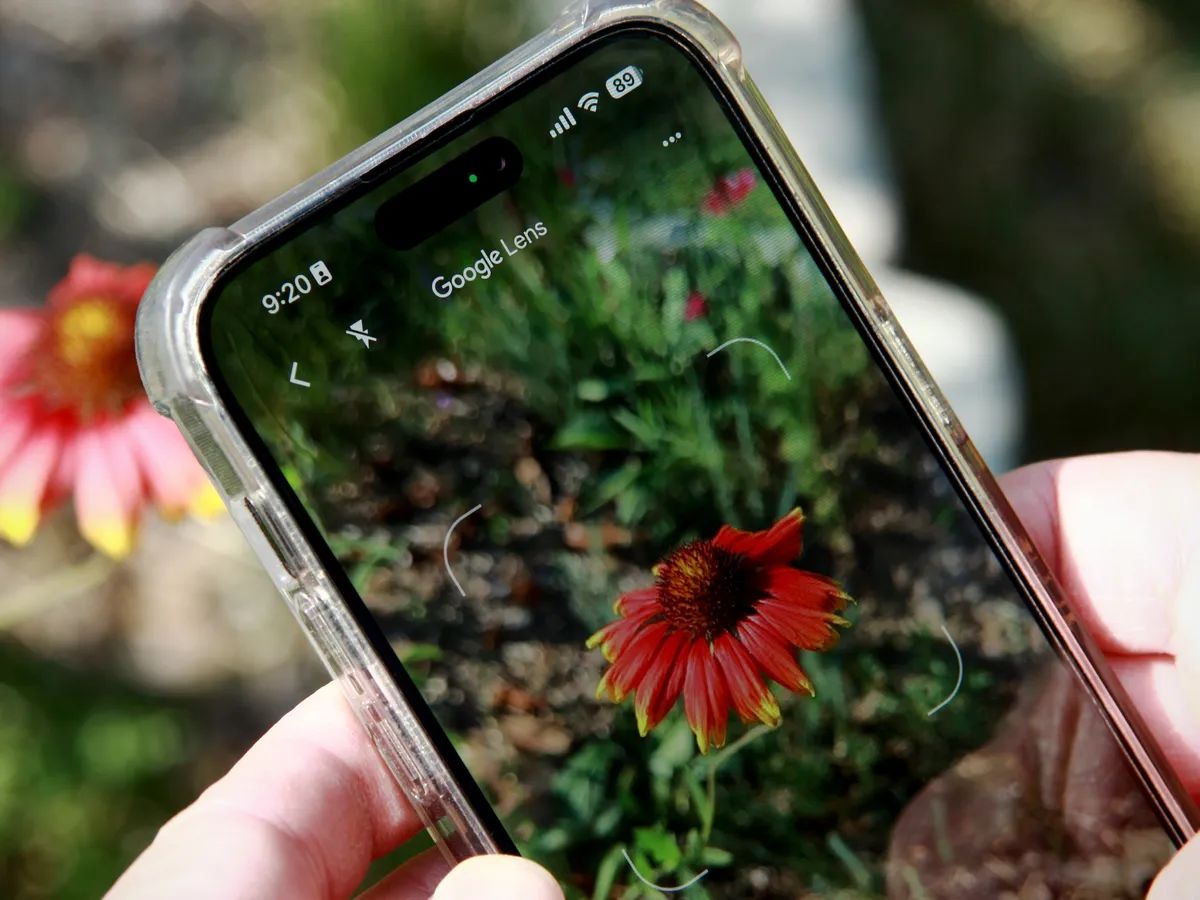
- Step 2: Point your camera at the plant: Once you’re in the Google Lens interface, point your smartphone’s camera towards the plant you want to identify. Make sure you have a clear and well-lit view of the plant, allowing Google Lens to capture accurate visual information.
- Step 3: Tap on the plant to get more information: After the camera detects the plant, you’ll see a circle or box appearing around it on your screen. Tap on the plant within the circle or box, and Google Lens will analyze the image and provide relevant information about the plant, such as its common name, scientific name, and other details.
- Step 4: Identify plants in photos from your gallery: If you have a photo of a plant saved in your gallery, you can also use Google Lens to identify it. Open the desired photo, tap on the Google Lens icon, and let it analyze the image to provide information about the plant in the photo.
- Step 5: Save identified plants for future reference: If you come across a particularly fascinating plant or want to keep a record of the plants you’ve identified, Google Lens allows you to save the information for future reference. Simply tap the save or bookmark icon within the Google Lens interface, and the identified plant will be saved for easy access later.
Using Google Lens to identify plants is a fun and educational experience. It’s like having an expert botanist by your side, ready to unravel the mysteries of the plant kingdom.
Now that you’re armed with the knowledge of how to use Google Lens for plant identification, let’s explore some tips to enhance your success rate and get even better results.
Step 1: Open Google Lens
To begin using Google Lens for plant identification, you need to open the Google Lens feature on your smartphone. Here’s how you can do it:
- Launch the Google app on your smartphone. If you don’t have it installed, you can download it from the App Store or Google Play Store.
- In the search bar at the top of the screen, you’ll find the Google Lens icon. It looks like a small square with a dot in the middle.
- Tap on the Google Lens icon to activate the feature. This will open the Google Lens interface, ready for your plant identification journey.
If you prefer to use Google Assistant to access Google Lens, you can also do so by following these steps:
- Launch the Google Assistant on your smartphone. You can typically do this by long-pressing the home button or saying “Hey Google” (if enabled).
- Once the Google Assistant is opened, you can say “Open Google Lens” to activate the visual search feature. Alternatively, you can tap on the Google Lens icon within the Assistant.
- Google Lens will then open, displaying the camera viewfinder, ready for plant identification.
Some smartphones have integrated Google Lens directly into their native camera apps. If your device has this feature, opening Google Lens becomes even more convenient:
- Open your smartphone’s camera app. The exact method may vary depending on the device, but it’s commonly done through the app drawer or home screen shortcut.
- Look for the Google Lens icon or an option labeled “Lens” within the camera app. It’s usually located in the top corner or accessible through a swipe gesture.
- Tap on the Google Lens icon or select the Lens option to open Google Lens and start identifying plants.
By following these steps, you will be able to easily open Google Lens and begin the exciting journey of plant identification. Now that Google Lens is up and running, let’s move on to the next step – pointing your camera at the plant.
Step 2: Point your camera at the plant
With Google Lens open and ready to go, it’s time to point your smartphone’s camera at the plant you want to identify. Here’s how to do it:
- Ensure that your camera is functioning properly and ready to capture images or scenes. Make sure there is enough light and that the plant is well within the frame.
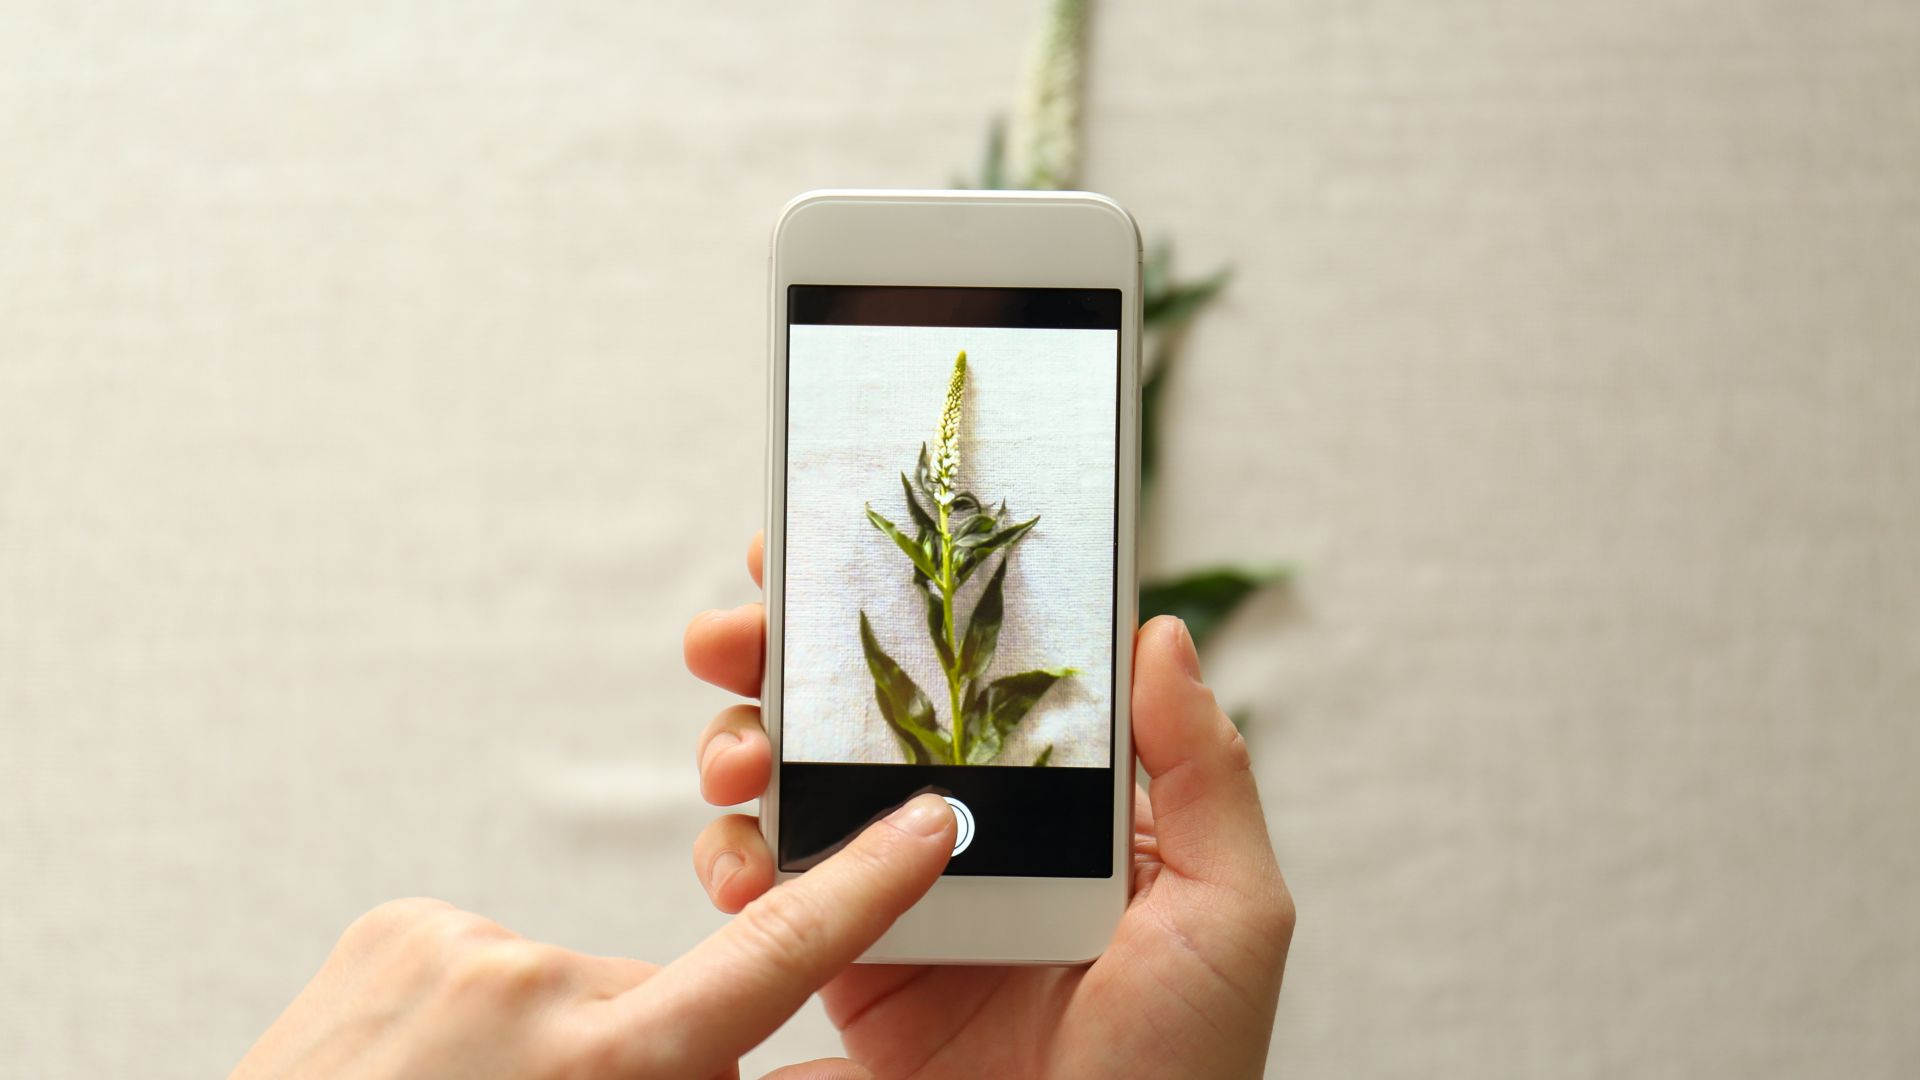
- Hold your smartphone steady and bring it closer to the plant. Aim the camera directly at the plant, focusing on capturing a clear and detailed image.
- It’s essential to have a close-up shot of the plant, emphasizing its unique features and patterns. This will improve the accuracy of Google Lens in identifying the plant.
- If necessary, you can tap on the screen to adjust the focus and exposure of the camera. This can help ensure that the plant is captured in clear detail.
- Take your time and experiment with different angles and distances to capture the plant from various perspectives. This can provide Google Lens with more data to work with, enhancing the identification process.
Google Lens utilizes advanced image recognition and artificial intelligence technologies to analyze the visual features of the plant. This includes factors such as the shape of the leaves, the pattern of the flowers, and other distinctive characteristics.
By pointing your camera at the plant and capturing a clear image, you’ll increase the chances of Google Lens accurately identifying the plant species. Remember, the more detailed and focused the image is, the better the results will be.
Now that you have successfully captured an image of the plant, it’s time for the next step: tapping on the plant to get more information!
Step 3: Tap on the plant to get more information
Now that you have pointed your smartphone’s camera at the plant and captured a clear image, it’s time to tap on the plant within the Google Lens interface to unlock a wealth of information. Here’s what you need to do:
- Within the Google Lens interface, you will typically see a circle or box appearing around the plant on your screen. This indicates that Google Lens has successfully recognized the plant based on the image you captured.
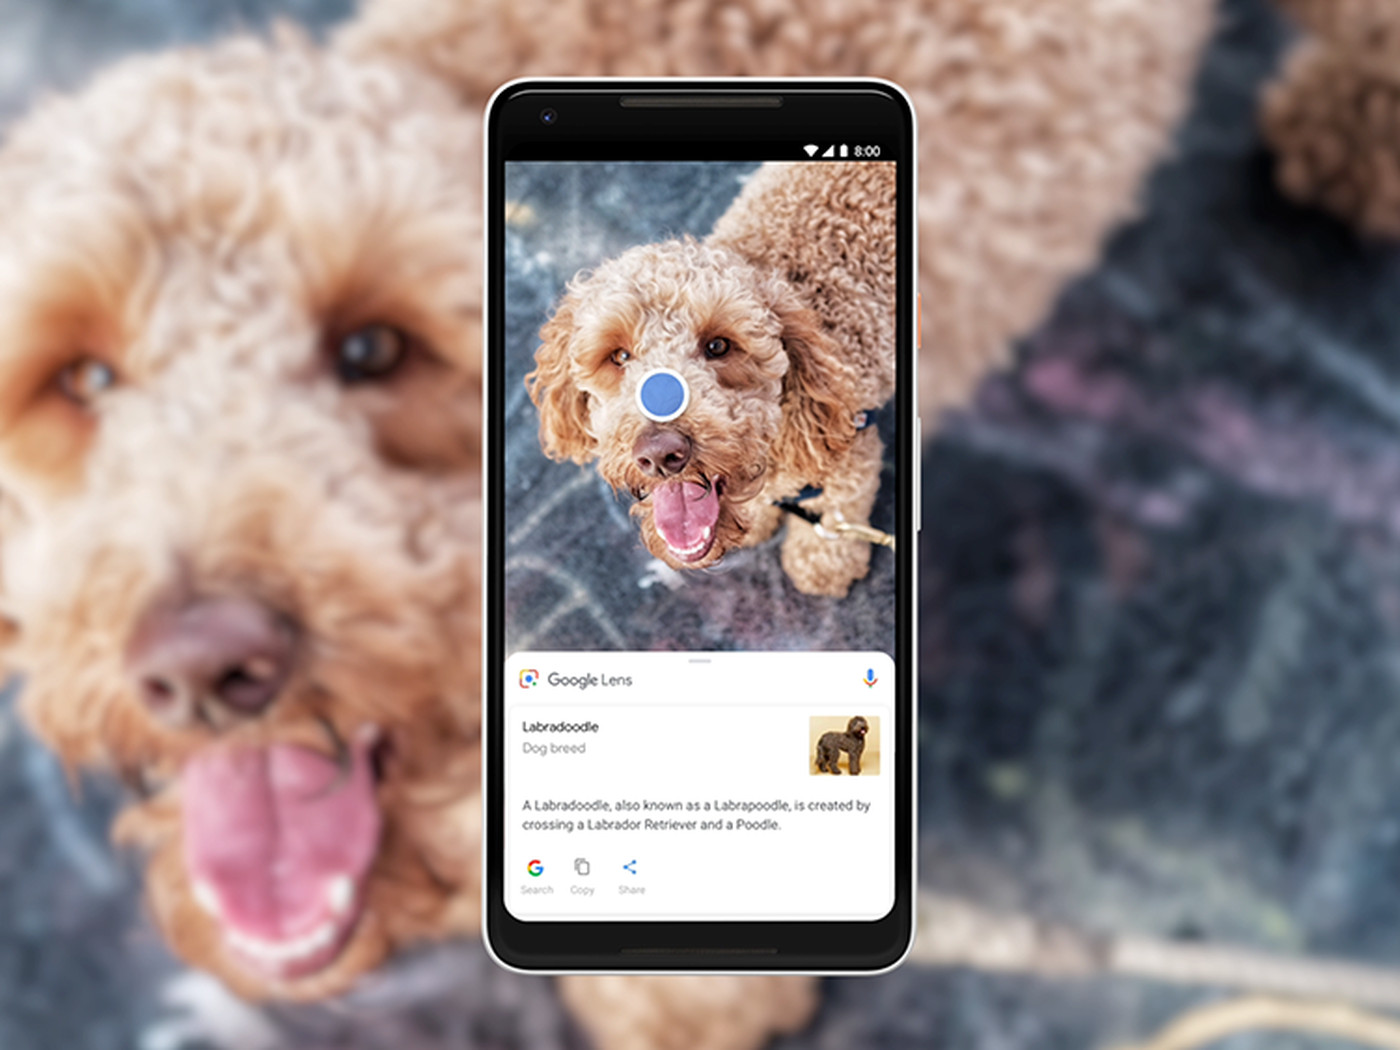
- Using your finger, tap on the plant within the circle or box. This action triggers Google Lens to analyze the image and provide information about the plant.
- After tapping on the plant, Google Lens will display relevant details such as the common name, scientific name, and other identifying characteristics of the plant.
- In addition to basic information, Google Lens often presents supplementary details about the plant. This can include growing tips, care instructions, user-contributed images, and even interesting facts about the plant.
- Take your time to explore and read through the information provided by Google Lens. It can be a wealth of knowledge that helps you better understand and appreciate the plant you have identified.
Using sophisticated image recognition algorithms, Google Lens compares the captured image with its vast database of known plants, enabling it to provide accurate and detailed information about the identified species.
It’s worth noting that Google Lens relies on its database and user-contributed information, so there may be limitations in its plant library. It’s possible that uncommon or exotic plants may not have extensive information available. However, as technology continually improves, the database expands, and more users contribute data, Google Lens becomes increasingly robust and comprehensive.
So, after tapping on the plant and retrieving valuable information, you are well on your way to becoming a plant identification maestro with the help of Google Lens. But what if you have a photo of a plant saved in your gallery? Don’t worry – Google Lens can handle that too!
Step 4: Identify plants in photos from your gallery
What if you have a photo of a plant saved in your gallery that you want to identify? No problem! Google Lens allows you to identify plants using photos from your device’s gallery. Here’s how:
- Open the gallery app on your smartphone and navigate to the photo of the plant you want to identify.
- Select the desired photo to open it in full view.
- Now, tap on the Google Lens icon within the gallery app. This will launch Google Lens and initiate the plant identification process using the selected photo.
- Google Lens will analyze the image and provide information about the plant based on the characteristics and details it detects within the photo.
- Similar to the live identification process, Google Lens will display details such as the common name, scientific name, and additional information about the plant in the photo.
- Explore the information and enjoy learning more about the plant you have identified through the photo.
Identifying plants from your photo gallery is not only convenient, but it also allows you to revisit memorable plant photos or identify plants from past encounters.
It’s important to note that, similar to live identification, Google Lens relies on its image recognition capabilities and database to provide accurate information. Keep in mind that the quality and clarity of the photo can affect the accuracy of the identification. Therefore, it’s best to use clear and well-lit photos for optimal results.
By using Google Lens to identify plants in your gallery, you can expand your botanical knowledge and gain insights into the plants captured in your past photos.
Now that you know how to identify plants both live and from gallery photos, let’s explore how you can save identified plants for future reference.
Step 5: Save Identified Plants for Future Reference
Once you have successfully identified a plant using Google Lens, you may want to save the information for future reference. Google Lens allows you to easily save identified plants so that you can revisit them anytime you want. Here’s how you can do it:
- After Google Lens has provided information about the identified plant, look for the option to save or bookmark the plant within the interface.
- Tap on the save or bookmark icon to save the identified plant to your Google account or a designated collection for easy access later.
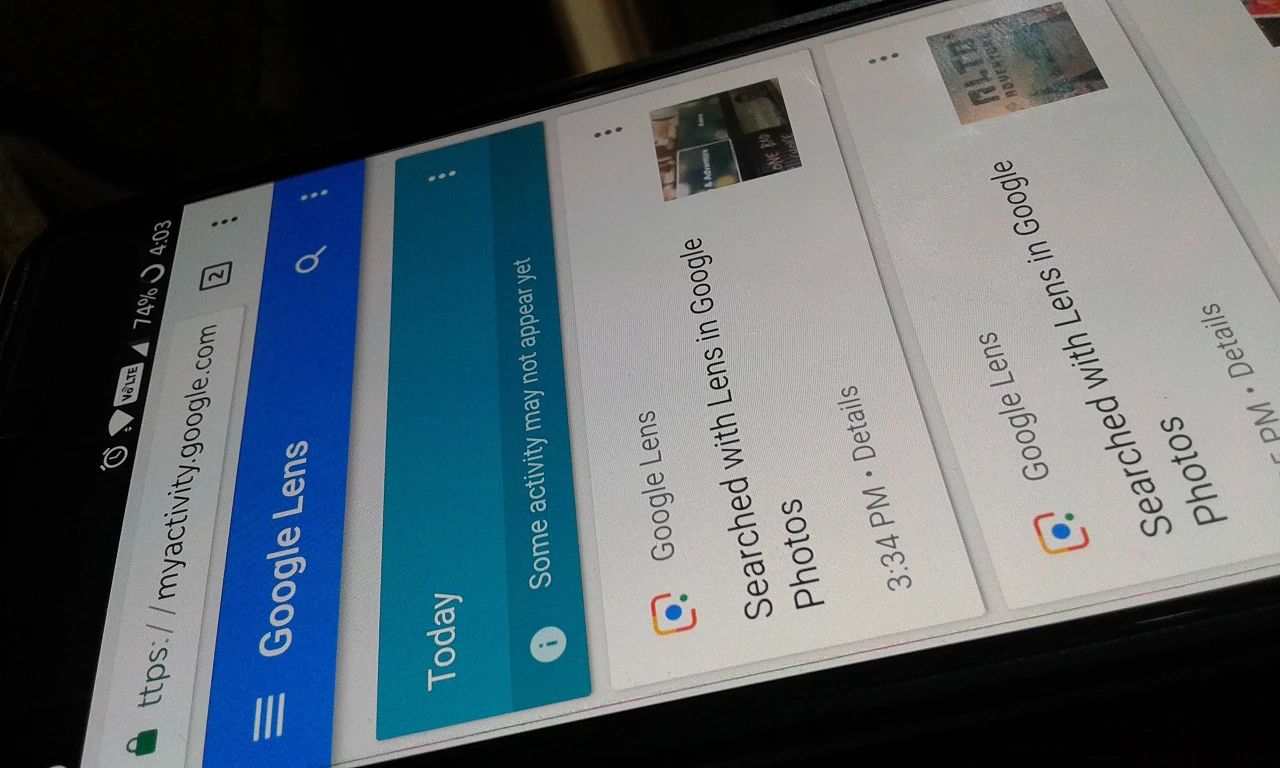
- Once saved, you can find the identified plants within the collections or saved items section of the Google Lens or Google app.
- Within the saved items, you’ll be able to view a list of all the plants you have identified, along with their associated information and images.
- You can organize your saved plants into different categories or collections based on your preferences, such as indoor plants, garden plants, or plants to research further.
- Saving identified plants allows you to build a personalized plant library, helping you keep track of the plants you have identified and the knowledge you have gained.
- Furthermore, you can use the saved plants as a reference when planning your garden, sharing information with fellow plant enthusiasts, or simply revisiting the joy of discovering various plants.
By saving identified plants with Google Lens, you can create a digital collection that grows with your botanical explorations. It’s like having your own personalized plant identification archive that you can refer to at any time.
Keep in mind that by saving plants to your Google account, you can access them across multiple devices, such as your smartphone, tablet, or computer, making it even more convenient to dive into your plant knowledge whenever and wherever you need it.
Now that you know how to save identified plants, you are well-equipped to build your own plant library with the help of Google Lens. Before we wrap up, let’s explore some tips to enhance your plant identification experience.
Tips for Better Plant Identification with Google Lens
While Google Lens is a powerful tool for plant identification, there are a few tips and tricks you can follow to enhance your experience and get better results. Here are some suggestions to improve your plant identification journey with Google Lens:
- Capture clear and detailed images: When using live identification or identifying plants from your gallery, make sure to capture clear and well-focused images of the plant. This can significantly improve the accuracy of Google Lens in identifying the plant species.
- Shoot from different angles: Take photos of the plant from multiple angles to capture different perspectives. This can provide Google Lens with more data to analyze, increasing the chances of accurate identification.
- Focus on unique features: Pay attention to the plant’s unique characteristics, such as leaf patterns, flower shape, or distinct markings. Highlighting these features in your images can assist Google Lens in identifying the plant more accurately.
- Consider lighting conditions: Adequate lighting is essential for capturing clear images. Avoid taking photos of plants in low-light conditions, as it can affect the accuracy of the identification. If necessary, use the camera’s built-in flash or find a well-lit area to photograph the plant.
- Use it in conjunction with other resources: While Google Lens is a fantastic tool, it’s always beneficial to cross-reference the identified plant using other reliable sources, such as field guides, gardening books, or online plant databases. This can provide you with a more comprehensive understanding of the plant.
- Enable location services: Allowing Google Lens to have access to your location can help provide more accurate results, especially when identifying plants that are native to your region. This can further enrich your knowledge of local flora.
- Contribute to the database: If you come across a plant that is not yet recognized by Google Lens, you can contribute to the database by submitting the information and images of the plant. This helps improve the accuracy and coverage of future plant identifications.
By following these tips, you can maximize the effectiveness of Google Lens for plant identification and expand your plant knowledge. Enjoy the process of discovering and learning about the diverse plant species around you!
Now that you’re armed with these helpful tips, it’s time to put them into practice and explore the botanical wonders with Google Lens. Happy plant identifying!
Conclusion
Google Lens brings the world of plant identification right to your fingertips. With its powerful image recognition technology and extensive database, you can easily identify plants, learn about their unique characteristics, and explore the wonders of the botanical world.
In this article, we covered the basics of using Google Lens for plant identification. From opening Google Lens and pointing your camera at the plant to tapping for more information and saving identified plants for future reference, each step is designed to simplify the process of uncovering the plant species around you.
By following the tips provided, such as capturing clear images, using different angles, and focusing on unique features, you can enhance your plant identification experience and increase the accuracy of Google Lens in identifying plants.
Remember to utilize other resources alongside Google Lens for a more comprehensive understanding of the identified plants. Cross-reference with field guides, gardening books, and online databases to deepen your knowledge and appreciation of the plant kingdom.
Google Lens is constantly evolving, with a growing database and improvements in image recognition capabilities. By contributing your knowledge and images of unrecognized plants, you can actively contribute to the development and accuracy of future identifications.
So, grab your smartphone, open Google Lens, and embark on a journey of discovery as you explore the rich diversity of plants that surround us. Let Google Lens be your botanical companion, guiding you on your quest to identify and learn about the fascinating plants that grace our landscapes.
Happy plant identifying!