Introduction
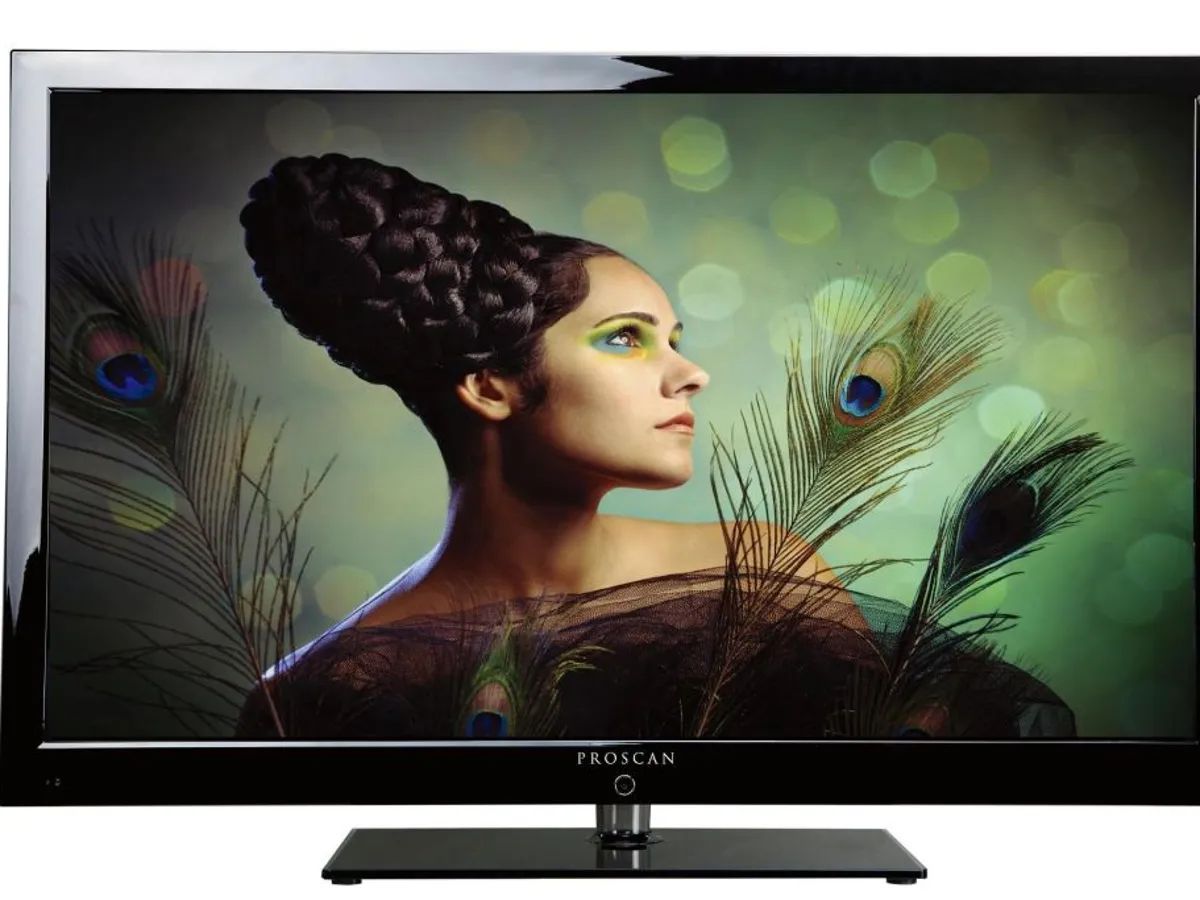
Welcome to the world of high-definition entertainment with your Proscan 55 LED TV! If you’re looking to hook up your TV to cable and enjoy your favorite shows and movies, you’ve come to the right place. In this guide, we’ll walk you through the step-by-step process of connecting your Proscan 55 LED TV to cable so you can start enjoying a wide range of channels and programs in no time.
Proscan is known for its superior image quality, sleek design, and user-friendly interface, making it a popular choice among TV enthusiasts. Whether you’re a tech-savvy individual or just starting out, connecting your TV to cable is a straightforward process that will unlock a world of entertainment possibilities.
Before we dive into the setup process, let’s talk about the equipment you’ll need. To connect your Proscan 55 LED TV to cable, you’ll require a few items that are commonly available:
- Cable box: This is provided by your cable service provider and is responsible for receiving and decoding the cable signal.
- HDMI cable: This is used to connect the cable box to your Proscan 55 LED TV and ensures high-quality audio and video transmission.
- Power cords: You’ll need one for your Proscan 55 LED TV and one for the cable box to ensure both devices receive power.
- Remote control: This is used to control the TV settings and navigate through the cable channels.
With these essentials in hand, you’re ready to set up your Proscan 55 LED TV with cable and enjoy an immersive viewing experience. So, let’s move on to the next step and locate the cable input and other ports on your TV.
Step 1: Gather the necessary equipment
Before you can connect your Proscan 55 LED TV to cable, you’ll need to gather the necessary equipment. Having everything prepared will make the setup process smoother and ensure that you have all the required items on hand.
Here are the essential equipment and accessories you’ll need:
- Cable box: This is provided by your cable service provider. It receives the cable signal and decodes it, allowing you to access channels and content.
- HDMI cable: You’ll need an HDMI cable to connect the cable box to your Proscan 55 LED TV. Make sure to choose a high-quality HDMI cable for optimal audio and video performance.
- Power cords: Both your Proscan 55 LED TV and the cable box will require power. Ensure that you have the appropriate power cords for both devices.
- Remote control: Most cable boxes come with a remote control to navigate through the channels and control various settings. Make sure you have the remote control handy during the setup process.
It’s essential to have all these items ready before you start setting up your Proscan 55 LED TV with cable. Double-check that everything is in working condition. If you’re missing any of these items, reach out to your cable service provider or an electronics store to acquire them.
With all the necessary equipment at your disposal, you’re ready to move on to the next step: locating the cable input and other ports on your Proscan 55 LED TV.
Step 2: Locate the cable input and other ports on your Proscan 55 LED TV
Before connecting your Proscan 55 LED TV to cable, it’s important to familiarize yourself with the different ports and inputs on your TV. This will help you locate the cable input and ensure a proper connection.
To locate the cable input and other ports on your Proscan 55 LED TV, follow these steps:
- Locate the back or side panel of your Proscan 55 LED TV. This is where you’ll find all the inputs and ports.
- Look for the labeled input ports. Most Proscan TVs have the cable input labeled as “CABLE IN” or “ANT IN”. This is where you’ll connect the cable from your cable service provider.
- In addition to the cable input, you might also find other ports such as HDMI, USB, AV, and audio ports. These can be used for connecting additional devices like gaming consoles, DVD players, or sound systems, depending on your requirements.
- If you’re having trouble finding the ports, consult the user manual that came with your Proscan 55 LED TV. It will provide detailed information and diagrams to help you locate the specific inputs.
Once you’ve located the cable input and other necessary ports, you’re ready to move on to the next step: connecting the cable to your Proscan 55 LED TV using the cable input.
By following these steps and understanding the layout of your Proscan 55 LED TV’s inputs, you’ll be well-prepared to make the necessary connections for enjoying cable TV on your Proscan 55 LED TV.
Step 3: Connect the cable to the TV using the cable input
Now that you’ve located the cable input on your Proscan 55 LED TV, it’s time to connect the cable from your cable service provider. This step will establish the connection between your TV and the cable signal, allowing you to access a wide range of channels and content.
Follow these steps to connect the cable to your Proscan 55 LED TV:
- Locate the cable that comes from your cable service provider. It is usually a coaxial cable with a screw-on connector on one end.
- Take the coaxial cable and connect it to the cable input on your Proscan 55 LED TV. Screw the connector clockwise onto the port until it is secure.
- Make sure the connection is tight to ensure a stable signal. A loose or faulty connection can result in poor picture quality or signal loss.
- Once the cable is connected, you are ready to move on to the next step: connecting your Proscan 55 LED TV to the cable box using an HDMI cable.
By following these steps, you have successfully established the physical connection between your Proscan 55 LED TV and the cable signal. A properly connected cable will ensure that you can access a variety of channels and enjoy high-quality content on your TV.
Step 4: Connect the TV to the cable box using an HDMI cable
After connecting the cable to your Proscan 55 LED TV, the next step is to establish a connection between the TV and the cable box. This can be done using an HDMI cable, which ensures high-quality audio and video transmission between the two devices.
Follow these steps to connect your Proscan 55 LED TV to the cable box using an HDMI cable:
- Locate the HDMI output port on your cable box. It is usually labeled as “HDMI OUT” or simply “HDMI”.
- Take one end of the HDMI cable and plug it into the HDMI output port on the cable box.
- Now, locate the HDMI input port on your Proscan 55 LED TV. It should be labeled as “HDMI IN”.
- Take the other end of the HDMI cable and plug it into the HDMI input port on your Proscan 55 LED TV.
- Ensure that the connections are firmly secured and that both ends of the HDMI cable are inserted properly.
By connecting the TV to the cable box using an HDMI cable, you establish a digital connection that delivers uncompressed high-definition audio and video signals. This results in a superior viewing experience with vibrant colors, sharp images, and immersive sound.
Once the HDMI cable is securely connected, you’re ready to move on to the next step: powering on the TV and cable box.
Remember to consult the user manual of your Proscan 55 LED TV or the cable box if you need additional guidance on locating the HDMI ports or connecting the HDMI cable.
Step 5: Power on the TV and cable box
With the cable connected and the HDMI cable in place, it’s time to power on your Proscan 55 LED TV and the cable box. This step will ensure that both devices are properly initialized and ready to deliver an outstanding entertainment experience.
Follow these steps to power on your TV and cable box:
- Locate the power cord for your Proscan 55 LED TV and plug it into a power outlet.
- Ensure that the power cord is securely connected and that the TV is receiving power.
- Locate the power cord for your cable box and plug it into a separate power outlet.
- Make sure the power cord is firmly connected, and the cable box lights up, indicating that it is receiving power.
- On your Proscan 55 LED TV, locate the power button either on the front panel or the remote control.
- Press the power button to turn on the TV. You should see the Proscan logo or the display light up.
- Similarly, locate the power button on the cable box, usually found on the front of the device or on the remote control.
- Press the power button to turn on the cable box. Wait a few moments for the cable box to initialize.
Once the TV and cable box are powered on, you’re one step closer to enjoying your favorite TV shows, movies, and more. Take a moment to ensure that both devices are functioning correctly and that you have a stable power supply.
In the next step, we will dive into setting up the cable box and TV settings to finalize the setup process and optimize your viewing experience.
Step 6: Set up the cable box and TV settings
Now that your Proscan 55 LED TV and cable box are powered on, it’s time to fine-tune the settings to ensure optimal performance and an enjoyable viewing experience. This step will involve configuring both the cable box and TV settings to meet your preferences.
Follow these steps to set up the cable box and TV settings:
- On your Proscan 55 LED TV remote control, locate the input/source button. Press it to access the input/source menu.
- Using the arrow buttons on your remote control, navigate to the HDMI input that is connected to the cable box. Select it and press enter or OK.
- Your TV should now display the signal from the cable box. If not, double-check the cable connections and try again.
- Next, use the cable box remote control to access the settings menu. This may vary depending on the brand and model of your cable box. Consult the user manual if needed.
- Within the cable box settings, you can adjust various options such as display resolution, aspect ratio, channel lineup, parental controls, and more.
- Configure the cable box settings according to your preferences, ensuring that the resolution and display options are set to the desired values.
- Additionally, you may want to adjust the TV settings such as brightness, contrast, color calibration, and sound preferences. This can usually be done using the TV remote control and accessing the TV settings menu.
- Experiment with different settings to achieve the best picture and audio quality that suits your viewing environment and personal preferences.
By setting up the cable box and TV settings, you can customize the viewing experience to your liking. Adjusting settings allows you to optimize the picture quality, aspect ratio, and sound output to match your preferences and create a more immersive entertainment experience.
Once you have completed the setup and configured the necessary settings, you’re ready to test the cable connection and check for available channels.
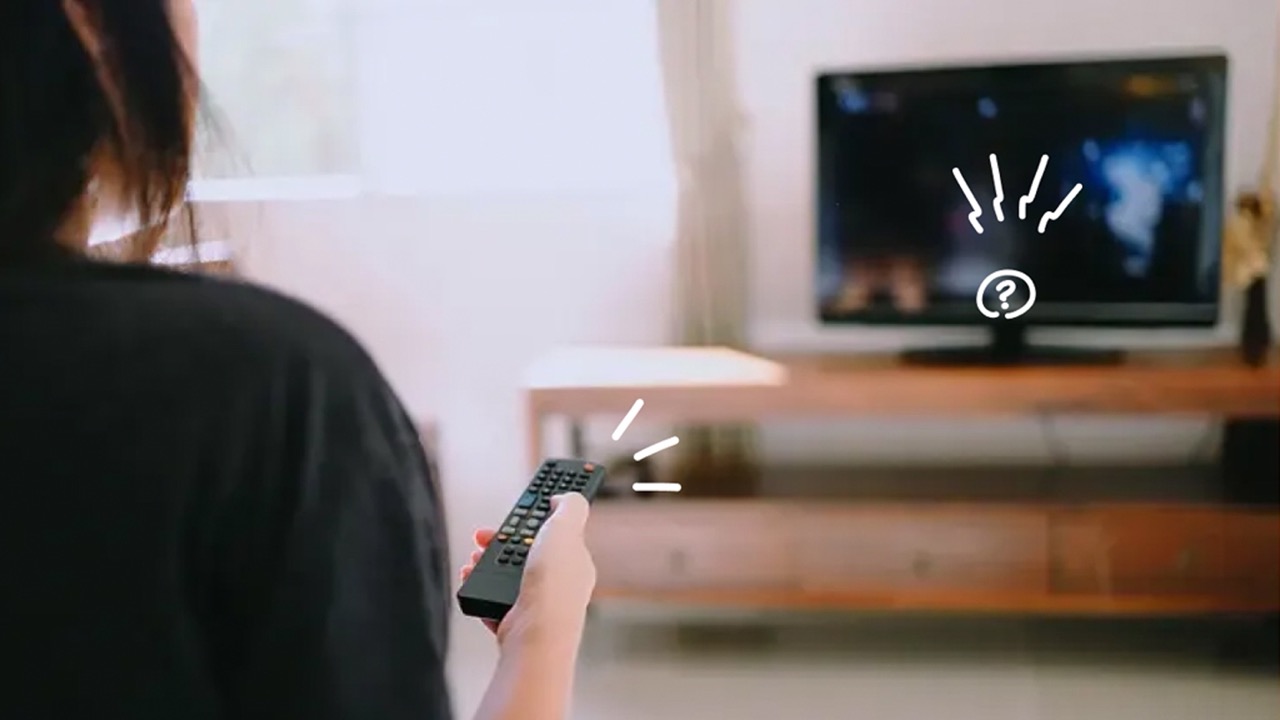
Step 7: Test the cable connection and check for channels
Now that you have set up the cable box and TV settings, it’s time to test the cable connection and verify that everything is working properly. This step will ensure that you can access all available channels and enjoy seamless entertainment on your Proscan 55 LED TV.
Follow these steps to test the cable connection and check for available channels:
- Ensure that the Proscan 55 LED TV is powered on and set to the correct HDMI input that is connected to the cable box.
- On the cable box remote control, locate the power button and press it to turn on the box if it is not already powered on.
- Using the cable box remote control, navigate to the channel guide or the program guide menu.
- Browse through the available channels to verify that you are able to access them. Test a few different channels to ensure that the signal and picture quality are consistent.
- If you encounter any issues, such as missing channels or poor signal quality, double-check the cable connections and consult the cable provider if needed.
- During this step, you can also explore additional features provided by the cable box, such as on-demand content, interactive features, or DVR functionalities.
- Take note of any channels or programs that you may want to save or add to your favorites list for easy access in the future.
By testing the cable connection and checking for channels, you can confirm that the setup process was successful and that you can fully enjoy the range of available content on your Proscan 55 LED TV.
If you experience any issues or have any questions during this step, refer to the user manuals provided with your Proscan 55 LED TV and cable box for detailed instructions and troubleshooting tips.
Now that you have completed the setup process and tested the cable connection, you’re ready to sit back, relax, and enjoy the countless entertainment options available on your Proscan 55 LED TV.
Conclusion
Congratulations! You have successfully hooked up your Proscan 55 LED TV to cable and are now ready to embark on a journey of endless entertainment. By following the step-by-step process outlined in this guide, you have established a solid connection between your TV and the cable signal, allowing you to access a wide range of channels and programs.
Throughout this guide, you learned how to gather the necessary equipment, locate the cable input and other ports on your Proscan 55 LED TV, connect the cable to the TV using the cable input, and establish a connection between the TV and the cable box using an HDMI cable. You also discovered how to power on the TV and cable box, set up the cable box and TV settings, and test the cable connection to ensure a seamless viewing experience.
Now that your Proscan 55 LED TV is connected and set up, you can start exploring the plethora of entertainment options at your fingertips. Whether you’re enjoying your favorite TV shows, catching up on the latest movies, or immersing yourself in gaming adventures, the vibrant display and high-quality audio of your Proscan 55 LED TV will enhance every moment.
Remember to refer to the user manuals provided with your Proscan 55 LED TV and cable box for further guidance on specific settings, troubleshooting, or advanced features. If you encounter any issues or have any questions, don’t hesitate to reach out to your cable service provider or Proscan customer support for assistance.
Now, sit back, grab your remote control, and indulge in the world of entertainment that awaits you on your Proscan 55 LED TV!