Introduction
Grammarly is a powerful tool that helps writers improve the quality and accuracy of their written content. It offers real-time grammar and spelling suggestions, as well as style and tone enhancements. However, there may be instances when you want to go back in Grammarly and review or undo the changes made to your text. This could be due to various reasons, such as wanting to re-evaluate a specific suggestion or reverting to the original version of your writing.
In this article, we will guide you through the process of going back in Grammarly, whether it’s clearing the suggestions, undoing corrections, or uninstalling the tool altogether. Following these steps will help you regain control over your writing and ensure that the final version aligns with your intended message and style.
Before we dive into the steps, it’s important to note that Grammarly offers different functionalities depending on the platform you’re using. Whether you’re using the Grammarly browser extension, the web editor, or the desktop application, the process for going back may vary slightly. Keep this in mind as you follow the instructions.
Now, let’s explore the steps to go back in Grammarly and regain control of your writing journey.
Steps to Go Back in Grammarly
Going back in Grammarly can be done through a few simple steps, allowing you to review or undo changes made to your text. Here’s how:
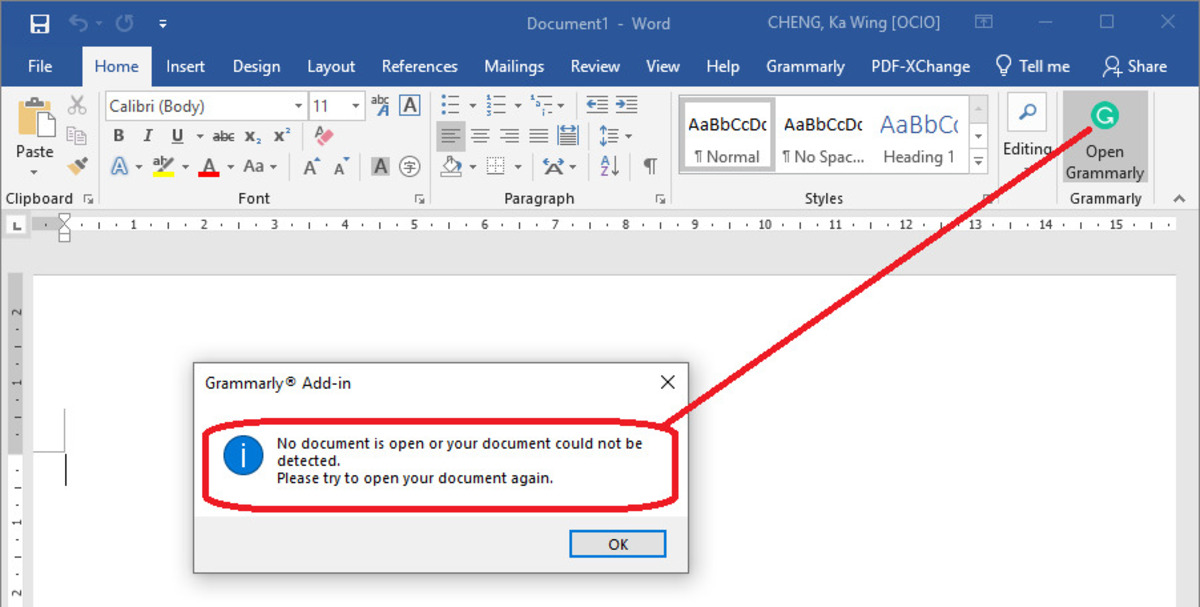
- Open Grammarly: Start by accessing Grammarly through the platform you normally use, whether it’s the browser extension, web editor, or desktop application.
- Select the Document: Locate the specific document or writing piece that you want to go back to.
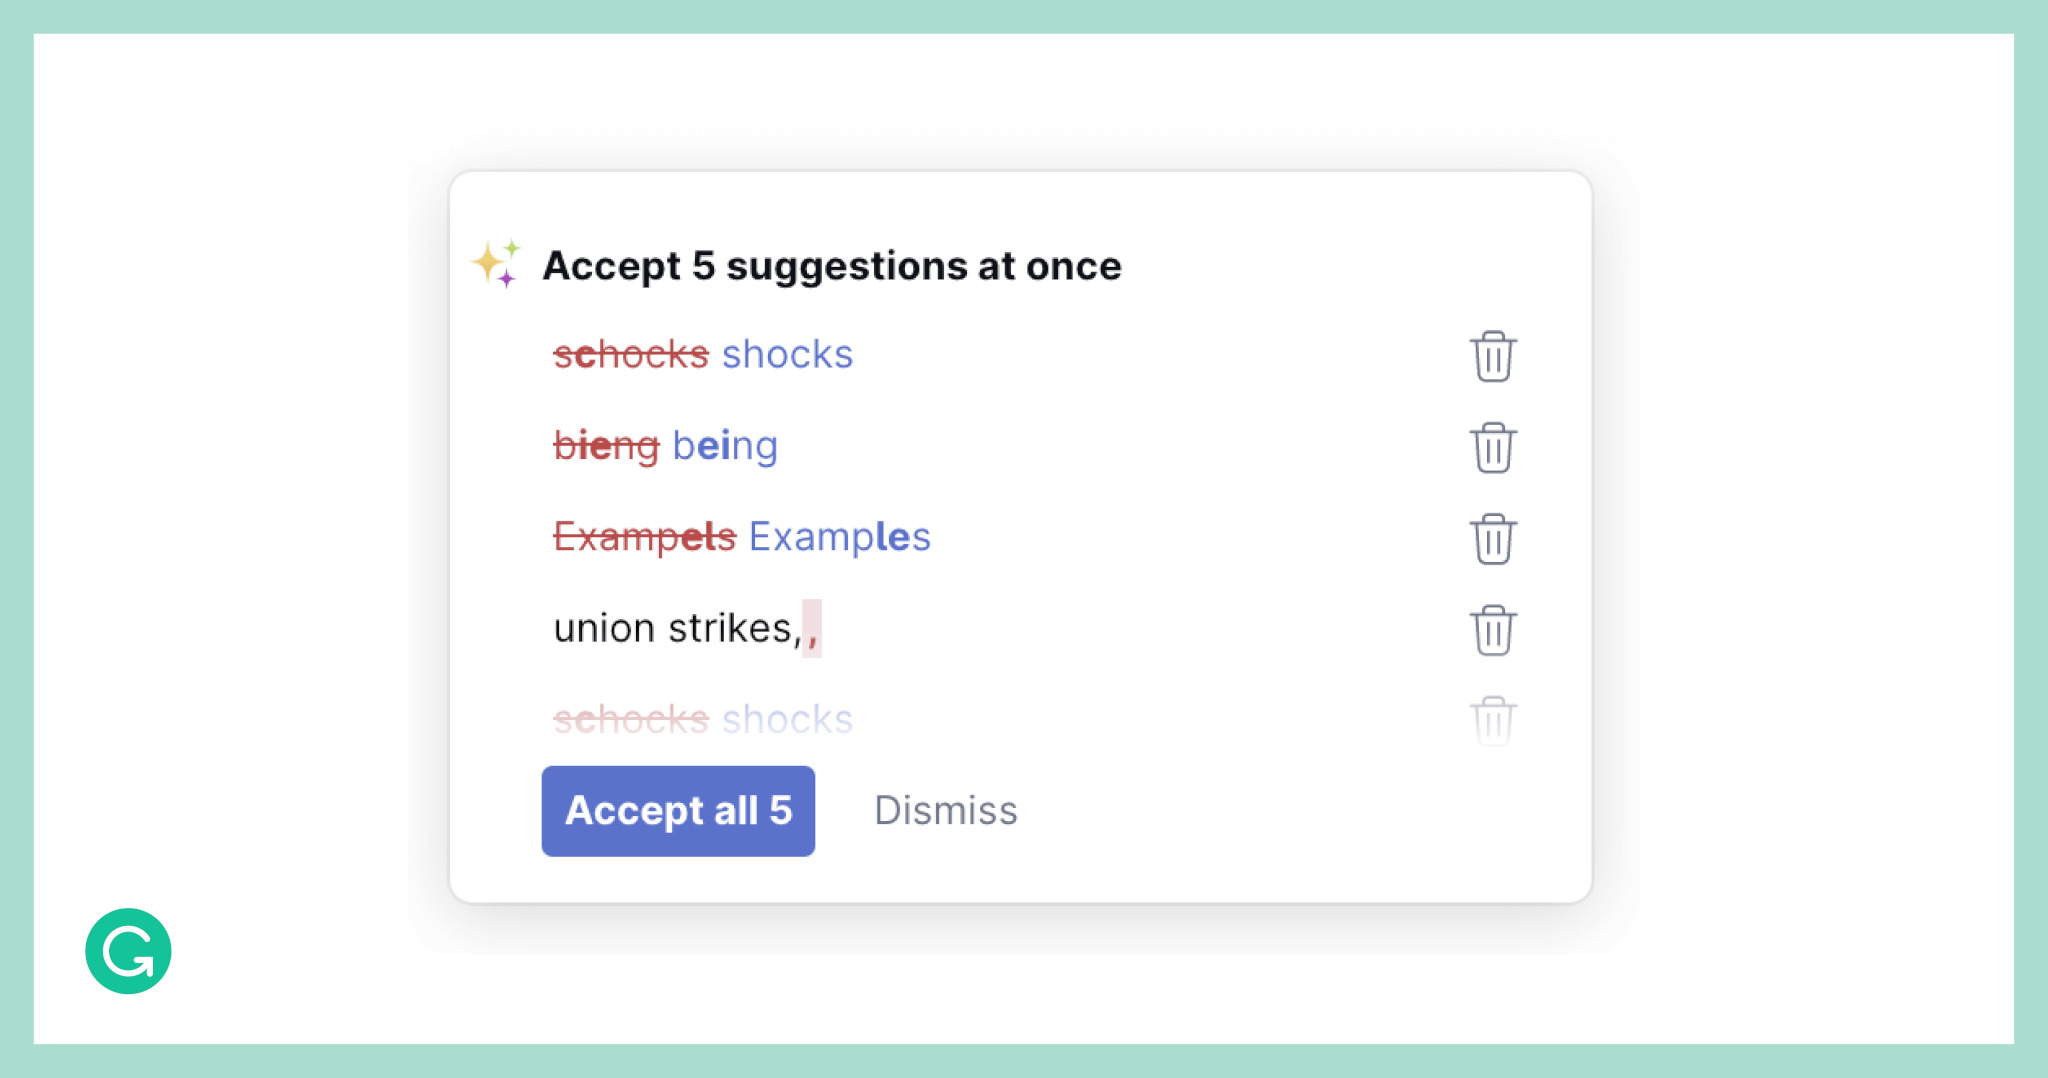
- Clear Suggestions: If you want to start fresh and remove all the suggestions made by Grammarly, you can do so by clearing them. Look for the option to clear or dismiss suggestions, usually represented by an “X” or a trash bin icon. Click on it to remove the suggestions.
- Undo Corrections: In case you want to revert to the original version of your text or undo specific corrections made by Grammarly, you can use the undo function. Look for the undo option, which is typically represented by an arrow pointing backward or the word “undo.” Click on it to reverse the changes made.
- Review and Edit: After clearing suggestions or undoing corrections, take the opportunity to review and edit your text as needed. This allows you to ensure that the final version aligns with your intended message, tone, and style.
Remember, the steps may vary slightly depending on the Grammarly platform you are using. So, make sure to explore the options and functions available to you within the specific platform to effectively go back and make the desired changes to your writing.
Clearing the Grammarly Suggestions
Grammarly provides suggestions to enhance your writing, but there may be instances when you want to clear these suggestions and start fresh. Whether you’ve made significant changes to your text or want to re-evaluate specific suggestions, here’s how you can clear the Grammarly suggestions:
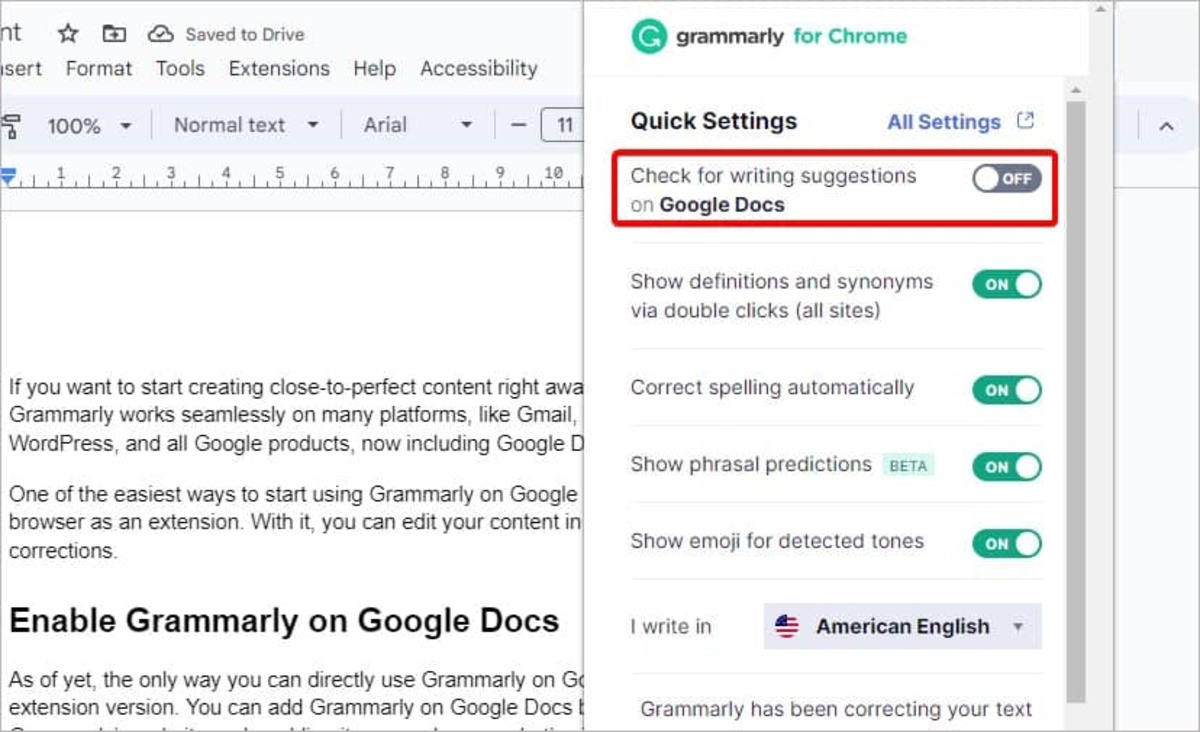
- Access Grammarly: Open Grammarly through the platform you prefer, such as the browser extension, web editor, or desktop application.
- Select the Document: Locate the document or writing piece for which you want to clear the suggestions.
- Find the Suggestion Panel: Look for the suggestion panel in Grammarly, where you typically see underlined or highlighted areas indicating suggestions.
- Clear Individual Suggestions: If you want to clear specific suggestions, hover over the suggestion and click on the provided option to dismiss or remove it. This allows you to retain the suggestions you agree with while clearing the ones you don’t need.
- Clear All Suggestions: If you want to clear all the suggestions made by Grammarly, look for the option to clear all or dismiss all suggestions. This will remove the underlines or highlights from the text, indicating that the suggestions have been cleared.
- Review and Edit: After clearing the suggestions, take the opportunity to review your text and make any necessary edits. This ensures that your writing aligns with your intent, while providing you with a fresh perspective.
By following these steps, you can easily clear the Grammarly suggestions and regain control over your writing process. It allows you to start from a clean slate or evaluate the suggestions more closely before deciding which ones to incorporate into your text.
Undoing Grammarly Corrections
Grammarly’s corrections are designed to improve the quality and clarity of your writing. However, there may be instances when you want to undo specific corrections made by Grammarly or revert to the original version of your text. Here’s how to undo Grammarly corrections:
- Access Grammarly: Open Grammarly through the platform you typically use, such as the browser extension, web editor, or desktop application.
- Select the Document: Locate the specific document or writing piece for which you want to undo Grammarly corrections.
- Undo Functionality: Look for the undo functionality within Grammarly. This could be represented by an arrow pointing backward or the word “undo.”
- Undo Individual Corrections: If you want to undo specific corrections made by Grammarly, go through your text and identify the areas where you want to revert to the original version. Use the undo functionality to reverse the specific corrections.
- Undo All Corrections: In case you want to undo all the corrections made by Grammarly in the entire document, look for the option to undo all corrections. This will revert the entire document to its original state.
- Review and Edit: After undoing the Grammarly corrections, take the time to carefully review your text and make any necessary edits. This ensures that your writing reflects your original intent and maintains your unique voice.
By following these steps, you can easily undo Grammarly corrections and restore your text to its previous state. This gives you the flexibility to evaluate and consider the impact of Grammarly’s corrections on your writing, allowing you to make informed decisions about which changes to keep or discard.
Uninstalling Grammarly
If for any reason you no longer wish to use Grammarly and want to uninstall it from your device, here’s how you can do it:
- Open the Platform: Access the platform where you have installed Grammarly, whether it’s your web browser, Microsoft Word, or any other text editing software.
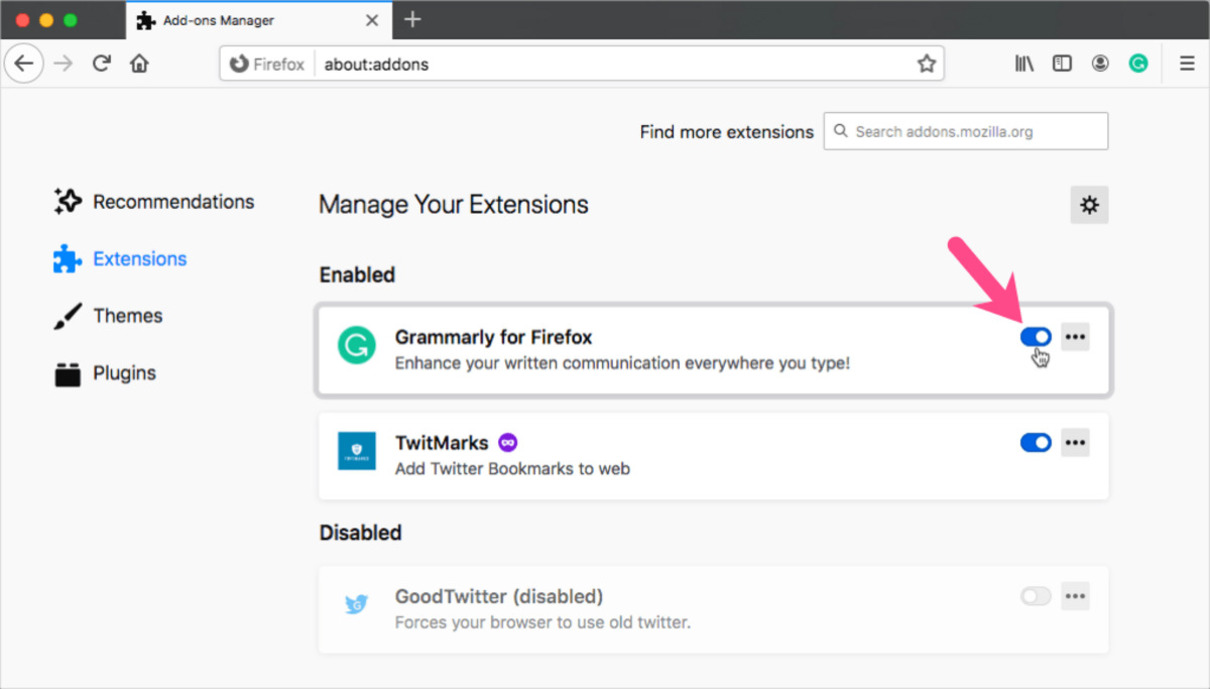
- Locate Grammarly: Find the Grammarly application within your installed programs or extensions list. It may be listed as “Grammarly,” “Grammarly for [Platform],” or similar.
- Uninstalling on Windows: If you are using Windows, right-click on the Grammarly application and select “Uninstall” or go to the Control Panel, find the “Programs” or “Apps & Features” section, locate Grammarly, and click on “Uninstall.”
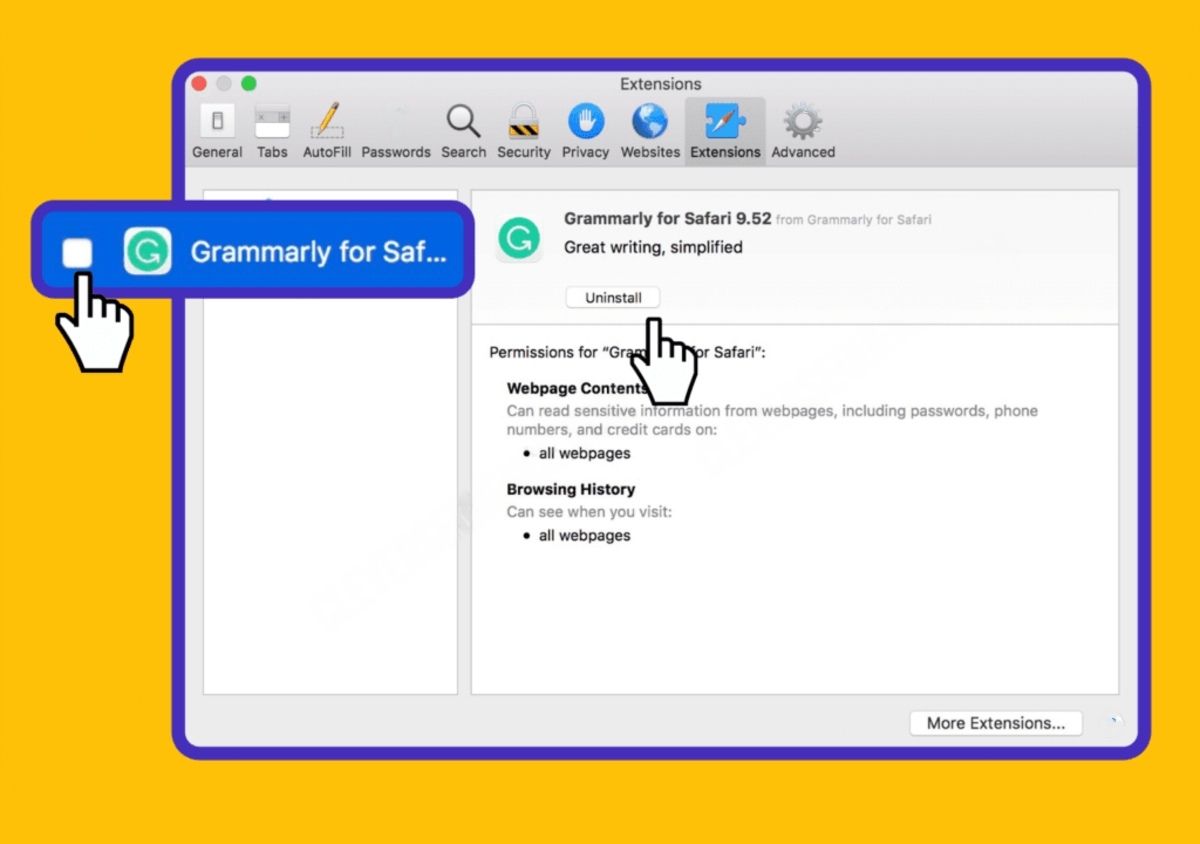
- Uninstalling on Mac: For Mac users, open the “Applications” folder, locate Grammarly, and drag it to the Trash. Alternatively, you can right-click on the Grammarly application and choose “Move to Trash.”
- Confirm Uninstallation: Follow the prompts or confirmations to complete the uninstallation process.
- Clean Up: After uninstalling Grammarly, it’s a good practice to clean up any remnants. This includes removing Grammarly browser extensions or add-ons, clearing cache and cookies, and restarting your device if necessary.
Once you have completed these steps, Grammarly will be completely uninstalled from your device. You can now explore other writing tools or use your preferred text editing software without Grammarly’s assistance.
Keep in mind that if you decide to reinstall Grammarly in the future, you will need to follow the installation process again, as the uninstallation removes all traces of Grammarly from your device.
Uninstalling Grammarly gives you the freedom to choose alternative writing tools or work with your preferred text editing software without the influence of Grammarly’s suggestions and corrections.
Conclusion
Grammarly is a valuable tool for improving your writing, providing real-time grammar and spelling suggestions, and enhancing the clarity and effectiveness of your content. However, there may be times when you need to go back in Grammarly to review or undo changes made to your text. Whether you want to clear suggestions, revert to the original version of your writing, or uninstall Grammarly altogether, the steps provided in this article will help you regain control over your writing process.
By clearing suggestions, you can start with a fresh slate and re-evaluate the suggestions made by Grammarly, incorporating only those that align with your writing style and message. Undoing Grammarly corrections allows you to revert to the original version of your text or undo specific changes, ensuring that your writing maintains your unique voice and intent. And if you decide to uninstall Grammarly, you can explore other writing tools or work with your preferred text editing software without Grammarly’s influence.
Remember that the process of going back in Grammarly may vary depending on the platform you’re using, whether it’s the browser extension, web editor, or desktop application. Take the time to explore and familiarize yourself with the available options and functionalities to effectively make the desired changes to your writing.
Ultimately, the ability to go back in Grammarly empowers you as a writer to have greater control over your work. Whether you choose to accept or reject suggestions, or even remove Grammarly from your device entirely, it’s important to prioritize your unique style, voice, and intent. Use Grammarly as a tool to support your writing, making informed decisions based on your specific needs and preferences.