Introduction
Are you looking to remove Grammarly Desktop from your Mac? Whether you want to switch to a different writing tool or simply need to free up some space on your computer, uninstalling Grammarly is a straightforward process. Grammarly is a popular grammar and spelling checker that helps improve your writing, but if you’ve decided it’s time to say goodbye, this guide will walk you through the steps to remove it from your Mac.
Grammarly Desktop is an application that runs in the background of your Mac, providing real-time suggestions and corrections as you type. It also integrates with web browsers, allowing the Grammarly browser extension to work seamlessly across various websites. While Grammarly can be a valuable tool for many writers, it’s understandable that you may want to uninstall it for personal reasons or to try out alternative software.
In this guide, we’ll provide step-by-step instructions on how to delete Grammarly Desktop from your Mac. We’ll cover how to close the application, remove the Grammarly app from the Applications folder, delete Grammarly files from the Library, remove Grammarly from the Login Items, clear Grammarly extensions from web browsers, and finally, how to empty the Trash and restart your Mac. By following these steps, you’ll ensure a clean and thorough removal of Grammarly from your computer.
Before we begin, it’s essential to note that uninstalling Grammarly will delete all its associated data, including your personalized dictionary, writing statistics, and any saved documents. If you want to keep this information, it’s recommended to export or back up your Grammarly data before proceeding with the uninstallation process.
Step 1: Close Grammarly Desktop
Before you can uninstall Grammarly Desktop from your Mac, you’ll need to ensure that the application is closed. Follow these simple steps to close Grammarly:
- Locate the Grammarly icon on your Mac’s menu bar, which is typically found in the upper-right corner of the screen.
- Click on the Grammarly icon to open the drop-down menu.
- From the drop-down menu, select “Quit Grammarly” to close the application.
By closing Grammarly, you will ensure that no processes or services associated with the application are running in the background, making it easier to remove it from your Mac completely.
It’s important to note that if you have multiple applications running simultaneously on your Mac, closing Grammarly may vary slightly depending on your specific setup. However, the general process remains the same – locate the Grammarly icon in the menu bar and select “Quit Grammarly” to close the application.
Once you have successfully closed Grammarly Desktop, you can proceed to the next step of removing it from your Mac.
Step 2: Remove Grammarly App from the Applications Folder
After closing Grammarly Desktop, the next step is to remove the Grammarly application from the Applications folder on your Mac. Follow these simple steps to delete the Grammarly app:
- Open a new Finder window by clicking on the Finder icon in the Dock or by selecting “New Finder Window” from the File menu.
- In the Finder window, navigate to the “Applications” folder.
- Locate the Grammarly app icon in the Applications folder.
- Click and hold the Grammarly app icon, then drag it to the Trash icon on your Dock.
- Alternatively, you can right-click on the Grammarly app icon and select “Move to Trash” from the context menu.
Once you have dragged the Grammarly app to the Trash or used the “Move to Trash” option, the application will be moved to the Trash folder on your Mac.
It’s important to note that simply moving the Grammarly app to the Trash does not completely remove it from your Mac. While it removes the application itself, there may still be associated files and folders in other locations on your computer. To ensure a thorough removal, we’ll address these files in the following steps.
Before proceeding to the next step, take a moment to double-check that Grammarly has been successfully moved to the Trash. Once confirmed, you can proceed to the next step to delete any remaining Grammarly files from your Mac.
Step 3: Delete Grammarly Files from Library
After removing the Grammarly app from the Applications folder, it’s important to delete any associated files and folders from your Mac’s Library. These files may include preferences, cache data, and other remnants of the Grammarly installation. Follow these steps to delete Grammarly files from the Library:
- Open a new Finder window.
- In the menu bar at the top of the screen, click on “Go” and select “Go to Folder”.
- In the “Go to Folder” dialog box, type “~/Library” (without quotes) and click “Go”.
- Navigate to the following locations within the Library:
- – Application Support: Look for a folder named “Grammarly” or “com.grammarly.Desktop” and drag it to the Trash.
- – Caches: Look for a folder named “com.grammarly.Desktop” and drag it to the Trash.
- – Preferences: Look for any files or folders related to Grammarly (e.g., “com.grammarly.Desktop.plist”) and move them to the Trash.
It’s important to note that the Library folder may contain numerous files and folders, so it’s crucial to locate and delete only the Grammarly-related items to avoid accidentally deleting other important files.
Once you have successfully deleted the Grammarly files from the Library, you can move on to the next step to remove Grammarly from your Mac’s Login Items.
Step 4: Remove Grammarly from Login Items
To ensure that Grammarly doesn’t start up automatically when you log into your Mac, it’s important to remove it from the Login Items list. Here’s how you can do it:
- Click on the Apple menu in the upper-left corner of the screen and select “System Preferences” from the drop-down menu.
- In the System Preferences window, click on “Users & Groups” (or “Users & Accounts” in newer versions of macOS).
- Click on your username in the left sidebar to select it.
- Switch to the “Login Items” tab.
- Look for the Grammarly entry in the list of login items.
- Select the Grammarly entry and click on the “-” button below the list to remove it.
By removing Grammarly from the Login Items list, you ensure that the application won’t launch automatically when you start up your Mac or log into your user account.
It’s important to note that the Login Items list may contain other applications or services that you want to keep, so make sure to only remove the Grammarly entry. If you’re unsure about any other items in the Login Items list, it’s best to leave them as they are to avoid accidentally disabling important functions or services.
Once you have successfully removed Grammarly from the Login Items list, you can proceed to the next step to clear Grammarly extensions from your web browsers.
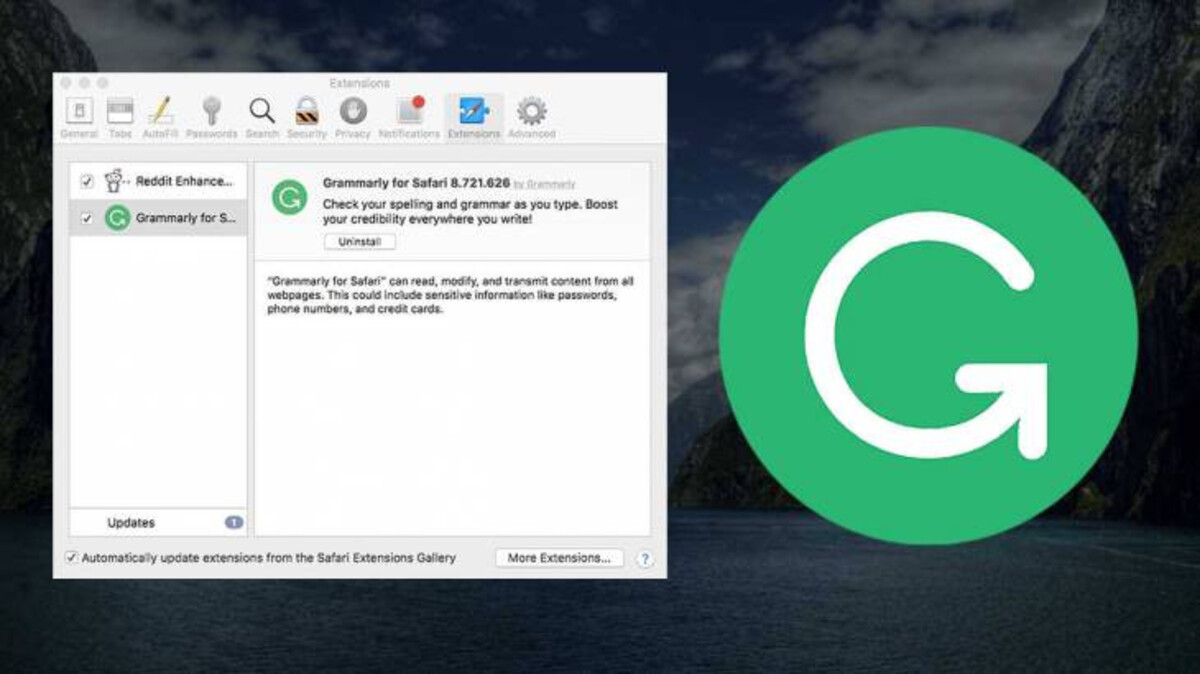
Step 5: Clear Grammarly Extensions from Web Browsers
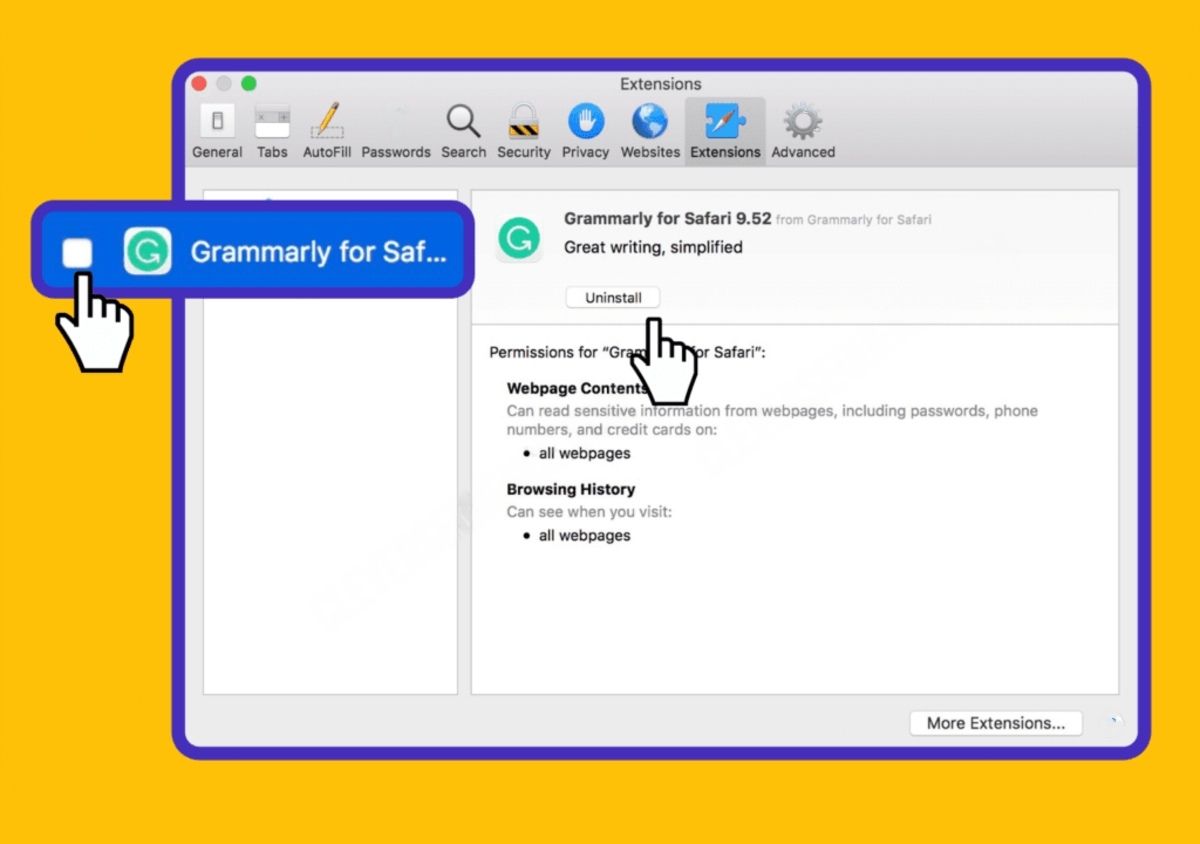
If you had the Grammarly browser extension installed in any of your web browsers, it’s important to remove it to ensure a complete uninstallation. Follow these steps to clear Grammarly extensions from your web browsers:
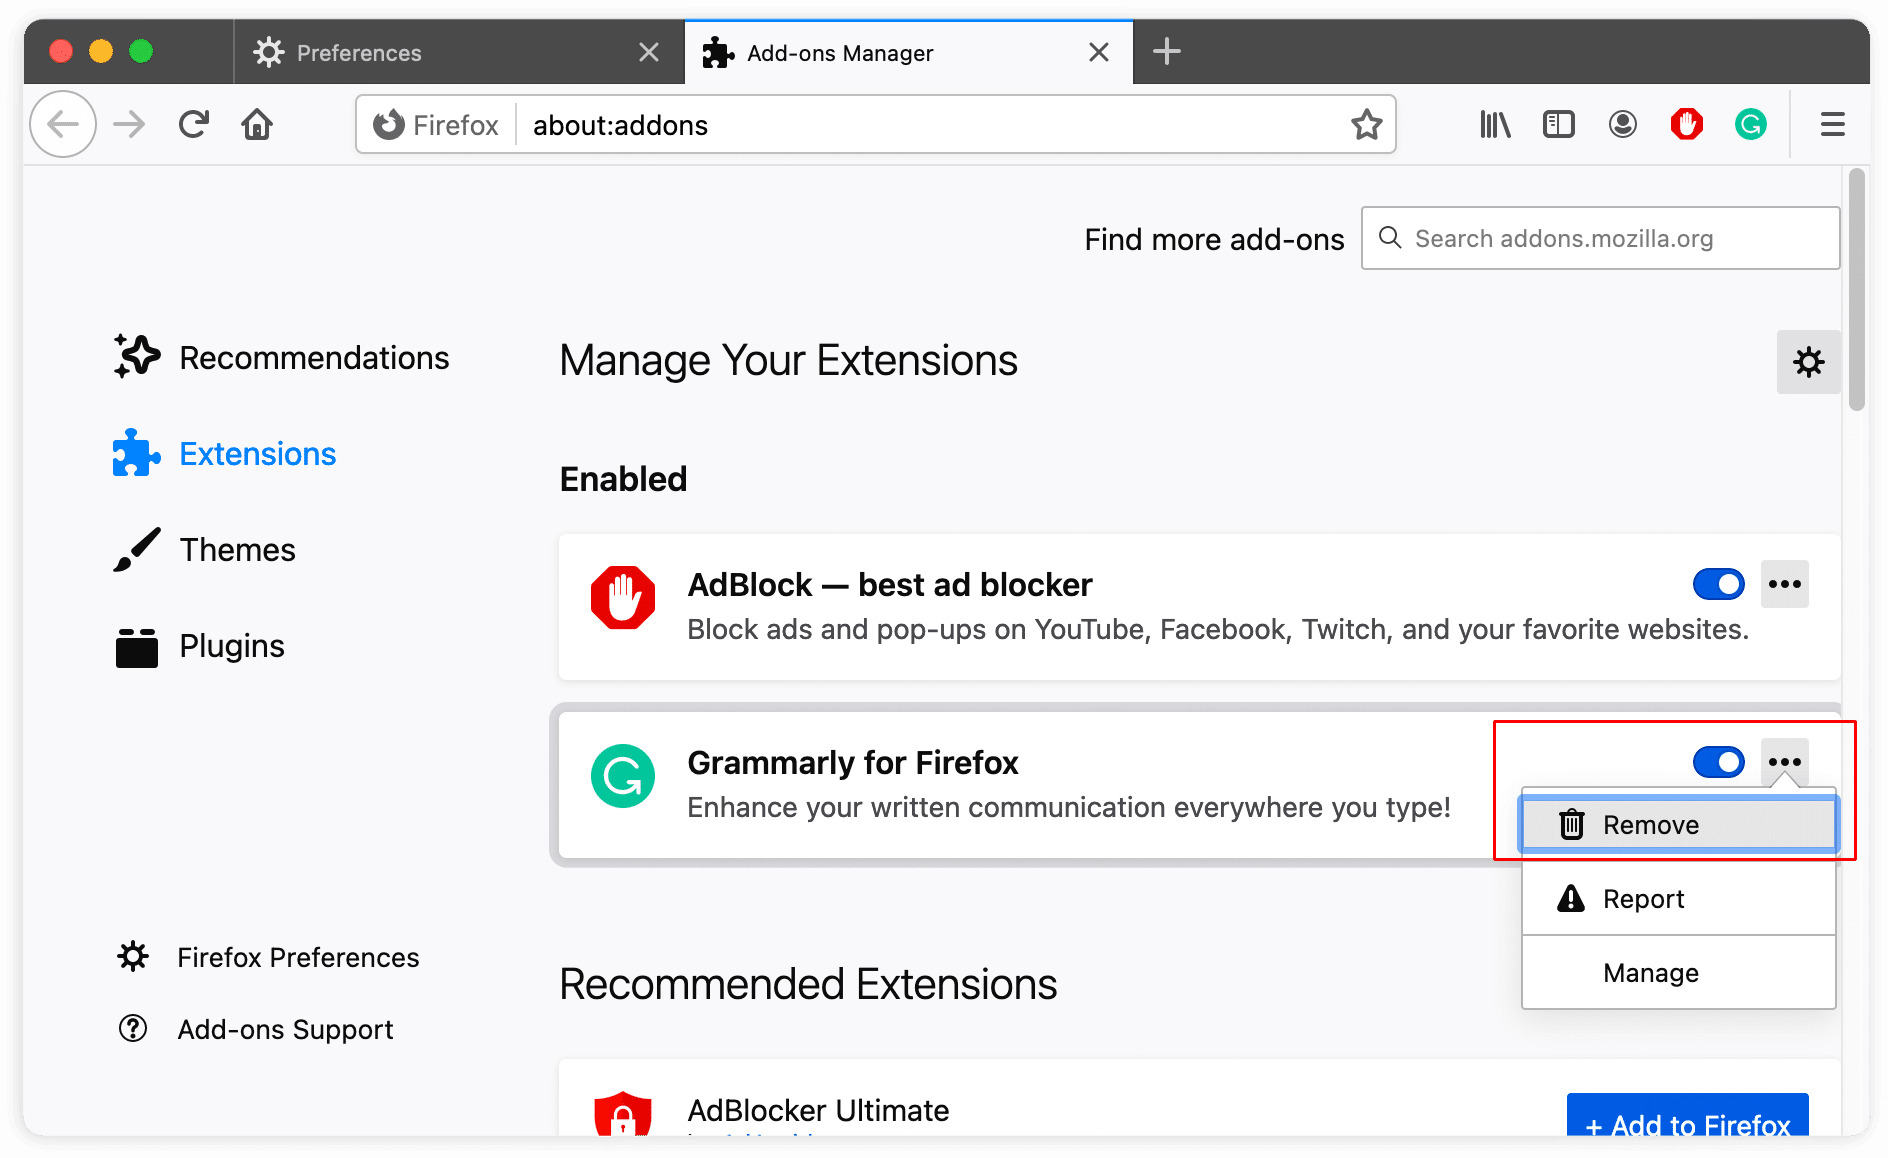
- Open each of your web browsers (e.g., Safari, Chrome, Firefox) one by one.
- In the browser’s menu, look for the Extensions or Add-ons option.
- Find the Grammarly extension in the list of installed extensions.
- Click on the option to remove or uninstall the Grammarly extension. This option may vary depending on the browser.
- Follow any on-screen prompts or confirmation dialog boxes to complete the removal process.
Ensure that you remove the Grammarly extension from all the web browsers you have installed on your Mac. Removing the extension will prevent Grammarly from interacting with your browser and providing suggestions or corrections while typing.
It’s important to note that the steps to remove extensions may vary slightly depending on the browser you are using. If you are unsure about the specific steps for a particular browser, you can refer to the browser’s official documentation or support resources for detailed instructions.
Once you have successfully cleared the Grammarly extensions from all your web browsers, you can move on to the final step of emptying the Trash and restarting your Mac to complete the uninstallation process.
Step 6: Empty Trash and Restart Mac
The final step to complete the uninstallation of Grammarly from your Mac is to empty the Trash and restart your computer. This step ensures that any remaining Grammarly files and folders are permanently removed from your system. Here’s how you can do it:
- Click on the Trash icon in the Dock to open the Trash window.
- Review the contents of the Trash to make sure that Grammarly files are the only items you want to delete permanently.
- Click on the “Empty” button located in the top-right corner of the Trash window.
- A confirmation dialog will appear, asking if you are sure you want to permanently delete the items in the Trash. Click on “Empty Trash” to proceed.
- Wait for the Trash to finish emptying, which may take a few moments depending on the number of files.
- Once the Trash is emptied, click on the Apple menu and select “Restart” from the drop-down menu to restart your Mac.
By emptying the Trash and restarting your computer, you ensure that any remaining Grammarly files are removed from your system and that your Mac starts fresh without any trace of the Grammarly application.
After your Mac has restarted, you can confirm that Grammarly has been successfully uninstalled by checking for the absence of the Grammarly app, extensions, and related files. You now have a clean and Grammarly-free Mac.
Congratulations! You have successfully completed the process of removing Grammarly from your Mac. If you decide to reinstall or use Grammarly again in the future, you can download it from the Grammarly website and follow their installation instructions.
Conclusion
Removing Grammarly Desktop from your Mac is a straightforward process that can be completed by following a few simple steps. By closing the application, removing it from the Applications folder, deleting associated files from the Library, removing it from Login Items, clearing extensions from web browsers, and emptying the Trash, you can ensure a clean and thorough uninstallation.
While Grammarly offers valuable grammar and spelling checking features, there may be reasons why you choose to remove it from your Mac. Whether you’re switching to another writing tool or simply looking to free up space on your computer, these steps can help you achieve your goal.
Remember to close Grammarly Desktop before proceeding with the uninstallation process to ensure that no processes or services associated with the application are running in the background. Deleting the Grammarly app from the Applications folder, as well as associated files from the Library, will remove the bulk of the application and its remnants from your Mac.
Removing Grammarly from Login Items and clearing extensions from web browsers ensures that the application does not start up automatically or interact with your browsing experience. Finally, by emptying the Trash and restarting your Mac, any remaining Grammarly files are permanently removed from your system.
If you ever decide to reinstall Grammarly or use it again in the future, you can download it from the Grammarly website and follow their installation instructions. Remember to back up any important Grammarly data before uninstalling to avoid losing it permanently.
Now that you have completed the process of removing Grammarly from your Mac, you can enjoy a clean and optimized writing environment. Explore other writing tools or experiment with alternatives to find the perfect solution for your writing needs.