Introduction
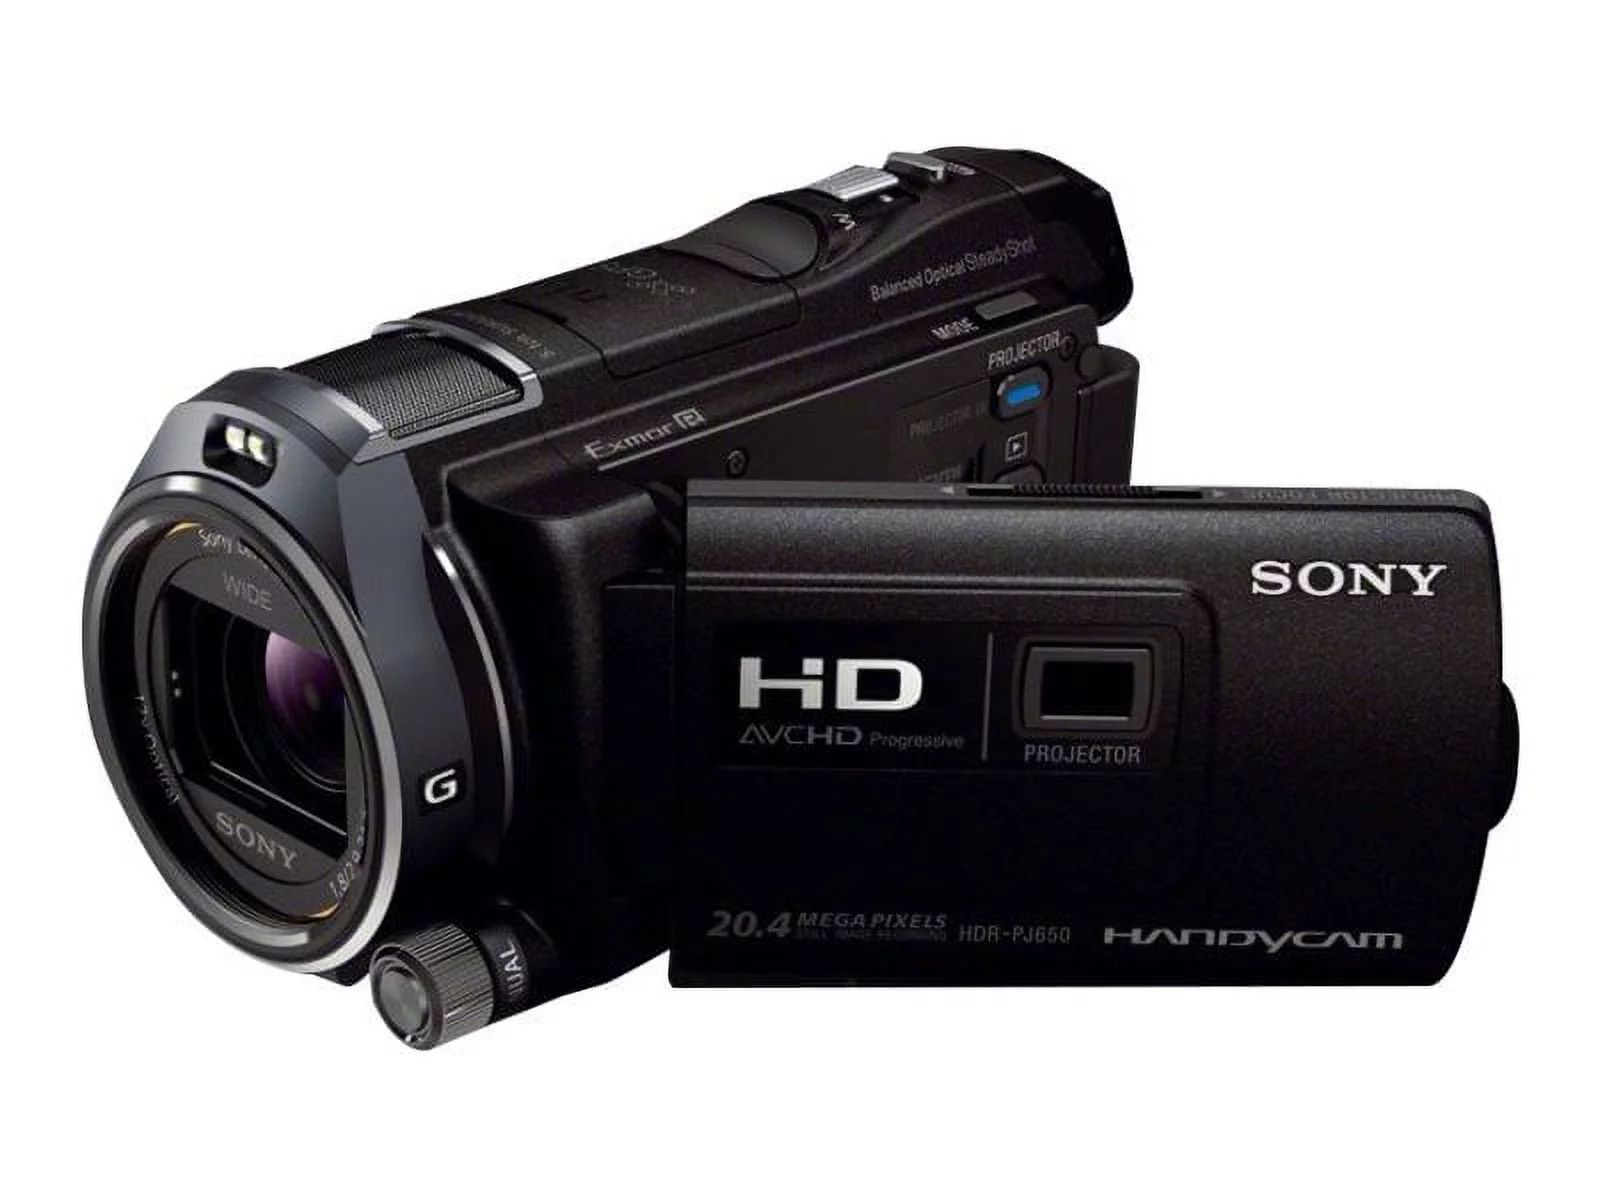
Welcome to our guide on how to retrieve videos from a Sony Hard Disk Drive video camera that refuses to turn on. It can be incredibly frustrating when your camera refuses to power up, especially if you have important videos stored on its hard disk drive. However, there are several steps you can take to recover your valuable footage and get back to capturing and preserving memories.
Whether your camera is experiencing a sudden power failure or has been sitting unused for an extended period, there are a few troubleshooting methods you can try before giving up hope. In this article, we will walk you through step-by-step instructions on how to retrieve videos from your Sony Hard Disk Drive video camera in these unfortunate situations. Keep in mind that while these methods can be effective, they might not work in all cases.
Before we begin, make sure you have the necessary tools on hand. These may include a compatible USB cable, a computer with sufficient storage space, and data recovery software. Additionally, ensure that you have enough time set aside to complete the process, as it may take a while depending on the size of the videos and the condition of your camera.
Now, let’s explore some troubleshooting steps to help you recover your videos from a non-responsive Sony Hard Disk Drive video camera.
Gather the necessary tools
Before attempting to retrieve videos from your Sony Hard Disk Drive video camera, it’s important to gather the necessary tools. Having these tools on hand will ensure a smooth and efficient process. Here’s a list of what you’ll need:
- Compatible USB cable: Check if your camera requires a specific type of USB cable to connect to a computer. If you’re unsure, refer to your camera’s user manual or consult the manufacturer’s website for information on the compatible cable.
- Computer with sufficient storage space: Make sure you have a computer with enough available disk space to accommodate the videos you wish to recover. Depending on the size and quantity of the videos, you may need several gigabytes or even terabytes of free space.
- Data recovery software: Look for reliable data recovery software that is compatible with your operating system. There are various options available, both free and paid, each with its own features and capabilities. Do some research to find the software that best suits your needs.
- External hard drive or cloud storage: To prevent potential data loss during the recovery process, it’s a good idea to have an external hard drive or cloud storage available to back up your recovered videos. This will ensure that your videos are safely stored in case anything goes wrong during the recovery process.
Having these tools ready and easily accessible will help streamline the video recovery process and minimize any potential setbacks. Once you have gathered all the necessary tools, you can proceed to the next steps in retrieving your videos from the Sony Hard Disk Drive video camera.
Check the camera’s batteries
When dealing with a Sony Hard Disk Drive video camera that won’t turn on, one of the first things to check is the camera’s batteries. Ensure that the batteries are properly inserted and have enough charge to power the camera. Follow these steps:
- Locate the battery compartment on your camera. It is usually located on the bottom or side of the camera, depending on the model.
- Open the battery compartment and check if the batteries are securely in place. If not, remove them and reinsert them correctly, ensuring proper polarity.
- Make sure the batteries are charged or replace them with fresh ones. If you’re uncertain about the state of the batteries, try using a different set of batteries or a fully charged battery pack, if applicable.
It’s important to note that some Sony Hard Disk Drive video cameras come with an AC adapter or the option to connect them directly to a power source instead of relying on batteries. If you have this option available, try connecting your camera to a power source using the AC adapter and see if it powers on.
If the camera still doesn’t turn on after checking and replacing the batteries, it’s possible that there might be an issue beyond just the batteries. In such cases, continue following the steps outlined in this guide to attempt to retrieve your videos.
Remember, addressing battery-related issues is a crucial first step when troubleshooting a Sony Hard Disk Drive video camera that won’t turn on. By making sure the batteries are properly inserted and charged, you can eliminate this as a potential cause and move on to other troubleshooting methods to recover your videos.
Connect the camera to a power source
If your Sony Hard Disk Drive video camera still isn’t responding after checking the batteries, the next step is to connect the camera to a power source. By doing so, you can determine if the issue lies with the camera’s power supply. Follow these steps to connect your camera to a power source:
- Locate the AC adapter that came with your camera or any compatible power source that matches the camera’s power requirements.
- Connect one end of the AC adapter to the camera’s DC input port. This port is usually located on the side or at the back of the camera. Ensure a secure connection.
- Plug the other end of the AC adapter into a power outlet or power strip.
- Verify that the power indicator on the camera or the LED on the AC adapter illuminates, indicating that power is being supplied to the camera.
- Wait for a few moments to see if the camera turns on once it’s connected to the power source. Some cameras may need a brief charge before they can power on.
If the camera still doesn’t turn on after connecting it to the power source, try a different power outlet or ensure that the power outlet you are using is functioning properly. Additionally, check if the AC adapter is securely connected on both ends. Sometimes, a loose connection can prevent the camera from powering on.
Connecting your camera to a power source eliminates the possibility of a drained battery causing the issue. However, if your camera remains unresponsive even with a reliable power supply, move on to the next troubleshooting steps to retrieve your videos from the Sony Hard Disk Drive.
Attempt a soft reset
If your Sony Hard Disk Drive video camera still refuses to turn on, a soft reset might help resolve any temporary software glitches or errors that could be causing the issue. A soft reset is a non-destructive method that can be performed on most cameras without affecting your stored videos. Follow these steps to attempt a soft reset:
- Remove the battery from the camera. This will ensure that no power is being supplied to the camera during the reset process.
- Wait for about 30 seconds to 1 minute. This time gap allows any residual charge in the camera’s circuits to dissipate, ensuring a complete reset.
- Reinsert the battery into the camera, making sure it is securely and correctly positioned.
- Try turning on the camera again by pressing the power button. If the camera responds and powers on, then the soft reset might have resolved the issue.
During the soft reset process, it’s important to ensure that the camera remains disconnected from any power source. This includes unplugging the AC adapter and removing any USB cables from the camera. The aim is to fully disconnect the camera from any external power and allow it to reset itself.
If the camera still doesn’t respond after a soft reset, proceed to the next troubleshooting steps to recover your videos from the Sony Hard Disk Drive video camera.
Note: It’s crucial to remember that a soft reset may not work in all cases, especially if the issue is hardware-related. However, it is worth attempting as it is a simple and non-destructive method that can potentially resolve software-related issues and allow the camera to power on.
Remove and reinsert the battery
If your Sony Hard Disk Drive video camera still fails to turn on after attempting a soft reset, the next step is to remove and reinsert the battery. This can help address any potential connection issues or minor glitches that may be preventing the camera from powering on. Follow these steps to remove and reinsert the battery:
- Ensure that the camera is powered off and any power sources, such as the AC adapter, are disconnected.
- Locate the battery compartment on your camera. It is typically located on the bottom or side of the device.
- Open the battery compartment and carefully remove the battery from its slot. Pay attention to any locking mechanisms or release buttons that may be present.
- Inspect the battery and battery contacts for any signs of damage, dirt, or corrosion. If necessary, clean the contacts with a soft, dry cloth or an electronics-safe cleaning solution.
- Reinsert the battery into the camera’s battery compartment, ensuring that it is properly aligned and securely seated.
- Close the battery compartment and ensure that any latches or locks are securely fastened.
Once the battery has been reinserted, try turning on the camera again by pressing the power button. If the camera successfully powers on, you have resolved the issue. However, if the camera remains unresponsive, proceed to the next troubleshooting steps to retrieve your videos from the Sony Hard Disk Drive camera.
Remember that removing and reinserting the battery is a simple troubleshooting step that can often resolve minor issues with the camera’s power supply or connection. If the problem persists, it may be a sign of a more significant hardware problem, and further troubleshooting or professional assistance may be required.
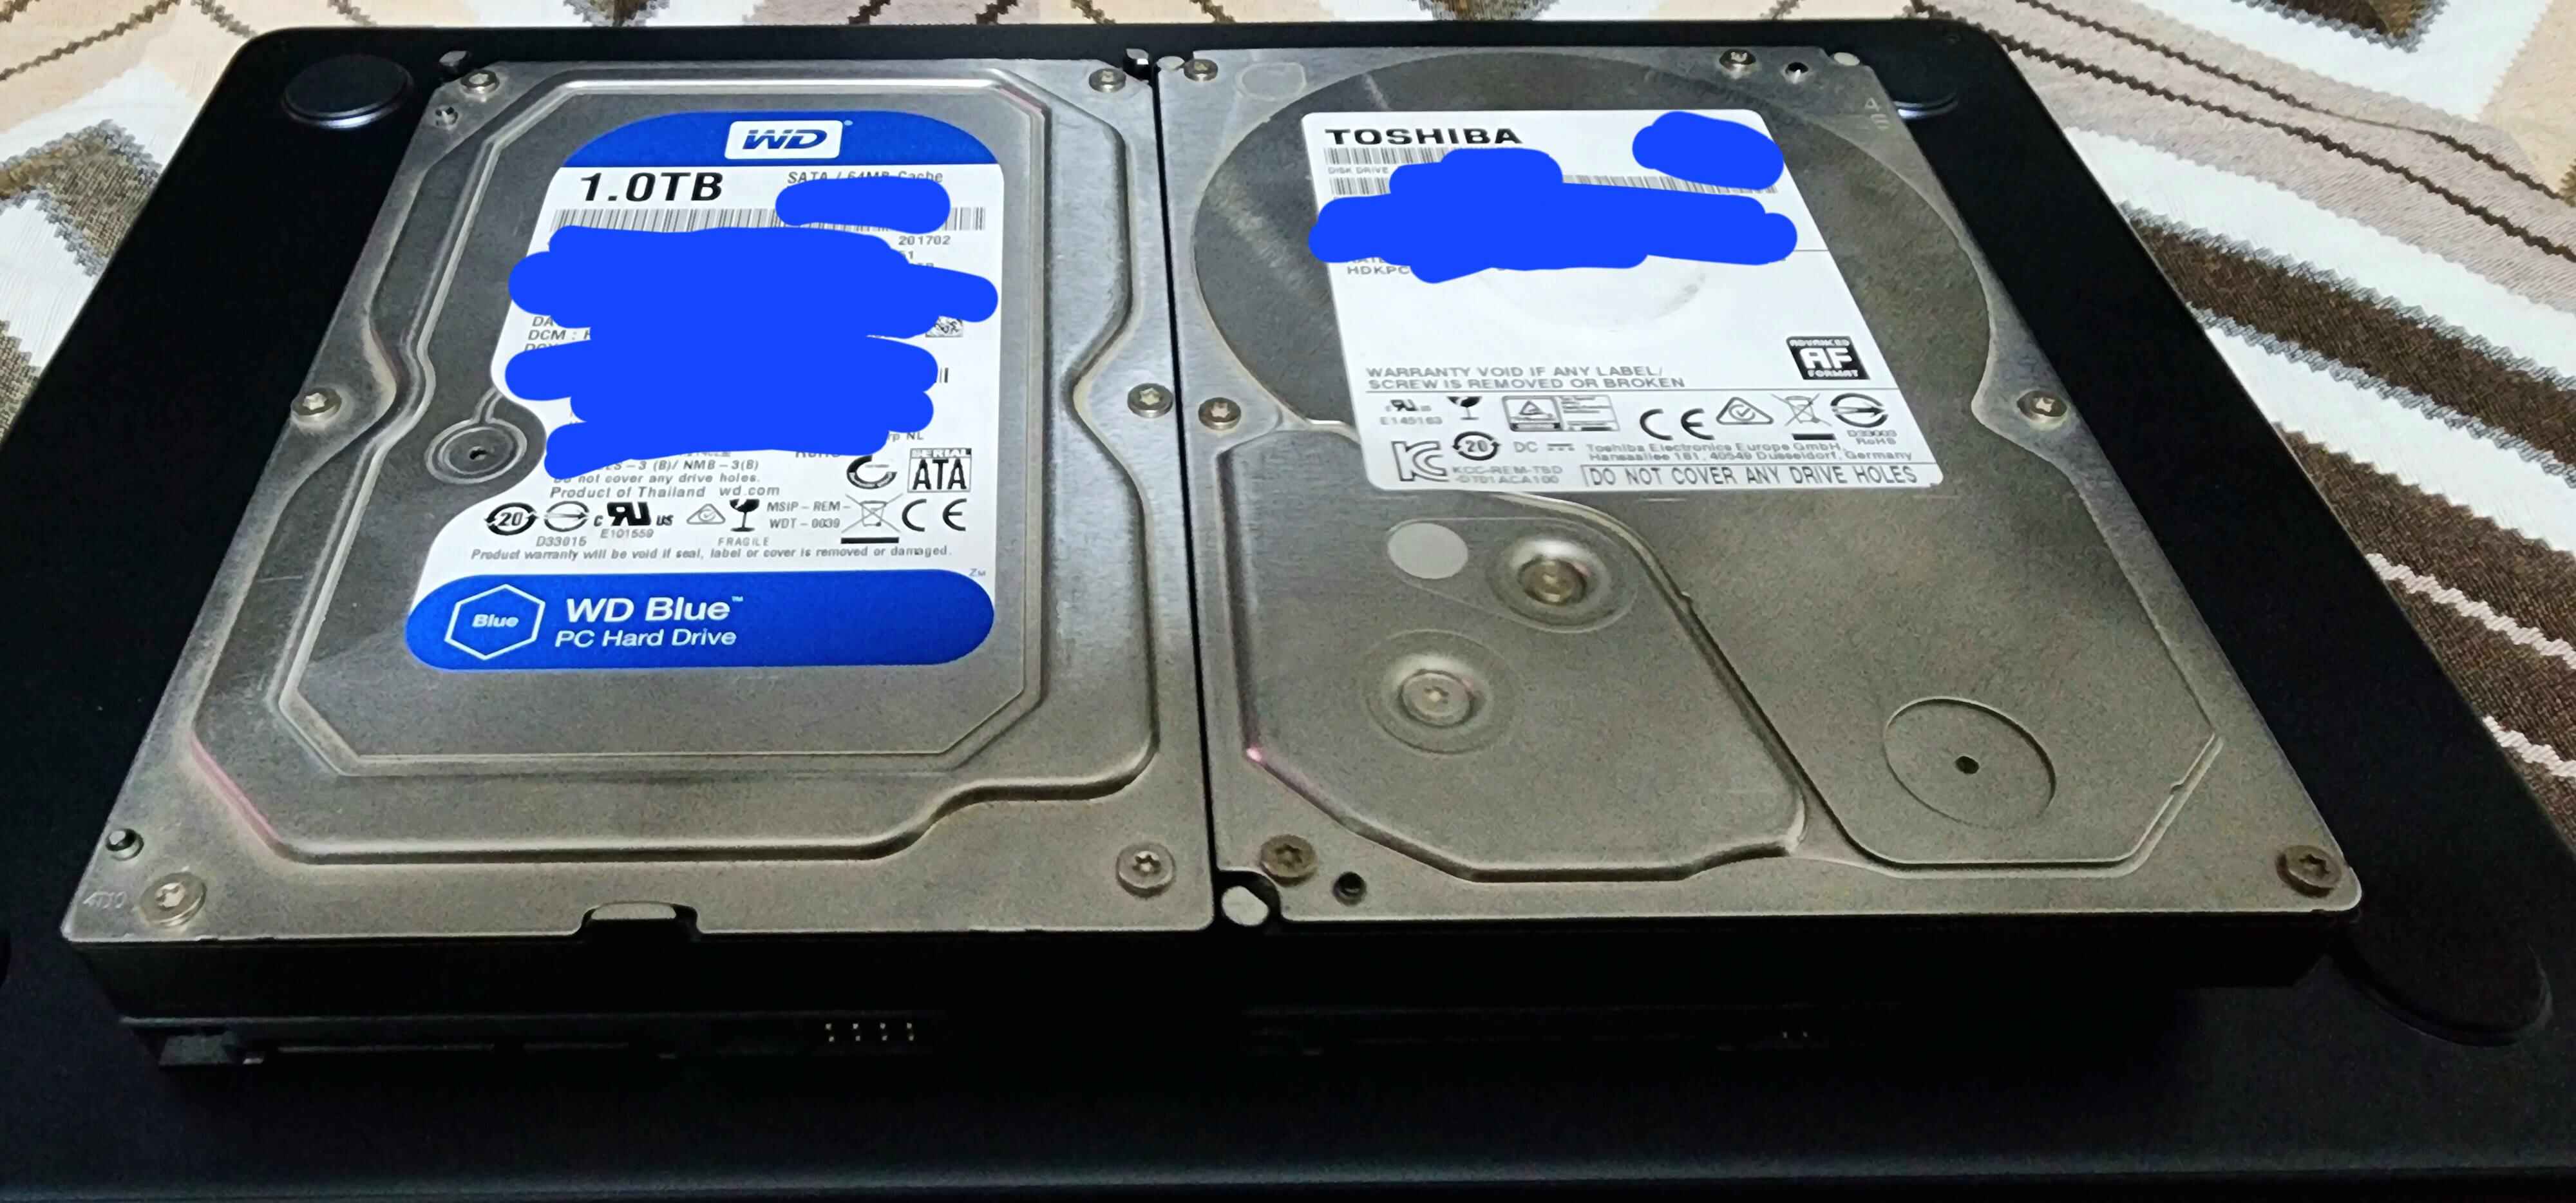
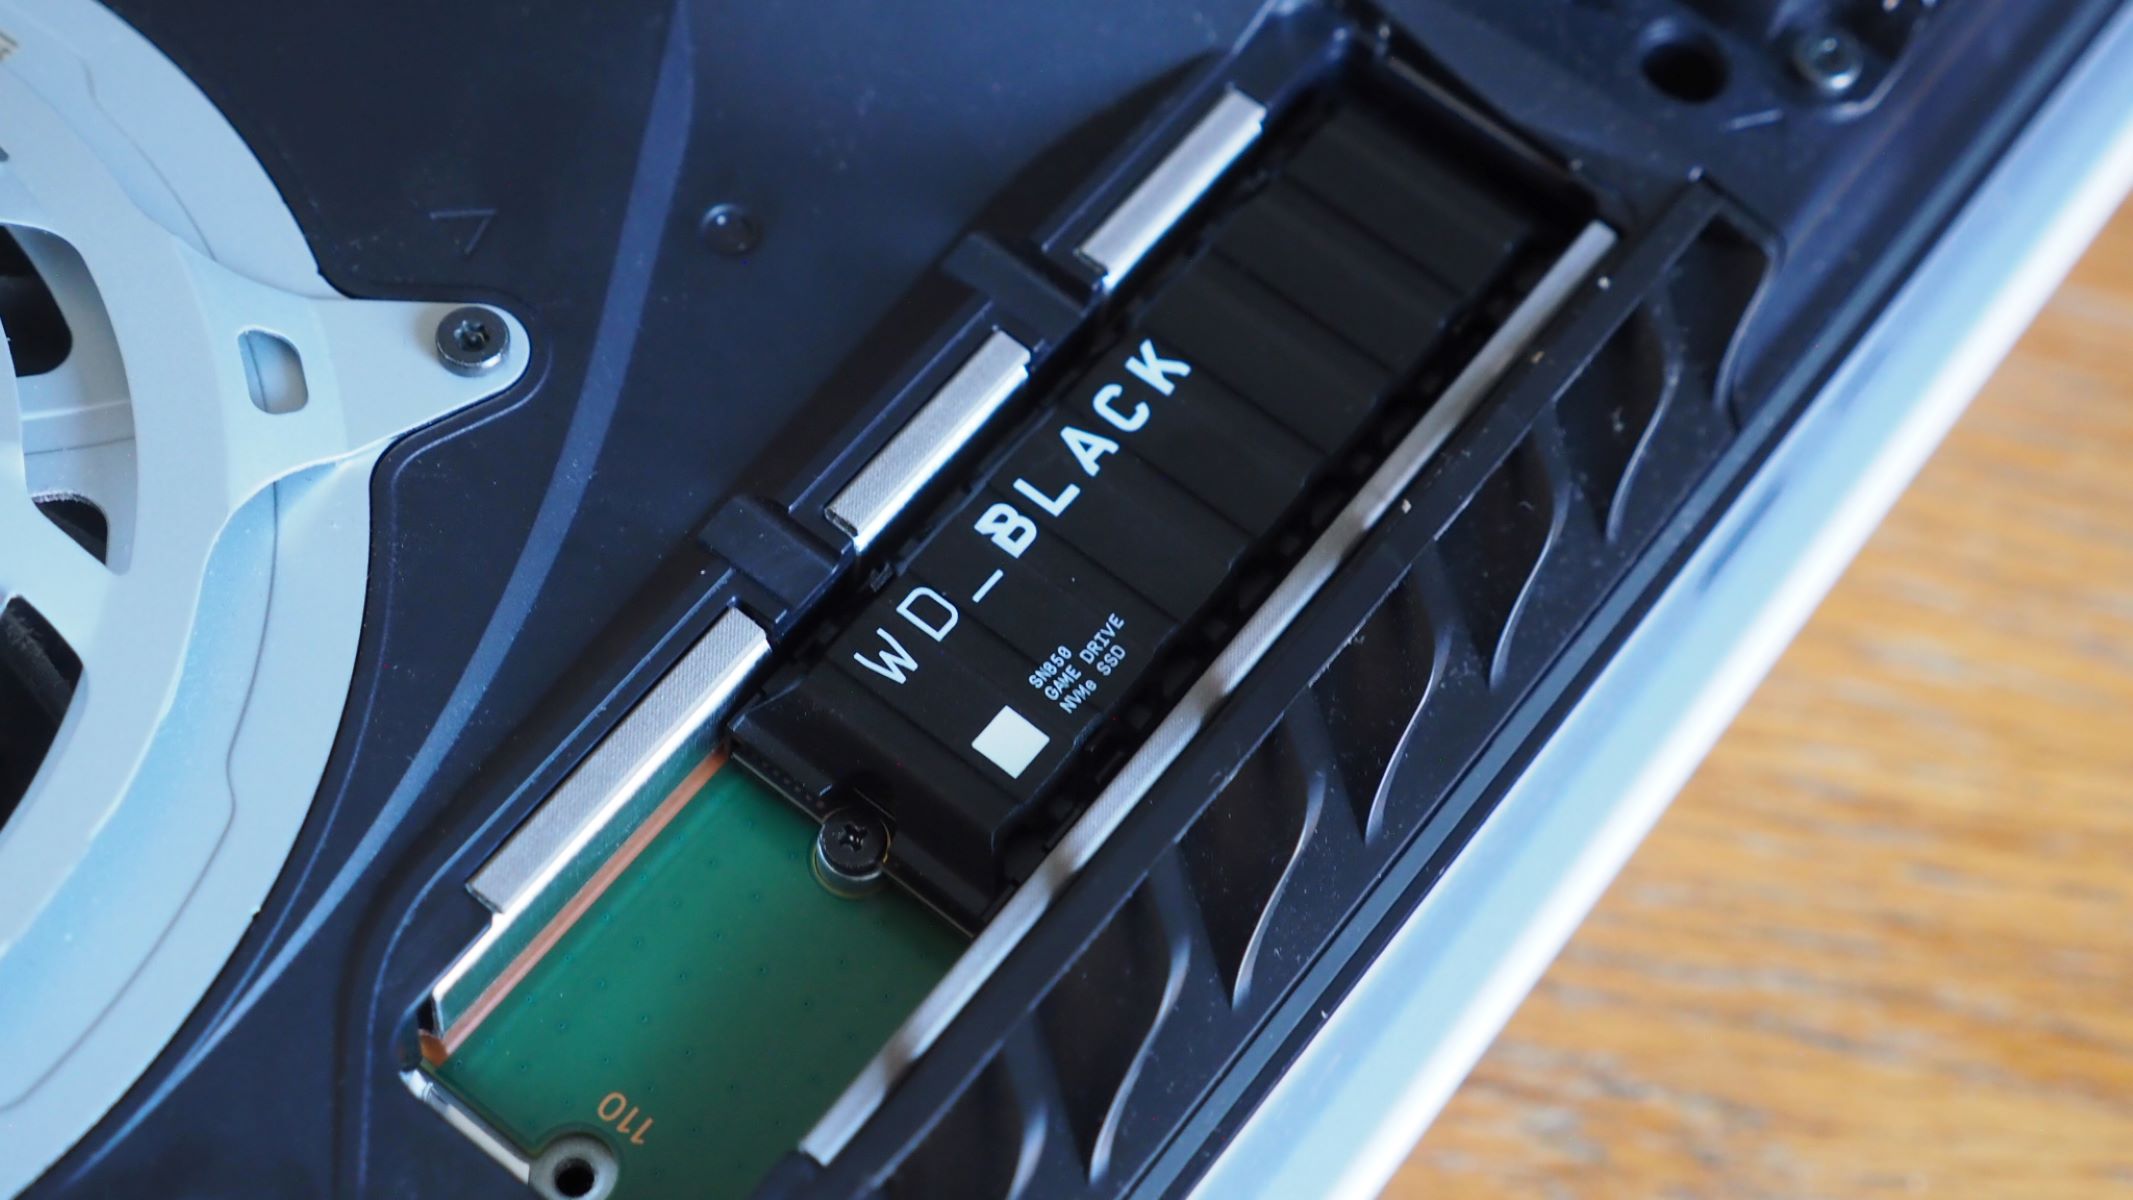
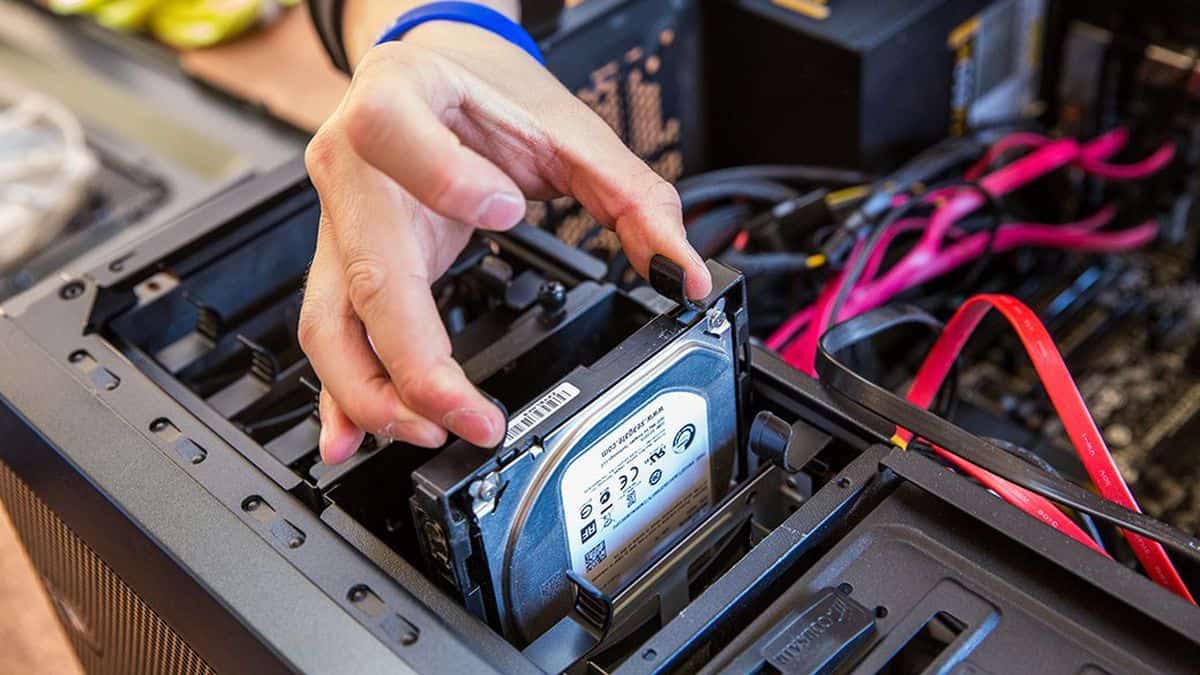
Remove and reattach the hard disk drive
If you are still experiencing issues with your Sony Hard Disk Drive video camera not turning on, it may be beneficial to remove and reattach the hard disk drive (HDD). This troubleshooting step can help address any potential connection problems between the HDD and the camera. Follow these steps to remove and reattach the hard disk drive:
- Ensure that the camera is powered off and any power sources are disconnected.
- Locate the compartment that houses the hard disk drive. Different models may have variations in the placement of the HDD compartment, so consult your camera’s user manual or manufacturer’s instructions for specific guidance.
- Open the HDD compartment by removing any screws or releasing any latches that secure it.
- Gently remove the hard disk drive from its slot or connector. Handle the HDD with care to avoid damage or contamination.
- Inspect the HDD for any visible damage, such as loose connectors or signs of wear. Clean the connectors if necessary using a soft, dry cloth or an electronics-safe cleaning solution.
- Reattach the hard disk drive to its slot or connector, ensuring that it is properly aligned.
- Secure the HDD compartment by replacing any screws or fastening any latches.
Once you have reattached the hard disk drive, attempt to power on the camera. If the camera successfully turns on, you have resolved the issue. However, if the camera remains unresponsive, proceed to the next troubleshooting steps to retrieve your videos from the Sony Hard Disk Drive camera.
It’s important to note that removing and reattaching the hard disk drive should be done with caution. If you are not comfortable performing this step yourself, consider seeking assistance from a professional or contacting Sony customer support for further guidance.
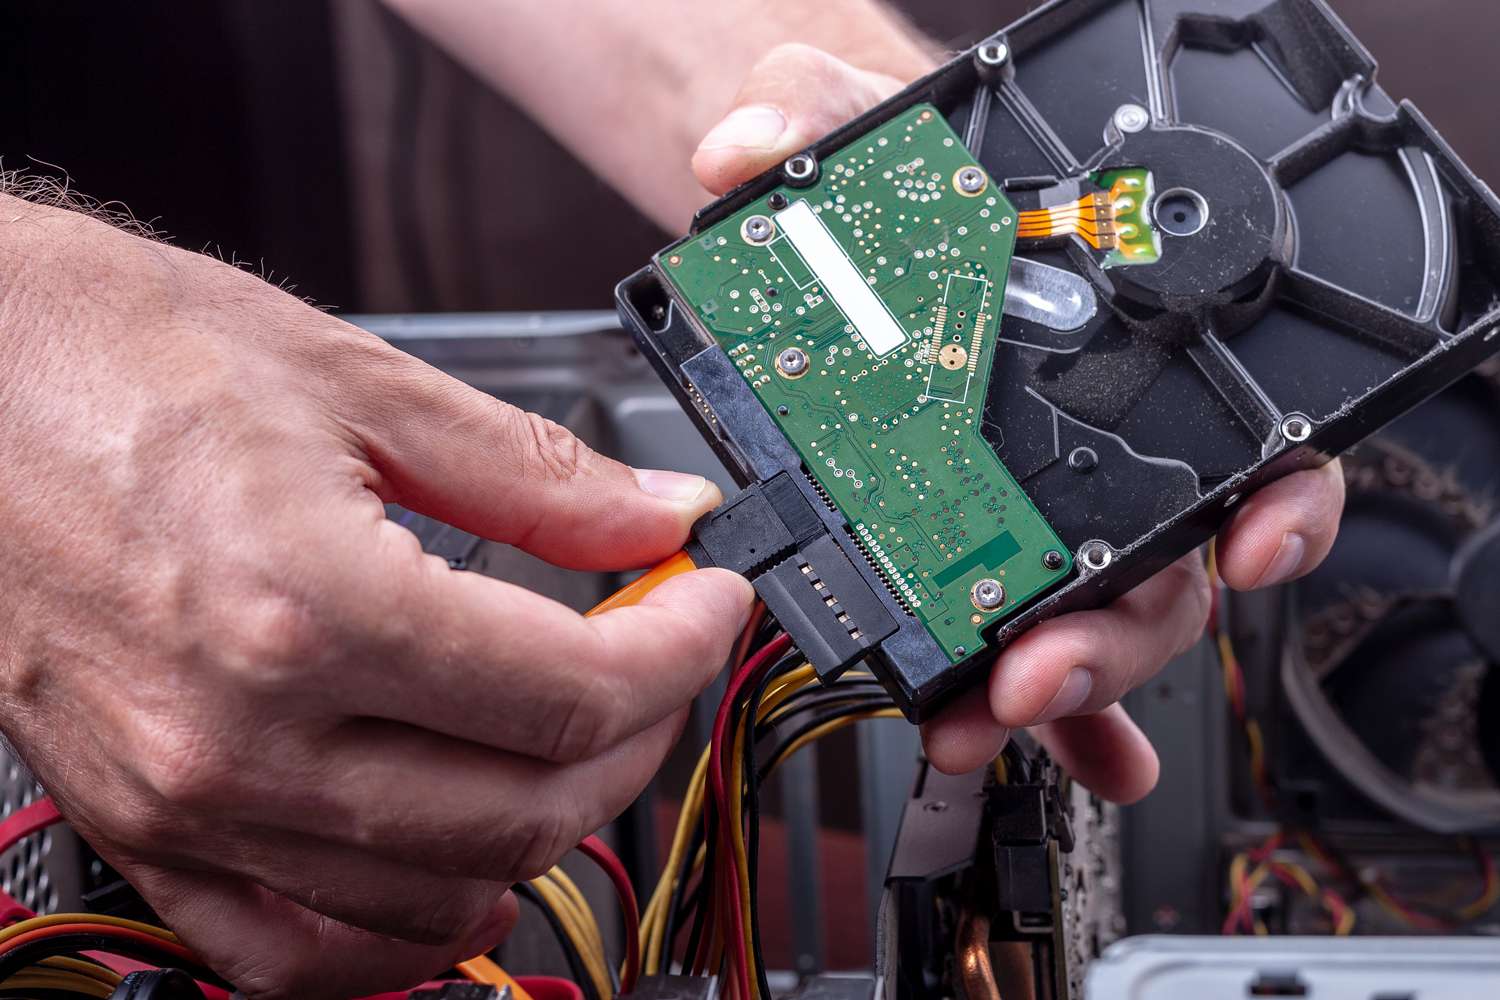
Connect the camera to a computer
If your Sony Hard Disk Drive video camera still won’t turn on, connecting it to a computer can provide an alternative method for retrieving your videos. By establishing a connection between the camera and a computer, you can access the files stored on the camera’s hard disk drive. Follow these steps to connect your camera to a computer:
- Ensure that your computer is powered on and functioning properly.
- Locate the USB port on your Sony Hard Disk Drive video camera. This port is typically found on the camera’s body or in the camera’s connectivity section.
- Connect one end of a compatible USB cable to the camera’s USB port.
- Connect the other end of the USB cable to an available USB port on your computer.
- Wait for your computer to recognize the camera and establish a connection. This may take a few moments, depending on your computer’s processing speed.
- Once the connection is established, you can access the camera’s files by opening the file explorer or file manager on your computer.
- Navigate to the camera’s storage or hard disk drive location within the file explorer or file manager. This location may vary depending on your camera model.
Once you have accessed the camera’s storage location on your computer, you can copy and transfer the videos to your computer’s hard drive or an external storage device. Additionally, this step also allows you to backup and preserve your videos, ensuring they are not lost in case of any further issues with the camera.
It’s important to note that some older camera models may require specific software or drivers to establish a connection with your computer. In such cases, you may need to download and install the necessary software or drivers from the manufacturer’s website beforehand.
Connecting your Sony Hard Disk Drive video camera to a computer provides an alternative method for accessing and retrieving your videos when the camera won’t turn on. This approach allows you to save your valuable footage and continue using it for editing or sharing purposes.
Use data recovery software
If all previous troubleshooting steps have failed to resolve the issue with your Sony Hard Disk Drive video camera, using data recovery software can be an effective solution to retrieve your videos. Data recovery software is specifically designed to recover lost or deleted files from various storage devices, including hard disk drives. Follow these steps to use data recovery software:
- Research and select a reputable data recovery software program that is compatible with your operating system. There are several options available, both free and paid, each with its own features and capabilities.
- Download and install the data recovery software on your computer. Follow the software provider’s instructions for installation.
- Connect your Sony Hard Disk Drive video camera to the computer using a USB cable, as outlined in the previous section.
- Launch the data recovery software and allow it to detect the connected camera as a storage device.
- Select the option to recover files from the camera’s hard disk drive or storage location.
- Follow the software’s prompts and instructions to start the scanning process. The software will scan the camera’s storage for any recoverable files, including your videos.
- Once the scanning process is complete, the software will display a list of recoverable files. Look for your videos among the recovered files and select them for restoration.
- Choose a safe location on your computer or an external storage device to save the recovered videos. Avoid saving them back to the camera’s hard disk drive to prevent overwriting any data.
- Allow the software to complete the recovery process and verify that the videos have been successfully restored.
It’s important to note that the success of data recovery software may vary depending on the extent of the issue and the condition of the camera’s hard disk drive. Additionally, it’s recommended to choose a reliable and trusted data recovery software to ensure the best chances of recovering your videos successfully.
Using data recovery software can be a valuable last resort when attempting to retrieve videos from a non-responsive Sony Hard Disk Drive video camera. With the right software and proper execution, you may be able to recover your valuable footage and continue preserving your precious memories.
Conclusion
Dealing with a Sony Hard Disk Drive video camera that won’t turn on can be a frustrating experience, especially when you have important videos stored on its hard disk drive. However, by following the troubleshooting steps outlined in this guide, you can increase your chances of retrieving your videos and getting your camera back in working order.
We began by gathering the necessary tools, including a compatible USB cable, a computer with sufficient storage space, and data recovery software. These tools are essential for the various troubleshooting methods we discussed.
We checked the camera’s batteries and ensured they were properly inserted and charged. If that didn’t solve the issue, we proceeded to connect the camera to a power source and attempted a soft reset. Removing and reinserting the battery as well as removing and reattaching the hard disk drive were also troubleshooting steps explored.
If all else failed, connecting the camera to a computer and using data recovery software became our last resort. Data recovery software helped to retrieve videos from the camera’s hard disk drive, ensuring that your valuable footage isn’t lost.
Remember, while these troubleshooting methods can be effective, they may not work in all cases. If you’re unable to resolve the issue with your Sony Hard Disk Drive video camera, it is recommended to seek professional assistance or contact the manufacturer’s support for further guidance.
Hopefully, this guide has helped you navigate through the challenges of a non-responsive camera and retrieve your precious videos. Stay vigilant, back up your videos regularly, and keep your camera well-maintained to avoid future issues. Happy filming!