Introduction
Welcome to this guide on how to get subtitles on Kodi! Kodi is a popular open-source media player that allows users to stream and organize their favorite movies, TV shows, and music. One of the great features of Kodi is the ability to add subtitles to your media. Subtitles can enhance your viewing experience by providing translated dialogue or text descriptions for the deaf or hard of hearing.
In this article, we’ll explore several methods for getting subtitles on Kodi. Whether you prefer using Kodi’s built-in subtitles feature, installing an add-on specifically designed for subtitles, or enabling automatic subtitles for all your media, we’ve got you covered.
Having subtitles is especially helpful when watching movies or shows in a language you’re not fluent in or when the audio is unclear. With subtitles, you can easily follow the dialogue and fully understand the storyline.
This guide will walk you through each method step-by-step and provide troubleshooting tips to overcome any issues you may encounter along the way. So let’s dive in and discover how to make the most out of subtitles on Kodi!
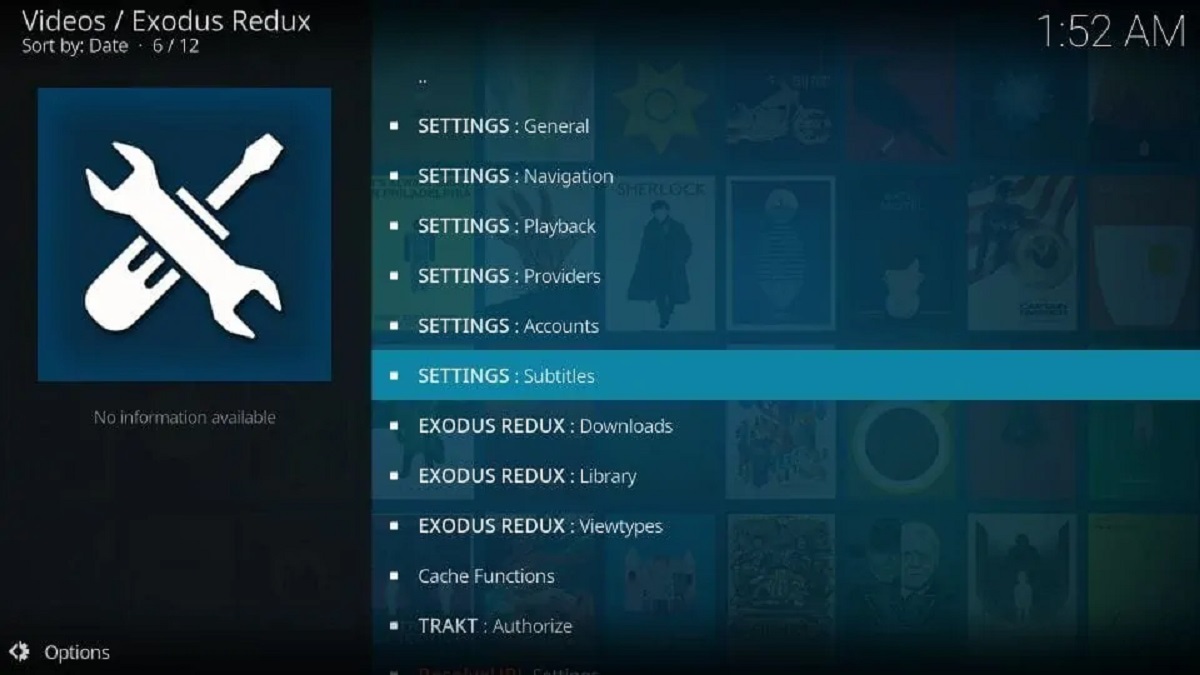
Method 1: Using the Kodi Subtitles Feature
Kodi comes with a built-in feature that allows you to easily add subtitles to your media. Follow these simple steps to enable subtitles for your desired content:
- Open Kodi and go to the settings menu.
- Select “Player Settings” from the options.
- Click on the “Language” tab.
- Under the “Download Services” section, select the language you want to use for subtitles. Kodi will automatically search for subtitles in that language.
- Return to the main menu and play your desired movie or TV show.
- While the content is playing, click on the “Audio and Subtitles” icon in the player controls.
- A list of available subtitles will appear. Choose the one that matches your preferred language.
That’s it! The subtitles will now be displayed while you enjoy your media. If you want to change the subtitle language or style, you can do so by accessing the subtitle settings in the Kodi player options.
Using Kodi’s built-in subtitle feature is a convenient way to add subtitles to your media without the need for additional add-ons. However, keep in mind that the availability and quality of subtitles may vary depending on the content you are watching. If the subtitles aren’t available for a specific movie or show, you might need to explore other methods to get the desired subtitles.
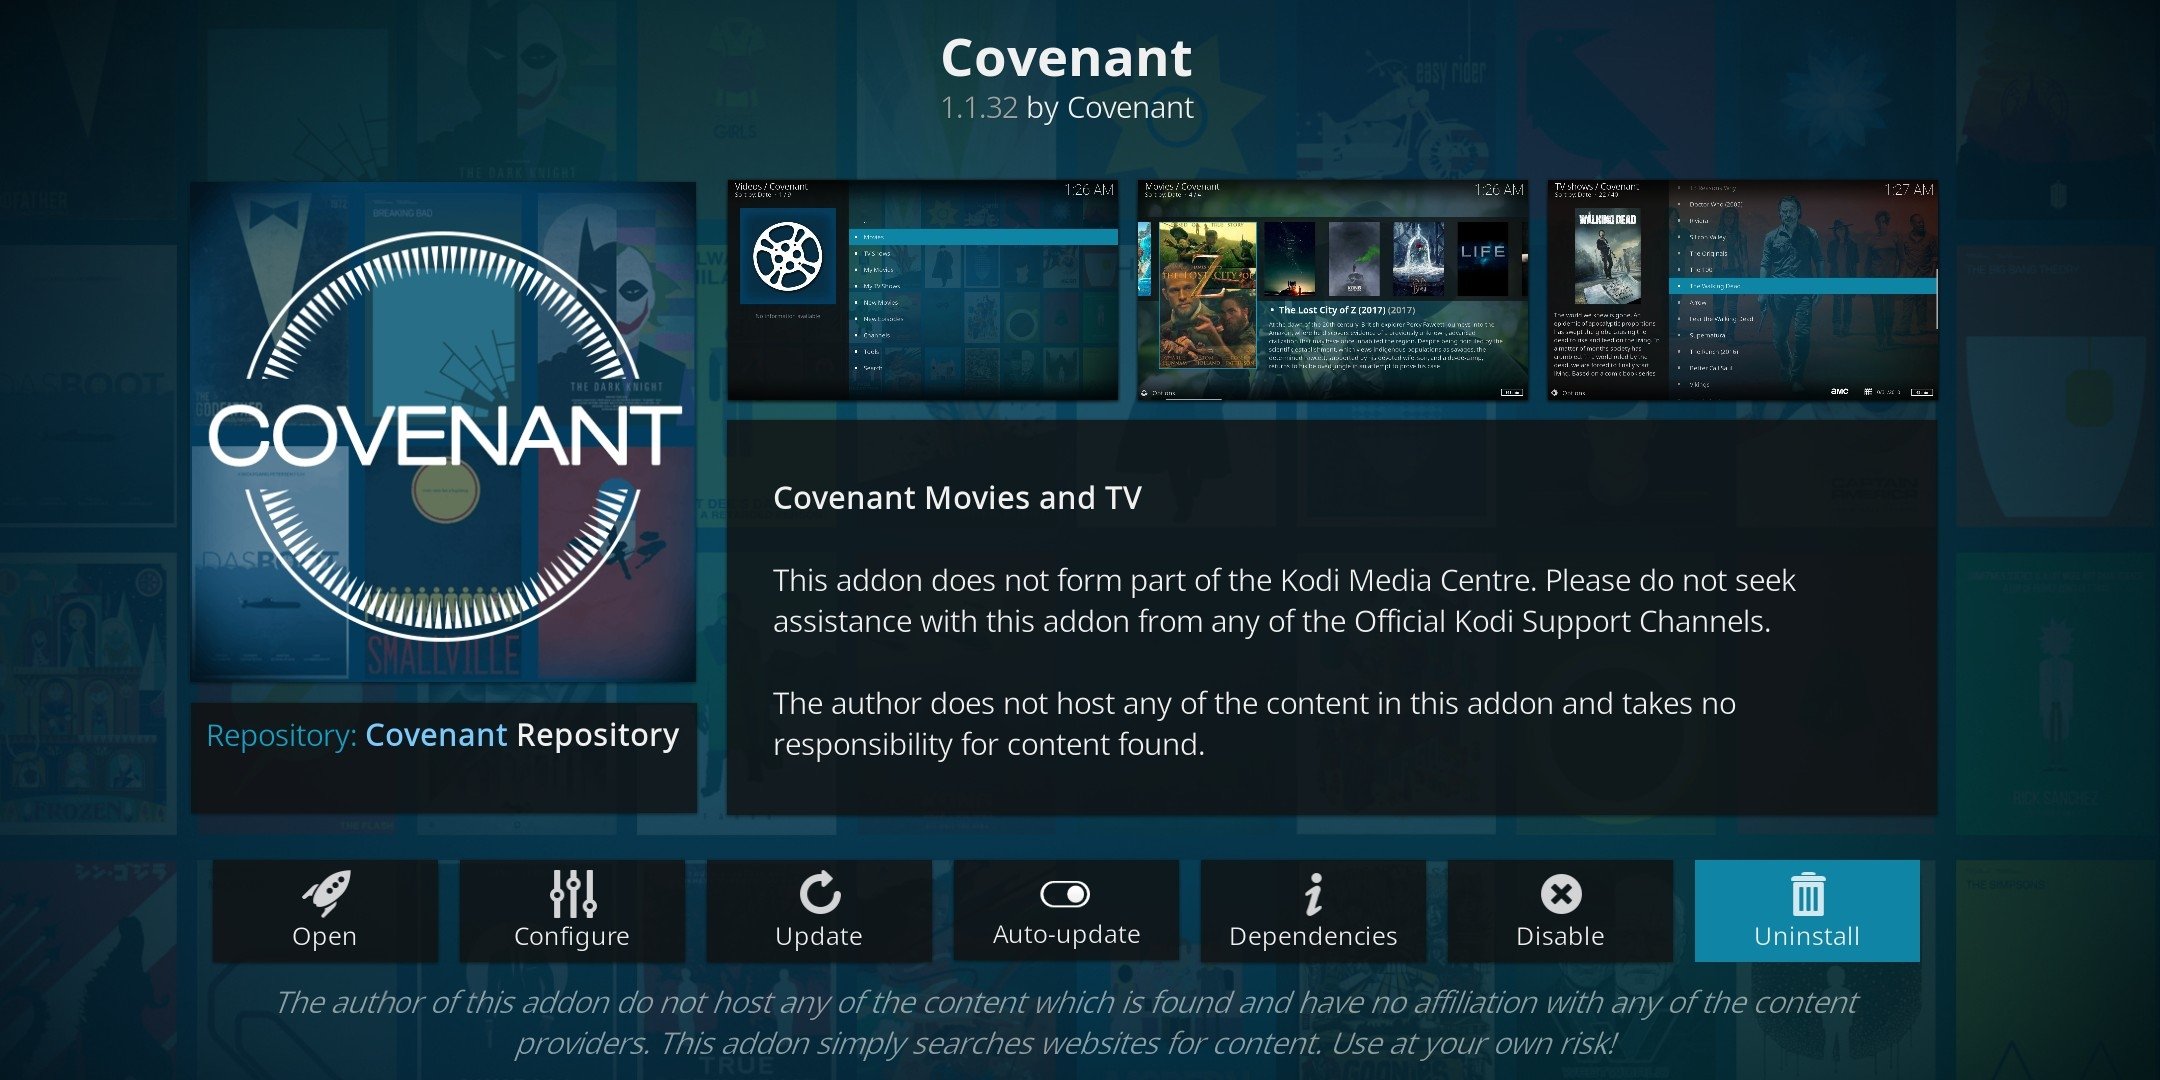
Method 2: Installing a Subtitles Addon
If you’re looking for a more extensive range of subtitles or want more customization options, installing a subtitles addon is a great option. Follow these steps to install a subtitles addon on Kodi:
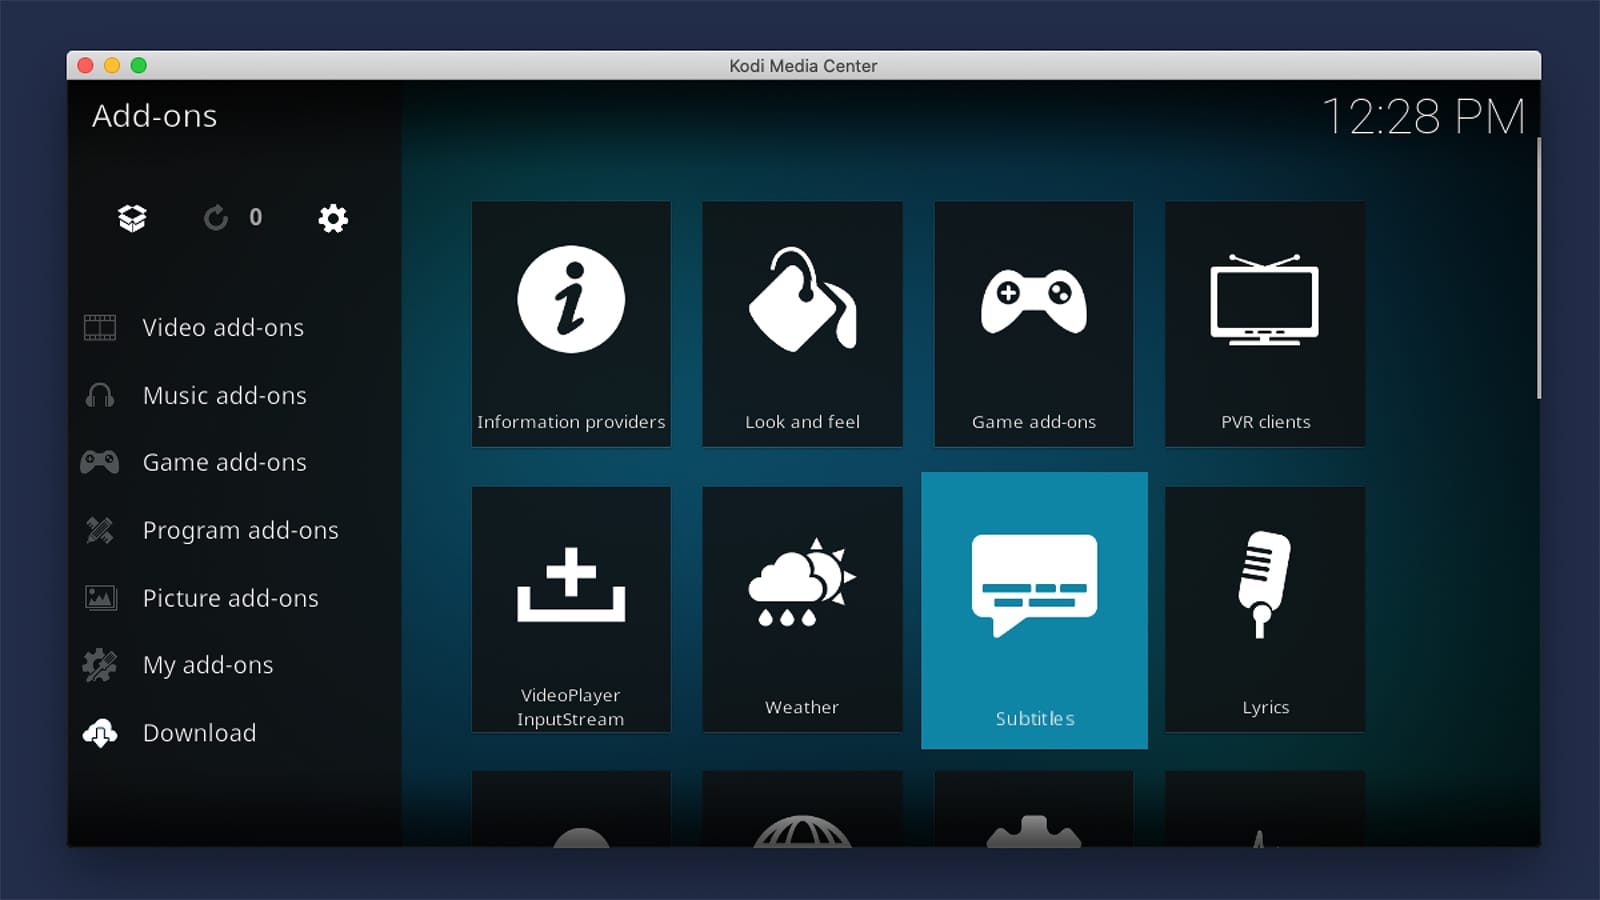
- Open Kodi and navigate to the addons section.
- Click on the package icon located at the top left corner of the screen.
- Select “Install from repository” and choose “Kodi Add-on repository” or any other reliable repository.
- Scroll down and find the “Subtitles” category.
- Browse through the available addons to find one that suits your needs. Some popular addons include OpenSubtitles, Subscene, and Podnapisi.
- Click on the addon, then select “Install” to begin the installation process.
- Once the installation is complete, go back to the main menu and select “Add-ons”.
- Open the subtitles addon you installed and configure the settings according to your preferences. This may include selecting the default language, enabling automatic downloads, or adjusting subtitle appearance.
Now, when you play your media, the subtitles addon will automatically search for and download the appropriate subtitles. You can also manually search for subtitles within the addon if needed.
Subtitles addons offer a wider selection of subtitles and more advanced features compared to the built-in Kodi subtitles feature. They often provide options for more languages, multiple versions of subtitles, and user ratings to help you choose the best-matching subtitle file. With an addon, you can have a more personalized and comprehensive subtitle experience on Kodi.
Method 3: Enabling Automatic Subtitles for All Media
If you prefer to have subtitles automatically enabled for all your media without having to manually select or search for them, you can use the option to enable automatic subtitles on Kodi. Follow these steps to enable this feature:
- Launch Kodi and go to the settings menu.
- Select “Player Settings” from the options.
- Click on the “Language” tab.
- Under the “Default TV Show service” or “Default movie service”, choose the subtitles addon you want to use. OpenSubtitles is a popular choice.
- Configure the settings of the selected subtitles addon, such as choosing the default subtitle language.
- Make sure to enable the “Default enable” option to automatically enable the subtitles whenever you play media.
Now, whenever you play a TV show or movie, Kodi will automatically search for and enable subtitles based on the settings you configured. This means you can enjoy your favorite media with subtitles without any manual intervention.
Enabling automatic subtitles is a time-saving option if you consistently prefer to watch media with subtitles. It eliminates the need to manually search or select subtitles for each individual piece of content. However, keep in mind that the accuracy and availability of subtitles still depend on the addon and the database it’s using.
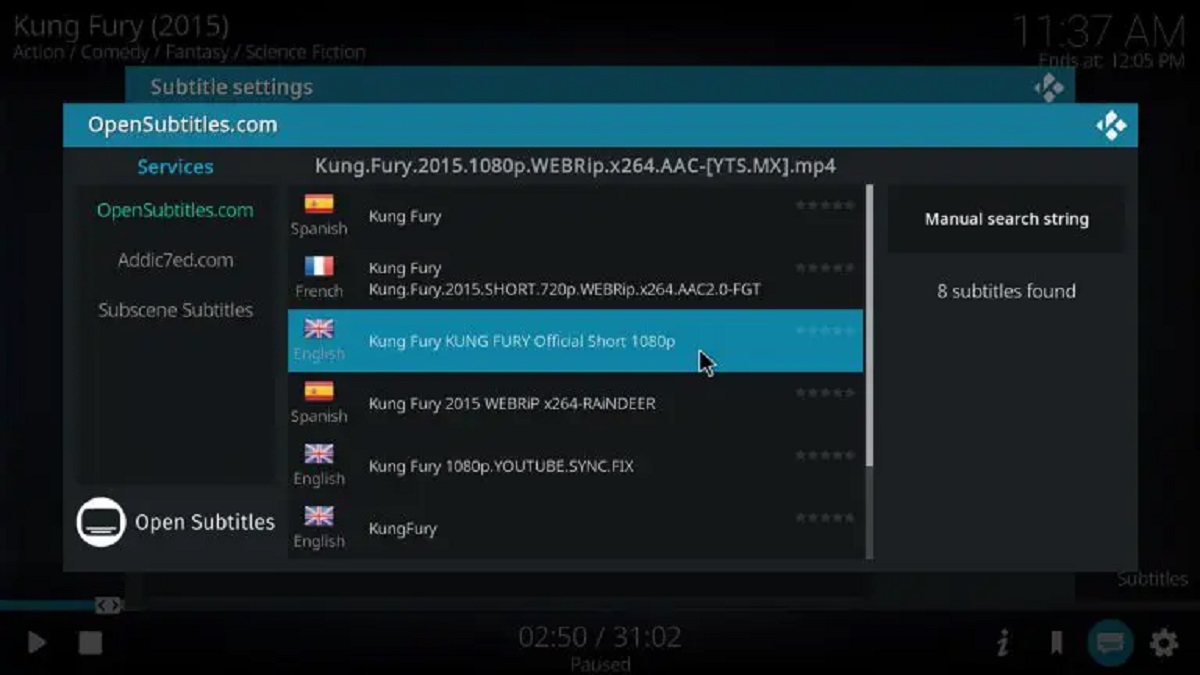
Method 4: Manually Downloading Subtitles
In some cases, you may encounter media files that don’t have subtitles available through Kodi’s built-in feature or the installed addons. In such situations, manually downloading subtitles from external sources can be a solution. Follow these steps to manually download subtitles and add them to Kodi:
- Identify the movie or TV show you want subtitles for and note down its title.
- Using a web browser, search for subtitle websites such as OpenSubtitles, Subscene, or Podnapisi.
- Visit the website and enter the title of the media in the search bar.
- Browse through the search results to find the most suitable subtitle file for your version of the media. Pay attention to the language, file format, and user ratings.
- Download the subtitle file to your computer or mobile device.
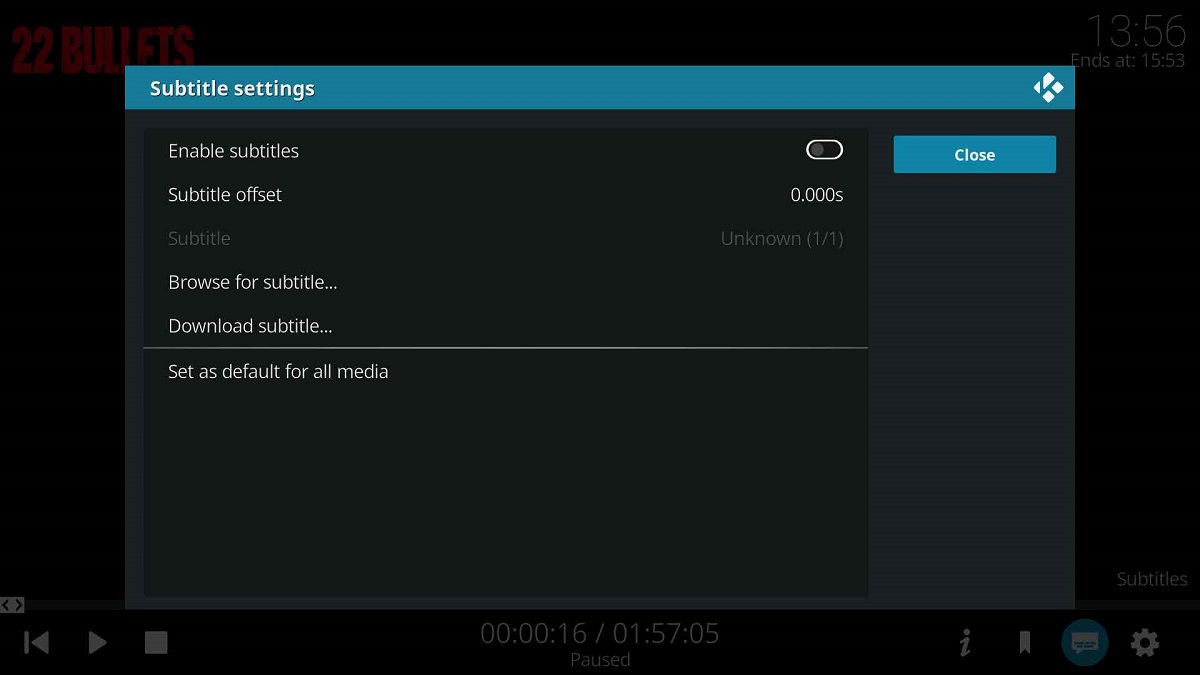
- Open Kodi and play the media file you want to add subtitles to.
- While the media is playing, click on the “Audio and Subtitles” icon in the player controls.
- Select “Add Subtitle” and navigate to the location where you saved the downloaded subtitle file.
- Select the subtitle file to add it to your media playback.
Now, the subtitles will be displayed while you watch the media. By manually downloading and adding subtitles, you have more control over the selection of subtitles and can ensure they are properly synchronized with the media playback.
Keep in mind that manually downloading subtitles may require some effort and time, as you need to search for reliable subtitle sources and find the appropriate subtitle file. It is also important to download subtitles from trusted websites to avoid any potential security risks.
Troubleshooting Common Issues
While using subtitles on Kodi, you may encounter some common issues. Here are a few troubleshooting tips to help you resolve them:
- No subtitles available: If you’re not seeing any subtitles, ensure that you have enabled the subtitles feature in Kodi’s settings. Also, check that the media you’re watching has subtitles available. If not, consider manually downloading subtitles from external sources.
- Out-of-sync subtitles: Sometimes, subtitles may not be synchronized with the audio or video. In such cases, you can manually adjust the subtitle synchronization using Kodi’s subtitle settings. Use the delay or offset options to match the subtitles to the media playback.
- Poor subtitle quality: If you’re unhappy with the quality or accuracy of the subtitles, try using a different subtitles addon or search for subtitles from alternative sources. Different addons and sources may have varying subtitle options.
- Subtitle language not available: If the desired subtitle language is not available through Kodi’s built-in feature or installed addons, consider manually downloading subtitles from specialized websites that offer a wider variety of languages and subtitle options.
- Compatibility issues: Occasionally, subtitles may not work due to compatibility issues between the media file and subtitle format. Ensure that the subtitle file format matches the media file format to ensure proper playback.
- Subtitle display issues: If the subtitles are not displaying correctly, such as being cut off or overlapping with other text, you can adjust the subtitle settings in Kodi. Experiment with different font sizes, colors, and positions to optimize the subtitle display.
These troubleshooting tips should help resolve common issues with subtitles on Kodi. If you continue to experience difficulties, consider seeking support from Kodi forums, where you can find helpful discussions and guidance from the Kodi community.
Remember that subtitles availability and quality can vary depending on the media content itself, the subtitles addon or source you choose, and the language you’re looking for. With a little patience and troubleshooting, you can enhance your Kodi experience by enjoying your favorite movies and TV shows with accurate and synchronized subtitles.
Conclusion
Adding subtitles to your movies and TV shows on Kodi can greatly enhance your viewing experience, whether you’re watching foreign content or simply prefer to have subtitles available. In this guide, we explored four methods to get subtitles on Kodi: using the built-in feature, installing a subtitles addon, enabling automatic subtitles, and manually downloading subtitles.
Using Kodi’s built-in subtitles feature provides a simple and convenient way to add subtitles to your media. However, if you want more options and customization, installing a subtitles addon can provide a wider range of choices. Enabling automatic subtitles makes it effortless to have subtitles enabled for all your media, while manually downloading subtitles allows you to find specific subtitle files from external sources.
Throughout the process, it’s important to troubleshoot common issues that may arise, such as subtitles not being available, being out of sync, or having poor quality. By following the troubleshooting tips we provided, you can overcome these challenges and enjoy a seamless subtitle experience on Kodi.
Remember to explore different sources for subtitles and try out various addons until you find the ones that best meet your needs. Subtitles can greatly enhance your understanding and enjoyment of the content you watch, allowing you to fully immerse yourself in the storyline and dialogue.
So go ahead and experiment with different methods to get subtitles on Kodi. With a little effort and patience, you can customize your subtitle preferences and have a more enriched multimedia experience on Kodi.