Why Remove Subtitles from Kodi?
Subtitles can be a helpful feature when watching movies or TV shows, especially for those who are deaf or hard of hearing or those who prefer to watch content in a language that they are not fluent in. However, there are instances when you may want to remove subtitles from Kodi. Here are a few reasons why:
1. Distraction: Subtitles can sometimes be distracting, particularly if they are not synchronized properly with the audio or if they are too large or small. Removing subtitles can allow you to fully immerse yourself in the audio and visuals of the content.
2. Language Proficiency: If you are watching a movie or TV series to practice a foreign language, having subtitles enabled can make it tempting to rely on them instead of actively listening and understanding the dialogue. By removing subtitles, you can challenge yourself to comprehend the content without relying on the translation.
3. Aesthetics: Some people simply prefer to watch movies or shows without subtitles to fully appreciate the cinematography and visuals. Subtitles can occupy a significant portion of the screen, which may detract from the overall viewing experience.
4. Technical Issues: Occasionally, subtitles can cause technical issues within Kodi, such as synchronization errors or playback glitches. Removing subtitles can help mitigate these issues and ensure smoother playback.
5. Personal Preference: Ultimately, it comes down to personal preference. Some individuals may find subtitles irritating or unnecessary and may prefer to watch content without them.
No matter the reason, Kodi offers various methods to easily remove subtitles. In the following sections, we will explore different ways to disable subtitles within Kodi settings, remove them via the video player settings, use a subtitle toggle shortcut, and utilize third-party subtitle add-ons.
Method 1: Disabling Subtitles within Kodi Settings
Kodi provides a straightforward method to disable subtitles directly within its settings menu. Follow these steps to remove subtitles from Kodi:
Step 1: Launch Kodi on your device and navigate to the home screen.
Step 2: From the home screen, select “Settings” located in the top left corner. The Settings icon resembles a gear or cogwheel.
Step 3: In the Settings menu, click on “Player” or “Player settings.”
Step 4: In the Player settings menu, select “Language.”
Step 5: In the Language menu, make sure to select your preferred language in the “Preferred subtitle language” option. This ensures that Kodi does not automatically enable subtitles for languages you do not understand.
Step 6: Scroll down to the “Download Services” section and select “Language to download subtitles for.” By selecting your preferred language here, Kodi will not fetch subtitles for languages you do not require.
Step 7: Return to the home screen and start playing a video. The subtitles should no longer appear automatically. However, some videos may still have embedded or hardcoded subtitles, which cannot be disabled through Kodi settings.
Note: Keep in mind that these instructions may vary slightly depending on the version of Kodi you are using. However, the general steps should remain similar across different versions.
By following these steps, you can easily disable subtitles within the Kodi settings menu and enjoy your favorite content without any distractions.
Method 2: Removing Subtitles via Video Player Settings
If you want to remove subtitles for a specific video you are playing in Kodi without affecting the global settings, you can do so through the video player settings. Here’s how:
Step 1: Open Kodi and go to the home screen.
Step 2: Navigate to the video section and select the video you want to watch without subtitles.
Step 3: Once the video starts playing, right-click or press the “C” key on your keyboard to access the context menu.
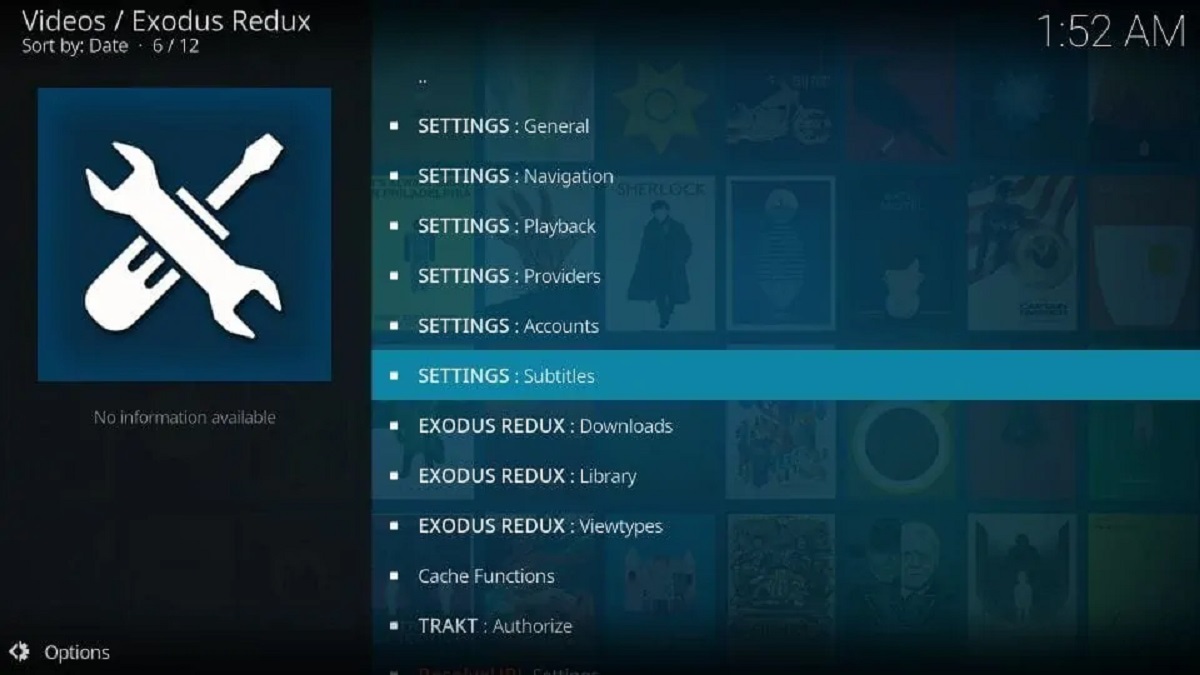
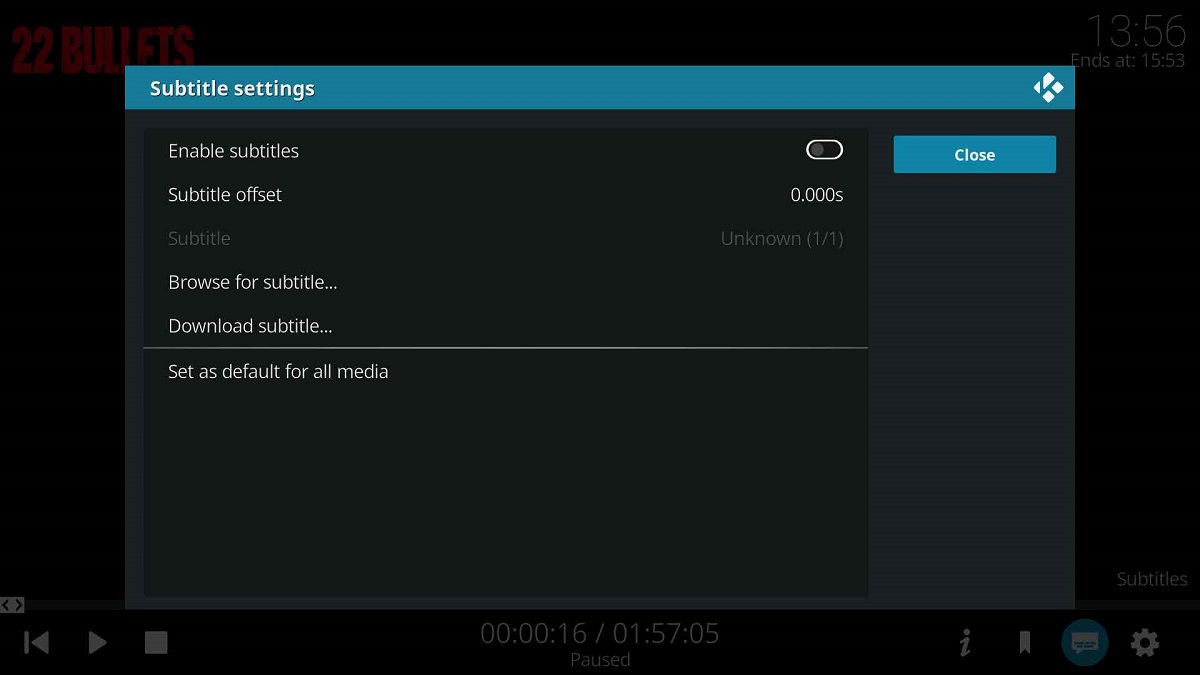
Step 4: From the context menu, select “Subtitle settings” or “Subtitles.”
Step 5: In the subtitle settings menu, choose “Disable” or “None” to remove the subtitles for that specific video.
Step 6: Close the subtitle settings menu and continue watching the video. The subtitles will no longer be displayed.
This method allows you to have more control over subtitle settings on a per-video basis. It is particularly useful when you want to remove subtitles for a specific video without affecting the settings for other videos.
Note: Keep in mind that these instructions may vary slightly depending on the version of Kodi you are using. However, the general steps should remain similar across different versions.
By utilizing the video player settings, you can easily remove subtitles for a particular video in Kodi and customize the viewing experience to your preference.
Method 3: Using a Subtitle Toggle Shortcut
If you frequently switch between enabling and disabling subtitles while watching videos in Kodi, using a subtitle toggle shortcut can streamline the process. This method allows you to quickly toggle subtitles on and off with a keyboard shortcut. Here’s how:
Step 1: Launch Kodi and navigate to the home screen.
Step 2: Click on “Settings,” represented by the gear or cogwheel icon, in the top left corner of the screen.
Step 3: In the Settings menu, select “Player” or “Player settings.”
Step 4: In the Player settings menu, click on “Language.”
Step 5: Scroll down to the “Subtitle options” section.
Step 6: Enable the option that says “Enable or disable external subtitles.”
Step 7: Click on “Set Top-left OSD message” and enter a message like “Subtitle toggle” or “Subtitles on/off.”
Step 8: Press the back button to return to the Settings menu.
Step 9: Select “Player”> “Input/Codecs” > “Subtitle shortcuts.”
Step 10: Assign a keyboard shortcut or remote button to the “Toggle subtitles on/off” option.
Step 11: Close the Settings menu and play a video.
Step 12: Whenever you want to toggle subtitles on or off while watching a video, simply press the assigned keyboard shortcut or remote button to easily enable or disable subtitles.
This method allows for quick and convenient toggling of subtitles, making it ideal for those who frequently switch between having subtitles on and off.
Note: Keyboard shortcuts and remote buttons can vary depending on your setup and the device you are using to run Kodi.
By utilizing a subtitle toggle shortcut, you can easily control the display of subtitles while watching videos in Kodi, enhancing your viewing experience.
Method 4: Utilizing a Third-Party Subtitle Add-on
In addition to the built-in subtitle options in Kodi, you can also enhance your subtitle experience by utilizing third-party subtitle add-ons. These add-ons provide additional features and options for managing subtitles. Follow these steps to utilize a third-party subtitle add-on in Kodi:
Step 1: Launch Kodi and navigate to the home screen.
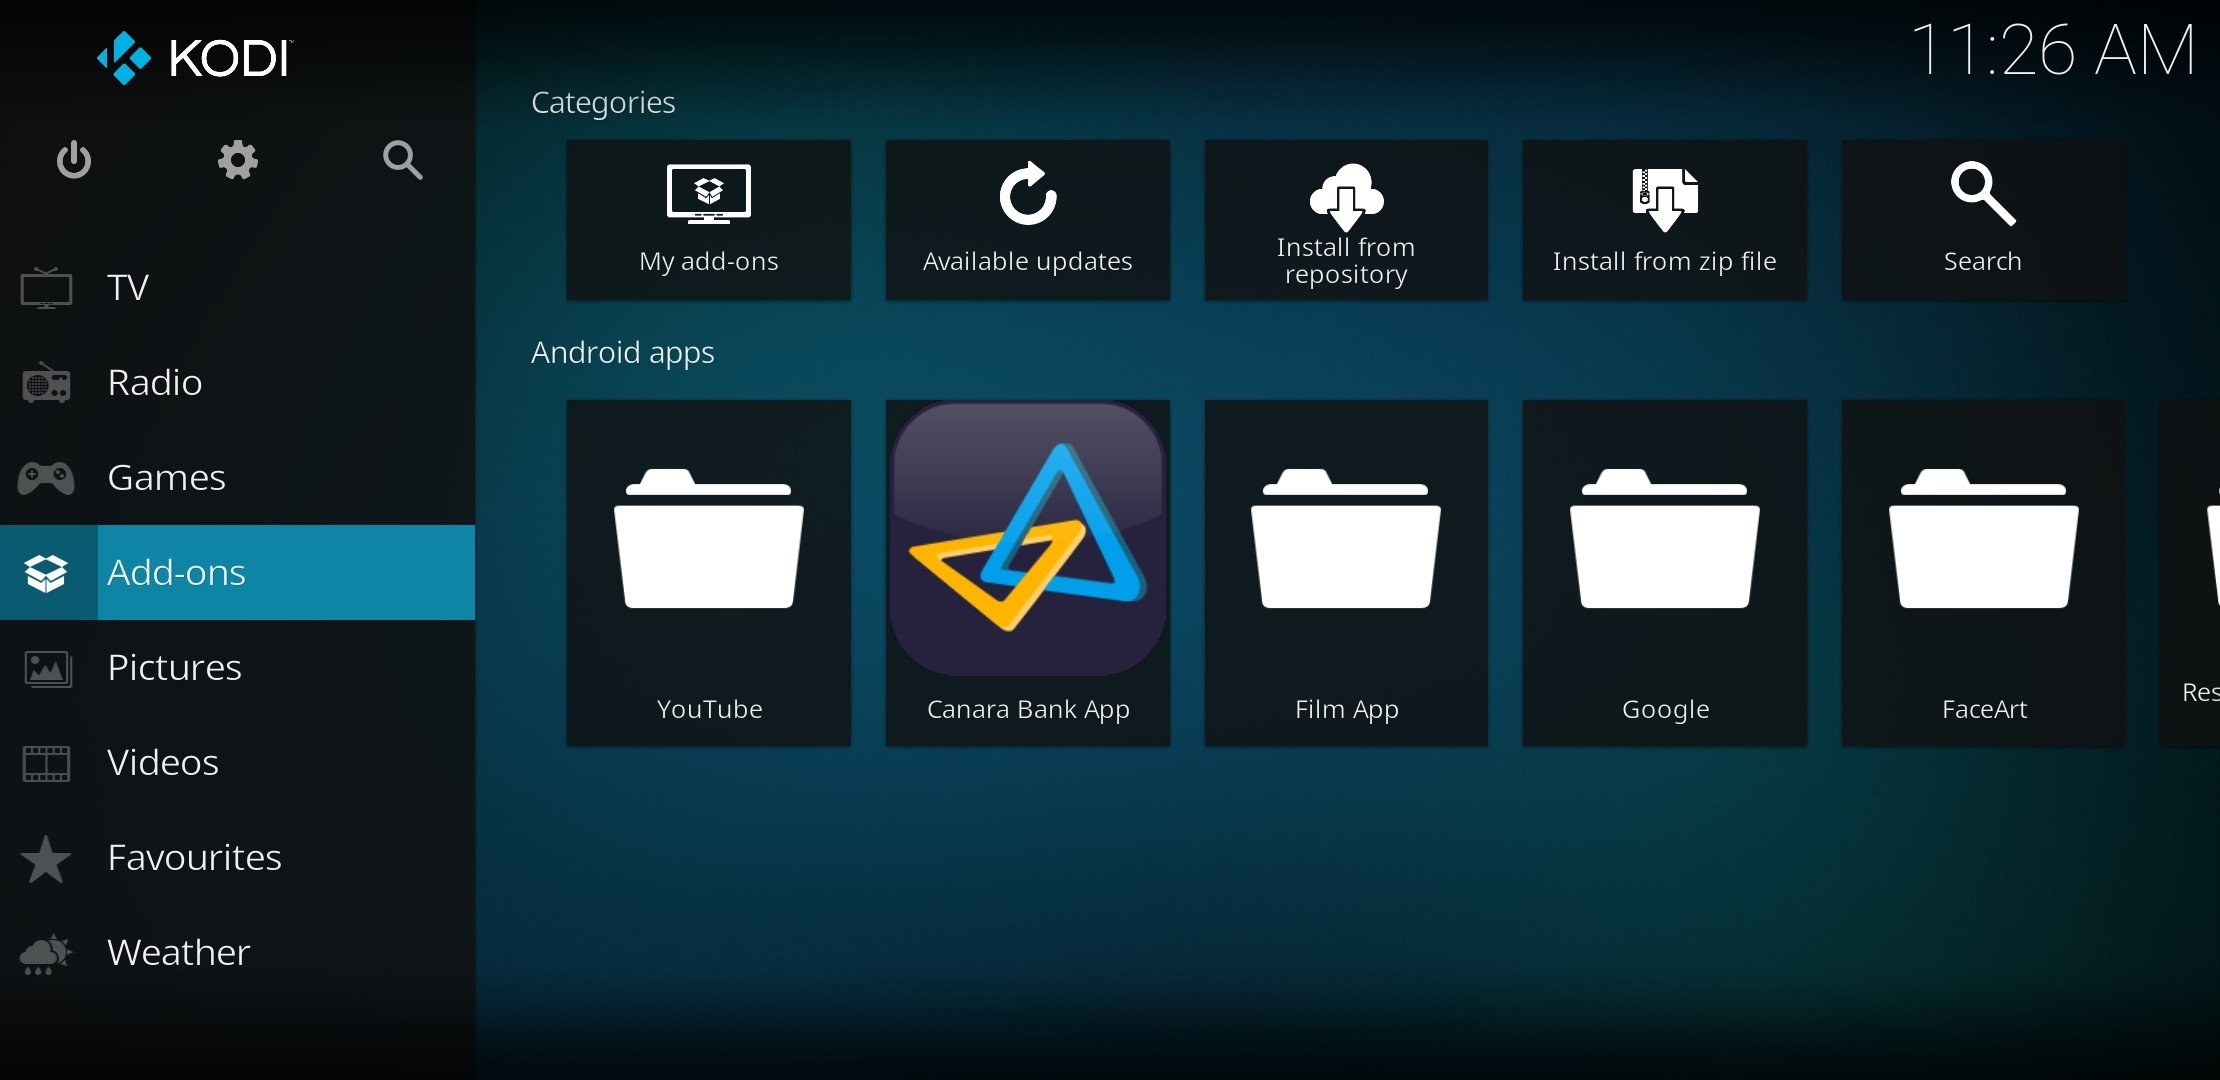
Step 2: Click on “Add-ons” in the main menu.
Step 3: Select “Download” or “Install from repository” depending on your version of Kodi.
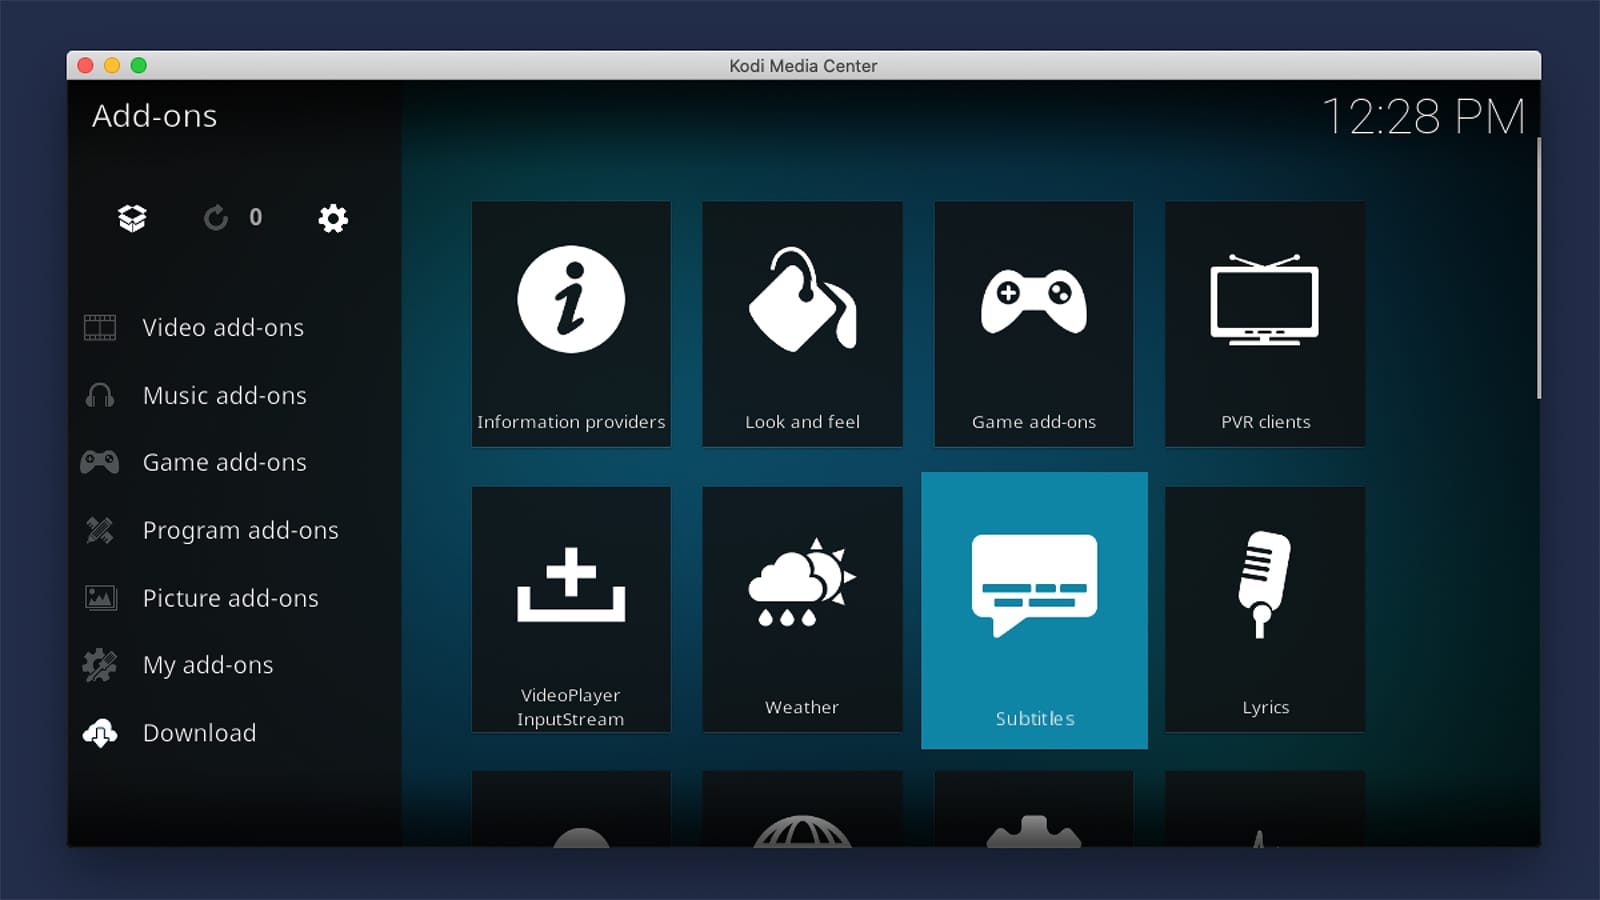
Step 4: Choose “Subtitles” or “Subtitle add-ons” category.
Step 5: Browse through the available add-ons and select the one that suits your needs. Some popular subtitle add-ons include OpenSubtitles, Subscene, and BSPlayer Subtitles.
Step 6: Click on the add-on you want to install and select “Install” or “Get”.
Step 7: Wait for the add-on to install. You will receive a notification once the installation is complete.
Step 8: Return to the home screen and start playing a video.
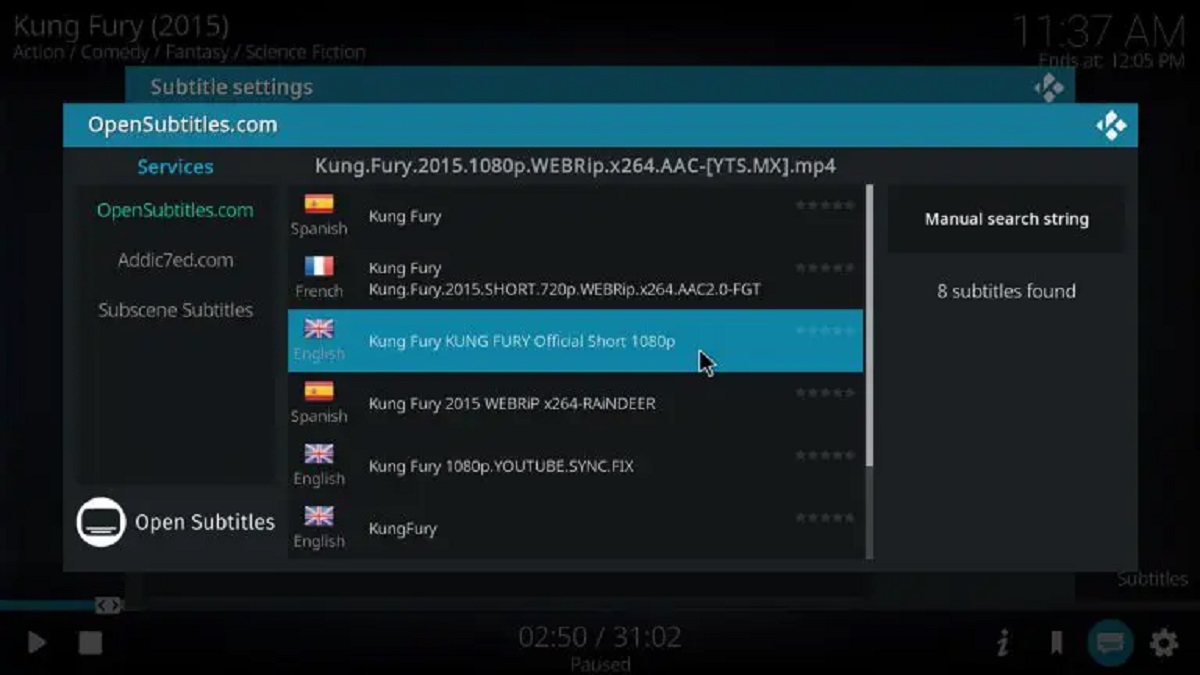
Step 9: When the video is playing, access the subtitle add-on by right-clicking or pressing the “C” key on your keyboard and selecting the add-on from the context menu.
Step 10: From the add-on menu, you can search for and download subtitles. Depending on the add-on, you may have options to customize subtitle language, style, and more.
Step 11: The downloaded subtitles will automatically sync with the video you are watching.
Utilizing a third-party subtitle add-on allows you to access a wider range of subtitles, customize their appearance, and search for subtitles directly within Kodi for a more tailored subtitle experience.
Note: It’s important to choose reputable and trusted subtitle add-ons to ensure the safety and quality of the subtitles you download.
By utilizing a third-party subtitle add-on, you can enhance your subtitle experience in Kodi and enjoy a wider range of subtitle options and features.
Conclusion
Removing subtitles from Kodi can improve your viewing experience by reducing distractions and allowing you to fully immerse yourself in the content. Whether you want to disable subtitles within the Kodi settings, remove them on a per-video basis, use a subtitle toggle shortcut, or utilize third-party subtitle add-ons, Kodi offers various methods to suit your preferences.
By disabling subtitles within the Kodi settings, you can globally turn off subtitles for all videos. This is beneficial if you typically prefer to watch content without subtitles. However, if you prefer to have more control over subtitles, you can remove them via the video player settings for specific videos or use a subtitle toggle shortcut to quickly toggle subtitles on and off while watching.
Additionally, utilizing third-party subtitle add-ons provides access to a variety of subtitles, customization options, and the ability to search and download subtitles directly within Kodi. This allows you to enhance your subtitle experience and find the most suitable subtitles for the content you’re watching.
Remember, the availability and functionality of these methods may vary depending on the version of Kodi you are using. It’s always recommended to stay up to date with the latest Kodi version and ensure the compatibility of third-party add-ons.
Choose the method that best fits your needs and preferences, and enjoy a customized viewing experience without subtitles in Kodi.