Introduction
Have you ever wondered how to browse the internet privately on your school Chromebook? Many students and teachers may be familiar with the Incognito mode, but not everyone knows how to enable it on a school-issued device. In this article, we will explore the world of Incognito mode on a school Chromebook and guide you on how to use this feature effectively.
Incognito mode, also known as private browsing, is a feature offered by most modern web browsers that allows you to browse the internet without leaving a trail of your browsing history, cookies, or search history. When you use Incognito mode, your online activity is not recorded, and your browser does not save any information or data about the websites you visit. It is a great way to maintain privacy and keep your browsing habits confidential.
Using Incognito mode on your school Chromebook can offer several benefits. Firstly, it allows you to conduct research or browse websites without worrying about leaving behind a digital footprint. This can be particularly useful when you are working on a group project or researching sensitive topics.
Secondly, Incognito mode can help to prevent websites from tracking your online activity and collecting data about your preferences or interests. This can be beneficial in preserving your online privacy and reducing the number of targeted advertisements you encounter while browsing.
Lastly, using Incognito mode can also be helpful when you are using a shared computer or device. It ensures that your personal information, such as login credentials or search history, is not accessible to others who may use the same device.
Now that you understand the benefits of using Incognito mode on a school Chromebook, let’s dive into the step-by-step process of enabling it. With a few simple clicks, you’ll be able to browse the internet privately and securely on your school-issued Chromebook.
What is Incognito mode?
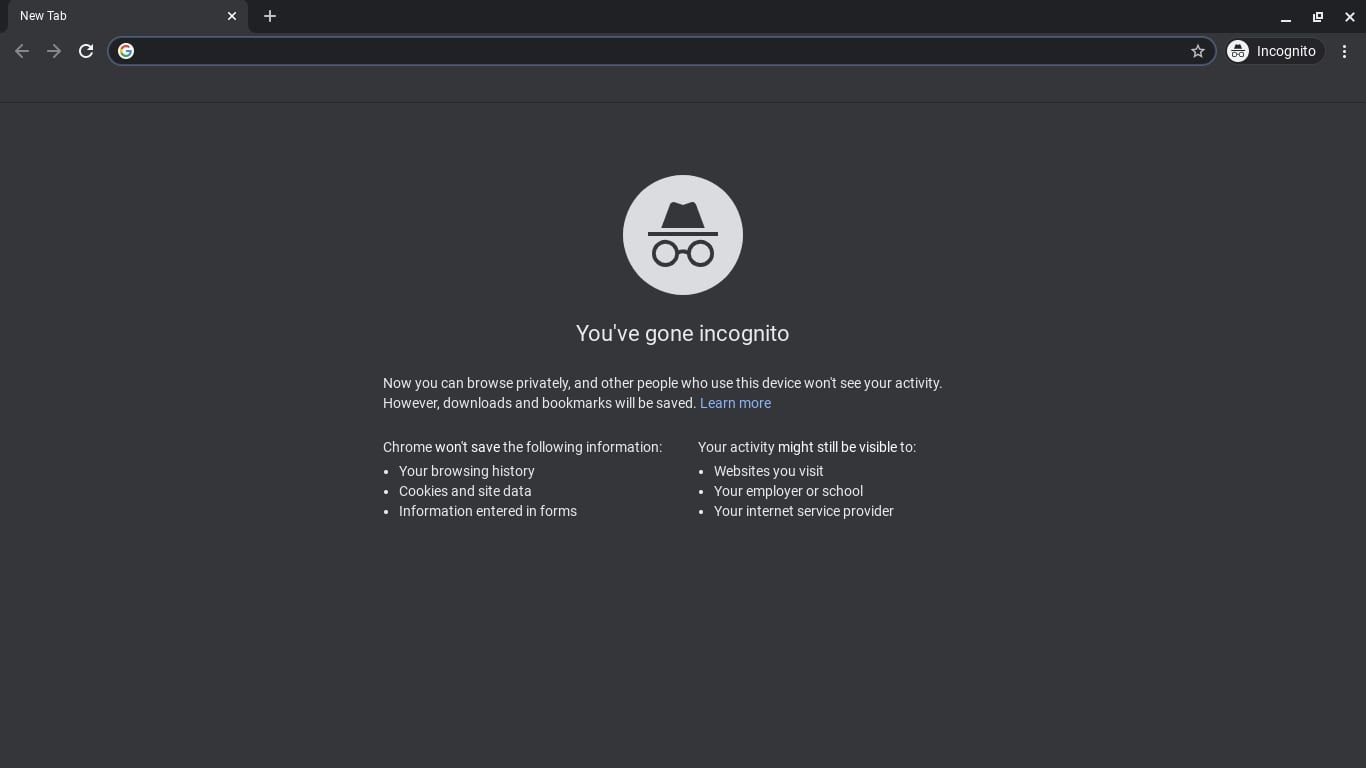
Incognito mode, also known as private browsing or privacy mode, is a feature offered by most modern web browsers, including Google Chrome, that allows users to browse the internet without leaving any traces of their online activity. When you use Incognito mode, the browser does not save your browsing history, cookies, or search history. It creates a temporary session that is isolated from your regular browsing session, providing a layer of privacy and anonymity.
When you open a new tab in Incognito mode, the browser treats it as a separate window from your regular browsing session. Any websites you visit, forms you fill out, or login information you enter during your Incognito session are not saved by the browser. This means that when you close the Incognito window, all traces of your activity in that session are deleted.
It’s important to note that while Incognito mode helps protect your privacy on your local device, it does not make you completely anonymous online. Your internet service provider (ISP) or the websites you visit may still be able to track your online activity. Additionally, Incognito mode does not protect you from malware or phishing attempts. It simply provides a way to browse privately on your own device.
Incognito mode can be useful in a variety of situations. For example, if you are using a shared computer or a public device, Incognito mode can help prevent your personal information, such as login credentials or browsing history, from being accessed by others. It can also be helpful when you are researching sensitive topics or making online purchases, as it reduces the likelihood of targeted ads or recommendations based on your browsing activity.
It’s important to remember that while Incognito mode can provide some level of privacy, it is not a foolproof solution. If you want to ensure complete anonymity and privacy online, you may need to use additional tools, such as virtual private networks (VPNs) or other privacy-focused browsers.
In the next section, we will explore the benefits of using Incognito mode on a school Chromebook and how it can enhance your browsing experience.
Benefits of using Incognito mode on a school Chromebook
Using Incognito mode on your school Chromebook can offer several advantages for students and teachers alike. Let’s explore some of the key benefits:
- Privacy: One of the primary benefits of Incognito mode is the preservation of privacy. When you browse in Incognito mode, your browsing history, cookies, and search history are not saved. This can be incredibly useful when you are conducting research, working on assignments, or browsing personal websites on your school Chromebook. It ensures that your online activity remains confidential and prevents others from easily accessing or tracking your browsing habits.
- Security: Incognito mode provides an added layer of security, especially when you use your school Chromebook on unsecured networks or public Wi-Fi. By not saving your browsing history or login credentials, it reduces the risk of unauthorized access to your personal information. This can be particularly beneficial when you are accessing sensitive websites or entering confidential data.
- Avoiding targeted ads: When you browse using Incognito mode, your browsing activity is not recorded or used to personalize ads. This means that you can avoid being bombarded with targeted advertisements based on your search history. For students, this can be helpful in minimizing distractions and improving focus while working on school-related tasks.
- Multiple account management: Incognito mode allows you to manage multiple accounts more efficiently. It enables you to log in to different accounts simultaneously without having to sign out of one to access another. This can be particularly valuable for students and teachers who have multiple school-related accounts or need to switch between personal and school accounts seamlessly.
- Testing and troubleshooting: Incognito mode can also be beneficial for testing websites or troubleshooting browser issues. By browsing in Incognito mode, you can isolate any browser extensions or cached data that may be causing conflicts or errors. This can help you identify and resolve issues more effectively, without affecting your regular browsing settings and preferences.
Incorporating Incognito mode into your browsing routine on a school Chromebook can enhance your online experience, both in terms of privacy and security. It allows you to browse freely, without worrying about leaving a digital trail or compromising your personal information. Additionally, it provides a convenient way to manage multiple accounts and troubleshoot browser-related problems.
Now that you understand the benefits of using Incognito mode on a school Chromebook, let’s move on to the step-by-step process of enabling it.
How to enable Incognito mode on a school Chromebook
Enabling Incognito mode on your school Chromebook is a straightforward process. Follow the step-by-step instructions below to start browsing privately on your device:
Step 1: Accessing your Chromebook settings
Start by clicking on the time in the bottom-right corner of your Chromebook’s screen. This will open the system menu, where you can access various settings and options.
Step 2: Locating the “People” section
In the system menu, you will see a section labeled “People.” Click on this section to expand it and view the available options.
Step 3: Creating a new person
Within the “People” section, you will find an option to “Add person.” Click on this option to create a new user profile on your Chromebook.
You will be prompted to enter a name and choose an avatar for the new profile. This is where you can customize and differentiate it from your regular profile.
Step 4: Enabling or disabling browsing history
Once you have created the new person profile, you will be taken to a separate Chrome window associated with that profile. In this window, you can enable or disable browsing history tracking for that profile.
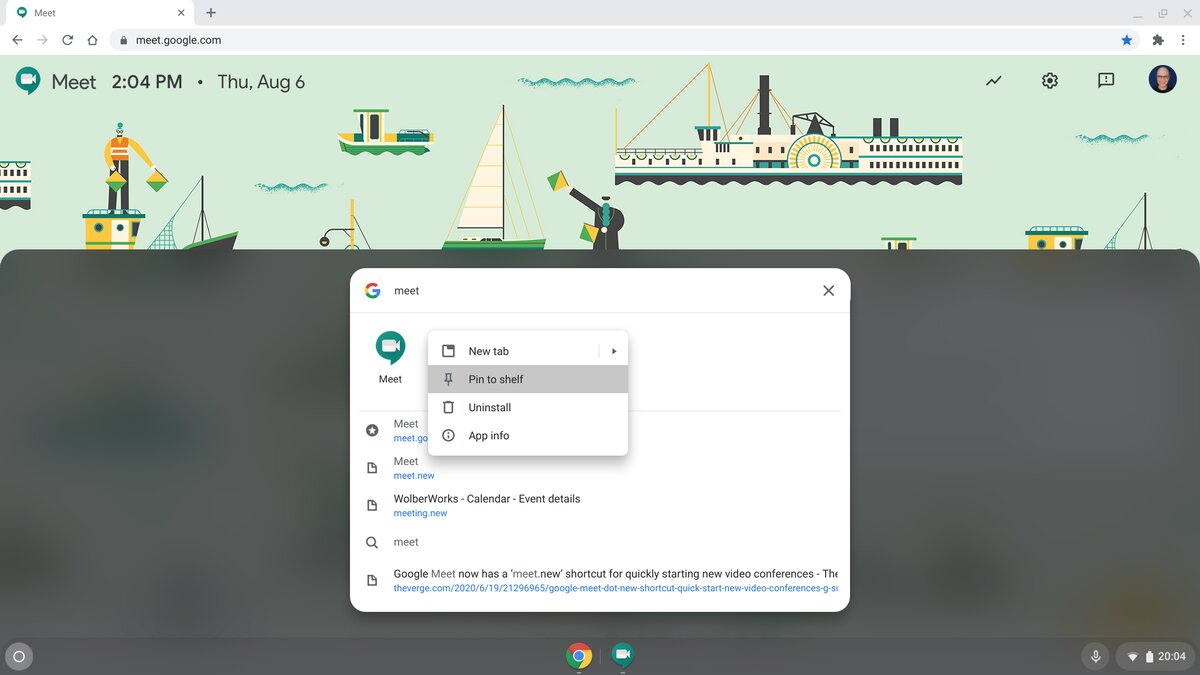
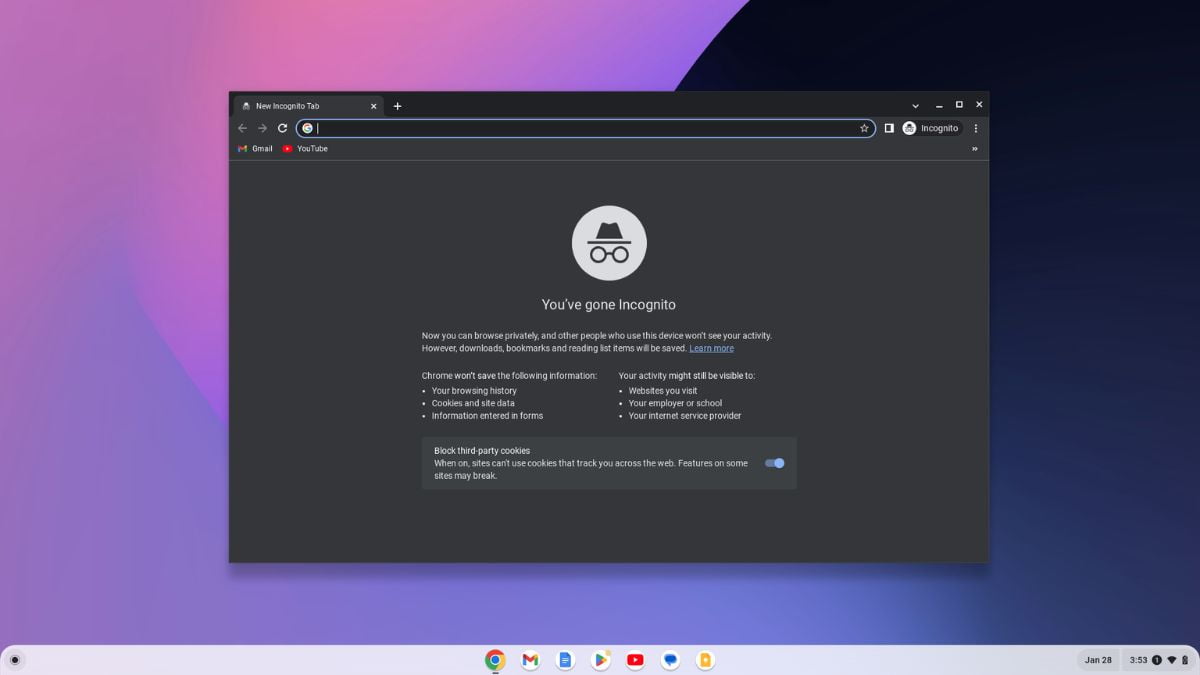
To enable Incognito mode, click on the profile icon in the top-right corner of the Chrome window and select “Open Guest window” or “Open Incognito window” from the drop-down menu. This will open a new window where you can browse privately.
To disable Incognito mode, simply close the Incognito window or click on the profile icon again and select “Exit Guest” or “Exit Incognito” from the drop-down menu.
Step 5: Using the Incognito mode on your school Chromebook
Now that you have enabled Incognito mode on your school Chromebook, you can start using it for private browsing. Any websites you visit, searches you perform, or files you download in the Incognito window will not be saved to your browsing history or associated with your regular profile.
Remember that while Incognito mode helps protect your privacy on your device, it does not make you completely anonymous online. Your internet service provider (ISP) and the websites you visit may still have access to certain information. It’s always essential to practice safe browsing habits and ensure that you are mindful of the websites you visit and the information you share online.
In the next section, we will conclude with a summary of the benefits of using Incognito mode on a school Chromebook and how it can enhance your browsing experience.
Step 1: Accessing your Chromebook settings
To enable Incognito mode on your school Chromebook, the first step is to access your Chromebook settings. Follow the instructions below to get started:
- Start by locating the clock in the bottom-right corner of your Chromebook’s screen. Click on the time to open the system menu. This menu displays various options and settings for your Chromebook.
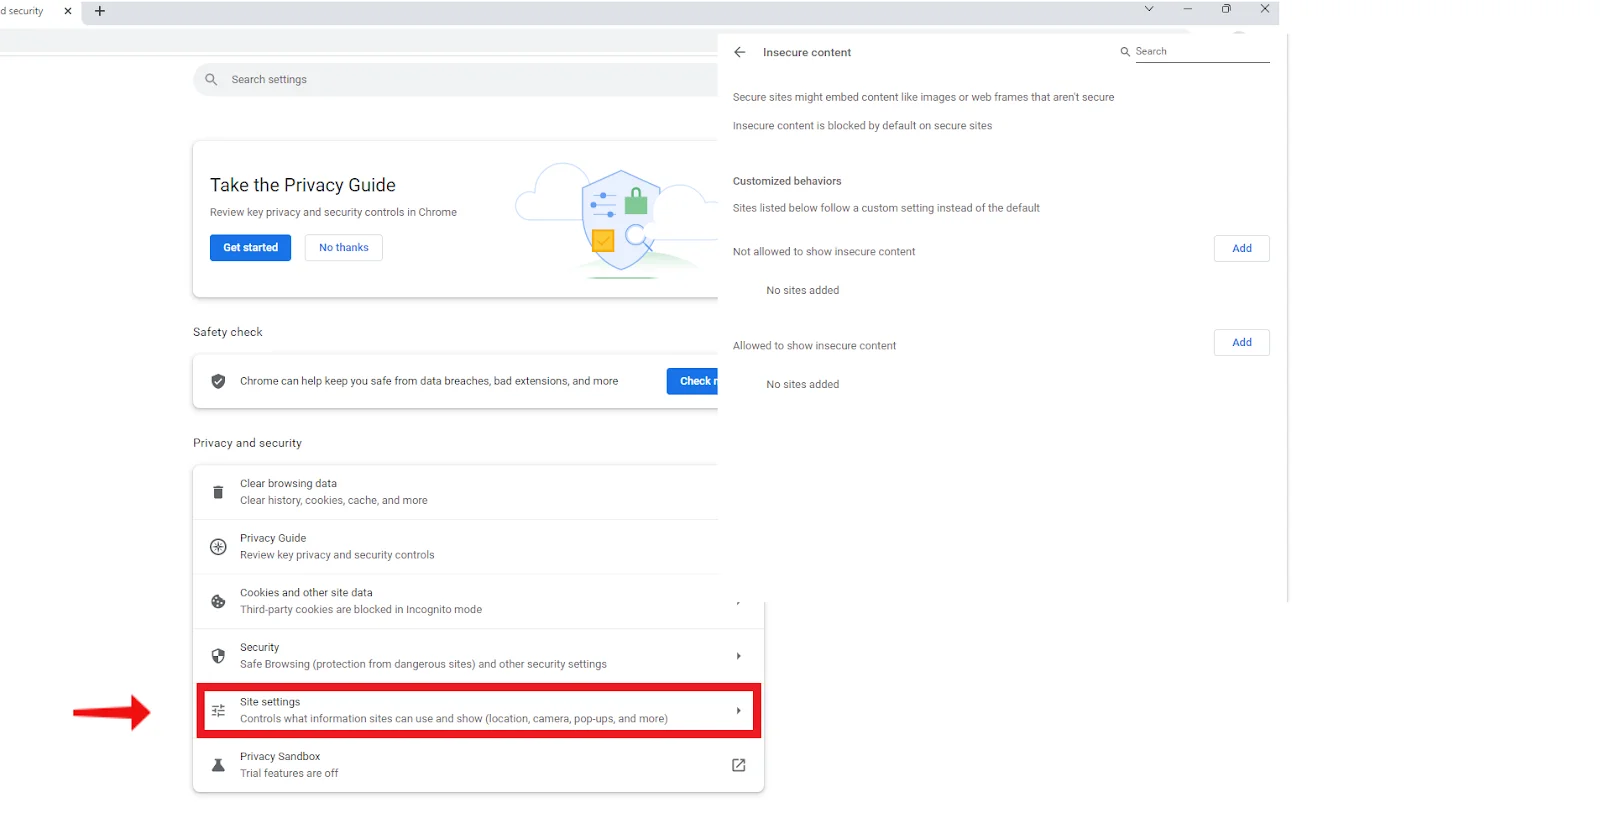
- Once the system menu is open, you will see several icons and options. Look for the gear-shaped icon labeled “Settings” and click on it. This will take you to the Chromebook settings page.
- On the settings page, you will find a list of different categories and options on the left-hand side. These categories include “People,” “Appearance,” “Privacy and security,” and more. For enabling Incognito mode, we will focus on the “People” section.
- To access the “People” section, just click on it. This will expand the section, revealing additional options related to user profiles and browsing settings.
By following these steps, you should now be able to access the necessary settings to enable Incognito mode on your school Chromebook. The “People” section is essential for managing user profiles and browsing preferences, allowing you to personalize your browsing experience on the device.
In the next section, we will move on to Step 2, where we will discuss how to locate the “People” section within the Chromebook settings.
Step 2: Locating the “People” section
After accessing the Chromebook settings, the next step is to locate the “People” section. Follow the instructions below to find this section and continue the process of enabling Incognito mode on your school Chromebook.
- Once you are on the Chromebook settings page, look for the list of categories and options on the left-hand side. Scroll down until you find the “People” section.
- Click on the “People” section to expand it. This section contains options related to user profiles and browsing settings.
Locating the “People” section within the Chromebook settings is an important step in enabling and managing different user profiles on your device. It allows you to create and customize profiles, including the profile associated with Incognito mode.
In the next section, we will continue with Step 3, where we will discuss how to create a new person profile on your school Chromebook.
Step 3: Creating a new person
Once you have located the “People” section within the Chromebook settings, the next step is to create a new person profile. This new profile will be associated with the Incognito mode on your school Chromebook. Follow the instructions below to proceed:
- Within the “People” section, you will find an option to “Add person.” Click on this option to begin creating a new user profile.
- You will be prompted to enter a name for the new profile. This can be any name you choose, such as “Incognito” or “Private Browsing.”
- Additionally, you can choose an avatar for the new profile. This is the image that will represent the profile in the Chrome browser.
- Once you have entered a name and selected an avatar, click on the “Add” button to create the new person profile.
By creating a new person profile, you are essentially creating a separate browsing session associated with that profile. This allows you to enable Incognito mode and browse privately within that session on your school Chromebook.
In the next section, we will move on to Step 4, where we will discuss how to enable or disable browsing history tracking for the new person profile on your school Chromebook.
Step 4: Enabling or disabling browsing history
Once you have created a new person profile on your school Chromebook, the next step is to enable or disable browsing history tracking for that profile. This step is essential for enabling Incognito mode and maintaining your privacy while browsing. Follow the instructions below to proceed:
- With the new person profile created, you will be taken to a separate Chrome window associated with that profile. This window is where you can customize the browsing settings for the new profile.
- In the top-right corner of the Chrome window, you will see a profile icon. Click on this icon to reveal a drop-down menu.
- From the drop-down menu, select either “Open Guest window” or “Open Incognito window” to enable Incognito mode for the new person profile. This will open a new window where you can browse privately without leaving a trace of your activity.
- If you want to disable Incognito mode for the new profile, simply close the Incognito window or click on the profile icon again and select “Exit Guest” or “Exit Incognito” from the drop-down menu. This will close the private browsing session and return you to the regular browser window.
Enabling or disabling the browsing history for the new person profile gives you control over when and how you want to browse privately on your school Chromebook. It allows you to use Incognito mode whenever you need to maintain your privacy and conveniently switch back to the regular browsing session when necessary.
In the next section, we will move on to Step 5, where we will explore how to use the Incognito mode on your school Chromebook for private browsing.
Step 5: Using the Incognito mode on your school Chromebook
Now that you have enabled Incognito mode on your school Chromebook, it’s time to start using it for private browsing. Follow the instructions below to use Incognito mode effectively:
- With the new person profile and Incognito mode enabled, you can start browsing privately. Any websites you visit, searches you perform, or files you download in the Incognito window will not be saved to your browsing history or associated with your regular profile.
- To access the Incognito window, click on the profile icon in the top-right corner of the Chrome window. From the drop-down menu, select either “Open Guest window” or “Open Incognito window.”
- A new Incognito window will open, indicating that you are now browsing privately. You can enter web addresses, search queries, and navigate websites just like you would in a regular browsing session.
- Keep in mind that while you are in the Incognito mode, certain features may be disabled. For example, extensions or settings associated with your regular profile may not be available in the Incognito window.
- Once you are done with your private browsing session, you can simply close the Incognito window. This will end the session and clear any browsing data associated with it.
Using the Incognito mode on your school Chromebook allows you to browse the internet privately, without leaving any trace of your online activity. It provides enhanced privacy and security, making it an ideal option for conducting research, accessing sensitive websites, or working on personal tasks.
Remember that while Incognito mode helps protect your privacy on your Chromebook, it does not make you completely anonymous online. Other factors, such as your internet service provider (ISP) or the websites you visit, may still have access to certain information. It’s important to practice safe browsing habits and ensure that you are mindful of the websites you visit and the information you share online.
As you become familiar with using Incognito mode, you can enjoy a more private and secure browsing experience on your school Chromebook.
Conclusion
Enabling and using Incognito mode on your school Chromebook can empower you to browse the internet privately and securely. By following the steps outlined in this guide, you can take advantage of the benefits that Incognito mode offers, such as enhanced privacy, improved security, and the ability to manage multiple user profiles efficiently.
Incognito mode allows you to browse the web without leaving a trail of your browsing history, cookies, or search history. This is particularly useful in a school setting, where privacy and confidentiality are important. Whether you’re conducting research, working on assignments, or simply browsing personal websites, Incognito mode ensures that your online activity remains confidential.
In addition to privacy, Incognito mode can help protect you from targeted ads and prevent websites from tracking your online activity. It also offers a convenient way to manage multiple user profiles, enabling you to switch between personal and school accounts seamlessly.
It’s important to note that while Incognito mode provides an extra layer of privacy on your school Chromebook, it does not make you completely anonymous online. Your internet service provider (ISP) and the websites you visit may still have access to certain information. Therefore, practicing safe browsing habits and being mindful of the websites you visit and the information you share remain crucial.
Now that you have learned how to enable and use Incognito mode on your school Chromebook, take advantage of this feature to protect your privacy, enhance your security, and manage your online presence effectively. Enjoy the benefits of private browsing while maintaining a seamless and efficient browsing experience.