Introduction
Welcome to the world of Afterpay, where you can shop now and pay later! If you’re looking to enjoy the convenience of online shopping without the need for a physical credit card, you’re in luck. Afterpay offers a virtual card option that allows you to make purchases and split the payments into four interest-free installments.
With Afterpay, you can shop at various online retailers and enjoy the flexibility of spreading out your payments. Whether you’re shopping for clothing, accessories, electronics, or home decor, Afterpay has partnered with a wide range of popular merchants, making it easier than ever to get what you want, when you want it.
In this guide, we’ll walk you through the process of getting a virtual card on Afterpay, so you can start shopping and enjoying the benefits right away. It’s a simple and straightforward process that only takes a few minutes to complete.
Are you ready? Let’s get started!
Step 1: Download the Afterpay app
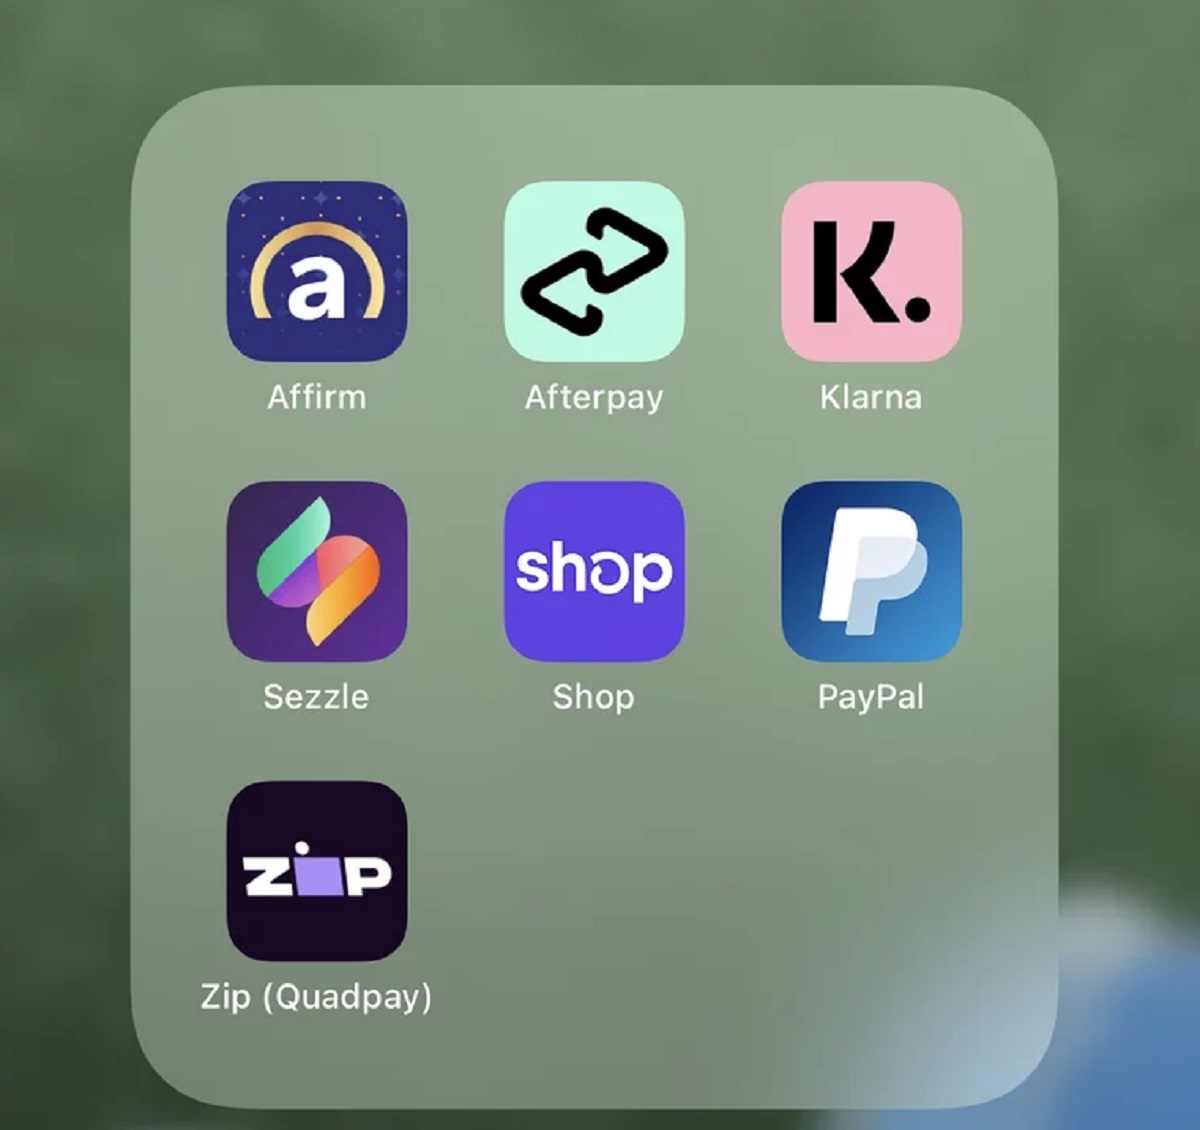
The first step in getting a virtual card on Afterpay is to download the Afterpay app on your mobile device. The app is available for both iOS and Android platforms, so you can easily find and download it from the respective app stores.
To download the app, simply open the app store on your device and search for “Afterpay.” Once you find the app, tap on the “Install” or “Get” button to start the download process. The app will then be installed on your device, and you can proceed to the next step.
Downloading the Afterpay app is essential as it is the primary platform through which you can access and manage your virtual card. It provides a user-friendly interface and allows you to easily browse through available merchants, view your payment schedule, and keep track of your purchases.
After downloading the app, make sure to open it and sign up for an Afterpay account if you haven’t already. If you already have an account, simply log in using your credentials. Creating an account is quick and requires providing basic information such as your name, email address, and a password to secure your account.
Once you’ve set up your account or logged in, you’re ready to move on to the next step: setting up an Afterpay account.
Step 2: Set up an Afterpay account
Now that you have the Afterpay app installed on your device, it’s time to set up your Afterpay account. Setting up an account is necessary to access the virtual card feature and enjoy the benefits of shopping with Afterpay.
To set up your Afterpay account, follow these simple steps:
- Open the Afterpay app on your mobile device.
- Click on the “Sign Up” button if you’re a new user, or log in using your credentials if you already have an account.
- Provide the required information, including your full name, email address, and mobile number.
- Create a strong and secure password for your Afterpay account.
- Review and accept the terms and conditions.
- Click on the “Sign Up” or “Create Account” button to complete the registration process.
Once you’ve successfully set up your Afterpay account, you’ll have access to the virtual card functionality. This means you can start shopping with Afterpay right away and take advantage of the flexible payment options.
It’s important to note that when setting up your Afterpay account, you should use accurate and up-to-date information to ensure a smooth verification process later on. This will help avoid any issues or delays when applying for and using your virtual card.
With your Afterpay account ready, let’s move on to the next step: verifying your identity.
Step 3: Verify your identity
After setting up your Afterpay account, it’s time to verify your identity. This step is necessary to ensure the security and compliance of the Afterpay platform and to protect both you and the merchants you’ll be shopping with.
To verify your identity on Afterpay, follow these steps:
- Open the Afterpay app on your mobile device.
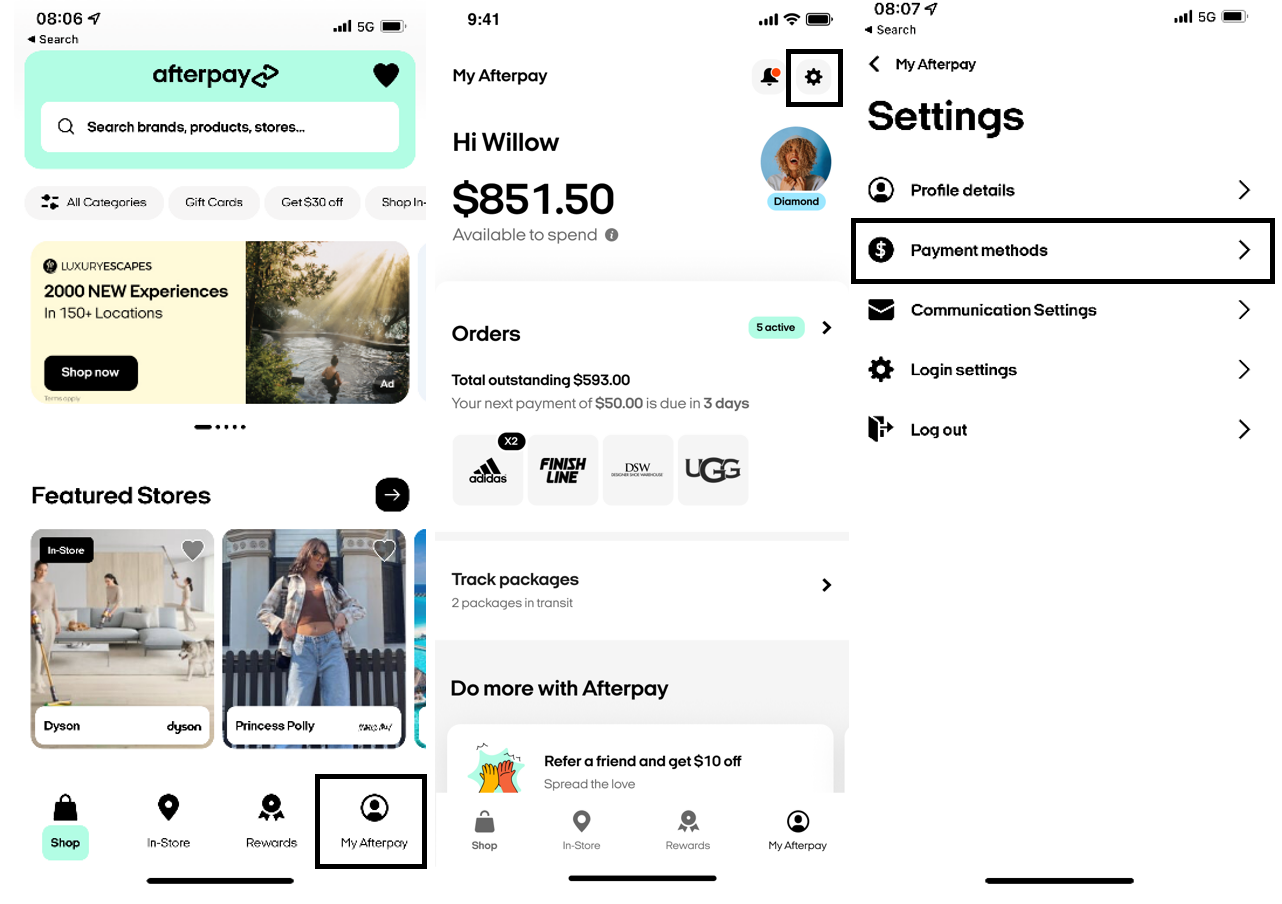
- Navigate to your account settings or profile section.
- Look for the option to verify your identity and click on it.
- Follow the on-screen prompts to provide the necessary information.
- Typically, you’ll be required to provide your full name, date of birth, and address.
- You may also need to provide additional documents or identification proofs, such as a photo of your ID or a utility bill.
- Once you’ve provided the required information and documents, submit your verification request.
After submitting your verification request, Afterpay will review the information and documents you provided. This process usually takes a few minutes or up to a couple of hours, depending on the volume of requests. Once your identity is verified, you’ll receive a confirmation and can proceed to the next step.
It’s important to note that the verification process is a standard security measure adopted by Afterpay to ensure a safe and trustworthy shopping experience for all users. By verifying your identity, you’re not only protecting yourself but also contributing to the overall security of the Afterpay platform.
With your identity verified, you’re now ready to move on to the next step: applying for a virtual card.
Step 4: Apply for a virtual card
Now that your identity is verified, you can proceed to apply for a virtual card on Afterpay. The virtual card allows you to make purchases and split the payments into manageable installments, making your shopping experience even more convenient.
To apply for a virtual card, follow these steps:
- Open the Afterpay app on your mobile device.
- Navigate to the virtual card section or look for the option to apply for a card.
- Click on the “Apply Now” or similar button to initiate the application process.
- Provide the necessary information, including your card details (such as card type, card number, expiration date, and CVV).
- If you don’t have existing card details, you may have the option to create a virtual card directly within the app.
- Review the terms and conditions related to the virtual card and accept them.
- Submit your virtual card application.
Once you’ve submitted your virtual card application, Afterpay will review your request. The review process is usually quick, and if approved, you’ll receive a confirmation of your virtual card activation.
It’s important to note that the virtual card works as a digital representation of your Afterpay account. It allows you to shop at authorized Afterpay merchants and pay for your purchases in installments over time. The virtual card details, including the card number and CVV, will be stored securely within the Afterpay app for easy access and use.
With your virtual card approved and activated, you’re just a few steps away from completing the process. The next step involves completing the verification process, so let’s move on.
Step 5: Complete the verification process
After successfully applying for a virtual card on Afterpay, the next step is to complete the verification process. This step is crucial to ensure the security and integrity of your virtual card and to comply with regulatory requirements.
To complete the verification process on Afterpay, follow these steps:
- Open the Afterpay app on your mobile device.
- Navigate to the verification section or look for the option to complete the verification process.
- Follow the on-screen prompts to provide any additional information or documents required for verification.
- Typically, you may be asked to provide proof of income or link your Afterpay account to your bank account.
- Review the information you provided for accuracy and completeness.
- Submit your verification request.
Once you’ve submitted your verification request, Afterpay will review the information and documents provided. The review process may take a short while, and you may receive periodic updates on the status of your verification process.
It’s important to ensure that you provide accurate and up-to-date information during the verification process. This will help avoid any unnecessary delays or issues in using your virtual card on Afterpay.
After your verification is successfully completed and approved, you’ll receive a confirmation notification. This means that you’re all set to start using your virtual card and enjoy the flexibility of making purchases and splitting the payments with Afterpay.
With the verification process complete, you’re almost ready to start using your virtual card. Let’s move on to the final step: start using your virtual card on Afterpay.
Step 6: Start using your virtual card on Afterpay
Congratulations! You’ve successfully completed the verification process, and now it’s time to start using your virtual card on Afterpay. With your virtual card, you can shop at various online retailers and enjoy the convenience of splitting your payments into manageable installments.
Here’s how you can start using your virtual card on Afterpay:
- Open the Afterpay app on your mobile device.
- Browse through the list of partnered merchants or search for a specific store where you want to make a purchase.
- Select the items you wish to purchase and add them to your cart.
- At the checkout page, choose Afterpay as your payment option.
- If prompted, enter your virtual card details, including the card number and CVV.
- Review your order details and place the order.
- Keep track of your payment schedule, as Afterpay will automatically split the total amount into four equal installments.
- Ensure that you have sufficient funds in your account to cover the payments on the scheduled due dates.
- Enjoy your purchase now and pay later!
Once your order is placed, Afterpay will process the payment and notify you of the scheduled due dates for your installments. It’s important to make timely payments to avoid any late fees or penalties.
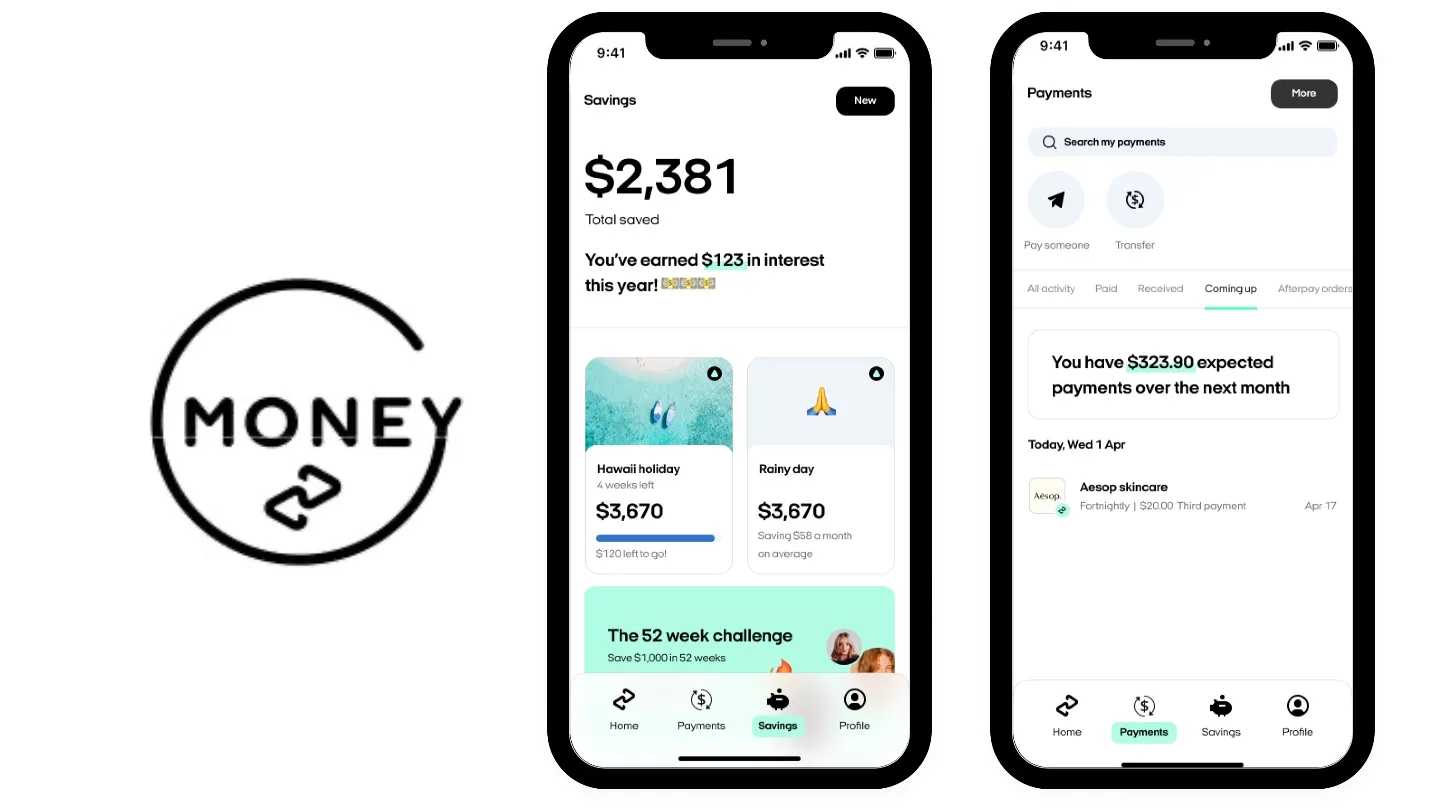
The Afterpay app provides a convenient dashboard where you can view and manage your virtual card purchases, payment schedule, and remaining balance. You can also set up notifications to remind you of upcoming due dates to stay on track with your payments.
Remember, using Afterpay responsibly and making your payments on time will help you stay in good financial standing and build positive credit history.
So, go ahead and start exploring the wide range of products and enjoy the flexibility of shopping with your virtual card on Afterpay!
Conclusion
Congratulations on successfully obtaining a virtual card on Afterpay! Now, you have the flexibility to shop online and pay for your purchases in manageable installments. The Afterpay app is your gateway to a wide range of merchants and products, making your shopping experience convenient and affordable.
In this guide, we walked you through the step-by-step process of getting a virtual card on Afterpay. From downloading the app to completing the verification process, each step was designed to ensure the security and compliance of the platform.
Remember, it’s important to use Afterpay responsibly and make your payments on time. This will help you maintain a good financial standing and avoid any late fees or penalties. Take advantage of the features provided by the Afterpay app, such as notifications and payment reminders, to stay on top of your payment schedule.
With your virtual card, you can shop for clothing, accessories, electronics, and much more. The convenience of splitting your payments into four interest-free installments gives you the freedom to enjoy the products you love without the need for a traditional credit card.
So, what are you waiting for? Start exploring the various merchants on Afterpay and make your purchases today. Experience the joy of shopping now and paying later with Afterpay’s virtual card!


