Introduction
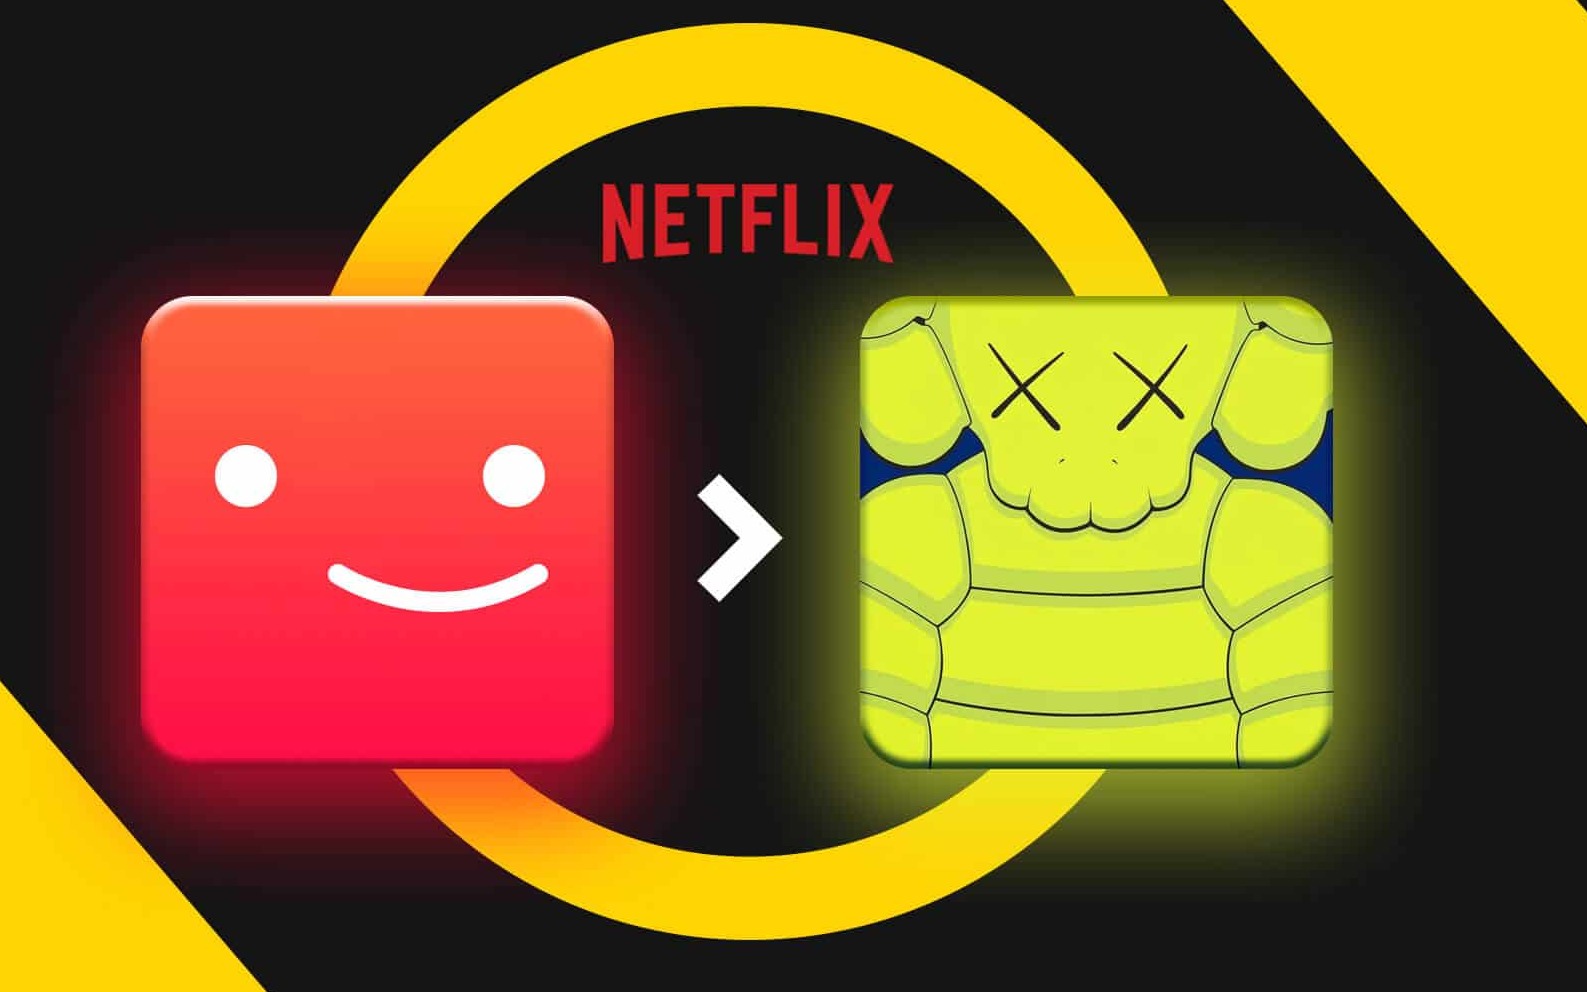
Welcome to the world of personalized streaming! Netflix, one of the leading streaming platforms, offers you the opportunity to express yourself even further by adding a custom profile picture. Gone are the days of generic avatars – now you can showcase your individuality and stand out from the crowd.
Your profile picture is the visual representation of your online presence, and having a custom one on Netflix can make your streaming experience even more enjoyable. Whether you want to use a picture of your favorite character, a photo of yourself, or a unique design, this article will guide you through the process of getting a custom Netflix profile picture.
While Netflix doesn’t have an in-built feature to directly upload custom profile pictures, there are simple workarounds that you can follow to achieve the desired result. In the following steps, we will explore how to choose a perfect profile picture, resize it to meet Netflix’s specifications, upload it to your Netflix account, and finally adjust it to fit perfectly within the profile picture frame. Let’s dive in!
Step 1: Choosing the Perfect Profile Picture
The first step in getting a custom Netflix profile picture is selecting an image that represents your personality or interests. It’s an opportunity to express yourself and make your profile stand out from the rest. Here are some tips to help you choose the perfect profile picture:
- Reflect your interests: Think about your favorite movies, TV shows, or characters. Choosing an image that aligns with your interests can be a great way to personalize your profile.
- Showcase your personality: Consider selecting a picture that reflects your personality traits. Whether you’re funny, adventurous, or a mystery enthusiast, let your profile picture reflect who you are.
- Use a clear and high-resolution image: Make sure your chosen picture is clear and of high quality. Avoid pixelated or blurry images, as they may not look good when resized for the profile picture frame.
- Think about the aspect ratio: Keep in mind that the Netflix profile picture frame is a square shape. To ensure your picture looks great, choose an image that can be cropped or resized to a square format without losing important details.
- Consider your audience: If you’re sharing your Netflix account with friends or family members, consider selecting a picture that is suitable for everyone. Avoid offensive or controversial images that could offend others.
Remember, your profile picture is a reflection of your online presence on Netflix. Take your time to browse through your photo collection or search online for the perfect image that captures your interests and represents you in the best possible light.
Step 2: Resizing Your Image
Once you have chosen the perfect profile picture for your Netflix account, the next step is to resize it to meet Netflix’s specifications. Netflix requires profile pictures to be in a square format and with a minimum resolution of 200×200 pixels. Here’s how you can resize your image:
- Use an image editing software: There are various image editing tools available, both online and offline, that allow you to resize images. Popular options include Adobe Photoshop, GIMP (free), and Paint.NET (free).
- Open the image in the software: Once you have selected an image editing software, open your chosen picture in the program by either dragging and dropping the file or using the “Open” option in the software’s menu.
- Adjust the dimensions: Look for the option to adjust the dimensions or resize the image. Set the width and height to the desired size, ensuring that it meets the 200×200 pixel requirement. If the aspect ratio is not square, you may need to crop or resize the image accordingly.
- Save the resized image: Once you are satisfied with the resized image, save it in a format such as JPEG or PNG. It is recommended to save a copy of the original image before resizing, in case you want to use it elsewhere.
Resizing your image ensures that it will fit perfectly within the profile picture frame on Netflix without being distorted or excessively stretched. By following these steps, you can quickly resize your image and move on to the next step of uploading it to your Netflix account.
Step 3: Uploading Your Picture to Netflix
Now that you have your resized custom profile picture ready, it’s time to upload it to your Netflix account. Follow these simple steps to upload your picture:
- Login to your Netflix account: Open your preferred web browser and visit the Netflix website. Sign in to your account using your username and password.
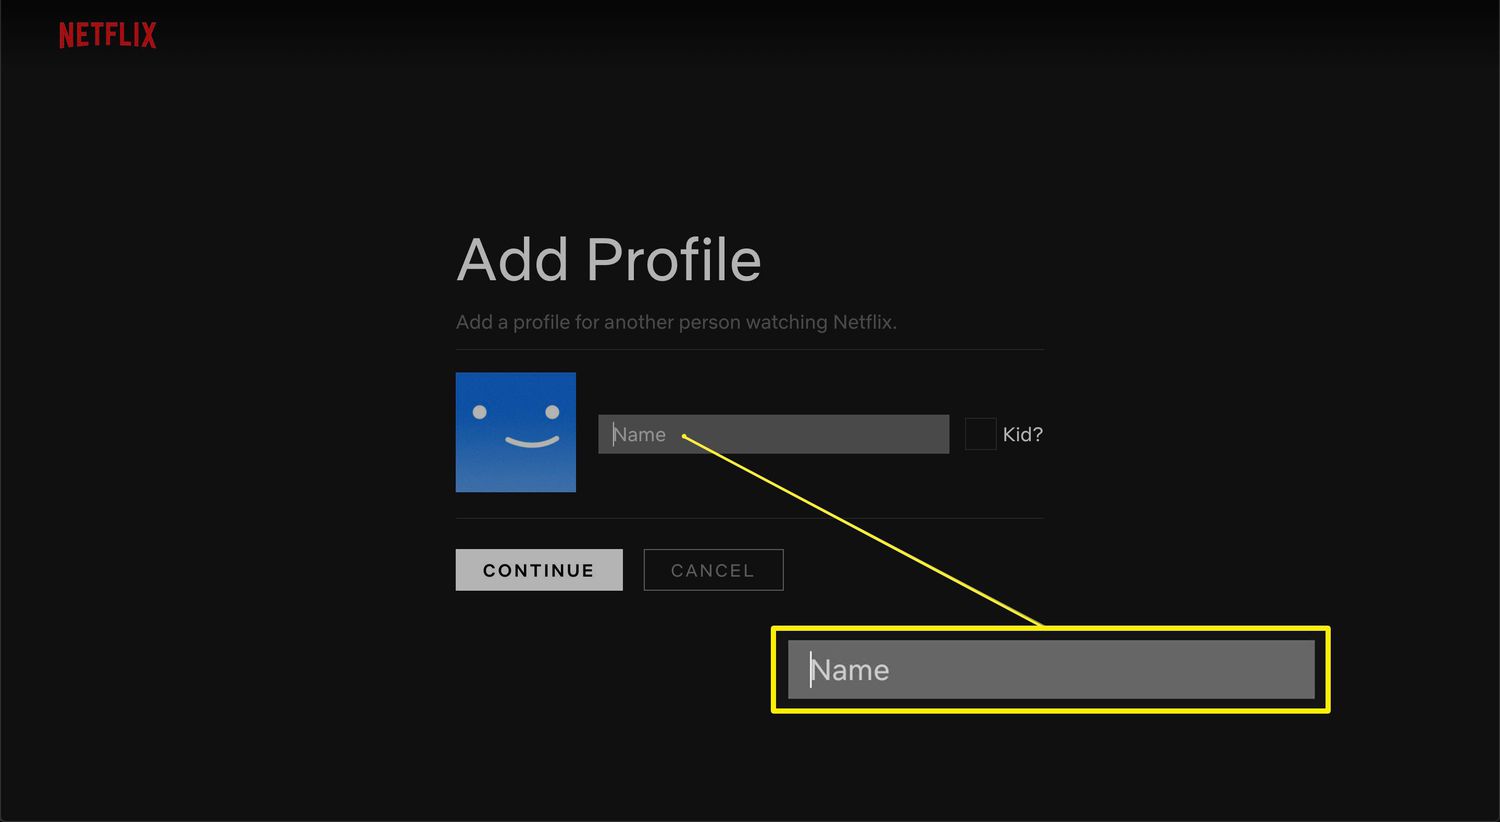
- Access your account settings: Once logged in, hover over your profile icon in the top right corner of the page and click on “Account” from the dropdown menu. This will take you to your account settings page.
- Select “Change” under Profile Picture: On the account settings page, locate the “Profile Picture” section. Click on the “Change” button next to your existing profile picture.
- Upload your custom picture: A file explorer window will pop up, allowing you to browse your computer for the resized image file. Select the file and click “Open” to begin the upload process.
- Review and save: Once the image is uploaded, Netflix will display a preview of your new profile picture. Take a moment to review it and make sure it appears as intended. If you’re happy with the preview, click on the “Save” or “Update” button to save your changes.
That’s it! You have successfully uploaded your custom profile picture to Netflix. Your new picture will now be visible on your profile, enhancing your streaming experience and making your account feel more personalized.
Step 4: Adjusting the Picture to Fit
After uploading your custom profile picture to Netflix, it’s essential to make sure it fits perfectly within the profile picture frame. Follow these steps to adjust the picture and ensure it looks great:
- Go back to your account settings: If you’re not already on the account settings page, navigate back to it by hovering over your profile icon and selecting “Account.”
- Select “Change” under Profile Picture: Once on the account settings page, locate the “Profile Picture” section and click on the “Change” button, just like you did when uploading your picture.
- Adjust the picture position: In the picture preview window, you’ll find options to adjust the position of your profile picture. Zoom in or out, rotate, or reposition the image as needed to ensure it fits within the frame nicely.
- Save your changes: After making the necessary adjustments, click on the “Save” or “Update” button to save your changes. Netflix will now display your customized profile picture with the desired adjustments.
By taking the time to adjust your picture, you can ensure that it appears just the way you want it to on your Netflix profile. Properly fitting within the profile picture frame enhances the overall look of your profile and showcases your custom image in the best possible manner.
Step 5: Enjoying Your Custom Netflix Profile Picture
Congratulations! You have successfully gone through the process of getting a custom profile picture on Netflix. Now it’s time to sit back, relax, and enjoy your personalized streaming experience. Here are a few things you can do to fully embrace and make the most of your custom Netflix profile picture:
- Show off your unique style: Your custom profile picture is a chance to stand out and show your personality. Whether it’s a picture of your favorite character, a stunning landscape, or a creative design, let it reflect who you are and what you enjoy.
- Connect with others: Your custom picture can be an icebreaker and conversation starter. When chatting about shows or movies with friends or fellow Netflix users, your profile picture can spark interesting discussions or even help in finding others with similar interests.
- Switch it up: Don’t be afraid to change your profile picture from time to time. Update it with a new image that represents your current interests or showcases a new favorite movie or TV show. It’s a fun way to keep your profile fresh and engaging.
- Express yourself: Your custom Netflix profile picture is an extension of your online identity. Use it to express yourself, your moods, and your interests. Let it be a visual representation of who you are as a Netflix viewer.
- Respect others: While you enjoy your custom profile picture, remember to respect the preferences and boundaries of others. Avoid using offensive or provocative images that may cause discomfort or ruin the streaming experience for others.
By embracing your custom profile picture and making it an integral part of your Netflix journey, you add a personal touch to your streaming experience. So, sit back, hit play, and enjoy your favorite movies and shows on Netflix with your unique and eye-catching profile picture!
Conclusion
Personalizing your Netflix profile with a custom profile picture is a fantastic way to express your individuality and enhance your streaming experience. By following the steps outlined in this article, you can easily choose the perfect profile picture, resize it to meet Netflix’s specifications, upload it to your account, and adjust it to fit neatly within the profile picture frame.
Your custom profile picture allows you to stand out from the crowd and showcase your interests and personality. It not only adds a personal touch to your Netflix account but also serves as a conversation starter and a way to connect with others who share similar interests.
Remember to choose an image that reflects your passions, use high-quality and properly-sized pictures, and respect the boundaries of others by avoiding offensive or controversial images.
So, go ahead and let your custom profile picture shine on Netflix! Enjoy the visual representation of your unique tastes and preferences as you dive into the vast world of movies and TV shows. Enhance your streaming experience and make your mark with a custom Netflix profile picture.