Introduction
Welcome to this guide on how to freeze the projector screen. Whether you need to store your projector screen for an extended period or want to keep it safe during transportation, properly freezing it is crucial to ensure its longevity and functionality. Freezing the projector screen involves a series of steps, from cleaning and folding it to securing it with plastic wrap and storing it in a temperature-controlled environment. By following these steps, you can protect your investment and ensure that your projector screen is in top condition when you need it.
When it comes to freezing the projector screen, it is essential to understand that the process is not just about preserving its physical structure. It also involves protecting it from dust, moisture, and other environmental factors that can potentially damage the screen’s surface. By taking the necessary precautions and properly storing the screen, you can prevent issues such as mold, scratches, and warping, which can impact the display quality.
This guide will provide you with a step-by-step walkthrough of the process, highlighting the key tasks and precautions to take along the way. Additionally, we will explore the materials needed and provide tips for monitoring the screen during storage. By the end, you will have the knowledge and confidence to freeze your projector screen effectively and ensure its long-term durability.
Gather the Necessary Materials
Before you begin the process of freezing your projector screen, it is essential to gather all the necessary materials. Having everything on hand will make the process smoother and more efficient. Here’s a list of the items you’ll need:
- Clean cloth or microfiber cloth: This will be used to clean the surface of the screen before folding and storing it. Avoid using harsh cleaning agents to prevent any damage to the screen.
- Plastic wrap: This will be used to secure the folded screen and protect it from dust and moisture during storage. Opt for a high-quality plastic wrap that is sturdy and durable.
- Protective case or bag: Look for a case or bag specifically designed for projector screens. It should be spacious enough to accommodate your screen comfortably and provide adequate protection against bumps and impacts.
- Temperature-controlled storage space: Choose a location where you can store the screen at a consistent temperature. Avoid areas that are prone to extreme temperature fluctuations, high humidity, or direct sunlight.
Having these materials ready will ensure that you can proceed smoothly with the process without any interruptions. It’s always better to be prepared beforehand, so take the time to gather all the necessary items.
Now that you have everything you need, it’s time to move on to the next step: cleaning the projector screen.
Step 1: Clean the Projector Screen
Before freezing your projector screen, it is crucial to ensure that it is clean and free from any dust or debris. Cleaning the screen will not only improve its appearance but also prevent any potential damage that dirt particles may cause during the freezing process. Here’s how to clean your projector screen:
- Disconnect the projector: Before cleaning the screen, make sure to disconnect the projector from any power source. This will prevent any accidents or damage that may occur if the projector accidentally turns on during the cleaning process.
- Use a clean cloth or microfiber cloth: Take a clean cloth or microfiber cloth and gently wipe the surface of the screen in a circular motion. Be careful not to apply too much pressure to avoid stretching or damaging the screen. If there are stubborn stains or marks, you can dampen the cloth slightly with water or a mild cleaning solution specifically designed for projector screens.
- Focus on problem areas: Pay extra attention to areas with fingerprints, smudges, or noticeable dirt. Use gentle, sweeping motions to remove any debris or marks. Avoid using abrasive materials or harsh chemicals, as they can damage the screen.
- Allow the screen to dry: Once you have finished cleaning the projector screen, allow it to air dry completely before proceeding with the folding and freezing process. This will prevent moisture from affecting the screen and minimize the risk of mold or mildew growth.
By following these steps, you can ensure that your projector screen is clean and ready for the freezing process. A clean screen will help maintain the optimal display quality and prevent any potential damage or issues that may arise from dirt or debris.
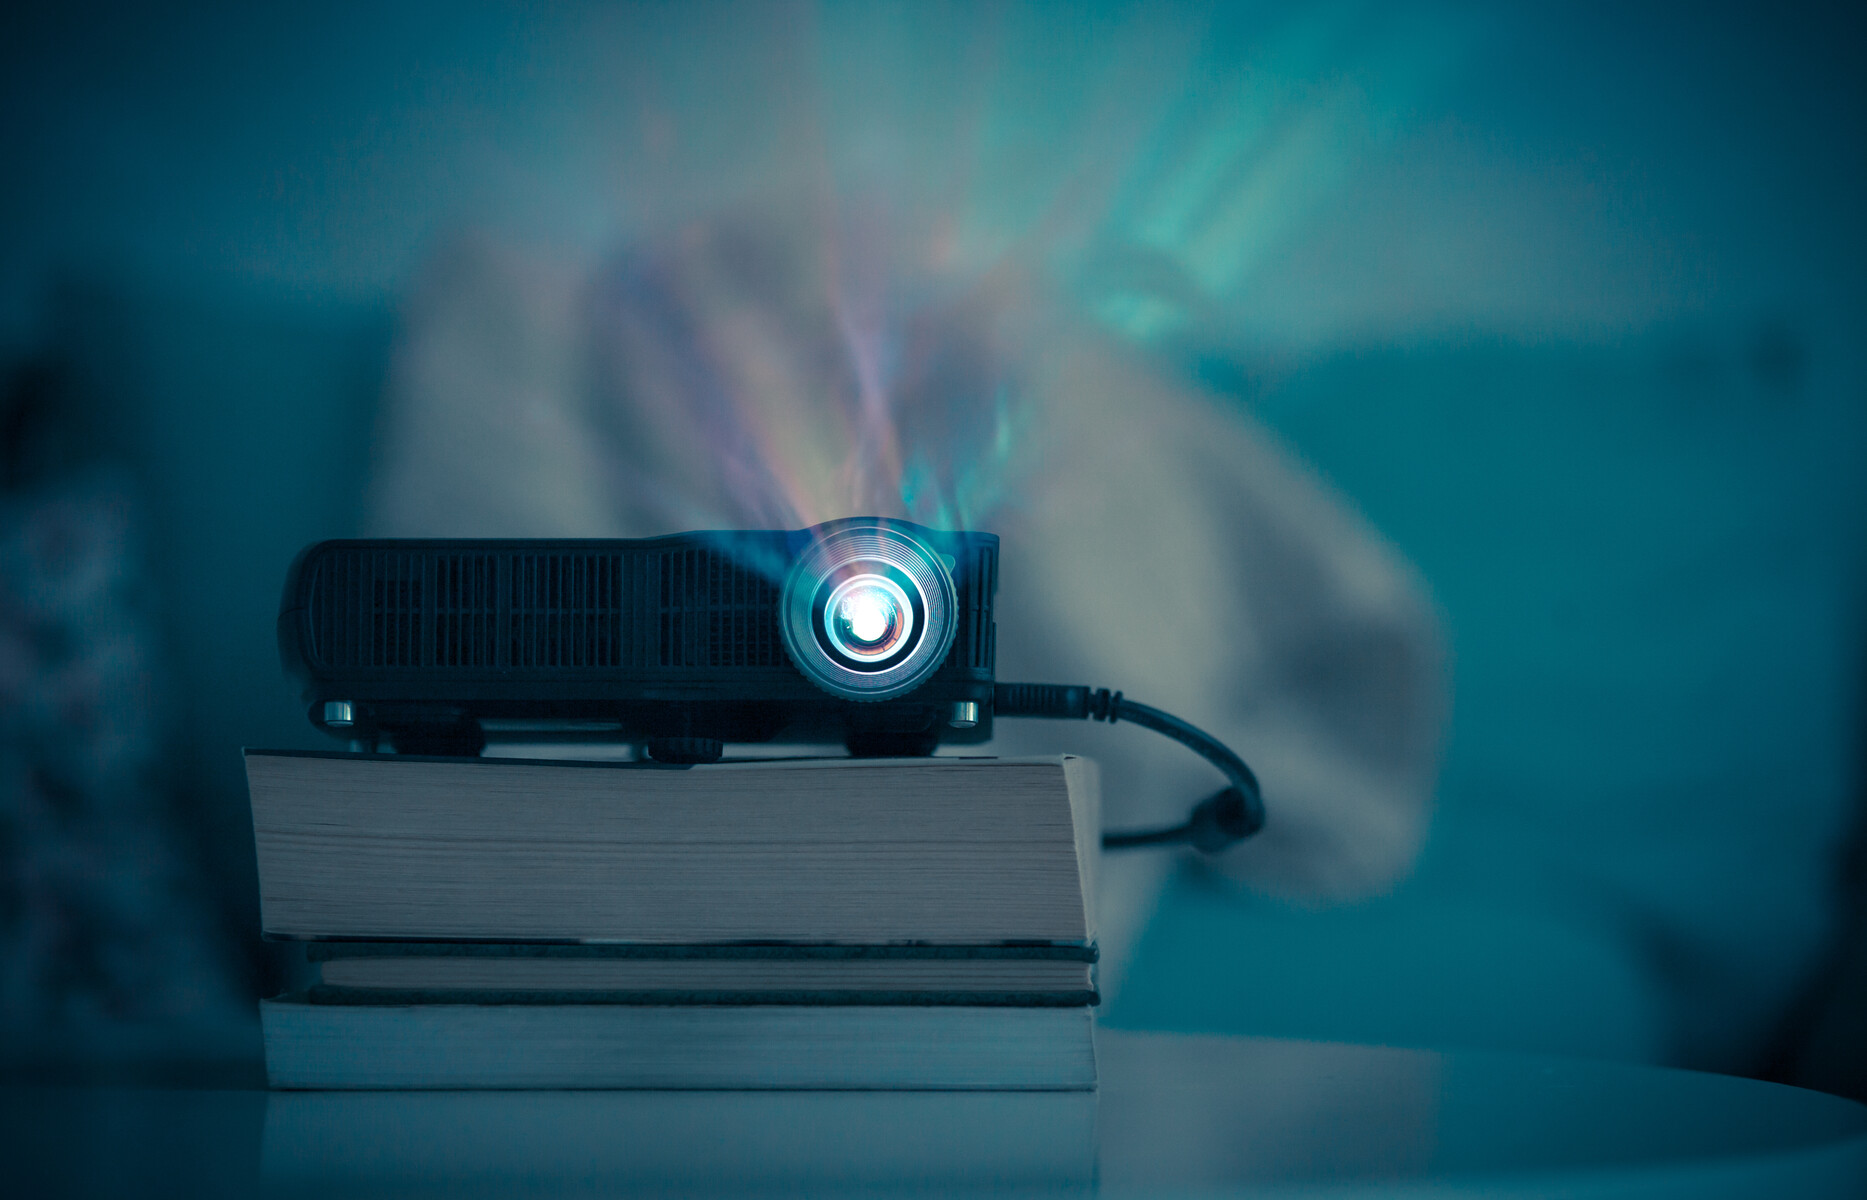
Step 2: Disconnect the Projector
Before proceeding with freezing the projector screen, it is essential to disconnect the projector from any power sources or other devices. This step is crucial to avoid any potential accidents and damages during the process. Here’s how to safely disconnect the projector:
- Power off the projector: Make sure the projector is powered off completely. This may involve pressing the power button or using the remote control to turn it off. Wait for a few moments to ensure the projector has fully shut down.
- Unplug the power cord: Locate the power cord connected to the projector and unplug it from the electrical outlet. This will prevent the projector from accidentally turning on while you are handling the screen.
- Disconnect any additional cables: Depending on your setup, there may be other cables connected to the projector, such as HDMI, VGA, or audio cables. Gently unplug these cables from the projector, taking care not to pull or tug on them too forcefully.
- Secure loose cables: If you plan to store the projector screen with the cables, make sure to secure them properly to avoid entanglement and potential damage. You can use cable ties or rubber bands to keep them neatly organized.
- Store the projector in a safe location: Once the projector is disconnected, store it in a secure place where it won’t be exposed to any potential damage or accidental activation. This can be a dedicated storage case or a shelf in a cool, dry area.
By following these steps, you can ensure that the projector is safely disconnected and ready for the next stages of the freezing process. Disconnecting the projector reduces the risk of any electrical mishaps and allows you to focus on preparing the projector screen for freezing.
Step 3: Fold the Projector Screen
Once you have cleaned the projector screen and disconnected the projector, it’s time to fold the screen for freezing. Properly folding the screen will help save space during storage and prevent any potential damage that could occur if it’s left unfolded. Follow these steps to fold your projector screen:
- Refer to the manufacturer’s instructions: Different projector screens may have specific folding instructions provided by the manufacturer. It’s a good idea to check the user manual or guidelines that came with your screen to ensure you fold it correctly.
- Start from one end: Begin folding the screen from one end, working your way across to the opposite side. Use gentle and even pressure to avoid creasing or damaging the screen.
- Avoid excessive bending: While folding the screen, be mindful of not bending it at sharp angles or putting too much strain on the material. Take your time and fold it neatly to maintain its integrity.
- Smooth out any wrinkles: As you fold, periodically stop to smooth out any wrinkles or creases that may form. Gently run your hand over the surface of the screen to ensure it’s folded evenly and without any obstructions.
- Double-check for proper alignment: Once you have folded the screen, double-check that it is aligned properly and there are no areas sticking out or folding incorrectly. This will help ensure a compact and secure fold.
Remember, the specific folding technique may vary depending on the type of projector screen you have. If you are unsure about the correct folding method, consult the manufacturer’s instructions or reach out to their customer support for guidance.
With the projector screen properly folded, you’re now ready to move on to the next step: securing it with plastic wrap.
Step 4: Secure the Screen with Plastic Wrap
After folding the projector screen, it’s time to secure it with plastic wrap. This step is crucial for protecting the screen from dust, moisture, and potential damage during storage. Here’s how to properly secure the screen with plastic wrap:
- Unroll a length of plastic wrap: Start by unrolling a sufficient length of plastic wrap to cover the entire folded projector screen. Make sure it’s long enough to wrap around the screen multiple times for a secure hold.
- Place the folded screen in the center: Position the folded projector screen in the center of the plastic wrap, making sure it is aligned properly and there is enough excess wrap on all sides to completely cover it.
- Wrap the plastic around the screen: Starting from one side, carefully wrap the plastic around the folded screen, ensuring a snug fit. Continue wrapping until the entire screen is covered, overlapping the layers slightly for added security.
- Secure the ends: Once the screen is completely wrapped in plastic wrap, twist the ends of the wrap to create a tight seal. Alternatively, you can use tape or rubber bands to secure the ends and prevent the wrap from unraveling.
- Smooth out any air bubbles or wrinkles: As you wrap the screen, be mindful of any air bubbles or wrinkles that may form. Smooth them out gently to ensure a neat and even appearance. This will also help prevent potential damage to the screen caused by uneven pressure points.
Securing the screen with plastic wrap provides an additional layer of protection, keeping out dust, moisture, and other environmental elements. It also helps to maintain the folded shape of the screen and prevent it from unfolding during storage or transportation.
Now that the projector screen is securely wrapped, it’s time to move on to the next step: placing it in a protective case or bag.
Step 5: Place the Screen in a Protective Case or Bag
Once you have wrapped the projector screen with plastic wrap, the next step is to place it in a protective case or bag. This will provide an extra layer of security and safeguard the screen from potential damage during storage or transportation. Here’s how to properly place the screen in a protective case or bag:
- Select a suitable protective case or bag: Look for a case or bag specifically designed for projector screens. It should be spacious enough to accommodate the size of your folded screen and have sufficient padding to absorb any impacts or shocks.
- Open the protective case or bag: Unzip or open the protective case or bag, ensuring that the interior is clean and free from any debris or sharp objects that could damage the screen.
- Place the wrapped screen inside: Carefully place the wrapped projector screen inside the protective case or bag, ensuring that it fits comfortably and there is enough space for any additional accessories or cables.
- Secure the case or bag: Close and secure the protective case or bag using the zippers, straps, or other fastening mechanisms provided. Make sure it is properly sealed to prevent any dust or moisture from entering.
- Check for any movement: Gently shake or tilt the protective case or bag to check if the screen moves inside. If there is any movement, add additional padding or cushions to secure the screen in place.
Placing the projector screen in a protective case or bag adds an extra layer of protection against accidental bumps, minor impacts, dust, and other external factors that can potentially damage the screen. It also makes it easier to transport the screen safely when needed.
With the projector screen securely placed in a protective case or bag, it’s time to move on to the next step: storing it in a temperature-controlled environment.
Step 6: Store in a Temperature-Controlled Environment
After securing the projector screen in a protective case or bag, it’s crucial to store it in a temperature-controlled environment. Proper storage conditions will help maintain the screen’s integrity, prevent any potential damage, and ensure its longevity. Follow these steps to store your projector screen in a temperature-controlled environment:
- Choose an appropriate storage location: Select a location that is dry, well-ventilated, and away from extreme temperatures. Avoid areas prone to high humidity, direct sunlight, or drastic temperature fluctuations.
- Ensure consistent temperature: Maintain a consistent temperature within the storage area. Drastic changes in temperature can cause the screen to expand or contract, potentially leading to damage. Aim for a temperature range of 50-80 degrees Fahrenheit (10-27 degrees Celsius).
- Avoid excessive heat or cold: Extreme temperatures can affect the screen’s material and performance. Avoid storing the screen near heat sources like radiators or in freezing cold environments.
- Keep away from moisture: Moisture can lead to mold, mildew, and corrosion. Ensure the storage area is dry and free from any moisture or water leaks that could damage the screen. Consider using moisture-absorbing products like silica gel packs to help control humidity.
- Minimize exposure to light: Prolonged exposure to direct sunlight or bright artificial light can cause the screen’s material to degrade or fade over time. Store the screen in a dark or low-light environment to protect its quality.
By storing the projector screen in a temperature-controlled environment, you’ll create optimal conditions for its long-term preservation. These measures will help prevent any potential damage or deterioration, and ensure that the screen maintains its visual integrity for future use.
With the projector screen securely stored in a temperature-controlled environment, the final step is to regularly check on the screen to ensure its well-being.
Step 7: Check on the Screen Regularly
Even after storing the projector screen in a temperature-controlled environment, it’s important to regularly check on its condition. Regular inspections will allow you to identify and address any potential issues or concerns promptly. Follow these steps to check on your projector screen regularly:
- Establish a schedule: Set a schedule for checking on the projector screen, depending on your specific storage duration and needs. This can be monthly, quarterly, or any interval that you deem appropriate.
- Inspect for any visible damage: Carefully examine the screen for any signs of damage, such as tears, creases, or discoloration. Address any issues immediately to prevent further deterioration.
- Check for moisture or condensation: Look for any signs of moisture or condensation on the screen or inside the protective case or bag. Moisture can lead to mold or corrosion, so ensure everything is dry and free from any water damage.
- Test the screen’s functionality: If possible, test the screen’s functionality by setting it up and projecting an image. Check for any abnormalities or performance issues, such as uneven display or pixelation.
- Reposition and rewrap if necessary: If you notice any shifts or movement in the screen within the protective case or bag, reposition it to ensure proper alignment. Also, consider rewrapping the screen with fresh plastic wrap if the existing wrap is damaged or compromised.
Regularly checking on the screen allows you to catch any potential problems early on, enabling timely repairs or adjustments. It helps to maintain the screen’s overall condition and ensures that it remains ready for use whenever needed.
By following these steps and regularly inspecting the projector screen, you’ll be able to address any issues promptly and preserve its quality throughout the storage period.
Conclusion
Congratulations! You have successfully learned how to freeze your projector screen. By following the steps outlined in this guide, you can ensure the longevity and optimal performance of your screen, whether you need to store it for an extended period or protect it during transportation.
Remember, it all starts with cleaning the screen and disconnecting the projector. Folding the screen carefully and securing it with plastic wrap will provide an additional layer of protection. Placing the screen in a protective case or bag and storing it in a temperature-controlled environment will prevent damage from environmental factors.
Regularly checking on the screen ensures that any issues are addressed promptly, allowing you to maintain its quality and functionality over time. By implementing these steps, you can rest assured that your projector screen will be in top condition when you need it.
It’s important to note that while these steps provide a general guideline, specific instructions from the screen manufacturer should always be followed, if available. Additionally, be cautious and handle your projector screen with care to avoid any accidental damage.
Now that you are equipped with the knowledge and steps necessary to freeze your projector screen, go ahead and take the appropriate measures to protect your investment. Enjoy the peace of mind that comes with storing your screen safely and preserving its quality for future use.