Introduction
Google Calendar is a powerful tool that helps you stay organized and manage your schedule effectively. One of its handy features is the ability to forward event invitations to other individuals, making it easy to share important information and collaborate on upcoming events. Whether you want to send a meeting invitation to a colleague, invite a friend to a social gathering, or share an event with multiple attendees, Google Calendar makes it straightforward to forward event invites with just a few simple steps.
In this article, we will guide you through the process of forwarding an invite in Google Calendar, allowing you to effortlessly share event details and updates with others. Whether you’re using Google Calendar on your computer or mobile device, the steps are relatively similar, ensuring that you can easily navigate the process regardless of your preferred platform.
By utilizing this feature, you can save time by avoiding the need to manually input event details and effortlessly keep everyone informed about any changes or updates to the event. Whether it’s a business meeting, social gathering, or a family event, you can streamline the communication process and ensure that all necessary parties are well-informed.
So, let’s delve deeper into the steps on how to forward an invite in Google Calendar and make the most out of this convenient feature.
How to Forward an Invite in Google Calendar
Forwarding an invite in Google Calendar is a simple process that can be done in just a few steps. Whether you’re using the Google Calendar web version or the mobile app, the procedure remains relatively consistent.
Follow these steps to forward an invite in Google Calendar:
-
- Step 1: Open Google Calendar
The first step is to open Google Calendar either on your computer or mobile device. You can access Google Calendar by visiting https://calendar.google.com on your web browser or opening the Google Calendar app on your smartphone.
-
- Step 2: Find the Event
Next, locate the event that you want to forward in your calendar. You can navigate through different dates using the calendar view or search for a specific event using the search bar at the top.
-
- Step 3: Click on the Event
Click on the event in your calendar to open the event details. This will allow you to view all the information related to the event, such as the date, time, location, and attendees.
-
- Step 4: Click on the “More Actions” Button
In the event details view, look for the “More Actions” button. This button is typically represented by three vertical dots or the word “More” and is located somewhere near the event’s title or description. Click on this button to reveal a dropdown menu of additional options.
-
- Step 5: Select “Forward”
From the dropdown menu, select the “Forward” option. This will prompt a new window or screen to open, allowing you to compose and send the invite to others.
-
- Step 6: Choose the Recipients
In the new window or screen, you can choose the recipients to whom you want to forward the invite. You can type in their email addresses manually or select them from your contacts or address book by clicking on the “To” field.
-
- Step 7: Add a Personal Message (Optional)
If desired, you can add a personal message to accompany the forwarded invite. This message can provide additional context or instructions to the recipients and is optional.
-
- Step 8: Click on the “Send” Button
Finally, review the recipients and the message (if included) to ensure everything is correct. Once you’re ready, click on the “Send” button to forward the invite.
By following these steps, you can easily forward event invites in Google Calendar, allowing you to share important event details with others and keep everyone informed and updated. Whether it’s a business meeting, social gathering, or any other event, forwarding invites can help streamline communication and ensure that all participants are on the same page.
Step 1: Open Google Calendar
The first step to forward an invite in Google Calendar is to open the Google Calendar application. Whether you’re using a computer or a mobile device, accessing Google Calendar is quick and easy.
If you’re using a computer, open your preferred web browser and visit https://calendar.google.com. This will take you to the web version of Google Calendar. Sign in to your Google account if you haven’t already done so. Once you’re signed in, you’ll find yourself on the main Google Calendar page.
On the other hand, if you’re using a mobile device, locate the Google Calendar app on your home screen or app drawer. Tap on the app icon to launch it. Make sure you’re signed in to the correct Google account before proceeding.
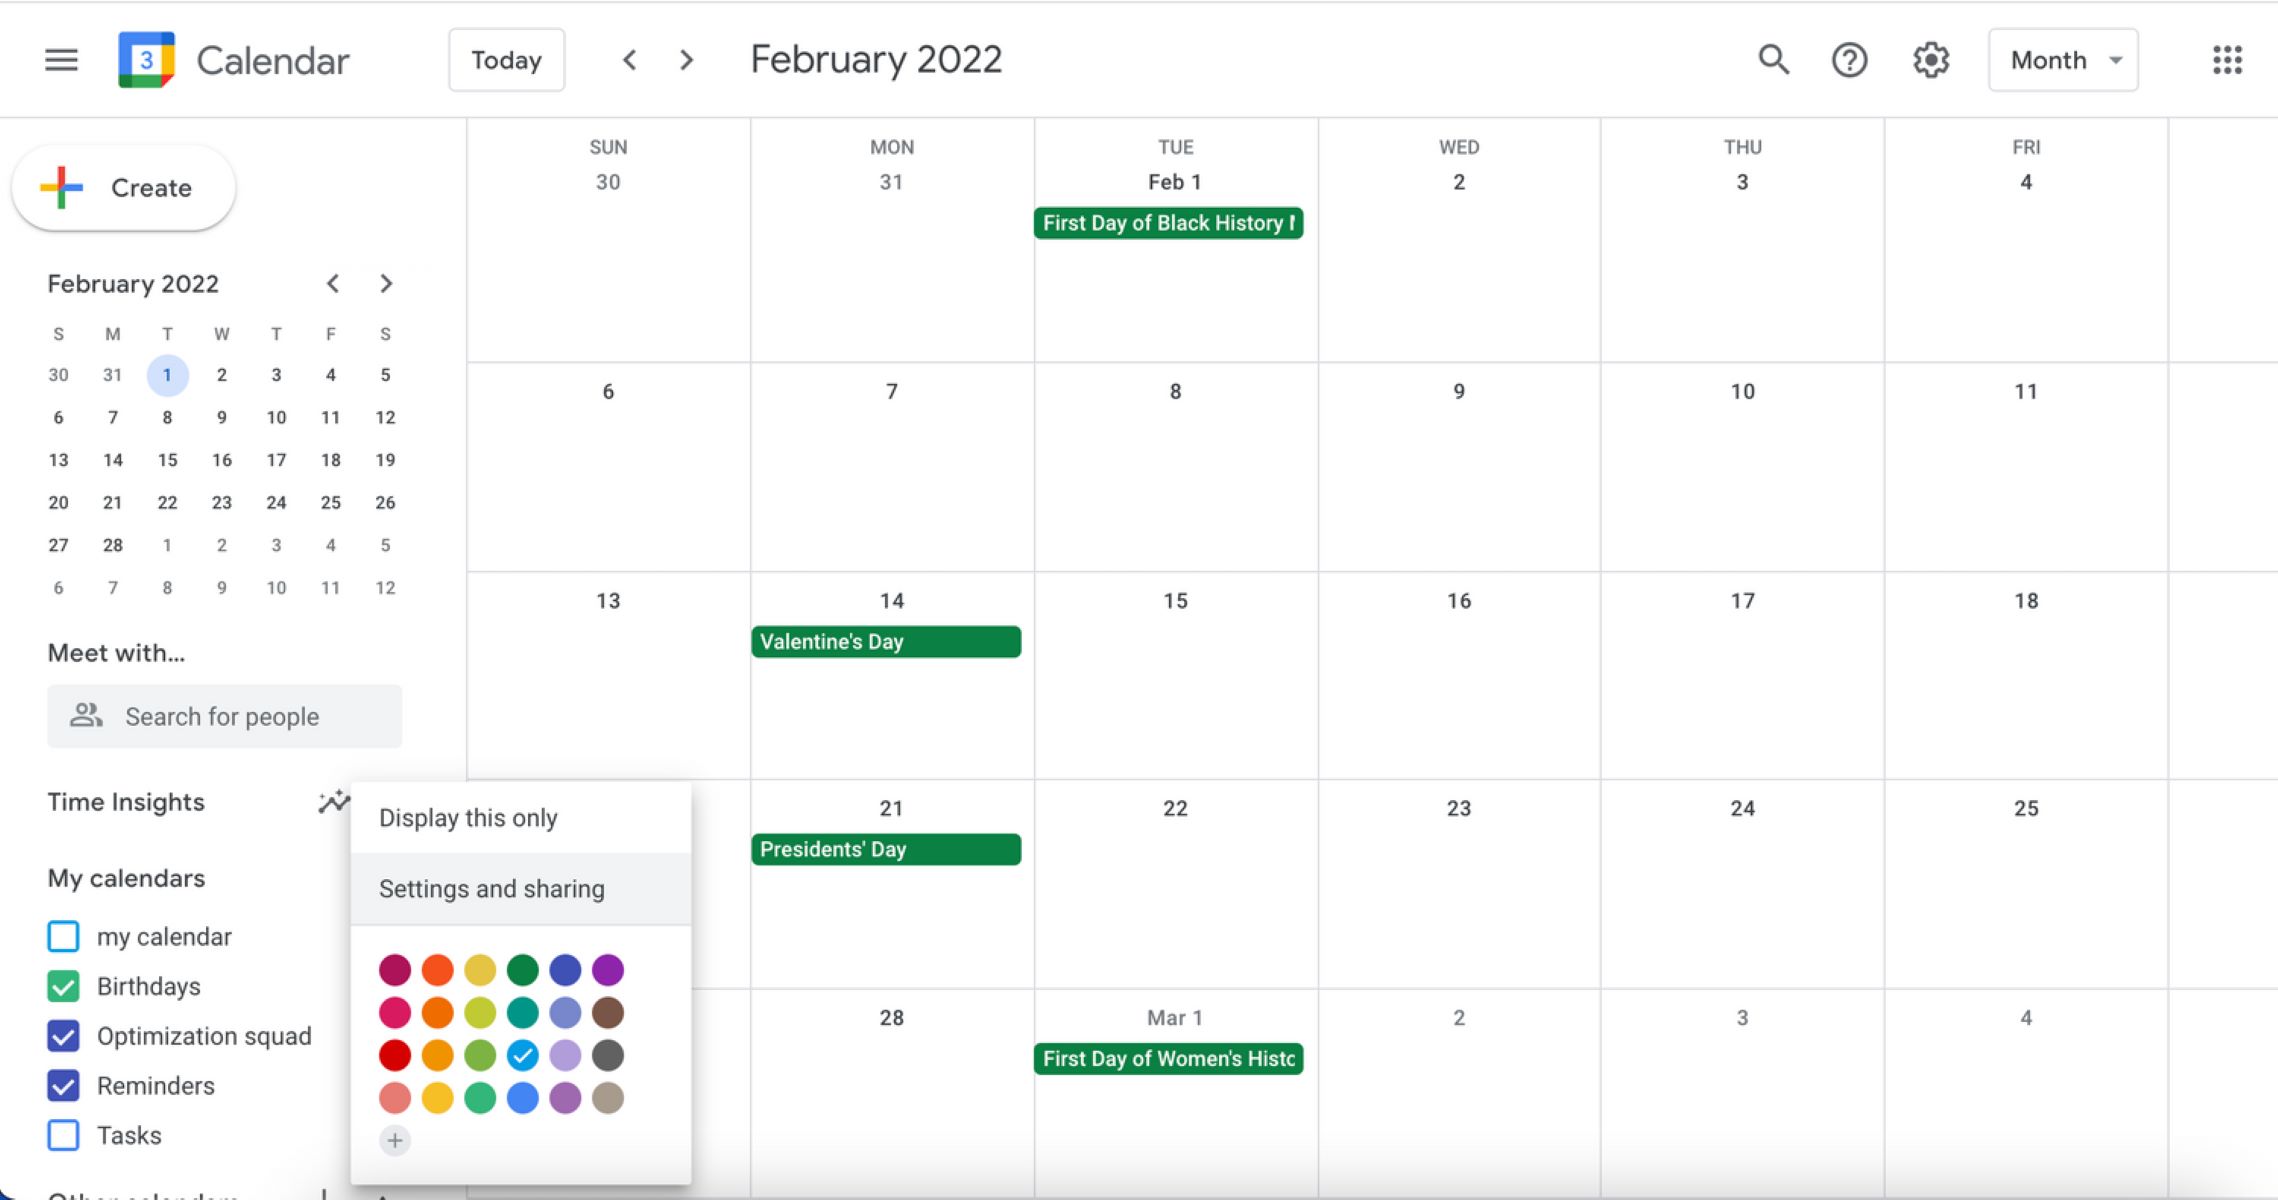
Once you have successfully opened Google Calendar, you’ll have access to all your saved events and appointments. The main interface will display a monthly calendar view, showcasing the current date and any upcoming events you have scheduled. You can navigate through different dates using the arrow buttons or by selecting a specific date from the calendar view.
It’s worth noting that Google Calendar allows you to switch between different calendar views, such as month, week, or day, depending on your preference. You can find the option to change the view at the top right corner of the screen on both the web and mobile versions of Google Calendar.
Now that you have successfully opened Google Calendar, you’re ready to proceed to the next step of forwarding an invite. Keep reading to learn how to find the event you want to forward in your calendar.
Step 2: Find the Event
After opening Google Calendar, the next step is to locate the event that you want to forward. Google Calendar provides an intuitive interface that allows you to easily find and manage your scheduled events.
When you open Google Calendar, the default view is typically the current month. You can quickly navigate between months and dates using the arrow buttons or by clicking on a specific date from the calendar view. This allows you to scan through your schedule and locate the desired event.
If you’re looking for an event scheduled for a different month or date, you can select the desired month from the top left corner of the calendar view. A dropdown menu will appear, allowing you to choose the month and year. Once you select the desired month, the calendar will update to display the events for that specific time period.
If you have a large number of events, it may be helpful to use the built-in search feature. In the web version of Google Calendar, you can find the search bar at the top of the screen. Simply type in keywords related to the event you’re looking for, such as the event title, location, or attendees. Google Calendar will instantly filter the events based on your search criteria, making it easier to find the specific event you want to forward.
On the mobile app, you can access the search functionality by tapping on the magnifying glass icon at the top of the screen. Similar to the web version, you can enter relevant keywords to search for specific events within your calendar.
Once you have located the event you want to forward, you’re ready to move on to the next step. In the following section, we will guide you through the process of clicking on the event to view its details.
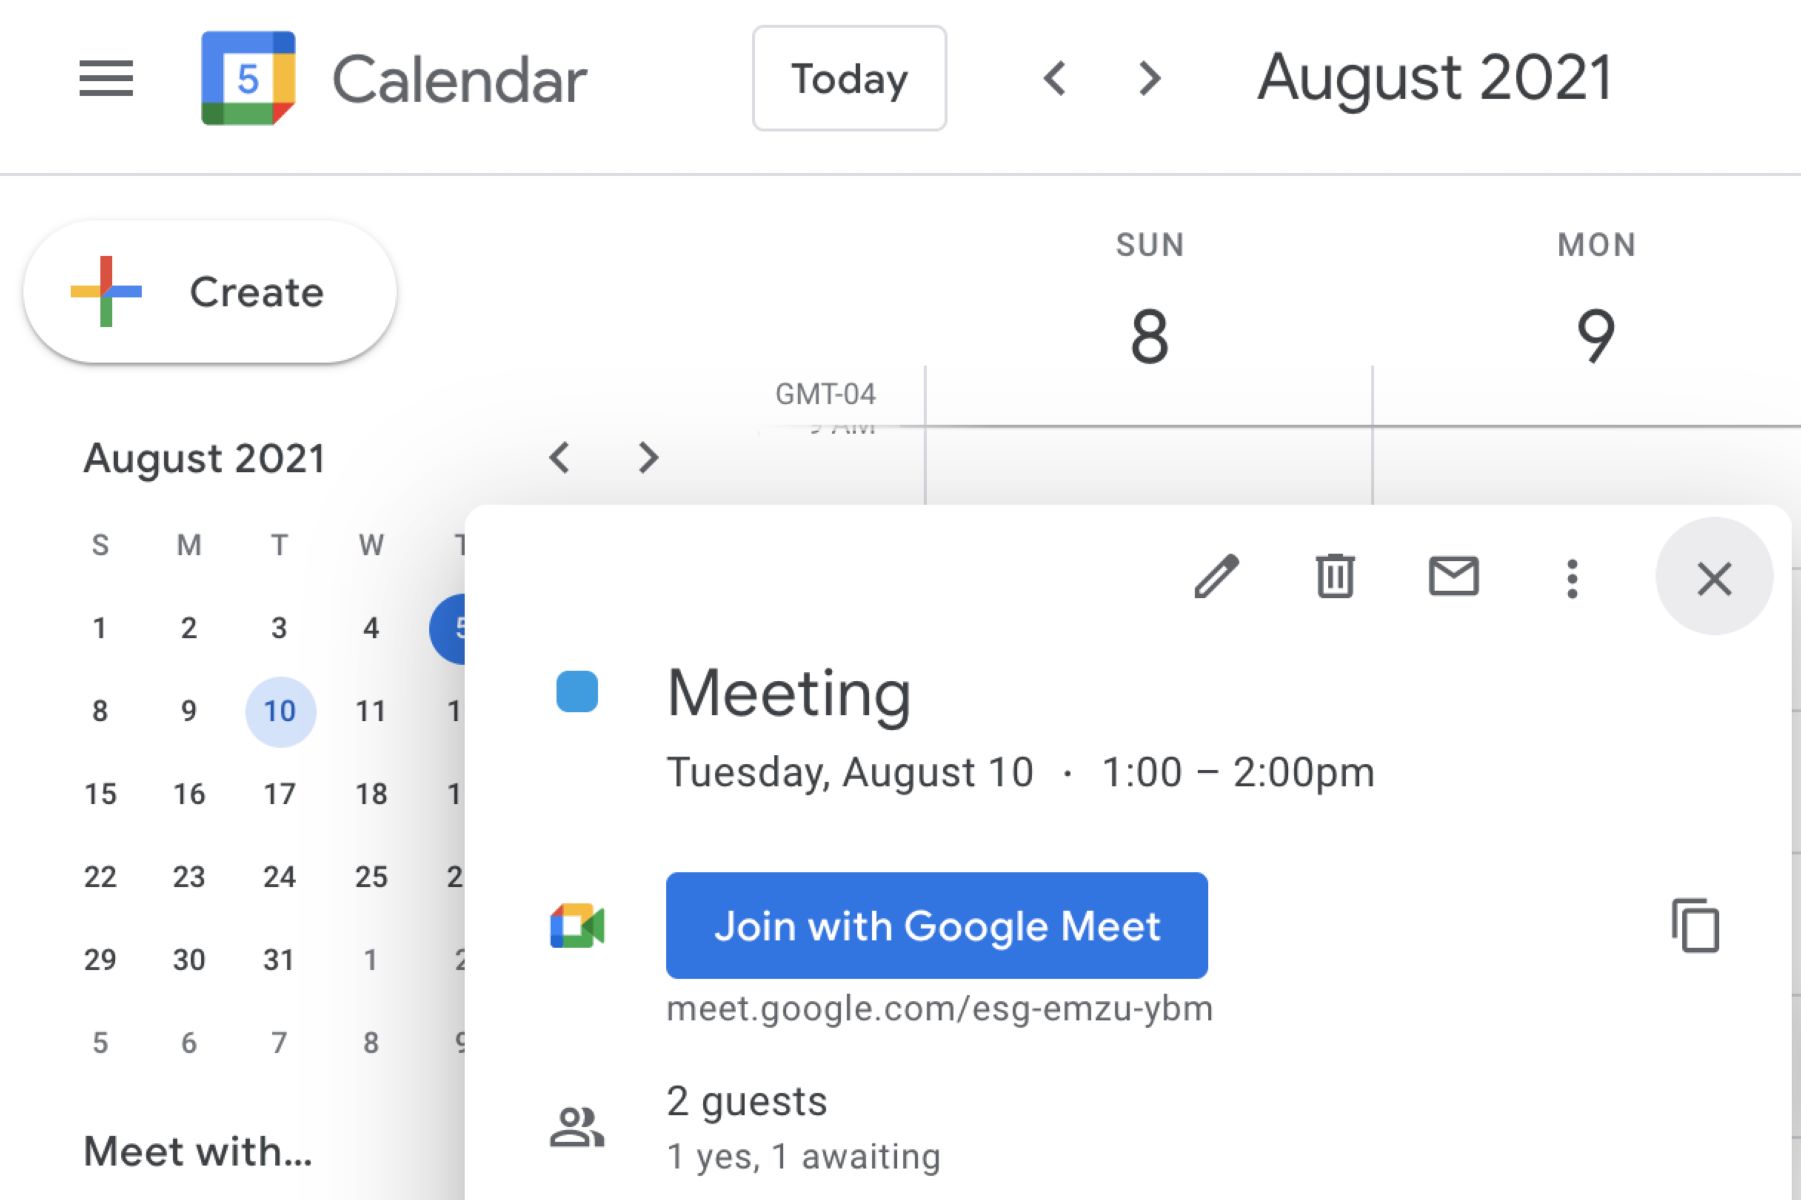
Step 3: Click on the Event
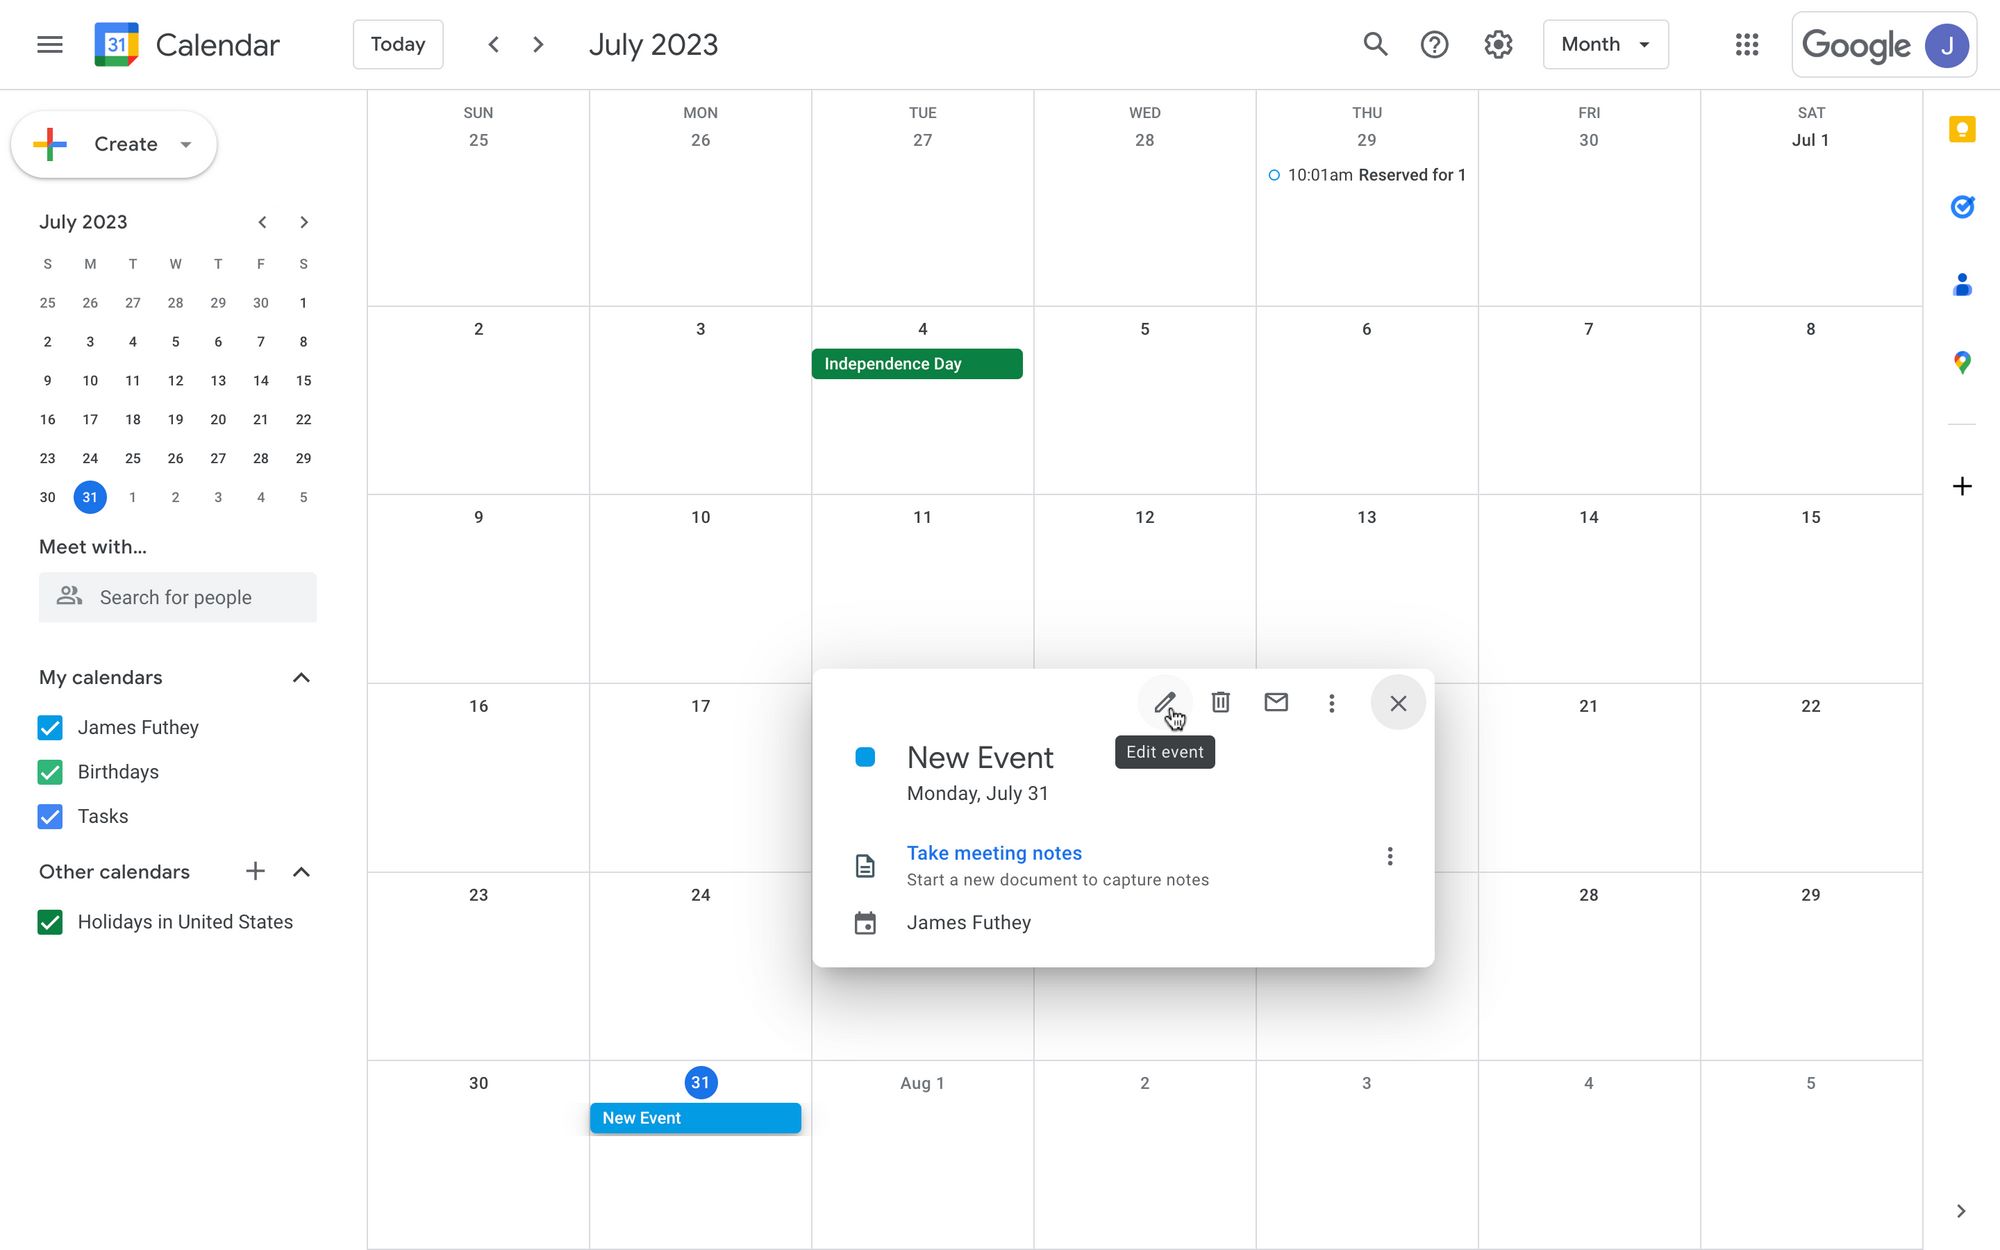
Once you have found the event you wish to forward in Google Calendar, the next step is to click on the event to access its details. By clicking on the event, you can view all the relevant information and make any necessary changes before forwarding the invite.
In the web version of Google Calendar, you can simply navigate to the date and time of the event in the calendar view and click on the event block. This will open a pop-up window or a new tab, displaying the details of the selected event. Here, you can see the event title, date, time, location, and other important details.
If you’re using the Google Calendar mobile app, tap on the event in the calendar view to open its details. This will take you to a screen dedicated to the specific event, where you can access all the relevant information.
By clicking on the event, you can also access additional features and options related to the event. For instance, you may have the ability to add notes or attachments, set reminders, invite additional guests, or make changes to the event time or location. Take some time to review the event details and ensure that everything is accurate before proceeding to the next step.
By clicking on the event, you can also view the list of attendees who have already been invited or have responded to the invite. This can help you determine who needs to be forwarded the invite and who is already included in the event. If you need to make any changes to the attendee list, you can do so in the following steps.
After clicking on the event and reviewing its details, you’re ready to move on to the next step: clicking on the “More Actions” button. Keep reading to learn how to access this essential button and proceed with forwarding the invite.
Step 4: Click on the “More Actions” Button
Once you have clicked on the desired event in Google Calendar, the next step is to locate and click on the “More Actions” button. This button provides you with additional options and functionalities related to the event, including the ability to forward the invite to others.
In the web version of Google Calendar, the “More Actions” button is typically represented by three vertical dots or the word “More,” and it is located somewhere near the event’s title or description. Depending on your calendar view, it may be visible directly next to the event or accessible by hovering over the event block. Locate this button and click on it to reveal a dropdown menu of additional options.
If you’re using the Google Calendar mobile app, the “More Actions” button can usually be found in the form of three vertical dots at the top right corner of the screen. Tap on these dots to access a menu of additional options for the event.
Clicking on the “More Actions” button will open up a list of various actions that you can perform on the event. These actions may include options for editing the event, deleting it, inviting more guests, changing the event time or location, and more. Look for the specific option labeled as “Forward” or something similar.
By clicking on the “More Actions” button, you are accessing the full range of features and functionalities available for the event. This allows you to customize and manage the event based on your needs. In the next step, we will guide you through the process of selecting the “Forward” option to proceed with sharing the invite.
Step 5: Select “Forward”
After clicking on the “More Actions” button in Google Calendar, the next step is to locate and select the “Forward” option from the available list of actions. This option allows you to share the event invitation with others by forwarding it to their email addresses.
In the web version of Google Calendar, the “Forward” option is typically listed directly in the dropdown menu that appears when you click on the “More Actions” button. Look for the specific option labeled as “Forward” and click on it.
If you’re using the Google Calendar mobile app, you may need to scroll through the list of actions in the dropdown menu to locate the “Forward” option. Once you find it, tap on it to proceed.
Selecting the “Forward” option will prompt a new window or screen to open. This window or screen will allow you to compose and send the invite to the desired recipients. Depending on whether you’re using the web version or the mobile app, the interface may vary slightly, but the overall functionality remains the same.
By selecting “Forward,” you are now one step closer to sharing the event invitation with others. In the following steps, we will guide you through the process of choosing the recipients and adding a personal message (if desired) before sending the forwarded invite.
Step 6: Choose the Recipients
After selecting the “Forward” option in Google Calendar, the next step is to choose the recipients to whom you want to forward the event invitation. This allows you to share the event details with specific individuals or groups, ensuring that they are aware of the event and can plan accordingly.
In the new window or screen that appears after selecting “Forward,” you will typically find a field labeled “To” or “Recipient.” Here, you can enter the email addresses of the individuals or groups you wish to forward the invite to. You can enter the email addresses manually, separating each address with a comma or a semicolon.
If you prefer, you can also choose recipients from your contacts or address book by clicking on the appropriate button or link, which may be labeled as “Choose from Contacts” or something similar. This allows you to select recipients directly from your contact list, making it easier to include the correct email addresses and ensure that everyone receives the forwarded invite.
It’s worth noting that Google Calendar also provides suggestions for potential recipients as you start typing in the email addresses. This can help you quickly select the correct recipients from your contact list, saving you time and minimizing the risk of sending the invite to the wrong individuals.
When choosing the recipients, take care to include all relevant parties who need to be informed about the event. This may include colleagues, teammates, clients, friends, or family members, depending on the nature of the event. Double-check the email addresses to ensure accuracy and completeness before proceeding to the next step.
Once you have chosen the recipients, you can proceed to the next step, which involves adding a personal message (optional) to accompany the forwarded invite. Keep reading to learn how to include a message if you wish to provide additional context or instructions to the recipients.
Step 7: Add a Personal Message (Optional)
In Google Calendar, you have the option to add a personal message to accompany the forwarded invite. This step allows you to provide additional context, instructions, or any other relevant information to the recipients along with the event details.
In the window or screen where you are forwarding the invite, you will typically find a text field or a message box labeled as “Message” or “Personal Message”. This is where you can type in your personal message. You can use this space to explain the purpose of the event, share any specific details or requirements, or provide any necessary instructions to the recipients.
When composing your personal message, keep it concise and clear. Make sure to convey your message in a friendly and professional tone, depending on the relationship you have with the recipients. It’s also a good idea to address the recipients by name to personalize the message and make it more engaging.
Additionally, you can use formatting options such as bold or italicize certain words or phrases to emphasize important points. You can also use bullet points to list any additional information or instructions in a clear and organized manner.
However, it’s important to note that adding a personal message is optional. If you don’t have any specific information or instructions to share, you can simply skip this step and proceed to the next one. The recipients will still receive the forwarded invite with all the event details intact.
Once you have composed your personal message or decided to skip this step, you’re ready to move on to the final step: clicking on the “Send” button to forward the invite. Keep reading to learn how to complete the process and successfully share the forwarded invite with the recipients.
Step 8: Click on the “Send” Button
The final step in forwarding an invite in Google Calendar is to click on the “Send” button. This action will complete the process and send the forwarded invite to the chosen recipients, ensuring that they receive all the necessary event details.
After adding any optional personal message, double-check that everything is in order. Review the recipient’s email addresses, ensuring they are accurate and complete. Verify that the personal message, if included, conveys the desired information clearly and effectively.
Once you are satisfied with the recipients and the optional message, locate the “Send” button. In the web version of Google Calendar, this button is typically located at the bottom of the screen or window, often alongside other buttons or options. Click on the “Send” button to initiate the email sending process.
If you are using the Google Calendar mobile app, the “Send” button may be located at the bottom of the screen or displayed as an icon, such as a paper airplane. Tap on the appropriate button or icon to send the forwarded invite to the chosen recipients.
After clicking on the “Send” button, Google Calendar will process the forwarded invite and send it as an email to the selected recipients. Depending on the number of recipients and various factors, such as internet connectivity, it may take a few moments for the invitations to be sent successfully. You may also receive a notification or confirmation once the invites have been sent.
With a single click on the “Send” button, you have successfully forwarded the invite in Google Calendar. The recipients will receive the forwarded invite in their email inbox, allowing them to view the event details, accept or decline the invite, and add it to their own calendars.
Now that you have completed the final step, you can rest assured that the event details have been shared with the necessary individuals. Whether it’s a business meeting, social gathering, or any other event, forwarding invites in Google Calendar streamlines communication and ensures that everyone stays informed.
Conclusion
In conclusion, forwarding an invite in Google Calendar is a simple and efficient way to share event details with others. Whether you’re using the web version or the mobile app, the process is straightforward and can be completed in just a few steps.
By following the steps outlined in this guide, you can easily forward an invite in Google Calendar:
- Open Google Calendar
- Find the event
- Click on the event
- Click on the “More Actions” button
- Select “Forward”
- Choose the recipients
- Add a personal message (optional)
- Click on the “Send” button
By utilizing this feature, you can share event invites with colleagues, friends, family, or any other individuals who need to be informed about an upcoming event. Whether it’s a one-time appointment, a recurring meeting, or a special occasion, forwarding invites helps ensure that all necessary parties have the event details and can plan accordingly.
Remember to customize the process based on your specific needs. You can add personal messages to provide additional context or instructions and make use of formatting options to enhance the clarity and style of your message.
With Google Calendar, staying organized and managing your schedule becomes easier than ever. By utilizing the forward invite feature, you can streamline communication, save time, and ensure that everyone is on the same page when it comes to upcoming events.
So, the next time you need to share an event invitation, simply follow the steps mentioned above and efficiently forward the invite in Google Calendar.