Introduction
Welcome to the world of Chromebooks, where you can enjoy the simplicity and convenience of cloud-based computing. While Chromebooks are known for their ability to store files and documents in the cloud, there may be times when you need to connect an external hard drive. Whether it’s for storing large files or creating backups, having the option to use an external hard drive on your Chromebook can be extremely useful.
However, before you can start using your external hard drive, you may need to format it to ensure compatibility with your Chromebook. Formatting an external hard drive on a Chromebook is a relatively simple process that can be done within the Files app. In this guide, we will take you through the step-by-step process of formatting your external hard drive on a Chromebook.
Please note that formatting an external hard drive will erase all data stored on it, so make sure to back up any important files before proceeding with the formatting process. Additionally, keep in mind that the specific steps may vary depending on your Chromebook model and operating system version.
Now, let’s dive into the process of formatting your external hard drive on a Chromebook and get you on your way to enjoying the benefits of expanded storage!
Step 1: Check the compatibility of your external hard drive
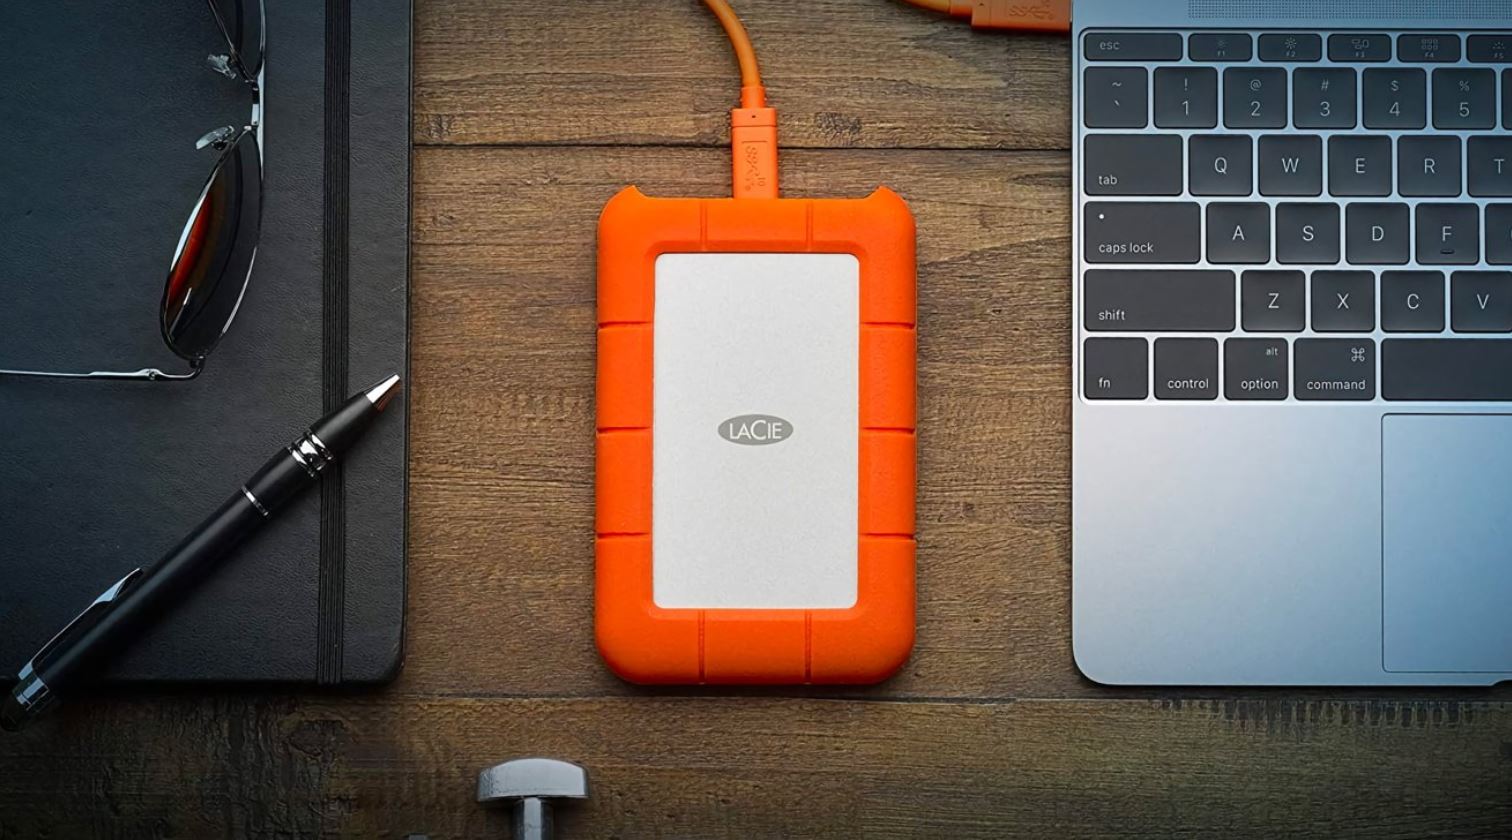
Before formatting your external hard drive on a Chromebook, it is essential to ensure that your Chromebook supports the drive and its file system format. While most external hard drives are compatible with Chromebooks, it’s always a good idea to double-check to avoid any compatibility issues.
To check the compatibility of your external hard drive, follow these steps:
- Make sure your Chromebook is powered on and connected to the internet.
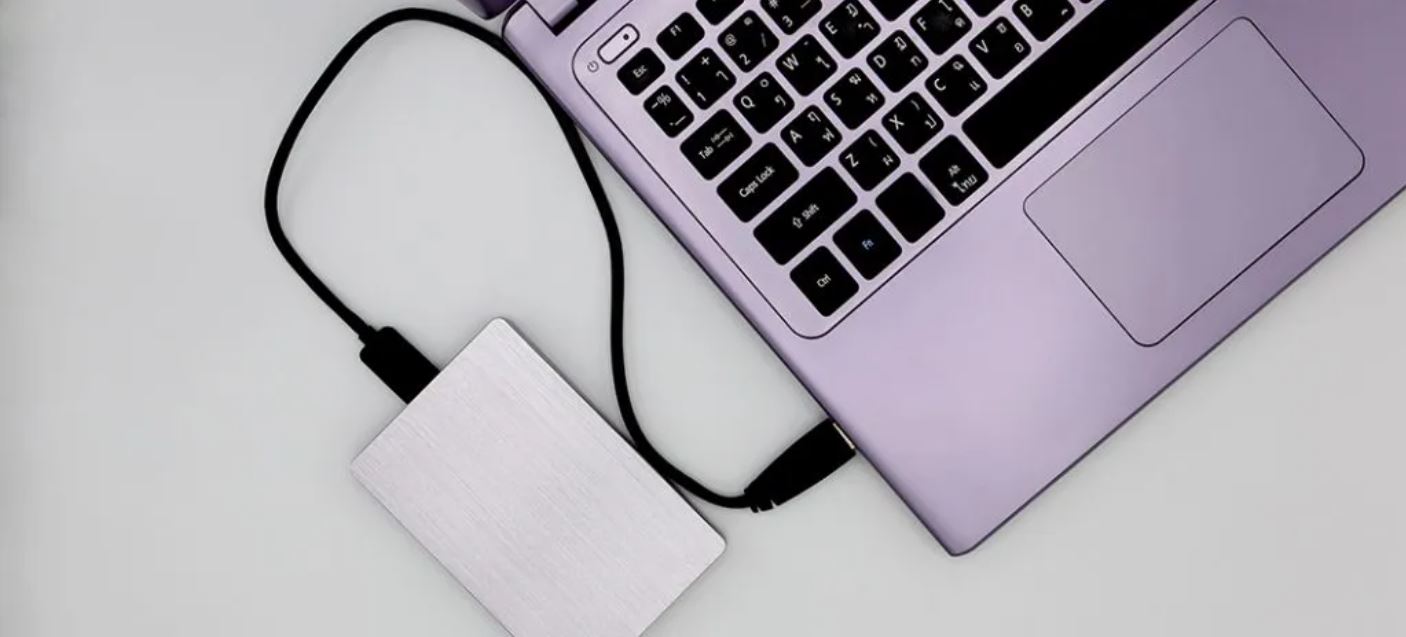
- Connect the external hard drive to one of the available USB ports on your Chromebook.
- Open the Files app by clicking on the Launcher (the circle icon in the bottom-left corner) and then selecting “Files” from the app list. Alternatively, you can press “Ctrl + M” on your keyboard to open the Files app.
- In the Files app, locate the external hard drive under the “Devices” section in the left sidebar. If your external hard drive appears in the list, it means that your Chromebook recognizes the drive.
- Click on the external hard drive to access its contents. If you are able to view the files and folders stored on the drive, it confirms that your Chromebook can read the file system format of the external hard drive.
If your external hard drive is not recognized or you cannot access its contents, it could indicate that the drive is not compatible with your Chromebook. In this case, you may need to try a different external hard drive or consult the manufacturer’s documentation for compatibility information.
Once you have confirmed that your external hard drive is compatible with your Chromebook, we can proceed to the next step: connecting the drive to your Chromebook.
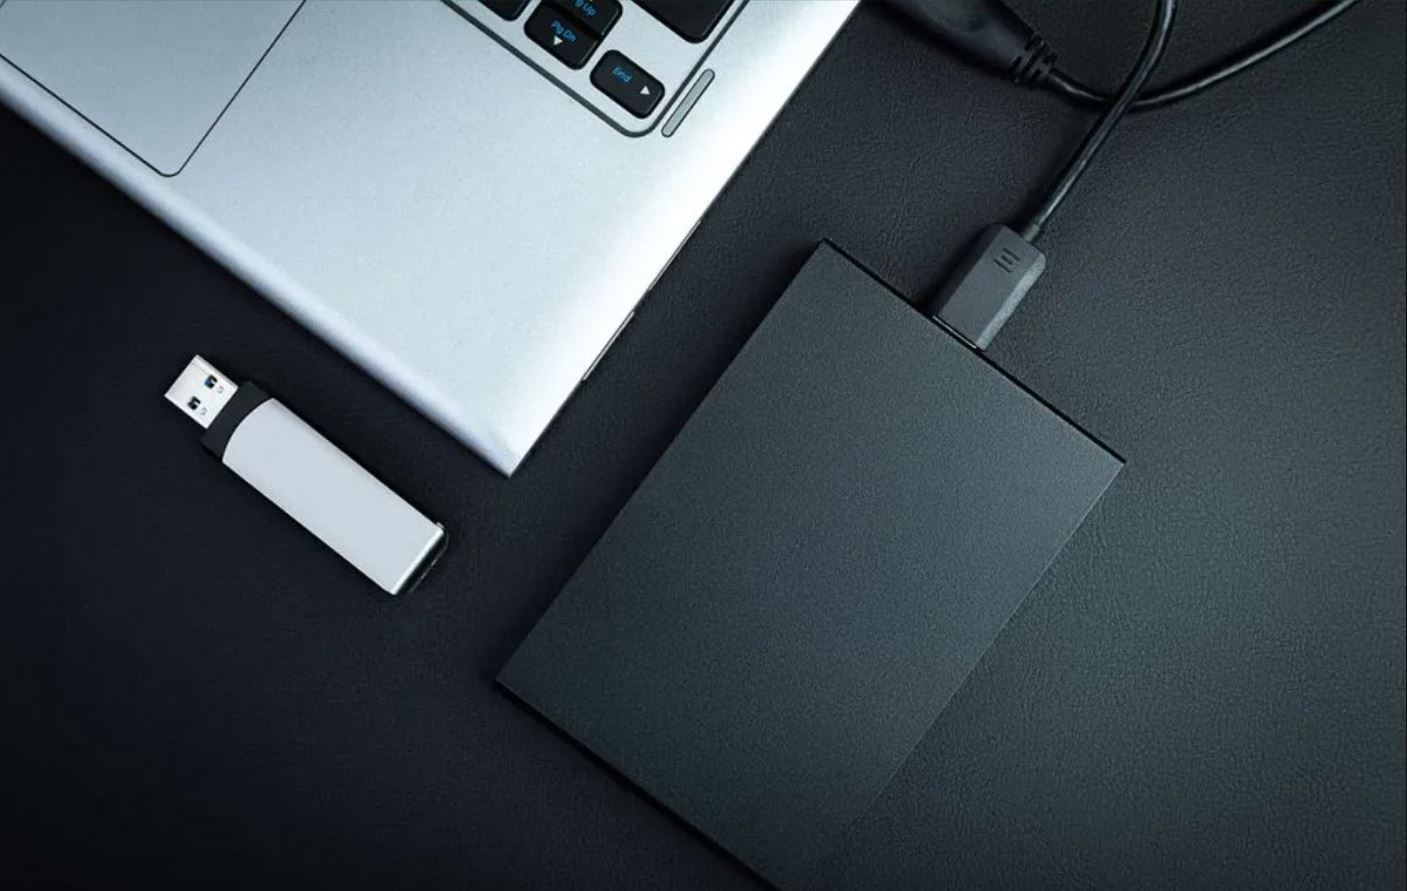
Step 2: Connect the external hard drive to your Chromebook
Now that you have checked the compatibility of your external hard drive, it’s time to connect it to your Chromebook. Follow these steps to establish the connection:
- Ensure that your Chromebook is powered on and awake.
- Locate an available USB port on your Chromebook.
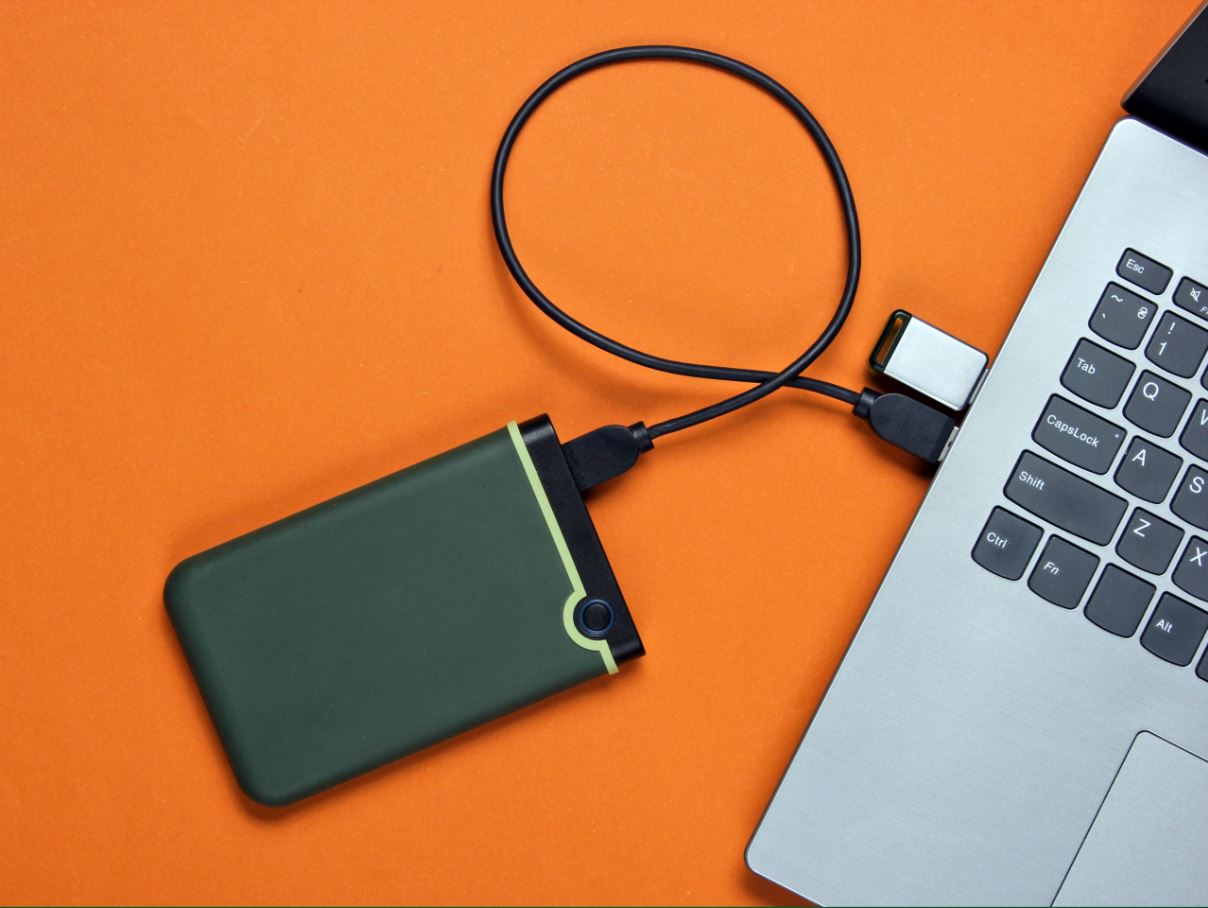
- Take the USB cable that came with your external hard drive and connect one end of it to the USB port on your Chromebook.
- Take the other end of the USB cable and connect it to the appropriate port on your external hard drive.
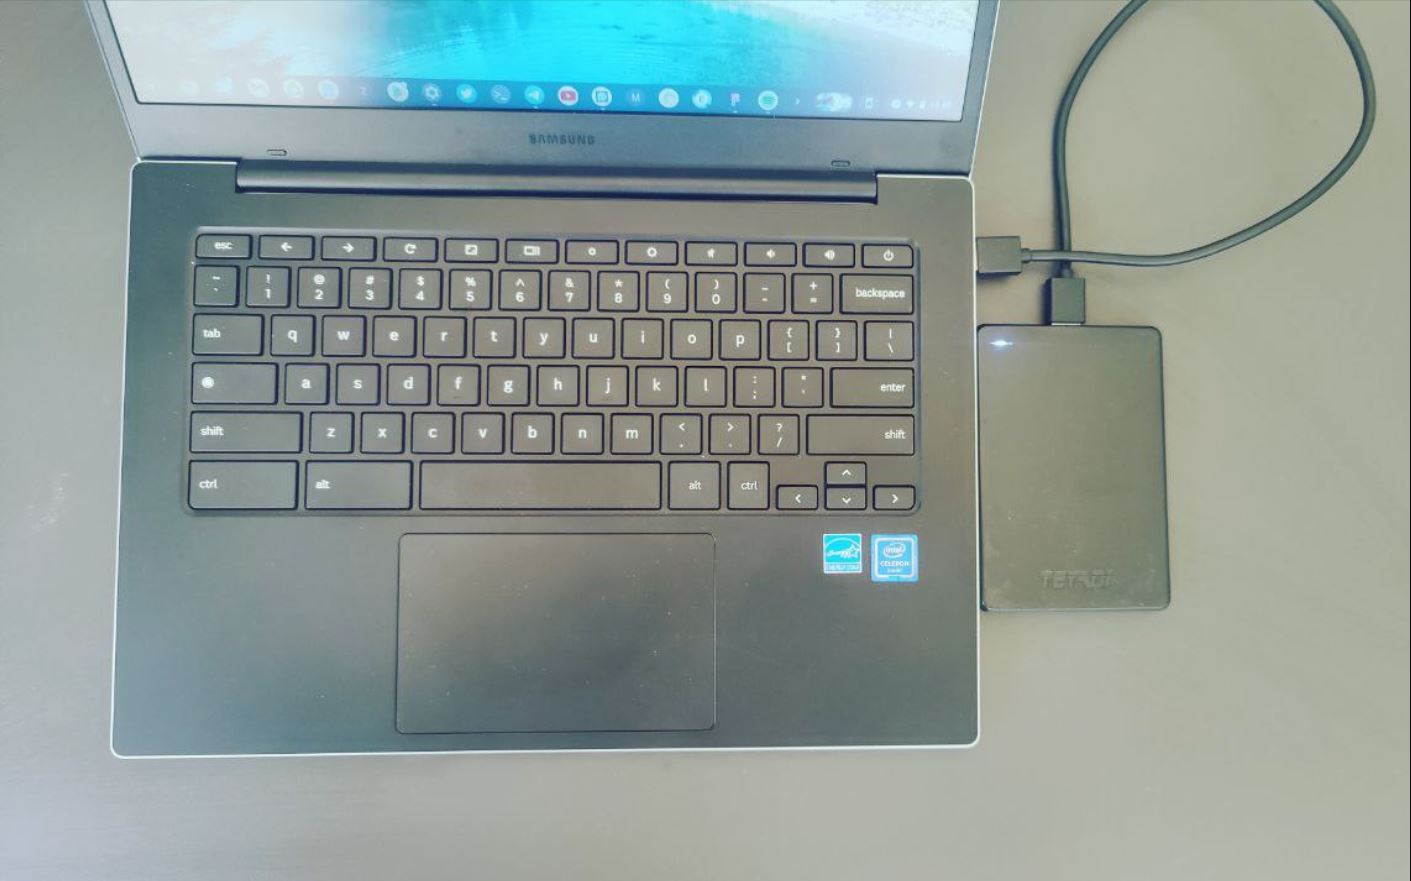
- Ensure that the connection is secure by gently wiggling the cable. You should feel a snug fit.
- Once the external hard drive is securely connected, your Chromebook will recognize it and display a notification in the bottom-right corner of the screen indicating that a new device has been connected.
At this point, your external hard drive is successfully connected to your Chromebook, and you can proceed to the next step: opening the Files app to access and manage the drive.
Step 3: Open the Files app on your Chromebook
Now that your external hard drive is connected to your Chromebook, you need to open the Files app to access and manage the drive. The Files app is a file manager on Chromebooks that allows you to navigate through your local storage, external devices, and cloud storage. Follow these steps to open the Files app:
- Make sure your Chromebook is powered on and awake.
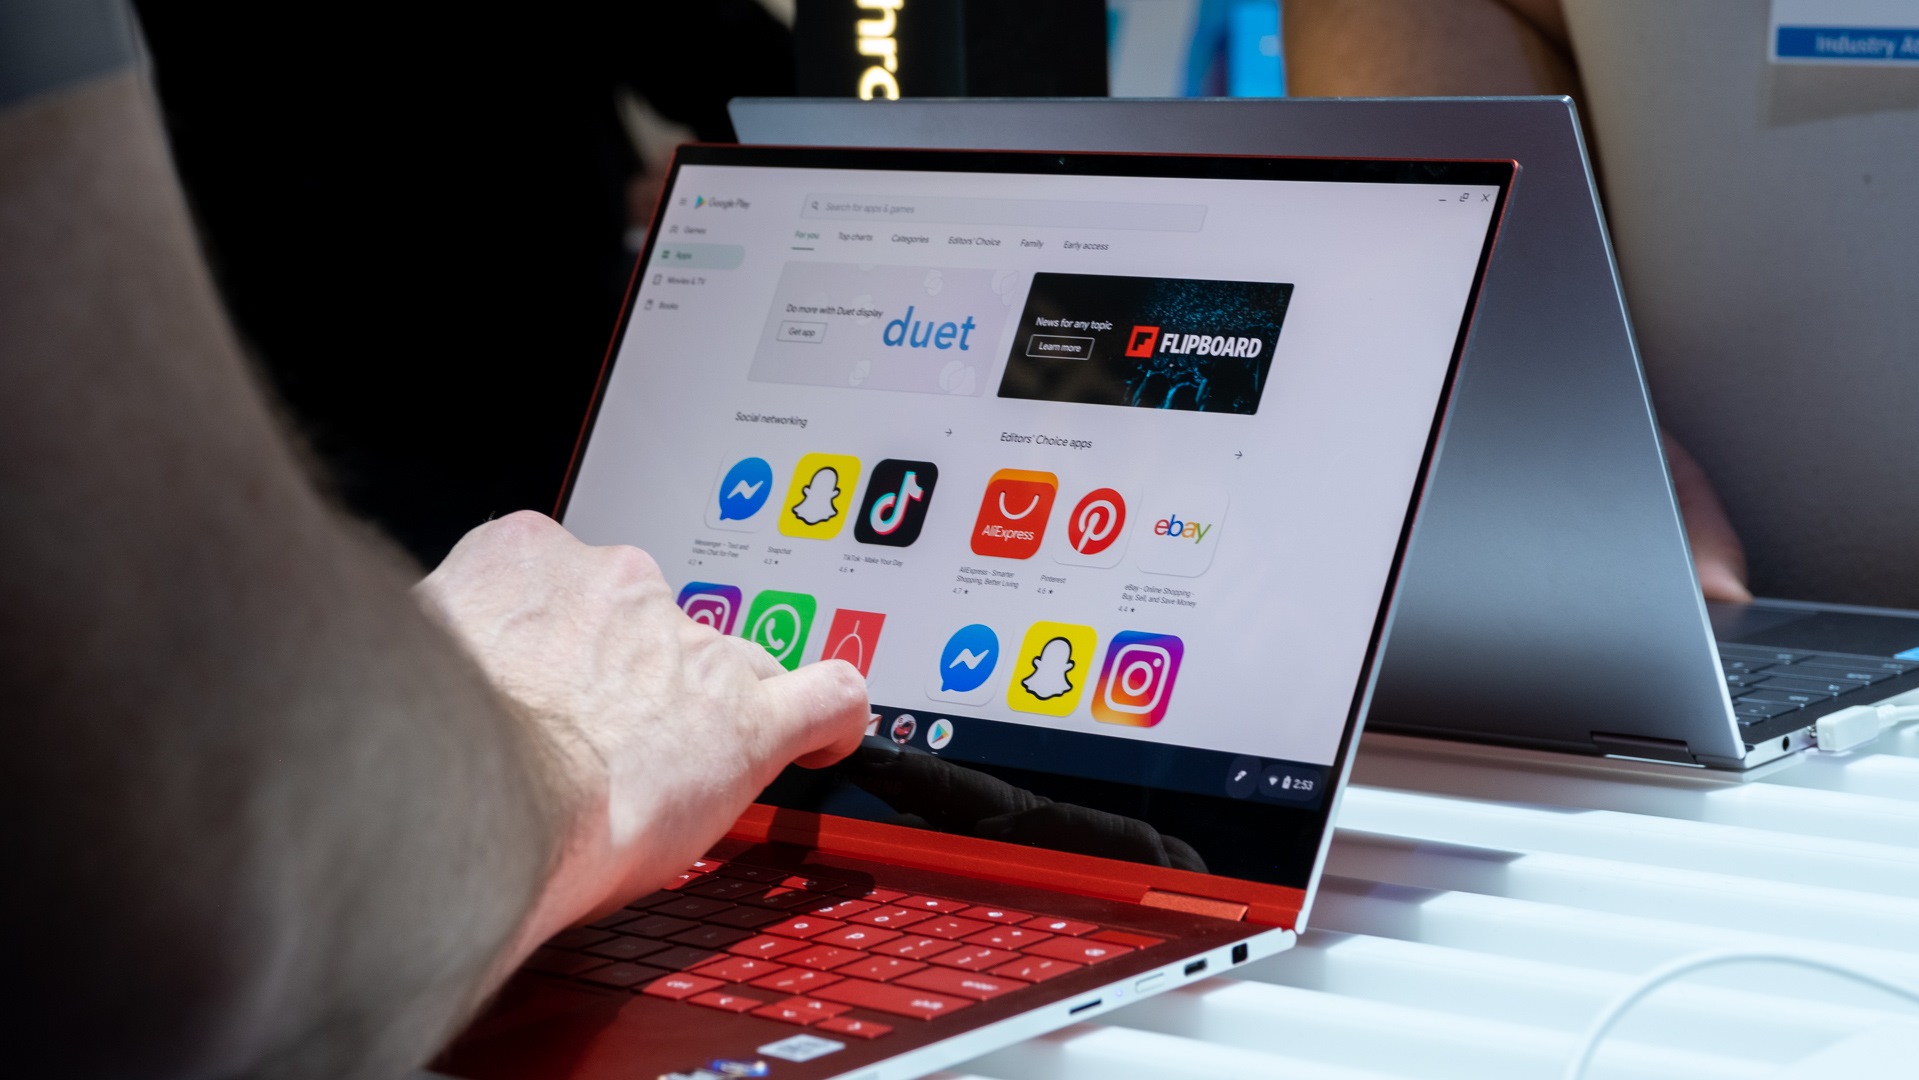
- Click on the Launcher icon located in the bottom-left corner of the screen. It resembles a circle and has the Google logo.
- From the app list that appears, locate and click on the “Files” app. You can also use the shortcut “Ctrl + M” to open the Files app.
- The Files app will open, displaying a list of file locations on the left-hand side of the screen.
Now that you have successfully opened the Files app, you will be able to access and manage files and folders on your Chromebook, including your connected external hard drive. In the next step, we will guide you on how to locate and select the external hard drive in the Files app.
Step 4: Locate and select the external hard drive
After opening the Files app on your Chromebook, it’s time to locate and select your external hard drive. Follow these steps to find and access your external hard drive:
- In the Files app, you will see a list of file locations on the left-hand side of the screen.
- Scroll down the list and look for the “Devices” section.
- Under the “Devices” section, you should see your connected external hard drive listed. It might appear with a manufacturer-specific name or the name you assigned to the drive.
- Click on the name of your external hard drive to open it.
Once you click on the name of your external hard drive, the Files app will display its contents, including any files and folders stored on the drive. You can now navigate through the external hard drive and manage its contents using the Files app.
If you are unable to locate your external hard drive in the Files app, double-check the connection between your Chromebook and the external hard drive. Make sure the cable is securely connected and try reconnecting the drive if necessary. You can also try restarting your Chromebook and repeating the previous steps to locate the external hard drive.
Now that you have successfully located and opened your external hard drive in the Files app, we can move on to the next step: formatting the external hard drive.
Step 5: Format the external hard drive
Now that you have accessed your external hard drive in the Files app, it’s time to format it. Formatting your external hard drive will erase all data stored on it, so make sure to back up any important files before proceeding. Follow these steps to format your external hard drive:
- With the external hard drive selected in the Files app, click on the three-dot menu icon located in the top-right corner of the screen. This will open a dropdown menu.
- From the dropdown menu, select the “Format device” option. A confirmation prompt will appear.
- Read the confirmation prompt carefully to ensure you understand that formatting will erase all data on the drive. If you have already backed up your files, click the “Format” button to proceed with the formatting process.
- The formatting process will now begin. The duration of the process will depend on the size and speed of your external hard drive.
- Once the formatting is complete, you will see a notification indicating that the format was successful.
After formatting, your external hard drive is now ready to be used with your Chromebook. You can now start storing files, creating backups, or utilizing it for any other purposes you may need.
It’s important to note that the specific formatting options and prompts may vary depending on your Chromebook model and operating system version. Some Chromebooks may offer additional formatting options such as choosing a file system format. Refer to your Chromebook’s documentation or the manufacturer’s website for more information on the formatting process specific to your device.
Now that you have successfully formatted your external hard drive, we can proceed to the next step: choosing the file system format.
Step 6: Choose the file system format
When formatting your external hard drive on a Chromebook, you will have the option to choose the file system format for the drive. The file system format determines how the drive organizes and stores data. Follow these steps to choose the file system format:
- After the formatting process is complete, you will see a prompt asking you to choose the file system format.
- Chromebooks typically offer two file system format options: “Ext4” and “FAT32”.
- Ext4: This is the default file system format for Chromebooks and is optimized for performance and compatibility. It is suitable for most users and allows for larger file sizes.
- FAT32: This file system format is compatible with a wider range of devices, including Windows and Mac computers. However, it has limitations on individual file sizes, with a maximum of 4 GB.
- Consider the purpose of your external hard drive and the devices you plan to use it with, and choose the appropriate file system format option.
- Click on the desired file system format option to select it. The formatting process will now continue with the chosen file system format.
Depending on the size of your external hard drive, the formatting process may take some time to complete. Once finished, you will receive a notification confirming the successful formatting of your external hard drive with the chosen file system format.
Remember that the choice of file system format is irreversible and will determine the compatibility and usage capabilities of your external hard drive. Consider your needs and compatibility requirements before making your selection.
Now that you have chosen the file system format for your external hard drive, we can proceed to the next step: confirming and completing the formatting process.
Step 7: Confirm and complete the formatting process
After choosing the file system format for your external hard drive, it’s time to confirm and complete the formatting process. Follow these steps to finalize the formatting of your external hard drive:
- Once you have selected the desired file system format, you will see a final confirmation prompt.
- Read the prompt carefully to ensure that you understand the consequences of formatting. Formatting will erase all data on the drive.
- If you have backed up your files and are ready to proceed, click the “Format” or “Confirm” button to confirm your selection and complete the formatting process.
- The formatting process will now continue with the chosen file system format and may take some time to complete, depending on the size and speed of your external hard drive.
- Once the formatting process is finished, you will receive a notification indicating that the format was successful.
At this point, the formatting of your external hard drive is complete, and it is ready to be used with your Chromebook. You can now start storing files, creating backups, or utilizing the drive for any other purposes you need.
If you encounter any issues during the formatting process or receive an error notification, try disconnecting and reconnecting the external hard drive and repeating the steps. Ensure that your Chromebook is up to date with the latest software updates, as this can sometimes resolve compatibility issues.
Now that you have successfully confirmed and completed the formatting process, we can proceed to the final step: safely ejecting the external hard drive.
Step 8: Safely eject the external hard drive
Once you have finished using your external hard drive on your Chromebook, it is important to safely eject it before physically disconnecting it. Safely ejecting the drive ensures that all data has been written and that there is no risk of data corruption. Follow these steps to safely eject your external hard drive:
- In the Files app, navigate to the left sidebar and find the name of your external hard drive under the “Devices” section.
- Right-click on the name of the external hard drive. A dropdown menu will appear.
- From the dropdown menu, select the “Eject” option. Alternatively, you can click on the eject icon next to the name of the external hard drive.
- Wait for a notification to appear, confirming that it is safe to remove the external hard drive.
- Physically disconnect the external hard drive from your Chromebook by gently removing the USB cable from the USB port.
By safely ejecting the external hard drive, you ensure that all data has been properly saved and written to the drive before disconnecting it. This helps prevent any potential data loss or corruption.
If you encounter any issues during the ejection process or receive an error notification, try closing any open files or applications associated with the external hard drive before attempting to eject it. If the problem persists, restarting your Chromebook can often resolve any lingering issues.
Now that you have successfully safely ejected your external hard drive, you can disconnect it from your Chromebook and store it or use it as needed.
Conclusion
Formatting an external hard drive on a Chromebook is a simple process that allows you to prepare the drive for use with your device. By following the step-by-step instructions outlined in this guide, you can confidently format your external hard drive and ensure compatibility for storing files, creating backups, or any other purposes you may have.
Remember to always double-check the compatibility of your external hard drive with your Chromebook before proceeding with the formatting process. Additionally, make sure to back up any important files stored on the external hard drive before formatting, as the process will erase all data on the drive.
Whether you choose the default Ext4 file system format or the more broadly compatible FAT32 format, consider your needs and compatibility requirements before making your selection.
Lastly, don’t forget to safely eject your external hard drive from your Chromebook before physically disconnecting it. This step ensures that all data has been properly saved and reduces the risk of data corruption.
With your newly formatted external hard drive, you can now enjoy expanded storage capacity on your Chromebook and take advantage of its versatility for handling larger files, backups, and more. Happy exploring!