Introduction
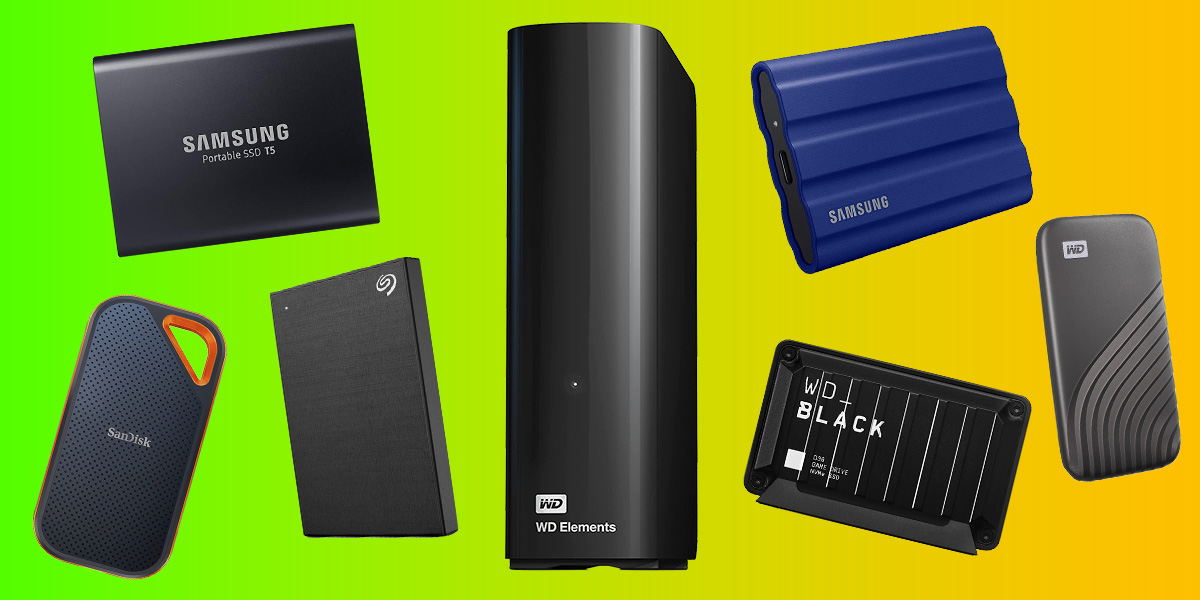
Welcome to this guide on formatting an external hard drive in Windows 8. External hard drives are a great way to expand your storage space and backup your important files. However, before you can start using an external hard drive, you need to format it to make it compatible with your operating system.
Formatting an external hard drive in Windows 8 is a simple process, and this guide will take you through it step by step. Whether you are setting up a new external hard drive or reformatting an existing one, this guide will provide you with the necessary instructions.
By formatting the external hard drive, you can choose the file system and allocation unit size that best suits your needs. Additionally, formatting ensures that the drive is free from any errors and ready for use. It’s important to note that the process of formatting will erase all the data on the drive, so make sure you have backed up any important files before proceeding.
In this guide, we will walk you through the entire process of formatting an external hard drive in Windows 8. From checking compatibility to selecting the appropriate formatting options, we will cover everything you need to know to successfully format your external hard drive. Let’s get started!
Step 1: Check Compatibility
Before formatting your external hard drive, it’s essential to ensure that it is compatible with your Windows 8 operating system. Although most external hard drives are designed to be compatible with multiple platforms, it’s still a good idea to verify compatibility to avoid any potential issues.
First, check the manufacturer’s documentation or visit their website to confirm if the external hard drive supports Windows 8. Look for specific mentions of compatibility with Windows 8 or Windows operating systems in general. If you cannot find this information, don’t worry. Most external hard drives are compatible with Windows 8 by default.
Next, check the connection interface of your external hard drive. Windows 8 supports various connection types, such as USB 2.0, USB 3.0, eSATA, or Thunderbolt. Ensure that your computer has the corresponding ports for the connection type of your external hard drive.
Additionally, it’s worth checking the storage capacity supported by your version of Windows 8. Older versions of Windows 8 may have limitations in recognizing larger storage capacities, so be aware of these limitations if applicable.
If you are unsure about the compatibility of your external hard drive or need further assistance, it’s recommended to reach out to the manufacturer’s customer support or consult Windows 8 documentation for more information.
By checking the compatibility of your external hard drive with Windows 8, you’ll ensure a smooth formatting process without any compatibility issues. Once you have confirmed compatibility, you can proceed to the next step of connecting the external hard drive to your computer.
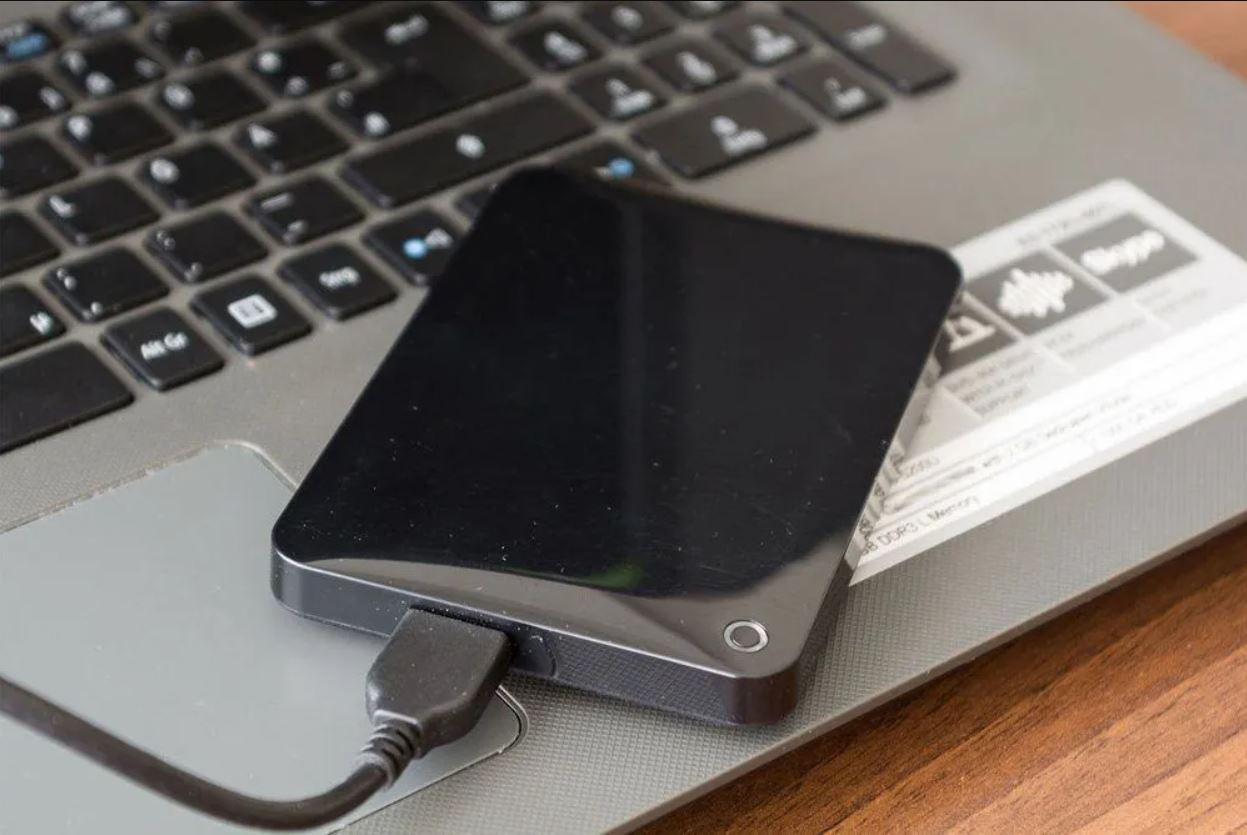
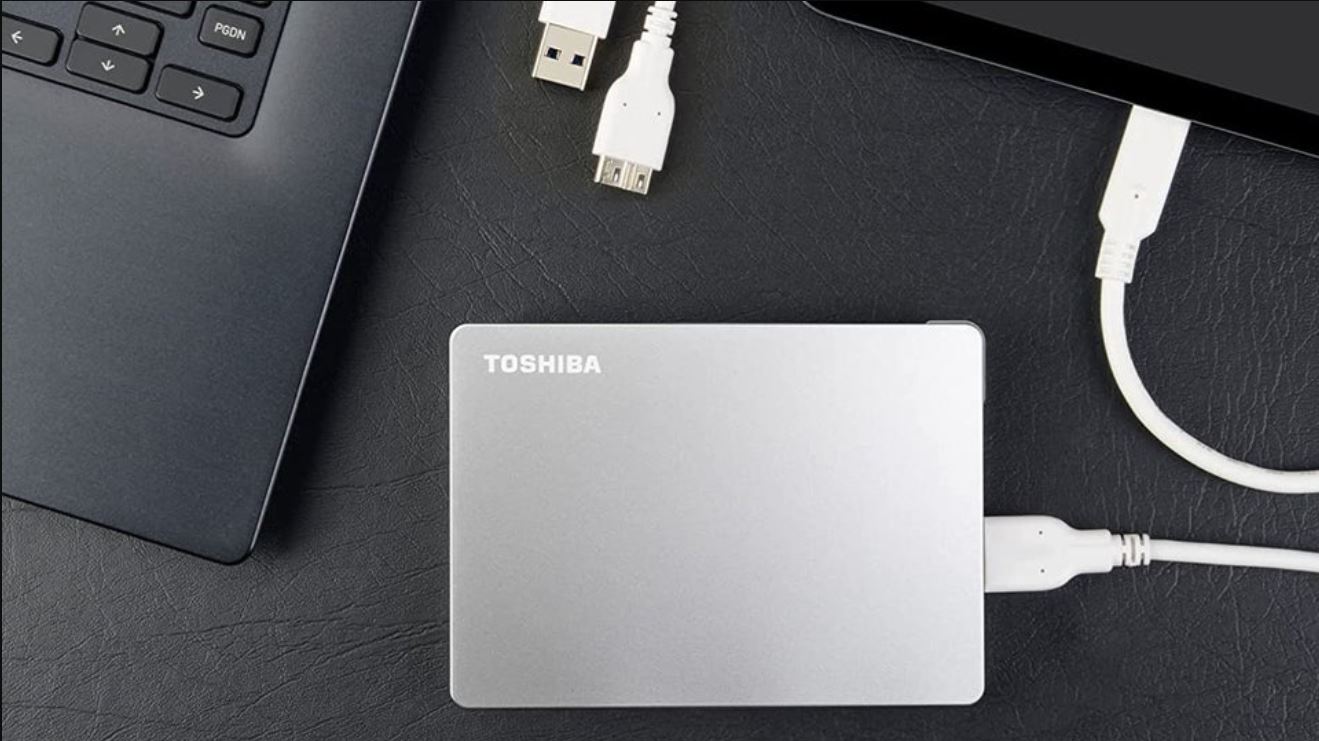
Step 2: Connect the External Hard Drive
After verifying the compatibility of your external hard drive with Windows 8, it’s time to connect the device to your computer. Follow these simple steps to establish a connection:
- Locate an available USB port on your computer. Ensure that the port matches the connection type of your external hard drive. For example, if your external hard drive uses a USB 3.0 connection, make sure to connect it to a USB 3.0 port.
- Take the USB cable provided with your external hard drive and insert one end into the USB port on your computer.
- Next, take the other end of the USB cable and connect it to the corresponding port on your external hard drive. Make sure the connection is secure.
- Once the external hard drive is connected, you should hear a sound notification from your computer, indicating a successful connection. Additionally, you may see a notification on your desktop confirming the detection of the external hard drive.
- If your external hard drive requires a power source, such as an external power adapter, make sure to connect it to a power outlet. This step is necessary to provide the necessary power to the device.
It’s important to note that some external hard drives may require specific drivers or software to function correctly with Windows 8. In most cases, Windows will automatically detect and install the necessary drivers. However, if your external hard drive came with an installation CD or downloadable driver software, it’s advisable to install it before proceeding with the formatting process.
Once the external hard drive is connected and recognized by your computer, you are ready to move on to the next step of opening Disk Management.
Step 3: Open Disk Management
Now that your external hard drive is successfully connected to your Windows 8 computer, it’s time to open Disk Management. Disk Management is a built-in utility that allows you to manage and control the storage devices connected to your computer.
Follow these steps to open Disk Management:
- Right-click on the “Start” button located at the bottom left corner of your screen. A context menu will appear.
- Select “Disk Management” from the list of options. This will open the Disk Management window, displaying a list of all the connected storage devices, including your external hard drive.
Alternatively, you can also open Disk Management by using the Run dialog box:
- Press the “Windows” key + “R” on your keyboard. The Run dialog box will appear.
- Type “diskmgmt.msc” without quotation marks in the text field of the Run dialog box.
- Click “OK” or press “Enter” on your keyboard. This will open the Disk Management window.
Once Disk Management is open, you’ll see a graphical representation of your computer’s storage devices. The external hard drive should be listed there along with its respective disk number and other information.
It’s important to note that if your external hard drive is not detected or does not appear in Disk Management, there may be an issue with the connection or the device itself. Double-check the connection and try reconnecting the external hard drive. If the problem persists, it’s advisable to consult the manufacturer’s support for further assistance.
Now that you have successfully opened Disk Management, it’s time to move on to the next step of initializing the external hard drive.
Step 4: Initialize the External Hard Drive
After opening Disk Management, the next step is to initialize your external hard drive. Disk initialization prepares the disk for partitioning and formatting. Here’s how you can initialize your external hard drive:
- In Disk Management, locate your external hard drive listed as a “Disk” without a drive letter assigned.
- Right-click on the disk and select “Initialize Disk” from the context menu. The Initialize Disk dialog box will appear.
- In the Initialize Disk dialog box, you will see the external hard drive listed. Make sure the box next to “Disk #” is checked, indicating that you are initializing the correct disk.
- Choose the partition style for the disk. For most external hard drives, the recommended option is “MBR (Master Boot Record)”.
- Click “OK” to start the disk initialization process. The process may take a few seconds or longer, depending on the size of the external hard drive.
- Once the initialization is complete, you will see the external hard drive labeled as “Online” in Disk Management.
Initializing the external hard drive allows you to proceed with creating partitions and formatting. Without initializing the disk, you won’t be able to proceed with the next steps.
If you accidentally initialized the wrong disk, don’t worry. The initialization process doesn’t erase any data on the disk. However, be cautious when performing any operations on the disk to prevent data loss.
Now that you have successfully initialized the external hard drive, you can move on to the next step of creating a partition.
Step 5: Create a Partition
After initializing the external hard drive, the next step is to create a partition. A partition divides the disk into separate sections, allowing you to organize and manage your data more effectively. Follow these steps to create a partition:
- Right-click on the “Unallocated” space of the external hard drive in Disk Management.
- Select “New Simple Volume” from the context menu. The New Simple Volume Wizard will open.
- Click “Next” to proceed with the wizard.
- In the “Specify Volume Size” step, you can choose to allocate the entire unallocated space to the new partition or specify a custom size. The recommended option is to allocate the entire space. Click “Next” to continue.
- In the “Assign Drive Letter or Path” step, you can choose to assign a drive letter to the partition. The default drive letter is usually automatically assigned. You can also choose to mount the partition in an empty NTFS folder. Click “Next” to proceed.
- In the “File System” step, select the file system you want to use for the partition. The recommended file system for Windows 8 is NTFS (New Technology File System).
- Give a name to the partition in the “Volume Label” field. This name will be displayed when you access the partition in File Explorer. You can choose a descriptive name such as “Data” or “Backup”.
- Enable the “Perform a quick format” option if you want to expedite the formatting process. However, if you wish to perform a more thorough check on the disk, you can leave this option unchecked for a full format.
- Review the summary of your choices and click “Finish” to create the partition.
Once the partition creation is complete, you will see the new partition labeled with the assigned drive letter in Disk Management. It is now ready for formatting.
Creating a partition allows you to organize and manage your data more efficiently on your external hard drive. With the partition in place, you can move on to the next step of formatting the partition.
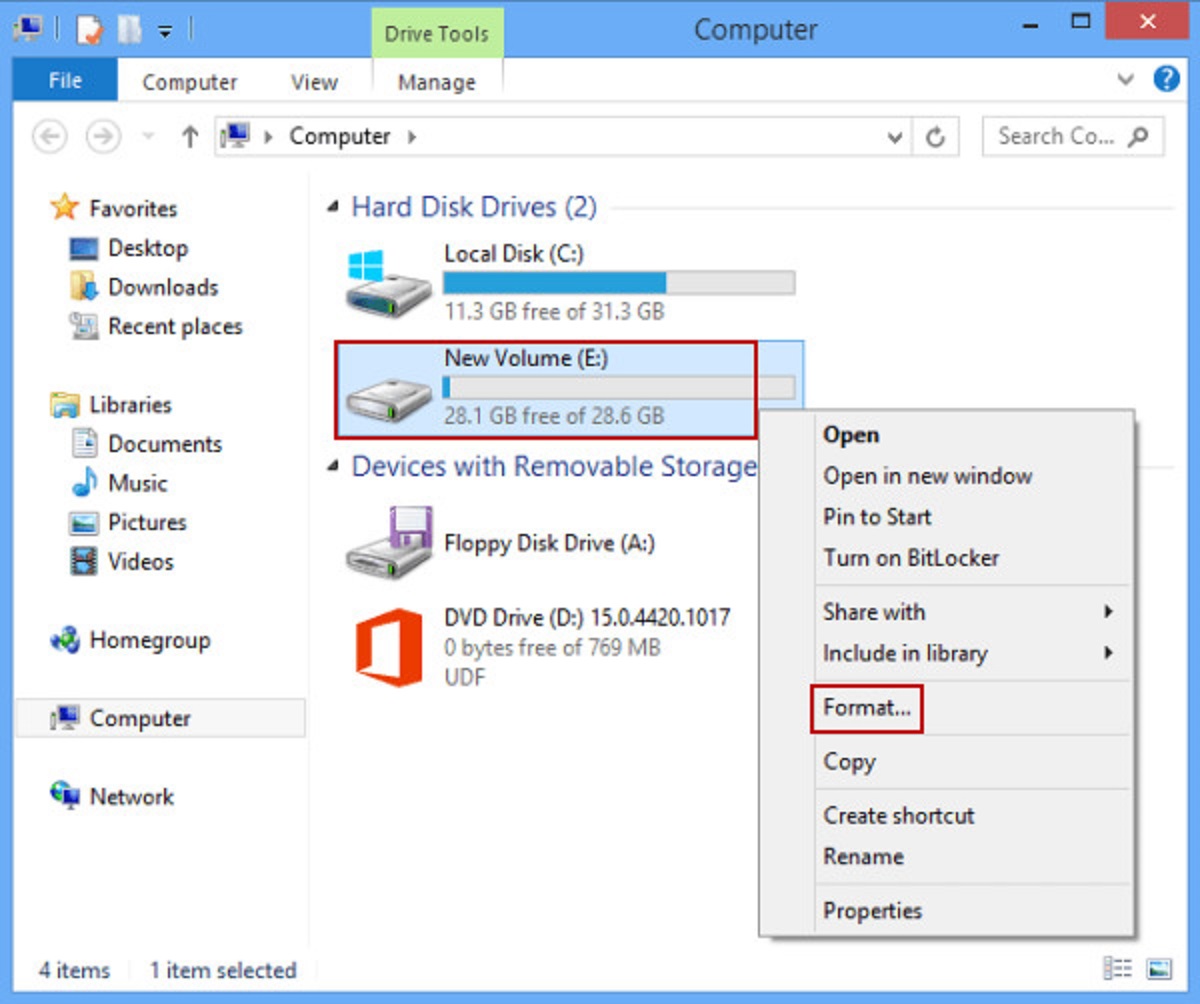
Step 6: Format the Partition
Now that you have created a partition on your external hard drive, the next step is to format it. Formatting a partition prepares it for use by assigning a file system and setting up the necessary data structures. Follow these steps to format the partition:
- In Disk Management, right-click on the newly created partition and select “Format” from the context menu. This will open the Format dialog box.
- In the Format dialog box, you can specify the volume label for the partition. The volume label is a name that identifies the partition and will be displayed when you access it in File Explorer. You can give it a descriptive and easily recognizable name.
- Choose the file system you want to use for the partition. For Windows 8, the recommended file system is NTFS (New Technology File System). NTFS offers enhanced security and supports larger file sizes and partition sizes.
- Set the allocation unit size for the partition. The allocation unit size determines how files are stored on the partition. It is usually best to leave the default size selected unless you have specific requirements.
- In the “Format options” section, you can choose to perform a quick format or enable file and folder compression. Quick format expedites the formatting process by not checking the disk for bad sectors. Enabling file and folder compression can help save space but may slightly affect performance.
- Double-check that you have selected the correct partition for formatting, as the process will erase all data on the partition.
- Click “OK” to start the formatting process. A warning message will appear, informing you that all data on the partition will be deleted. Confirm your action by clicking “OK” again.
- Wait for the formatting process to complete. This may take a few minutes, depending on the size of the partition.
- Once the formatting is finished, you will receive a notification indicating the successful completion of the process.
Formatting the partition ensures that it is ready for use and provides the necessary file system structure for storing data. With the partition formatted, you can proceed to the next step of assigning a drive letter.
Step 7: Assign a Drive Letter
After formatting the partition on your external hard drive, the next step is to assign a drive letter. A drive letter allows your computer to identify and access the partition easily. Follow these steps to assign a drive letter:
- In Disk Management, right-click on the formatted partition and select “Change Drive Letter and Paths” from the context menu. This will open the Change Drive Letter and Paths dialog box.
- In the dialog box, click on the “Change” button. Another dialog box will appear.
- Choose a new drive letter for the partition. Windows automatically suggests an available drive letter, but you can select a different one if desired. Make sure to choose a letter that is not already assigned to another drive.
- Click “OK” to confirm the drive letter change.
- You will receive a warning message informing you that programs relying on the current drive letter might not run correctly. If you haven’t used the drive letter for any programs, you can proceed by clicking “Yes”.
- Once the drive letter change is complete, you will see the new drive letter assigned to the partition in Disk Management.
Assigning a drive letter to the partition enables you to easily access and manage the external hard drive in File Explorer. By utilizing a drive letter, you can conveniently store and retrieve files on the partition.
If you want to change the drive letter again in the future, you can follow the same steps outlined above.
With the drive letter assigned, your external hard drive is almost ready to use. The next step is to select the appropriate format options.
Step 8: Format Options
When formatting your external hard drive in Windows 8, there are several format options you can choose from to customize your storage experience. These options allow you to optimize the format based on your specific needs. Let’s explore the different format options available:
File System: The file system determines how data is organized and stored on the external hard drive. Windows 8 supports various file systems, but the recommended format is NTFS (New Technology File System). NTFS provides enhanced security, support for larger file sizes, and improved file compression capabilities. FAT32 is another option, which offers better compatibility with older devices but has limitations on file size and partition size.
Allocation Unit Size: Also known as cluster size, the allocation unit size specifies the size of the smallest unit that the file system can allocate for storing data. The default allocation unit size is typically the optimal choice for most users, as it balances performance and storage efficiency. However, if you plan to store large files or have specific requirements, you can choose a custom allocation unit size. Keep in mind that selecting a smaller cluster size may improve performance for smaller files, but it can potentially waste space for larger files.
Quick Format: The quick format option allows you to expedite the formatting process by skipping the process of checking the disk for bad sectors. This option erases the file table on the disk without performing a thorough scan. Quick format is suitable when the external hard drive is new or has been previously formatted. However, if you suspect any issues with the disk, it’s recommended to perform a full format, which includes a surface scan for bad sectors.
Compression: The compression option allows you to enable file and folder compression on the external hard drive. Compression can save storage space by reducing the size of files and folders. However, it’s important to note that enabling compression may slightly affect performance, as the computer needs to decompress the files when accessing them.
By selecting the appropriate format options based on your requirements, you can tailor the formatting process to suit your specific needs. Consider your storage preferences and the intended usage of the external hard drive when choosing the format options.
Now that you are familiar with the format options, it’s time to decide between a quick format and a full format in the subsequent step.
Step 9: Quick Format vs. Full Format
When formatting your external hard drive in Windows 8, you have the option to choose between a quick format and a full format. Both options serve different purposes and have their advantages and considerations. Let’s explore the differences between a quick format and a full format:
Quick Format: The quick format option is faster and more convenient compared to a full format. It simply erases the file table and other metadata on the disk, allowing you to start using the external hard drive immediately. Quick format is suitable when initializing a new disk, reformatting a disk that has been previously formatted and doesn’t exhibit any issues, or when you are in a hurry to get the disk ready for use. However, it’s important to note that a quick format does not perform a comprehensive scan of the disk for bad sectors or verify the disk’s physical integrity.
Full Format: The full format option performs a more thorough process of formatting the external hard drive. It not only erases the file table but also performs a surface scan of the entire disk, checking for bad sectors and verifying the disk’s physical integrity. A full format is recommended if you suspect any issues with the disk, such as data corruption or bad sectors. It is also advised if you want to ensure the maximum reliability and data integrity of the external hard drive. Keep in mind that a full format takes significantly more time to complete compared to a quick format.
When deciding between a quick format and a full format, consider the condition of the external hard drive, your time constraints, and your desired level of data integrity. If the external hard drive is new or has been previously formatted without any issues, a quick format may be sufficient and time-saving. However, if you want to ensure the disk’s physical health and detect any potential problems, or if you have concerns about data integrity, then a full format is the recommended option.
It’s important to keep in mind that regardless of the selected format option, formatting will erase all data on the partition. Make sure to back up any important files before proceeding.
Now that you understand the differences between a quick format and a full format, you are ready to initiate the formatting process and wait for it to complete.
Step 10: Wait for Formatting to Complete
After selecting the format options and initiating the formatting process, it’s time to patiently wait for the formatting to complete. Formatting the partition on your external hard drive can take some time, depending on the size of the drive and the format option chosen (quick format or full format). It’s important to allow the process to finish before proceeding any further.
While waiting for the formatting to complete, it’s advisable to refrain from interrupting or disconnecting the external hard drive. Doing so may result in data corruption or damage to the drive. You can monitor the progress of the formatting process in Disk Management or through any on-screen notifications provided by the operating system.
During the formatting process, your computer may appear busy or slow down temporarily. This is to be expected, as the system is performing disk operations and allocating resources for formatting. It’s best to avoid using any other resource-intensive tasks or applications during this time to ensure the smooth progress of the formatting process.
Once the formatting is complete, you will receive a notification indicating the successful completion. At this point, your external hard drive is ready to be used for storing and accessing data. However, it’s important to remember that the formatted partition will be empty, so make sure to transfer any important files or folders back to the external hard drive if necessary.
By patiently waiting for the formatting to complete, you can ensure that the partition on your external hard drive is properly formatted and ready for use. Now that the formatting is finished, you are now ready to safely eject the external hard drive and start utilizing its storage capacity for your needs.
Step 11: Eject the External Hard Drive Safely
After formatting the partition and ensuring everything is in order, it’s crucial to safely eject the external hard drive from your Windows 8 computer. Safely ejecting the device helps prevent data loss or damage to the files on the drive. Follow these steps to safely eject your external hard drive:
- Ensure that all file transfers or applications accessing the external hard drive are closed. This step ensures that no files are in use, reducing the risk of data corruption.
- Locate the “Safely Remove Hardware and Eject Media” icon in the system tray at the bottom right corner of the taskbar. It resembles a USB plug with a green checkmark or a white arrow.
- Click on the “Safely Remove Hardware and Eject Media” icon. A list of removable devices will appear.
- Locate your external hard drive from the list and select it for removal.
- Wait for a notification to appear, indicating that it is safe to remove the external hard drive. The notification may vary depending on your version of Windows 8, but it will mention that it is safe to remove the device.
- Once you have received the notification, carefully disconnect the USB cable or other connection type from your computer and the external hard drive.
It’s essential to follow these steps and safely eject the external hard drive rather than abruptly disconnecting it. Abrupt disconnection can cause data loss or damage to the file system, so it’s crucial to take the time and ensure a safe removal.
Keep in mind that if the external hard drive has an external power source, such as an external power adapter, you should also disconnect it from the power outlet.
By safely ejecting the external hard drive, you protect the integrity of your data and the health of your storage device. Now, you can store, retrieve, and manage your files on the newly formatted external hard drive with confidence.
Conclusion
Congratulations! You have successfully formatted your external hard drive in Windows 8. By following the step-by-step guide in this tutorial, you have prepared your external hard drive for use, organized its storage, and ensured its compatibility with your operating system.
We started by checking the compatibility of the external hard drive with Windows 8 and making sure it had the necessary connection ports. Next, we connected the external hard drive to the computer and opened Disk Management to initialize the disk. We then proceeded to create a partition, format it with the desired file system and allocation unit size, and assigned a drive letter for easy access.
We explored the format options available, including quick format and full format, and discussed the differences between them. Depending on your needs and preferences, you could choose either option to meet your requirements.
After the formatting process, it was important to safely eject the external hard drive to prevent data loss or damage. By following the recommended steps for a safe removal, you ensure the integrity of your files and the longevity of your external hard drive.
Now that your external hard drive is ready, you can start using it to store and backup your important files, transfer data, and expand your storage capacity. Remember to regularly backup your data to prevent any loss in case of unforeseen events.
By understanding the steps involved in formatting an external hard drive in Windows 8 and following the guidelines provided in this guide, you have gained the knowledge and skills to confidently handle this process in the future.
Thank you for following along with this tutorial. We hope it has been helpful in successfully formatting your external hard drive. Happy computing!