Introduction
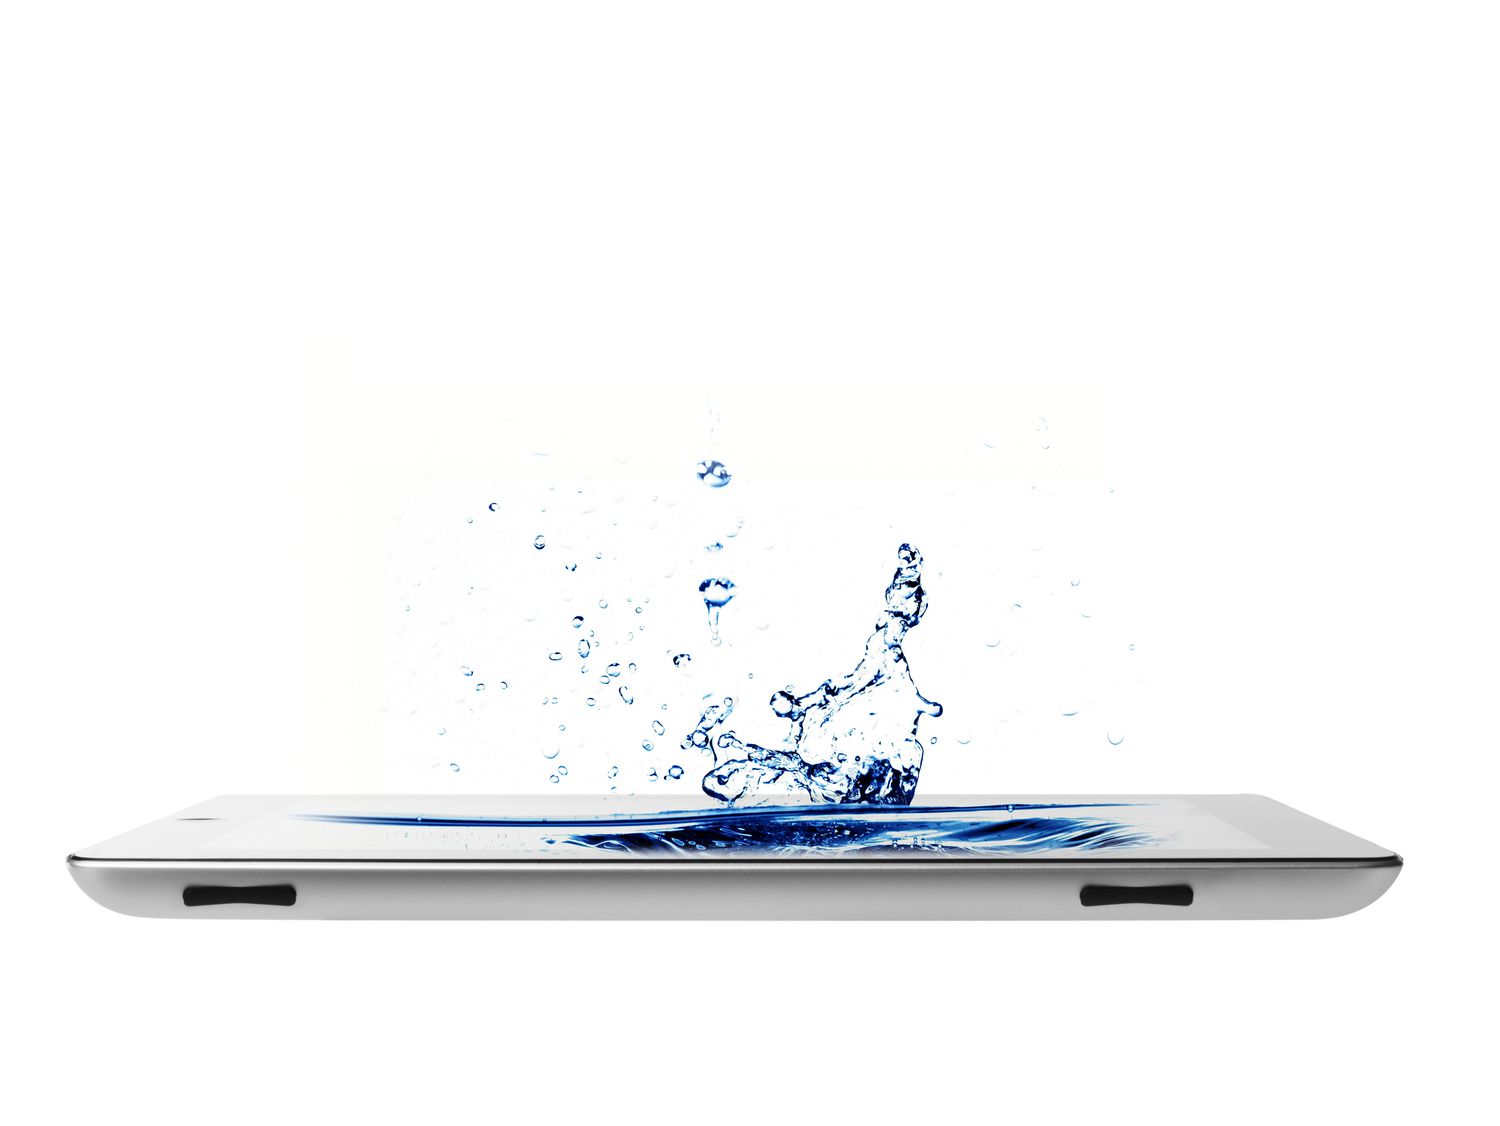
Water damage is a nightmare for any tablet owner. Whether it’s due to an accidental spill, a drop in the pool, or even exposure to rainy weather, liquid infiltration can cause severe damage to the delicate internal components of your device. However, don’t despair just yet! With the right knowledge and quick action, you can potentially revive your water-damaged tablet and have it functioning properly again.
In this guide, we will take you through a step-by-step process to fix a tablet that has suffered water damage. It’s important to note that these steps are applicable for most tablet models, but it’s always a good idea to consult your device’s manual or manufacturer’s guidelines for specific instructions. Let’s dive in and get your tablet back on track!
Before we begin, it’s crucial to understand that time is of the essence when it comes to water damage. The longer you wait to address the issue, the higher the chances of permanent damage. So, without further ado, let’s assess the damage and take swift action to minimize any potential harm.
Assessing the Damage
The first step is to assess the extent of the water damage to your tablet. This will help you determine the level of urgency and the appropriate course of action. Here’s what you need to do:
- Remove any cases or covers: Take off any protective cases or covers from your tablet to expose the device fully.
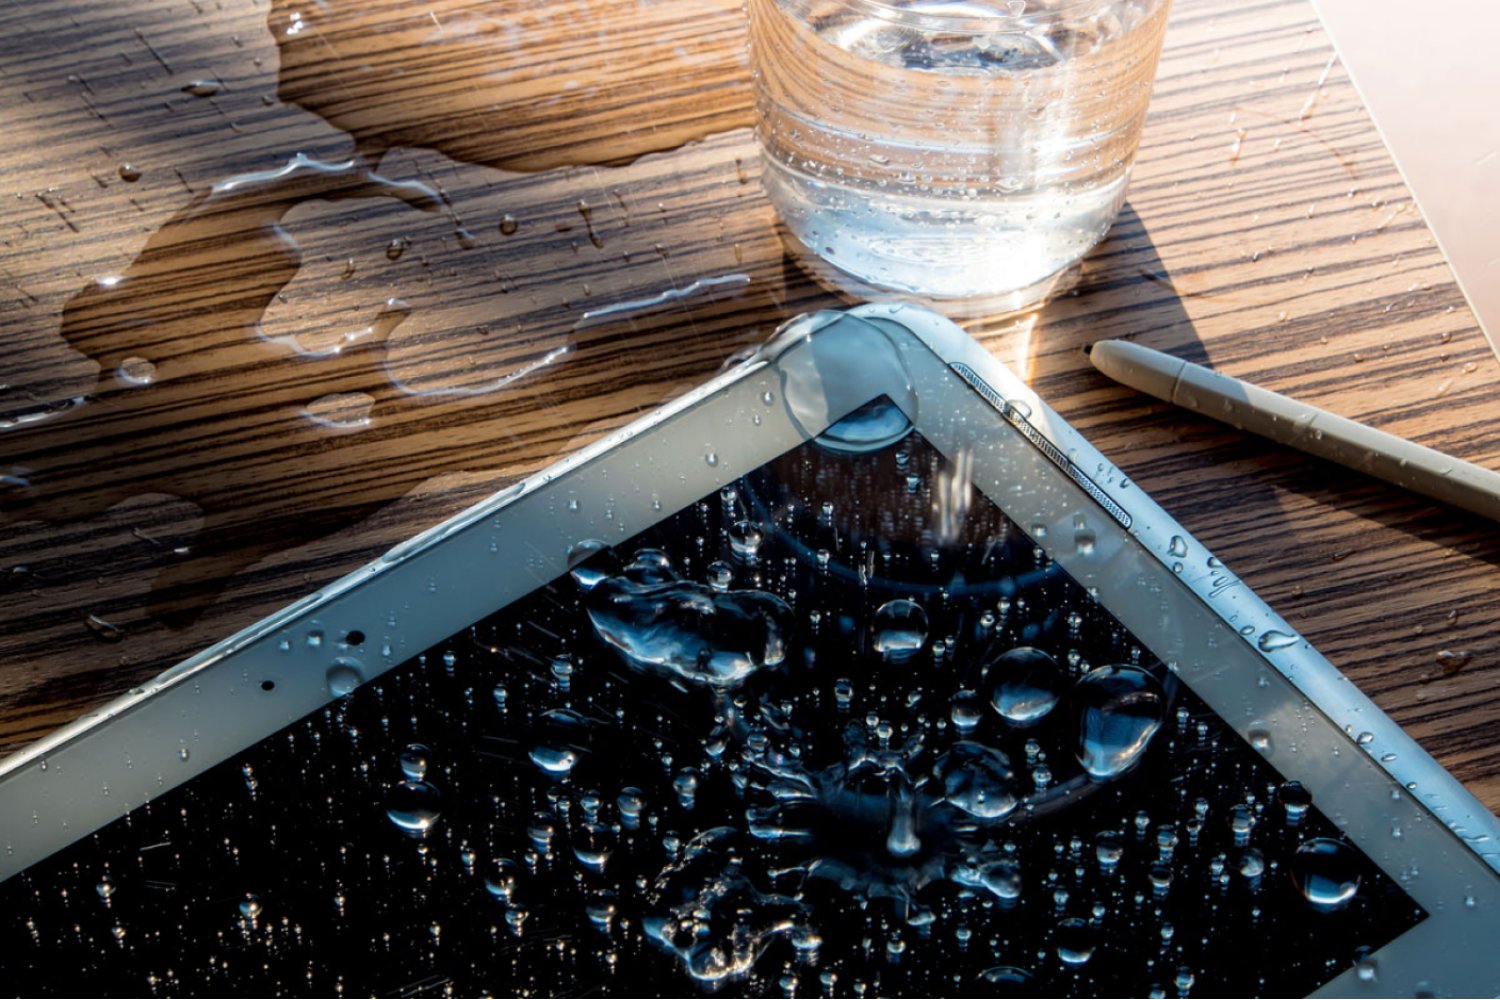
- Inspect the exterior: Carefully examine the tablet for any visible signs of water entry, such as moisture on the surface, water droplets in the ports, or water pooling around the buttons.
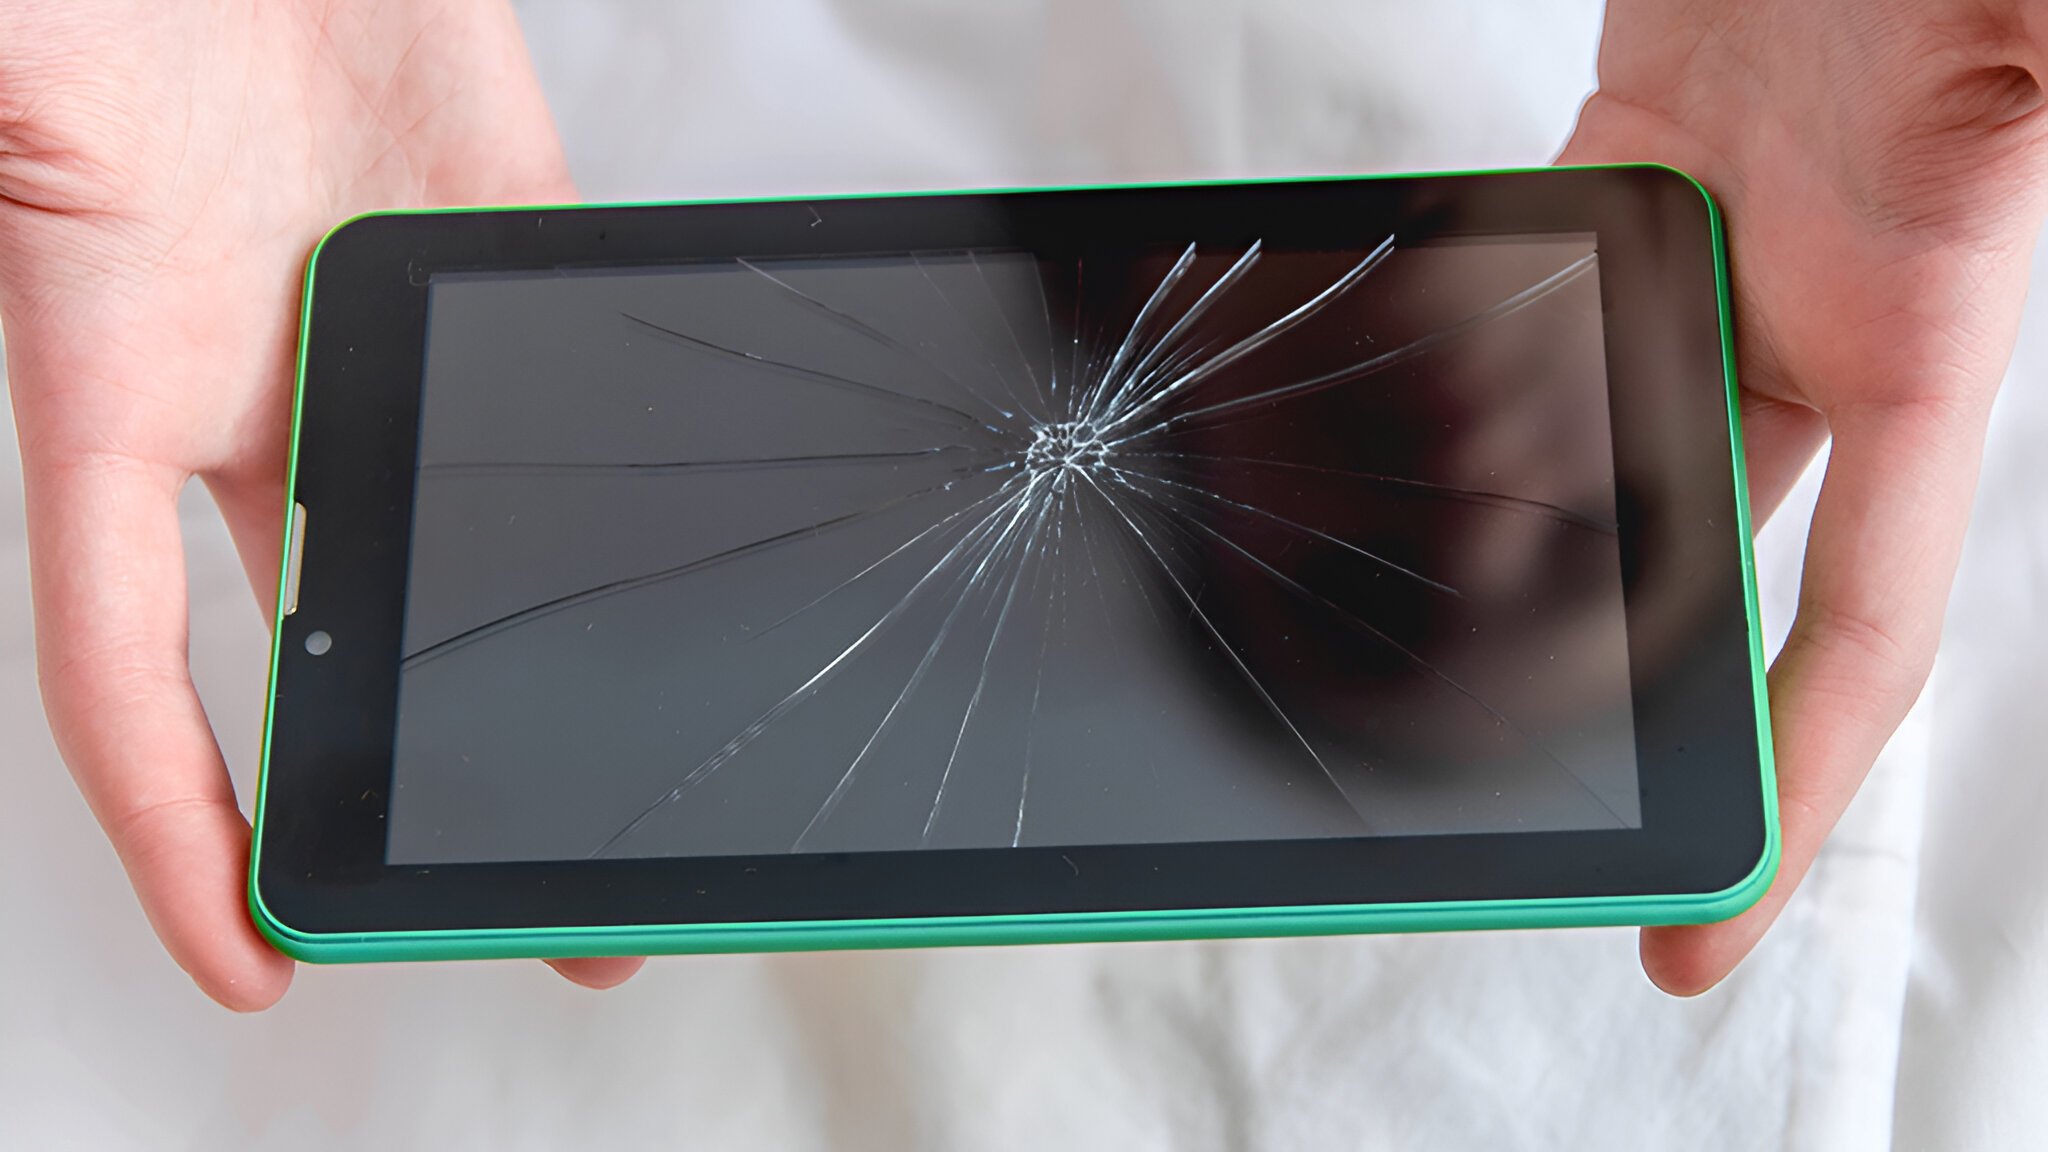
- Check the screen: Look for water spots or discoloration on the screen. If the display is glitchy or unresponsive, it may indicate water damage to the internal components.
- Listen for unusual sounds: Power on the tablet and listen for any unusual noises, such as crackling or sizzling sounds, which could indicate a short circuit caused by water damage.
- Test the functions: Test various functions like the touchscreen, buttons, speakers, and camera to see if they are working properly. Water damage can disrupt these features.
Based on your assessment, you can determine the severity of the water damage. If there are minor signs of water entry with no immediate noticeable impact on functionality, you might be able to proceed with the drying and cleaning process. However, if the tablet shows significant damage, it’s advisable to seek professional assistance or contact the manufacturer for guidance.
Remember, assessing the damage is crucial to understand the level of risk and to prevent further damage during the repair process. Let’s move on to the next step of turning off your tablet to avoid any potential short circuits.
Turning Off the Tablet
Once you have assessed the water damage to your tablet, the next step is to turn it off immediately. This is crucial to prevent any short circuits or further damage to the device. Follow these steps to power off your tablet:
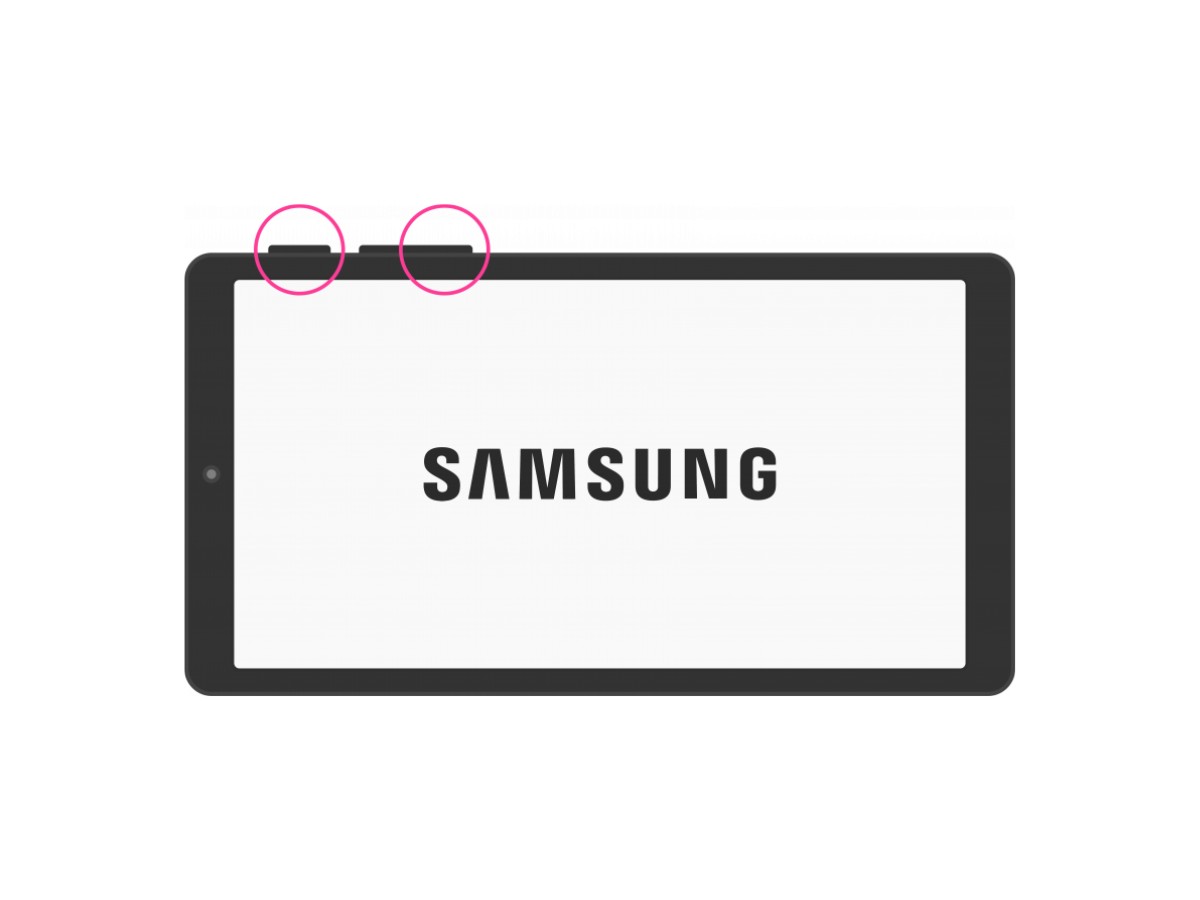
- Press and hold the power button: Locate the power button on your tablet, usually located along the sides or on the top of the device. Press and hold the power button until the power options menu appears on the screen.
- Select “Power off” or “Shutdown”: Use the touchscreen or the volume buttons to navigate to the power options, and select “Power off” or “Shutdown” from the menu. This will initiate the shutdown process.
- Confirm the shutdown: Depending on your tablet model, you may be prompted to confirm the shutdown by tapping on a “Confirm” or “OK” button. Follow the on-screen instructions to complete the shutdown process.
- Wait for the tablet to power off: Give your tablet a few seconds to completely power off. The screen should go blank, and any indicator lights should turn off.
It’s important to note that turning off your tablet promptly minimizes the risk of electrical shorts caused by water damage. Avoid using the tablet while it’s in a powered-on state, as this can exacerbate the damage. Now that your tablet is powered off, let’s move on to the next step of drying the device.
Drying the Tablet
Once you have turned off your tablet to prevent further damage, the next step is to dry the device as quickly and thoroughly as possible. The drying process helps remove any moisture that may have entered the internal components. Here’s what you need to do:
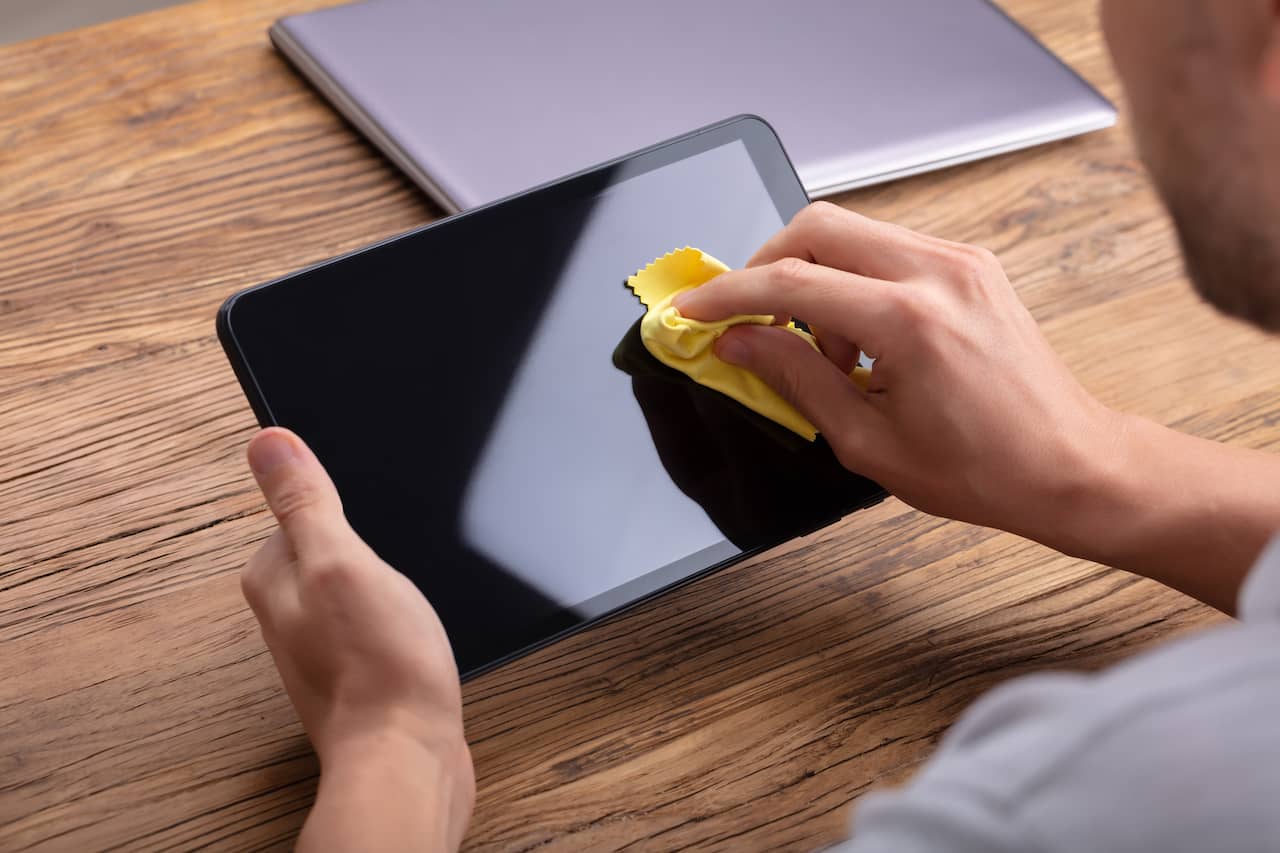
- Use an absorbent cloth: Gently wipe the exterior of your tablet with a clean, absorbent cloth to remove any visible moisture. Pay special attention to the edges, ports, and buttons where water may have accumulated.
- Avoid heat sources: While it may be tempting to use a hairdryer or place your tablet near a heater to speed up the drying process, it’s important to avoid direct heat sources. Excessive heat can damage the internal components of your device. Opt for natural air drying instead.
- Place in a dry environment: Find a dry area in your home with good airflow. You can place your tablet on a clean towel or absorbent surface to allow air circulation around the device.
- Avoid sunlight exposure: While you want to keep the tablet in a dry environment, it’s important to keep it away from direct sunlight. Prolonged exposure to sunlight can cause overheating and potential damage to the device.
- Consider using silica gel packets: If available, you can place some silica gel packets near the tablet to help absorb moisture. Silica gel is known for its moisture-absorbing properties and can aid in the drying process.
It’s crucial to give your tablet enough time to dry thoroughly, as leaving any moisture inside can lead to further damage. The duration will depend on the severity of the water damage and environmental conditions. While waiting for the tablet to dry, it’s important to resist the temptation to power on the device. Patience is key in ensuring the best chance of successful recovery.
Now that you have dried your tablet to the best of your ability, the next step is to remove any remaining water from the device. Let’s move on to the next section for further instructions.
Removing the Water
After drying the exterior of your tablet, it’s time to focus on removing any remaining water from the internal components. The goal is to prevent water from causing further damage or corrosion. Follow these steps to remove the water from your tablet:
- Gently shake the tablet: Hold your tablet with a firm grip and give it a few gentle shakes in different directions. This can help dislodge any excess water that may be trapped inside.
- Use absorbent materials: Take a clean, dry cloth or paper towel and carefully dab the ports, buttons, and any openings on the tablet. Absorb as much water as possible without applying excessive pressure.
- Utilize compressed air: If you have access to compressed air, use it to blow out any water that may be trapped in the ports or connectors. Hold the tablet at a slight angle, insert the nozzle of the compressed air canister, and give short bursts of air. Be careful not to use excessive force, as it may damage delicate components.
- Consider using a vacuum cleaner: Alternatively, you can use a vacuum cleaner with a small nozzle attachment to carefully suction any moisture from the ports and openings of the tablet. Ensure the vacuum is set to a low or gentle setting to avoid causing any damage.
- Repeat the process if necessary: If you notice visible water droplets or dampness on the cloth after dabbing the tablet, repeat the process of shaking, dabbing, and using compressed air or a vacuum cleaner as needed.
Removing the water from your tablet helps minimize the risk of further damage caused by moisture. However, it’s important to note that while these steps can aid in removing visible water, there may still be residual moisture in hard-to-reach areas. Let’s move on to the next section to address the cleaning of internal components for a thorough recovery process.
Cleaning the Internal Components
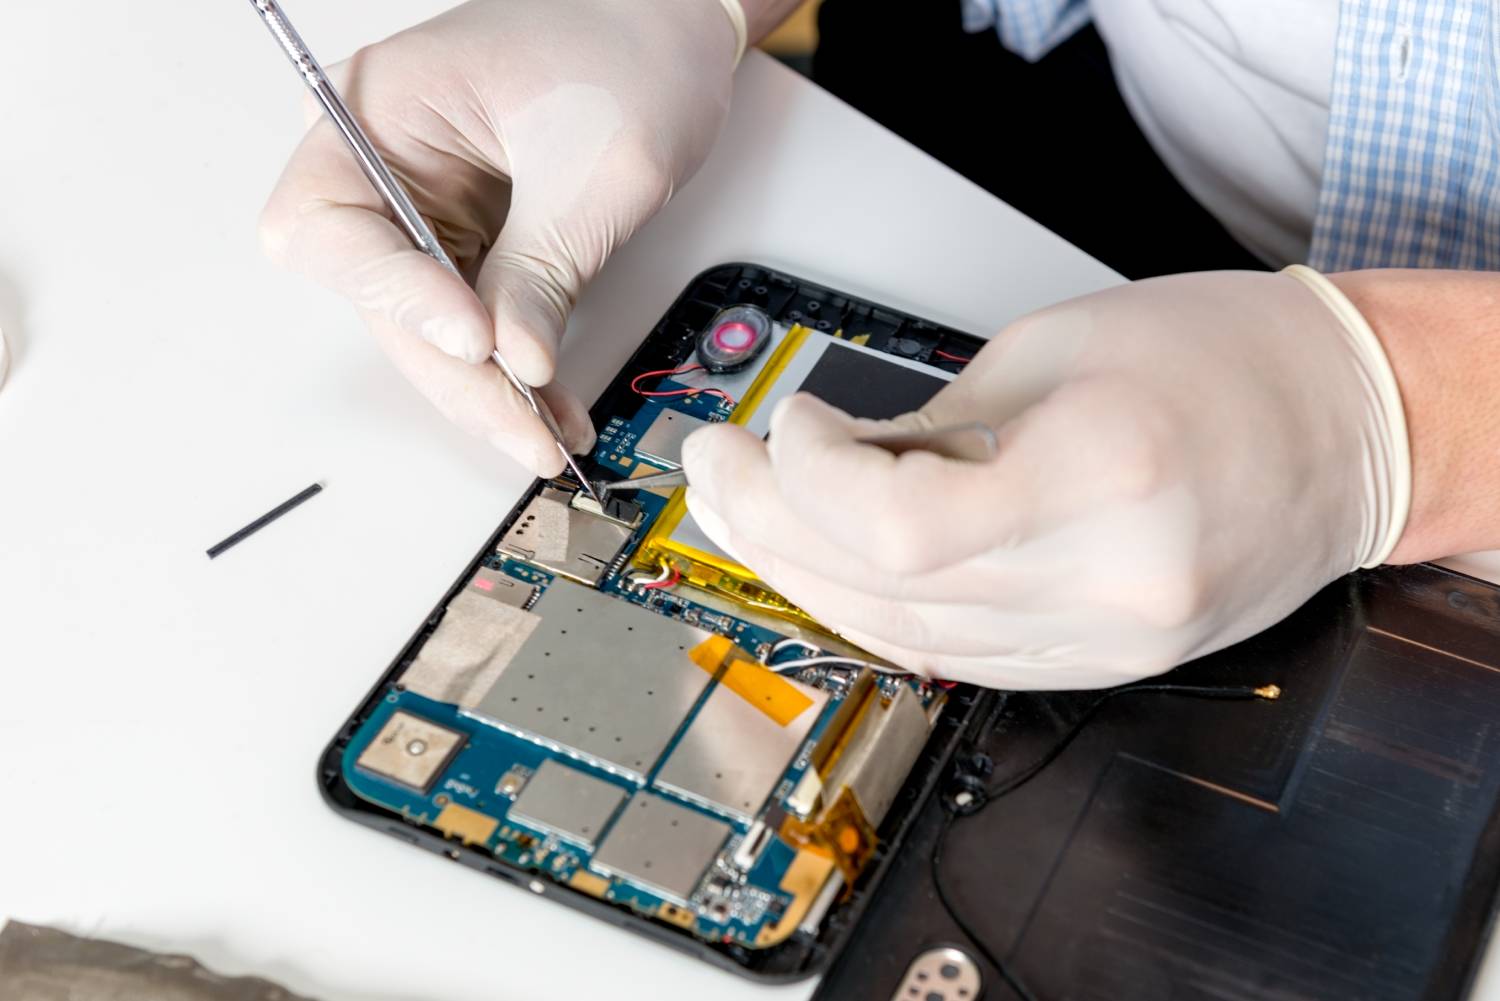
Now that you have taken steps to remove the water from the exterior of your tablet, it’s time to clean the internal components to ensure proper functionality. Water can leave behind residue or corrosion, which can affect the performance of your device. Follow these guidelines to clean the internal components of your tablet:
- Isopropyl alcohol solution: Prepare a mixture of isopropyl alcohol and distilled water in a 1:1 ratio. Isopropyl alcohol is a gentle solvent that can help clean and remove any residual water or debris.
- Apply the solution: Dampen a soft, lint-free cloth or cotton swab with the isopropyl alcohol solution. Use gentle motions to clean the exposed internal components of the tablet. Focus on areas such as the battery contacts, circuit boards, and connectors.
- Avoid excessive moisture: Ensure that the cloth or cotton swab is only slightly damp and not overly soaked. Excessive moisture can penetrate the internal components and cause further damage.
- Be cautious with connectors: When cleaning connectors, be extra careful to avoid bending or damaging the pins. Use a soft brush or compressed air to remove any debris or moisture from connector ports.
- Allow time to dry: After cleaning, allow the tablet to air dry in a clean and dry environment. Do not power on the tablet until you are confident that all internal components are completely dry.
It’s important to note that cleaning the internal components requires delicate handling and a cautious approach. If you are uncertain about performing this step, it’s advisable to seek professional assistance or contact the manufacturer for guidance.
Now that you have cleaned the internal components of your tablet, it’s time to let it properly dry before attempting to power it on. We will cover this crucial step in the next section.
Letting It Dry
After cleaning the internal components of your tablet, it’s crucial to allow it sufficient time to dry completely. This drying period will help ensure that all moisture has evaporated and minimize the risk of further damage. Follow these steps to properly let your tablet dry:
- Avoid impatience: It’s natural to be eager to test your tablet’s functionality, but it’s important to exercise patience during the drying process. Rushing the process may result in the tablet not properly recovering.
- Air drying: Place your tablet in a warm, dry location with good airflow. A well-ventilated room or near a fan can help facilitate the drying process. Avoid placing it near direct sunlight or heat sources, as excessive heat can damage the device.
- Wait for at least 48 hours: The drying time may vary depending on factors such as the extent of the water damage and humidity levels. It is recommended to wait a minimum of 48 hours to ensure that all moisture has evaporated from the internal components.
- Perform a touch test: Before attempting to power on your tablet, perform a touch test by gently pressing on the screen and other components. If you feel any residual moisture or dampness, continue the drying process until everything is completely dry.
Remember, patience is key during the drying phase. Rushing to power on your tablet before it has dried completely may result in irreversible damage to the internal components. Once you are confident that your tablet is thoroughly dried, it’s time to move on to the next step and test its functionality.
Testing the Tablet
After going through the drying process, it’s time to test the functionality of your tablet. Follow these steps to ensure that your tablet is fully operational:
- Reassemble the tablet: If you had disassembled any parts of your tablet during the drying process, make sure to reassemble them carefully and securely.
- Power on the tablet: Press and hold the power button to turn on your tablet. If the tablet powers on without any issues, it’s a good sign that the drying process was successful.
- Check the screen: Ensure that the screen is responsive and displays without any glitches or abnormalities. Swipe through different pages and apps to see if the touchscreen is working properly.
- Test the audio: Play some music or a video to check if the speakers are functioning correctly. Adjust the volume and see if it produces sound without any distortion or issues.
- Connectivity: Test the Wi-Fi, Bluetooth, and other connectivity options to ensure they are working without any disruptions. Try connecting to different networks and devices.
- Camera and sensors: Open the camera app and take some test photos or videos. Check if all the camera lenses and sensors are functioning properly.
- Battery life: Monitor the battery life of your tablet. If you notice any significant decrease in battery performance, it may indicate damage to the battery. In that case, consider seeking professional assistance.
If you encounter any issues during the testing phase or notice that some functions are not working correctly, it may indicate that the water damage was more severe than anticipated. In such cases, it’s advisable to consult a professional technician or contact the manufacturer for further assistance.
Now that you have tested the tablet’s functionality and confirmed that it is working properly, it’s important to implement preventive measures to avoid future water damage. Let’s discuss some essential tips in the next section.
Prevention Tips
To avoid the hassle and potential damage caused by water, it’s important to take preventive measures to protect your tablet from future water damage. Here are some valuable tips to keep in mind:
- Use a protective case: Invest in a high-quality, waterproof or water-resistant case for your tablet. These cases provide an extra layer of protection against water and other potential accidents.
- Avoid liquids near your tablet: Keep your tablet away from liquids as much as possible. This includes drinks, sinks, swimming pools, and other water sources. Accidents can happen, so it’s best to keep liquids away from your device.
- Be cautious in rainy weather: If you need to use your tablet outdoors during rainy weather, protect it with a waterproof sleeve or keep it securely inside a bag. Avoid exposing it directly to raindrops.
- Handle with clean hands: Ensure your hands are clean and dry before using your tablet. This can help prevent any moisture or dirt from transferring onto the device, which could potentially cause damage.
- Avoid extreme temperatures: Keep your tablet away from extreme temperatures, both hot and cold. Exposure to extreme heat or cold can lead to internal damage, affecting the performance and longevity of your device.
- Backup your data: Regularly back up your important data and files. In case of any unforeseen accidents or water damage, having a secure backup will ensure that your valuable information is not lost.
- Consider insurance: If you frequently use your tablet in environments prone to water damage, it may be worth considering insurance that covers accidental damage, including water damage. Check with your insurance provider for suitable coverage options.
By implementing these preventive measures, you can significantly reduce the risk of water damage to your tablet and prolong its lifespan. Remember that prevention is always better than dealing with the aftermath of water damage.
With these steps and tips in mind, you are now equipped with the knowledge to handle water damage to your tablet and possibly revive it. However, if the damage is extensive or beyond your expertise, it’s always recommended to seek professional help.