Introduction
Welcome to this helpful guide on how to factory reset a Samsung Galaxy Tablet. Whether you’re experiencing performance issues, encountering software glitches, or planning to sell or give away your tablet, a factory reset can be the solution to restore your device to its original settings and improve its overall performance.
A factory reset will erase all data and settings on your tablet, so it’s important to back up any important files or data before proceeding with the reset. This will ensure that you don’t lose any valuable information during the process.
By following the step-by-step instructions in this article, you’ll be able to perform a factory reset on your Samsung Galaxy Tablet and start fresh with a clean slate.
Before we dive into the process, please note that the specific steps may vary depending on the model and version of your Samsung Galaxy Tablet. However, the general approach remains the same. It’s always a good idea to refer to your tablet’s user manual or Samsung’s website for any model-specific instructions.
Now, let’s get started on the journey to factory resetting your Samsung Galaxy Tablet and breathing new life into your device!
Step 1: Back Up Your Data
Before proceeding with a factory reset, it’s crucial to back up any important data you have on your Samsung Galaxy Tablet. This will ensure that you don’t lose any valuable photos, videos, documents, or other files during the reset process.
There are several methods you can use to back up your data:
- Cloud Backup: One convenient way to back up your data is by using a cloud backup service, such as Google Drive or Samsung Cloud. These services allow you to store your files securely in the cloud and access them from any device.
- External Storage: Another option is to connect your tablet to a computer and transfer your files to an external storage device, such as a USB drive or an external hard drive. This method ensures that you have a physical copy of your data.
- Sync with Your Computer: If you regularly sync your tablet with your computer, ensure that the latest version of your files is backed up on your computer’s hard drive.
Whichever method you choose, make sure to double-check that all your important files are backed up before proceeding with the factory reset. It’s always better to be safe than sorry when it comes to preserving your data.
Once you have successfully backed up your data and verified that all your important files are stored securely, you can confidently move on to the next step: turning off your tablet.
Step 2: Turn Off Your Tablet
Now that you’ve backed up your data, it’s time to turn off your Samsung Galaxy Tablet. This step is essential to ensure a smooth and successful factory reset.
To turn off your tablet, follow these simple steps:
- Press and hold the Power button located either on the side or the top of your tablet. A menu will appear on the screen.
- Select the “Power Off” option from the menu.
- Confirm your choice by tapping “OK” or “Power Off” on the prompt that appears.
Wait for your tablet to power down completely. You can verify that it’s turned off by checking that the screen is blank and there are no lights or indicators on.
Turning off your tablet is an important step before proceeding to the next one, as it allows your device to fully shut down and prepare for the next phase of the factory reset process.
Now that your tablet is turned off, you’re ready to move on to the next step: booting your tablet into recovery mode.
Step 3: Boot into Recovery Mode
Entering recovery mode is a crucial step in the process of factory resetting your Samsung Galaxy Tablet. Recovery mode is a special mode that allows you to perform various system-related tasks, including wiping data and performing a factory reset.
To boot your tablet into recovery mode, follow these steps:
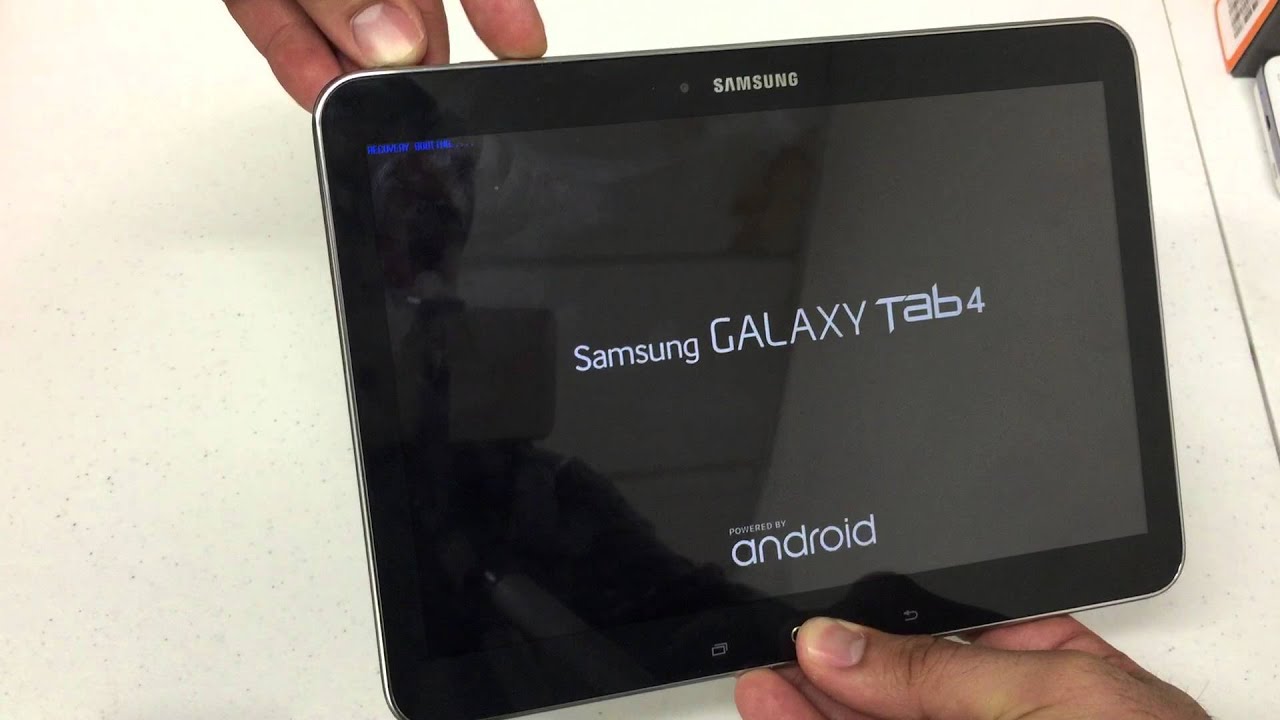
- Press and hold the Volume Up button and the Power button simultaneously. Hold both buttons until you see the Samsung logo appear on the screen.
- When the Samsung logo appears, release both buttons briefly and then immediately press and hold the Volume Down button. Continue holding the Volume Down button until your tablet finishes booting up.
- You should now see the recovery mode menu on your screen. It will display several options, including “Reboot system now,” “Apply update from ADB,” and “Wipe data/factory reset.”
Using the volume buttons to navigate and the power button to select, scroll down to the “Wipe data/factory reset” option.
Booting your tablet into recovery mode may require a few attempts, especially if you’re unfamiliar with the process. If you’re having trouble, consult your tablet’s user manual or visit Samsung’s official website for specific instructions related to your tablet model.
Once you’ve successfully reached the recovery mode menu, you’re ready to proceed to the next step: wiping data and performing a factory reset.
Step 4: Wipe Data/Factory Reset
Now that you’ve entered recovery mode, you’re ready to proceed with wiping the data on your Samsung Galaxy Tablet and performing a factory reset. This step will erase all the data and settings on your device, so make sure you have backed up everything important before proceeding.
Follow these steps to wipe data and perform a factory reset:
- Using the volume buttons to navigate, scroll down to the “Wipe data/factory reset” option in the recovery mode menu.
- Press the power button to select the option.
- On the confirmation screen that appears, you’ll see a warning stating that this action will erase all your data. Take a moment to ensure you have a backup of any important files.
- Scroll down to the “Yes” option using the volume buttons and press the power button to confirm and proceed with the factory reset.
Your tablet will now begin the process of wiping the data and performing a factory reset. This may take a few minutes.
It’s important to note that the specifics of the menu options and confirmation screens may vary slightly depending on your tablet’s model and operating system version. However, the general process remains the same.
Once the factory reset is complete, you’ll be taken back to the recovery mode menu. Now, it’s time to move on to the next step: confirming the factory reset.
Step 5: Confirm the Factory Reset
After the data wipe and factory reset process is complete, you’ll need to confirm the reset to ensure that your Samsung Galaxy Tablet is restored to its original settings. This step will validate and finalize the factory reset on your device.
Follow these steps to confirm the factory reset:
- Using the volume buttons, scroll down to the “Reboot system now” option in the recovery mode menu.
- Press the power button to select the option and confirm the reboot.
Your tablet will now reboot and start up as if it were brand new. It may take a few minutes for the reboot process to complete, so be patient.
During the reboot, your tablet will go through the initial setup process, similar to when you first purchased it. You’ll be prompted to choose your preferred language, connect to a Wi-Fi network, and sign in with your Google or Samsung account, among other settings.
Once you’ve completed the initial setup, you’ll have a fresh, clean slate on your tablet, free from any previous data or settings that may have been causing issues.
Now that you’ve confirmed the factory reset and completed the reboot process, you’re almost done! Proceed to the final step: rebooting your tablet.
Step 6: Reboot Your Tablet
After confirming the factory reset and completing the initial setup, the final step is to reboot your Samsung Galaxy Tablet. Rebooting your device will ensure that all the changes take effect and that your tablet is ready for normal use.
Follow these simple steps to reboot your tablet:
- If your tablet is still powered on, press and hold the Power button until the Power menu appears on the screen.
- Select the “Restart” or “Reboot” option from the menu.
- Confirm your choice by tapping “OK” or “Restart” on the prompt that appears.
Your tablet will now start the reboot process. It may take a few moments for the reboot to complete, so be patient. Once the reboot is finished, your tablet will be ready for you to use.
Upon rebooting, you’ll notice that your Samsung Galaxy Tablet is now back to its original factory settings. All your data and previous settings have been wiped, giving you a fresh start. You can now set up your tablet according to your preferences, reinstall apps, and restore any data or files you backed up before the factory reset.
Congratulations! You have successfully factory reset your Samsung Galaxy Tablet and resolved any issues that prompted the reset. By starting anew, you can enjoy improved performance and a clean interface on your device.
Remember, a factory reset should only be performed when necessary, as it erases all data on your tablet. Make sure to regularly back up your data to avoid any potential loss.
If you have any further questions or encounter any difficulties during the factory reset process, consult your tablet’s user manual or seek assistance from Samsung’s technical support.
Conclusion
Congratulations on successfully factory resetting your Samsung Galaxy Tablet! Through the steps outlined in this guide, you’ve learned how to back up your data, turn off your tablet, boot into recovery mode, wipe data, confirm the factory reset, and reboot your device. By performing a factory reset, you’ve taken the necessary steps to restore your tablet to its original settings, improving its performance and resolving any issues you may have encountered.
Remember, a factory reset is a powerful tool that should be used with caution. Make sure to back up any important data before proceeding, as the reset will erase all data and settings on your tablet. It’s also worth noting that the specific steps and menu options may vary slightly depending on your tablet’s model and operating system version. For more specific instructions, consult your tablet’s user manual or visit Samsung’s official website for assistance.
Now that your tablet is fresh and ready to go, take some time to set it up according to your preferences. Reinstall your essential apps, restore your backed-up data, and explore the features and capabilities of your Samsung Galaxy Tablet.
Should you encounter any difficulties or have further questions, don’t hesitate to seek assistance from Samsung’s technical support or refer to the resources available on their website.
Thank you for following along with this guide. We hope that it has been helpful in guiding you through the process of factory resetting your Samsung Galaxy Tablet. Enjoy your refreshed device and make the most out of its capabilities!